Page 1 of 7 12345 ... LastLast
Results 1 to 15 of 91

Thread: New Year, new workbench -- mucho pics!

  1. #1
    Join Date
    Oct 2006
    Location
    East Brunswick, NJ
    Posts
    1,475

    New Year, new workbench -- mucho pics!

    I hope this won't be one too many workbench threads, since Zahid and Dennis are going to be having workbench thread of their own, but I thought I'd post some shots of my workbench that I finally started on because I finally got off my butt to get going on it.

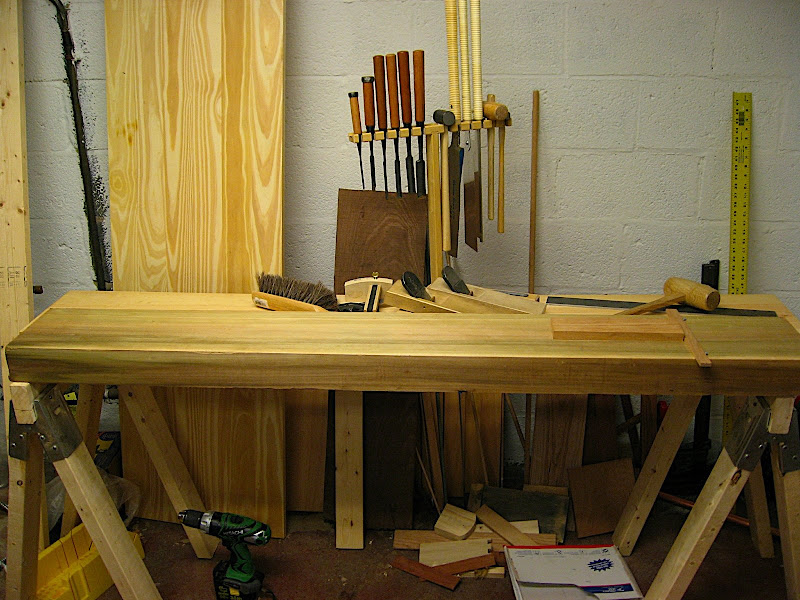
    In a burst of energy with the new year, I finally made some movement towards building my "real" workbench. The temporary poplar-beam-on-sawhorses workbench that I had been using since May still works great. I've been able to plane, chop mortises, do chisel work, and saw using it without issues. I think that the reason it's taken me so long to get around to building my "real" workbench is that the poplar beam has worked out so much better than I thought it would. And actually, the main benefit that I think I will get from this bench is extra counter space. I think this benchtop will wind up being about 7' x 22". Over the past several months, I've needed the extra counter space much more than I've needed a leg vise.

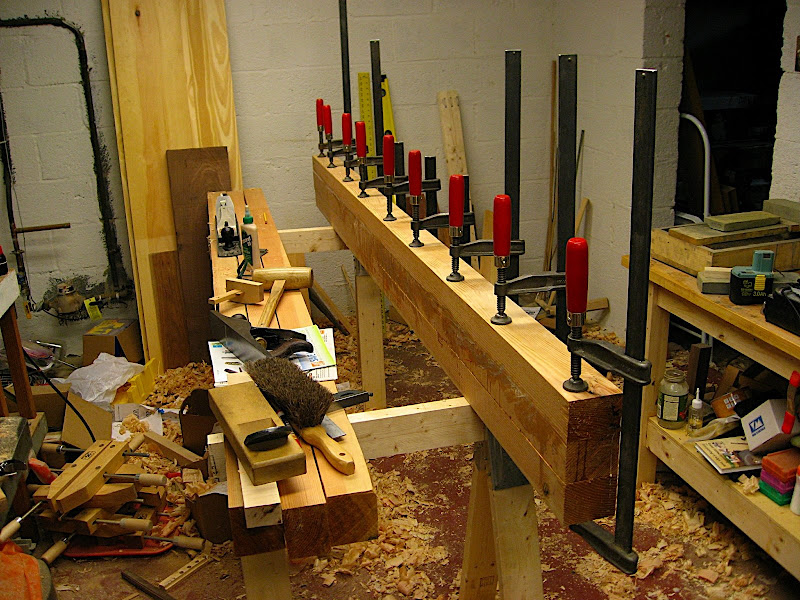
    Anyway, here's where I started:


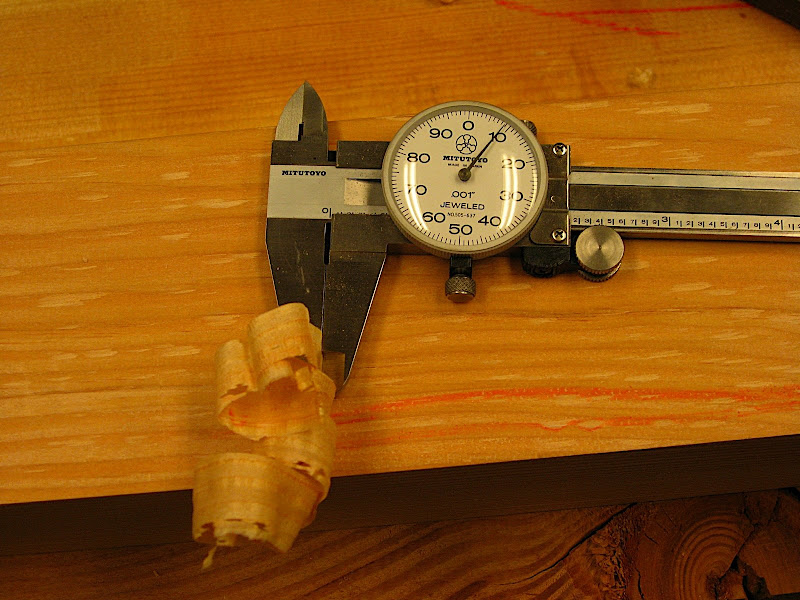
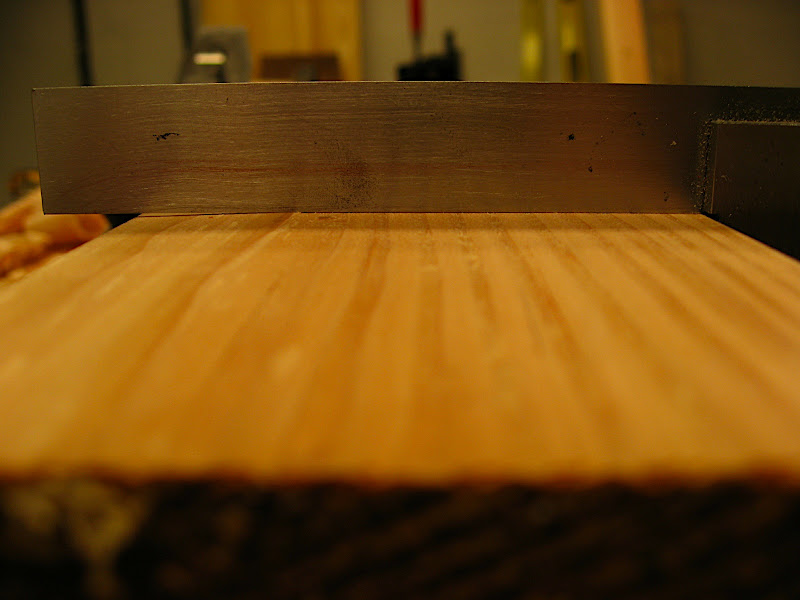
    I've been collecting kiln dried Douglas fir 4x4s from the borg for this project. I'd go there every few weeks from work, pick through their pile and leave with three that were clear, and knot free. I picked the best looking ones for the top. When I'm done gluing this up, I expect to have a benchtop that's essentially clear quartersawn Douglas fir with pretty tight grain (21-38 rings per inch, if I counted correctly).

    Last edited by Wilbur Pan; 01-20-2009 at 5:32 AM.

  2. #2
    Join Date
    Oct 2006
    Location
    East Brunswick, NJ
    Posts
    1,475
    I thought I'd share the method I came up with to make a workbench top without a workbench. I've come up with a little system for my bench top glue up I thought might be of interest.

    The first step is to get two sawhorses where the tops are jointed and level. Then I laid several of the boards for my bench top on the sawhorses, and used a clamp at either end to clamp them together.


    This essentially gives me a temporary bench top. It's not completely level, but it will be good enough for me to square up my boards and to start gluing them up.

    At one end, I placed the bar of the clamp above the boards. This is a great plane stop.


    To square up the boards, I worked on them a section at a time. Besides my clamp bar planing stop, clamping the board to the temporary benchtop works really well too, for planing in the opposite direction.


    After getting one beam squared up, I'll switch it with the beam that I'll be gluing it to and repeat the process. For the glue up, I took the end clamps off and pushed the beams over to give me space on the sawhorses to do the glue up.


    Keep repeating until done. This went surprisingly well.

  3. #3
    Join Date
    Oct 2006
    Location
    East Brunswick, NJ
    Posts
    1,475
    And I got the last glue up for the top done tonight. Whew!


  4. #4
    Join Date
    Apr 2007
    Location
    Fort Gordon, GA
    Posts
    281
    Certainly looks heavy as lead!

    The "fun" part is right around the corner!
    - jbd in Denver

  5. #5
    Join Date
    Mar 2007
    Location
    Stony Plain, Alberta
    Posts
    2,702
    Great start on one big, heavy top..

    Keep us posted Wilbur

  6. #6
    Join Date
    Sep 2003
    Location
    Plano, TX
    Posts
    2,036
    considering the history of my previous projects, you might be done with your bench by the time get the drawings done
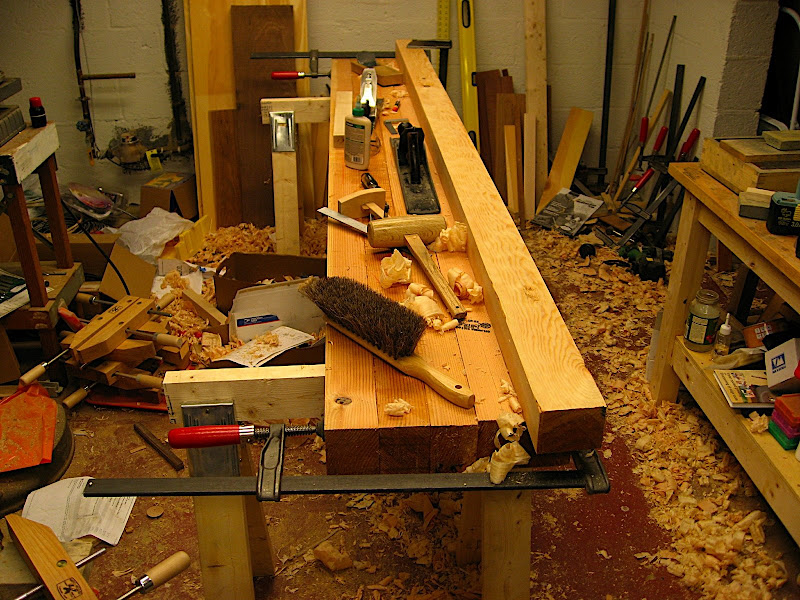
. Mine is more like a seasonal project, some of my projects have been annual affairs
    I think you are off to a good start.
    The means by which an end is reached must exemplify the value of the end itself.

  7. #7
    Join Date
    Feb 2008
    Location
    Stanwood, WA
    Posts
    3,059
    Wilbur,
    Haven't seen you post much of late and now I see why.

    Yep every clamp in the shop and lots of expletives I am sure but you are getting there nicely. Keep on chuggin!
    Dewey

    "Everything is better with Inlay or Marquetry!"


  8. #8
    Dang Wilbur, I hope you have help getting that thing moved! If I were your wife, this is a good time to visit relatives!

    Looks like you are well on your way, but as others have said - the hard part lies ahead of you! In the end, it will all be worth it!

  9. #9
    Join Date
    Mar 2006
    Location
    North Carolina
    Posts
    167
    Lookin' good Wilbur. Please keep us updated.

  10. #10
    Join Date
    Aug 2003
    Location
    extreme southeast Nebraska
    Posts
    3,113
    Way to go Wilbur, The hard part is over, Deciding to get Started, that is. Once the Brain is engaged the body has no alternative but to comply with its requests.

    Jr.
    Jr.
    Hand tools are very modern- they are all cordless
    NORMAL is just a setting on the washing machine.
    Be who you are and say what you feel... because those that matter... don't mind...and those that mind...don't matter!
    By Hammer and Hand All Arts Do Stand

  11. #11
    Looking great. I do see an unused clamp in the corner (by the level), must be too short.

    Doug fir is easy to get here at the BORG and I made a basic bench top frame out of it with baltic birch ply on top. I hope to make a solid wood bench this year (likely out of fir as well), so let us know how the fir holds up to typical neander work.

  12. #12
    Join Date
    Nov 2007
    Location
    Western Illinois
    Posts
    55
    Great start Wilbur! Luv those Wetzlers ...........

  13. #13
    Join Date
    Oct 2006
    Location
    East Brunswick, NJ
    Posts
    1,475
    Quote Originally Posted by Dewey Torres View Post
    Yep every clamp in the shop and lots of expletives I am sure....
    Given that I wound up using hand planes to square up the corners, you might think that lots of expletives were incorporated into this project, but it is easier than you might think. Here's how I did it. This isn't my technique -- I learned this from Chris Schwarz's "Coarse, Medium, and Fine" DVD, and I'm sure he learned it from somewhere else.

    Anyway, here's how it went.

    Here's a picture of how out of square one of the beams I was working on was.


    That's out 1/16" over the 3 1/2" width of the beam. Boy do I suck!

    Now, when most people think of hand planes, the image of a finely tuned plane making those 0.001", wispy, see-through shavings that just float in the air immediately comes to mind for most people. We don't need no girly-man plane like that for this job.

    I have a jack plane set up with a decent amount of camber and set for an aggressive shaving. This is the shaving that I get with this plane.


    Just under 1/100" thick, and it falls straight to the ground. Japanese plane aficionados like myself would be horrified at such a thing. But this is important for this purpose.

    Remember, I need to knock down 1/16" to get the faces square. 1/16" = 0.0625". If my plane takes a shaving 0.009" thick, it should take me only 7 swipes of the plane to take off 1/16" of material.

    This is what I got after 9 swipes. (I got excited.)


    Not too bad! And easier than trying to put an eight foot long 4x4 back on my jointer to try to resquare that corner. Not to mention the lack of dust and noise.

    My beam is eight feet long, as I said. I can work on a 2 foot section at a time, so 4 rounds of this and I have the whole beam squared up.

    I'm going to take the same approach to flattening the benchtop, especially on the bottom. When I glued up the 4x4s, I tried to align the tops as much as possible, which leaves me with a really uneven bottom side.

  14. #14
    Join Date
    Sep 2003
    Location
    Columbia, SC
    Posts
    702

    Wow, Wilbur!

    Lookin' great. Muscling that thing around is going to be fun!

  15. #15
    Join Date
    Dec 2003
    Location
    Murphy, Texas
    Posts
    42
    I applaud your ingenuity and your hard work. I hope you turn out with a workbench that fulfills your desires. I am currently in the process of adding a scandinavian style shoulder vise to my workbench top and I will post pictures as well. Thanks for showing us how you did it !!

    Carlos

Posting Permissions

  • You may not post new threads
  • You may not post replies
  • You may not post attachments
  • You may not edit your posts
  •