Results 1 to 11 of 11

Thread: Curly Walnut/ Curly Maple Kitchen Table Complete!

  1. #1
    Join Date
    Sep 2008
    Location
    Plainfield, IN
    Posts
    146

    Curly Walnut/ Curly Maple Kitchen Table Complete!

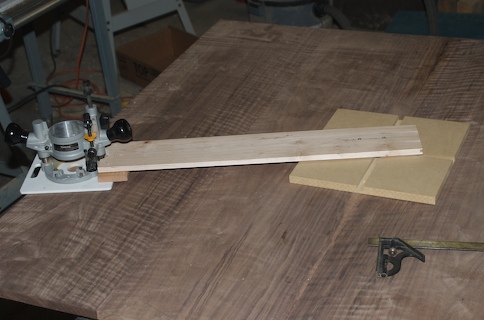
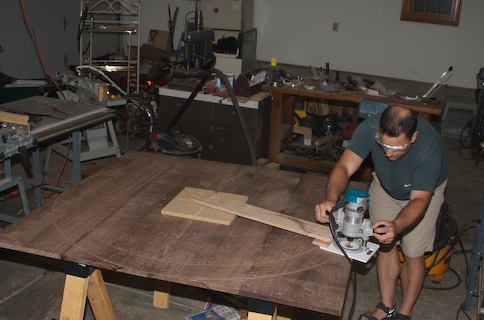
    After seeing some of the finished projects on here, I still have PLENTY to learn. Here's my first major project, an oval, pedestal, kitchen table. Thanks to everyone on SMC that shares their info; I couldn't have finished this without your help! Not the best pics here, but it's a curly walnut top with a curly maple base. Tough to see in the pics, but the sapwood in the middle of the table matches the dark parts of the curl in the maple. Just thought I'd share my first big project!
    Attached Images Attached Images
    Last edited by Matt Roth; 08-12-2009 at 9:10 PM.

  2. #2
    Join Date
    Nov 2006
    Location
    Fallbrook, California
    Posts
    3,562
    Outstanding! That's a beautiful table. I live the contrast in wood and that curly walnut table top is fantastic.
    Don Bullock
    Woebgon Bassets
    AKC Championss

    The man who makes no mistakes does not usually make anything.
    -- Edward John Phelps

  3. #3
    Join Date
    Mar 2006
    Location
    SoCal
    Posts
    22,512
    Blog Entries
    1
    Oooh, me likey. That is a very nice piece and a great looking field of walnut.
    "A hen is only an egg's way of making another egg".


    – Samuel Butler

  4. #4
    Join Date
    Oct 2006
    Location
    Harvey, Michigan
    Posts
    20,804
    Absolutely beautiful table Matt! You should be proud!
    Steve

    “You never know what you got til it's gone!”
    Please don’t let that happen!
    Become a financial Contributor today!

  5. #5
    Join Date
    Apr 2009
    Location
    Lexington, KY
    Posts
    28
    Looks great. I'm getting ready to make my first kitchen table and hope it looks as good. Two questions. What finish did you use? And what method did you use to cut the top? And would you use that method again?

    Matt

  6. #6
    Beautiful wood! Nice job on getting that top nice and flat - what method did you use to flatten the top?

    You just have to love maple and walnut together!

  7. #7
    Excellent work...its always dangerous calling the wife into look at something, but I did for your table...LOL

  8. #8
    That really looks GREAT!!! ...nice work!

    Jim in Idaho

  9. #9
    Join Date
    Sep 2008
    Location
    Plainfield, IN
    Posts
    146
    Quote Originally Posted by matt swiderski View Post
    Looks great. I'm getting ready to make my first kitchen table and hope it looks as good. Two questions. What finish did you use? And what method did you use to cut the top? And would you use that method again?

    Matt
    Here's a thread I started to figure out how to cut the top. Yes, I would use it again, it worked great! I used the suggestions in the thread to make a jig:

    http://sawmillcreek.org/showthread.php?t=112763

    Here's a pic of my version:


    For the finish, I used several coats of Danish Oil, with a couple coats of paste wax on top. It looks great, but I'm questioning the durability and may change that. Here's the thread for more detail:
    http://sawmillcreek.org/showthread.php?t=118157

  10. #10
    Join Date
    Sep 2008
    Location
    Plainfield, IN
    Posts
    146
    Quote Originally Posted by John Keeton View Post
    Beautiful wood! Nice job on getting that top nice and flat - what method did you use to flatten the top?

    You just have to love maple and walnut together!

    Thanks all for the kind words! Getting the top flat was painstaking; I underestimated work it would take. I used several steps to connect the 4 15" boards. After jointing all the edges, I glued up the two outside boards using long pipe clamps alternating on the top and bottom, biscuits to help with alignment, and caul boards. Once those set, I took them to the lumberyard and ran them through a 36" widebelt sander. I then took them back to my shop and glued the two halves, once again using alternating pipe clamps, biscuits, and caul boards. For both steps, I used a long straightedge and had to adjust the clamp tension until the top was flat. I used my ROS to smooth the final seam in the center.

  11. #11
    Join Date
    Dec 2006
    Location
    Atlanta , Ga.
    Posts
    3,970
    Excellent work and end results, Matt. If this is your first we have a lot to look forward too as it only gets better as your confidence builds and your eye for detail increases.

    Well done.. indeedy!
    Sarge..

    Woodworkers' Guild of Georgia
    Laissez Les Bons Temps Rouler

Posting Permissions

  • You may not post new threads
  • You may not post replies
  • You may not post attachments
  • You may not edit your posts
  •