Results 1 to 8 of 8

Thread: The dry fit

  1. #1
    Join Date
    Oct 2006
    Location
    Bloomington, IL
    Posts
    6,009

    The dry fit

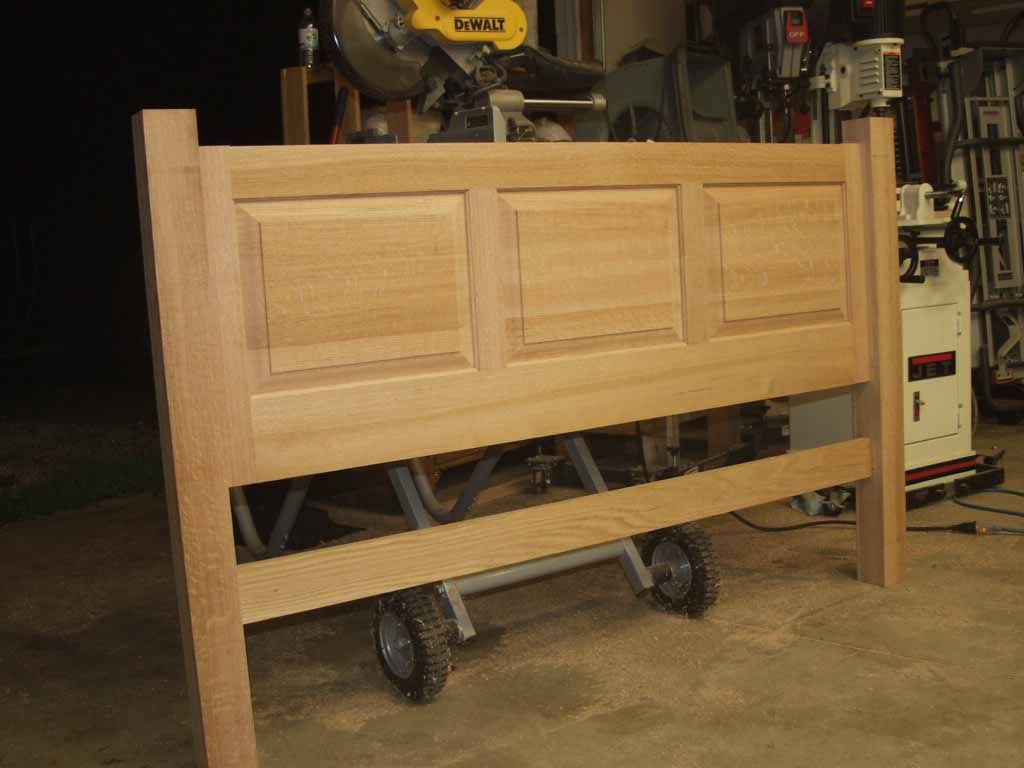
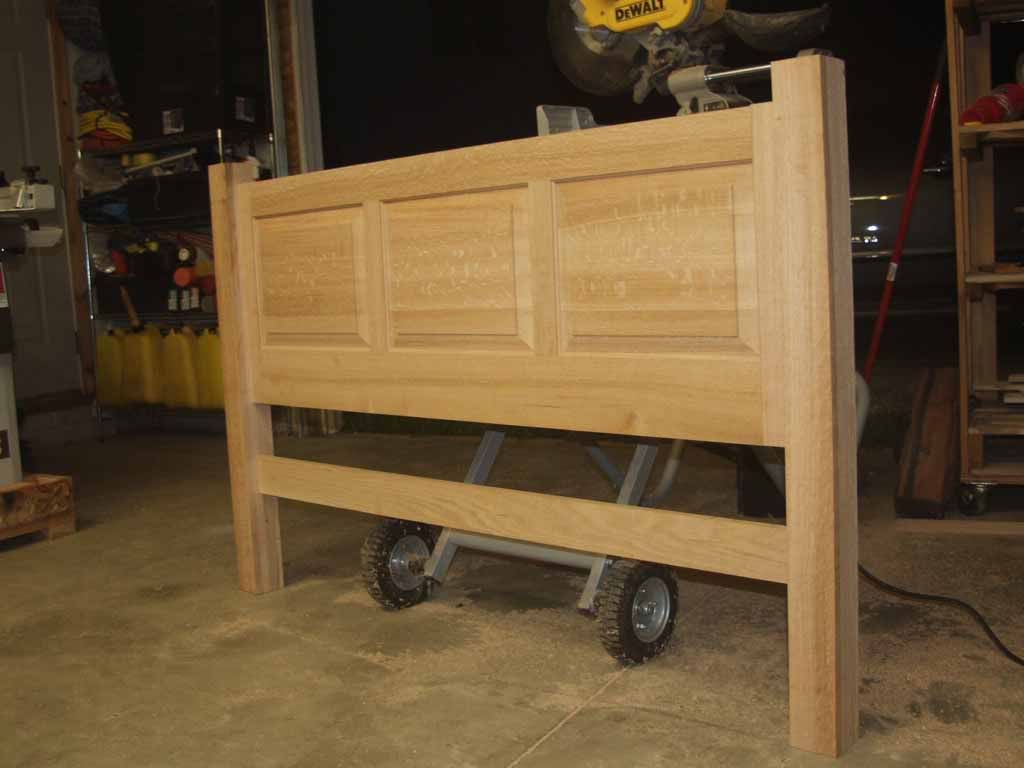
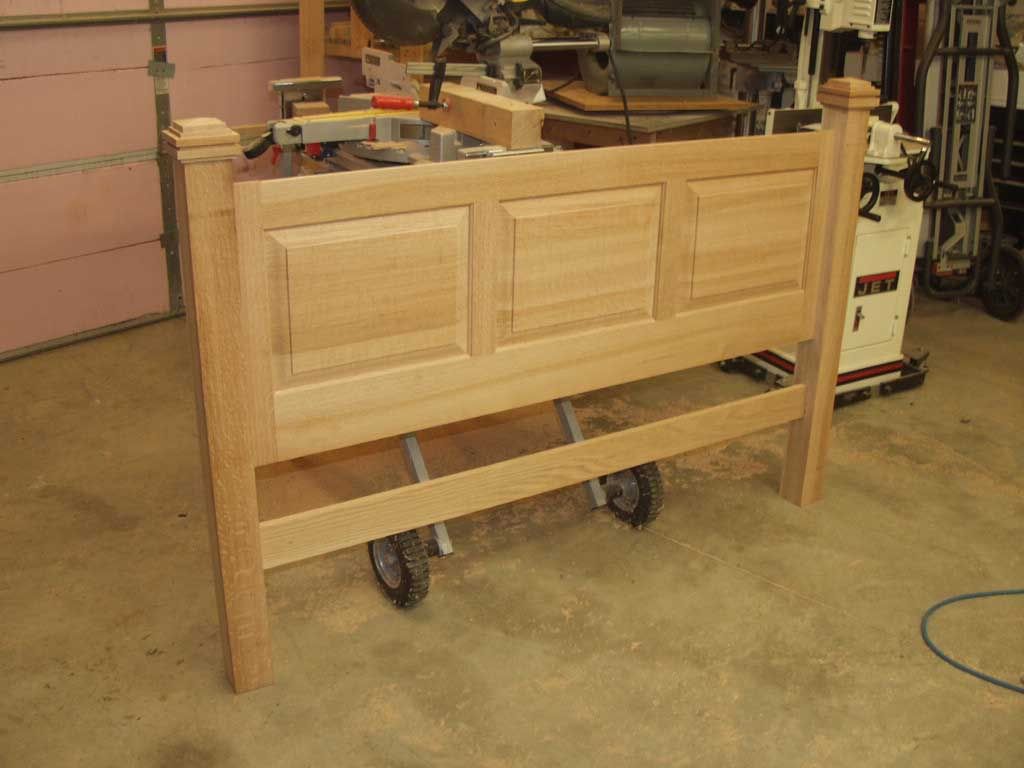
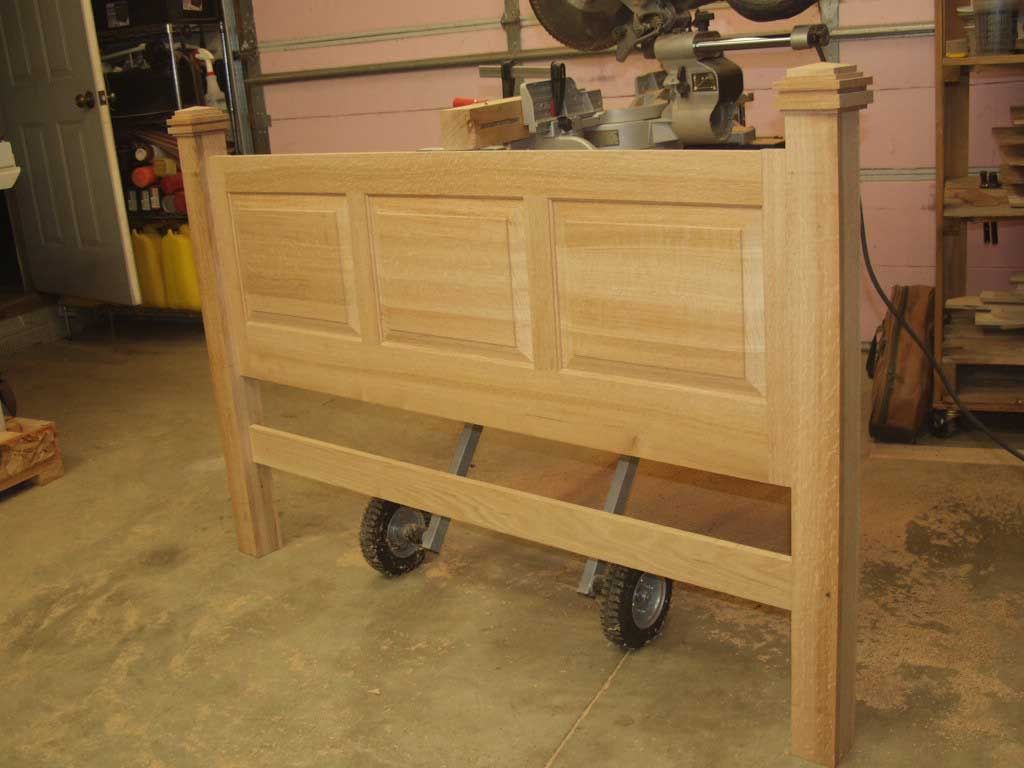
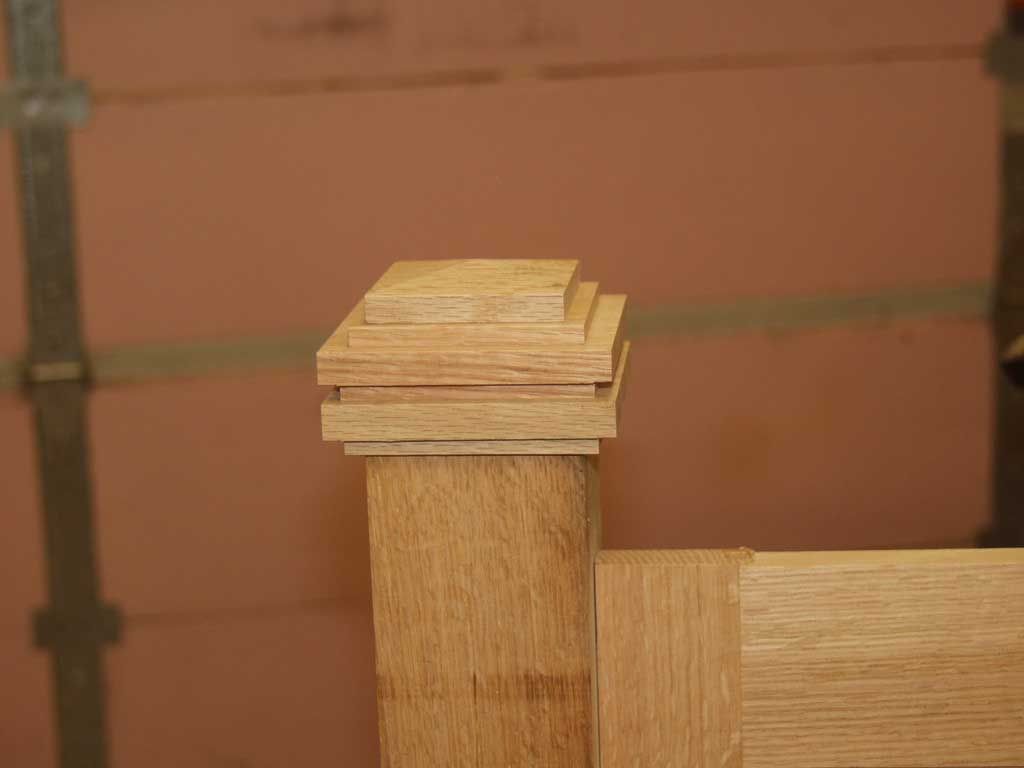
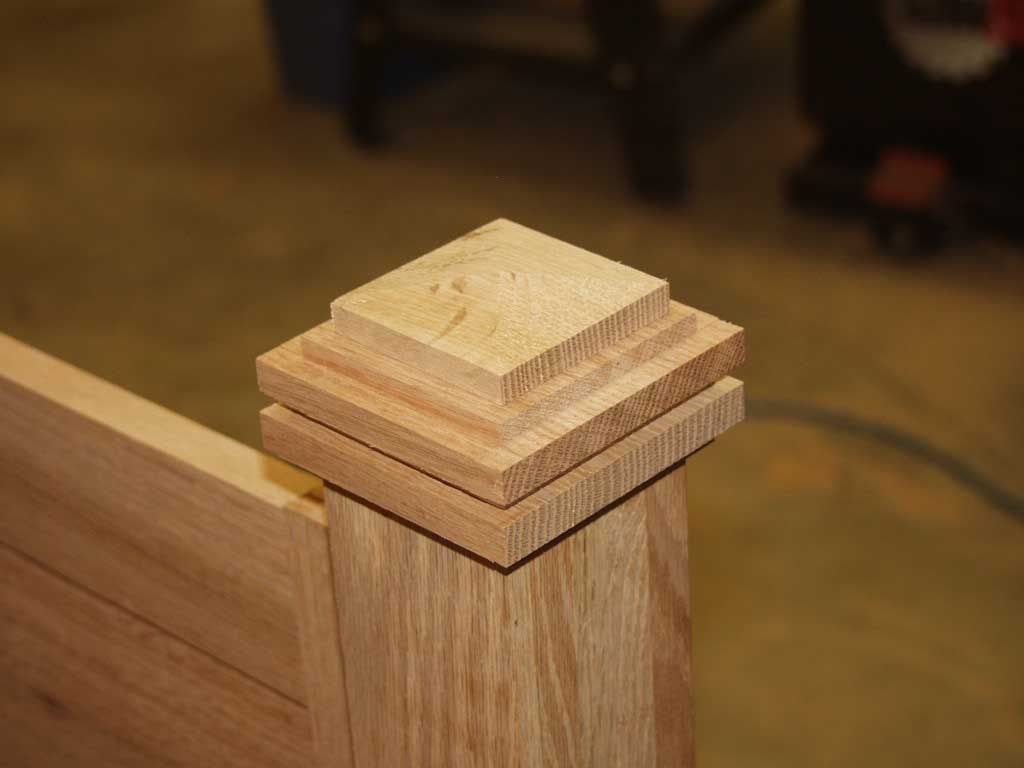
    Needed a quick queen size headboard for a steel frame bed. Still have sanding to do and finishing and making some end caps for the bedposts.


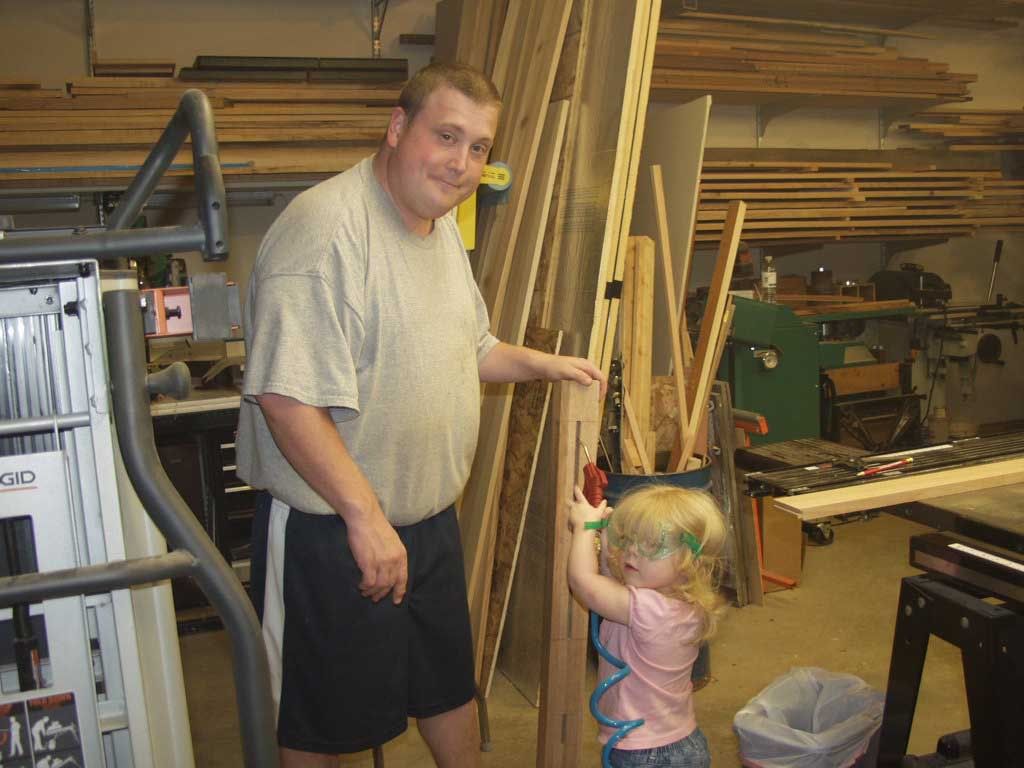
    Here Megan is helping clean out the mortises for me (psi is WAYYY down BTW on the compressor). It's her new headboard. She is moving to the big girl room in a couple weeks and the new baby girl coming in Novemeber gets the baby room.

    Glad its my shop I am responsible for - I only have to make me happy.

  2. #2
    Mike, the headboard is a really clean and simple design that works! Some nice looking oak there, too.

    You didn't ask, but have you considered a cap along the top of the paneled section? Perhaps just about 3/8" shy of the post width. It may add a bit of interest and a finishing touch along with the post caps. Just a thought.

    Also, your shop assistant is first rate! She is a cutie, and obviously a big help. I admire your efforts in involving her - hopefully, she will carry on Dad's talented woodworking hobby.

  3. #3
    Join Date
    Dec 2006
    Location
    Atlanta , Ga.
    Posts
    3,970
    Nice and clean as JK mentions.. nice job on the panels. Looking at a picture posted doesn't always equal clarity and you probably already have done this but.. be sure to soften the edges on the post ever so slightly. As I say it is not clear and you probably already have done so.

    Seeing Megan beside that post it just came to mind as my BIL who is a hydraulics foreman at Delta got into WW a year or so ago. He also built a bed but did not soften the corners. Resulted in a pretty good paper cut on his young daughters hand.

    Again.. nice job!
    Sarge..

    Woodworkers' Guild of Georgia
    Laissez Les Bons Temps Rouler

  4. #4
    Join Date
    Oct 2006
    Location
    Bloomington, IL
    Posts
    6,009
    I cut out bedpost capitals with 11 degree pyramids Jeff Miller showed in his book Beds. Here they are resting on the headboard. I may add a similar base to each post as well. I am also going to round these over once I set up the router table or shaper to do it for everything. Also shown is my version of his jig.


    Glad its my shop I am responsible for - I only have to make me happy.

  5. #5
    Join Date
    Mar 2003
    Location
    Monroe, MI
    Posts
    11,896
    I like it Mike. Its similar to one I want to build for LOML and I, but ours will have an arched top.


  6. #6
    Join Date
    Dec 2006
    Location
    Atlanta , Ga.
    Posts
    3,970
    Those top caps add greatly to your over-all look there Mike. A base migth also add some pi-zazz as you mentioned which would add some balance. Nice job on this thing..
    Sarge..

    Woodworkers' Guild of Georgia
    Laissez Les Bons Temps Rouler

  7. #7
    Join Date
    Aug 2004
    Location
    Baltimore, Md
    Posts
    1,785
    I really like this headboard ! Great job.

    And enjoy that lil helper ! In about 12 years she won't want to step foot in a shop. (I miss my lil helper! )
    "The element of competition has never worried me, because from the start, I suppose I realized wood contains so much inspiration and beauty and rhythm that if used properly it would result in an individual and unique object." - James Krenov


    What you do speaks so loud, I cannot hear what you say. -R. W. Emerson

  8. #8
    Very nice work. Especially if this is just a "quick" headboard.

    How did you raise the panels? With router table or some other means?

    Also, do I see both a hollow chisel mortiser & a slot mortiser in your shop?

    Kevin Loker

Posting Permissions

  • You may not post new threads
  • You may not post replies
  • You may not post attachments
  • You may not edit your posts
  •