Results 1 to 11 of 11

Thread: Saved a plane

  1. #1

    Saved a plane

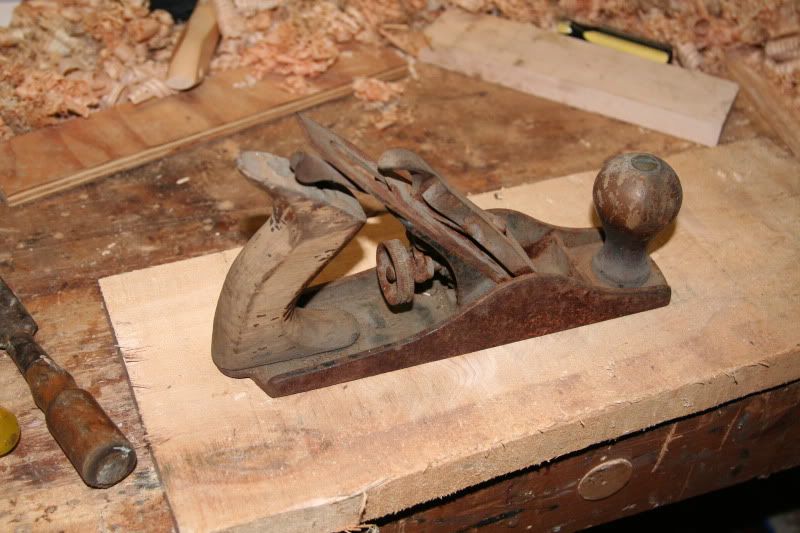
    Was given a plane at an estate sale which I could not identify it in the condition it was in, but rather than have it hit the trash, I wanted to see what would happen if I tried to de-rust it.
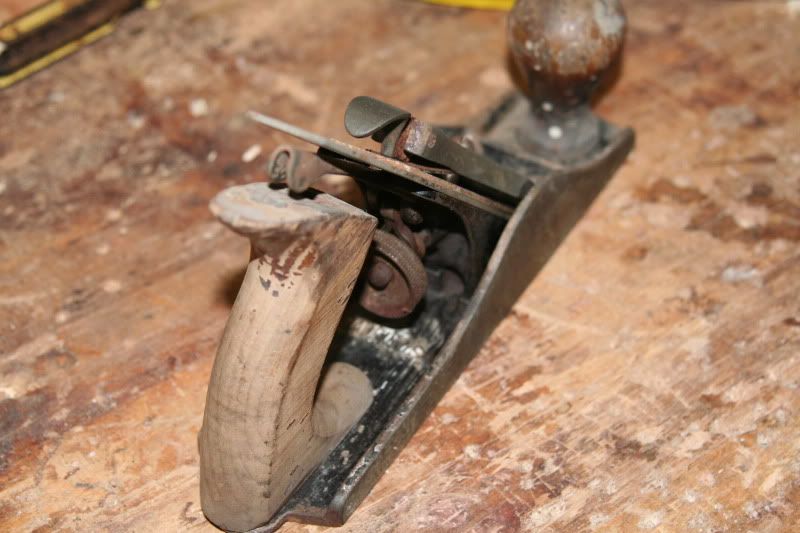
    Before:


    I wanted to clean it a bit, and see what it was, as the only mark discernible on any part was the MADE IN USA. All the parts were removed without incident, but it was really ugly, lots of rust and gunk all over them. The metal bits went into a vinegar bath for about 15 hours, and then received a brushing. The blade and chip breaker additionally received some rough sanding, and then I found the makers mark on the blade - it is a Fulton. Not sure the model, as there are no other marks on it but it is 9 1/2" long perhaps a #4? Wanted to see if it was worth additional effort before spending any time on the wooden bits which need some attention. I was blown away by the power of vinegar--who-da-thunkit?
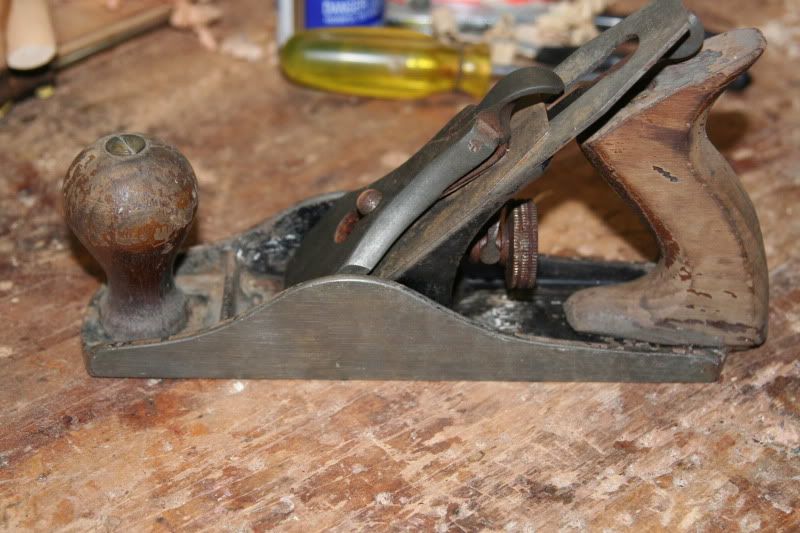
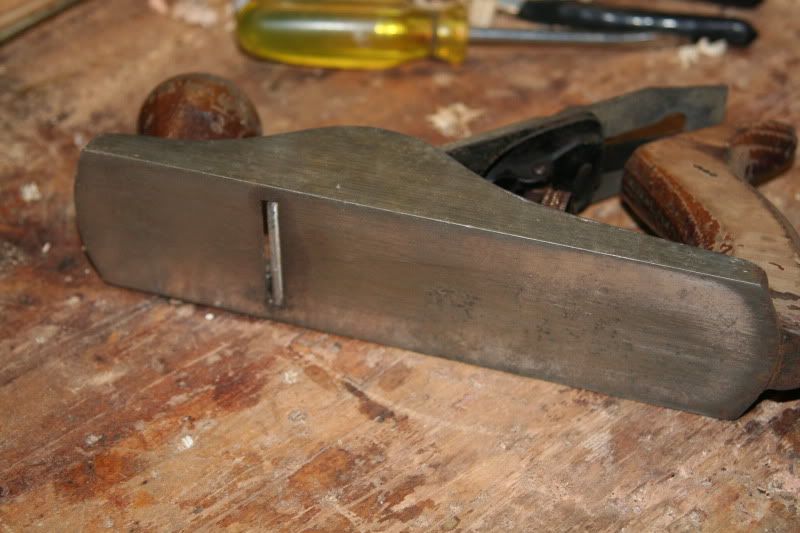
    After: (maybe during is better)


    At this point, the blade needs some serious sharpening, but the sole is pretty much flat and I think it is worth another couple of hours of work.
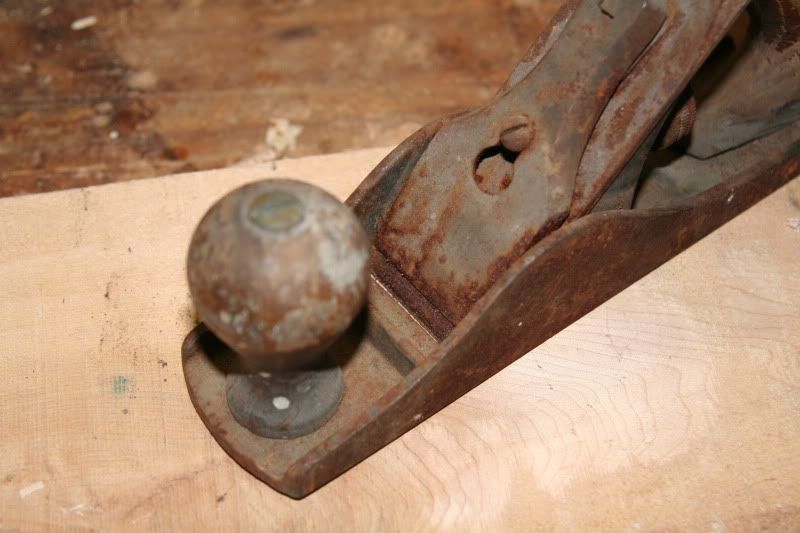
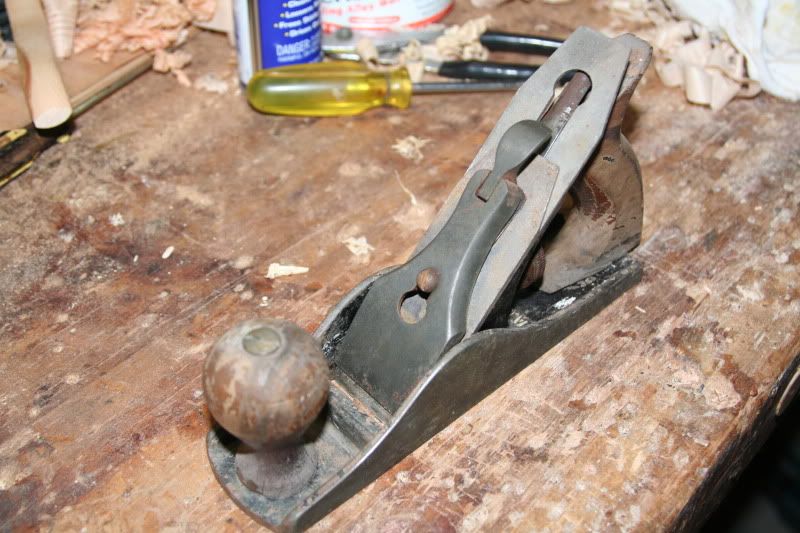
    Some other pics:


    The sole--no before, but it was just as ugly as the sides were.


    Any ideas on what model this might be? Realize Fulton is a lesser quality plane, but even if it ends up as a display, the experience has been worthwhile already.

  2. #2
    Join Date
    Mar 2008
    Location
    35 miles north of NY City
    Posts
    193
    How about some measurements ... or some pictures showing a ruler?

    Making a rough size estimate from these pictures, it looks to be about the size of a number 4 smoothing plane. or maybe smaller, a #3.

  3. #3
    Join Date
    Mar 2007
    Location
    Central Vermont
    Posts
    1,081
    just throw it in a flat rate box and send it to me Looks to be a #3 and if it is a close enough copy of a Stanley you might be able to fit a LN iron in it if the original is too pited I would keep working on it, could be decent user. Even if you don't bother getting it to cut perfectly, it is nice to have a coarser set plane to reach for at times. Worst case sceneario open up the throat, camber the heck out of the iron and you have a scrub plane.
    Last edited by Michael Schwartz; 11-17-2009 at 9:49 PM.
    Hardware - Shopbot PRSstandard 48x96 with PC router.
    Software - Aspire 2.5, Partworks, Cut 3D, Photo V-Carve
    Open Source/Free - Inkscape, Open Office.

  4. #4
    I'm betting #3 size.

    Quote Originally Posted by Bob Easton View Post
    How about some measurements ... or some pictures showing a ruler?

    Making a rough size estimate from these pictures, it looks to be about the size of a number 4 smoothing plane. or maybe smaller, a #3.
    -Dan

  5. #5
    Join Date
    Mar 2009
    Location
    North Reading, MA
    Posts
    53
    Looks narrow so I'd guess a number 3 as well. I'd say continue the clean up and throw the frog in and refinish the tote and knob. Should be a great user if you get the blade sharpened up nice. There really is no functional difference between most of the planes of the era save for the Bedrocks which allowed for a fully adjustable mouth with proper blade support. It also looks like the tote is a custom replacement that may need a touch of shaping. Good luck.

  6. #6
    Join Date
    May 2008
    Location
    San Francisco, CA
    Posts
    100
    I have a #3 sized plane that looks just like this in my school woodshop cabinet. The blade is marked sargent. Its not the best plane - I have it setup for scrub work as the frog isn't machined well and the throat is huge. This is probably a sargent made tool as well, given its folded lateral adjustment lever.

  7. #7
    Join Date
    Sep 2007
    Location
    Longview WA
    Posts
    27,454
    Blog Entries
    1
    My first thoughts were Sargent, also from the folded end on the lateral adjusting lever.

    It looks like a #3 or #4 size. A #3 has a 1-3/4 inch blade. A #4 has a 2 inch blade.

    If nothing else, you have learned it isn't too hard to derust a plane and how much rust there is compared to the pitting after derusting.

    jim
    "A pessimist sees the difficulty in every opportunity; an optimist sees the opportunity in every difficulty."
    - Sir Winston Churchill (1874-1965)

  8. #8
    Join Date
    May 2009
    Location
    College Station, Texas
    Posts
    893
    What concentration of vinegar do y'all use? Is it straight? Does it affect any paint on the plane?

  9. #9
    My 1st thought was #3, also. Looks very much like the Stanley #3 I have - one of my favorites!!!

    Vinegar is fine. Citric acid is better (smells less). Neither will affect the paint/japanning unless you let it soak for a LONG TIME - like days or weeks.

    I really like the $5 wire cup (the FINE bristled ones - not the braided ones) attachment for a drill press. Don some kitchen rubber gloves, and you'll be able to remove the patina/rust and polish all yr brass parts and screws lickety split. You can rough polish the cheeks of the plane this way too.

    I also like to paint on a little stripper on my knobs and totes and then take them to the drill press/wire wheel. That buffs off the top layer of varnish easy. A quick cleaning with ethanol, and then it's ready for a new topcoat (I'm partial to shellac padded on).

  10. #10
    Join Date
    Apr 2006
    Location
    Escondido, CA
    Posts
    6,224
    Quote Originally Posted by Shawn Patel View Post

    I also like to paint on a little stripper on my knobs and totes and then take them to the drill press/wire wheel. That buffs off the top layer of varnish easy. A quick cleaning with ethanol, and then it's ready for a new topcoat (I'm partial to shellac padded on).
    Shawn - what kind of stripper do you use. I have used some that if I applied a wire wheel I would be spraying toxic skin-burning chemicals all over.

    Brian
    Veni Vidi Vendi Vente! I came, I saw, I bought a large coffee!

  11. #11
    I use a 'toxic' stripper containing methylene chloride. However, per instructions, I always scrape and wash (into the garbage) away the scale before taking it to the wire wheel. Should have been clearer about that...

Posting Permissions

  • You may not post new threads
  • You may not post replies
  • You may not post attachments
  • You may not edit your posts
  •