Mark,
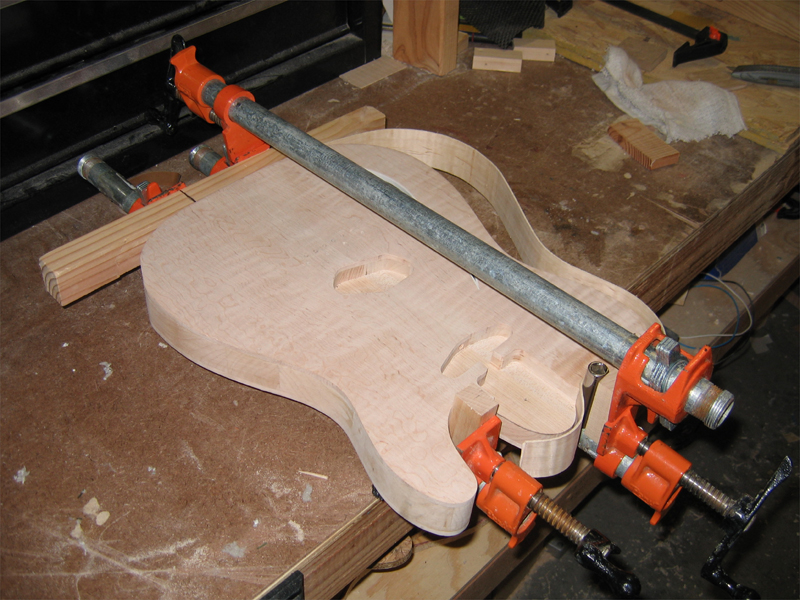
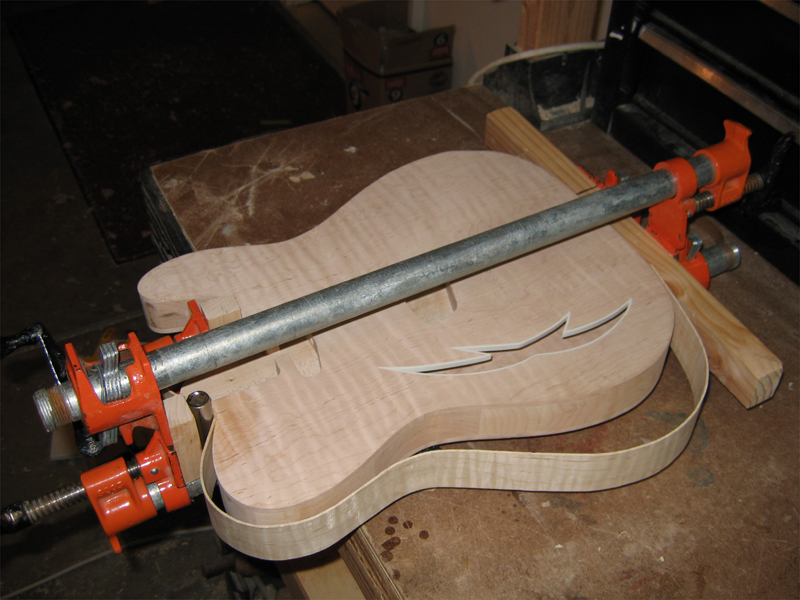
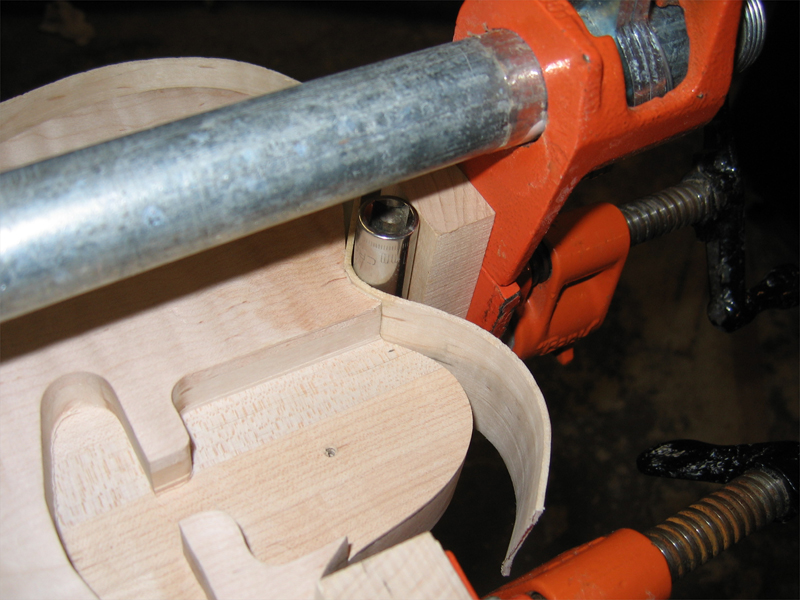
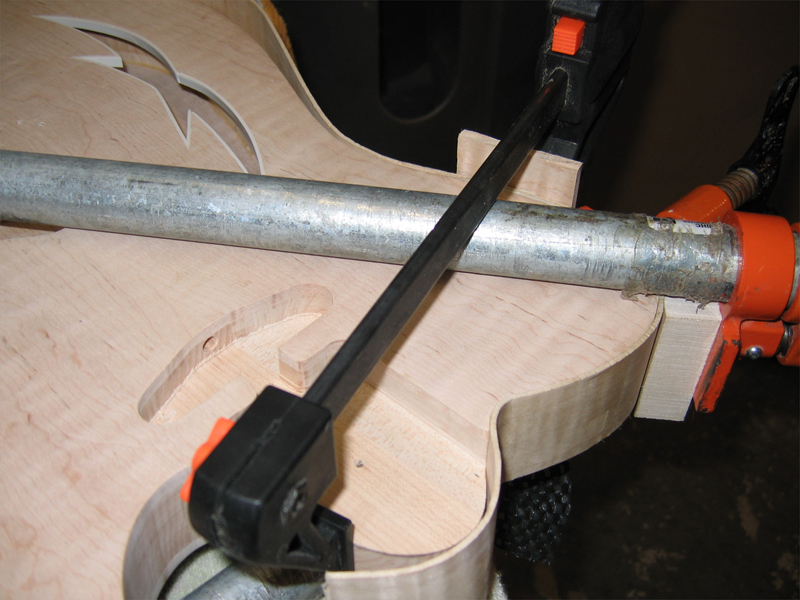
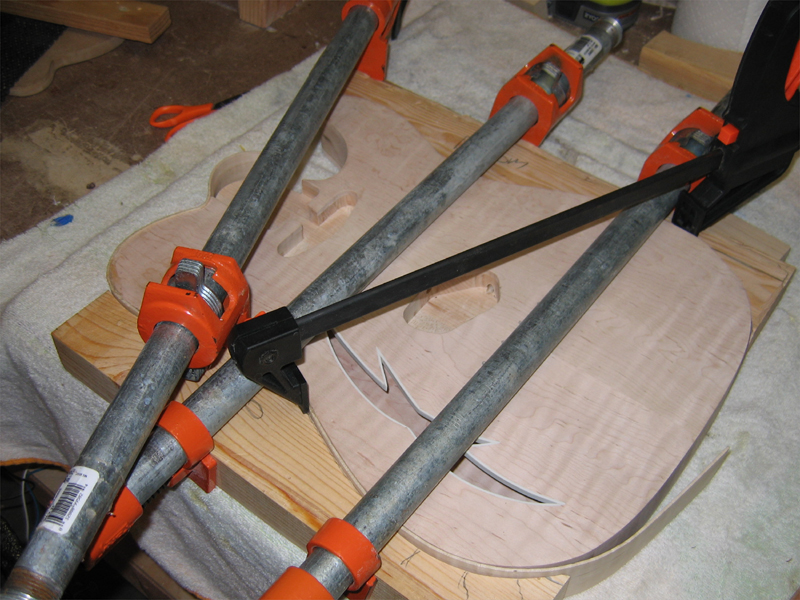
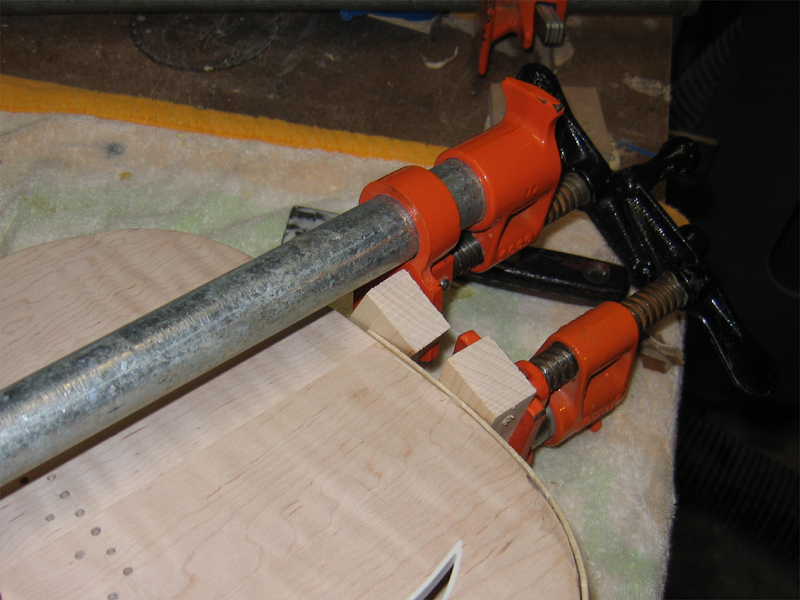
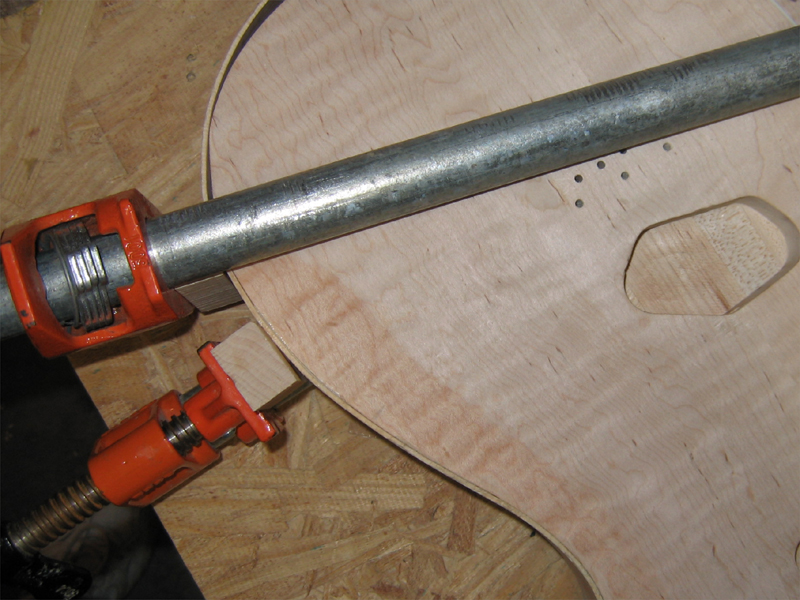
Absolutely amazing work ! A suggestion if I may, when I glue up on curves I always put a layer of cork inside my cauls and it seems to even up the pressure quite well and consistently. Just a thought. But this is an OUTSTANDING piece of work. VERY motivating.
Keith
"The element of competition has never worried me, because from the start, I suppose I realized wood contains so much inspiration and beauty and rhythm that if used properly it would result in an individual and unique object." - James Krenov
What you do speaks so loud, I cannot hear what you say. -R. W. Emerson


 Reply With Quote