Page 2 of 2 FirstFirst 12
Results 16 to 18 of 18

Thread: Layout Tutoral - Circle

  1. #16
    Join Date
    Apr 2006
    Location
    Escondido, CA
    Posts
    6,224
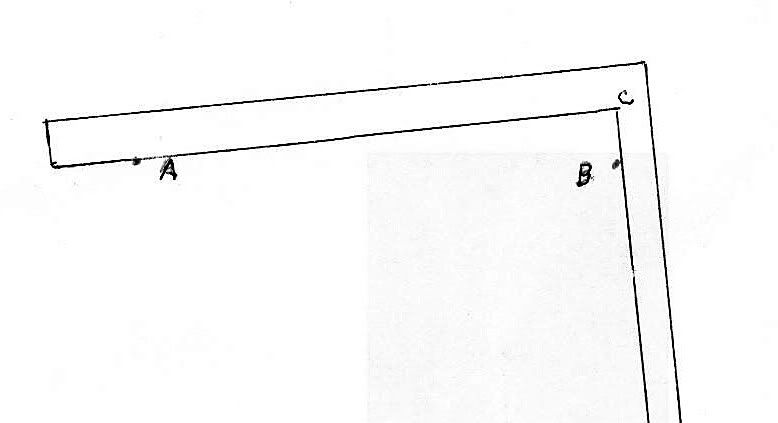
    A woodworking friend uses this for a stable jig to cut an arc with his router. The point of the angle is a router bit hole and screw-holes for the base. He makes the arc on a pattern and then uses the pattern for routing the hardwood for the project.
    Veni Vidi Vendi Vente! I came, I saw, I bought a large coffee!

  2. #17
    Join Date
    Aug 2003
    Location
    extreme southeast Nebraska
    Posts
    3,113
    I have taught what Tutorals I have posted here along with many others to Blacksmiths and Metal Craftsman for many years thru Short Courses held at Community Vo-Tech Colleges in Nebraska, Iowa, Minnesota, North and South Dakota and at National and State Blacksmith Conventions all over the midwest, They are basically from what I learned in Steel Worker "A" school in the Seabees, and they were simplified greatly when I got ahold of a late 1800's Sheet Iron and Coppersmiths book, and from my 3rd edition of the American Machinists Handbook. What it does is basically leave out all the complicated unneccesasry math from the process. FWIW

    Although I am a high school dropout, I did get my GED, and I am what is called an Adjunct teacher and can teach college accredited courses.
    Last edited by harry strasil; 12-30-2009 at 7:14 PM.
    Jr.
    Hand tools are very modern- they are all cordless
    NORMAL is just a setting on the washing machine.
    Be who you are and say what you feel... because those that matter... don't mind...and those that mind...don't matter!
    By Hammer and Hand All Arts Do Stand

  3. #18
    Quote Originally Posted by harry strasil View Post
    To Layout a Circle using a square:


    1. Drive small brads the Diameter of the Circle, points "A" and "B".

    2. Place the body of your Square across the points as shown.

    3. Holding the point of your Pencil at Point "C" where the Tongue and the Body meet, slowly move the square, keeping the Square touching points "A" and "B".

    You can draw up to a 14 inch Circle this way and a Larger one by flipping the square and drawing from both sides.
    I recommend "Essential Guide to the Steel Square" for this and other techniques.

Posting Permissions

  • You may not post new threads
  • You may not post replies
  • You may not post attachments
  • You may not edit your posts
  •