Results 1 to 9 of 9

Thread: Reading Room Panelling

  1. #1

    Reading Room Panelling

    Got a small 7x7 room located at the back of the house, under the main stairway, we call our Reading Room. Originally, it was board & batten paneled in old growth pine. It is located adjacent to the kitchen, and had been stripped to the studs when we started our kitchen renovation 2.5+ years ago. I’d saved the salvaged lumber hoping to re-mill it & re-panel the room in a future project. 2 years had passed since completing the kitchen project… Work hours being long & with many other higher priority projects requiring my time, the Reading Room had languished, in plain sight from those in the living room.
    That is, until my wife spoke those magic words, “Maybe we ought to call a carpenter…”
    With utterance of those words, priorities were realigned. Dusting off the graph paper plans from January 2007, we were off to the races.
    Started the milling back in September. Walls were insulated and sheathed in ½” Arauco plywood. The applied rails, stiles, picture frame moldings, and crown were made from the lumber salvaged from the room. Crown molding profile is a 2 ½” cove cut on a table saw.
    I apologize for the picture quality – the room is so small, it was near impossible to get back far enough to get a good picture. Taking pictures in daylight made them too dark to see. These pictures were taken in the dark, with a flash, which explains some of the crooked shots…
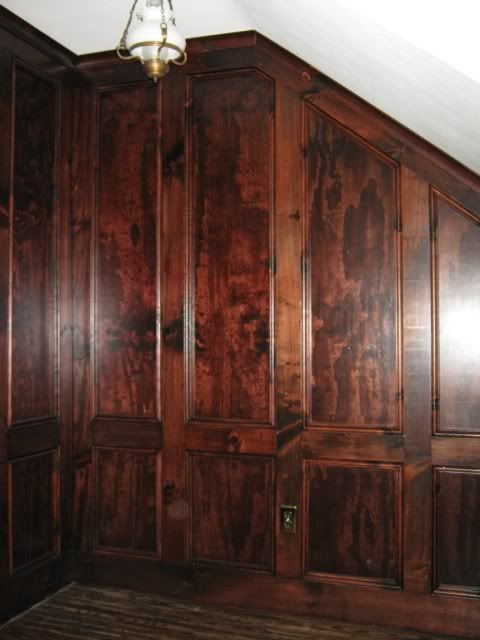
    Underneath the stairwell (West wall)

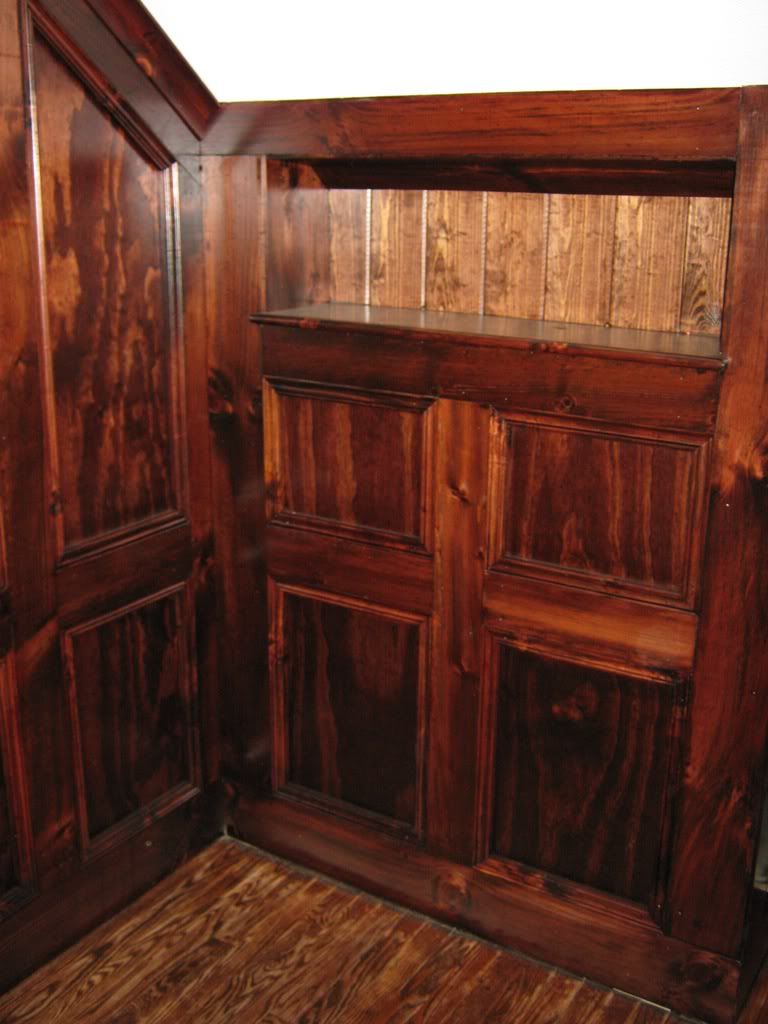
    Bookshelf wall (North wall)
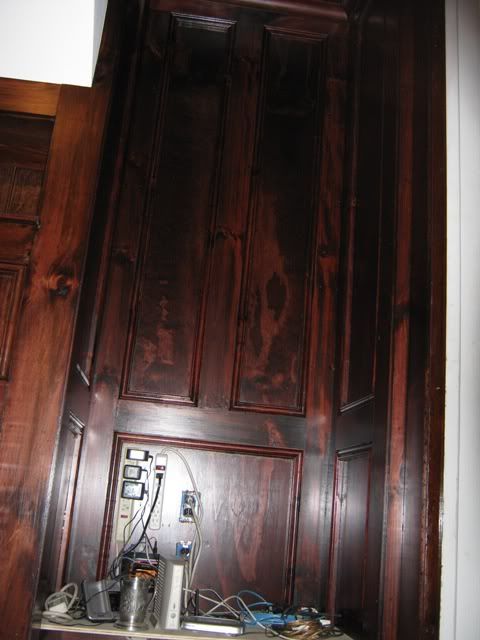
    Desk Wall (North wall) – you’ll have to imagine the desk at this point. The computer tower will go in a door unit to be installed on the right & a matching false panel on the left to cover up the wiring & other miscellaneous junk required for a computer.

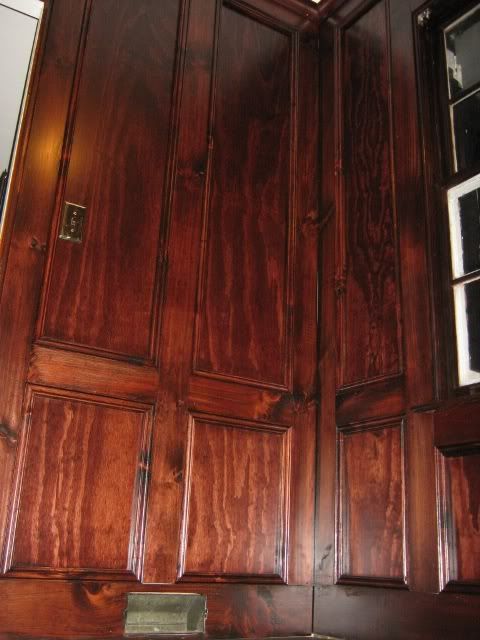
    Living Room Wall (East Wall)

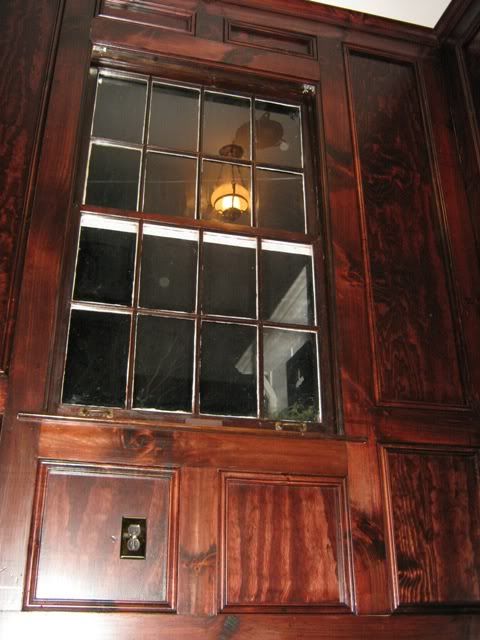
    Window Wall (South Wall)
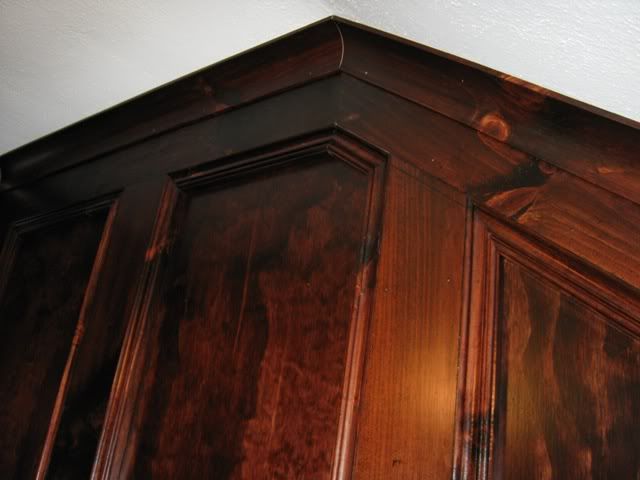
    Detail of Crown Molding – 2 ½” inch cove - tablesaw made. Took advantage of the Fine Woodworking’s Cove Angle Calculator to set the fence angle & blade heights. It can be accessed here: http://www.finewoodworking.com/Skill....aspx?id=24067
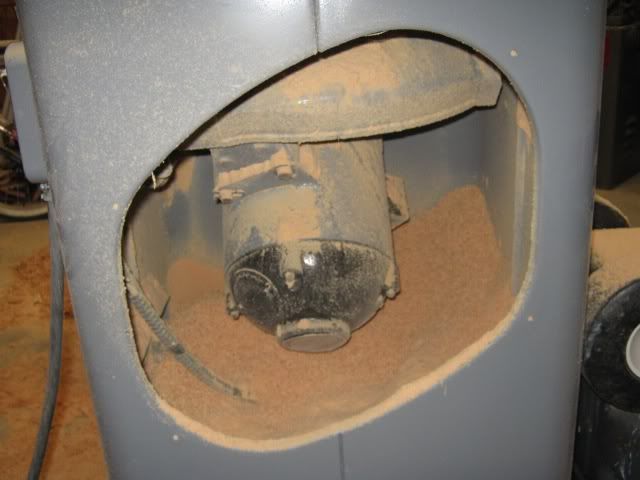
    Unisaw dust collection – nearly filled it up… Cove molding started out as ¾” x 3” boards – seems like most of each board ended up underneath the saw…

    I must say, this was the first big project I've done w/the restored Unisaw & I loved it. There really is no comparison between it & the $99 Craftsman plastic saw it replaced.
    At this point, I lack installation of the desk & quarter round. Took advantage of the room being cleared out to go ahead & refinish the floors – stain’s drying… Hopefully, this’ll be done prior to returning to work next Monday. Watch this space...

  2. #2
    Great job. Sometimes it just takes a while until the urge hits you. My wife wants something like this for a "library" when we build our retirement home in a few years.

  3. #3
    Join Date
    Dec 2006
    Location
    Atlanta , Ga.
    Posts
    3,970
    Extremely well done and that grain is absolutely beautiful in my eyes. Well done!
    Sarge..

    Woodworkers' Guild of Georgia
    Laissez Les Bons Temps Rouler

  4. #4
    Join Date
    Dec 2005
    Location
    San Anselmo, CA
    Posts
    323
    Question--for such a small area do you find the panelling to be too much (i.e., too distracting to the eye)?

  5. #5
    Very nice work, and I agree with Sarge on the color - very nice.

    While a lot of paneling in a small space can be challenging, it can also make a stand out showpiece if done right. Looks like you pulled it off. However, don't underestimate the lighting requirement. Those walls will suck up light like you wouldn't believe!

  6. #6
    Join Date
    May 2004
    Location
    Tyler, Texas
    Posts
    2,041
    That's a very nice look and extremely classy, especially considering you used Pine.

    Did you use extensions for the receptacle boxes or re-position them? If extensions, how well did they work out? I'm considering re-doing a room with similar paneling and if I put it over the present paneling, I'll have to extend the receptacle boxes.
    Cody


    Logmaster LM-1 sawmill, 30 hp Kioti tractor w/ FEL, Stihl 290 chainsaw, 300 bf cap. Solar Kiln

  7. #7
    Quote Originally Posted by Cody Colston View Post
    Did you use extensions for the receptacle boxes or re-position them? If extensions, how well did they work out? I'm considering re-doing a room with similar paneling and if I put it over the present paneling, I'll have to extend the receptacle boxes.
    Regarding the outlet installation: had to go a couple different ways.

    Where the wall studs allowed it, I went ahead and nailed in the boxes & went with outlet extensions. Outlet extensions work fine if you're careful about cutting the access hole precisely.

    Where the studs didn't allow it, meaning there was no stud where I needed an outlet, I used 'old work boxes' which are installed from outside the wall.

  8. #8
    Quote Originally Posted by Doug Mason View Post
    Question--for such a small area do you find the panelling to be too much (i.e., too distracting to the eye)?
    Standing in it, not at all. Around here, I call it the cloister. Webster's defines cloister as a calm, secluded place. I wanted a wood panelled room, that went well with the style of our house, where one would feel like smoking a pipe. Am very satisfied with the soon to be finished product.

  9. #9
    Join Date
    Mar 2003
    Location
    SE PA - Central Bucks County
    Posts
    65,827
    Very rich looking! Nice job.
    --

    The most expensive tool is the one you buy "cheaply" and often...

Tags for this Thread

Posting Permissions

  • You may not post new threads
  • You may not post replies
  • You may not post attachments
  • You may not edit your posts
  •