That was a convincing victory by Dallas yesterday. Looks like yesterdays games were simply a repeat of last weekend. Let's hope today is the same.
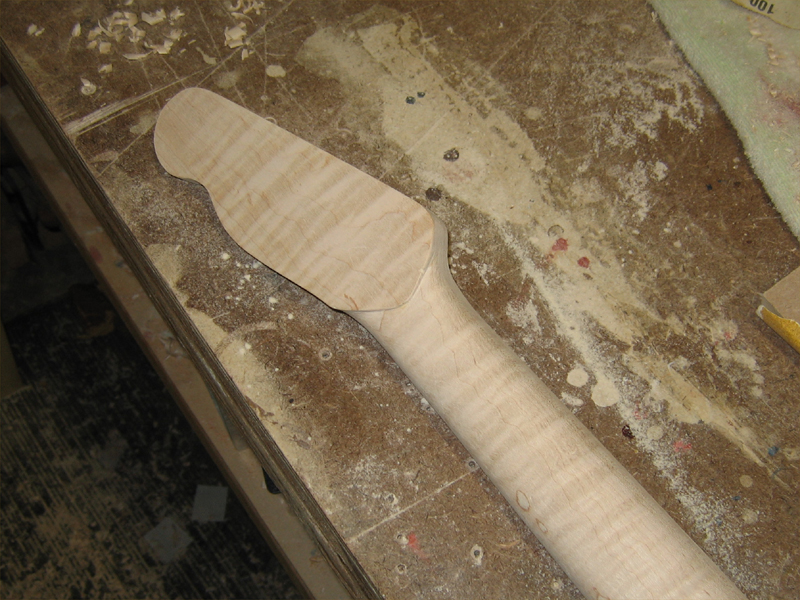
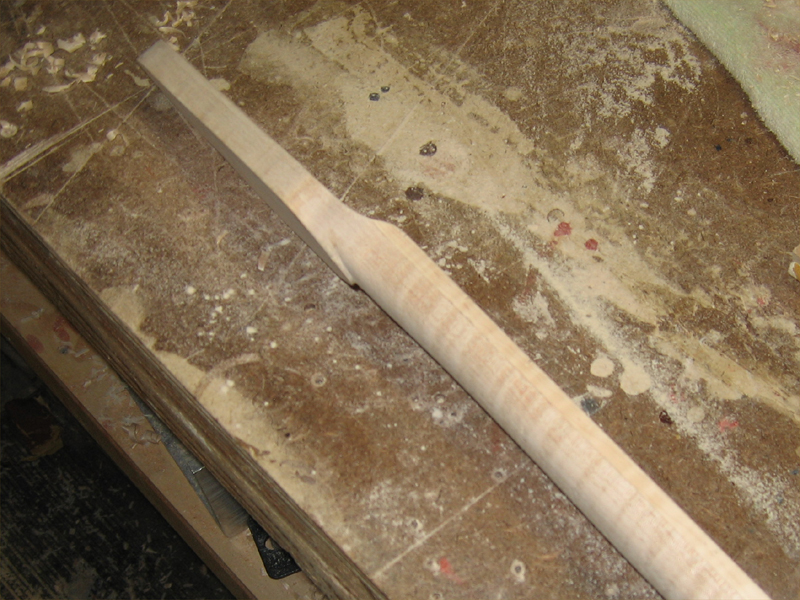
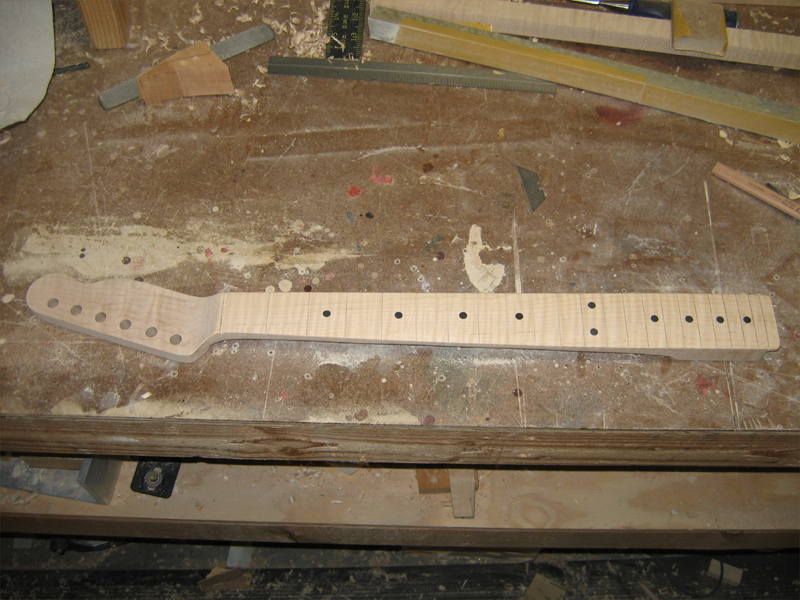
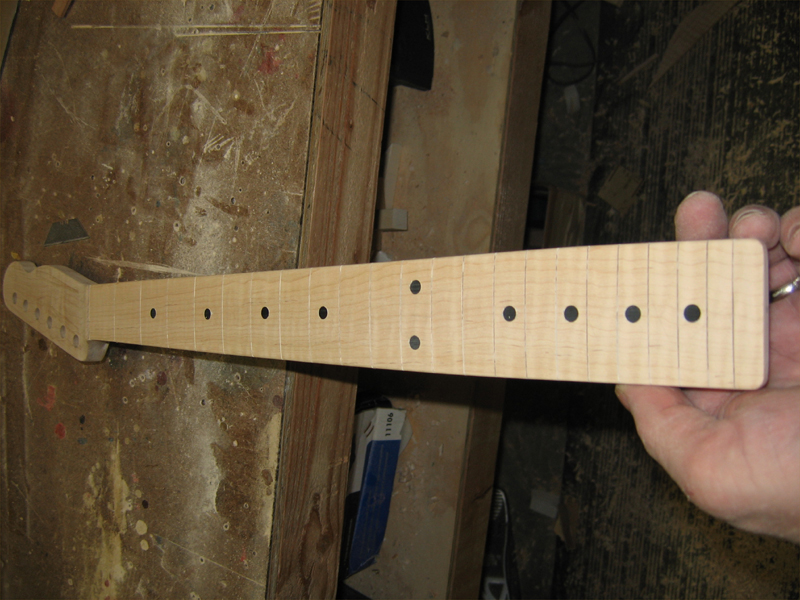
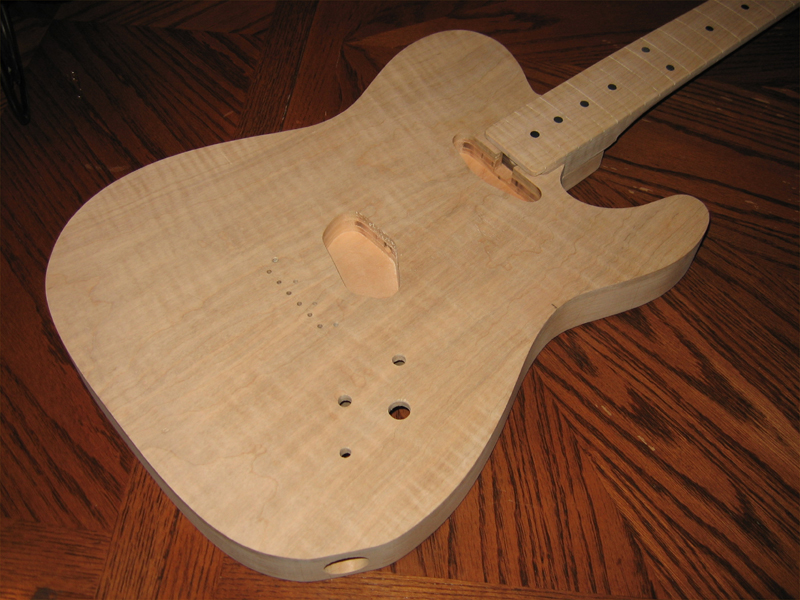
It looks like you angled back the headstock, which would explain the thick neck billet.
Request: Could you detail the nut work when you get to that point? Very interested to see what tools and techniques you use. Doesn't seem like it would be extremely difficult, but then again your documentation makes the process look easy, which is probably the highest form of flattery I can offer.
For my slide guitar I don't really need a very refined nut, but no harm in trying out some actual techniques rather than winging it.
Measure twice, cut three times, start over. Repeat as necessary.


 Reply With Quote