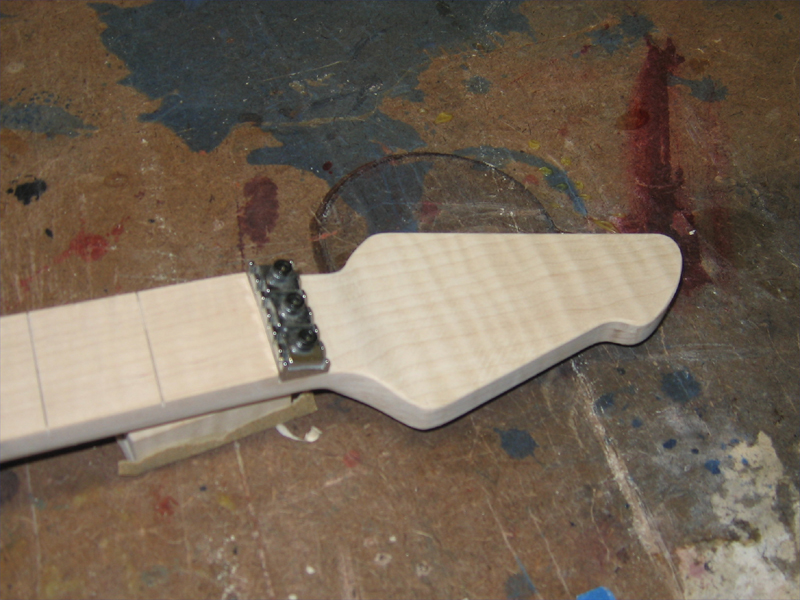
The carve is done but still needs some finish sanding and shaping. I also detailed the headstock.
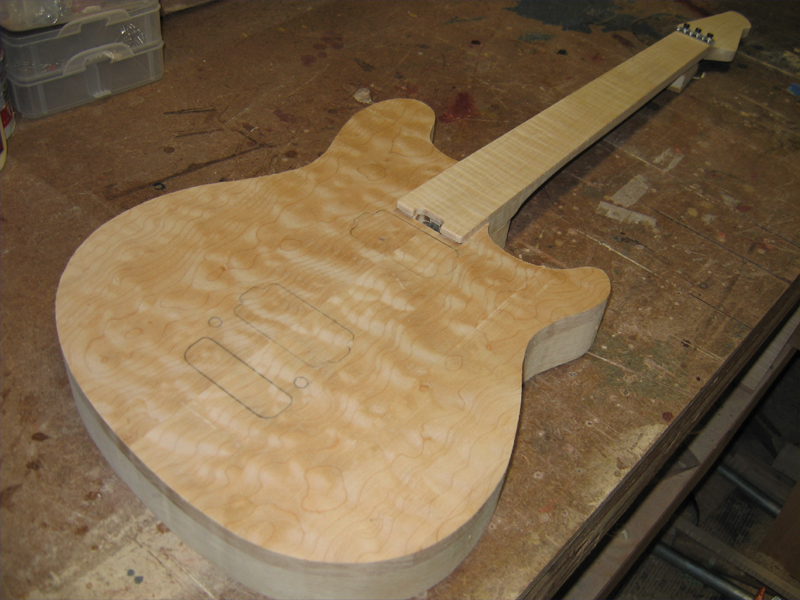
It's looking like a guitar. I'll start the carve on the top tomorrow or this weekend.
Peace,
Mark


 [OP]
Member
[OP]
Member
The carve is done but still needs some finish sanding and shaping. I also detailed the headstock.
It's looking like a guitar. I'll start the carve on the top tomorrow or this weekend.
Peace,
Mark
"Thought that is no longer limited brings experience that is no longer limited" Marianne Williamson.
[OP]
Member
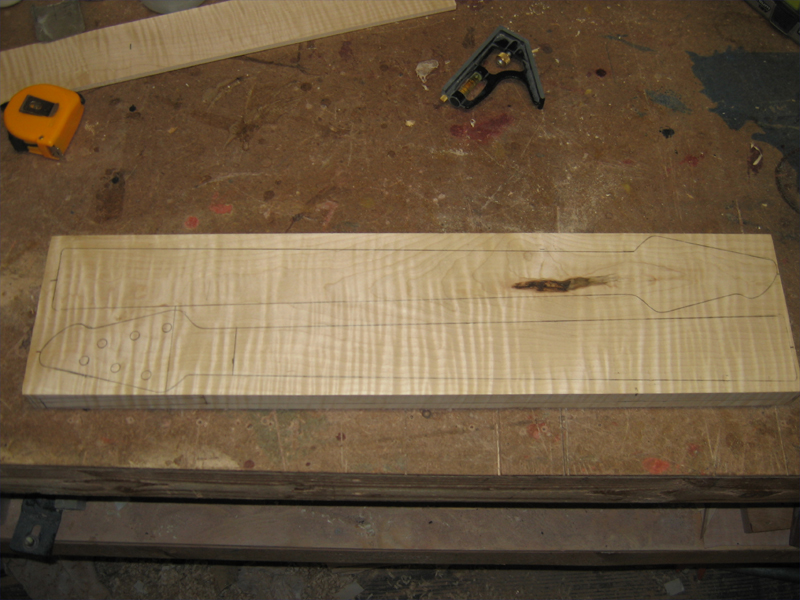
I want to start off this update with a quote...from Telecaster.com
When I first read this I was bit bothered by it. Not that he mentioned it, but that I so easily decided not to stay true to the actual design of the guitar. So, this morning I went back to the original maple billet that I had planned to use. I did a quick layout and sure enough, it's thick enough to make an angled headstock.Originally Posted by PlutoLex

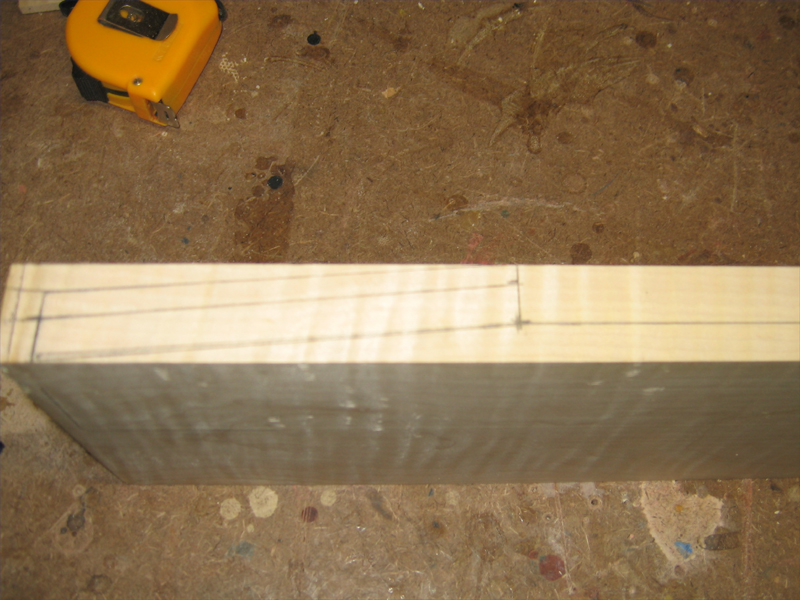
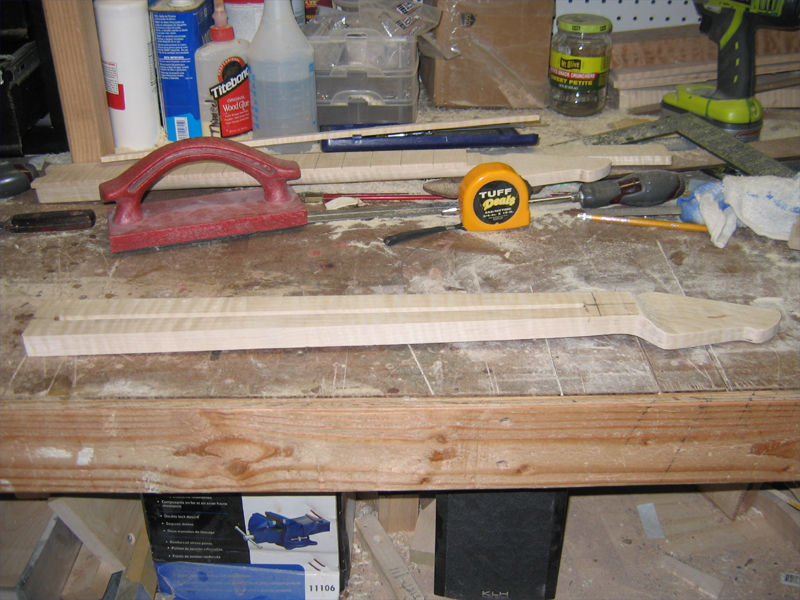
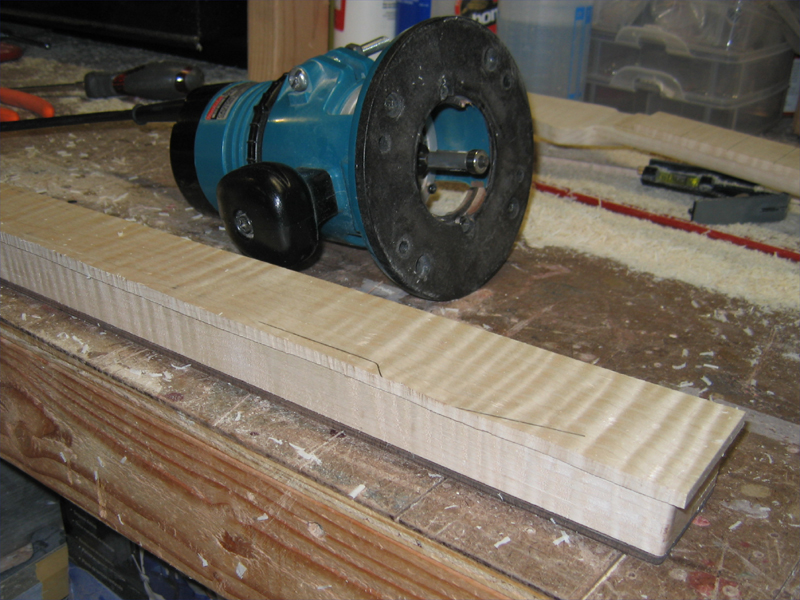
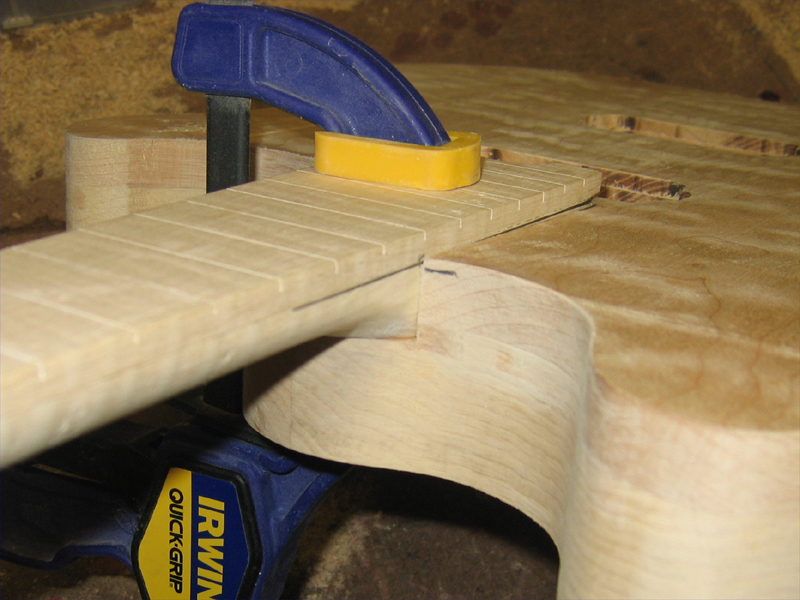
After routing the truss rod channel...I'll have to finish out the end when I get another rod in next week.
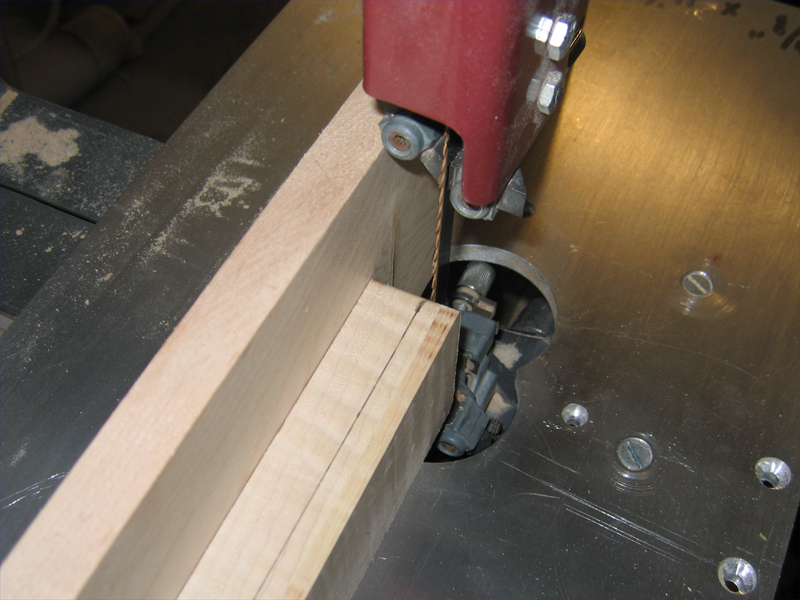
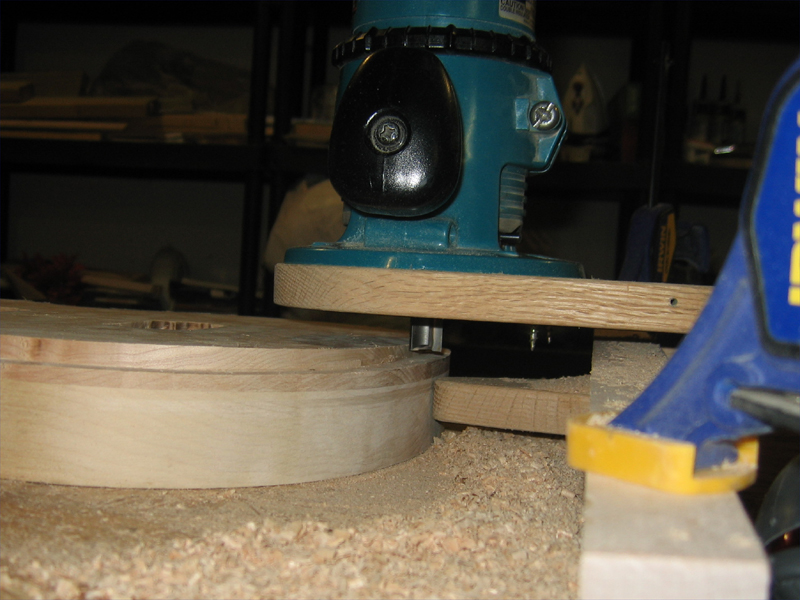
I rough cut it on the bandsaw, and set up to profile it...
...finishing up with a flush trim bit.
"Thought that is no longer limited brings experience that is no longer limited" Marianne Williamson.
[OP]
Member
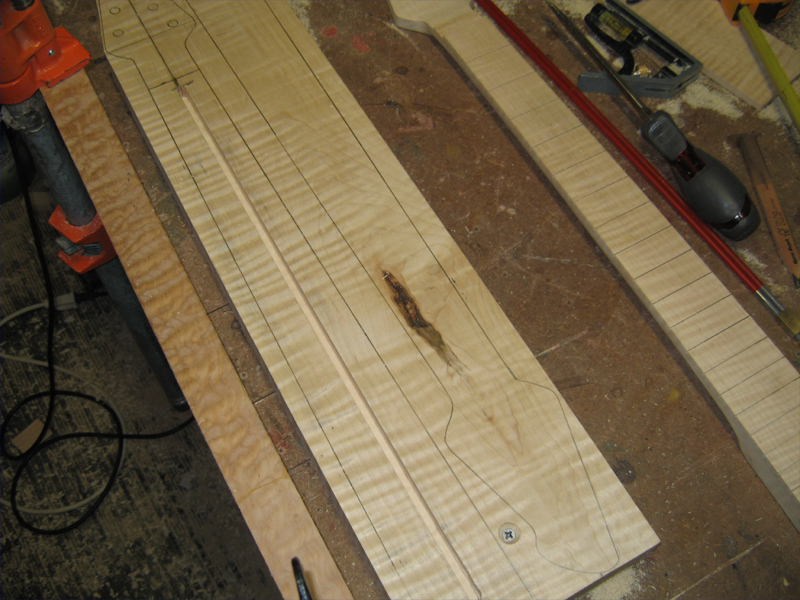
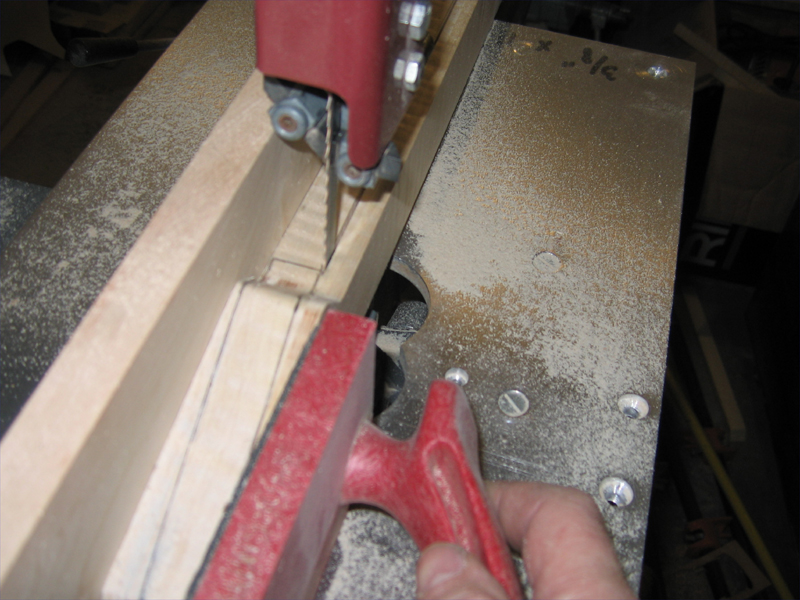
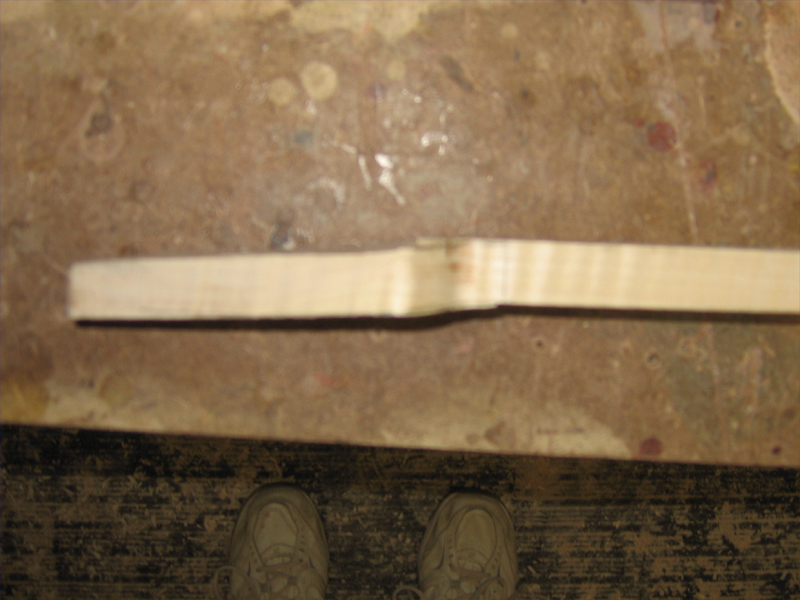
With the profiling done, I redrew my layout and I set up to resaw the lower portion of the blank, leaving the top at just over 3/4" thick. I'll have to cut the rest freehand.
A blurry shot but the results of my freehand cutting of the rest of the blank.
"Thought that is no longer limited brings experience that is no longer limited" Marianne Williamson.
[OP]
Member
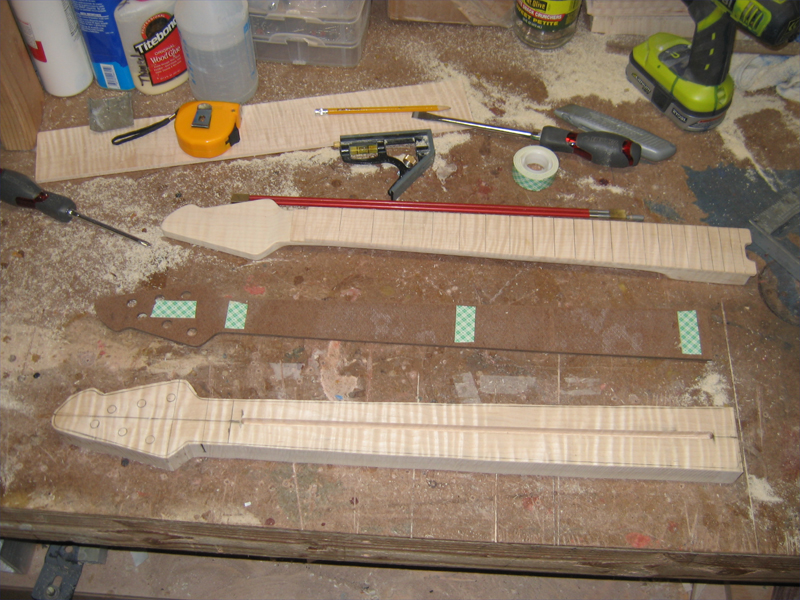
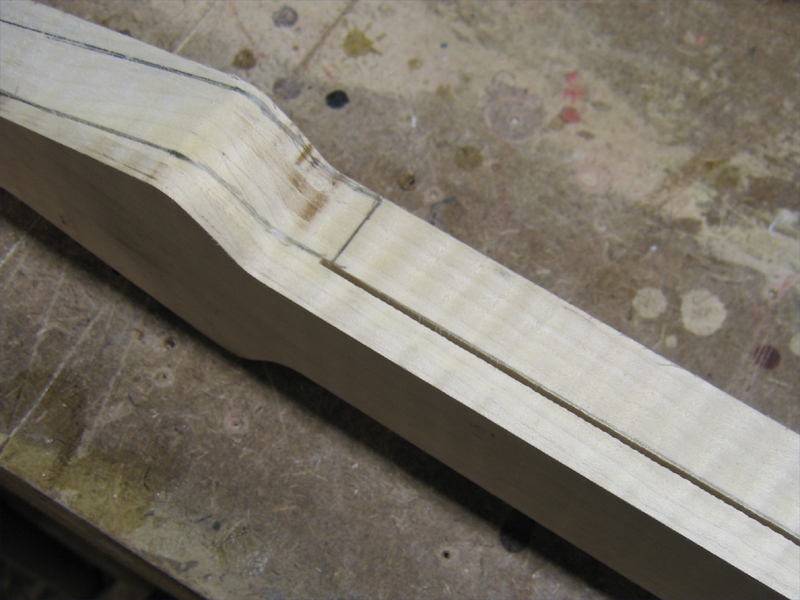
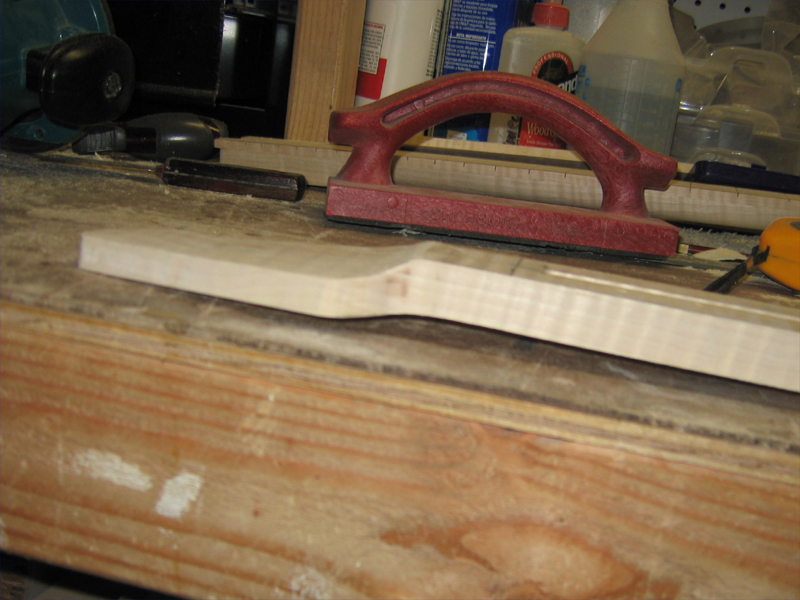
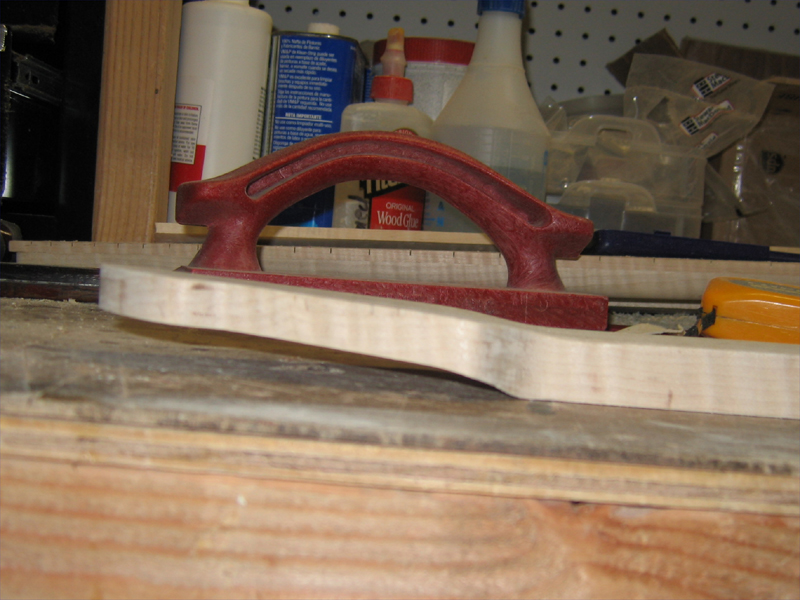
I spent a bit of time thinning out the headstock and working on getting it flat.
The preliminary results.
Compared to the original "scooped" headstock.
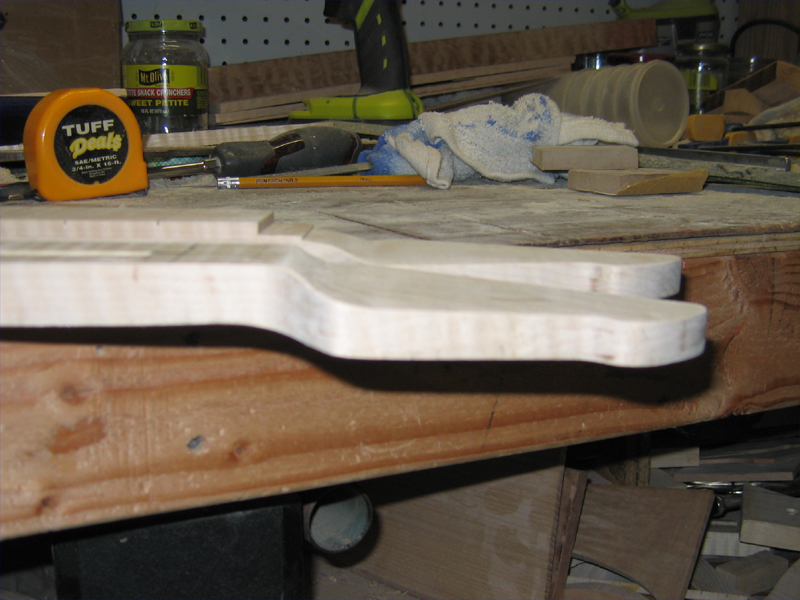
Ready for the truss rod and fretboard.
Peace,
Mark
"Thought that is no longer limited brings experience that is no longer limited" Marianne Williamson.
[OP]
Member
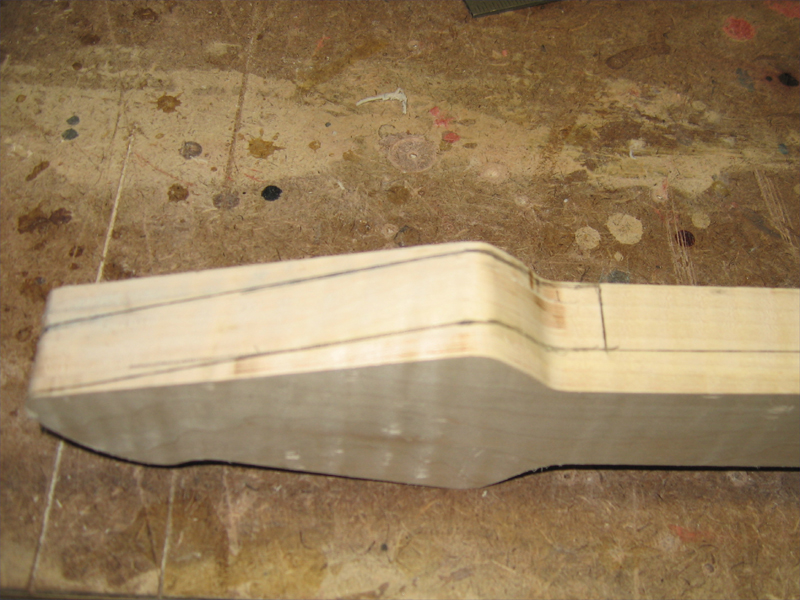
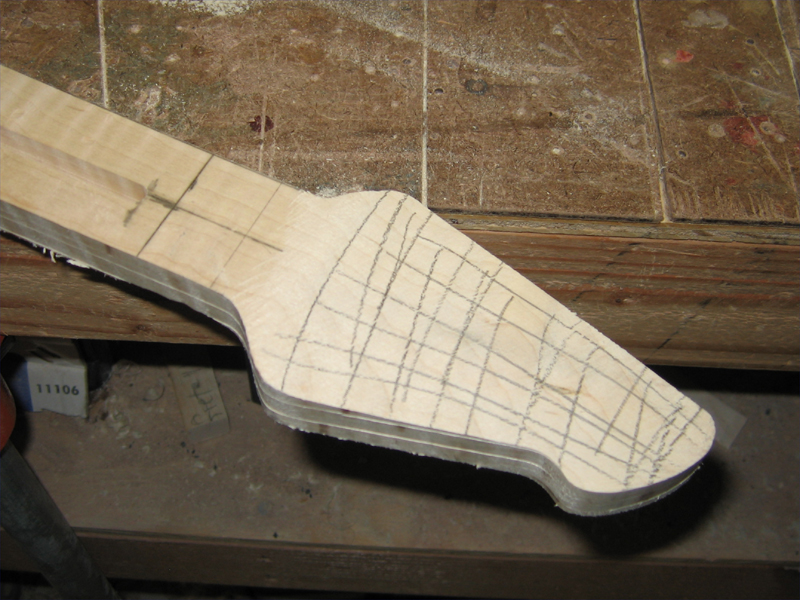
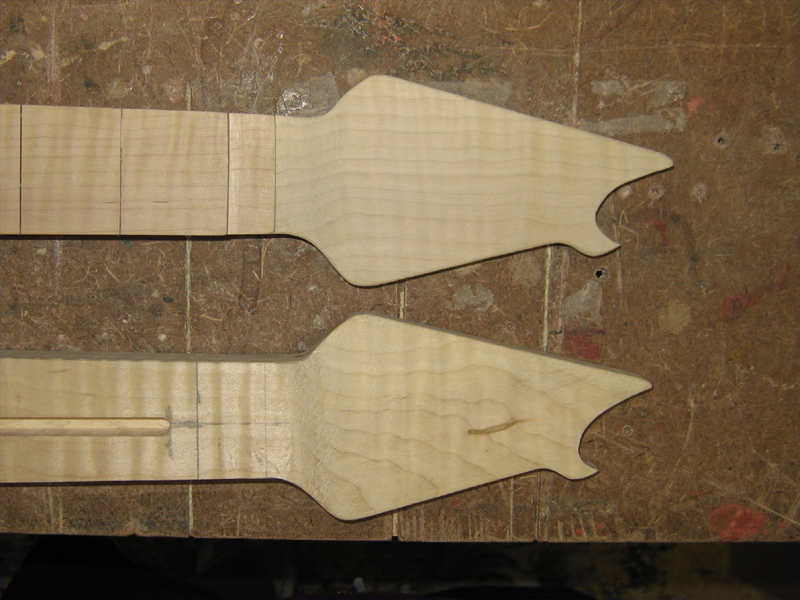
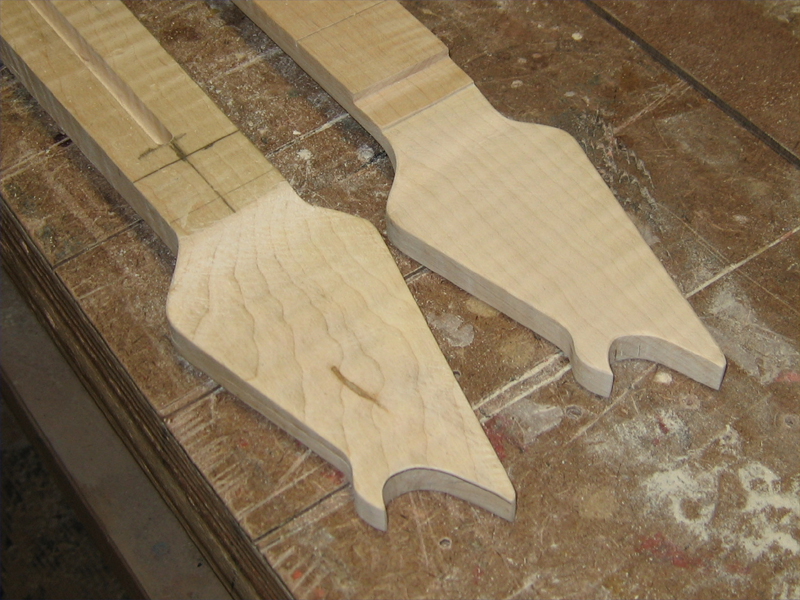
I decide to go ahead and cut the headstock detail. It was pretty easy. I didn't have a pattern so I just eyeballed the first one and then traced it onto the second.
I roughed them out on the bandsaw and then hand finished them with a rasp and sandpaper. I still need to "round out" the bottom of the curves.
"Thought that is no longer limited brings experience that is no longer limited" Marianne Williamson.
[OP]
Member
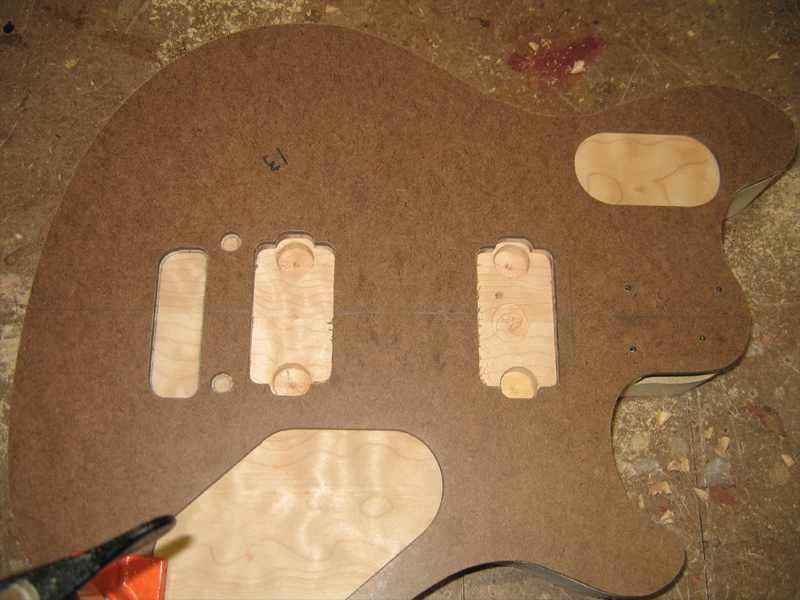
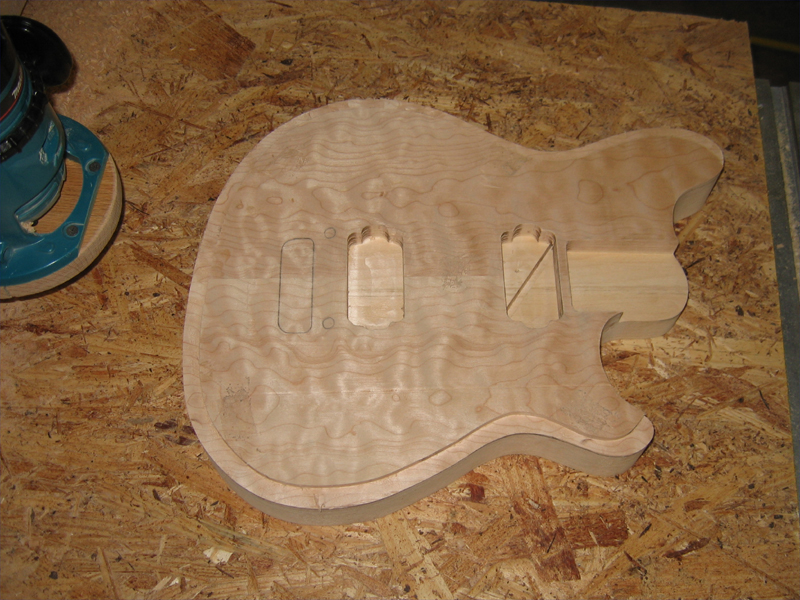
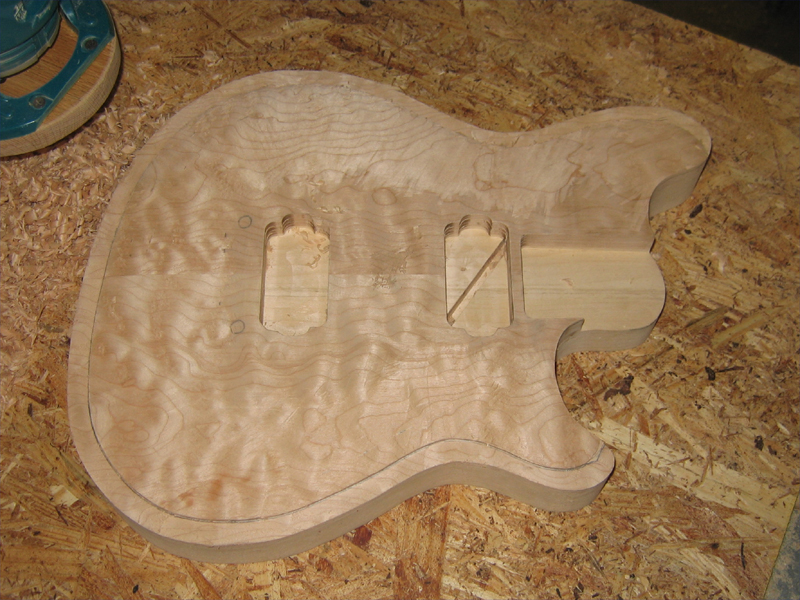
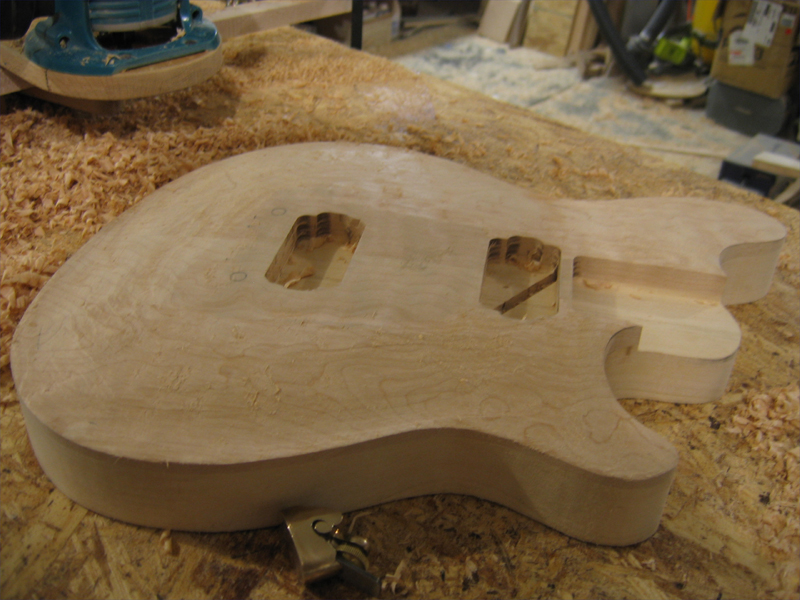
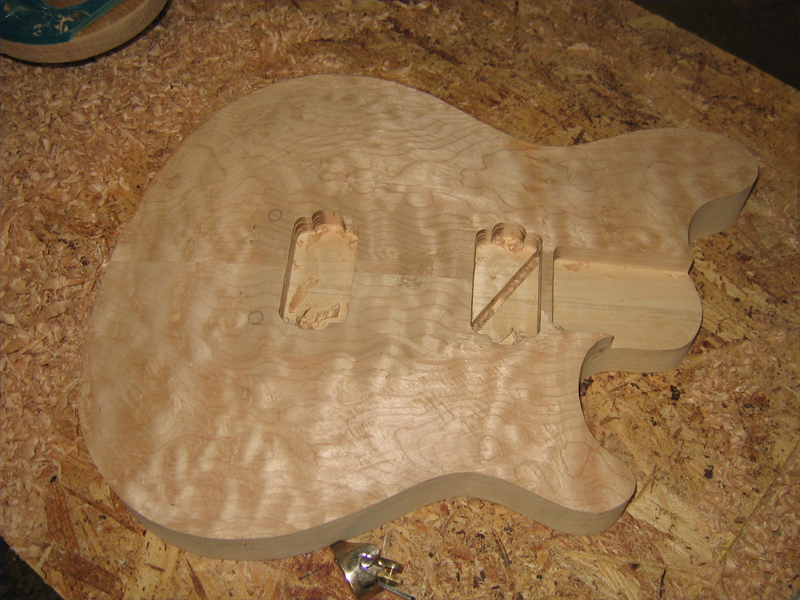
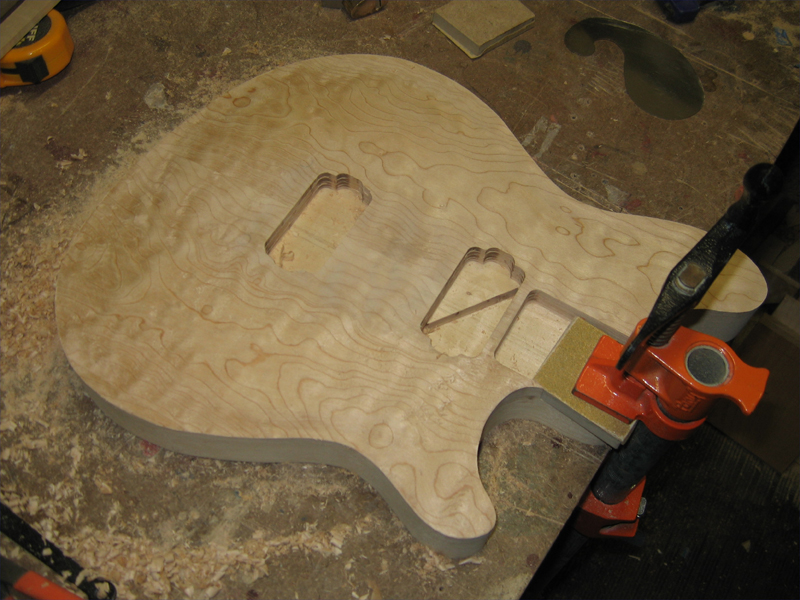
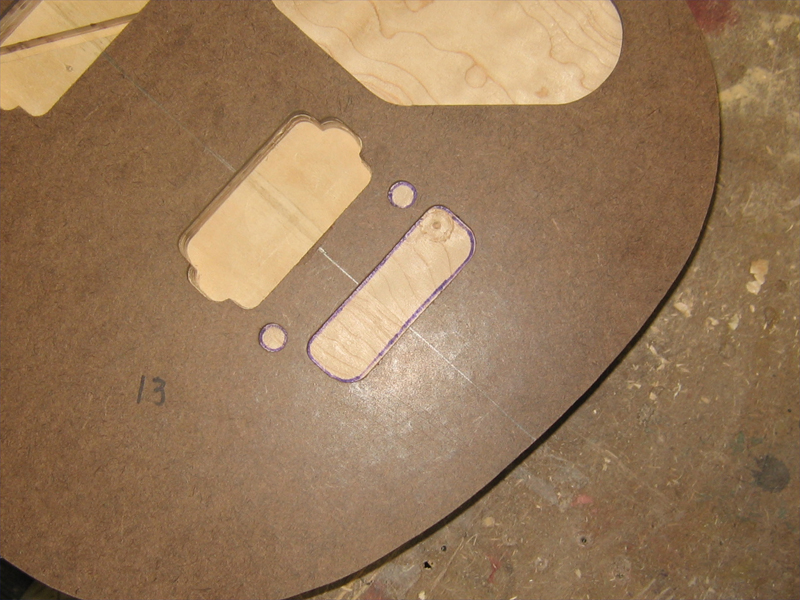
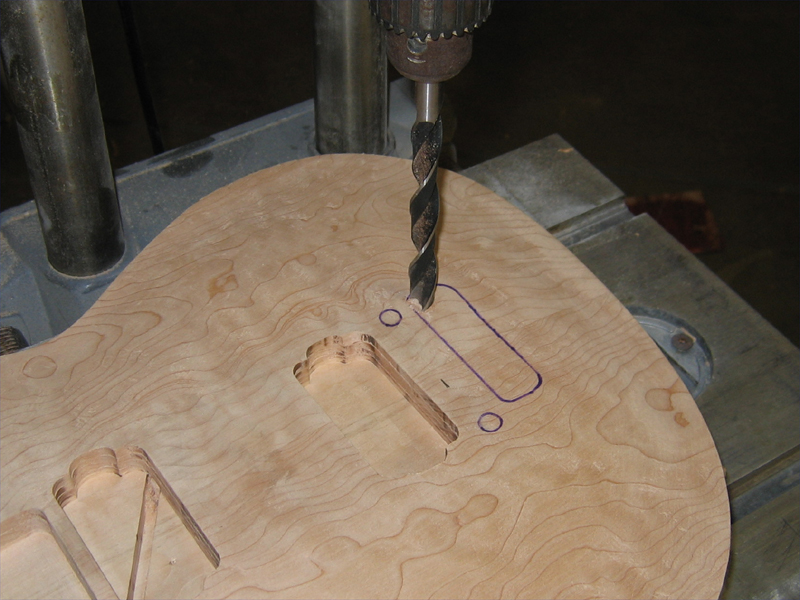
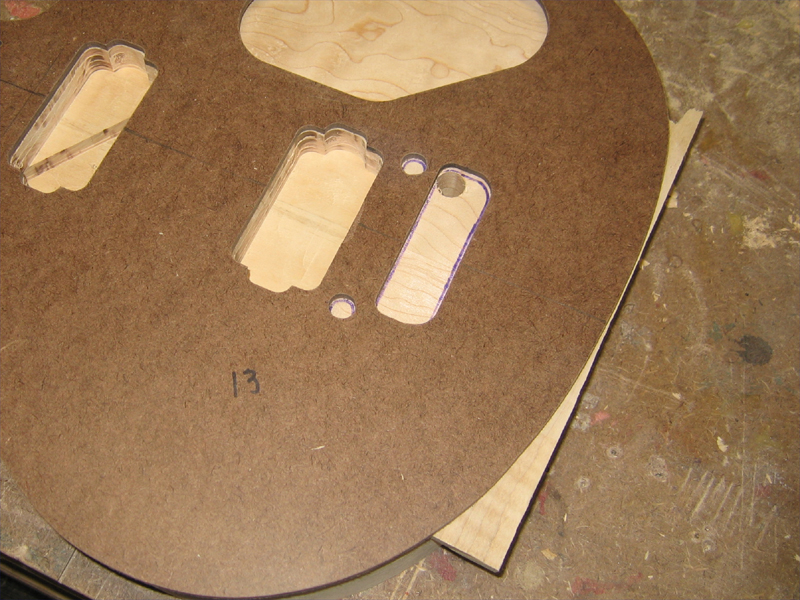
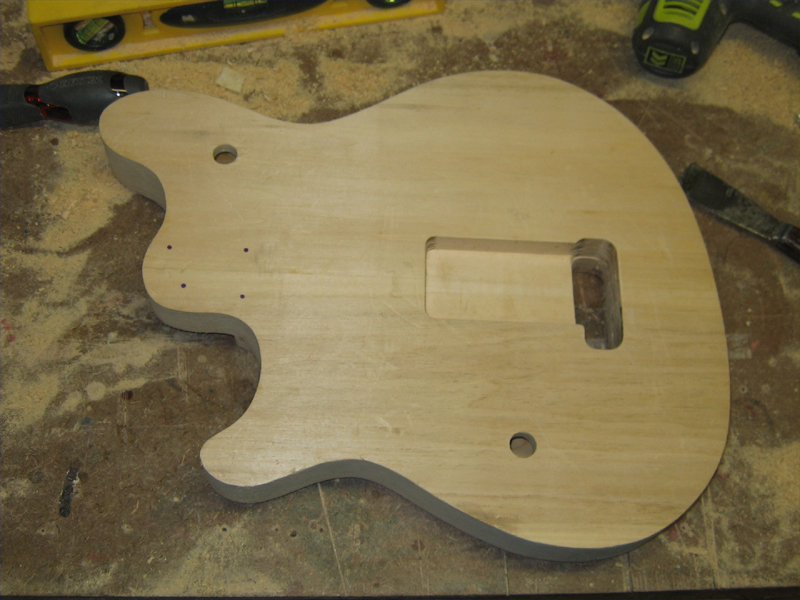
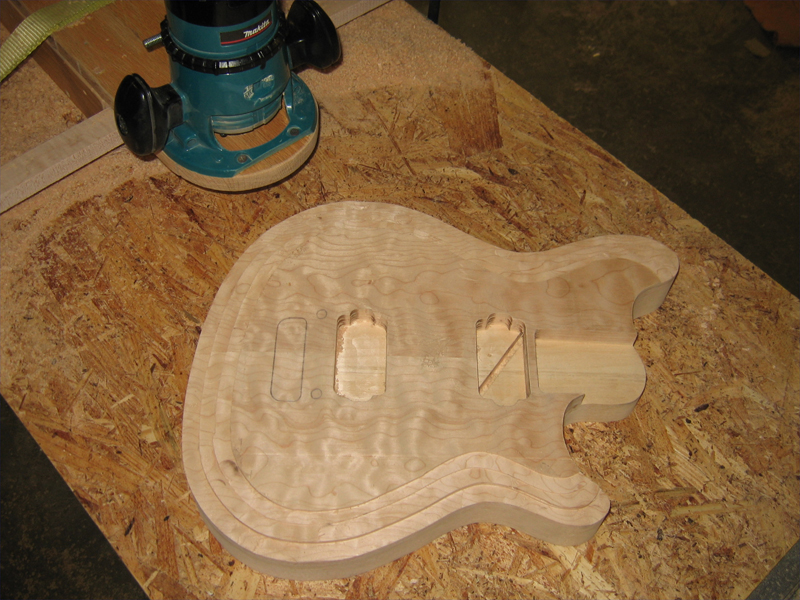
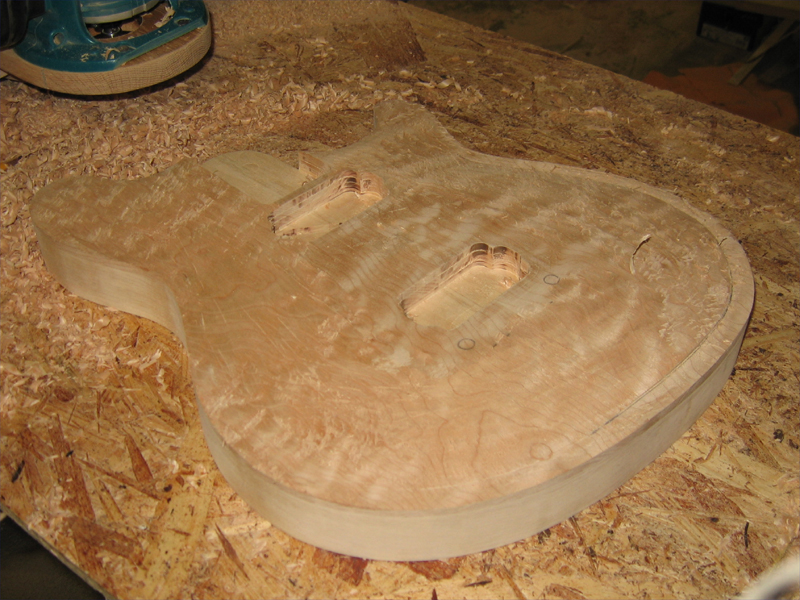
Moving back to the body while I wait for a truss rod, I routed the pickup cavities. I wanted to go with the more current route, but I don't have a template and I don't have a humbucker backplate that I can modify. So, I went with the standard route.
I placed the routing template and made some starter holes for the router bit.
I mat nee to take these a bit deeper later.
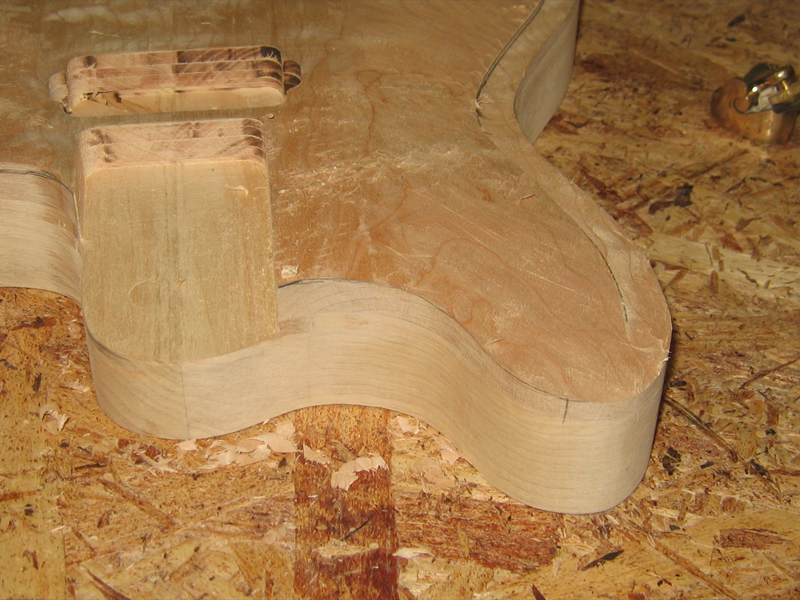
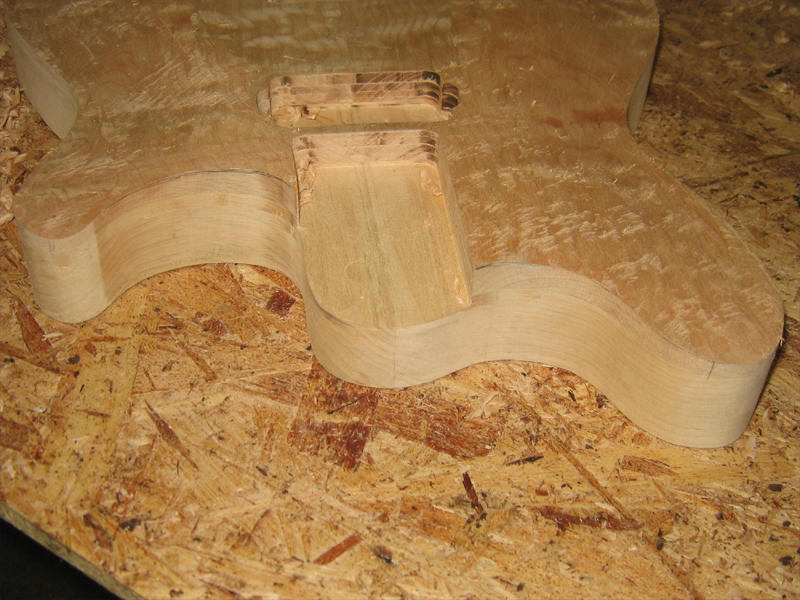
Now it's time to figure out the carve. The standard top is .500". Mine is .0125" thicker. With Dave's (fletch) help, I was able to find out that the binding at the neck pocket will be .500" or 12.7mm tall, shortening to .250" or 6.35mm around the rest of the guitar.
I set the neck in place and marked the exposed part of the side and transferred the line down the side of the neck. Now I'm able to mark the height of the carve at the neck pocket to leave a parallel line along the neck once the top is carved.
"Thought that is no longer limited brings experience that is no longer limited" Marianne Williamson.
[OP]
Member
After doing this on both sides of the neck, I made a mark on the upper and lower horns at .250" and connected the marks from the neck pocket...the .250" line continues around the guitar. Now, I just need to figure out where the carve starts in relationship to the Floyd Rose off the back edge and I'll be gopod to go. I need to study Dave's pics some more.
Looking at this pic from the side of Dave's guitar, it looks like the high spot is in the middle of the bridge...about where the whammy bar is located. And it makes a transition over about 3" to a .500" ledge at the binding. It makes for quite a little bubble in the carve there at the end of the top compared to my Les Paul which starts to roll off behind the stop tail piece and drops for about 4.625" to the same .500" ledge at the binding.
"Thought that is no longer limited brings experience that is no longer limited" Marianne Williamson.
[OP]
Member
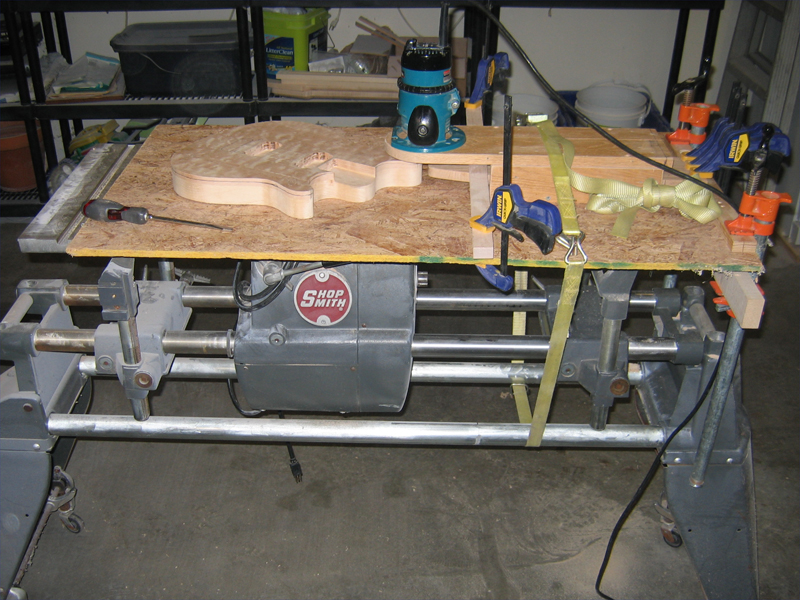
I decided to start on the carve this evening. I have my version of The Sawdust Generator that I saw online...apologies, but I forget the name of the guy I got the idea from.
I haven't used it since my first carve, some 18 months ago. It sets up on my Shopsmith...I added a second carriage and trunion to give me a stable work surface.
It's basically a support for the router and a "tongue" that limits the travel of the body. The bit overhangs it and and the body is fed thru end to end.
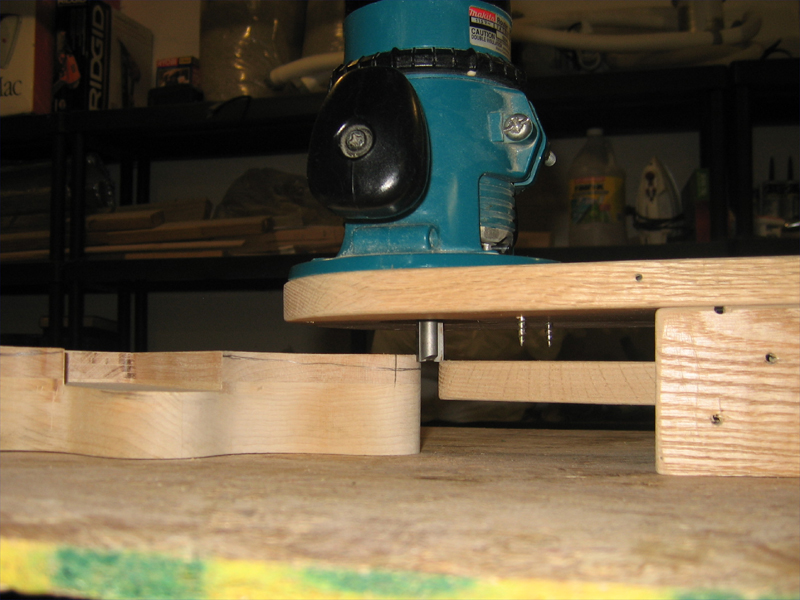
After the first pass.
Setting up for the second pass. The tongue moves back and the bit height is adjusted.
Here it is after 3 passes...all I'm going to do on this one.
"Thought that is no longer limited brings experience that is no longer limited" Marianne Williamson.
[OP]
Member
I started working the ridges down with an Ibex plane. Before I started planinf, I ran a pencil along the crease of each level...when the pencil lines are gone, I know I'm at the right depth.
Here it is with the first 2 levels carved down.
The next area I worked was to blend the the neck pocket level into the rest of the top...remember, the binding here is almost twice as tall as the rest of the guitar.
Then I started blending in the rest of the top. At this stage, I let the plane flow with the shape of the body. With a sharp plane, you can move in any direction...going cross grain is not an issue at this stage. And letting the plane "flow" with the shape means that the result will always compliment the shape of the body...unless you spend too much time in one area and gouge it.
"Thought that is no longer limited brings experience that is no longer limited" Marianne Williamson.
[OP]
Member
I took this shot without a flash to try and show the contour...it's blurred a bit but you can see the shape of the carve.
The neck pocket areas are nicely blended into the lower levels.
The roughed in carve. Dave has more pics for me so I'm going to take a break and study what he's shot and posted.
Peace,
Mark
"Thought that is no longer limited brings experience that is no longer limited" Marianne Williamson.
 Member
The carve is what I was really curious about on this build.
Measure twice, cut three times, start over. Repeat as necessary.
[OP]
Member
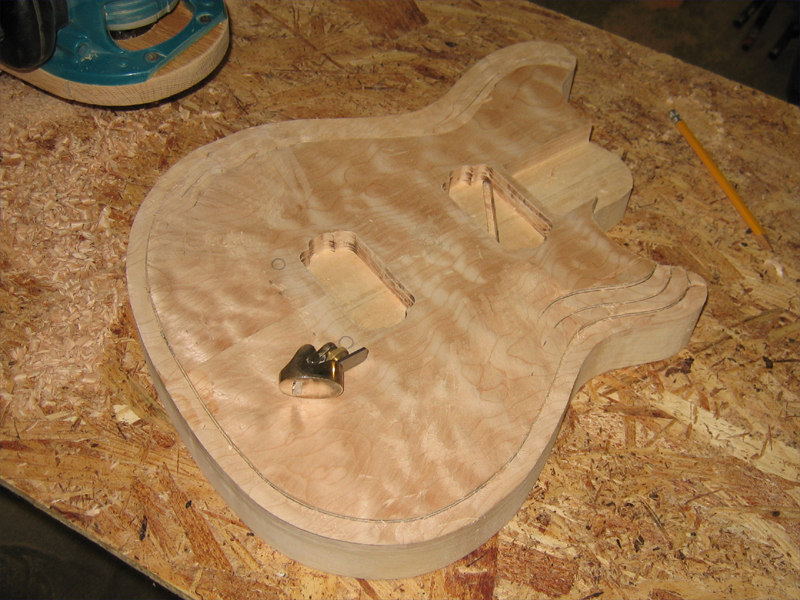
I spent some time going over the body with a scraper. The carve is pretty even. I had to plane a couple of spots but overall, I'm happy with it.
It's hard to see but it's a pretty agressive carve. You can see the depth of the carve with the template set on top.
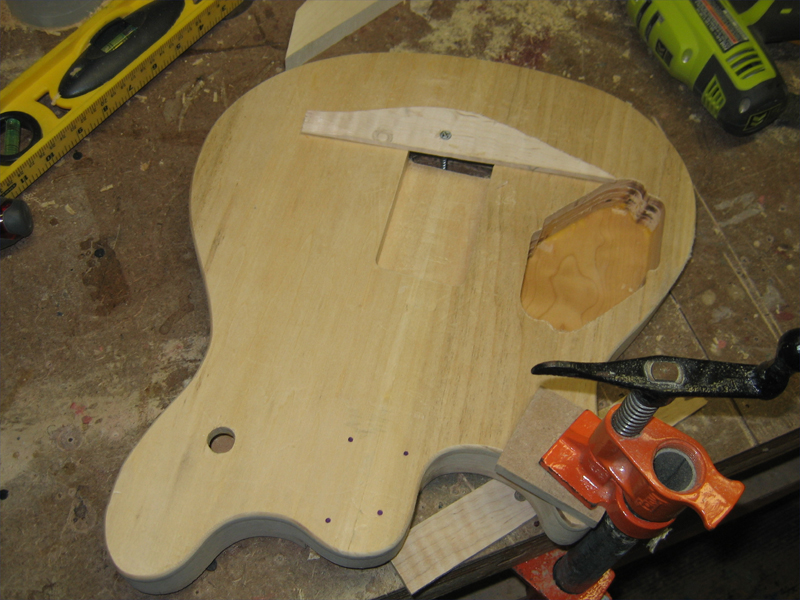
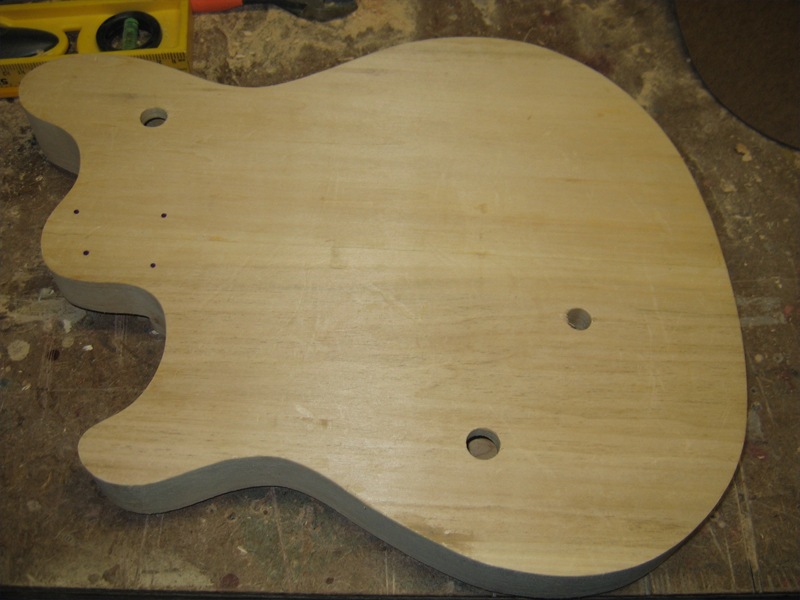
Time to get the tremolo cavities routed. Normally I would have done this sooner but I didn't want to deal with the openings during the carve. Here, I've marke a 1/2" hole that I'll drill all the way thru the body.
I drilled this hole on the drill press to make sure it went straight thru the body.
I'll use it on the back to register the template for the back cavity. The 2 larger holes are for the control cavities that will be finished up later.
"Thought that is no longer limited brings experience that is no longer limited" Marianne Williamson.
[OP]
Member
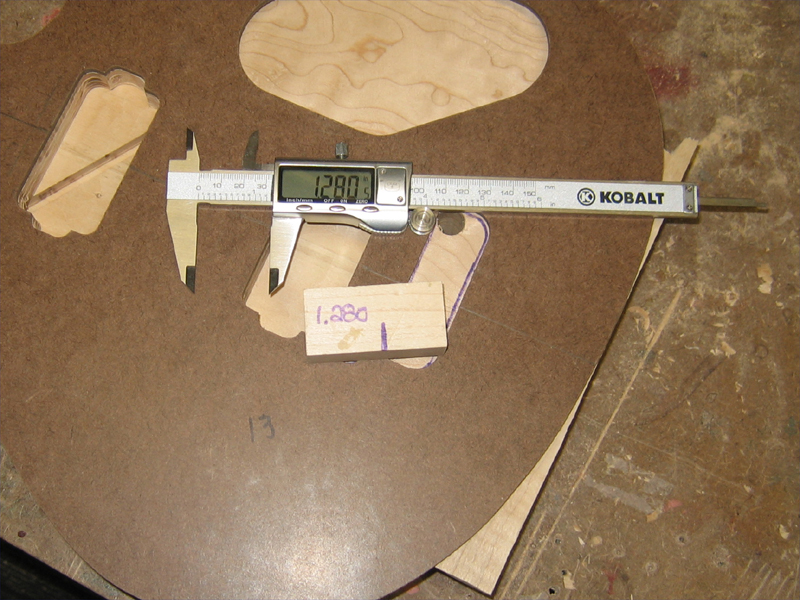
Back on the front, I have the template in place and ready to route. I taped a thin strip of wood under the end of the template to level it out where the carve is farthest from the template.
The depth I need is 1.125" plus the thickness of the template for a total of 1.280". I like to mark it on a scrap block and keep it handy to check my progress. I would normally remove the template after a few passes but I need the flat surface to finish this route so it stays for the whole step.
You can just see the line at the template level...I'm at depth.
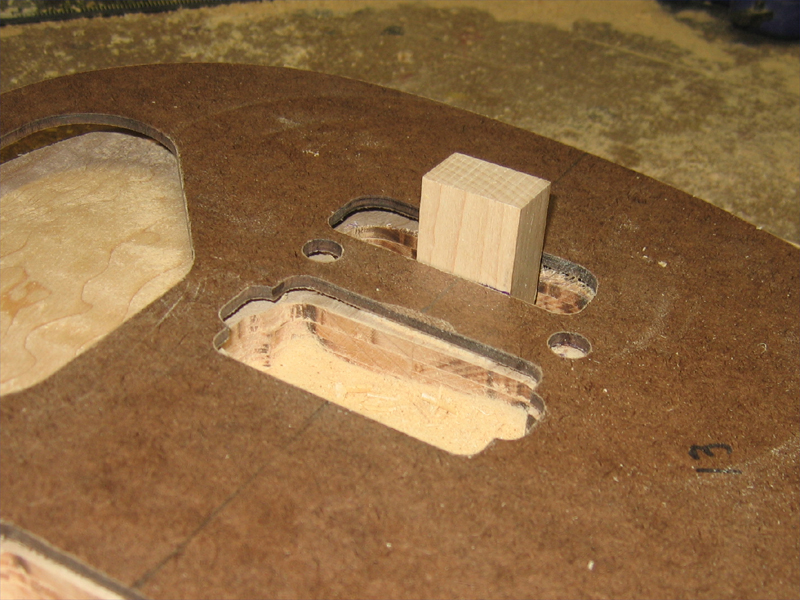
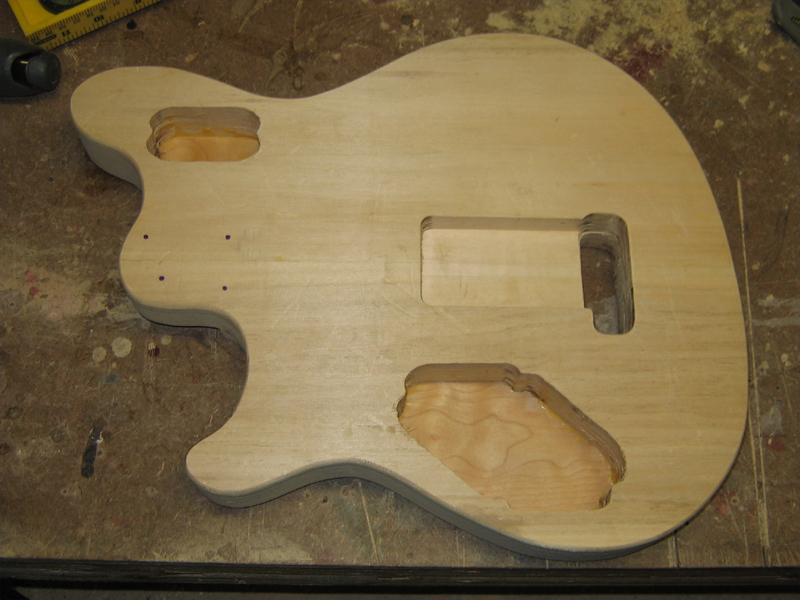
Here, I've fl;ipped the body and used the 1/2" hole and the centerline of the guitar to place the rear template.
With the spring cavity down to 3/4", I've added a block to guide the bit past this area to continue routong the tremolo block area. I'll take it down untill it meets the route from the front.
"Thought that is no longer limited brings experience that is no longer limited" Marianne Williamson.
[OP]
Member
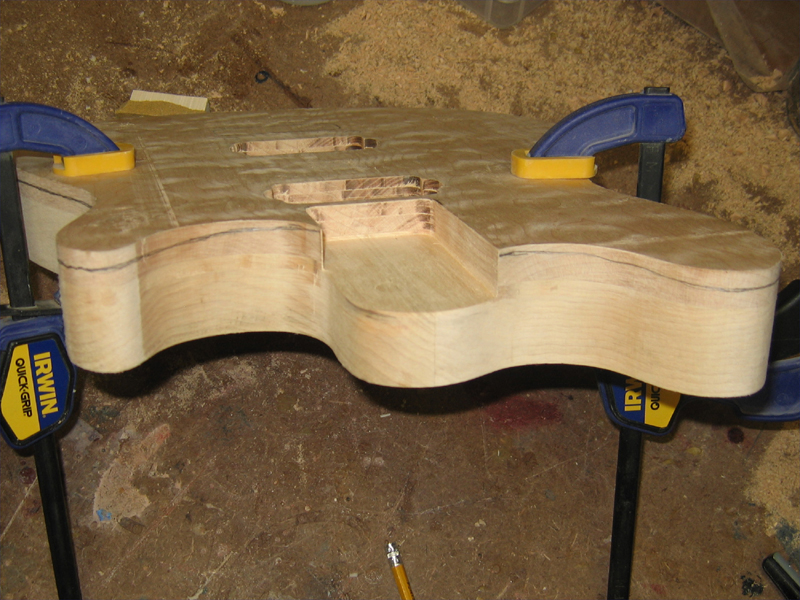
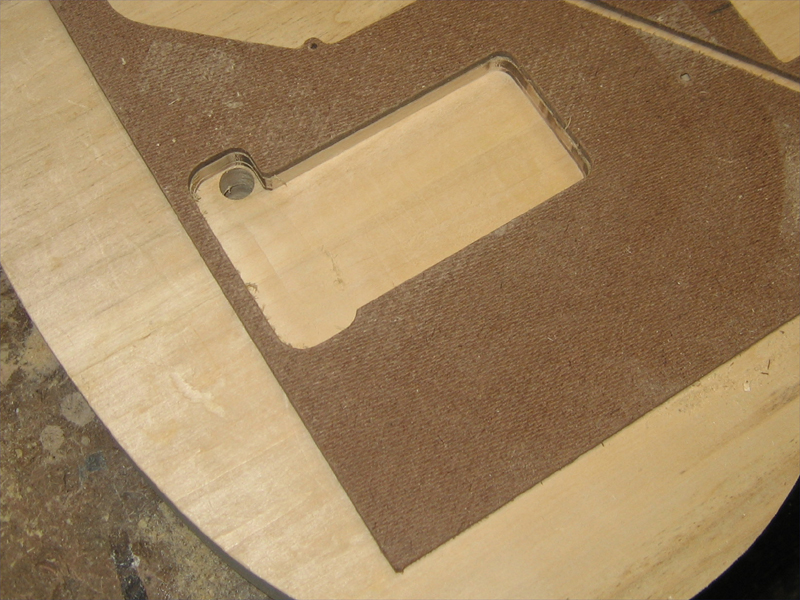
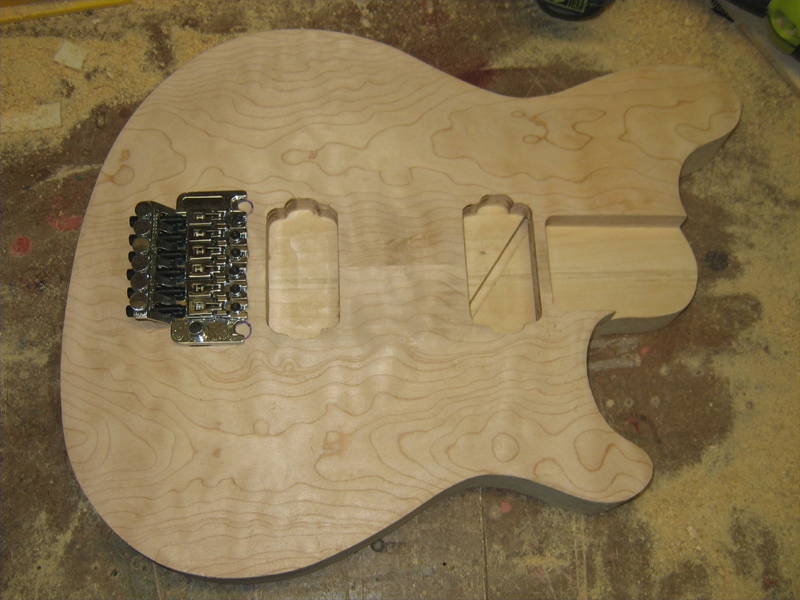
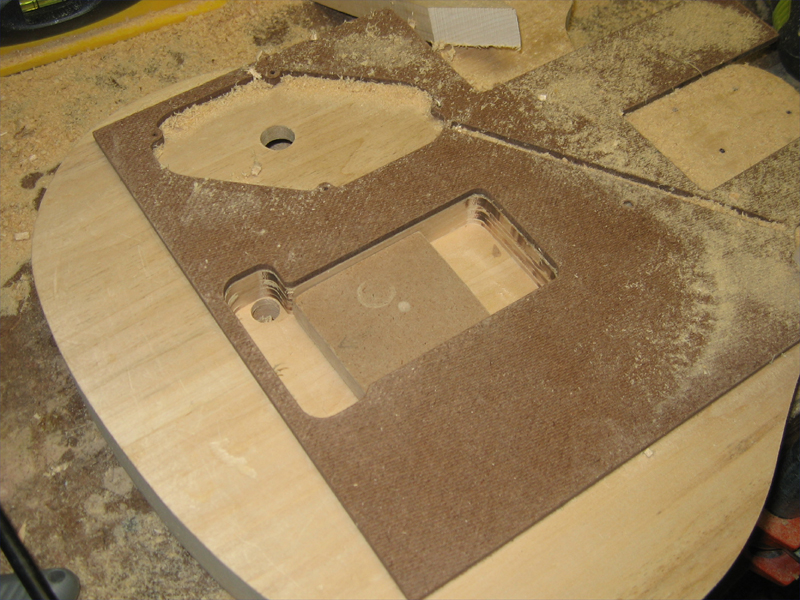
The finished trem cavity.
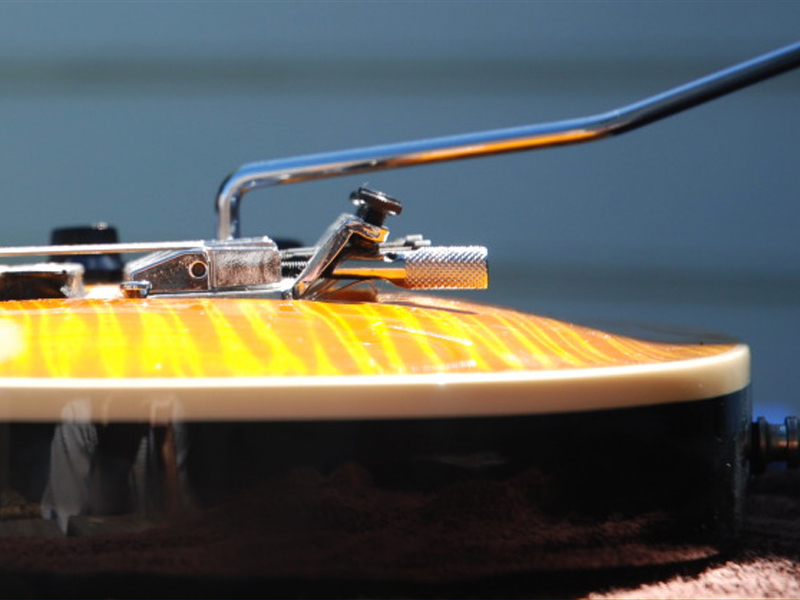
I got my first look at the guitar with the FR in place.
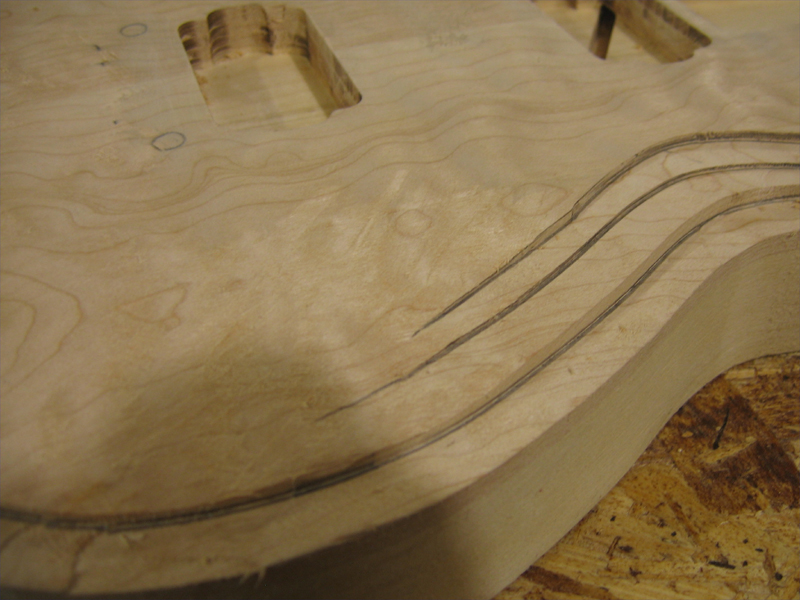
After adding a 1/8" radius to the edge, I started opening up the control cavities with a flush trim bit. I used a piece of scrap screwed to the workbench, thru the trem cavity, to help stablize the body while it's laying on the carve. A clamp on one corner counters it.
All done except for the cover recesses. I need to make a thicker template...even a router bit with a 3/8" cut depth cuts too deep with a thin template.
Here's a look at it so far. I took this without a flash to show some detail of the carve. It still needs some work but it's catching light and shadow nicely.
"Thought that is no longer limited brings experience that is no longer limited" Marianne Williamson.
[OP]
Member
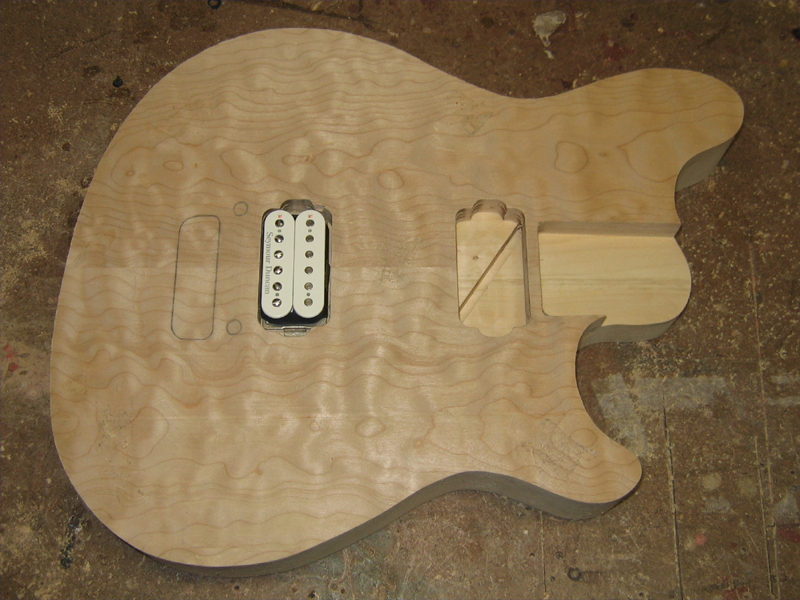
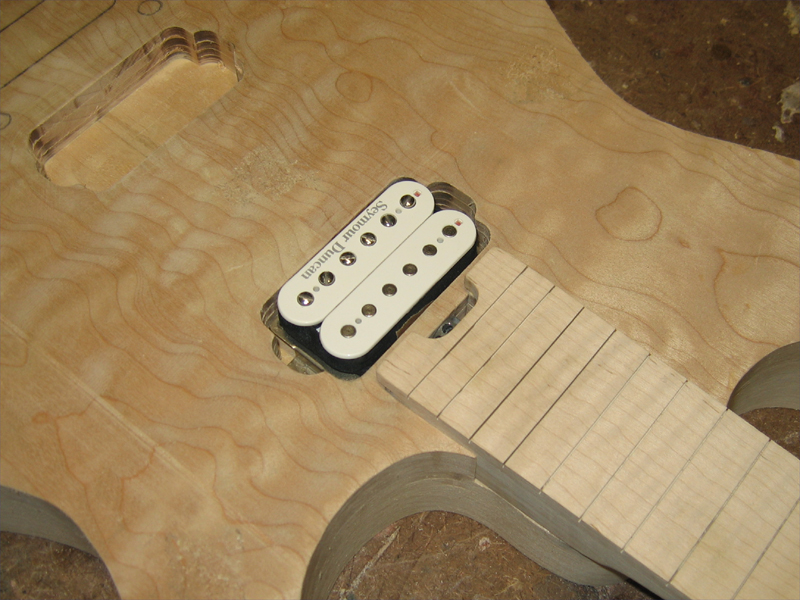
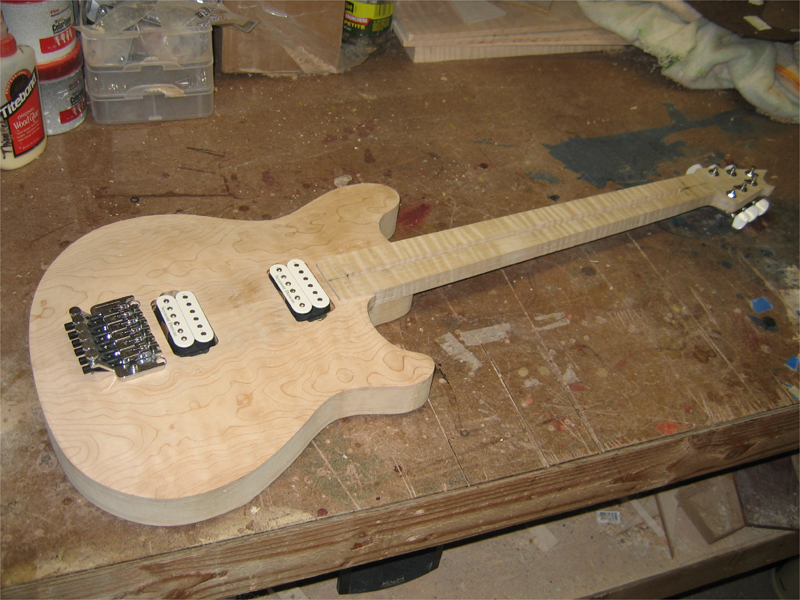
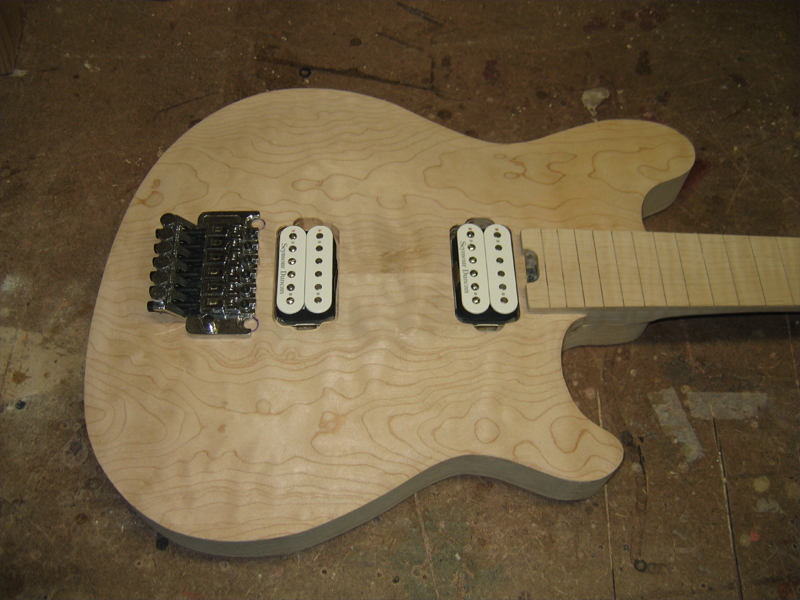
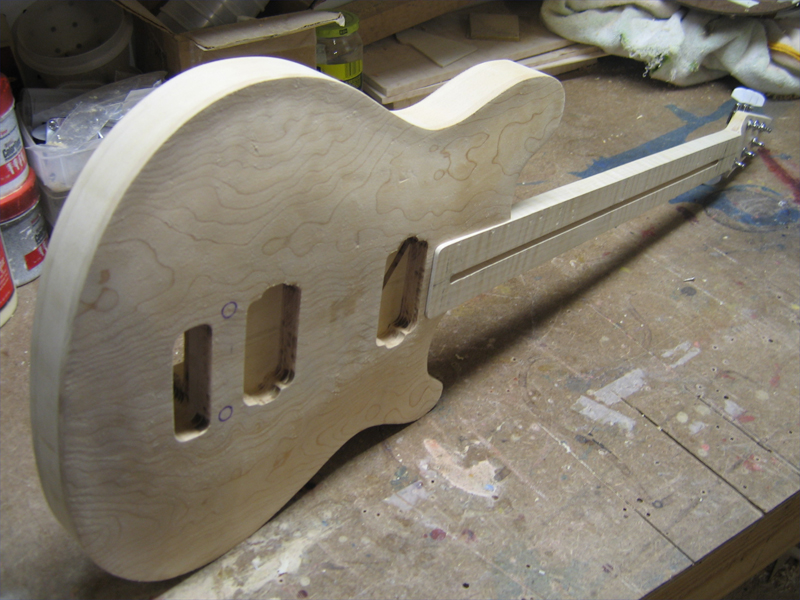
A couple of shots with some goodies in place. I actually only have one SD humbucker, I just Photoshoped one from another shot into these.
I'm still going to use the neck with the angled headstock, I just put tis one in since it has a finished end on it.
Peace,
Mark
"Thought that is no longer limited brings experience that is no longer limited" Marianne Williamson.
 Posting Permissions

 Reply With Quote