Page 2 of 5 FirstFirst 12345 LastLast
Results 16 to 30 of 67

Thread: New Build - PRS Custom 22

  1. #16
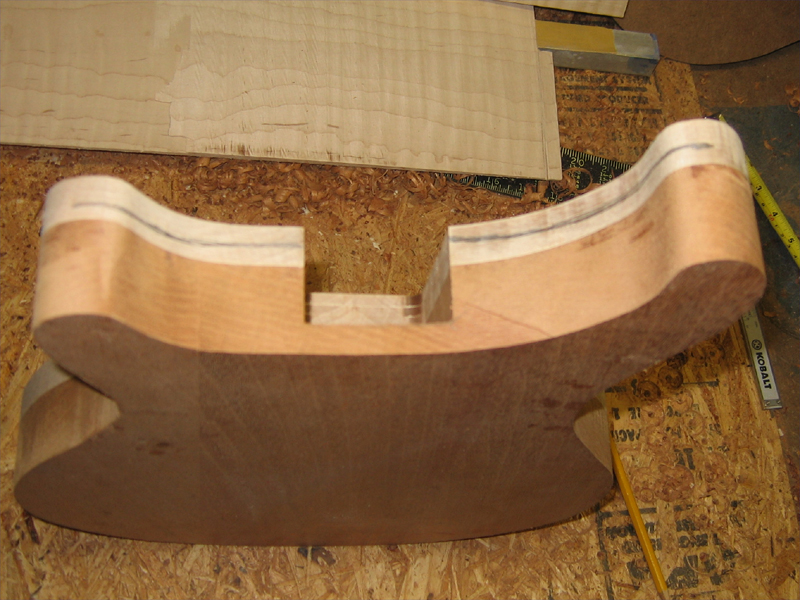
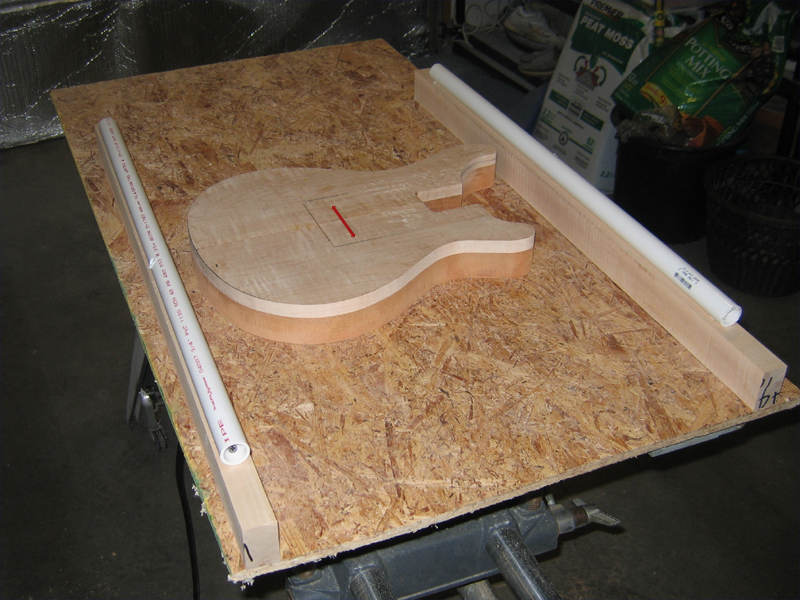
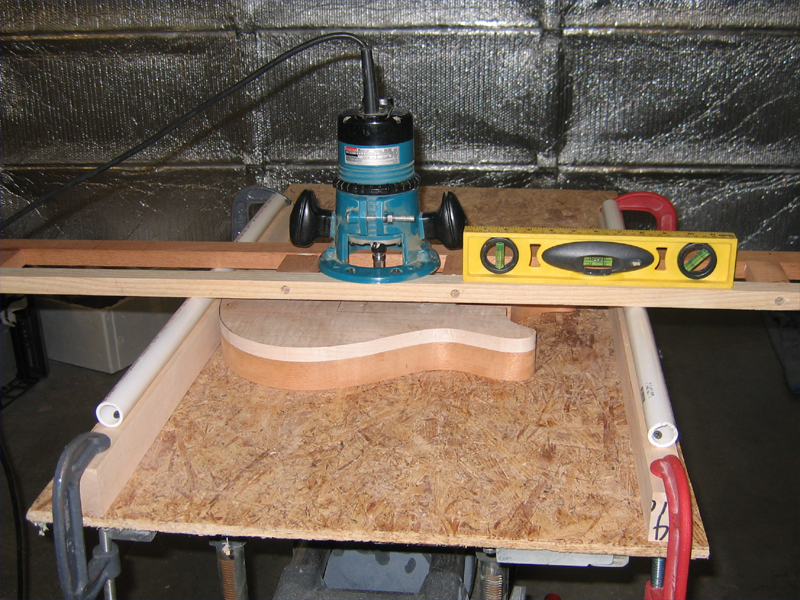
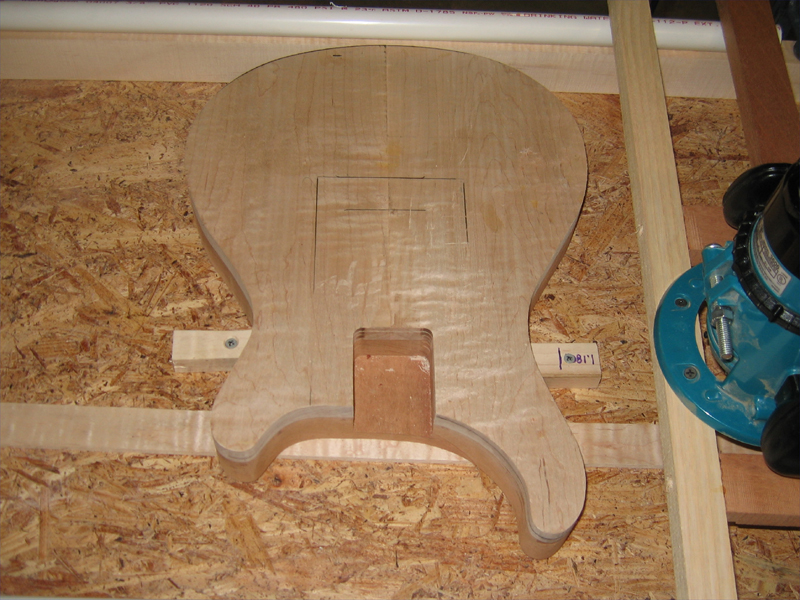
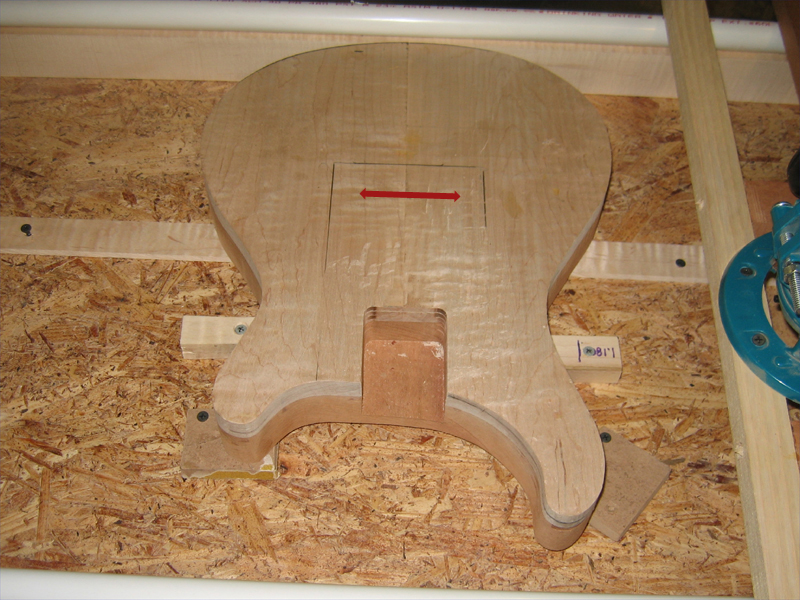
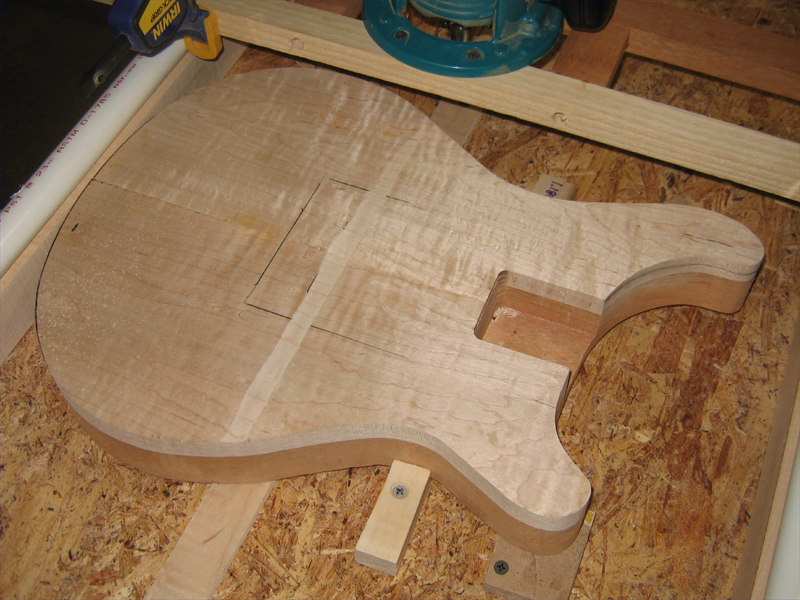
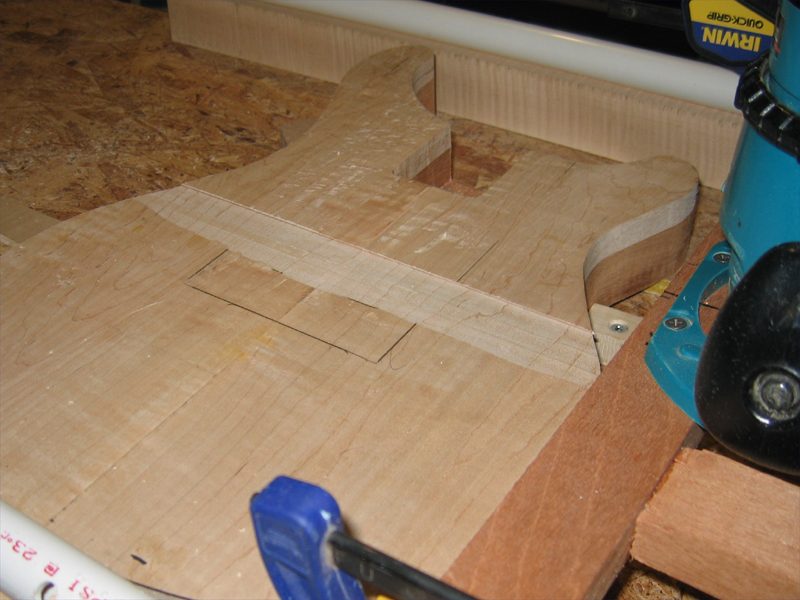
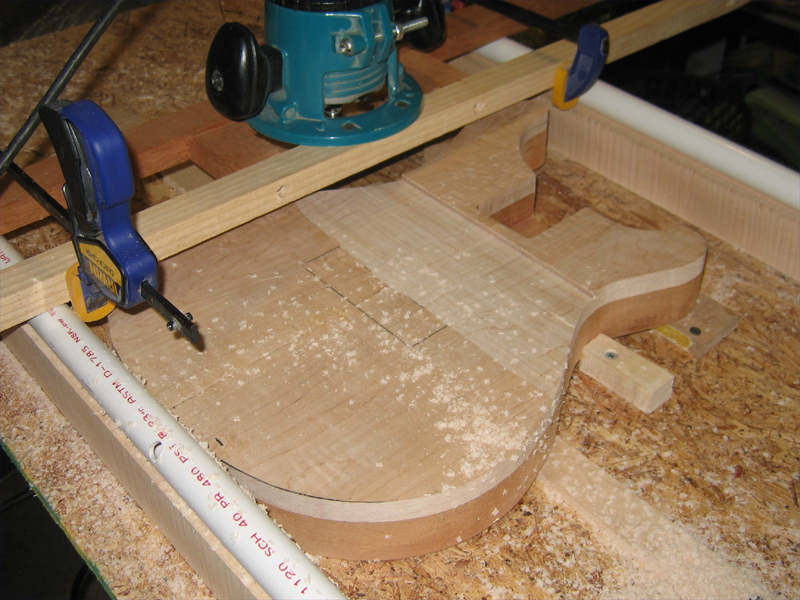
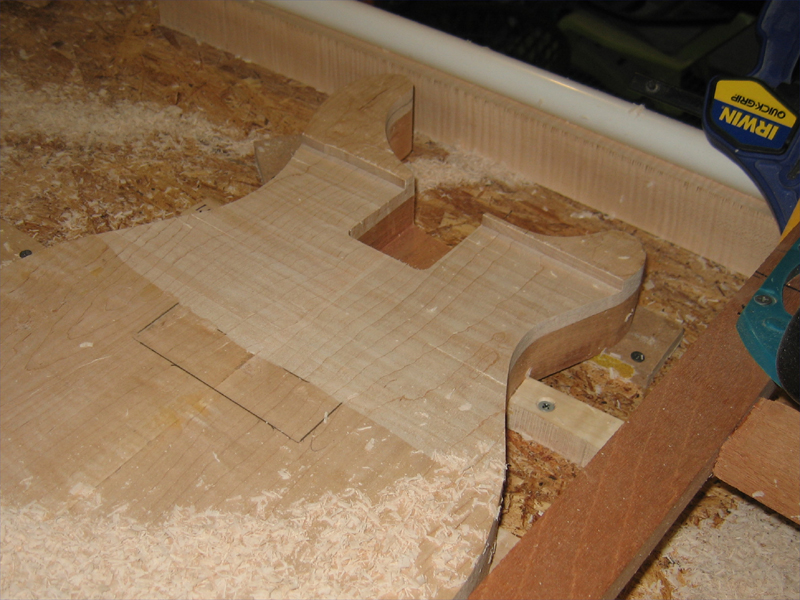
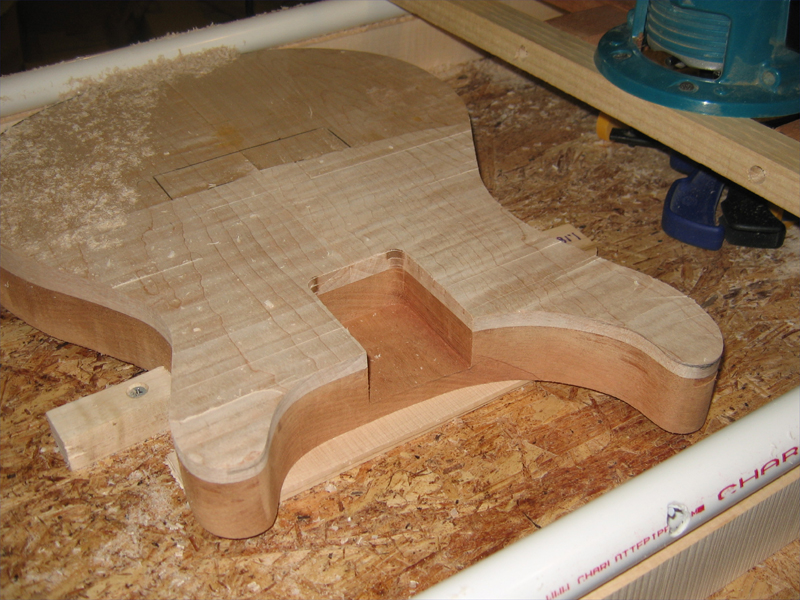
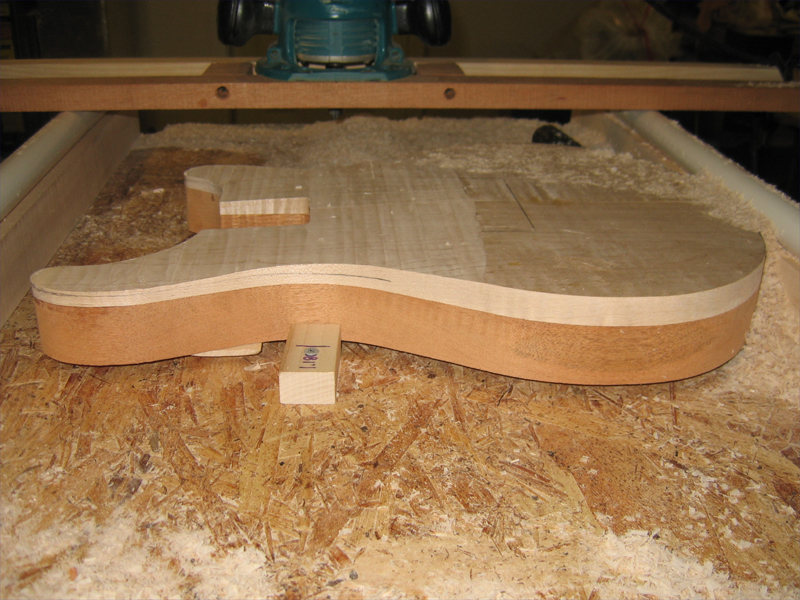
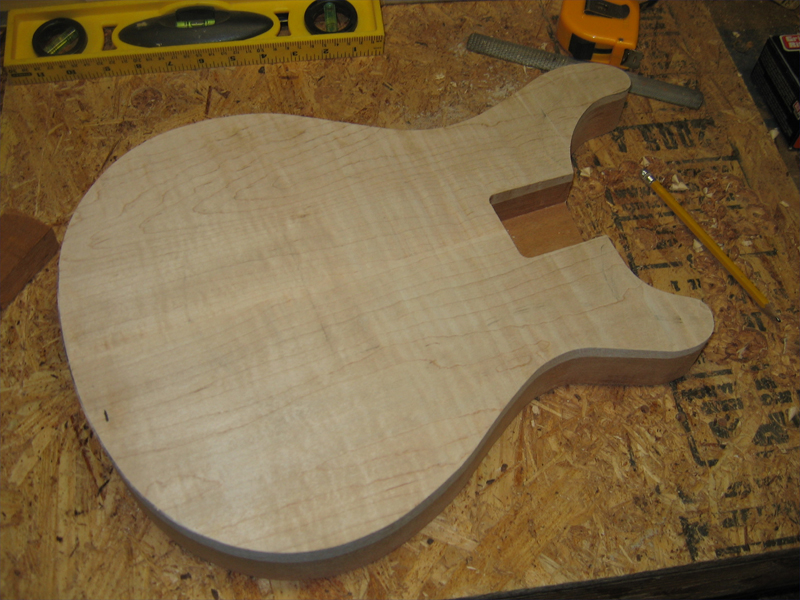
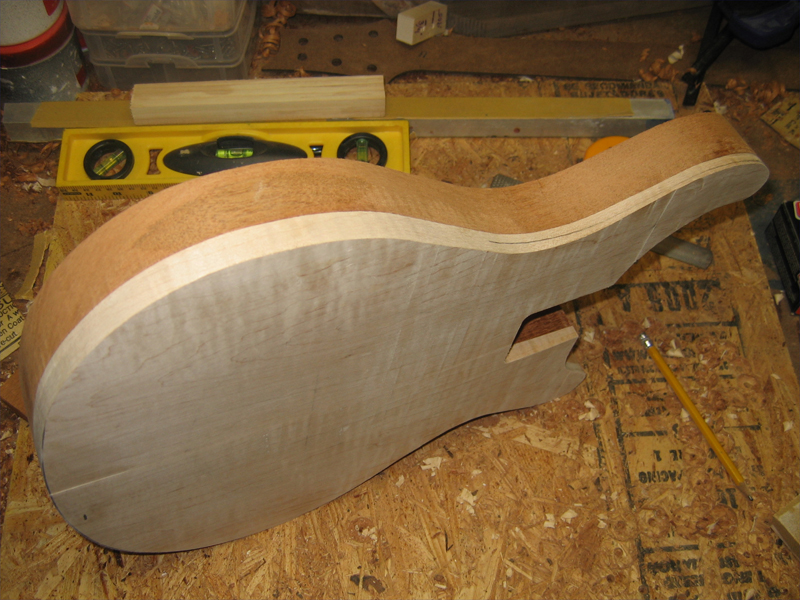
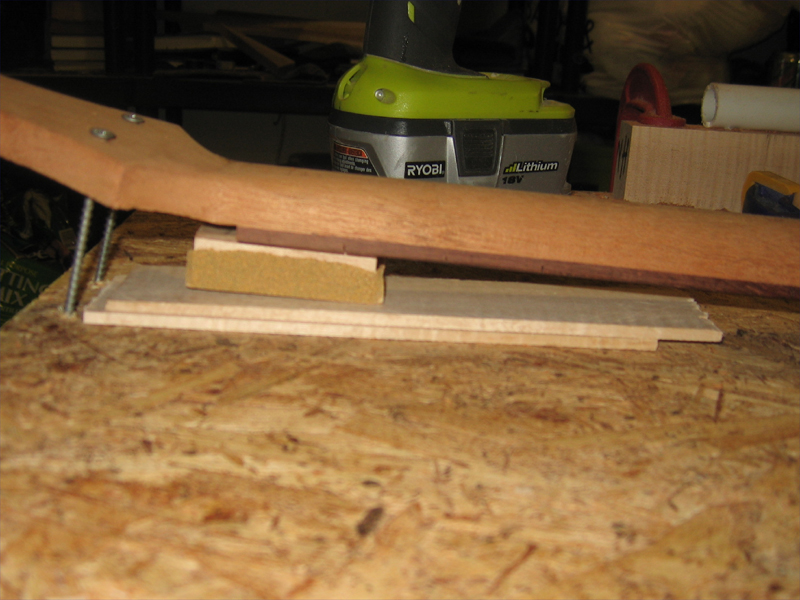
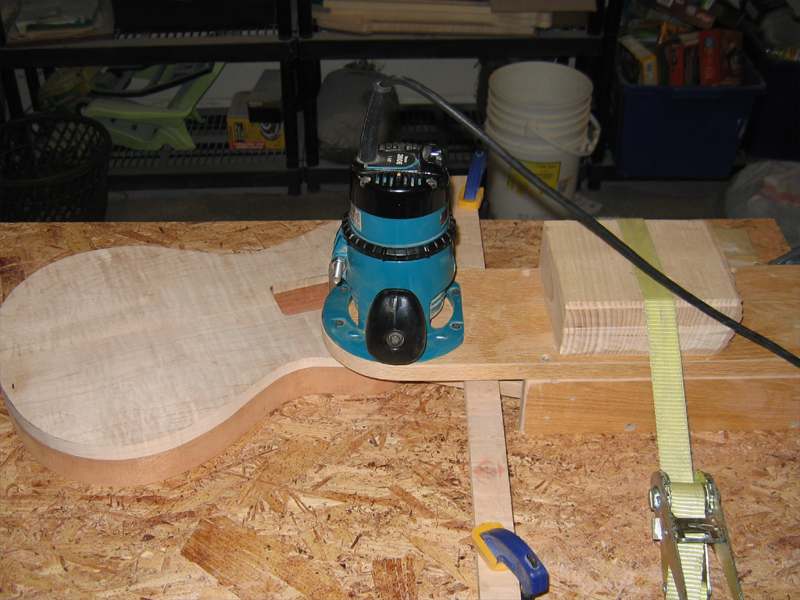
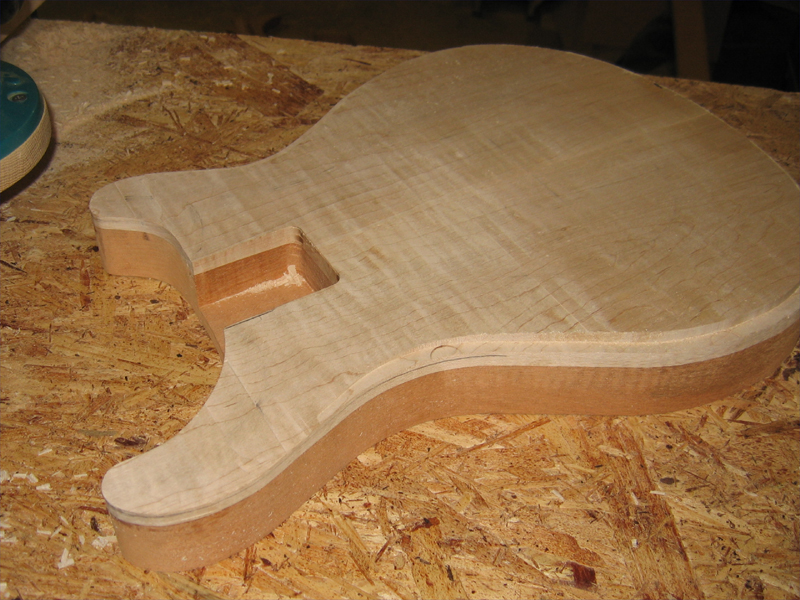
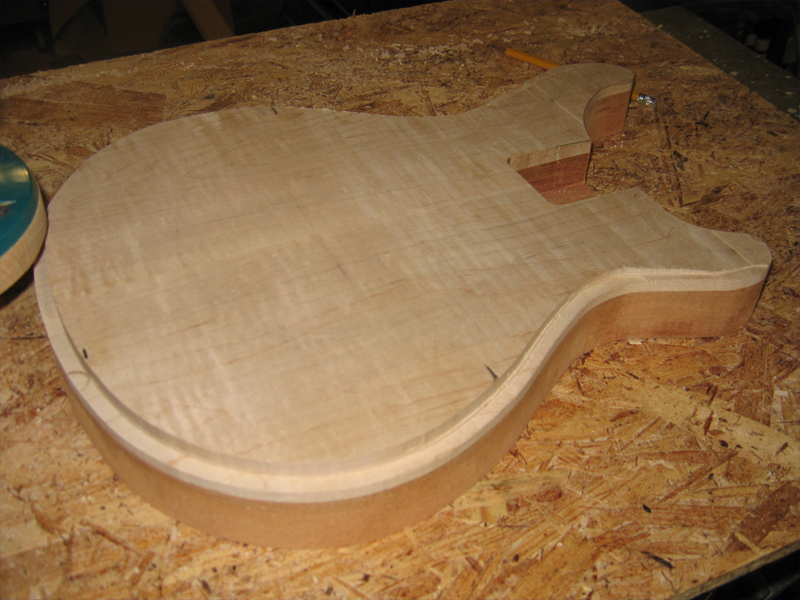
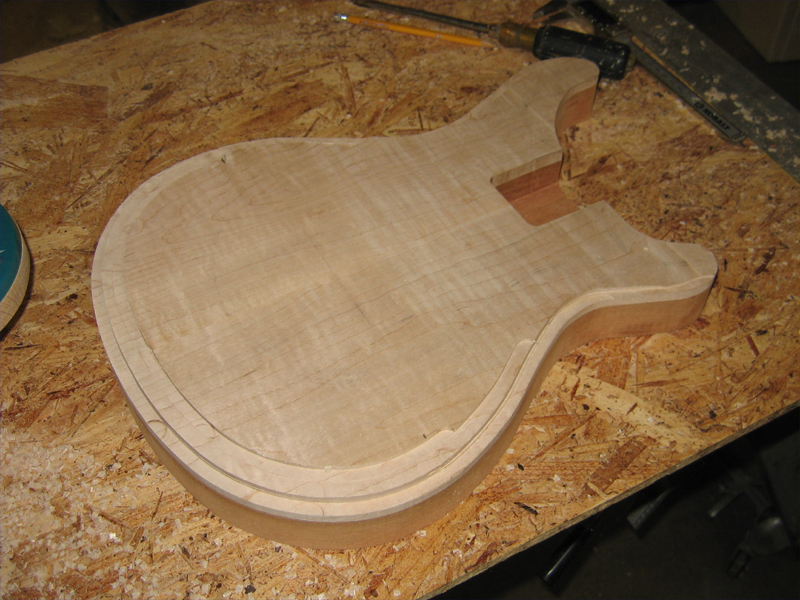
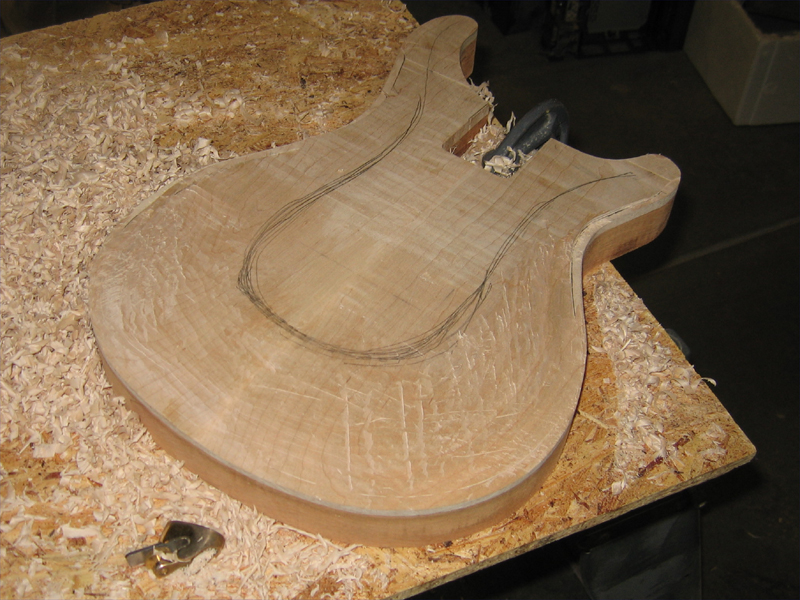
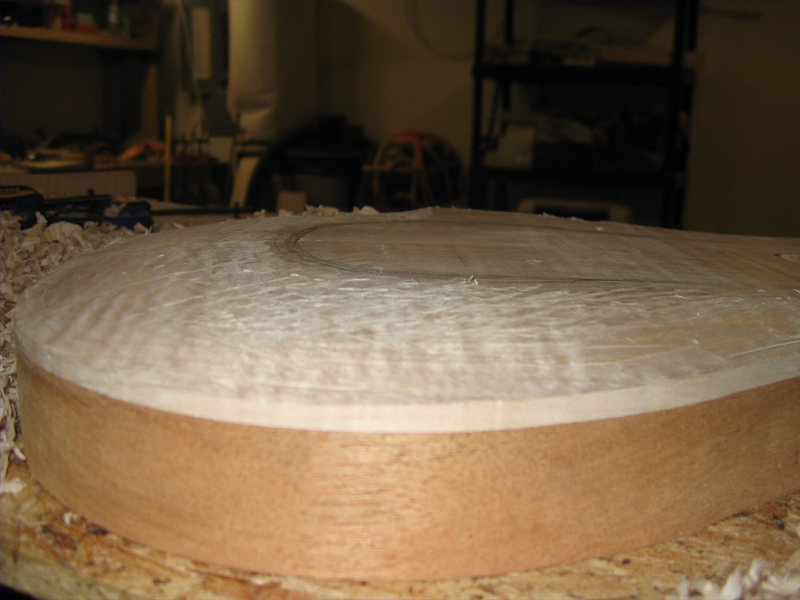
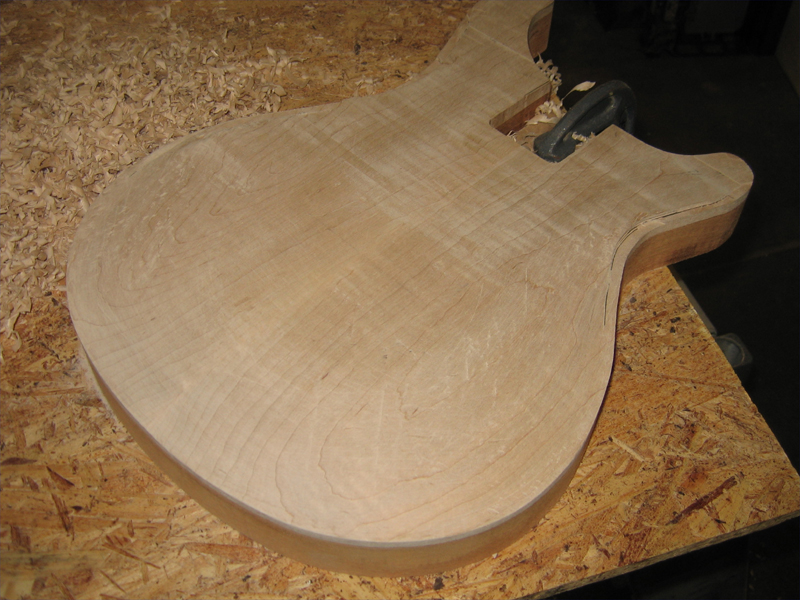
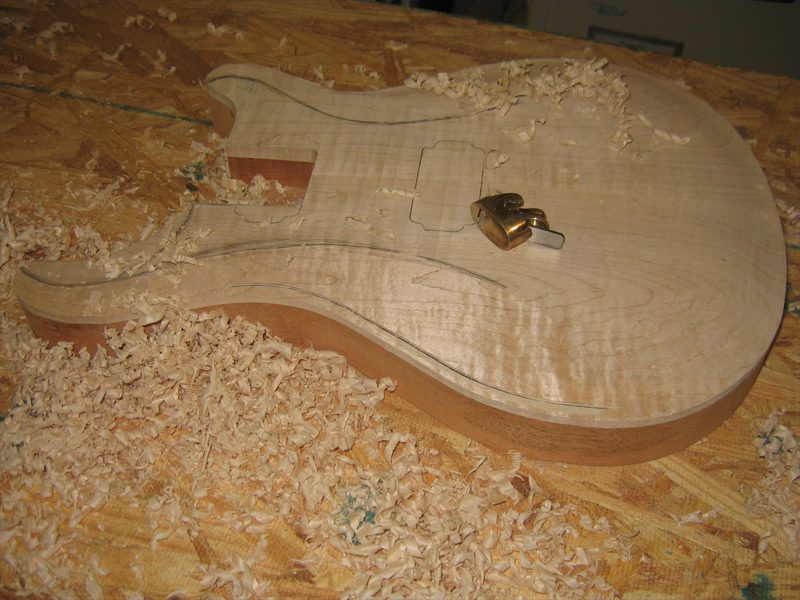
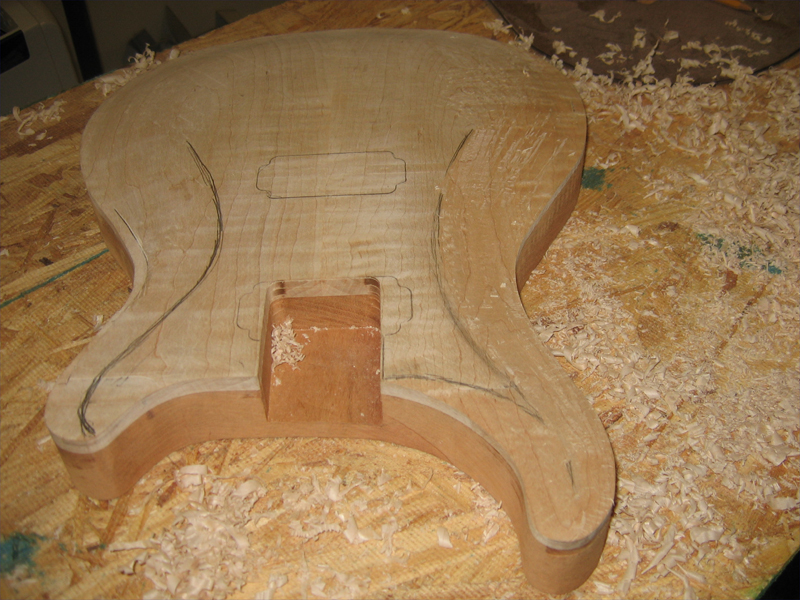
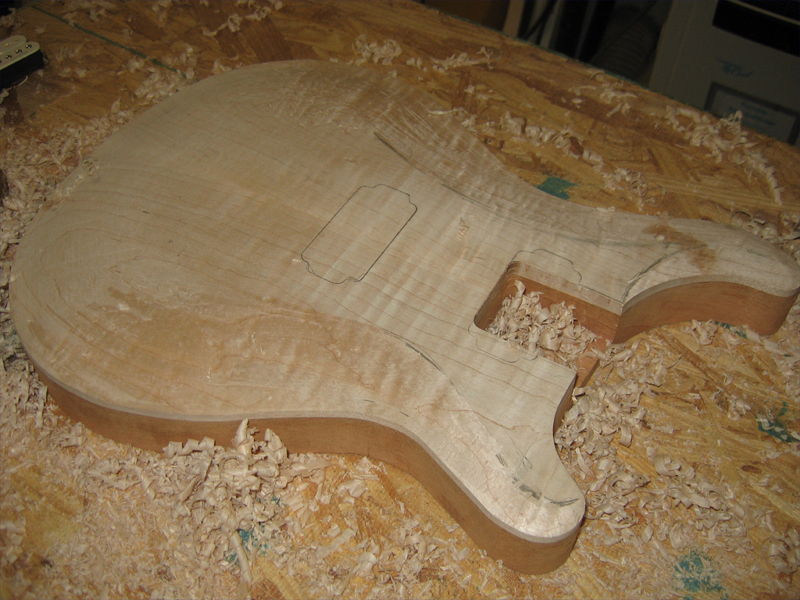
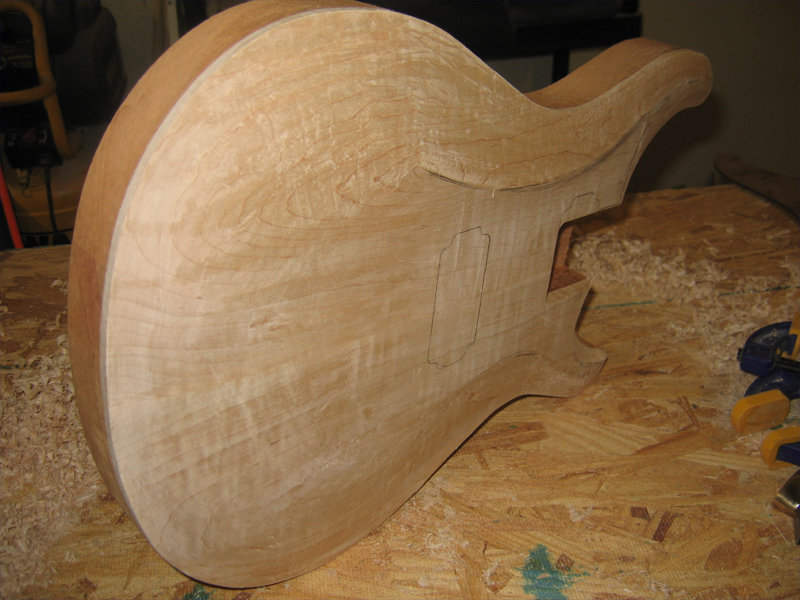
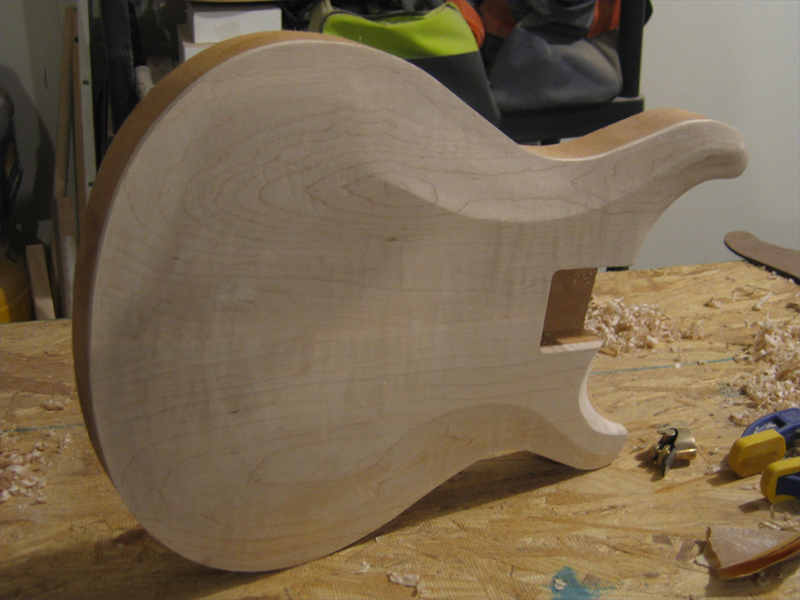
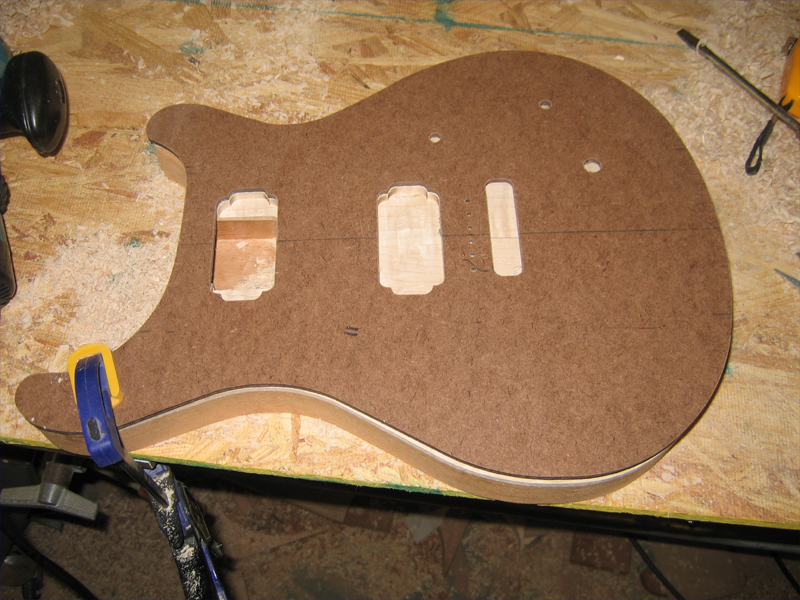
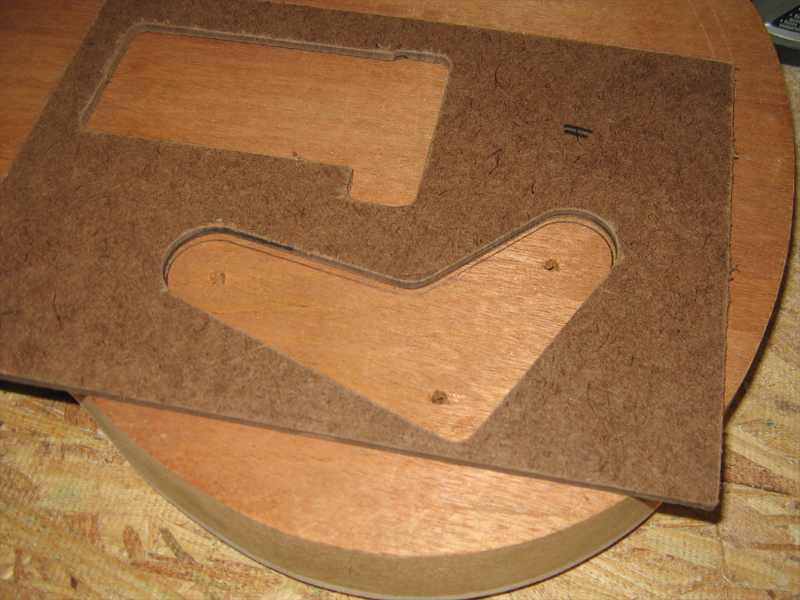
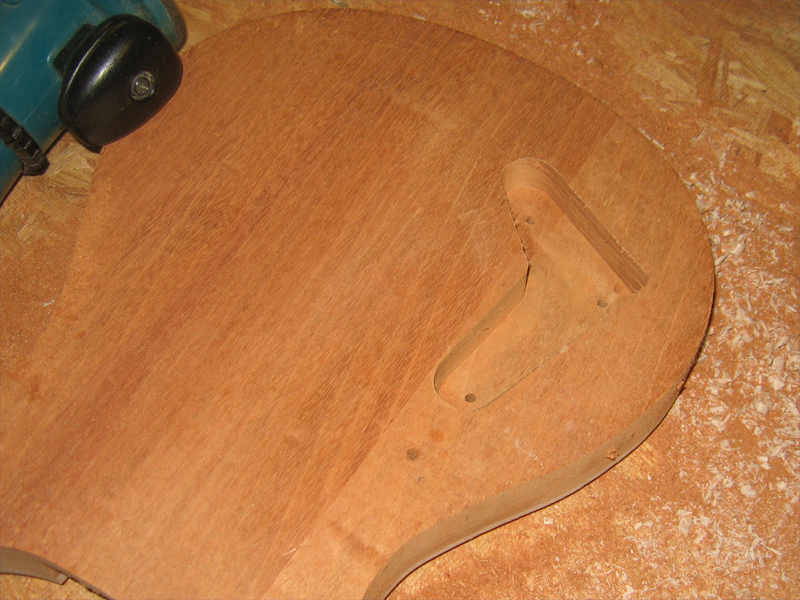
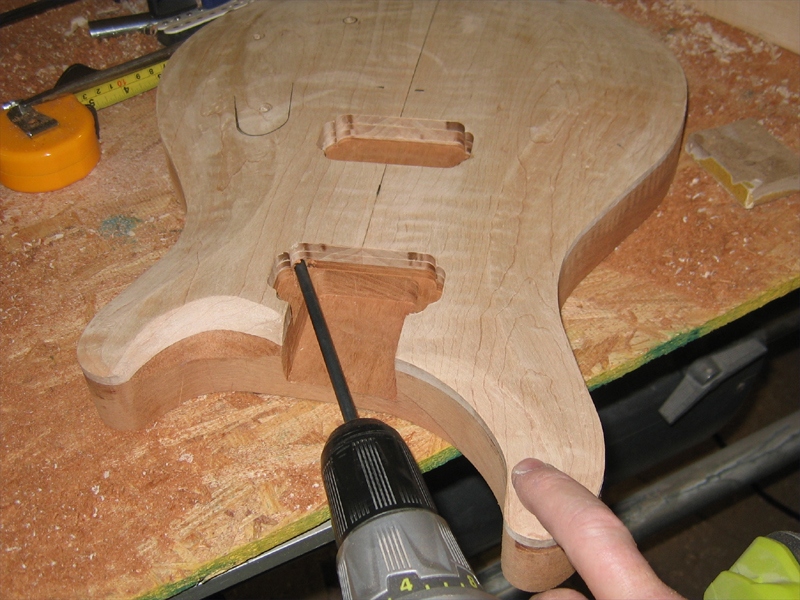
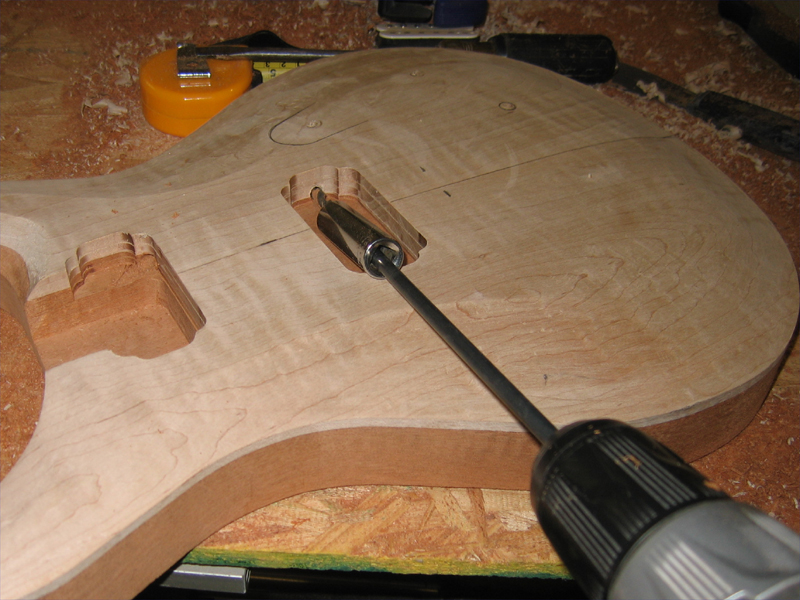
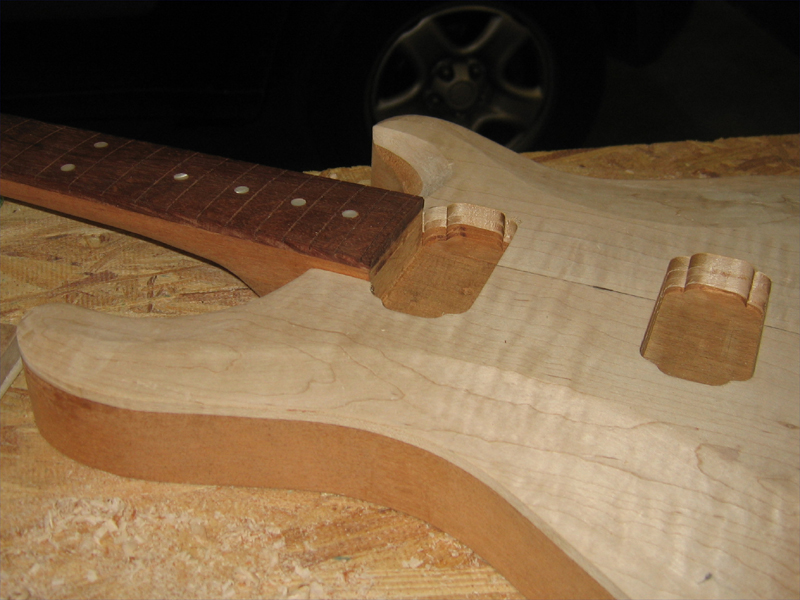
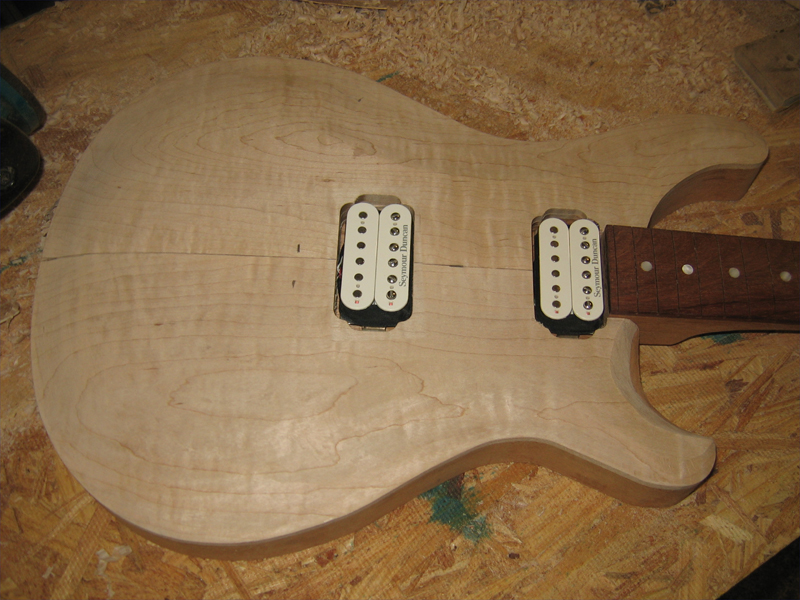
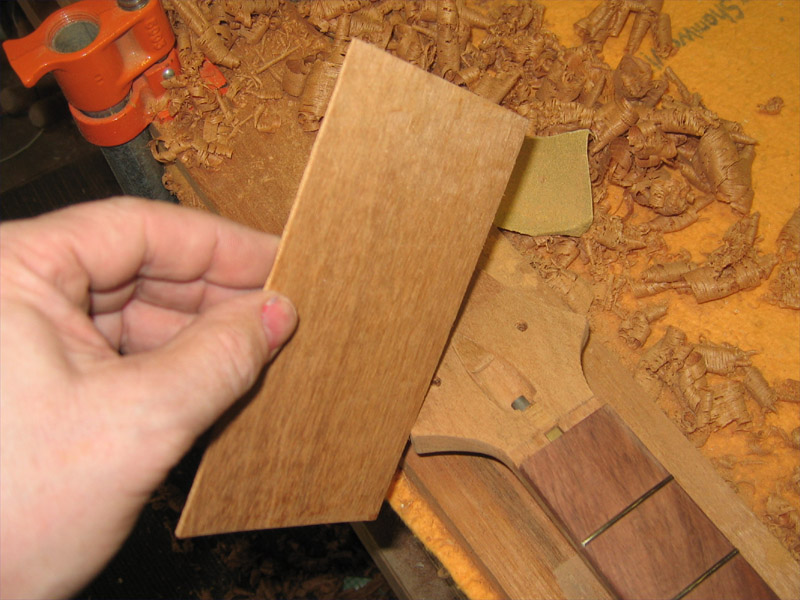
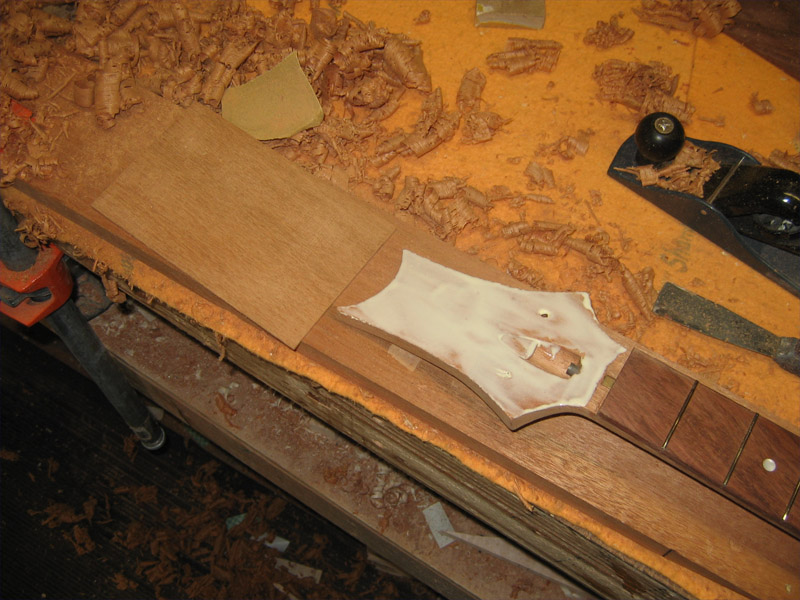
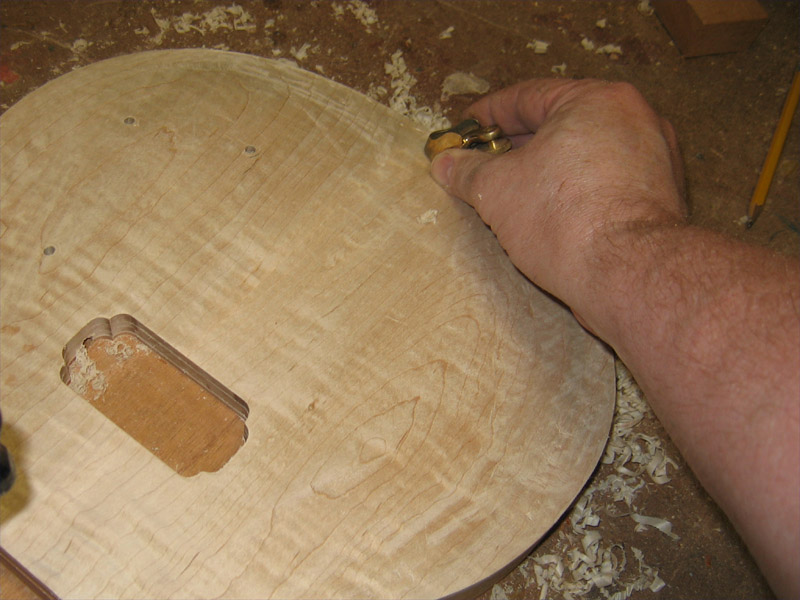
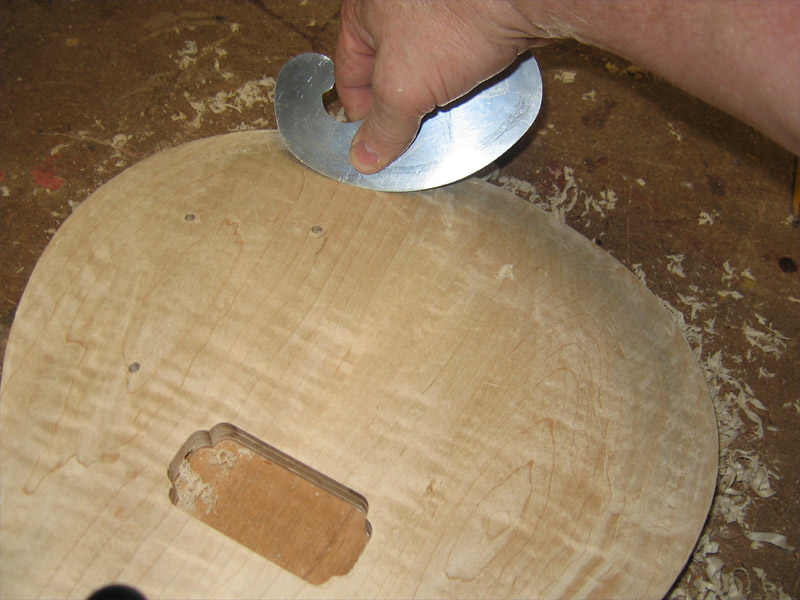
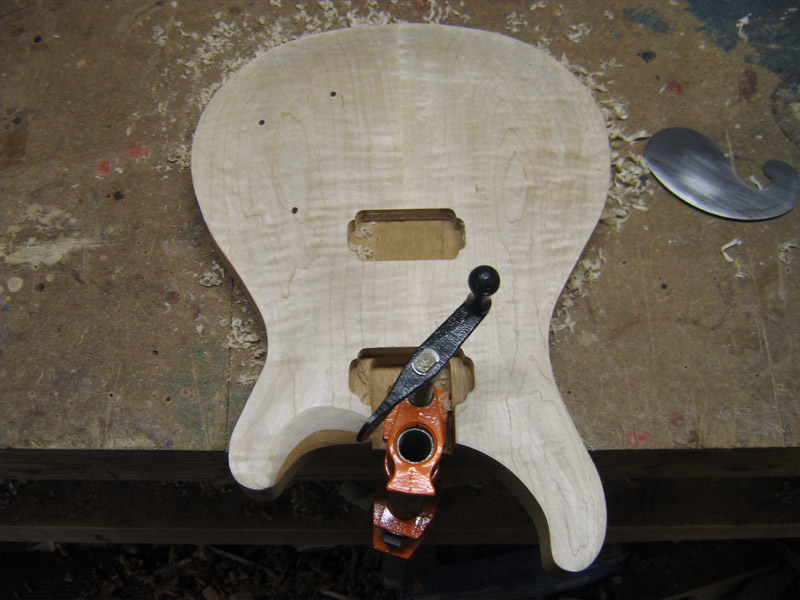
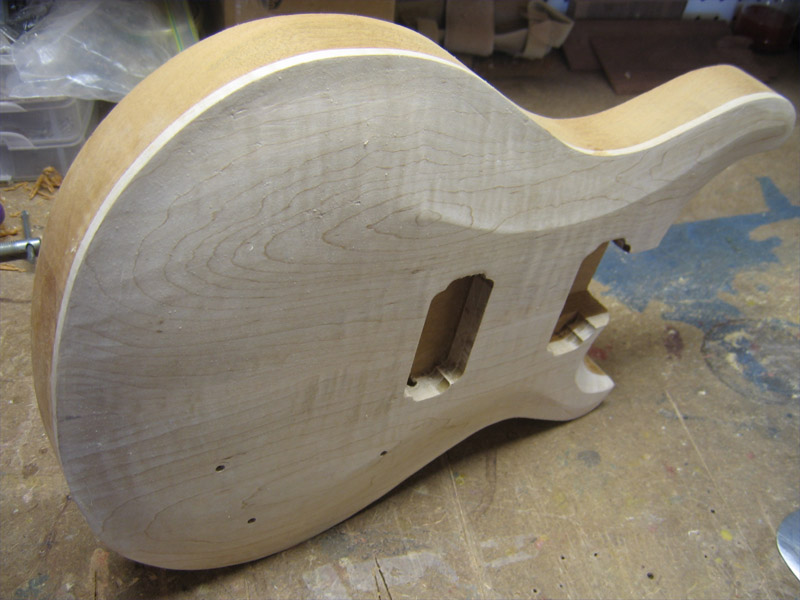
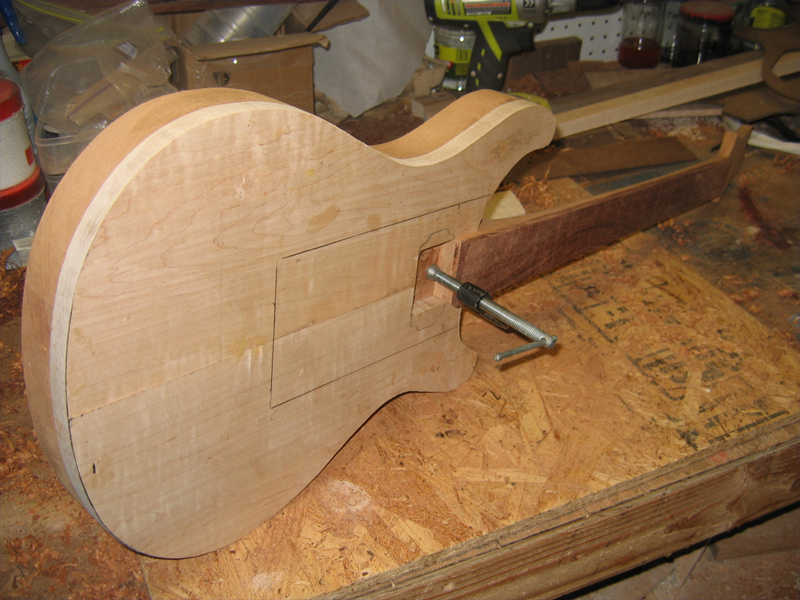
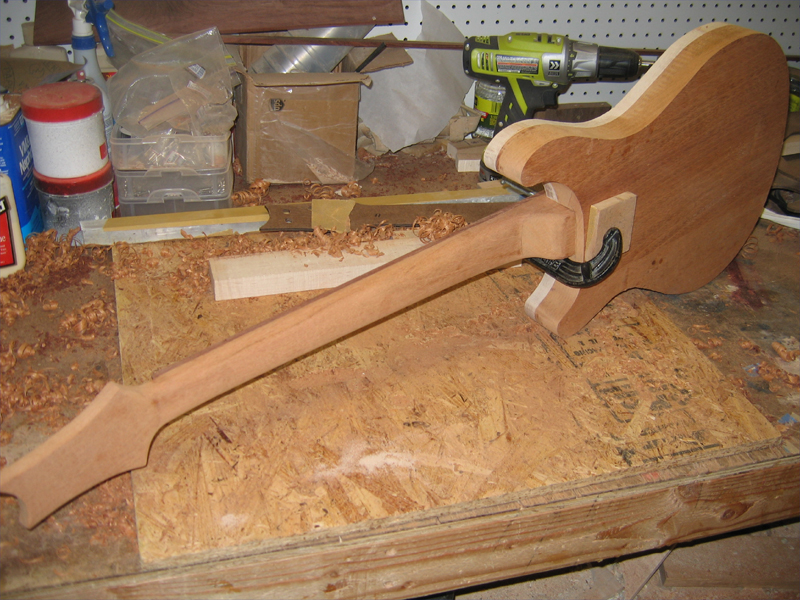
    Still lots of work to do on the body but it's shaping up.


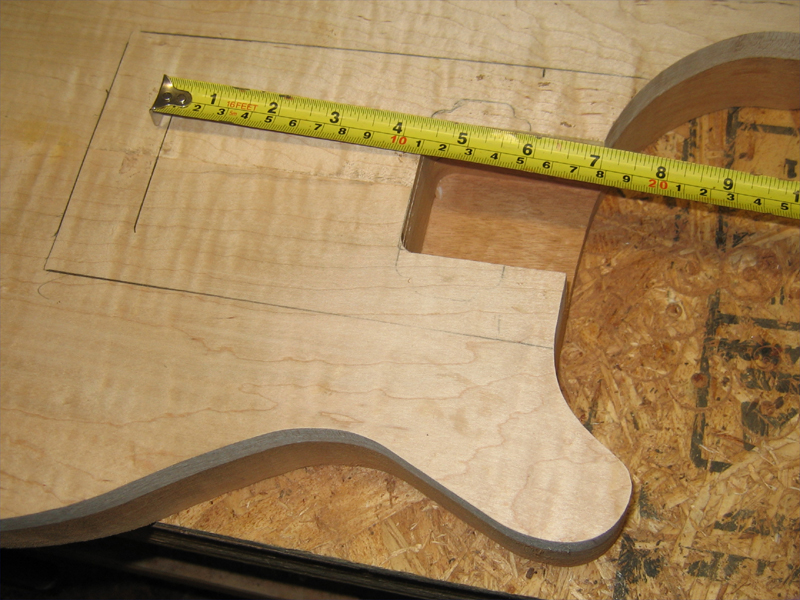
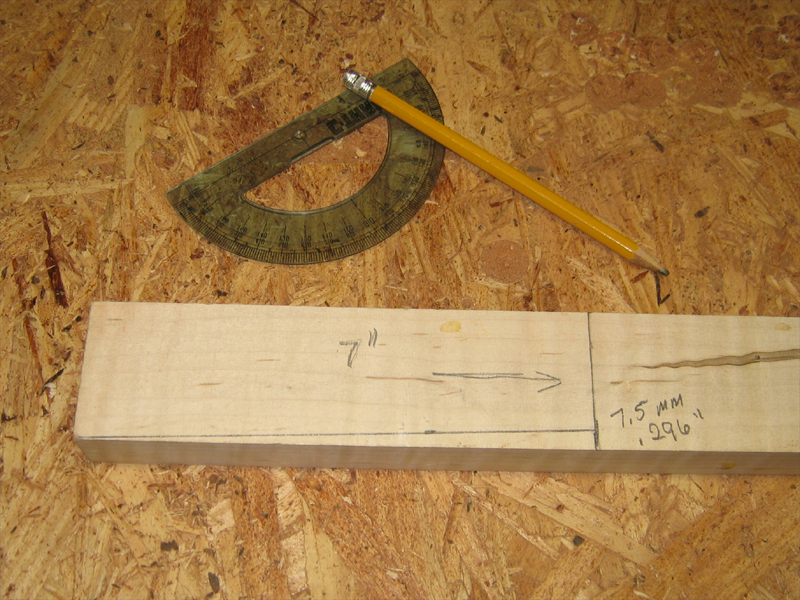
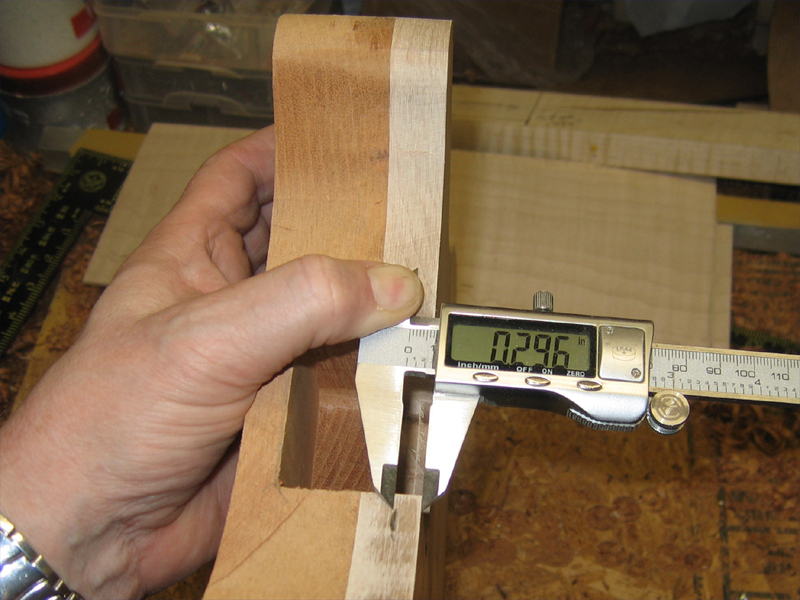
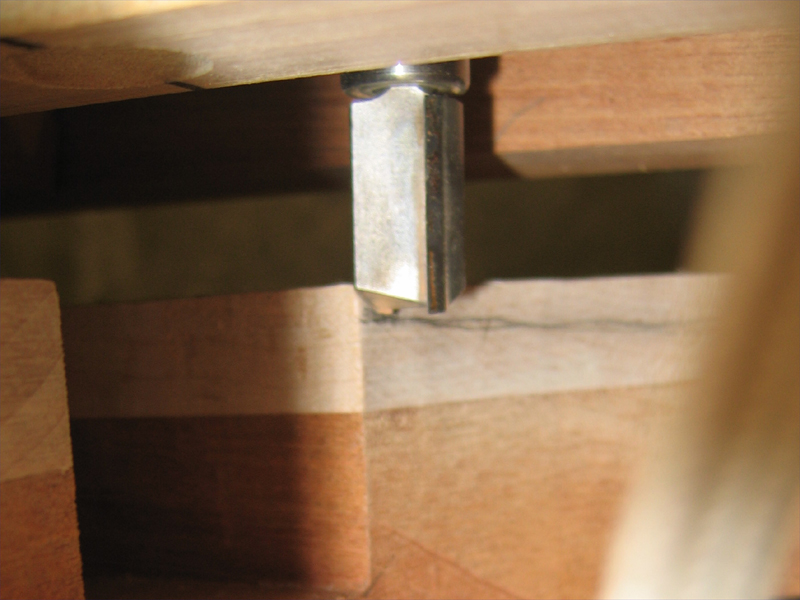
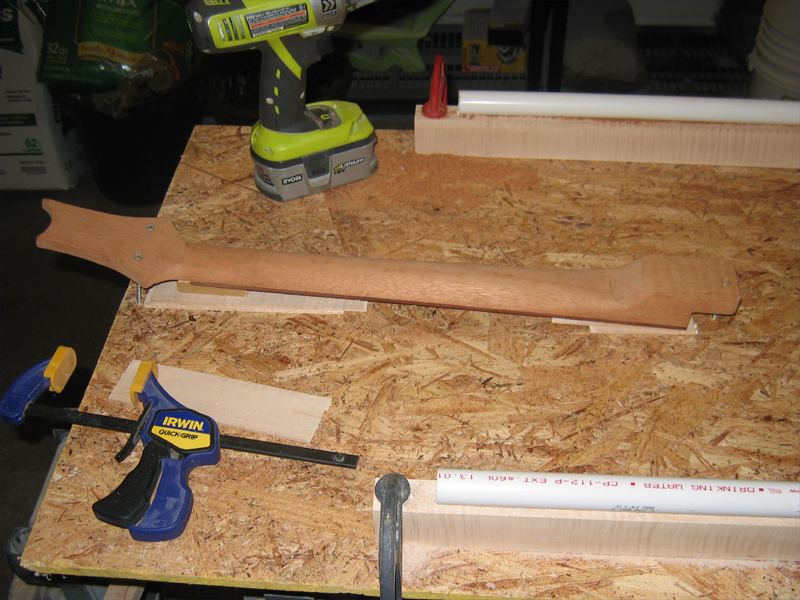
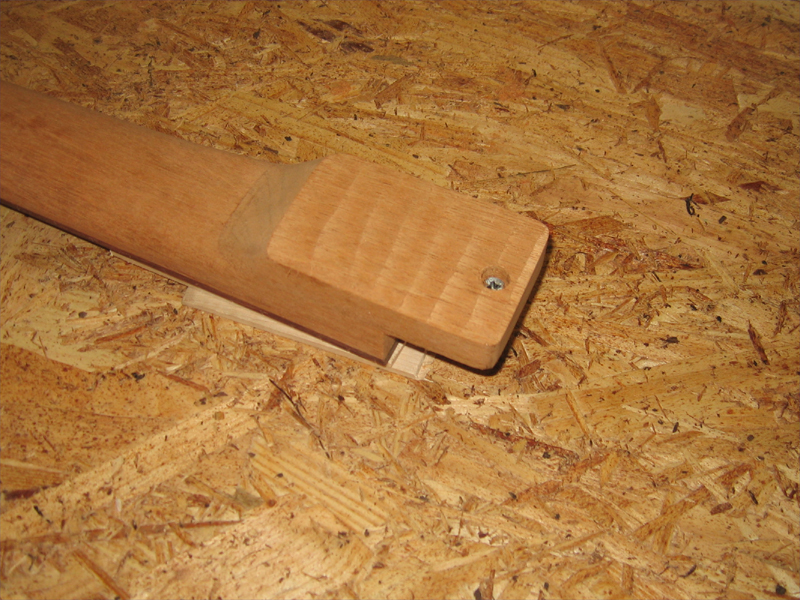
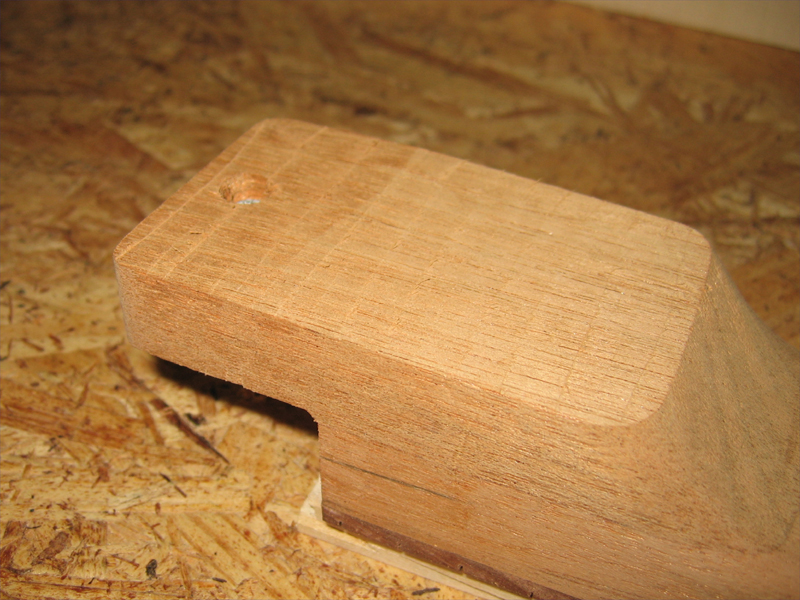
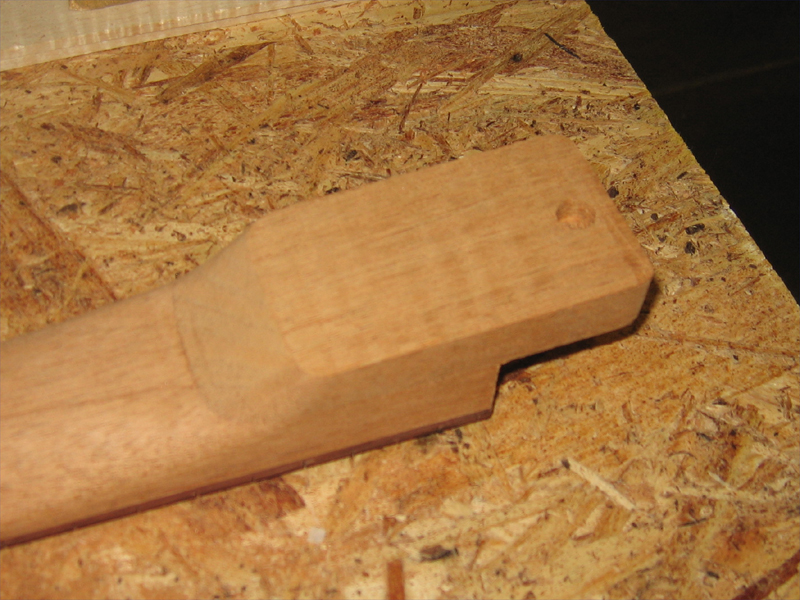
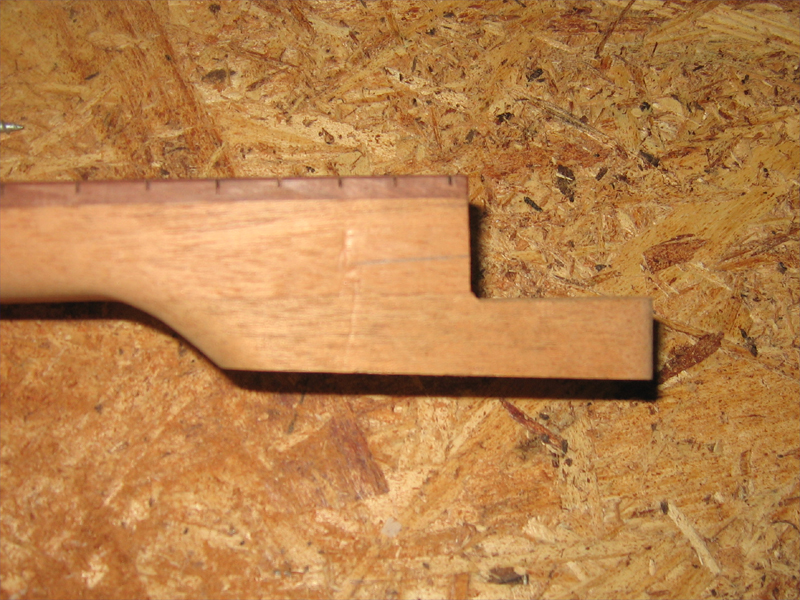
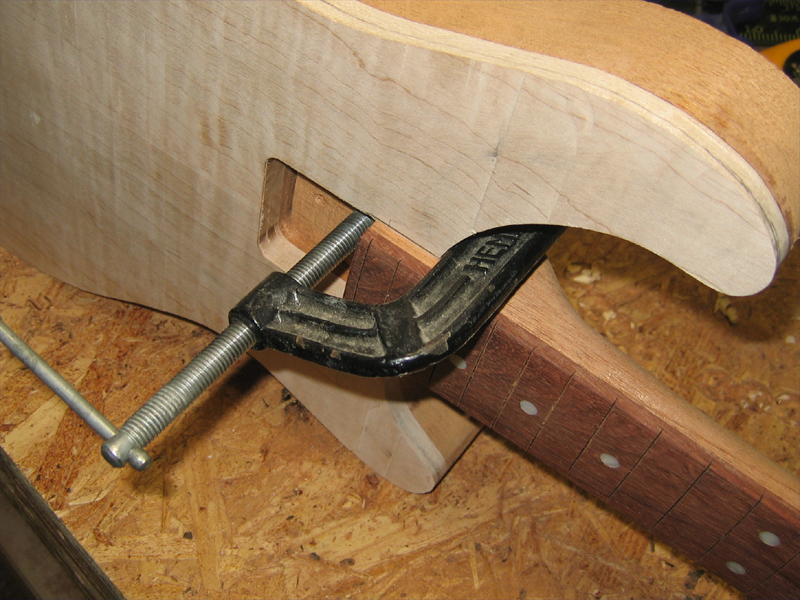
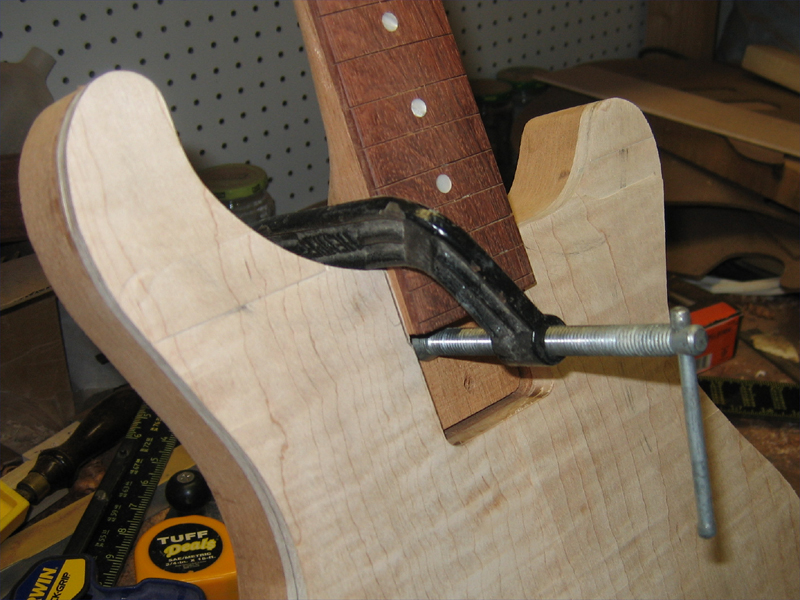
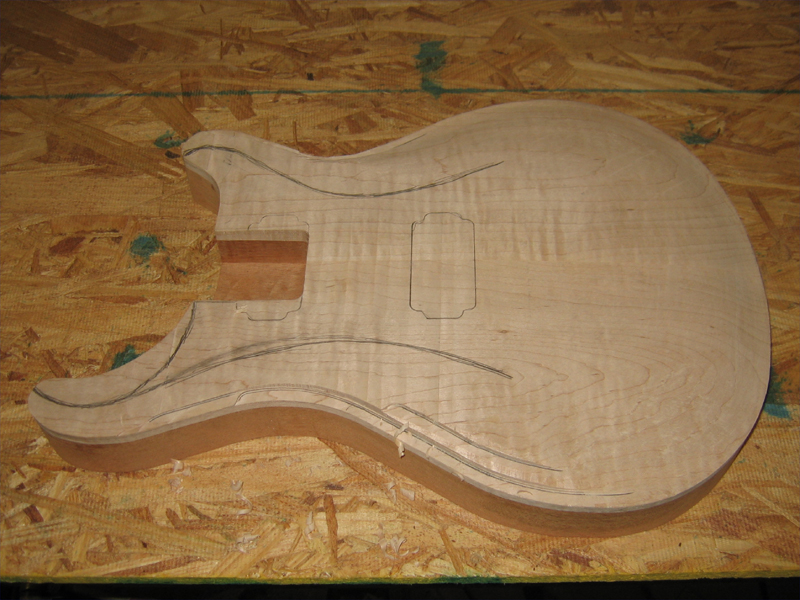
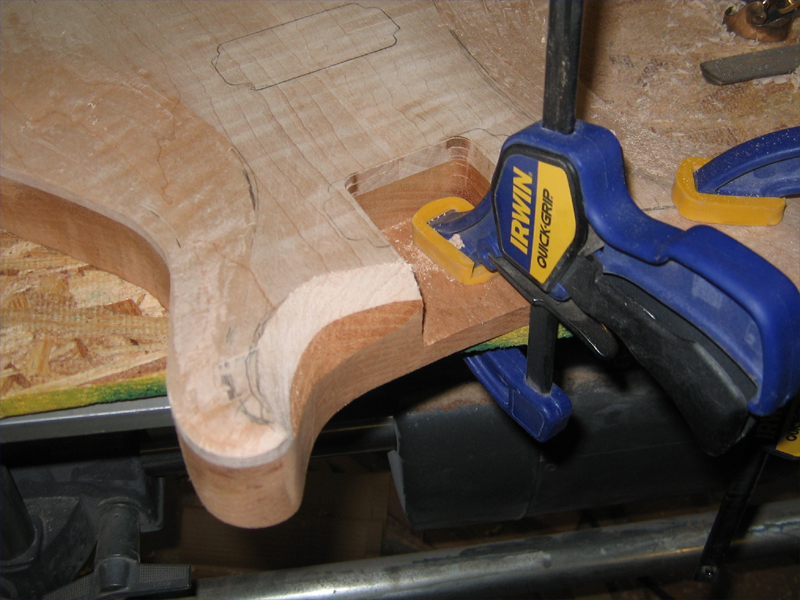
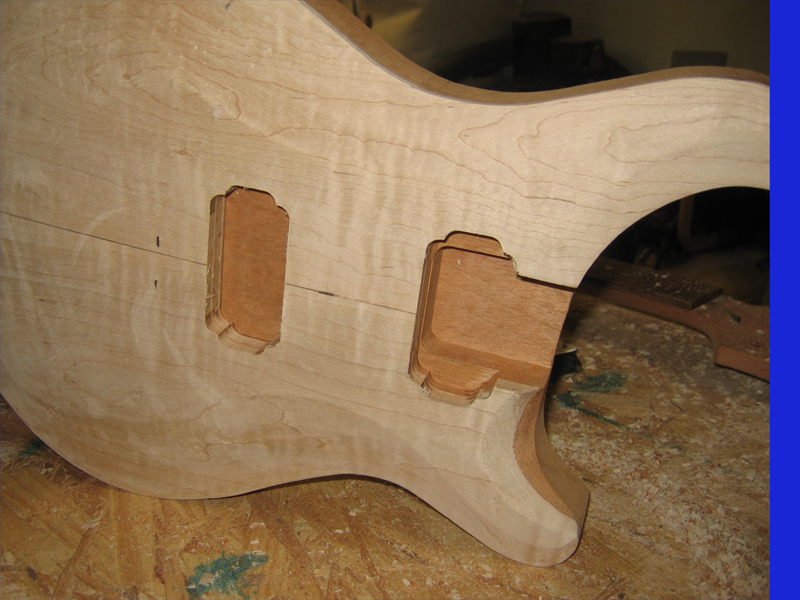
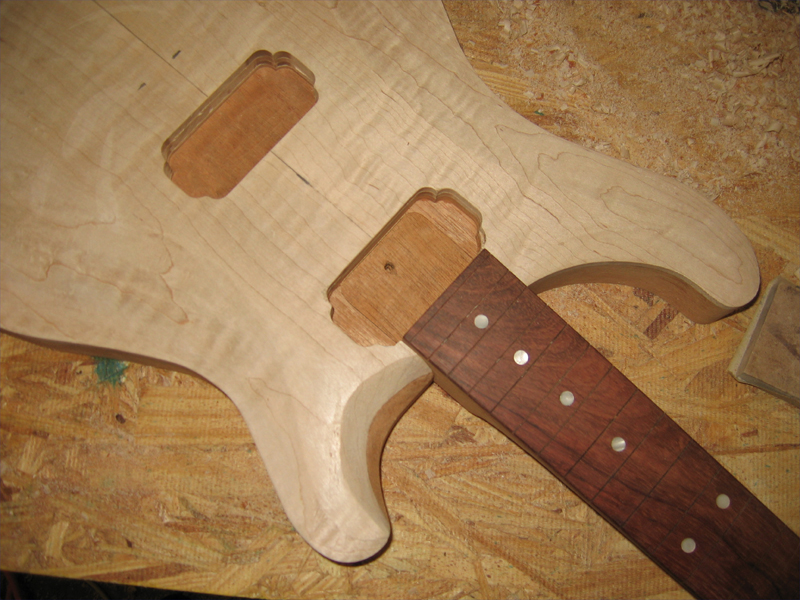
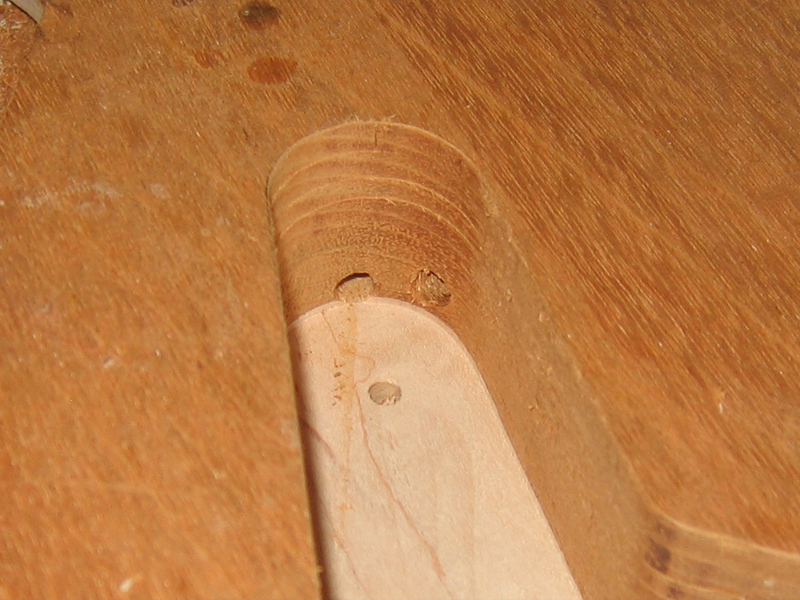
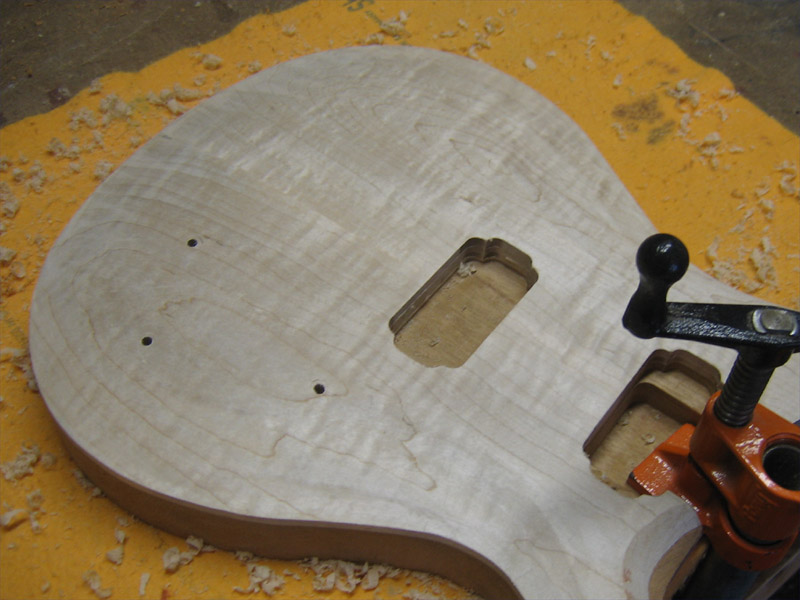
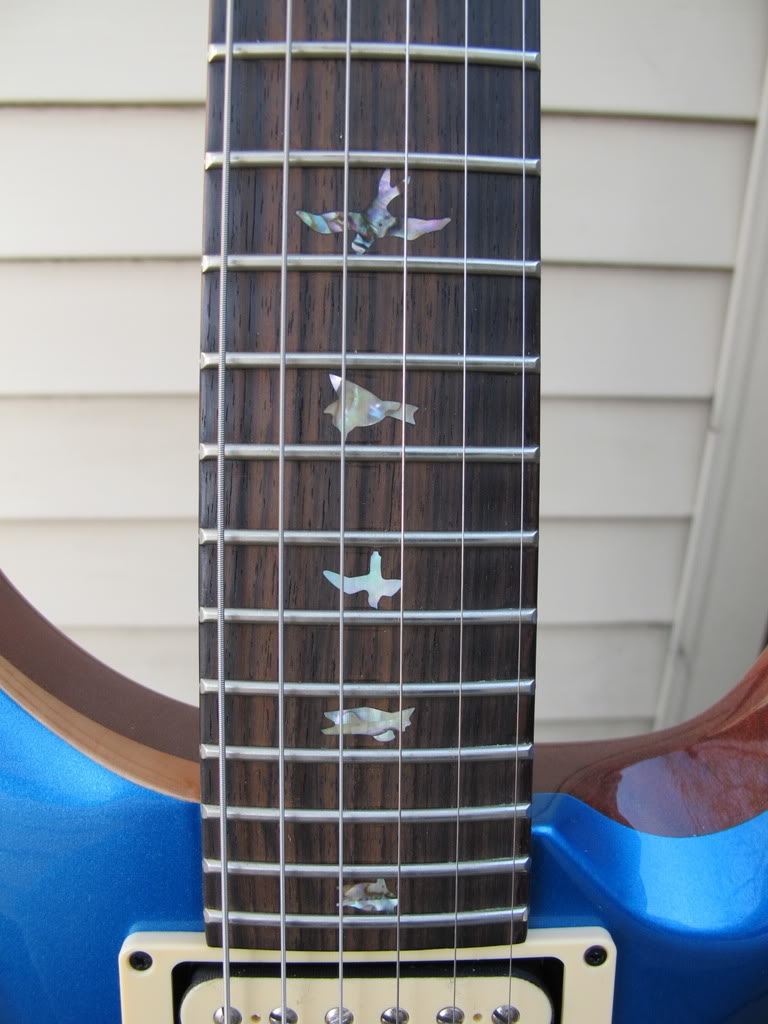
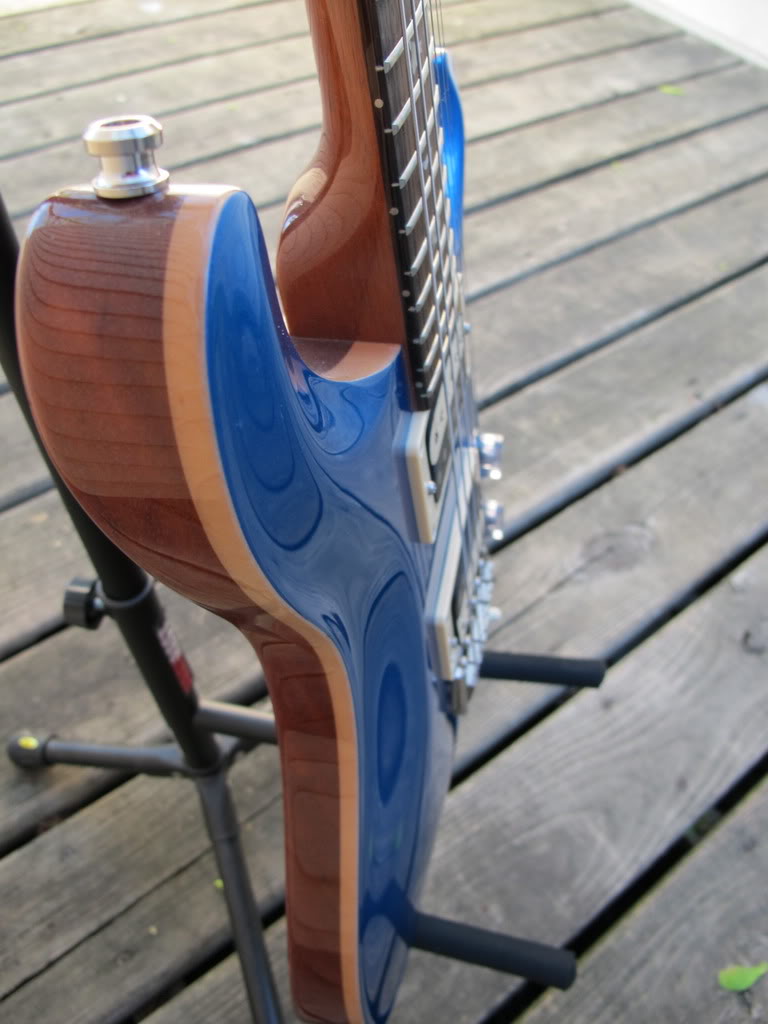
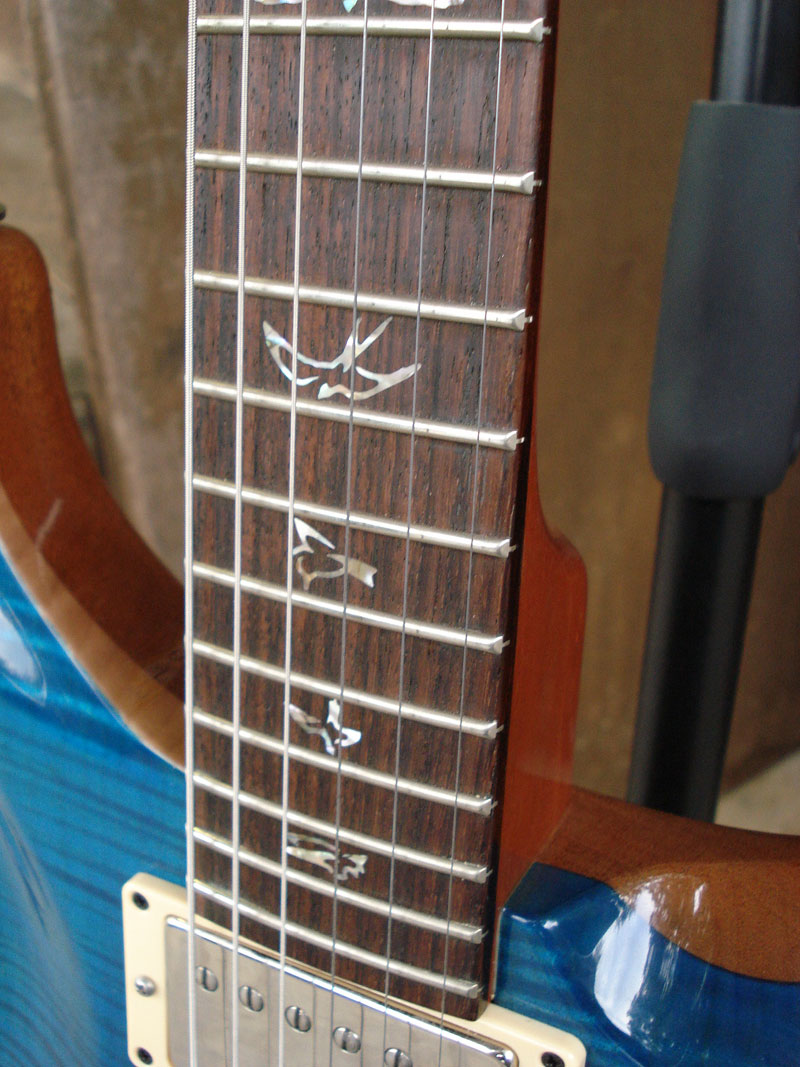
    I took another look at the neck angle situation. First. I wanted to get an idea of how the neck is set. I found a few detail shots that shed some light on this.


    I can see from these that the thickness of the top, at the neck pocket, varies a bit from model to model. The thickness here would indicate the steepness of the angle...more top remaining, lesser angle. Less top
    thickness remaining, steeper angle.
    Last edited by Mark Crenshaw; 05-03-2010 at 10:40 AM.
    "Thought that is no longer limited brings experience that is no longer limited" Marianne Williamson.

  2. #17
    So, to determine the angle I want, I started by measuring the distance from where I assume the top starts to roll off. I assume this is just in front of the bridge since I wouldn't want the bridge posts in at an angle but perpendiculat to the top. I made a mark at the bridge side of the nridge PU route and measured out to the farthest point. Almost 7".


    Then on a piece of scrap, I set a 4.5 degree angle and drew it out to 7". This tells me the amount of top that would be removed at the end of the pocket so the carve matches the neck angle. Or more importantly, the amount that will remain.


    I transferred this mark to the top.


    Following this mark down to a minimum 1/4" faux binding for the rest of the guitar gives me a visual reference to see if the angle is in line with what PRS is doing. To me, 4.5 degrees seems a bit steep. Maybe more in the 3 degree mark that ehawley provided. Thanks again Ed!


    I'll map that out and see where it lands.
    "Thought that is no longer limited brings experience that is no longer limited" Marianne Williamson.

  3. #18
    Well, I'm getting more info on the carve. I have decided to go with a 3 degree neck angle which means I need a matching surface on the top. As I see PRS tops, there is an "alley" that runs, at the neck angle, from just in front of the bridge to the neck pocket. This places the PUs and fretboard in the same plane.

    So, my thinking is this...

    By using a router sled, with the body 3 degrees to the table, I can shave the top down at a 3 degree angle along this area. The carve is less severe as it moves to the neck so removing this material across the full width of the body should be fine.

    I started by setting up the Shopsmith with the extra table and trunion on it and laying a piece of OSB down as a base. I cut 2 pieces of hard maple scrap into rails and attached some 1" PVC pipe. I ran the rails thru the planer together to make sure they are exactly the same thickness before attaching the pipe.


    I then made a sled out of scrap mahogany and ash. Then leveled everything left to right and front to back.


    Initially, I thought I had the setup I wanted. But as I adjusted cut angle by sliding a shim under the body, I could get the depth of cut I wanted at the pocket but I would have been cutting way too far up the body to get to a zero pass.


    Then it occured to me that my pivot point was the end of the body. It needed to be at my zero cut line. I moved the shim to that point which elevated the end of the body off the base allowing it to pivot at the new location. The 2 MDF blocks that are screwd down at the body horns are able pivot on their screws allowing me to tweak the angle.


    Much better control now.


    The zero cut line is just to the right of the bit...during the first pass, the left side of the bit would travel along this line.


    Now I just need the courage to fire it up and start cutting.
    Last edited by Mark Crenshaw; 05-03-2010 at 11:06 AM.
    "Thought that is no longer limited brings experience that is no longer limited" Marianne Williamson.

  4. #19
    Well, not being the patient type and having only limited time to work on guitars, I pushed forward. I thought it through, checked and double checked then made the first cut. Works just like I planned.


    Some progress shots.


    When I got to this point...just past the end of the pocket, I pulled the pivot point and shimmed the body flat. I finished the cutting like this. Had I continued on at an angle, I would have nothing to carve out on the horns. The cut would have been down to the binding height.


    You can see in this pic how it levels off, leaving enough to carve down to the binding level. The binding might be just under 1/4" but that's better than having no detail in the carve on top.

    Last edited by Mark Crenshaw; 05-03-2010 at 11:08 AM.
    "Thought that is no longer limited brings experience that is no longer limited" Marianne Williamson.

  5. #20
    Looks good to me. I'll need to bring the neck tenon down in thickness and cut it the carve angle before I can see the finished result.


    Having figured out the top carve situation, I needed to put the same angle on the neck heel. I used the same router sled setup that I used for the top.

    This was a bit tricky because I had already radiused the fretboard...had I known I would have left it flat for sure.

    I drilled small holes in 2 of the tuner locations and a deep countersink...far below where the router bit would travel...in the tenon. This not onlt allowed me to plant it firmly on the table but I used the 2 screws in the headstock to level the neck side to side. Crude, but it worked.


    I ended up going with a 4 degree angle since my top came out a bit steeper than the 3 degrees I was shooting for...turns out to be closer to the angle PRS uses on the 22s and 24s.

    I measured the distance from the end of the tenon to the nut end of the fretbaord...20.125". I then ran that 4 degree angle out to this distance on a piece of scrap and that gave me my elevation for the headstock end of the neck.


    Before locking in the angle, I ran a test/cleanup pass.


    Then I set the angle and adjusted the router so it was just breathing on the end of the tenon. You can see in this pic the result of the first pass. It caught most of the heel but missed the area to the left at the end of the tenon.


    The next pass was set for final depth and here is the result. Me likey...


    Last edited by Mark Crenshaw; 05-03-2010 at 10:43 AM.
    "Thought that is no longer limited brings experience that is no longer limited" Marianne Williamson.

  6. #21
    It sits in the pocket nicely...still a bit sloppy because I need to reshape the end of the tenon for the angle. It's still just a bit high but I'll block it down like they do at PRS...on a large flat block with 120 grit on it. I can really dial it in that way and mahogany is so easy to sand, it won't take long.


    These are being posted out of sequence in the build but I wanted to include them. I got so absorbed in the body/neck join that I overlooked posting some neck work.

    Nothing new here but important to the build none the less.

    I have all my supplies laid out for the dot markers. I hand drill the holes because I feel like I have better control than with a drill or drill press. I can cut them by hand with a brad point bit in just a few minutes.

    I save some of the shavings as I go in case I get one too deep. I just toss in a couple of shavings and the Weldon cement glues them in place when the dot is placed.

    I've found that a 1.25" ring shank nail is very handy during this process. It fits perfectly down the opening of the glue tube...this stuff dries FAST and it needs to be cleared regularly. The head of the nail also fits the dots and can be used to press them in place. It helps tuck shaving into the holes too when needed.


    All the dots glued in place.


    Some light clamping pressure makes sure they stay put...hydraulic pressure for the glue can cause them to rise up...though the cement sets so quickly, it's not likely but I clamp just in case.


    Here I've started the radius. You can see I have a stubborn low spot around the upper frets. Not a big deal as I like a bit of roll-off at the higher frets anyway.


    All done, sanded to 320, the edges eased a bit. I would have fretted it right away, but at this point I still had to deal with the heel angle.

    "Thought that is no longer limited brings experience that is no longer limited" Marianne Williamson.

  7. #22
    I started on the carve this week. I set up the SDG to cut the landing level for th carve.


    Since part of the top os no longer flat, I set the bit to the lowest point perpendicular to the end of the neck pocket. This is the minimum or actually zero cut.


    On the end of the body where it hasen't been thinned out, this is the maximum cut. The distance between the body and the tongue of the SDG is the width of the cut.


    Here's the first pass...half depth.


    ...and the second pass...the same width but taken to full depth.

    "Thought that is no longer limited brings experience that is no longer limited" Marianne Williamson.

  8. #23
    \Set up for the second level.


    After cutting the second level which is was taken almost to the upper and lower waists. And the third level which was run from the zero cut line from the milling step , top to bottom.


    After working the edges down, I started working from the middle layout line outward to the edges...in sort of a "sun ray" pattern.


    I worked this pattern from one end of the level 2 cut to the other.


    After a quick pass with a scraper to check the blend.

    "Thought that is no longer limited brings experience that is no longer limited" Marianne Williamson.

  9. #24
    After doing a quick layout and marking the PU routes, I started working on the horns.


    The carve on the end of the body is sort of bell shaped...lofting from flat to the landing level in a genle arch. The crve on the upper horn transitions to a convex shape that starts at the layout line ans scoops down to the landing level. The area just to the right of the plane in this pic, averages the 2 for a smooth transition.


    Then I started the carve back toward the neck pocket.

    "Thought that is no longer limited brings experience that is no longer limited" Marianne Williamson.

  10. #25
    The carve on the lower horn is similar but happens a shorter area so it's roll off to the binding level appears to be steeper....more compact.


    Then I worked on the scooped out area. This is one of my least favorite details of the carve...looks like they just couldn't come up with anything else to do here. But, in keeping wirh the design...


    The roughed in carve...


    After a little time with a scraper and 120 grit.


    "Thought that is no longer limited brings experience that is no longer limited" Marianne Williamson.

  11. #26
    More pics. I'll fill in the details later...though most of it's obvious in the pics.


    "Thought that is no longer limited brings experience that is no longer limited" Marianne Williamson.

  12. #27
    IMG]http://www.crenshawweb.com/prs22/body83.jpg[/IMG]


    "Thought that is no longer limited brings experience that is no longer limited" Marianne Williamson.

  13. #28
    With the carve roughed in and most of the machining done, I want to get the neck ready to glue in.

    Frets first. Nothing new here but I did want to show some pics of how I do this. There is a recent thread here of a first time neck build and while the work is very clean and the poster is doing an excellent job, I noticed he used ALOT of fret wire. And I see it quite often...lots of wire getting clipped away. There's really no reason for it...other than fear maybe.

    Since most of us over-radius the wire anyway, keep in mind that even if you cut the wire to the exact width of the fretboard, there's already more wire there than you need for the fret.

    I cut mine this way...just the width of the board at each position.


    When it's set into the slot, it should just reach the edges.


    When it's tapped into place, thers's just enough to start the dressing stage with a clean snip.


    If it comes up short on one side, just tap it thru the slot to even it out.

    "Thought that is no longer limited brings experience that is no longer limited" Marianne Williamson.

  14. #29
    With the frets in place and a quick pass of the file done to take the sharp ends down, I moved onto the headstock veneer. I was going to use a quilted maple veneer, but I really like the look of mahogany as PRS does it on theirs.

    I taped down a piece of mahogany to a larger board and used a hand plane to take down the thickness. I could have done this on the band saw but I need to get my hand planing skills in order...


    Down to 2mm and ready to glue up.


    Lots of gentle, even pressure to make sure it lays flat on the headstock.

    "Thought that is no longer limited brings experience that is no longer limited" Marianne Williamson.

  15. #30
    While the veneer is setting up, I started dialing in the carve. A pass with a scraper, paying close attention to high and low spots. The french curve type like I use gets you into all sorts of curves and detail...very handy vs a flat or curved scraper.


    I had several high spots on the edges, so I worked the finger plane around the perimeter to level them out. This also enhanced the edge of the carve. Since the plane has a convex sole, I didn't touch the height of the binding but just slightly "scooped" along the edge.


    Then I followed with a scraper to blend the ridge left by the plane.


    The flame is starting to look pretty good on this one. I wasn't sure how it would turn out since it wasn't bookmatched.


    All cleaned up and ready for the neck.

    "Thought that is no longer limited brings experience that is no longer limited" Marianne Williamson.

Posting Permissions

  • You may not post new threads
  • You may not post replies
  • You may not post attachments
  • You may not edit your posts
  •