Page 3 of 5 FirstFirst 12345 LastLast
Results 31 to 45 of 67

Thread: New Build - PRS Custom 22

  1. #31
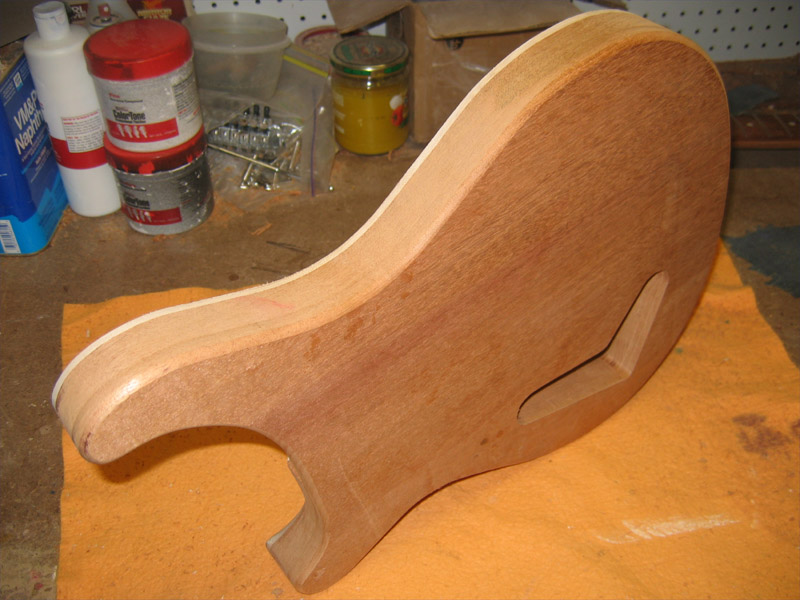
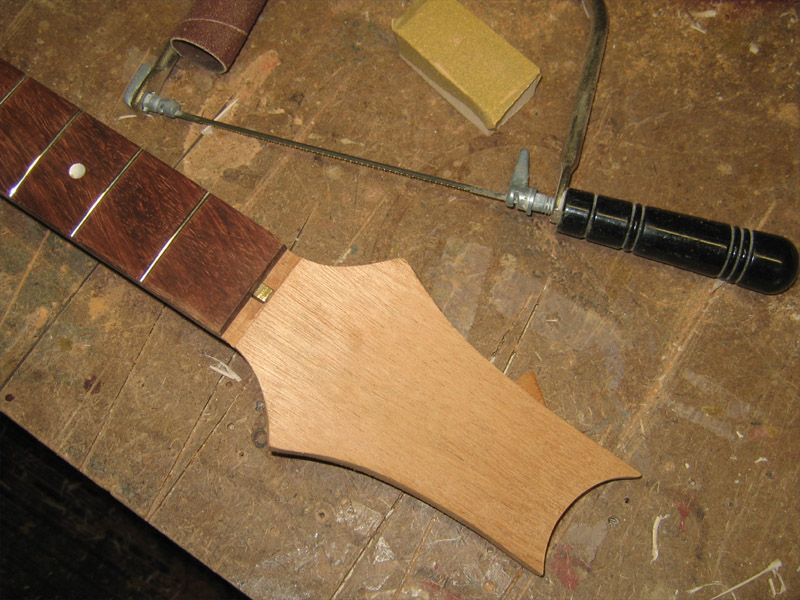
    Here's the veneer all trimmed up. I cut it close with a coping saw and then cleaned it up with a spindle sander sleeve...they're great to have around for work like this.


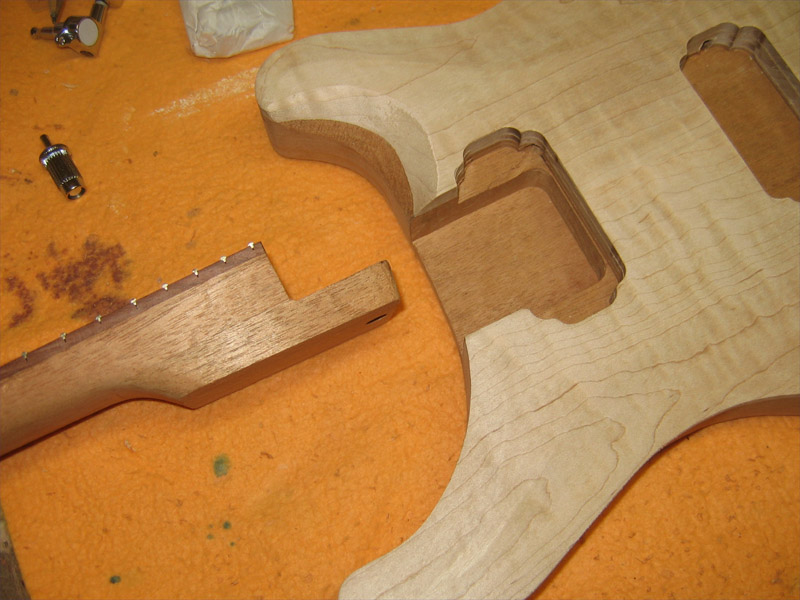
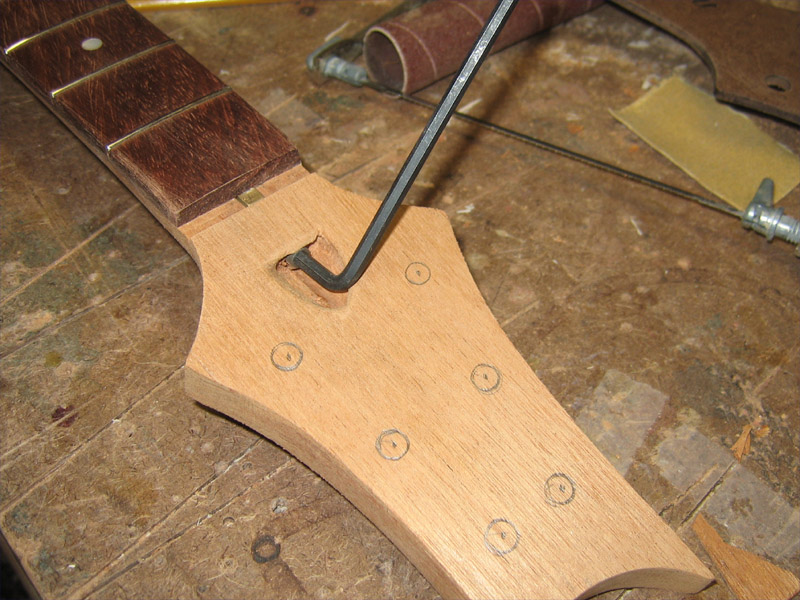
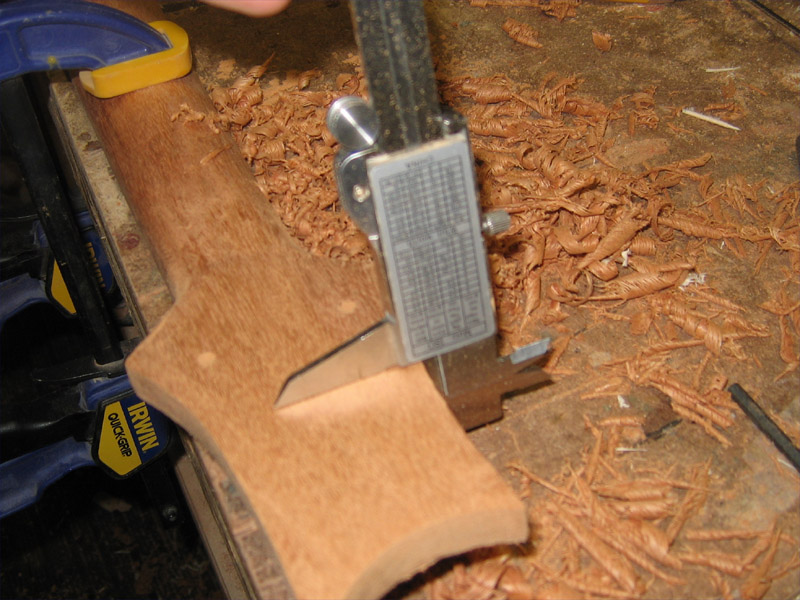
    Then I opened up the truss rod access.


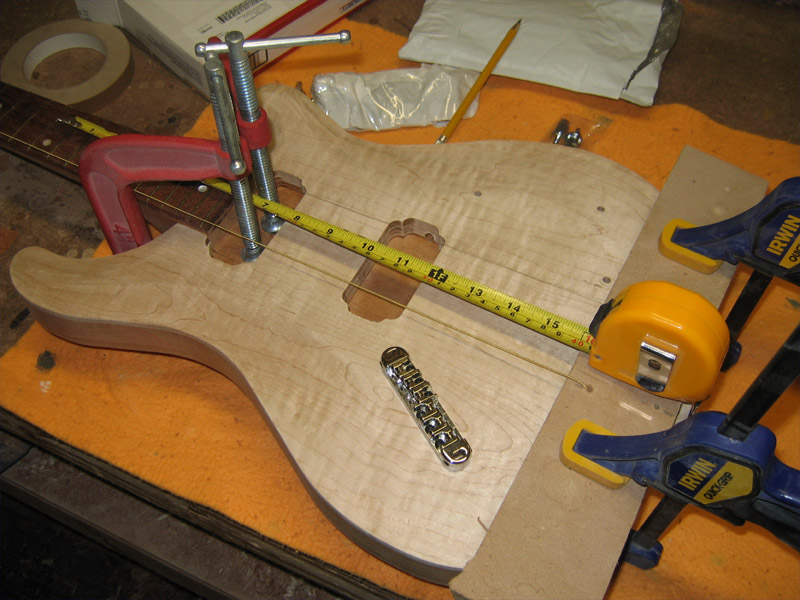
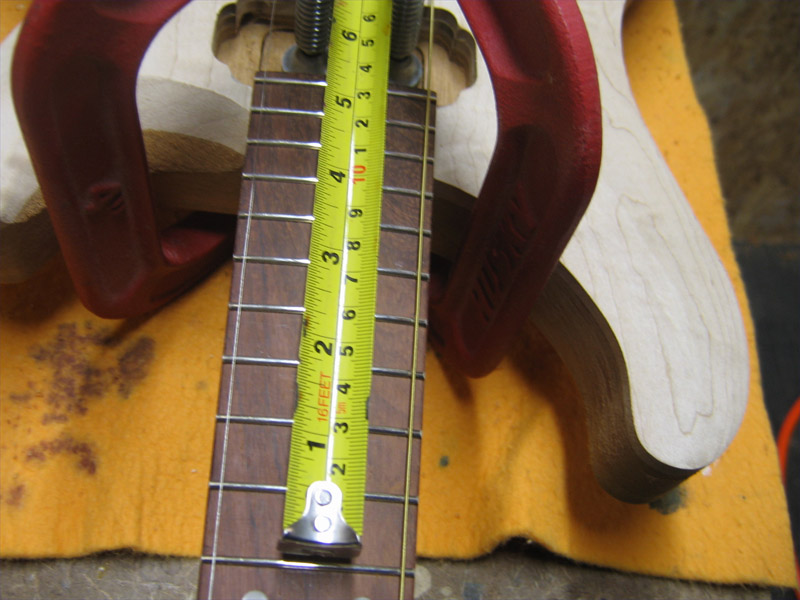
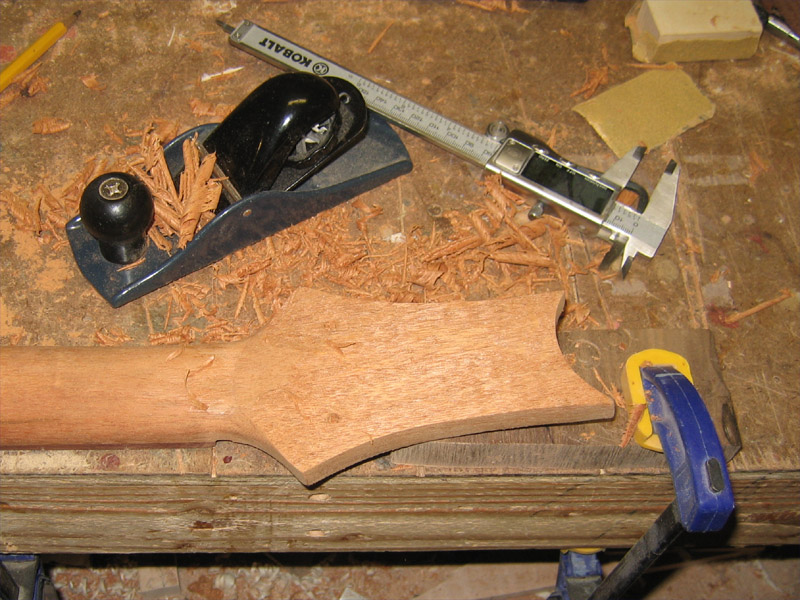
    After checking the thickness after the veneer was applied, I needed to take it down a bit. I planed it off the back of the headstock. I took it down to .650".


    Ready to go. I just need to block it smooth and down to finished tickness at .500".


    More to come...
    "Thought that is no longer limited brings experience that is no longer limited" Marianne Williamson.

  2. #32
    All I can say is, remarkable.

    Thanks for posting all that. Very educational.

  3. #33
    Join Date
    Feb 2010
    Location
    Collegeville PA (30 min west of Philly)
    Posts
    1,143
    Blog Entries
    1
    I really enjoyed reading all of this. Thank you for taking the time to post such great pictures and descriptions.
    - Bob R.
    Collegeville PA (30 minutes west of Philly)

  4. #34
    Join Date
    Feb 2003
    Location
    Yorktown, VA
    Posts
    2,755
    This is a great read! It's clear that building a guitar involves a lot of patience. It shows in the build and also in the way you have documented the process. Thank you for the education.

  5. #35
    Join Date
    Aug 2005
    Location
    Glenmoore, PA
    Posts
    2,194
    Mark - outstanding posts and work. You are killing me though, I have a strat build at the top of the list for next project ... I just can't get to it because of current projects.

    Excellent work!

  6. #36
    Join Date
    Oct 2007
    Location
    Carol Stream Illinois
    Posts
    593
    Mark,

    Great work as always, I also enjoy seeing the pictures where you are using the bandsaw, horizontal boring machine, drill press etc. There are so many folks here on the Creek that kick sand in the face of ShopSmith and say you can not do quality work with such a tool. As I have always believed, it is not the tool but the craftsman/craftswoman, you definately demonstrate that. I grew up at my fathers side with a ShopSmith, he taught me the basics of woodworking on that machine and I own one now. I am also fortunate to have many dedicated machines which I will never part with, the same goes for the ShopSmith.

    Rock On!!!!!!!!

    Heather
    Any thing with sharp teeth eats meat.
    Most powertools have sharp teeth.
    People are made of meat.

  7. #37
    Quote Originally Posted by Phil Thien View Post
    All I can say is, remarkable.

    Thanks for posting all that. Very educational.
    Thanks Phil. I'm glad you're getting something from it. These builds get a bit redundant after awhile.

    Quote Originally Posted by Bob Riefer View Post
    I really enjoyed reading all of this. Thank you for taking the time to post such great pictures and descriptions.
    Thanks Bob. My pleasure.

    Quote Originally Posted by Ted Calver View Post
    This is a great read! It's clear that building a guitar involves a lot of patience. It shows in the build and also in the way you have documented the process. Thank you for the education.
    Hi Ted. Happy to share.

    Quote Originally Posted by Larry Fox View Post
    Mark - outstanding posts and work. You are killing me though, I have a strat build at the top of the list for next project ... I just can't get to it because of current projects.

    Excellent work!
    Thanks Larry! Simple solution on the Strat...make it a current project.

    Peace,
    Mark
    "Thought that is no longer limited brings experience that is no longer limited" Marianne Williamson.

  8. #38
    Quote Originally Posted by Heather Thompson View Post
    Mark,

    Great work as always, I also enjoy seeing the pictures where you are using the bandsaw, horizontal boring machine, drill press etc. There are so many folks here on the Creek that kick sand in the face of ShopSmith and say you can not do quality work with such a tool. As I have always believed, it is not the tool but the craftsman/craftswoman, you definately demonstrate that. I grew up at my fathers side with a ShopSmith, he taught me the basics of woodworking on that machine and I own one now. I am also fortunate to have many dedicated machines which I will never part with, the same goes for the ShopSmith.

    Rock On!!!!!!!!

    Heather
    Hi Heather. Thanks for the kind comments.

    Good to hear from another Shopsmith user. I agree 100%...a person with no ability could stand in a room full of the finest tools in the world and never produce anything. Where a skilled craftsperson, like many of you here on the Creek, could turn out the finest of projects with simple hand tools.

    Great story about your dad. Happy memories like those fuel the creative spirit.

    Peace,
    Mark
    "Thought that is no longer limited brings experience that is no longer limited" Marianne Williamson.

  9. #39
    My goal last night was to get the neck glued in. Before that, I added a 1/4" radius to the back. I debated whether or not to add a belly cut, but I've seen PRS guitars with and without. I personally don't have a need for one...it would take far too deep a cut to make my tummy comfortable.


    So, here we are. The moment of truth. My first set neck build and I was a bit nervous dispite the care I'd taken in my measuring and milling.


    I dry clamped the neck in place and set up my string jig to check alignment and bridge placement.


    It all looks good and the strings have enough pressure on the last few frets that they're breaking their lines a bit...which is fine since the bridge post will be flush on the top and the bridge will easily adjust upward to set the proper string height.


    Well, no turning back now... it's in!


    The shadow line in the joint is from the tenon being a bit too tall...I'll clean that up later.

    "Thought that is no longer limited brings experience that is no longer limited" Marianne Williamson.

  10. #40
    It's offically a guitar...all one piece at least. I'll drill the string thru holes and mount the bridge tonight. I still need to add the bore for the output jack, deepen the ends of the PU routes for screw clearance and recess the control locations, too. I'm also going to try to recess the control cover...not a big fan of covers sitting on top.

    This type of body presents a new challenge for me...getting the ground wire to the bridge. I guess I could go thru the bridge PU route but it would be a tough angle...I like the straight shot from the output bore and thru the control cavity...like in the pic below. It seems more predicable.


    Then, it's on to finish prep...maybe I'll get some color on it this weekend!


    "Thought that is no longer limited brings experience that is no longer limited" Marianne Williamson.

  11. #41
    Join Date
    Jan 2005
    Location
    Waterford, MI
    Posts
    4,673
    I dont know what impresses my most. Your guitar building skills or the fact that you can get 31 posts on your thread before being interrupted by replies. Truly impressive.
    Use the fence Luke

  12. #42
    Quote Originally Posted by Doug Shepard View Post
    I dont know what impresses my most. Your guitar building skills or the fact that you can get 31 posts on your thread before being interrupted by replies. Truly impressive.
    I'm hoping it's my skills then, because I copy the posts from the other site I post to first. I just like their posting form better...no other reason.

    Peace,
    Mark
    "Thought that is no longer limited brings experience that is no longer limited" Marianne Williamson.

  13. #43
    Mark, I think I hate you. Your skills and collection of guitars are getting the best of me. This one is turning out beautifully. I've always loved PRS bodies, but I've never liked the 25" scale. So when I saw you were doing this build with the 25.5, I got pretty jealous. When you said you are drilling through holes, are you going to run a tune-o-matic bridge with the strings routed through the body (My favorite setup) or am I misinterpreting that and you'rr going to run a more traditional PRS Stoptail?

    Anyway, it's looking great. I'm sure setting the neck was stressful. It looks like you got through that OK.

  14. #44
    Quote Originally Posted by Dave Sepucha View Post
    Mark, I think I hate you. Your skills and collection of guitars are getting the best of me. This one is turning out beautifully. I've always loved PRS bodies, but I've never liked the 25" scale. So when I saw you were doing this build with the 25.5, I got pretty jealous. When you said you are drilling through holes, are you going to run a tune-o-matic bridge with the strings routed through the body (My favorite setup) or am I misinterpreting that and you'rr going to run a more traditional PRS Stoptail?

    Anyway, it's looking great. I'm sure setting the neck was stressful. It looks like you got through that OK.
    Hey Dave...don't be hatin' on me.

    You're correct. I'm using a Wilkinson roller TOM. The body will have ferrules front and back for the strings. I've never liked the wrap around look on anything but the Les Paul Jr...just seems to fit that guitar. I think it looks a bit under-sized on a PRS. And the ferrules will help occupy some of that "real estate" behind the bridge which always seemed a bit too much to me.

    Here's a mockup of the bridge and ferrules.


    Peace,
    Mark
    "Thought that is no longer limited brings experience that is no longer limited" Marianne Williamson.

  15. #45
    Join Date
    Mar 2003
    Location
    SE PA - Central Bucks County
    Posts
    65,827
    Mark, wow...another wonderful build. I learn so much from each one you post. Thanks!
    --

    The most expensive tool is the one you buy "cheaply" and often...

Posting Permissions

  • You may not post new threads
  • You may not post replies
  • You may not post attachments
  • You may not edit your posts
  •