Page 4 of 5 FirstFirst 12345 LastLast
Results 46 to 60 of 67

Thread: New Build - PRS Custom 22

  1. #46
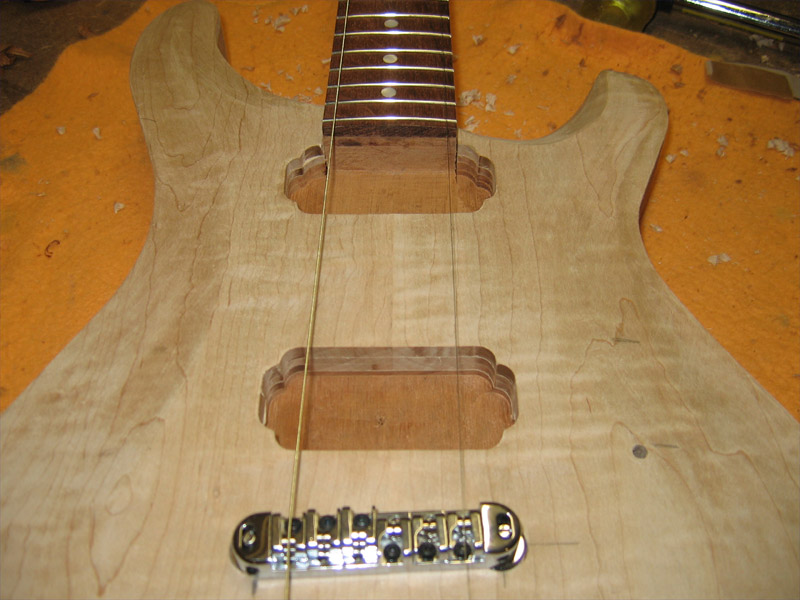
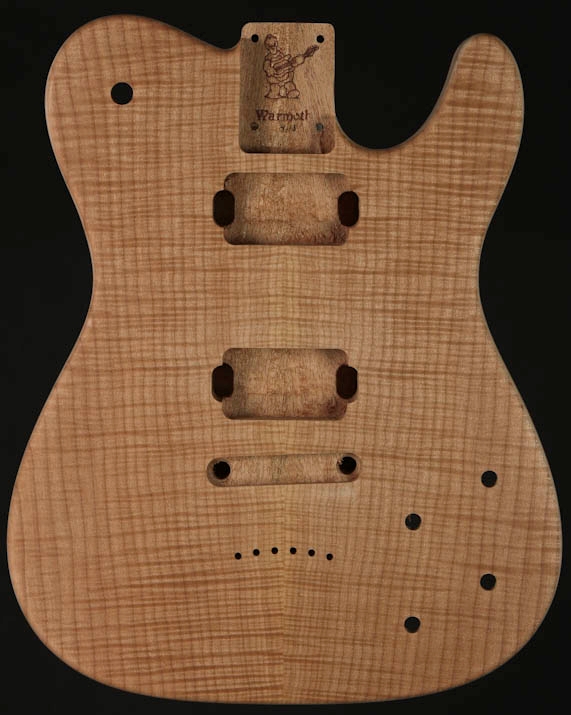
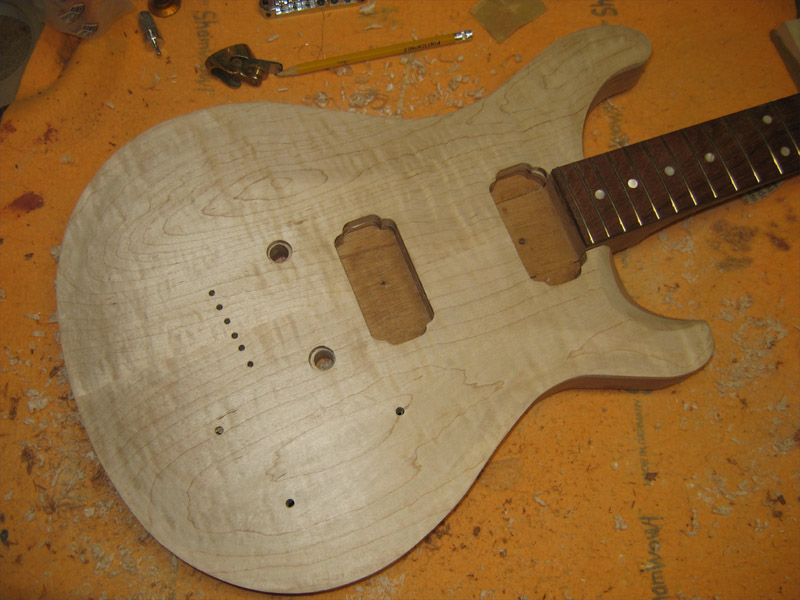
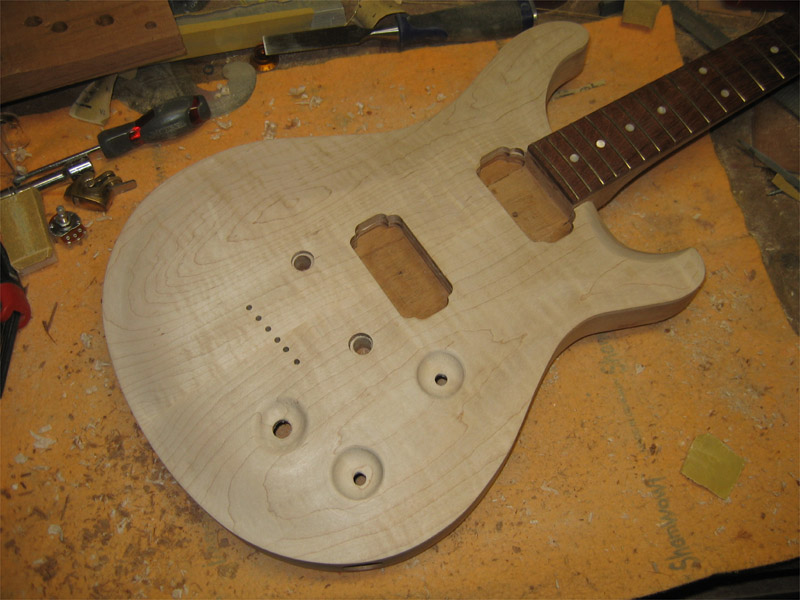
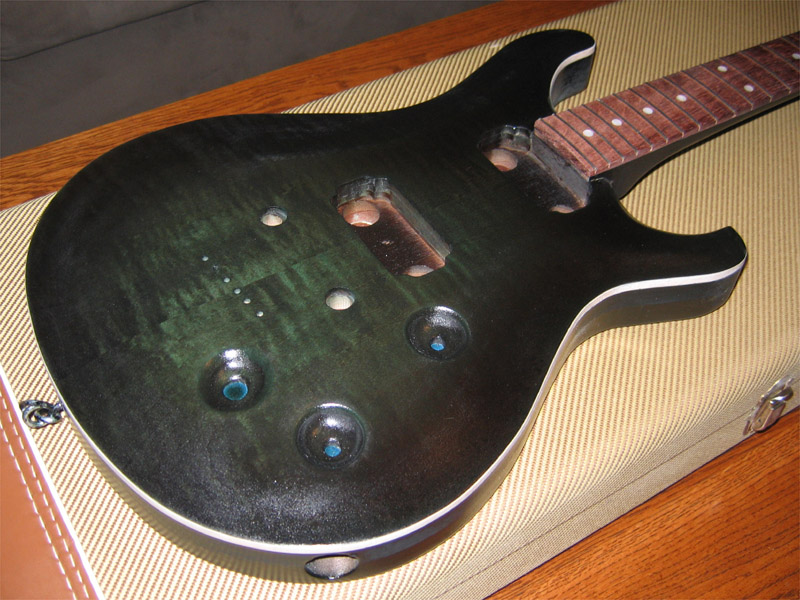
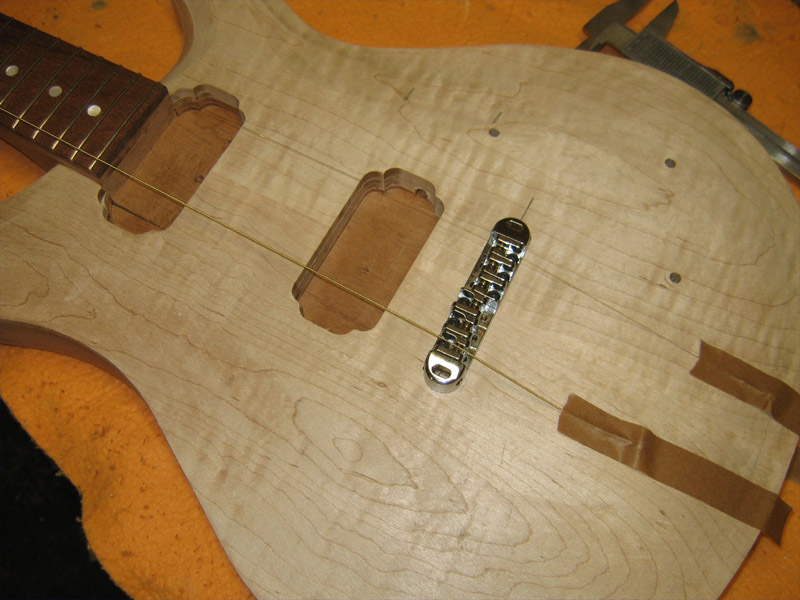
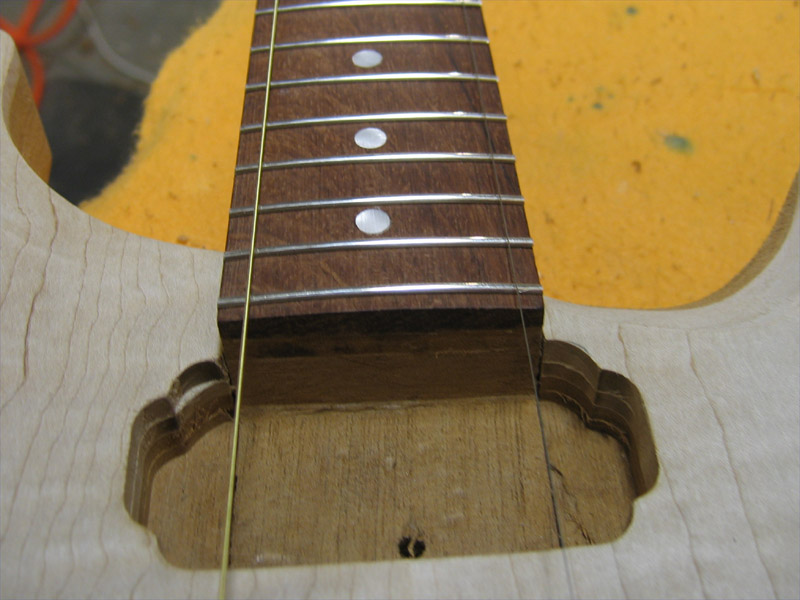
    Time to mount the bridge. I didn't use the srting jig this time because I haven't drilled it for the string spacing of the this bridge, so a few pieces of tape will work. The strings are taped down at the net slot close to 1/8" off the edge of the fretboard.


    Looks good. They will actually be closer to the edge when the nut is cut and they are under tension. They're not any tighter right now than the tape can hold.


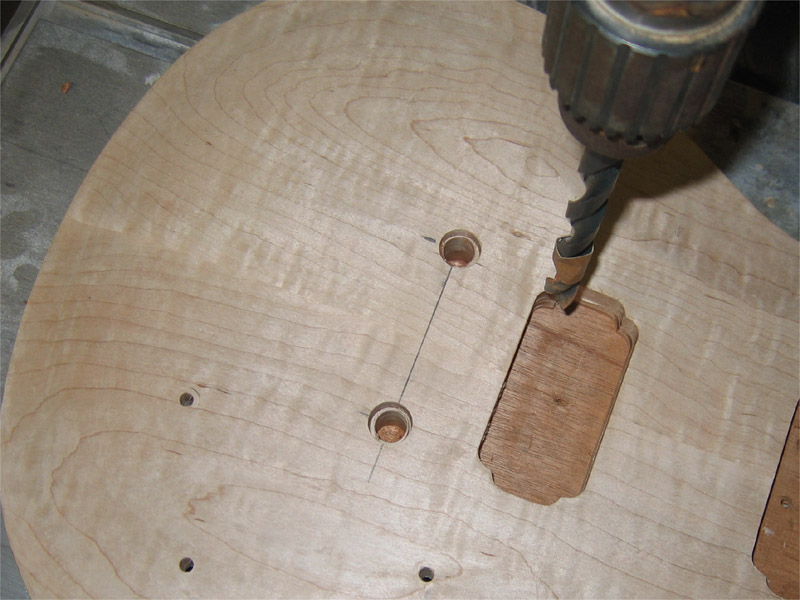
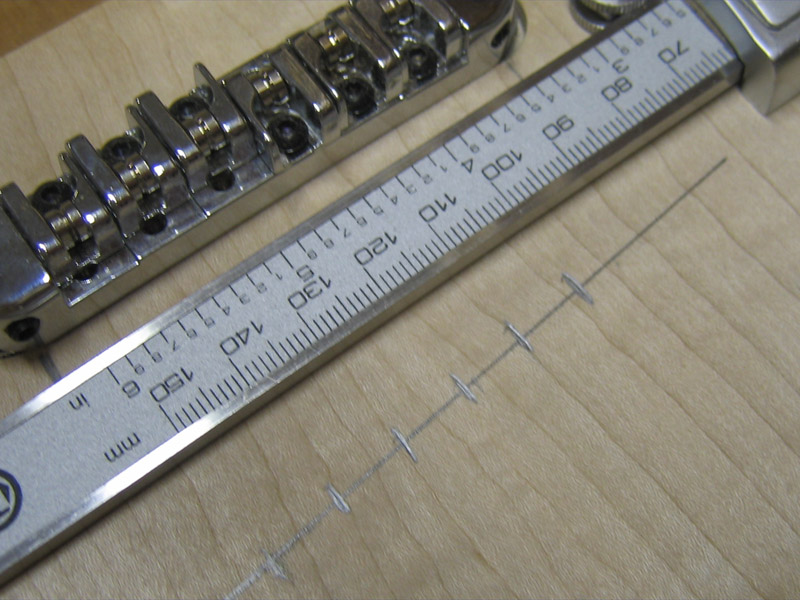
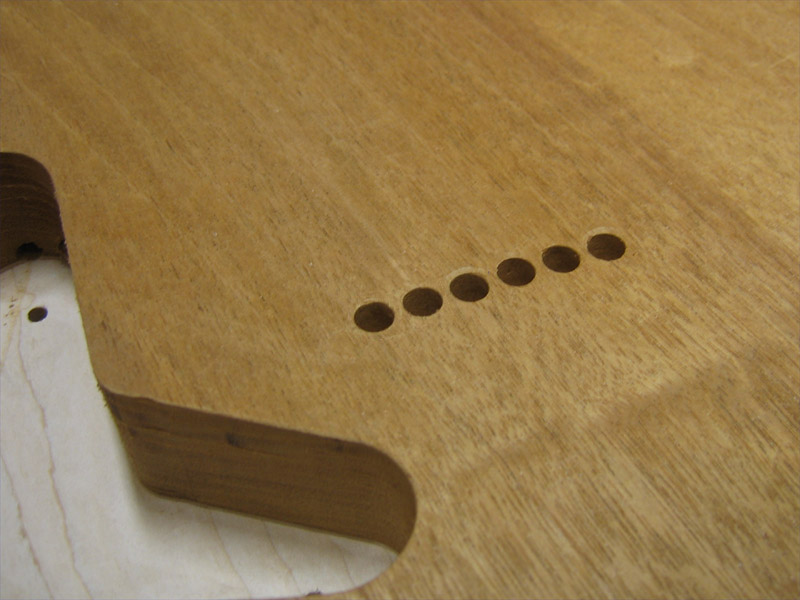
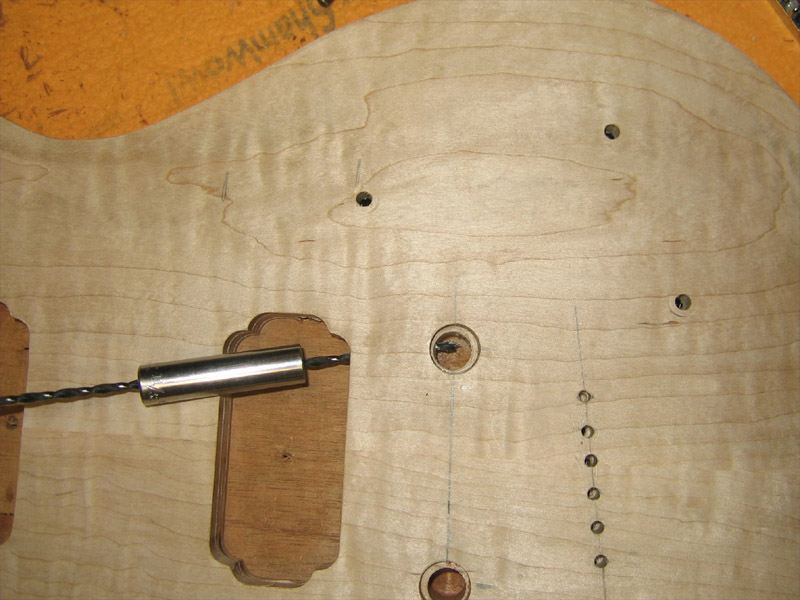
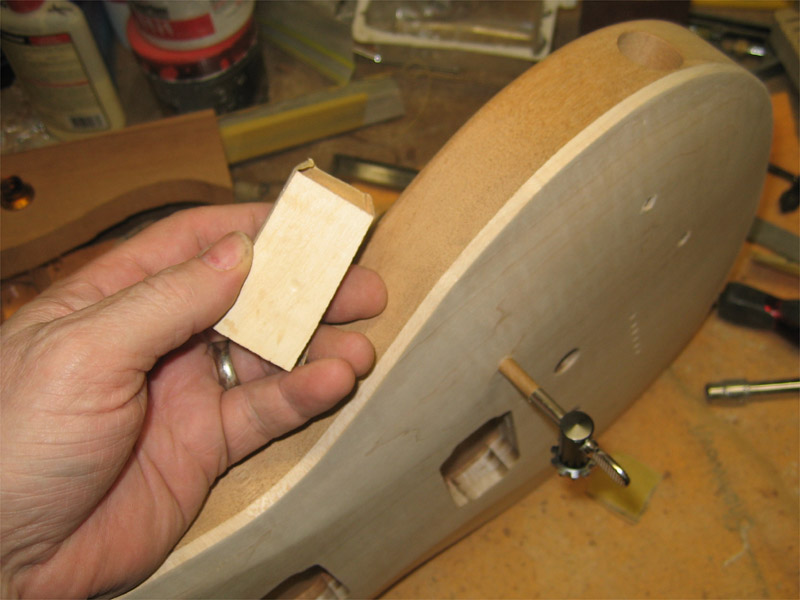
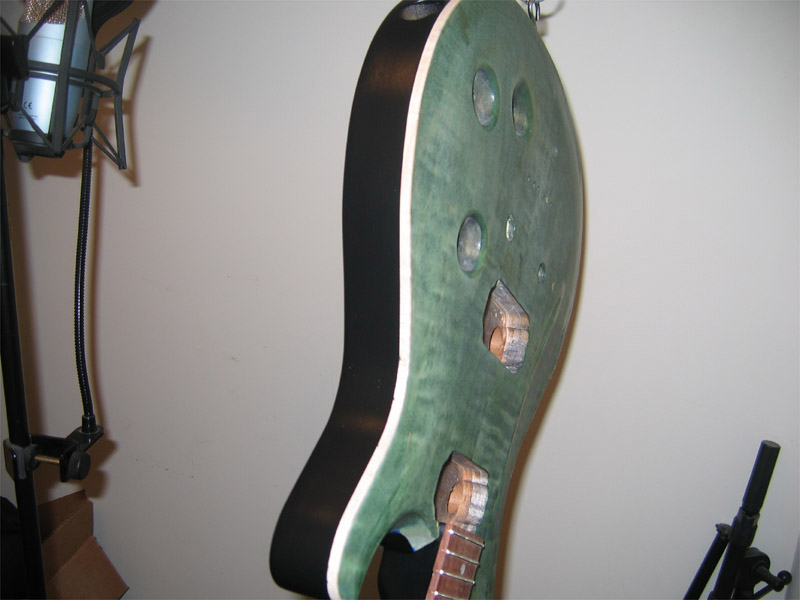
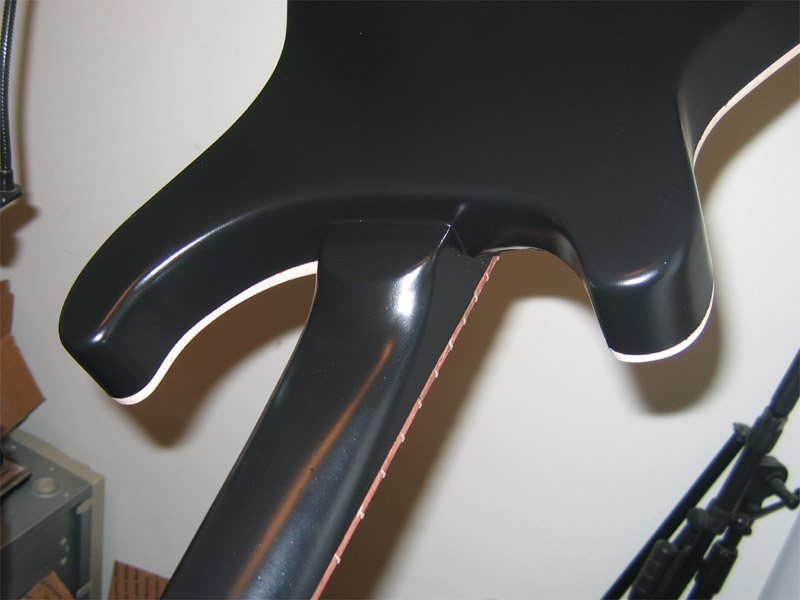
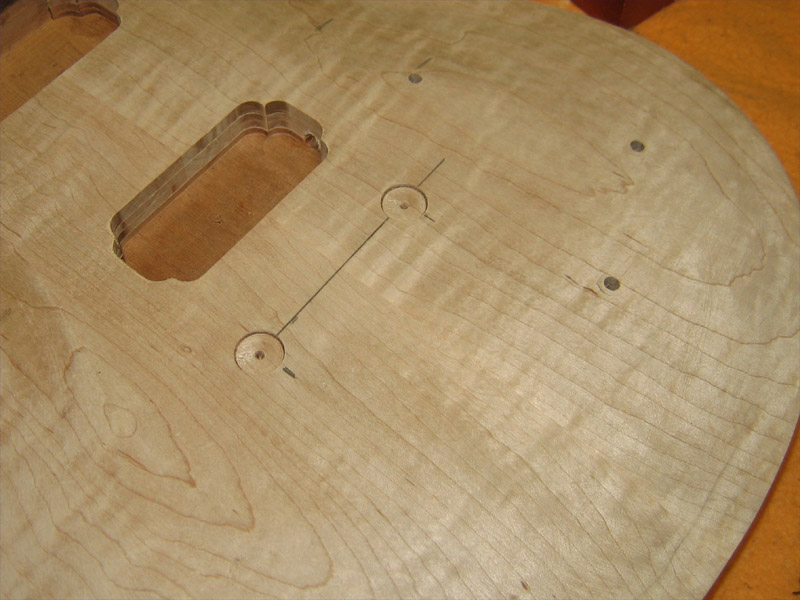
    I set up the neck so I could get the bridge right down on the top if I wanted to. So this means countersinking the studs. I started by marking the locations. My placement is scale + 1/16" on the treble side and scale + 1/8" on the bass side. I started the locations with a 1/2" forstnet bit. This will give me a ledge to set the bit later in the process.


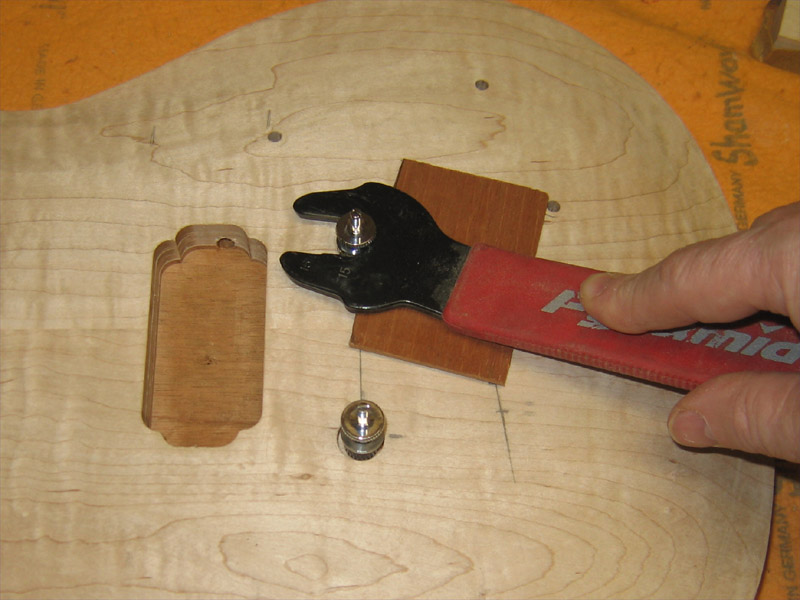
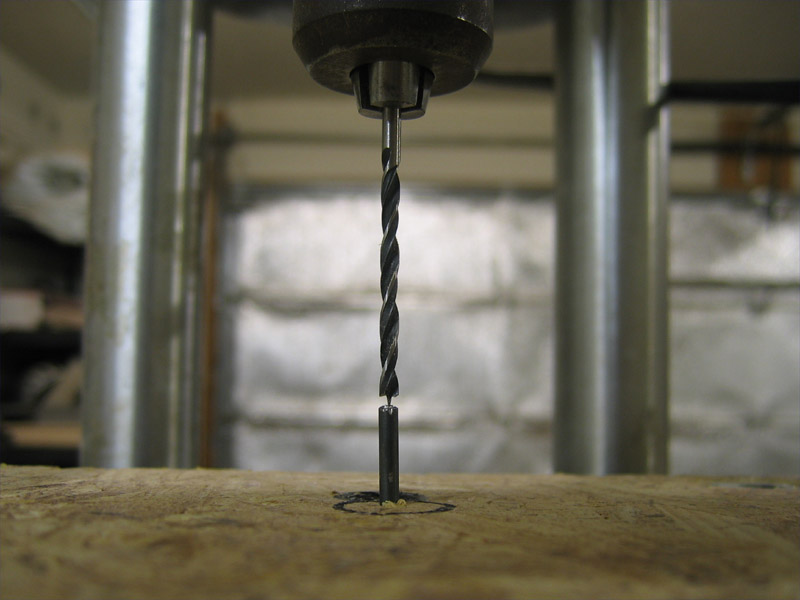
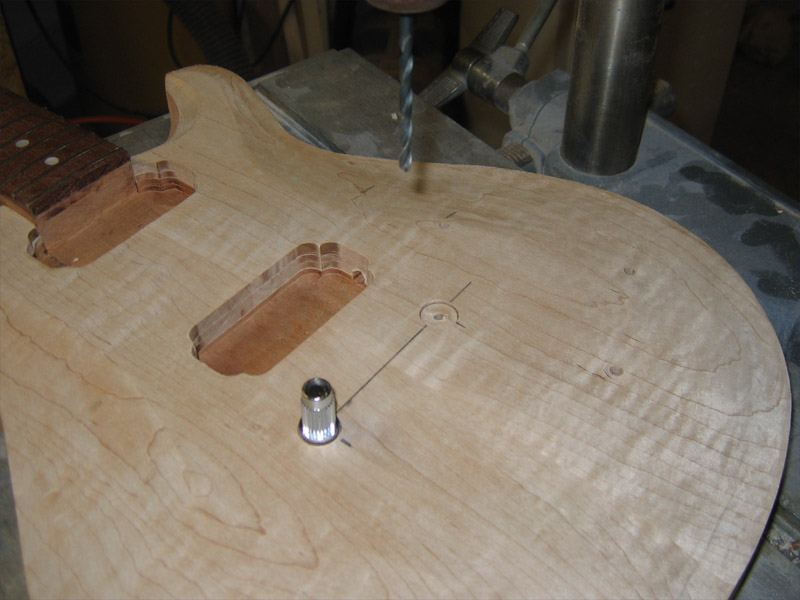
    Then I was able to drill out the center with a 5/32" bit to allow the upside down stud to sit down inside the top. This way, I can tell when the recess is deep enough for the insert and adjustment wheel.


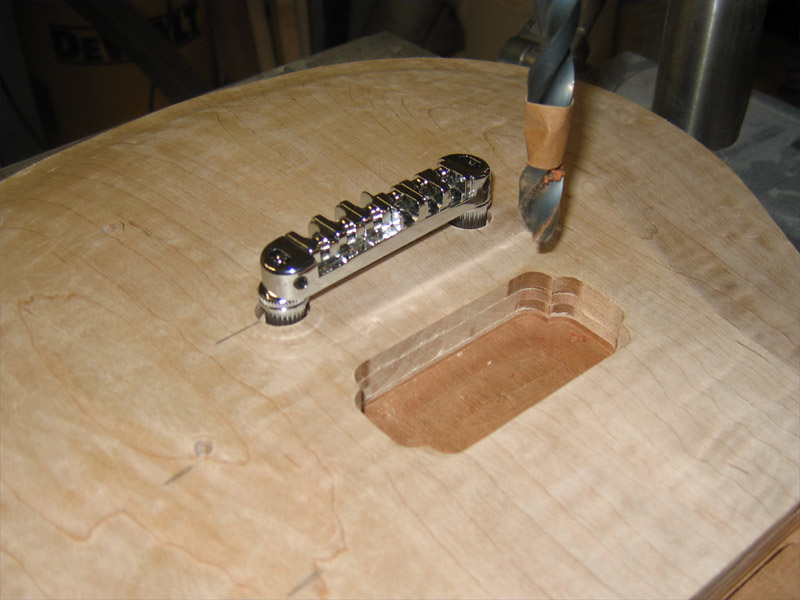
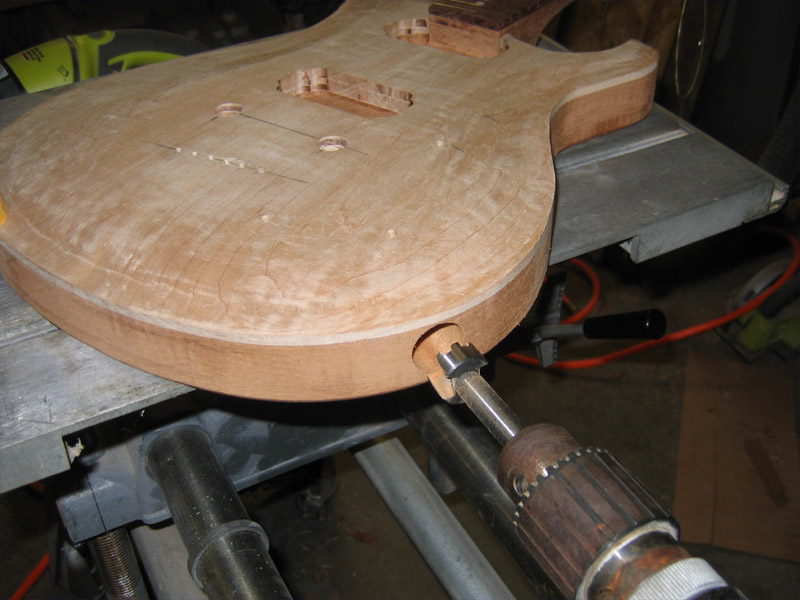
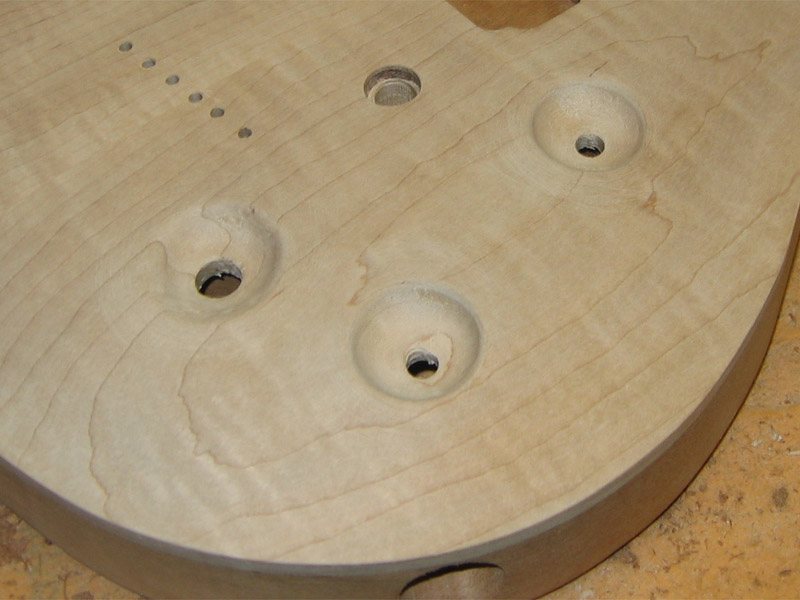
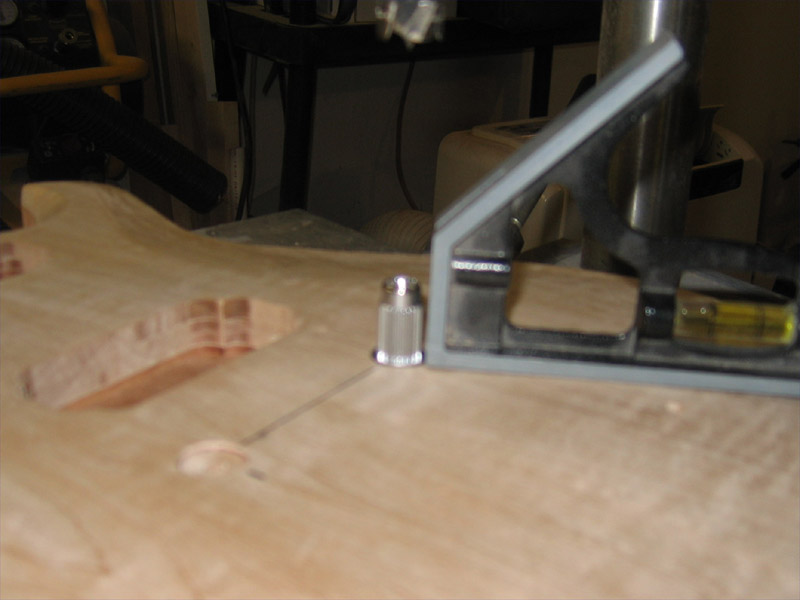
    With the forstner bit installed again, I can center it up in the initial recess and slowly drill out the recess until it's deep enough. Sliding a square corner up against the stud tells me if it's still proud of the top or not.

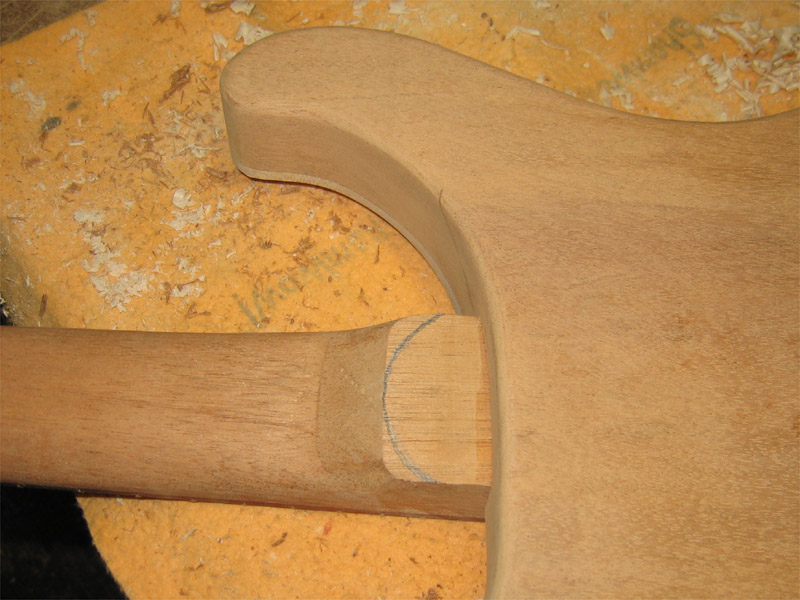
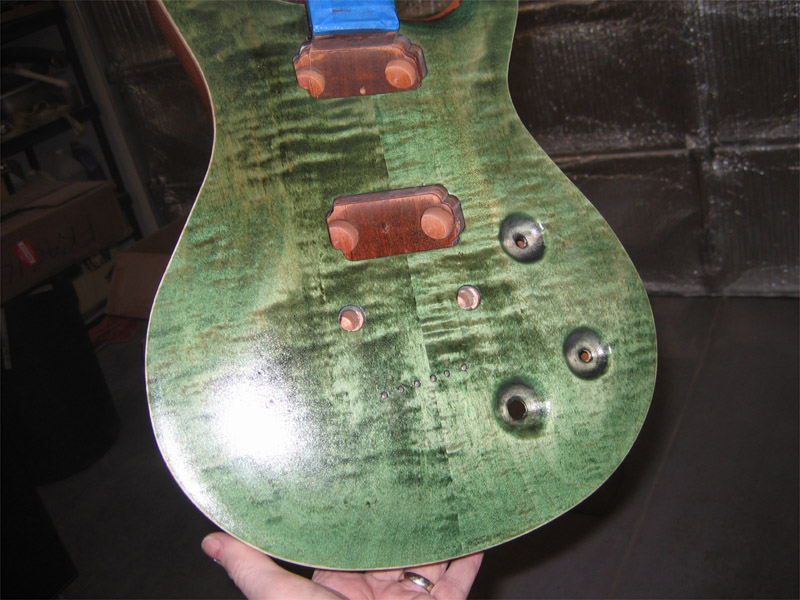
    Getting the camera too close without being in macro mode makes the picture blurry

    "Thought that is no longer limited brings experience that is no longer limited" Marianne Williamson.

  2. #47
    With the countersinks done, I drilled out the holes for th inserts.


    A quick check of the stud spacing...looks good.


    Here, the inserts are installed and the bridge set in place. I tapped them in with a 7/16" deep socket and an amber dead-blow hammer.


    With the strings back in place, it looks just like my mockup. Sweet!

    "Thought that is no longer limited brings experience that is no longer limited" Marianne Williamson.

  3. #48
    Excellent. With the exception of the Wilkinson "tune-o-matic" (which I'm not familiar with), this is exactly how I would spec the bridge setup if I were getting/building a custom guitar. I know you're done with Teles for now, but I've thought about what this setup would be like on a Tele body (and no pickguard)... if nothing else, it would be unique.

  4. #49
    Quote Originally Posted by Dave Sepucha View Post
    Excellent. With the exception of the Wilkinson "tune-o-matic" (which I'm not familiar with), this is exactly how I would spec the bridge setup if I were getting/building a custom guitar. I know you're done with Teles for now, but I've thought about what this setup would be like on a Tele body (and no pickguard)... if nothing else, it would be unique.
    With a Tele having a flat top, you would either have to add a neck angle or recess the TOM like this body that Warmoth offers. I've seen this with a bigsby and stop bar also. It's a nice look on a Tele with ferrules.


    Peace,
    Mark
    "Thought that is no longer limited brings experience that is no longer limited" Marianne Williamson.

  5. #50
    Godin, a Canadian maker uses the same solution. I have never quite seem a build like yours before. It's has some pretty neat solutions to common problems.

  6. #51
    Join Date
    May 2008
    Location
    Central Square, NY
    Posts
    243
    Great write up. I'd like to make one even though I don't play.

  7. #52
    I'm getting close to the finish line on this one...punn intended.

    I started tis morning by laying out the string thru holes. With the bridge in place, I decided on the angle I wanted for the top ferrules. The string spacing on this bridge, as close as I can measure it, is 10mm between each one.

    I wanted to make sure the ruler is parallel to the bridge and not the angle...keeping in mind that the strings need ot continue a straight path as they cross the bridge.


    I laid them out basically by eyeballing them...couldn't think of a way to keep avarything lined up and have a perpendicular line from each saddle to the diagonal line.


    Here's a tip...this is a pedal wrench...for changing out pedals on road bikes. It has an offset and just the right width notch on one end to slip it under the post and gently pry the insert out of the body...with a piece of scrap under it for protection and leverage, it takes little to no effort.


    I hand started these with a brad point bit to make sure I had a clean spot when I moved to the drill press.


    Speaking of the drill press, using my string thru jig, I set the pin extra high because of the carved top.


    This is a 4 step process and I didn't take pics because I was focusing on what I was doing but, here are the steps.

    1. Without the pin in place, drill 1/8" holes from the front, halfway thru the body.

    2. Insert the pin, flip the body over and line up each position drilling the remaining depth at each one.

    3. Install the appropriate size bit for top ferrules, flip body, line up each position and drill the depth for each ferrule.

    4. Insatll the eppropraiate size bit for the back ferrules, flip the body and line up each position, making sure the pin is beyound the ferrule recess and into the original 1/8" bore. Drill the recess for the ferrules at each position.

    Not perfect but pretty dang close. Not bad for dealing with a carved top.

    "Thought that is no longer limited brings experience that is no longer limited" Marianne Williamson.

  8. #53
    A couple more small milling processes to do. The output bore...


    ... bridge ground wire. I decided to go thru the PU route.


    And I've never cared for the neck heel shape, so I took another pass at it...


    ...much nicer now.


    I still need to figure out how I'm going to make the "scoops" for the controls. It's a no brainer on a CNC mill, but in the real world, a bit more of a challenge. I've looked at carving burrs and box core router bits but both are pretty expensive and I'm not sure I'd get the results I want with either of them. I need to think on this one a bit.

    "Thought that is no longer limited brings experience that is no longer limited" Marianne Williamson.

  9. #54
    As I was setting up to dish out the areas around the controls, I realized I hadn't shown the binding level on the body after the carve. Here it is...


    Before scooping out the recesses with the 1.25" cove bit I found at Menard's, I needed to know the thickness of the top at each point. I slid a flat block into the control cavity and pushed a chuck key handle thru until it bottomed out. Then I placed a piece of tape on the outside, removed the chuck key and measured the diatance with my calipers. 3 different readings as you would expect on a carved top.


    After a bit of careful "routing" on the drill press, I was able to get some nice results. Using the Shop Smith drill press' variable speed control lets me ramp up to 5200 rpm...not sure how that compares to other drills. This technique works but it's a bit scary. I had a couple of moments I thought the bit had torn out a chunk of the top...just an ugly noise though.


    Last edited by Mark Crenshaw; 05-08-2010 at 10:22 PM.
    "Thought that is no longer limited brings experience that is no longer limited" Marianne Williamson.

  10. #55
    I got started on finish this weekend. I had originally compared this to the 10 tops that PRS builds, calling it maybe a 4...I'm thinking now it's more like a 2. But that's okay. The experience on this one will pay off big on the ones to come with nice wood.

    I first applied black dye.


    Then sanded it back.


    I used straight green TransTint dye in denatured alcohol (DA). After the green dye had dried...it washed out a bit but it's much richer looking in person. I'm not sure I love the green...good thing about dye is it easily sands off. I may make another pass with some black added to darken the green.


    After the binding edges were scraped and a couple coats of sealer to lock in the color.

    I use water based products from Target Coatings and their sealer is a clear product that in addition to sealing, is used to deliver tinted and opaque colors. It seems to work very nicely with DA. In fact, I discovered that after applying sealer, dye and DA can be sprayed right on top and the sealer almost instantly absorbs the color and flashes the DA. It works really well for enhancing color or doing touch ups.

    "Thought that is no longer limited brings experience that is no longer limited" Marianne Williamson.

  11. #56
    Quote Originally Posted by Mark Crenshaw View Post
    Hi Heather. Thanks for the kind comments.

    Good to hear from another Shopsmith user. I agree 100%...a person with no ability could stand in a room full of the finest tools in the world and never produce anything. Where a skilled craftsperson, like many of you here on the Creek, could turn out the finest of projects with simple hand tools.

    Great story about your dad. Happy memories like those fuel the creative spirit.

    Peace,
    Mark
    I'll be raising both my daughters with my SS as well. Even though I should have bought a used one and I sunk a lot of money into it, it has some great features that are all very useful - the boring and sanding abilities included. The Planer (i have it, too) is also quite nice and variable speed control on the Bandsaw is also nice... resawing only 6inches can be limiting, but I plan to get a big boy bandsaw someday, anyway!

  12. #57
    I have the back blacked out. I really wanted to use a trans dye on the mahogany but there were just too many odd colors and grain in the wood...and it's a 3 piece so no huge loss not being able to see that.
    I started with 5 color coats and then after curring 48 hours, I level sanded it.


    Not necessary but a little extra effort on a black finish goes a long way.


    Looking good. I'll give the top a bit of a darker green treatment then it's on to binding clean up and clear coats.


    "Thought that is no longer limited brings experience that is no longer limited" Marianne Williamson.

  13. #58
    Join Date
    Jul 2003
    Location
    Northwest OH
    Posts
    365

    completely irrelevant, but ...

    ... that green top looks VERY similar to a MicroFrets unit I played 30-35 yrs ago (egad - has it been that long? ). it was completely different body tho; more like an ES 335.

    waiting (more like itching) to hear these things when the builds are done.

  14. #59
    I'm not one to show off my mistakes but I have to come clean on this one. I tried to go dark green and do a burst and it came out horrible! I have to get some better lighting in the shop.

    There's something interesting about the color combo but the uneven burst has to go...


    ...So, break out the elbow grease. One the bright side, I found a couple of spots that could have been blocked out a touch better, so now is my chance.


    Back to square one... it's a good feeling at this point.

    "Thought that is no longer limited brings experience that is no longer limited" Marianne Williamson.

  15. #60
    After applying the green dye again...I sprayed it this time since I had already done the back and sides. Plus, it's easier to control bleed going under the tape and onto the bindings.


    It wasn't quite doing it for me...too bright. So I added 5 drops of blue to the dye I had left in the cup. Subtle difference in the photos but huge in person.


    I think the extra dying and sanding actually helped this one. The figure is much more defined now.


    I scraped the binding and cleaned up the top edges. I think it's going to be a beauty!


    Peace,
    Mark
    "Thought that is no longer limited brings experience that is no longer limited" Marianne Williamson.

Posting Permissions

  • You may not post new threads
  • You may not post replies
  • You may not post attachments
  • You may not edit your posts
  •