


Our homes basement measures 30′ by 60′. On one of the 30′ walls are two garage doors and an entry door. The garage originally occupied half the basement space (30X30). In the other half was a laundry room, oil burner room and a semi-finished rec room.
Anyway, we worked in the garage area for almost three years before I got around to claiming more space for us.
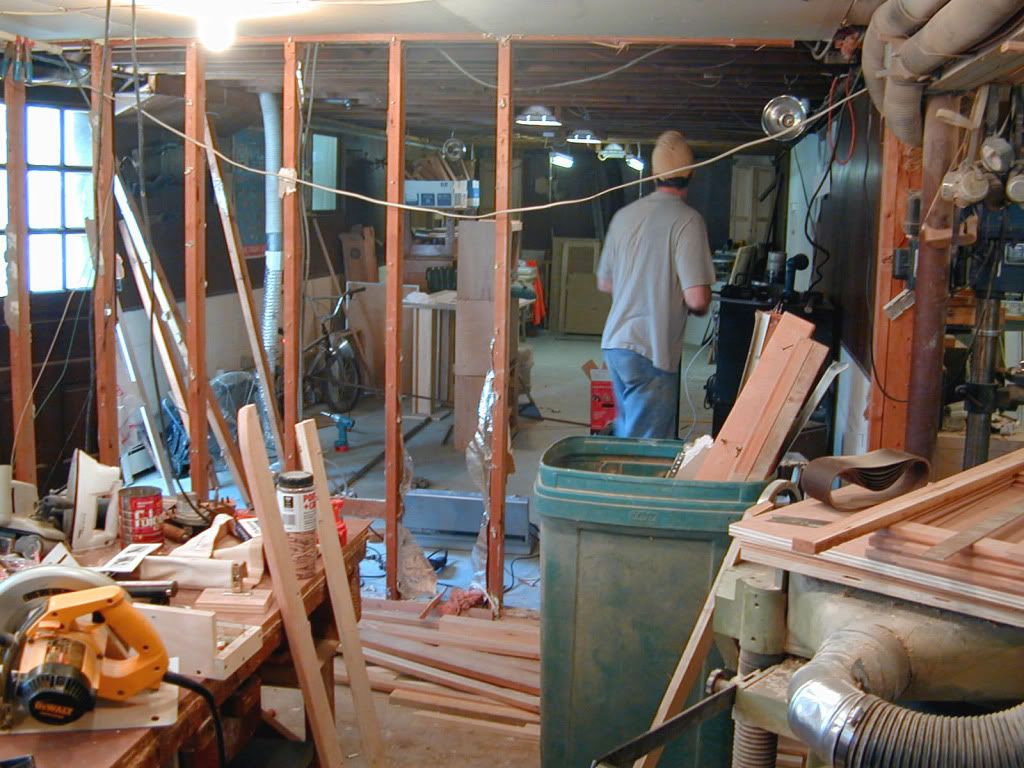
We moved the washer and dryer into the oil burner room and created a small office adjacent to that by simply removing a wall from one spot ( to enlarge the shop) and adding another (to separate an office from the rest of the shop). We managed to assign 3/4ths of the basement for the shop this way.
This was not a load bearing wall so installing a header was not necessary
Adding this wall created a small office / slide window to go in opening
Each machine must have accessibility , a power supply nearby, good overhead lighting and clearance before and after (16′ +).
orange power line comes from table saw (out of picture) to the right where you see it sit within a groove cut in the cement foor
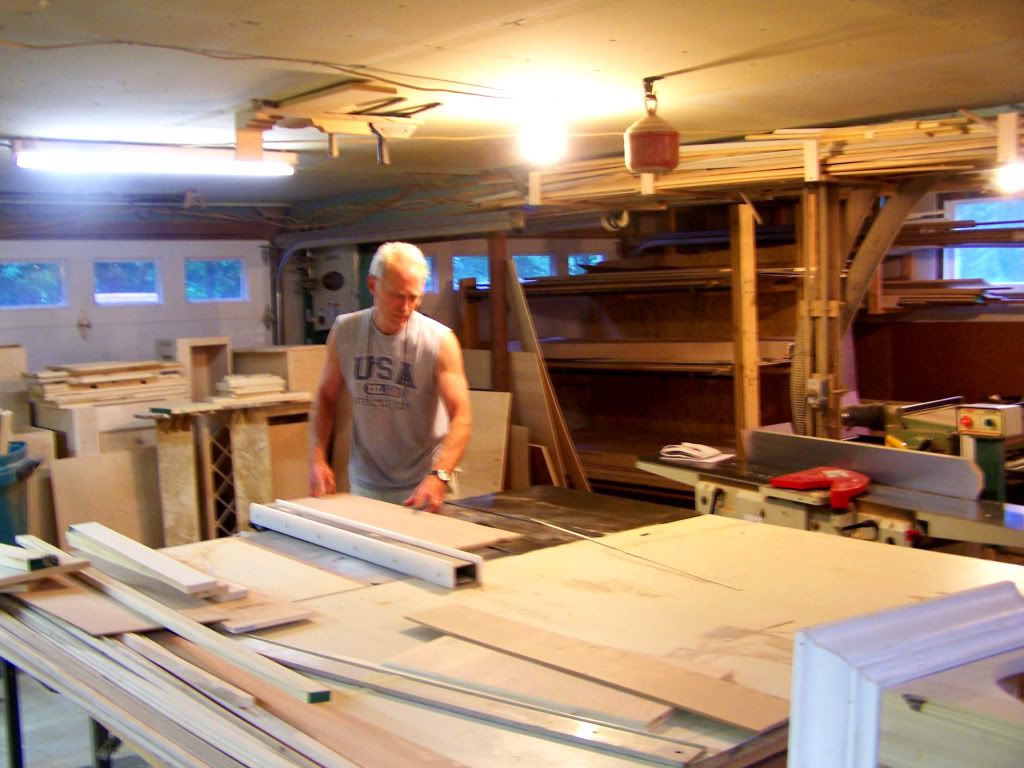
The machines also need to be positioned so that the work being fabricated moves from one place to the next without having to cris-cross the entire shop back and forth. Right behind one of the garage doors we created a four tier, horizontal sheet goods storage area (like the lumber yards have). We also positioned our two, 10′ work benches according to to the same logic.
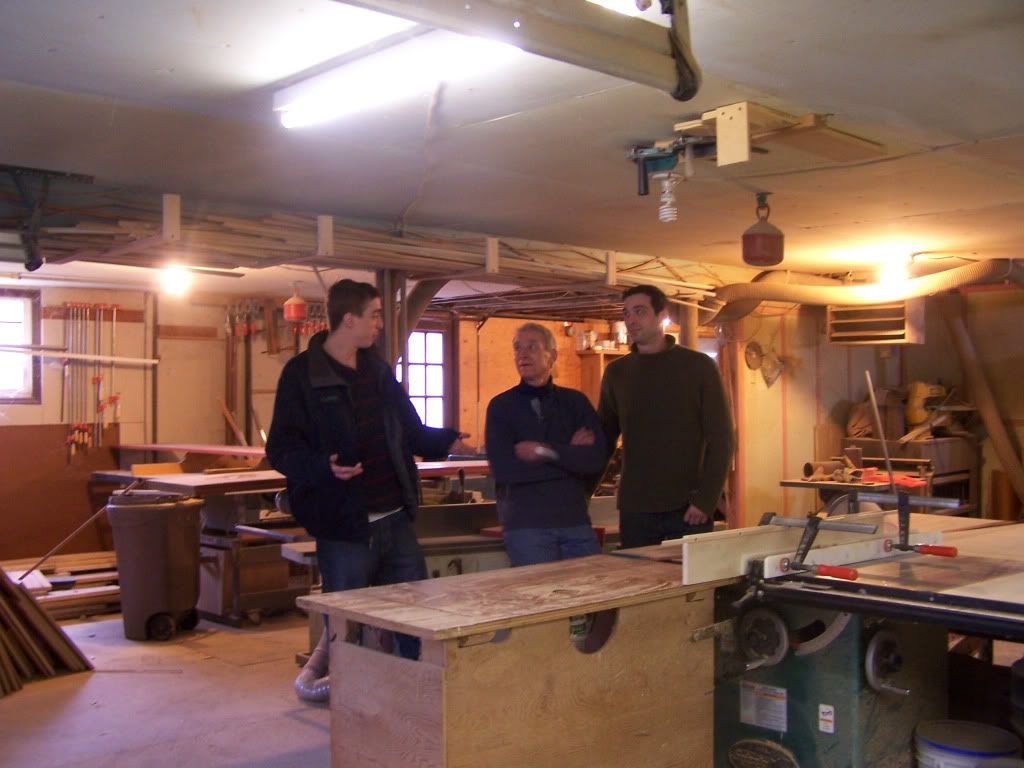
furniture grade plywood comes in (storage rack/in back)... hand-made kitchen cabs (behind me) ready to leave
two benches, wood vices (hidden), drawers for power hand tools, power outlets overhead, good lighting, notice clamp rack on rollers
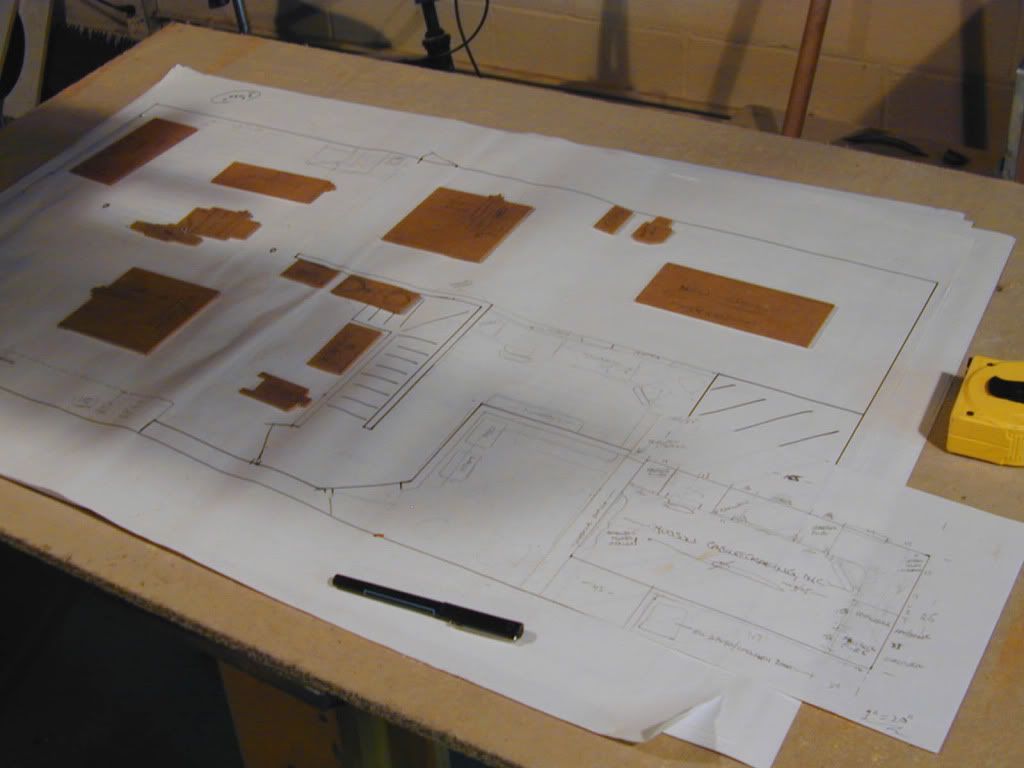
When I sat down to establish the positions of all the (stationary) machines, it dawned on me that I could create a to scale floor plan and make cardboard cut-outs of the machines much like interior designers do when arranging furniture in a room for their clients. The less space you have to work with, the more critical this floor planning becomes.
I could try out many different arraignments of the machines this way / note smaller drawing of cabinets in office
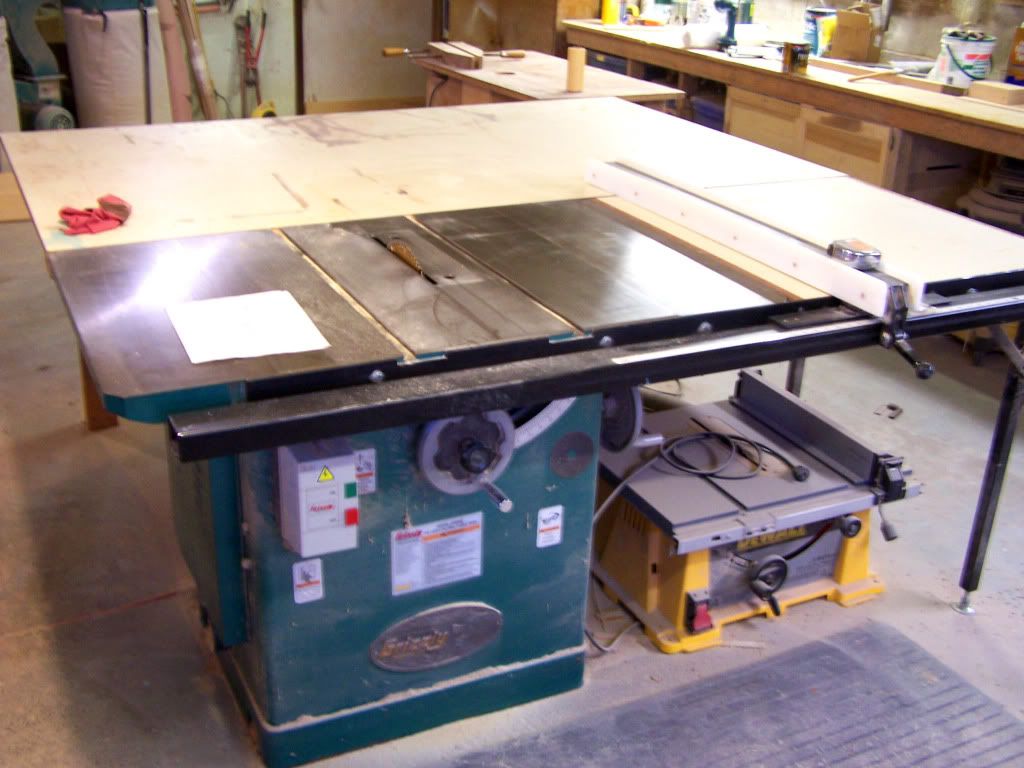
The most important tool in the shop is the table saw. We have a 12″, 5 HP, left-tilting table saw for ripping solid stock and sheet goods. We permanently surrounded it with out-feed tables (surface measures 80 by 86 now). I cant begin to tell you how helpful this large surface is. It is ideal if you can establish 8′ of clearance to the left and right and 16′ before and after your main table saw.
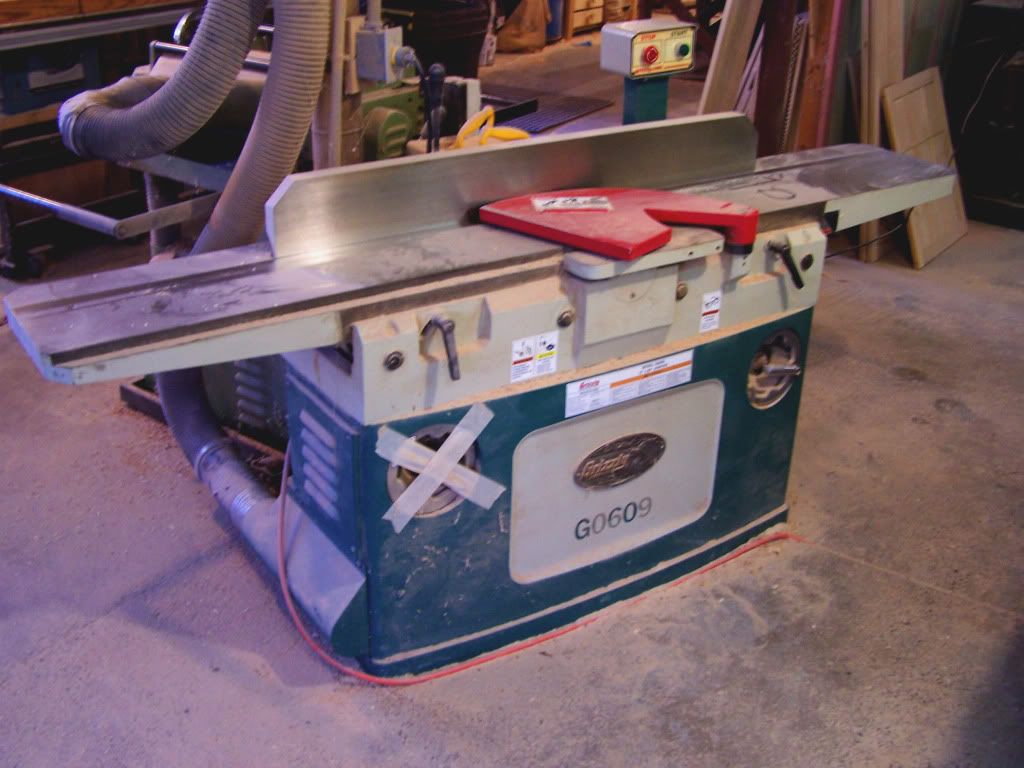
the heavier the machine, the less vibration, the better the cut... and it's safer
As well, I took my Delta contractors saw, added a slider box and it became our cross cutting saw (a good cross cutting blade is left on it / no blade change). The power coming into the house was upgraded to 250 amps, an additional fuse box was added and we wired almost every motor for 220V, single phase.
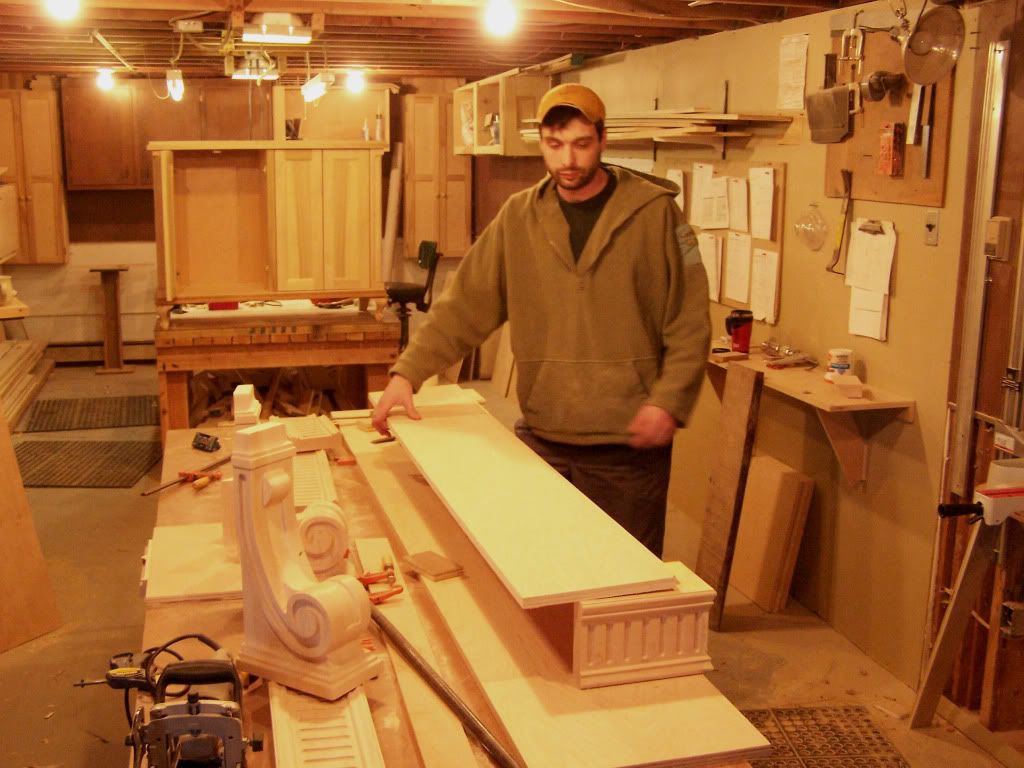
my eldest son assembling a mantle
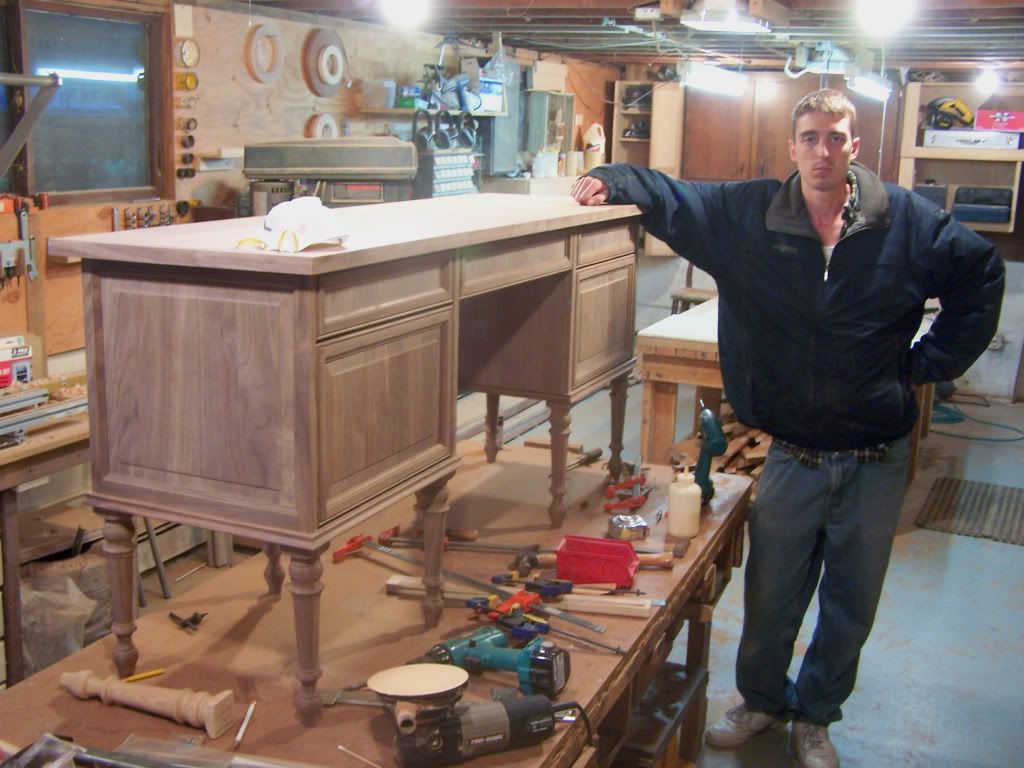
my youngest aside a walnut English writing desk he built
We have two chop saws mounted against the walls with 8 ft+ shelves on either side, a 12′ jointer, a 20″ planer, floor stand drill press, double 7′ bag dust collection system, shaper table, spindle sander, two large band saws and a Grass hinge boring / line boring unit. As well, we have a bunch of hand tools (both power and regular) and every wall is surfaced with tools and old cabs and drawers and with with well, you know every damn thing a guy needs to make cabinets and furniture.
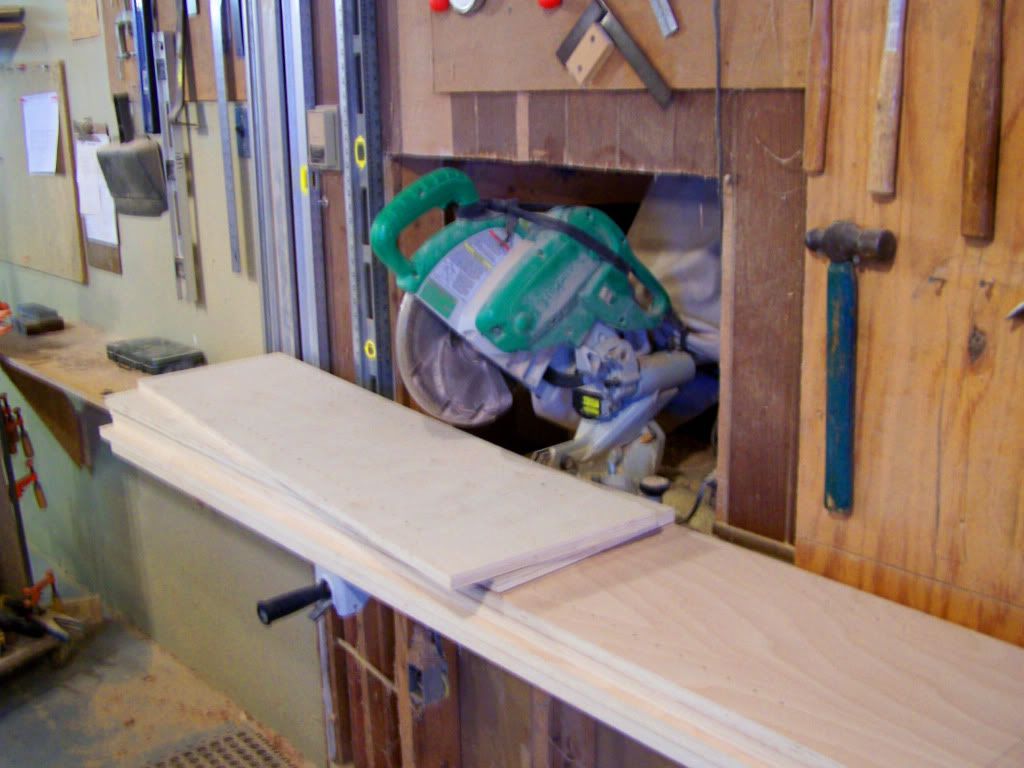
We set this Hitachi (and dust collection) within the wall to allow boards/molding being crosscut to sit right against the wall and the supporting shelf need only occupy 12" of (valuable) space along the wall.
Once I committed to the placement of all the equipment, we ran lights over every work station.
I even managed to paint the (concrete) floor before placing everything (makes sweeping much easier) but it didnt take long before it wore through. (Reminds me, I gotta do it again.) If I had more room, Id probably purchase a lathe and a stroke sander.
you can tell we didn't dress this up for a photo shoot / hard to keep it swept, much less pretty !
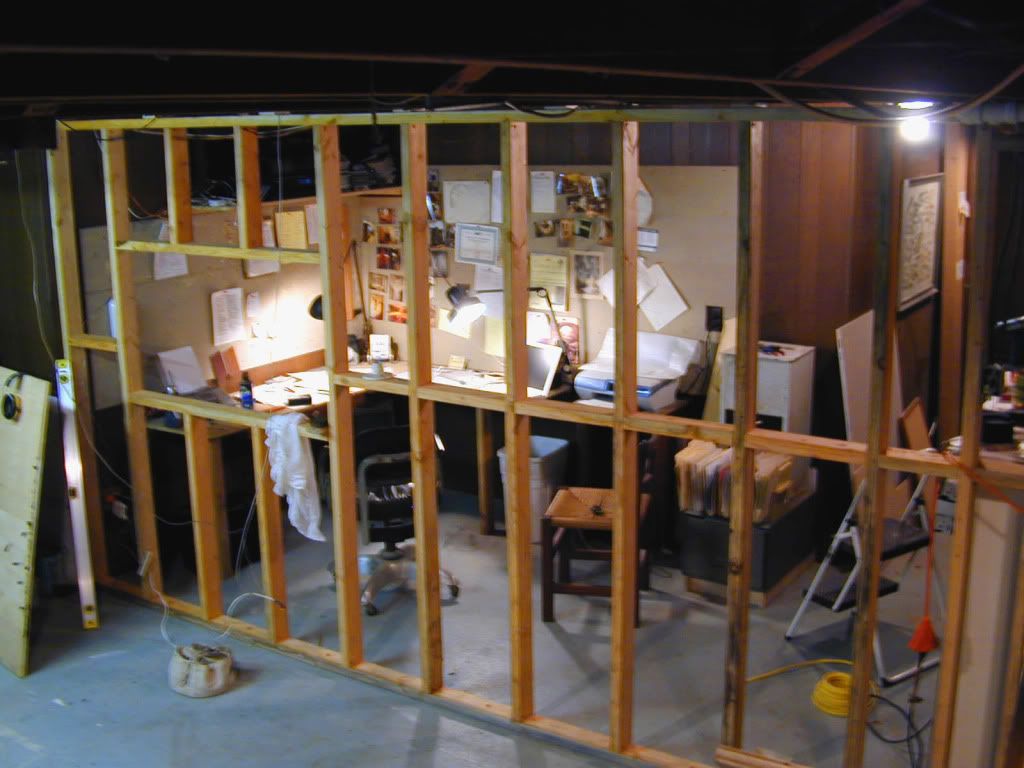
I tried to seal the office from the fine wood dust that manages to find its way into fax machines, printers, etc. even though I have dust collection.
I installed a small sliding window into the wall dividing the office and work shop so I could see/ communicate with my two sons who work with me.
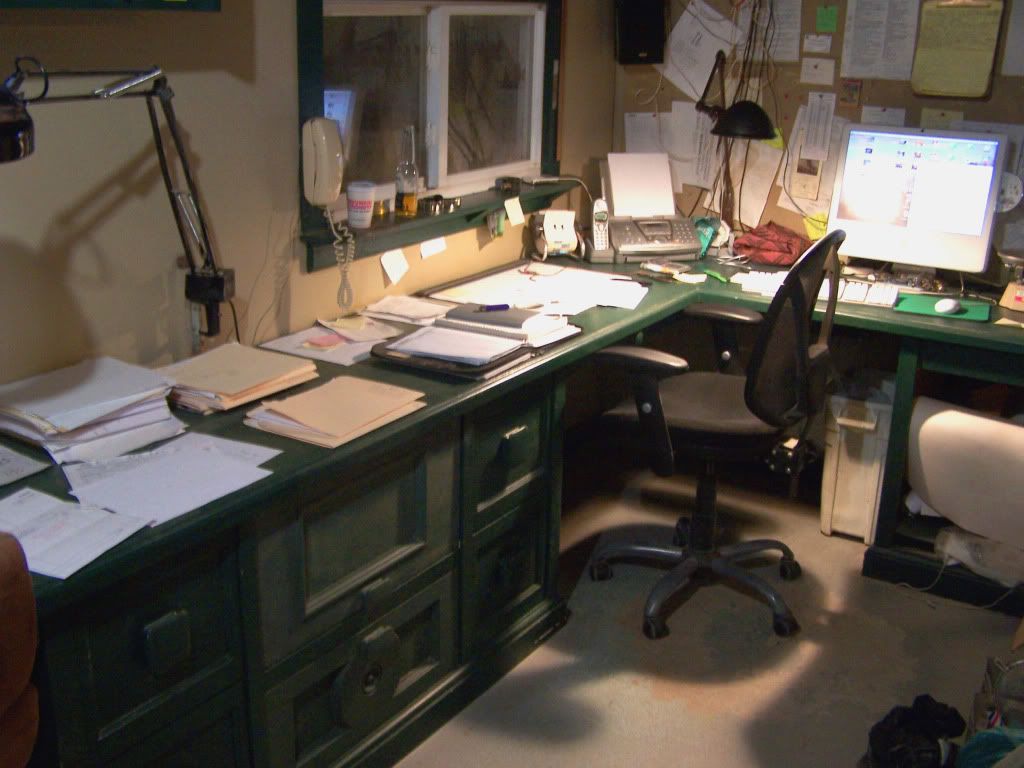
The office (a must if you feed your family this way), has two computer stations, good drafting lights, hanging file drawers, pencil drawers, a printer roll-out shelf, Homasote (like cork) lining two walls (to push pin paperwork to) and book shelves. The door and drawer fronts were left over from different jobs and we built the cabinets to suit.
though there never seems to be enough desk surface, it's a good place to work
hard to show entire shop in one shot
I had another shop before this one and what knowledge Ive gained is from having done every single thing wrong, at least once, before.
Like well-made furniture, some things just take time.
Hope this helps the next guy whos planning his own wood shop.
Our website has a large gallery of our work. Check it out if youd like.
Russell Hudson /http://www.hudsoncabinetmaking.com


 Reply With Quote