Carvewright- a review of what it has done for me - after 2 years of use.
I hope y'all don't mind me posting a bulk post here-- I have posted a few of these projects here on the 'creek and elsewhere, but other than one sparsely visited forum, all this has not been shown until this week. I know that for many of you your CNCs are built for production. Most of my jobs are not bulk production but are of one or two projects. This is where the ease of the Carvewright has really helped me. At any rate, I would love to hear any advice/words of wisdom that those of you here with so much more experience have to offer-- the knowledge on this site is second to none and the 'creek is a richer forum for it.
LDR
--------------------------------------------------------------------------------------------------------------------------------
On August 15 2009- 2 years ago I entered the world of CNC. I did quite a bit of research, and decided to take a chance on the oft-maligned Carvewright machine. This is the same machine as the Craftsman Compucarve that some of you may have seen in your local Sears.
After purchasing the machine, I continued to research before ever starting it up. I was very aware that people seemed to do permanent damage to their machines by using it the wrong way on the first couple of carves. I was bound and determined not to do that. One of the most important things to know about this machine is that in addition to the bit moving back and forth and up and down (Y and Z azis), the wood moves back and forth for the “X” axis. This means it is very important to either use square and flat stock or use a square and flat sled to hold the stock that you are caving. I think this is one of the things that catches many people up- they do not use perfectly square and flat stock and it binds in the machine and causes damage. I have used my machine for two years now and (knock on wood) have never had any problems other than one small sandpaper roller bind which cost me a little time and wood but did not cost me any money to repair.
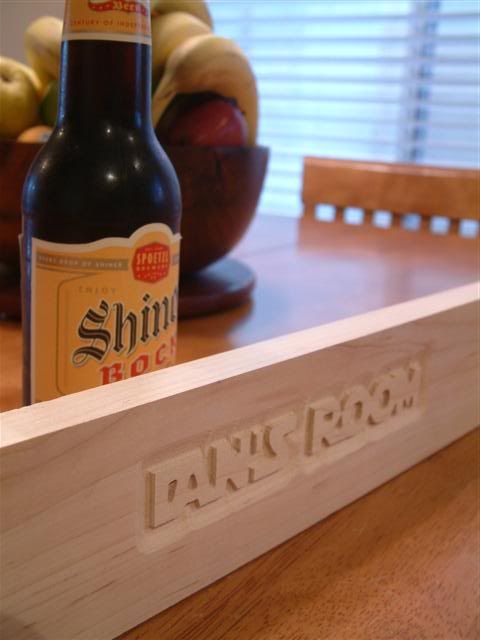
At any rate, I used square and flat stock for my first (very simple) carve
This type of carve was done in what is known as a “raster” type carving. This is where the machine bit goes back and forth and up and down and the wood slowly moves through the machine until the carve is done. To picture this, think of a dot matrix printer. (or just watch this video)
http://www.youtube.com/watch?v=qZyk2tDcY04
The other type of carve that the Carvewright does is knows as a “vector” carve. During a vector carve the bit and wood move like a pencil on a piece of paper.
http://www.youtube.com/watch?v=k1splDQy5aI
---------------------------------------------------------------------------------------------------------
This is a good point to explain something about LHR’s business model. They sell you the machine- and it comes with the designer software for free. In addition, any software updates are free as well. For me, this is a significant advantage over many of the CW’s competitors. This software will allow you to import pictures etc. or purchased/downloaded patterns and carve them on your machine. It will also allow you do use any TTF (true type font) you have installed on your computer and you can carve it as a raster (like my first pic) or outline carve. If you wish to do any vector (pencil on paper) type carvings of your fonts with 90 degree or 60 degree sign bits, you must purchase the “centerline text” add on. This is a $99 software add-on, and I consider it essential for signmaking.
Since I purchased my machine 2 years ago, there have been many free software upgrades. These are usually to fix any bugs or glitches (rare) but have also served to add many features to the software that did not already exist. When there is a major function addition or the addition of an “import action” LHR usually sells it as an “add-on” rather than creating new higher-cost versions of the basic software. This allows you to choose or not choose to have these features without paying for features you wouldn’t use. Examples of this are the STL import add on and the DXF import add on, I have purchased the centerline text add on, the DXF import add on, and the conforming vectors add on (this lets you take raster type patterns and add vector carves onto them and the vector will follow the contour of the carve—think of writing your name on a baseball. Some folks complain about the additional cost, but I really like the option to only buy the features that I need- this really empowers me as a consumer and gives the guys at LHR additional incentive to innovate.
The one major accessory you can buy for the Carvewright is the scanning probe. I bought one fairly early on and have used it several times. Here is a video of the probe in action
http://www.youtube.com/watch?v=23XKs3Idf-4
Basically, the probe allows you to scan a 3D object and create a carve of it. My first project that I used this for was a sign for my shop- the carve of the plane was done with the scan and the lettering was done using the “centerline text” function I mentioned earlier. The probe will allow you to do things like copy moldings and even wax impressions so that you can carve just about anything. There are even a couple of amazing artists that do carvings with hand tools, scan them with a probe, and then sell the patterns online. I have not purchased any of these patterns, but they look amazing.
Even more valuable than the probe is the software that is packaged with it—the “pattern editor” software is a carvewright-specific software kit that allows you to adjust 3D models and clean them up. Though you can use 3rd party software to do this (coreldraw, 3d modelers, etc) oftentimes the pattern editor will end up being the simplest and easiest choice (in my experience)
----------------------------------------------------------------------------------------------------------
Very soon after buying the Carvewright I came to understand that the Achilles heel of the machine was the chuck that allows you to put bits into the machine. The standard chuck (the “quick change chuck”) had a lot of moving parts and was finicky, requiring frequent cleaning and maintenance. I very quickly bought an aftermarket chuck named the ROCK chuck which used a more standardized “pawl type” gripping mechanism to hold the bits. The new chuck also seems to reduce the sound quite a bit (though the machine is still very loud) The ROCK chuck cost about $200 with all the bells and whistles (allowing me to use a wide variety of differently sized shanked bits in my carvewright) I LOVE this chuck and since I purchased my machine LHR has come out with their own new chuck which is in many ways similar to the ROCK chuck, and in some ways improves the machine in other ways (the spindle and truck specifically). This new chuck and spindle is standard on the newest “C” versions of the carvewright. If you are buying a new machine now I would recommend you go with a C model, though if you would like you can purchase an upgrade package to add the new truck and spindle onto an older model Carvewright.
http://www.youtube.com/watch?v=R6Q0hB4MdxA
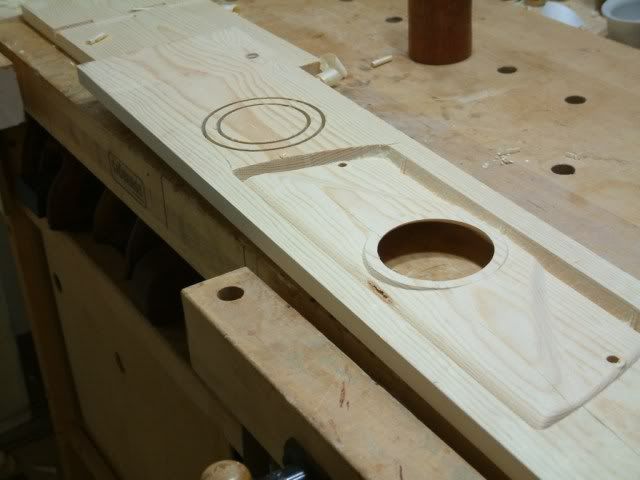
The Carvewright forum is a very active forum and there are many folks there to assist with problems, give advice, or just help share success (and horror) stories with. I’m an active member and really enjoy it there. The range of experience and abilities located on the forum is amazing—from hobbyists, to professional instrument makers, to professional sign makers and set makers. By far, the majority of the users of this machine are hobbyists, but it is amazing how much professional CNC work gets done. One of the guys there came up with a design for a dust collection hood that you carve out on your machine—and he gave the pattern away for free.
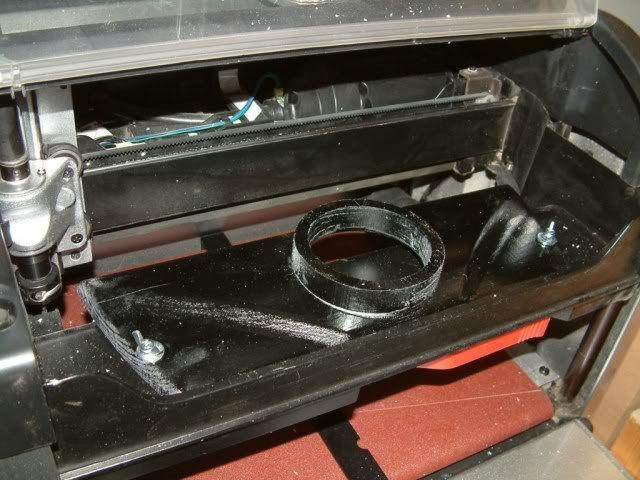
I made one right away (and owe him big time)
Using a dust collector (obviously) cuts down drastically on the clean-up time required to keep the machine running well. I believe that keeping the machine clean is one of the keys to keeping it running.
I’ve gotten much faster at performing maintenance on my machine. I have lubricated my flex shaft twice (you use chain lube with moly) and have used other various lubricants as dictated by LHR and spelled out in one of the free tips and tricks newsletters—another great free feature LHR supports.
Because you can import any TTF fonts into the machine (as I mentioned earlier) one neat technique is to make your own fonts from pictures or line art (called dingbats) in an aftermarket program and then import/carve them. This can be a very simple/quick way to create a sign or design and I have used it quite often. The biggest limiting factor for doing this, however, is that the software does not allow you to change depths for centerline vector carves. It uses the heaviness of the lines to determine bit depth. This is usually fine, but can be a bit limiting. This is where the DXF importer comes in—in stead of creating dingbat fonts to create vector carves, if you create the art in coreldraw you can export it as a DXF and then you can change the depth of design in the software and carve. This is just one example of how a $200 add on can completely change the usefulness of the machine and also allow you to carve industry-standard files (DXF files are used throughout the CNC and laser-engraving world and many free files can be found online)
----------------------------------------------------------------------------------------------------------
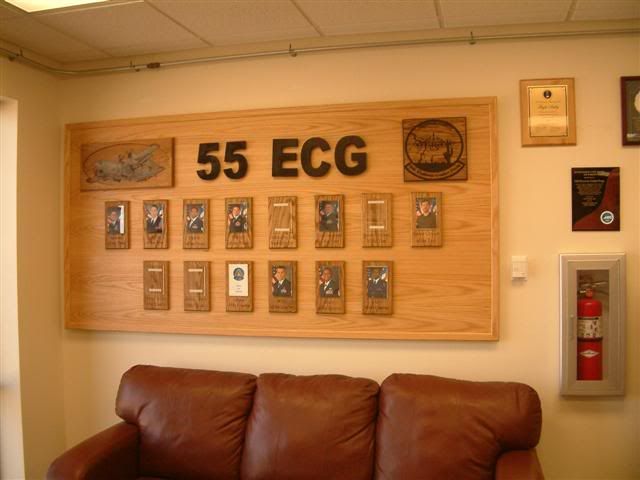
I quickly began to stretch my legs on the Carvewright and started making things—one of the first projects I did was an awards board for my work—
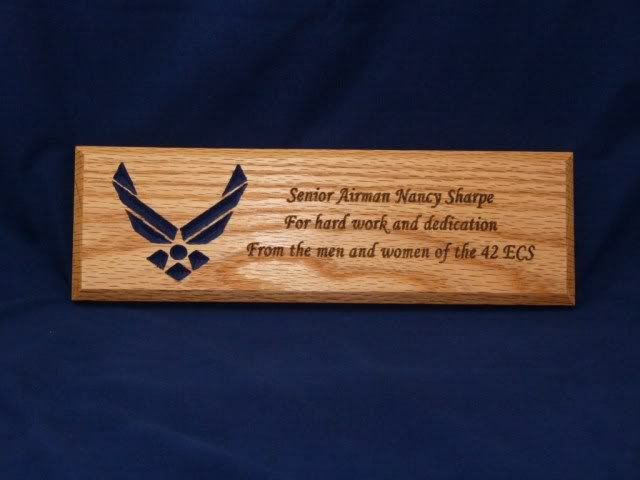
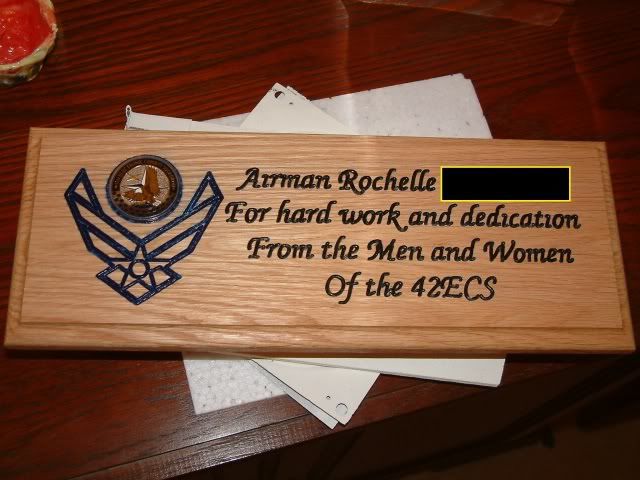
I also started making quick going away gifts for people at work.
These projects actually got me some more requests for work… usually I did them for free, but using work time- which got me valuable experience and saved the Air Force significant money in professional sign costs. Actual material costs can be miniscule on this machine, especially for interior signs. The sign below for example, is ½ inch MDF carved and then painted with the “stone effect” paint, painted with latex paint, and then finally lacquer. My total material costs was less than $10






 Reply With Quote