Page 1 of 2 12 LastLast
Results 1 to 15 of 19

Thread: General design considerations for TS outfeed table/assembly table

  1. #1
    Join Date
    Jan 2011
    Location
    Madison, WI
    Posts
    94

    General design considerations for TS outfeed table/assembly table

    I'm in the process of researching designs for a combined table saw outfeed table/assembly table for my new cabinet saw. I'd appreciate recommendations on features I should consider for incorporation into this table. My shop is long and narrow, so one end of the TS will be up against the wall. Recommendation on size, storage features, mobility, etc are greatly appreciated. My current thoughts are that I have enough shop space to have a permanent table (no need to fold down), and I'd like to incorporate sufficient storage for small electrical hand tools and their storage containers. Thanks.

    Brad

  2. #2
    Join Date
    Dec 2003
    Location
    SF Bay Area, CA
    Posts
    15,332
    Be sure to extend your miter slot(s) into the table so you can use a crosscut sled.

    Does the table or your TS need mobility?
    Wood: a fickle medium....

    Did you know SMC is user supported? Please help.

  3. #3
    Join Date
    Jan 2011
    Location
    Madison, WI
    Posts
    94
    Hi Chris,
    The cabinet saw has a mobile base, but I don't anticipate on needing to move it very often if ever. WIth this in mind, mobility for the table is a lower priority, unless I can task it for other duties such as outfeed for a jointer or planer. Thanks.

    Brad

  4. #4
    Join Date
    Mar 2003
    Location
    Upland CA
    Posts
    5,565
    Mine is on 4" wheels, because I used to use it to slide sheet goods off the pickup, onto the outfeed table, and into the shop. You need decent sized wheels if you go over concrete seams, cracks etc. I also put a piece of cardboard on it to stain or finish items, and roll it outside sometimes to dry.

    Consider how many other uses you may have for it other than as an outfeed table. You can build it as a cabinet, or with legs with a drawer unit setting in it, etc. My personal preference is to set a drawer unit in it, because it can be changed. Maybe no drawers and a shop vac underneath.

    Put an overhang on the sides, like a table, for clamping. I route on mine, and clamp my Kreg jig to it when I need it. Maybe some dog holes and a small WW vise on the side. Consider what you might use it for, and what you can do with it aside from just an outfeed table.

    It does not have to be super wide, but you probably need to make it long enough to hold 8' after the cut. Mine is 2' wide X 4' long. This is about as small as you can use to hold a sheet of ply, without it tipping after it's cut. When I cut a full sheet, I pull it out about a foot for extra support. Mine has formica on the top (it's made from an old counter top), which means glue doesn't stick to it too much. Melamine would work, but will scratch.

    There are a lot of threads here with pics to give you ideas.

    Rick Potter

  5. #5
    Join Date
    Jan 2010
    Location
    Tampa Bay, FL
    Posts
    3,928
    I like mine being able to fold down and out of the way to give me extra room when not needed. More than a few people have set theirs up as downdraft sanding tables.
    - After I ask a stranger if I can pet their dog and they say yes, I like to respond, "I'll keep that in mind" and walk off
    - It's above my pay grade. Mongo only pawn in game of life.

  6. #6
    Join Date
    Sep 2009
    Location
    Three Rivers, Central Oregon
    Posts
    2,340
    We built ours based on this article from Jim Becker's web site: http://sawsndust.com/p-outfeed.htm

    The folding feature is essential in a small shop.
    Scott Vroom

    I started with absolutely nothing. Now, thanks to years of hard work, careful planning, and perseverance, I find I still have most of it left.

  7. #7
    Join Date
    Apr 2010
    Location
    Nashville, TN
    Posts
    1,544
    I like Scott and Alan's approach. The fixed portion of the outfeed may cover a large % of the rips you make. Building a free-standing assembly table will get you access to all four sides, whereas, based on your OP, you would only have access to two sides if attached to the TS (one side against the TS and one against the wall).

    Regardless of arrangement, I would like to add the Kreg track (or homemade version) to the assembly table for faceframes and other tasks. Close access to compressed air and electrical is also good.

  8. #8
    I designed one that i've used for about a year that has the following features:

    The top is flat due to the dado vertical strips of MDF and torsion box type of design, but I also made long and narrow pullout drawers to utilize the space inside.
    The top is laminated with 1/8" UHMPE with rounded edges.
    The top is completely adjustable in height due to 1/2" bolts supporting the outfeed top. My unlevel garage floor and mobile table saw might mean that I'll need to do some quick adjustements to the height or tilt of the outfeed in case I move it somewhere.
    The cabinet is 3 pull out drawers, the big drawer holds all of my drills and chargers and is a charging station I copied the design of a high end Snap-on charging station.
    I attached two rows of magnet holders to one side that holds all frequently used tools.
    Under the top cabinet I store all my blades.

    I can only do a quick sketch of what the basics look like because I don't seem to find any pictures I have of my outfeed table.

    It is essentially a cabinet that has one big drawer designed to hold and charge my drills/drivers, and the top 4 drawers were incorporated in the torsion box type of design that has adjustable leveling.

    The entire project sits on lockable casters and this table top doubles as an assembly table if I roll it away from the saw because it has a flat surface.

    outfeed.jpg

  9. #9
    Join Date
    Apr 2011
    Location
    Williamston, MI
    Posts
    464
    I made a cabinet for accessories that is to the left of the saw and a 4' x 8' outfeed table for the back side. The table frame is mortise and tenon joinery made from 2x6 laminated strand lumber with doubled 2 x4 laminated strand lumber for the posts. It has some open shelves for lumber and jigs. The top is 3/4" melamine and lasts about 10 years before I have to replace it. I use the table for both outfeed and assembly. It also as a woodworking vice on one end. My shop is quite large but I would suggest that you line the blade up with a door for ripping long stock.

    Last edited by Roy Turbett; 05-03-2013 at 11:01 PM. Reason: Additonal information

  10. #10
    out feed table for new toy

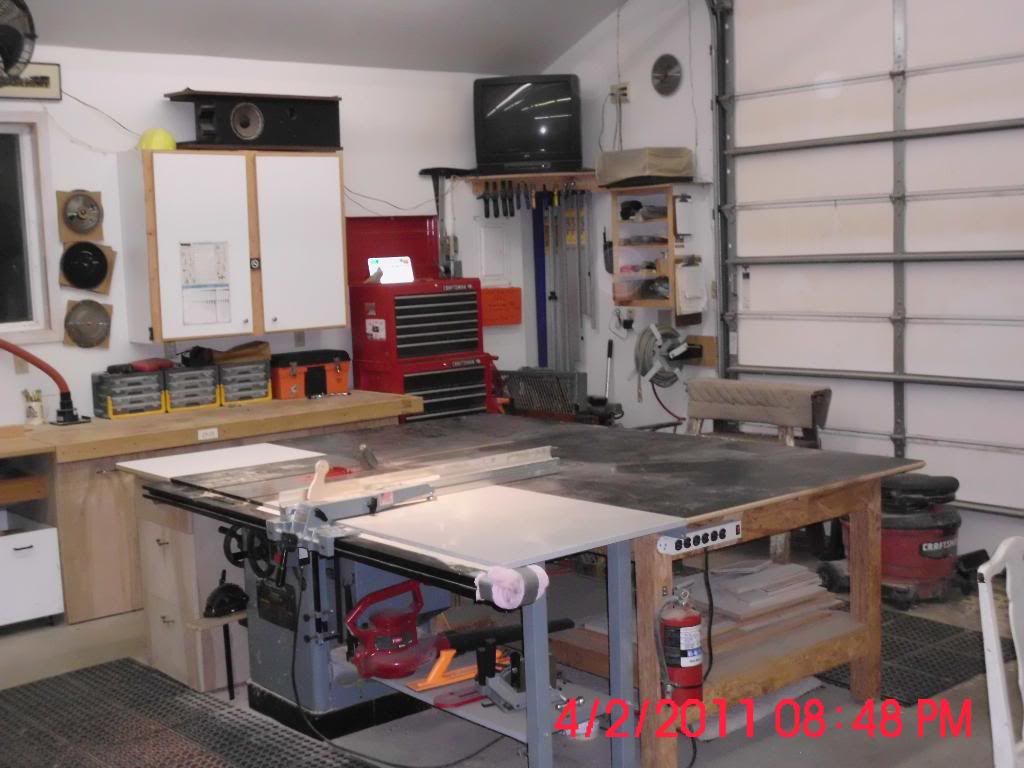
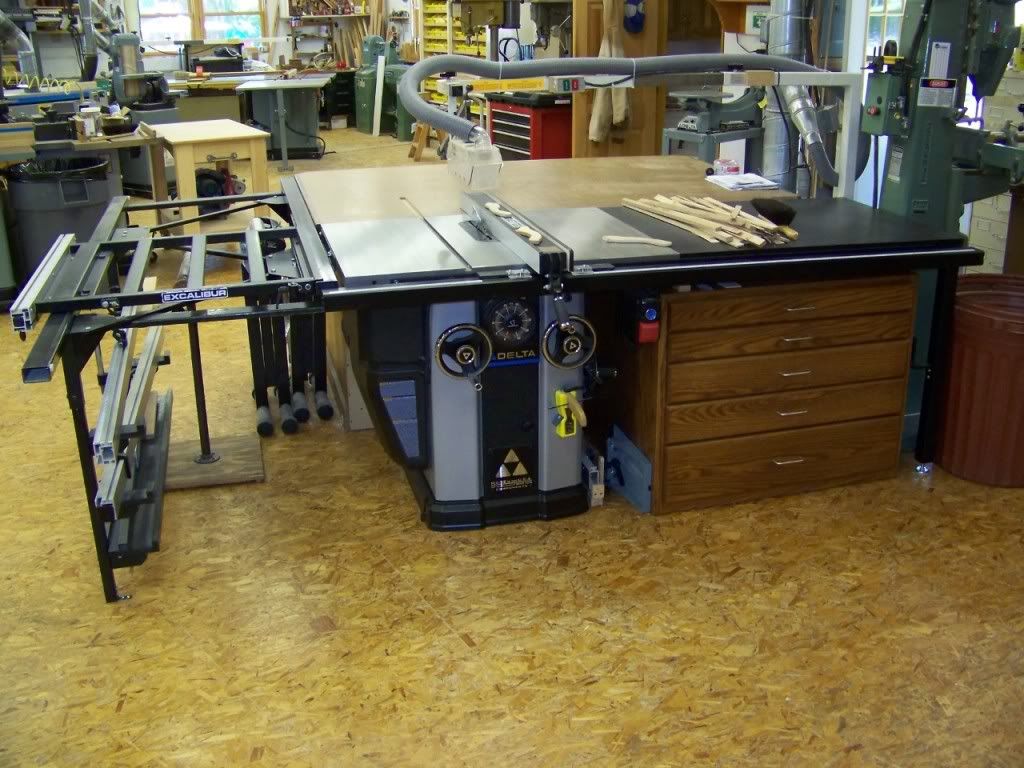
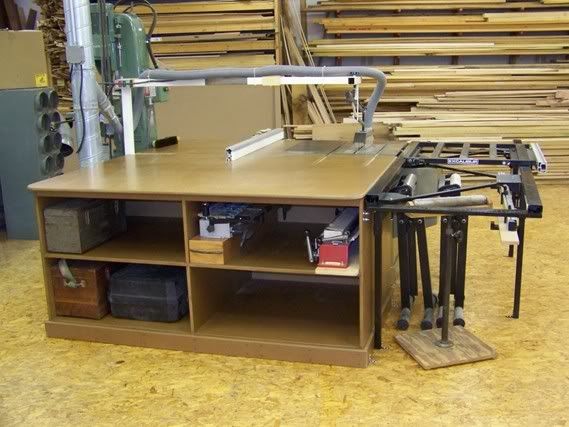
    here are some pics of my out feed table /work bench for my new table saw
    Thanks for looking
    Al

  11. #11
    This is how I did mine.


  12. #12
    I built a combo outfeed/assembly table a few years ago using The Wood Whispers plan for a torsion top. His, I think was designed to be six feet long and I down sized it to 48" in. I put it on casters since I try to mobilize everything in my space. Here is a link to his plans so maybe it will give you some ideas to work from. Torsion Top Table His video is here
    "Seldom wrong, but NEVER in doubt!!"
    Registered EZ "Trac Head"


  13. #13
    Join Date
    Dec 2004
    Location
    Grand Rapids, MN
    Posts
    206
    Here's mine, working on building drawers/cabinets to go under, wish I had miter slots in the table.
    Attached Images Attached Images

  14. #14
    Quote Originally Posted by Chris Padilla View Post
    Be sure to extend your miter slot(s) into the table so you can use a crosscut sled.
    Good tip but make sure and not cut the slots too long, you want the slots to stop the sled before it passes your sled fence.

  15. #15
    Mine is a simple 3 X 7 used solid core door, mounted on a 2 X 4 frame. The door was free. I beat the heck out of the top, fastening fixture/jigs to it, routing circles with router, etc. Built it 1/2" lower than saw top so I didn't need to cut miter slots in it. Have a little 1/2 plywood bridge I use when ripping to support wood. It has a cleat on one end to prevent sifting when ripping. Top only rests of frame, allowing shifting as needed. Even use lock cylinder hole for clamps, and knocking bearings on. About time to turn door over as it's been in place for 20 years now.

Posting Permissions

  • You may not post new threads
  • You may not post replies
  • You may not post attachments
  • You may not edit your posts
  •