Derek,
My initial thought is to cut a block the angle that you want and pare to a fit. If you get to far out you can trim the hole with a rasp. Trying to do this right off the saw seems like it would be pretty hard to hit time after time.


 Contributor
Derek,
My initial thought is to cut a block the angle that you want and pare to a fit. If you get to far out you can trim the hole with a rasp. Trying to do this right off the saw seems like it would be pretty hard to hit time after time.
Bumbling forward into the unknown.

 [OP]
Contributor
[OP]
Contributor
I need to explain why I have been so bloody minded about persevereing with the drilling and sawing strategy.
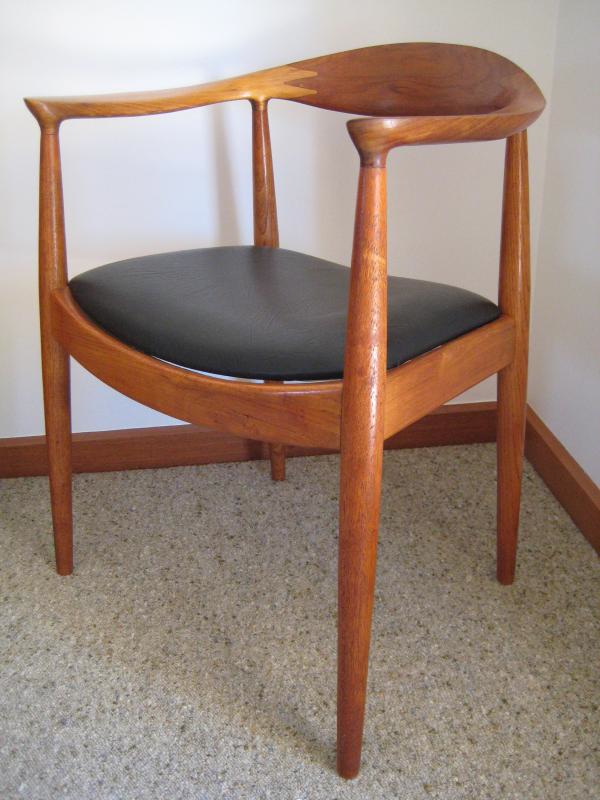
The arms and backrest are being shaped in a different way to the legs and stretchers/rails. The front and rear rails were shaped to fit the legs because I could not be sure of the angle of the mortice and tenon joints. The M&T joints are also internal joints and any gaps could be filled with the epoxy used to glue them together.
By contrast, the arms and backrest are known angles, however their joinery is on the outside where it is visible. The joinery here must be spot on. The connecting sections were purposefully made square and oversize. They will be joined and then shaped (in contrast to the legs, which were shaped and then joined).
In spite of being as careful as I could in squaring the square end sections, I realise that there will be some deviation, or that I should assume that there is some deviation for a worst case scenario. Consequently, I must find a way to saw the joinery from one reference side. In my mind, working inwards from two sides will create errors, even if they are small. This will lead to gaps. If the joinery is perfectly square from the reference side then it should not matter what the opposite side looks like: the parts will fit, and the outsides are going to be removed anyway.
The ability to drill perfectly square from the reference side is one example. This was demonstrated to work reliably. The irony is that the jig I made will drill a hole with greater accuracy (for the purposes here) than the best drill press could!
The ability to saw to the circumference of the hole is important because the wood is too hard and too thick to file to shape, and anyway I have always sawn dovetails to the line, never deliberately played "safe" and left room to pare away waste. I believe in this instance that, with a guide, I should be able to saw to the optimum spot (melding into the edge of the hole). Not only that but, done from the reference side, it should allow for a square joint all the way through the work piece.
Some terminology at this point: I am not sure what to call the finger joint parts. The joint is sort of like a dovetail, but tail and pin does not apply here. Why do I care? Because the joint I have been practicing will have a counterpart, that is, a "male" finger that fills this "female" section. Both end in a round. And the fingers are also separated by a round.
I returned to the workshop this afternoon for a little more practice. First I tried carving the finger, that is, marking it out and paring from both sides. It was quickly apparent that this was not going to work and was a LOT of effort.
I had an idea about the errors that occurred previously. What was in common was a saw cut to the one side of the guide and the guide was positioned at the side of a board. My thought was that the clamp I used was pulling it over slightly at that spot because it could not be centred on the guide. I simply used a different clamp.
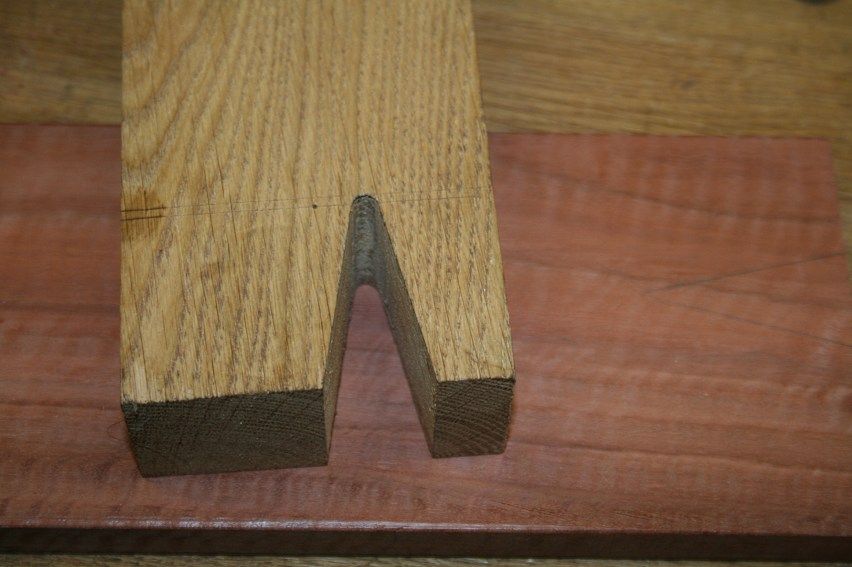
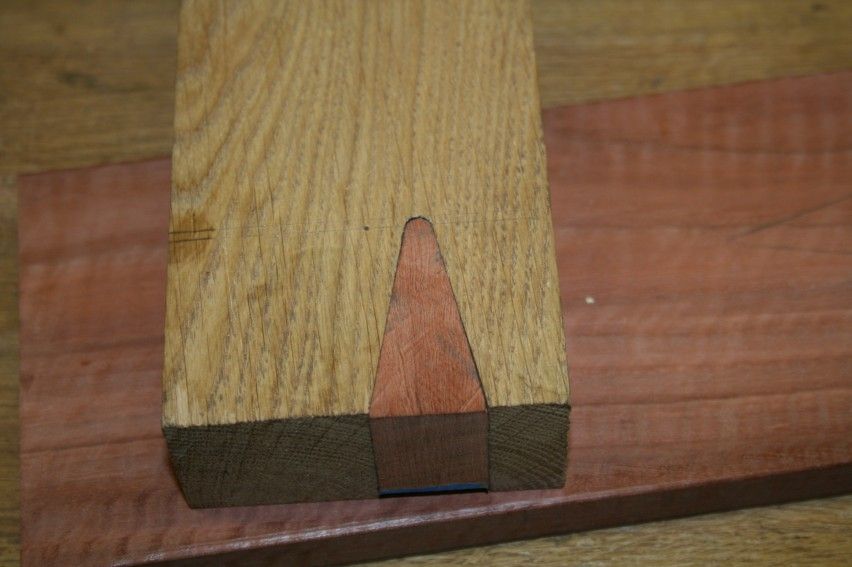
With everything else exactly as before, this is what I achieved ...
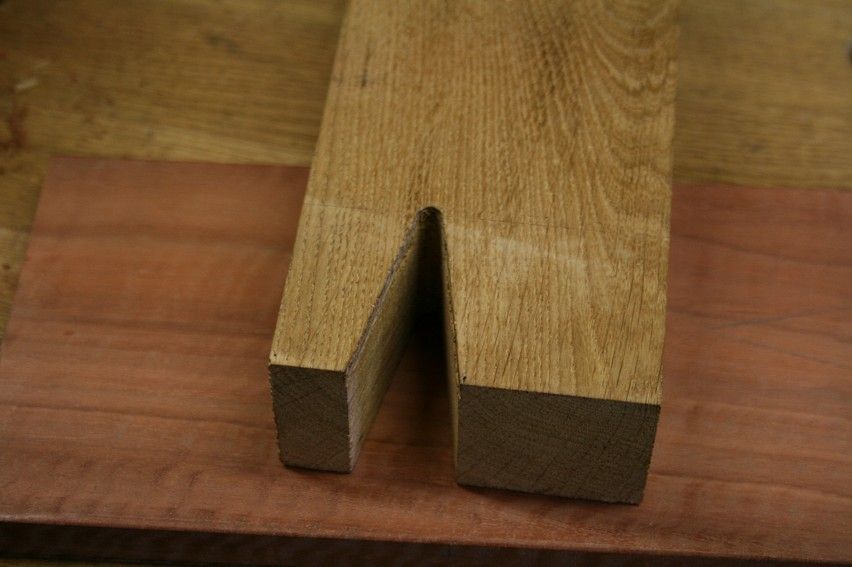
Other side ...
I was very happy with this. All that was needed was a little cleanup with a 3/16" round chainsaw file.
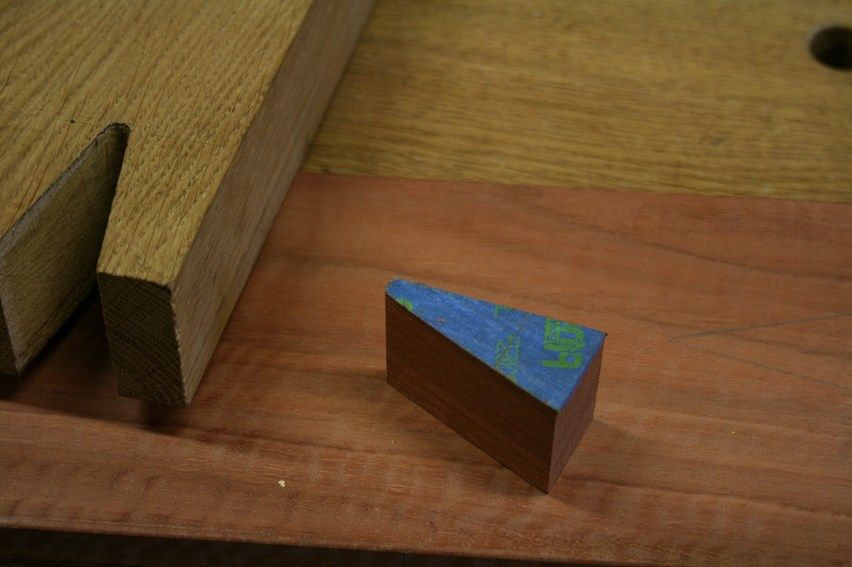
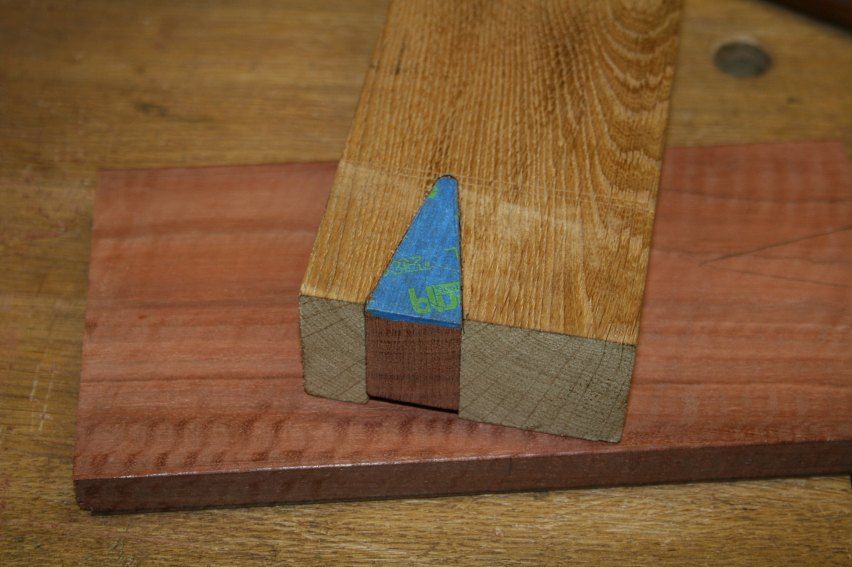
There was time to try a male finger. All I had to hand was a small piece of Jarrah waste. This was just enough.
I covered the Jarrah with blue tape and marked it from the female finger (this is how I plan to match the arm and backrest, as if it was a dovetail joint - another reason why the reference side must be able to create the non-reference side). The guide was clamped to the Jarrah and the sides sawn out. This left a pointed end, which was shaped with a file ...
I had deliberately sawn the male finger a fraction oversize. This was rasped to fit (just needed a few strokes) ...
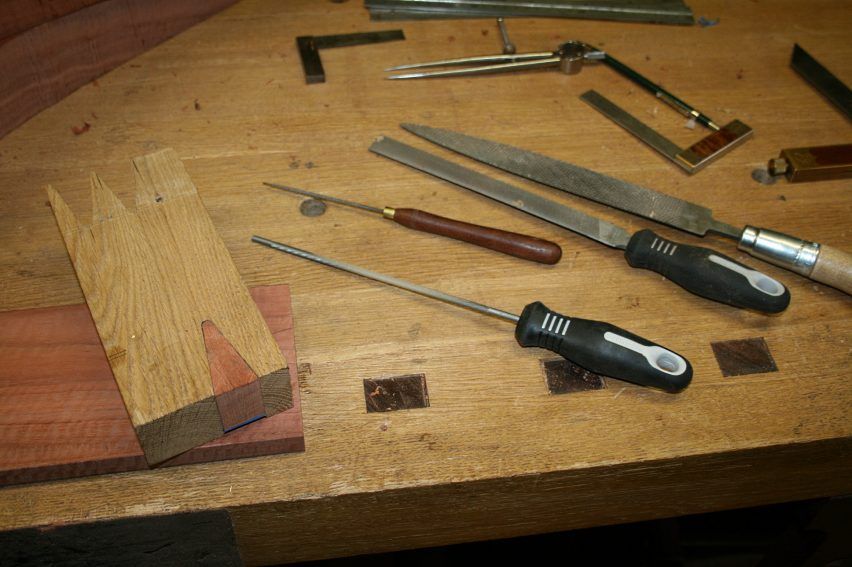
Tools ...
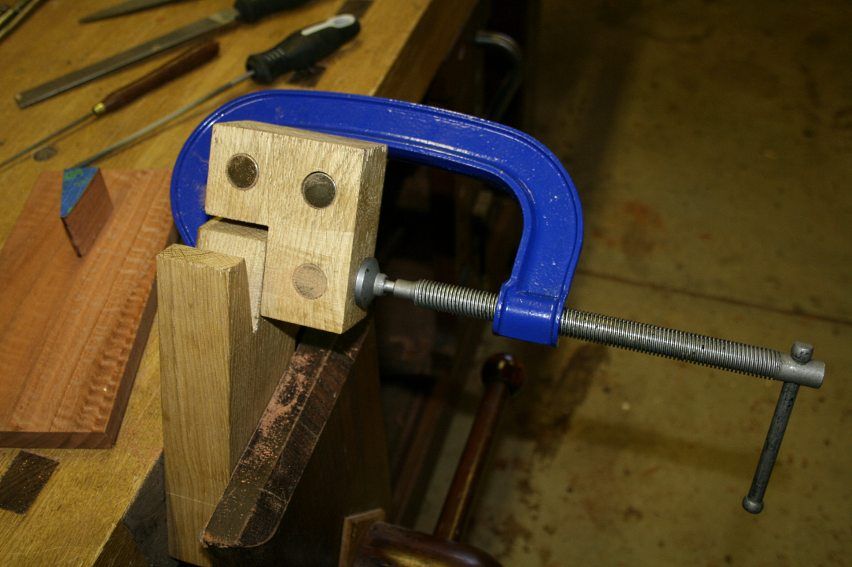
And the Record clamp that helped ..
A few more practice runs are needed before the real thing.
May I have your opinion about working from a single reference side?
Regards from Perth
Derek
Member
This is very impressive. Thanks for documenting it, I'm learning a lot.
Originally Posted by Brian Holcombe

Along those lines (and this is obvious, so sorry for stating the obvious) it seems like as long as the saw cuts wind up within the circle, there is hope for being able to adjust the joint. This might be a case where you need to play it safe by cutting and paring. You could clamp on a paring block to help assist with keeping level.
Any thoughts about steaming and clamping the joint to remove the slight imperfections? Just a thought, I'm not sure how the wood you are using would behave.
clamp the work
to relax the mind
Member
And by the way, the "one reference side" observation is a good one. It really does eliminate one of the variables.
clamp the work
to relax the mind
 Contributor
Hi Derek, any progress on the finger joint portion of your project? Just curious to see how you have managed to get the look you were after. Thanks
[OP]
Contributor
Hi Pat
I have not been back into the shop since returning to work. Now flat out catching up. I usually only get to do any work on weekends, and last weekend was my son's 21st birthday. And this weekend my wife and I will be driving south (of Perth) for a jazz concert (Diana Krall) under the stars in a vineyard. Beautiful weather to put the rag top down and enjoy the sun. It's a hard life but, hey, someone's got to do it
Back to the chair next week.
Regards from Perth
Derek
[OP]
Contributor
I was tempted to wait another week before posting this part of the build. However it is two weeks since my last post and I had begun receiving email asking whether I had given up! Oh to have the time to be in the shop during the week! But I am back in my day job and it will be another week before I again get a chance to do anything, so here is the update - about 3 hours worth over this weekend past.
http://www.inthewoodshop.com/Furnitu...8part1%29.html
Since there is time, any feedback is welcomed, particularly with regard methods of transferring finger outlines.
Regards from Perth
Derek
[OP]
Contributor
Not sure if anyone is still following this.
A little more work done ...
http://www.inthewoodshop.com/Furnitu...8part2%29.html
Regards from Perth
Derek
Member
Still following for sure! Tough work, I can appreciate the effort that is going into such a "simple" joint.
clamp the work
to relax the mind
Contributor
I think you came up with a nice little sanding tool there - I think thats very key to your success. Also, I don't need to tell you this I'm sure, but a little bit of 'tuning' on the slopes will create a much bigger change in the 'depth' of engagement. At a 45 deg angle it would be 1:2 (1 thou each side = 2 thou engagement) but for your much steeper angle its probably more like 1:10. I appreciate your attention to detail in getting this to come together. Very tedious I'm sure but the result will be something you can savor for a long time.
Contributor
Derek,
The glue up is going to be interesting, IMO. Are you going to build a fixture comparable to the one at PP Mobler for glueing? I think that, combined with just a hair more fine tuning is going to have you looking pretty sharp.
I'm sure it feels like your sending this stuff into a vacuum sometimes when posting on your site, but allow me to say I have gone over every page and have picked up an incredible amount of insight from your site.
Bumbling forward into the unknown.
Guest
+1, this has been an interesting build to watch.
 Posting Permissions

 Reply With Quote
_html_m43e4d0f7.jpg)
_html_7930a919.jpg)