When you apply a finish to Greene and Greene pieces, do you apply finish to the ebony?
If not, do you put the pegs in after the finish is applied?


 [OP]
Member
[OP]
Member
When you apply a finish to Greene and Greene pieces, do you apply finish to the ebony?
If not, do you put the pegs in after the finish is applied?
I have done both. On pieces that will receive a colored stain I just let the pegs get handled by the final paste wax application of the finishing process. I rarely use colorants so my finishing schedule has morphed to where I put the pegs in before the last coat of finish. I prefer an oil/varnish mix so the pegs get a bit darker if the ebony is leaning towards brown and they pick up a bit of a semi-gloss which is a look I like. Both of these are under the final coat:
GnG-BC-first-coats-bot-fram.jpgCoD-Finished-10.jpg
"A hen is only an egg's way of making another egg".
Samuel Butler
[OP]
Member
Thanks,
That's what I was looking for. I've never worked with ebony before. Intuitively, I thought maybe the finish should be put on the ebony last, if at all.
I will use Deft Danish Oil, it is an oil urethane finish. I was introduced to it at Homestead Heritage while attending a rocking chair class.
I'm still making practice plug holes.I have the LV tool for making the square holes, but I have yet to make something acceptable.
I am close, but so far, no cigar. I'm using scrap maple plugs on the practice exercises, but I expect the ebony to work different.
I'd like to see a completed piece that you've made. Can you post something in the projects section?
Last edited by lowell holmes; 01-02-2014 at 10:26 AM.
Member
I have a little experience with making a few ebony plugs. First, I've used a hacksaw blade with great success in roughing them out. Then a few wipes on some sandpaper got them closer to the final shape. Lastly, it turned out that the ebony can be burnished to a nice shine on a piece of leather and a piece of MDF. Then a little waxing gives a nice finish. Or just use the finish you have for the rest of your piece.
I just picked up two 1x1x12 pieces of ebony from Plywood and Lumber Sales in Emeryville, CA. They have them for $4. Very dark pieces. I wanted to mention the store, as I did a few years ago, because they are the nicest people that I have dealt with when buying wood. Nice inventory with good prices and emphasizing purchasing from responsible sources.
Member
There are photos from the Hall Brothers' shop showing that original pieces of Greene and Greene furniture had their ebony plugs in place before finish or color was applied. Specifically, I recall pictures of the Bolton House entryway table and plant stand, where the mahogany is in the raw, and the plugs are installed. These pieces were finished to an extremely dark brown, probably by the use of ferrous sulfate, and then finished probably with shellac and linseed oil.
Links to photos in the Greene and Greene Virtual archive:
http://dpg.lib.berkeley.edu/webdb/gg...9-1.III70.006c
http://dpg.lib.berkeley.edu/webdb/gg...9-1.III70.006b
Member
I use a hollow mortiser to make the hole. One trick I use when placing a sequence of pegs is to clamp a thin metal strip to the work surface to act as a alignment tool. I have a tendency to slightly twist my chisel or mortiser so this trick keeps the holes perfectly aligned. If you cut the peg ever so slightly larger than the hole and then slightly taper the sides of the peg below the crown, you will get a near-perfect result every time.
Member
What kind of problem are you having? If your plugs are slightly tapered and a little wide they'll deform the ole rim to match.Originally Posted by lowell holmes

AKA - "The human termite"
http://www.sawmillcreek.org/showthre...pired-Bookcase
CoD-Finished-7.jpg
"A hen is only an egg's way of making another egg".
Samuel Butler
 Member
I cut the splines with a dozuki saw and polish the ends with a festool sander, and high grit Festool or SIA foam backed sandpaper.
d start with 360 grit, then 1000, then 2000 then 4000.. Finish them with whatever natural finish is on the wood.
 Contributor
I shape the peg ends with sandpaper then cut them from the stick with a razor saw. The holes are made with a square chisel from a mortiser. Everything gets installed after glue-up and final finishing prep, but prior to finish being applied. Here's a couple examples that may stray a bit from traditional G&G, but llustrate the results well.
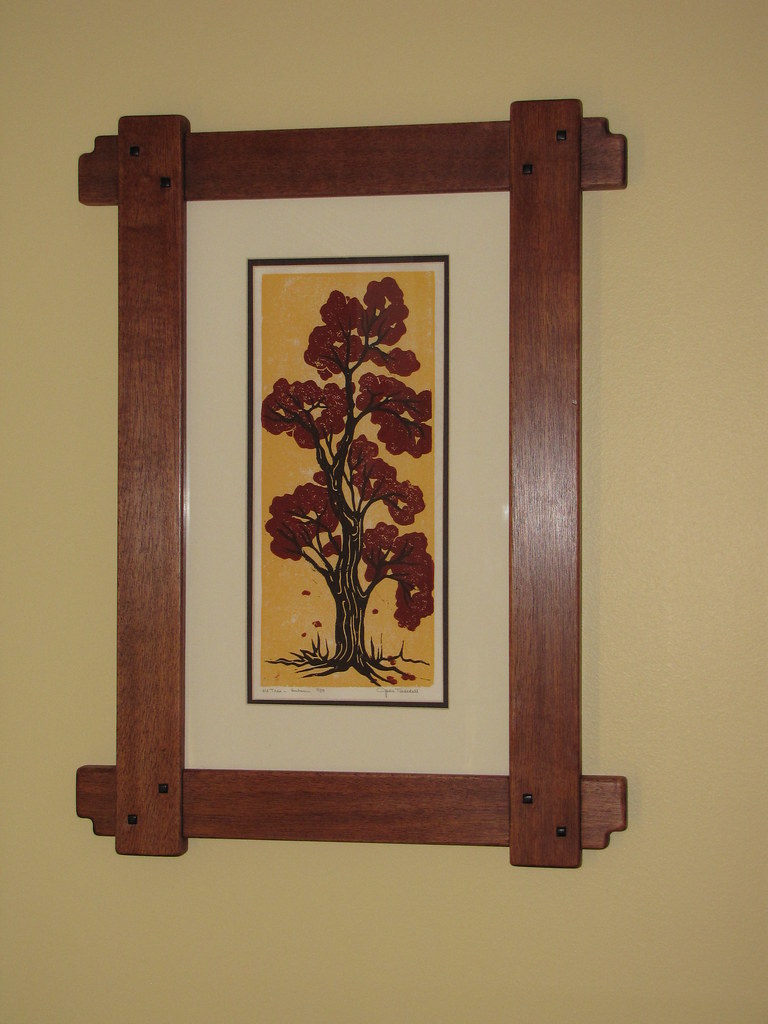
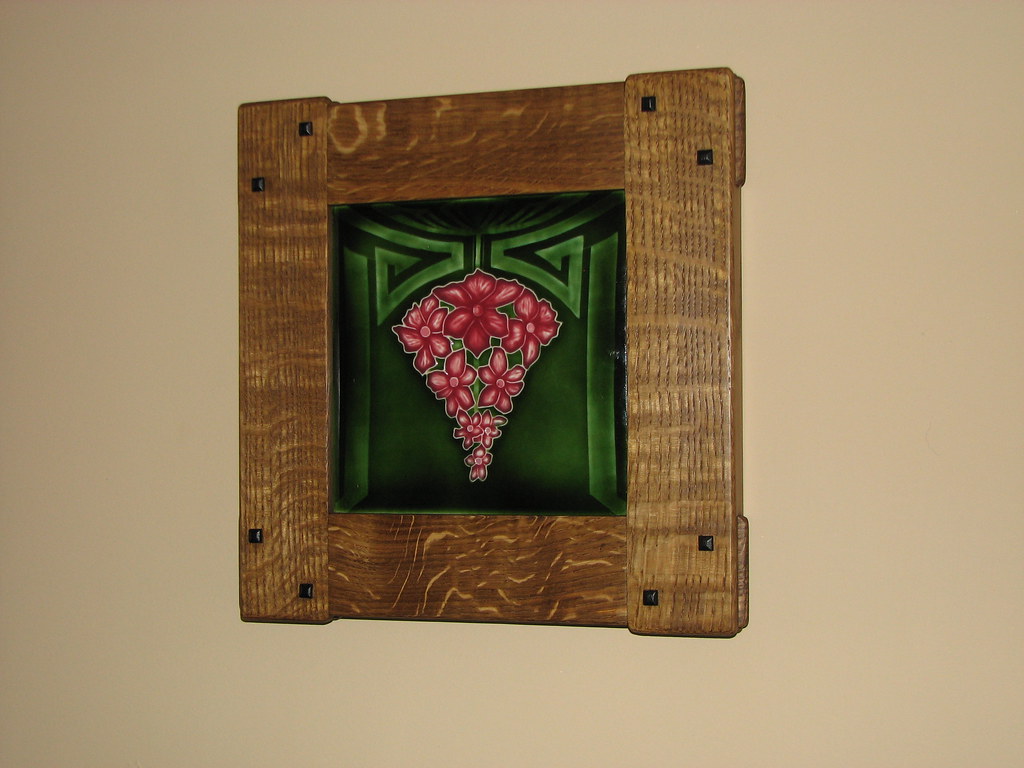
Last edited by Rob Luter; 01-09-2014 at 12:47 PM.
Sharp solves all manner of problems.
[OP]
Member
Wow!
I'm blown away!
 Posting Permissions

 Reply With Quote
