Oh, good, you're here. Now I don't have to come and get you. 
I've never done inlay. But since I knew it was the next logical step in my guitar education, I bought the tools I thought I'd need. That was probably 5-6 months ago. I've played with them a bit but haven't gained the skills that give me the confidence to proceed with the work on my own.
My SO still hasn't placed the order but I'm pretty sure these are the ones I'll be installing. There's talk about an inlay on the headstock too but that seems to be bringing about even more indecision than the fretboard inlays.

I think row #3 is the front runner. They call it Black MOP. #1 & #2 would stand out better with a
Gabon ebony fretboard. I'm having a hard time picturing #3 with the fretboard we have.
Any thoughts?
Anyway, my plan is to locate the top edge of the fretwire and come up about 1/16" to 1/8" and make that the bottom of the inlay. The pictures I've seen of inlays that run the width of the fretboard look like there's a small bit of wood showing between the fretwire and inlay.

This looks more like 1/8"
But these look closer to 1/16"


The top inlays don't span the FB width but the bottom ones pretty much do. I don't know what we might be getting.
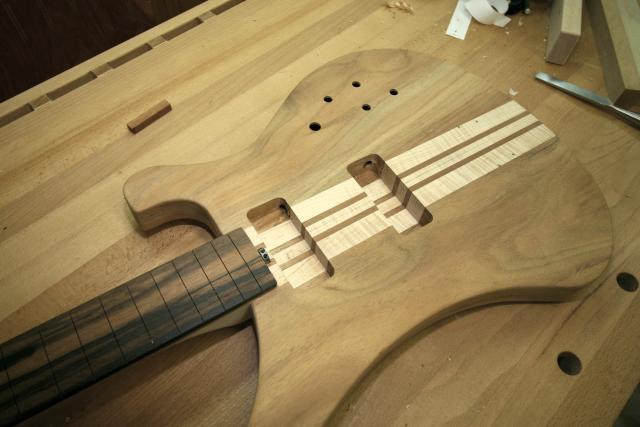
Now comes the part that I fear I may have created problems for myself - I already did the radius on the fretboard. At the time I was in autopilot and had no idea what would happen with inlays. I was thinking we'd just do dots.
Once the dots fell from grace and I started looking into Ric-like inlays, my plan was to score the edges of the inlay and use a Dremel to rout up to the scored lines. Problem is, I'm guessing those inlays will be pretty rigid and need a flat surface to be glued to. Shell doesn't bend, it breaks. The only way I can envision routing a flat bottom on a curved surface is to build guide rails along the neck.
The other thing I'm wondering is in regards to the thickness of the inlay. If I rout the center depth to the maximum thickness of the inlay, will there be enough shell left on the outer edges once they are sanded down to match the radius?
Is this what I have ahead of me if we go with this type of inlay?


 Reply With Quote

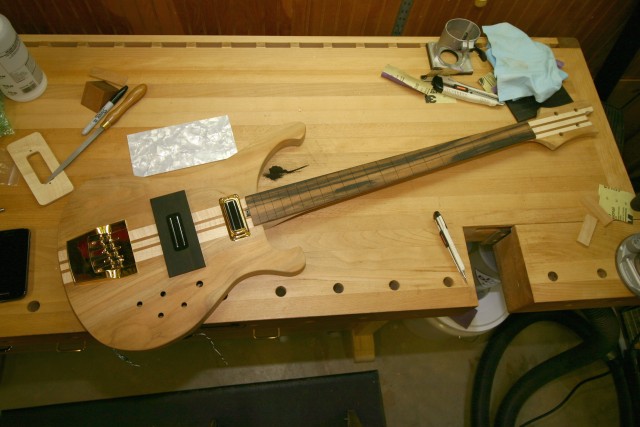
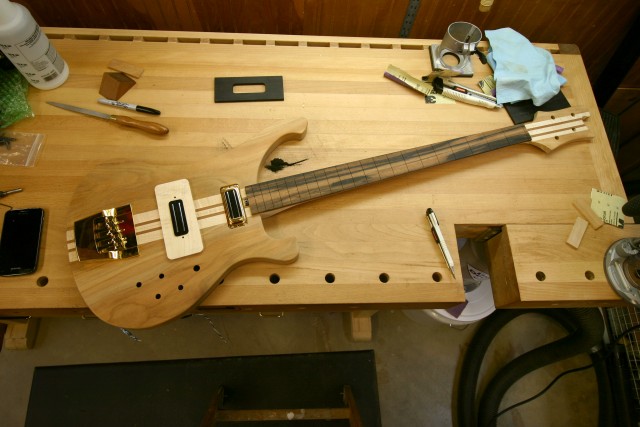
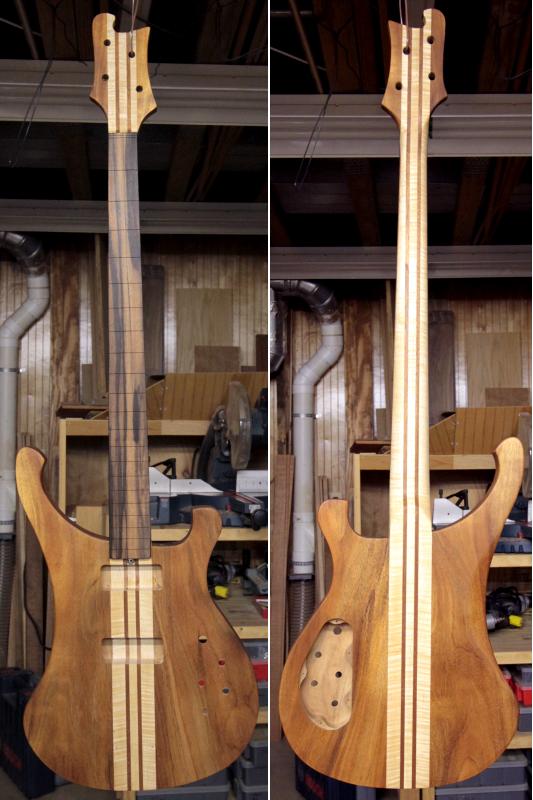
") In the mean time, I'm starting on the Tru-Oil. I wiped on a very thin coat today.
In the mean time, I'm starting on the Tru-Oil. I wiped on a very thin coat today.