Page 3 of 3 FirstFirst 123
Results 31 to 44 of 44

Thread: Seeking Info on bow front divided light door

  1. #31
    Join Date
    Dec 2008
    Location
    Ouray Colorado
    Posts
    1,400
    Quote Originally Posted by Peter Quinn View Post
    Thanks for the kind words guys. Mreza, these get pretty heavy with glazing, on this set we are in the nice & light phase, pine core staves and marine fir ply core is all pretty light but strong. I hear you on the weight, yours is a big door to handle solo!

    Joe, the flat staves in curved plan proved to be more of a mental problem than a physical one. Once the angles are adjusted you can barely percieve that they are not round, it's a trompe loie of sorts. We made some clamping forms that represent the chord length and height, mostly for clamping and partly for layout. I struck a center line on these and laid the rough parts in order. The rails were cut on the panel saw to length on a curved sled so the blade at 90 degrees cut the rail alone it's radial line as if from the circles center. Put those on the form next to the stiles, shim the stiles so they follow the curve, I needed to adjust the edge of the stile where it meets rail by 1.5 degrees to have its flat segment run parallel to the curve along its section. Me being me wanted to know why.....or develope a consistent way of figuring out the angle precisely rather than manually.

    I reasoned that the stiles are 4.5 inches of flat, I came up with a circumference based on the radius, then came up with a ratio of degrees of angle per inch of movement along the circumference. For my radius a move of 4.5 inches along the circumference represented 3 degrees of angle, given 360 in a circle. So I treated it like a miter angle....need to move 3 degrees around a corner, 1.5 degrees on each side. Except the rail angle was established automatically by the sled used to cut it, so I need only put a 1.5 degree angle along the edge of the stile where it met the rail. Then I made a bed board for the sticking on the shaper that lifted the rail to 1.5 degrees so the sticking met the curved rails at the correct angle. Flat stiles appear to follow the curved plan perfectly! Even hanging in the rabbited jambs it's difficult to percieve they are flat, they eye only reads the curved parts, our weatherstrip gap is 3/8" so that hides the subtle deviations.
    Thanks Peter, all useful info.

  2. #32
    Join Date
    Feb 2008
    Location
    Northwestern Connecticut
    Posts
    7,149
    Thanks for the kind words gentlemen. Joe, it just hit me what you are talking about.....lift and slide.....curve in plan....each door on a slightly different radial line? Ouch, that's a lot of work! Most of these doors I'm making follow the same radius and the pile of jigs and fixtures is bewildering! Now I feel the stress!

  3. #33
    Join Date
    Dec 2008
    Location
    Ouray Colorado
    Posts
    1,400
    Quote Originally Posted by Peter Quinn View Post
    Thanks for the kind words gentlemen. Joe, it just hit me what you are talking about.....lift and slide.....curve in plan....each door on a slightly different radial line? Ouch, that's a lot of work! Most of these doors I'm making follow the same radius and the pile of jigs and fixtures is bewildering! Now I feel the stress!
    Yes, several units all different radius. Big, typ 6'X12' sash. I see the jig work as massive. A dream job if enough time but typical to the construction world schedule is already behind. The radius is big enough that it will be difficult to swing with a trammel. I am going to talk to a CNC guru today to see about making the templates on his machine. Modern miminal design so it won't be quite the details you are dealing with.
    Joe

  4. #34
    Join Date
    Feb 2008
    Location
    Northwestern Connecticut
    Posts
    7,149
    Its my feeling that in building an entry door the jamb is actually the hardest part to get right. Those transitions from door to framing, weather stripping, water diversion, these are the things that help protect your interior space from the elements to which the door makes you accessible. It helps to have a few good rabbit cutters for this part! And when they say you can never have too many routers, I'm pretty sure they are referring to curved door making. I've tied up almost every router in the shop with some form of fence or guide that really has to remain set...and I've started bringing a few from home. The sills were run on a Hussey molder, they taper 7 degrees or so and curve. Its a two piece threshold with a rabbited bottom, can't put a normal sweep seal in a curved bottom rail, so we went with a double gasket, primary is a silicone sweep, secondary is a silicone flap let into the rabbit in the threshold, the negative rabbit is let into the door bottom, locks it up tight. And how to put all those grooves and rabbits in you ask? Lots and lots of jigs!! A few are pictured here. It took 5 distinct router set ups with special fences or bearings to do the threshold/door bottom prep.

    I read the occasional question here about which high priced hinge mortising template to buy...the $299 one from this company or the $400 from that company. Anyone remember the $1.98 beauty contest? Well unlike that show in this case IMO the cheapest solution really is the best, you can easily build one of these precision templates for about $2 worth of MDF and 15 minutes of time. Here's mine, made on a slider or table saw. Note to self....butt template to top of door, remember to add 1/8" shim between dado in jamb legs and template. Always route hinges from the top down, like painting a flag pole. Once hinge mortises are all routed, its time to build the jamb, scribe jamb legs to the threshold, etc. Here's a pair of doors ready to be married. Note the special clamping fixture....flat doors wont slide off the bench while you build the doors up on stickers....but curves will...DAMHIK.
    Attached Images Attached Images

  5. #35
    Join Date
    Feb 2008
    Location
    Northwestern Connecticut
    Posts
    7,149
    Quote Originally Posted by jack forsberg View Post
    that's real fine work Pete. Thanks for posting this.

    That means a great deal to me coming from you Jack, thanks for the kind words. Pete

  6. #36
    Join Date
    Nov 2009
    Location
    Seattle Wa
    Posts
    162
    Peter I sent you a pm.

    Keith

  7. #37
    Join Date
    Feb 2008
    Location
    Northwestern Connecticut
    Posts
    7,149
    If the jamb set is the hardest part of the door, then the jamb leg to threshold connection may be the hardest part of the jamb. For water shed you really have to land on top of the threshold, which has to pitch 5-10 degrees down and out depending on who you ask. And this one is a compound angle, curved and beveled. My solution to this tricky intersection is to make a template, or in this case two templates (one right, one left) that fits precisely, then route the jamb legs to fit like a tight scribe. Its hard to get all the nooks and corners with a router, invariably requires some paring and squaring with a chisel. Some tenon the legs to the threshold, here I'm using 3 1/2" #10 GRK exterior screws, very strong, tenacious hold, never see them fail. My strategy to wrap the jamb around the door is to hinge the jamb, hang it, measure the head, install it, measure the threshold, install that with all appropriate gaps for weather seal and clearance. These doors are all pretty precise, so once I have the stops set on the slider it all goes pretty quick.....except the heads and sills are curved, so you need another special fixture and a few tricks to cut the ends of the head/sill parallel to the centerline of the door. On a curved door the jambs don't have to be parallel, they could be splayed to match the walls or follow the radial lines, these are parallel as specified. An extension jamb and trim will splay out to reach the walls and exterior. Lots and lots of trim! Here's a few pics...doors finally hanging..lots of ground left to cover but its a good feeling to reach this part of the job.
    Attached Images Attached Images

  8. #38
    Join Date
    Jan 2013
    Location
    Williamstown,ma
    Posts
    996
    It is interesting that with the in swing of the convex shape that you are able to use a meeting joint that, although stepped is still perpendicular to the curve, and it works! Typically that joint has to be skewed several degrees off perpendicular so they don't interfere.
    Again, nice work, it's a shame that it is painted.

  9. #39
    Join Date
    Feb 2008
    Location
    Northwestern Connecticut
    Posts
    7,149
    Quote Originally Posted by peter gagliardi View Post
    It is interesting that with the in swing of the convex shape that you are able to use a meeting joint that, although stepped is still perpendicular to the curve, and it works! Typically that joint has to be skewed several degrees off perpendicular so they don't interfere.
    Again, nice work, it's a shame that it is painted.
    Peter, the meeting joint is skewed 11 degrees relative to the center line of the segment to allow the active door to clear the fixed. Our designer animated it in cad and kept skewing it until it worked. Doors are 2 5/16" thick, so a 3 degree bevel wasn't going to work! There will be an applied astragal on the exterior of the inactive side, the offset is around 3/8" plus the gap, there is a double weather gasket in the jog. The bead looks centered, and the astragal will too, but its mostly a trick.

    There have been a few comments regarding the fact these are getting painted. I do like the look of a stain grade hardwood door, but these are not going to get the kind of physical protection that clear coated exterior doors require, like a serious portico or porch overhang. So for this application I'm thrilled they are being painted. Like the white paste on a lifeguards nose, a good paint job will give this mahogany a long lifespan with far less maintenance long term IME.
    Last edited by Peter Quinn; 08-31-2014 at 9:55 AM.

  10. #40
    Join Date
    Jan 2013
    Location
    Williamstown,ma
    Posts
    996
    Ah, I see! Photo makes it look square , that makes more sense now. Thanks.

  11. #41
    Join Date
    Dec 2008
    Location
    Ouray Colorado
    Posts
    1,400
    Peter,
    I went back through this again. It looks like you made the rails from bender ply with solid skins and edges? Is this correct? Seems like that combined with epoxy or Unibond would make for no springback.
    I agree about paint being better in a lot of cases. What usually happens is the client sees the paint grade mahogany and says we cannot paint that. We just started using Accoya for paint grade. Don't have a opinion about it yet.
    Joe

  12. #42
    Beautiful work, Peter. I am curious about the decision to have a recess at the interior of the sill- it seems water exclusion depends on the primary sweep in the door bottom working flawlessly. Are there weep holes in the sill rabbet to allow any water getting in to escape? How do you deal with sealing the area between the pair? Our sills are built with the inner part under the door higher than the beveled outside section, giving a physical barrier to wind driven rain apart from the sweep.

  13. #43
    On the nicer doors I like to sell them on a drip moulding with a fairly sharp edge .

  14. #44
    Quote Originally Posted by Kevin Jenness View Post
    Beautiful work, Peter. I am curious about the decision to have a recess at the interior of the sill- it seems water exclusion depends on the primary sweep in the door bottom working flawlessly. Are there weep holes in the sill rabbet to allow any water getting in to escape? How do you deal with sealing the area between the pair? Our sills are built with the inner part under the door higher than the beveled outside section, giving a physical barrier to wind driven rain apart from the sweep.
    I must say that is my thinking too. I do do the rabbited seal but still add a removable adjustable threshold.


    When I make the threshold/water sill part of the sill I like it to do a few things for the door. One make it replaceable down the road for ware . Two have it adjustable so I can adjust its thickness so the weatherstripping at the bottom of the door works at its best
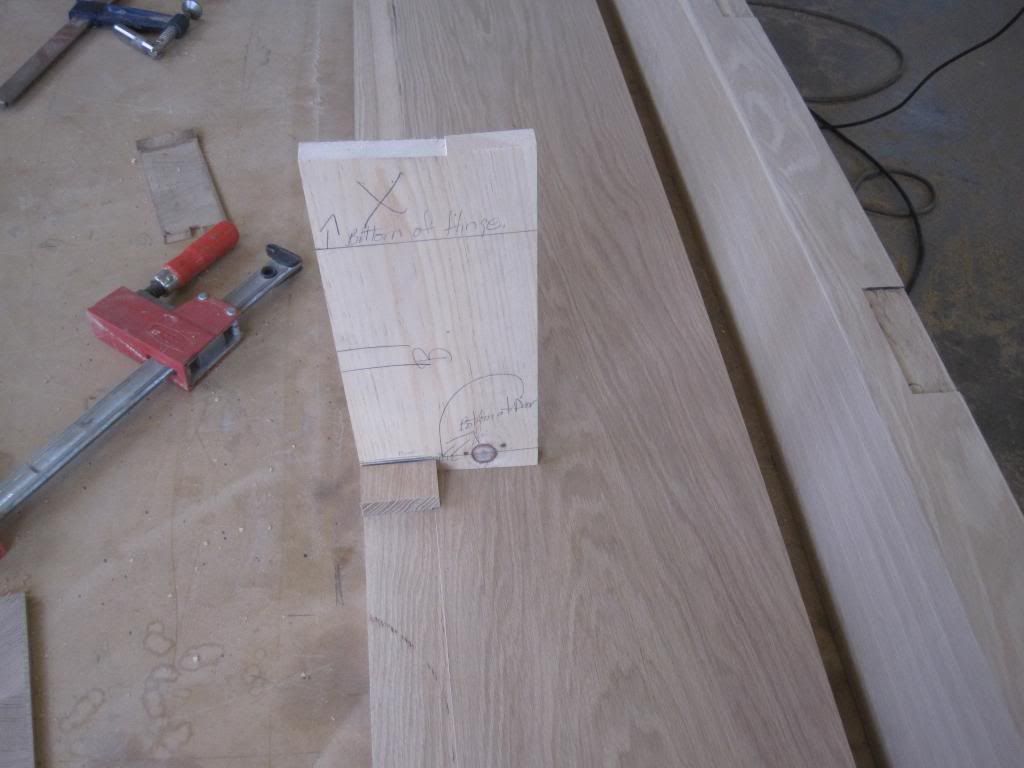
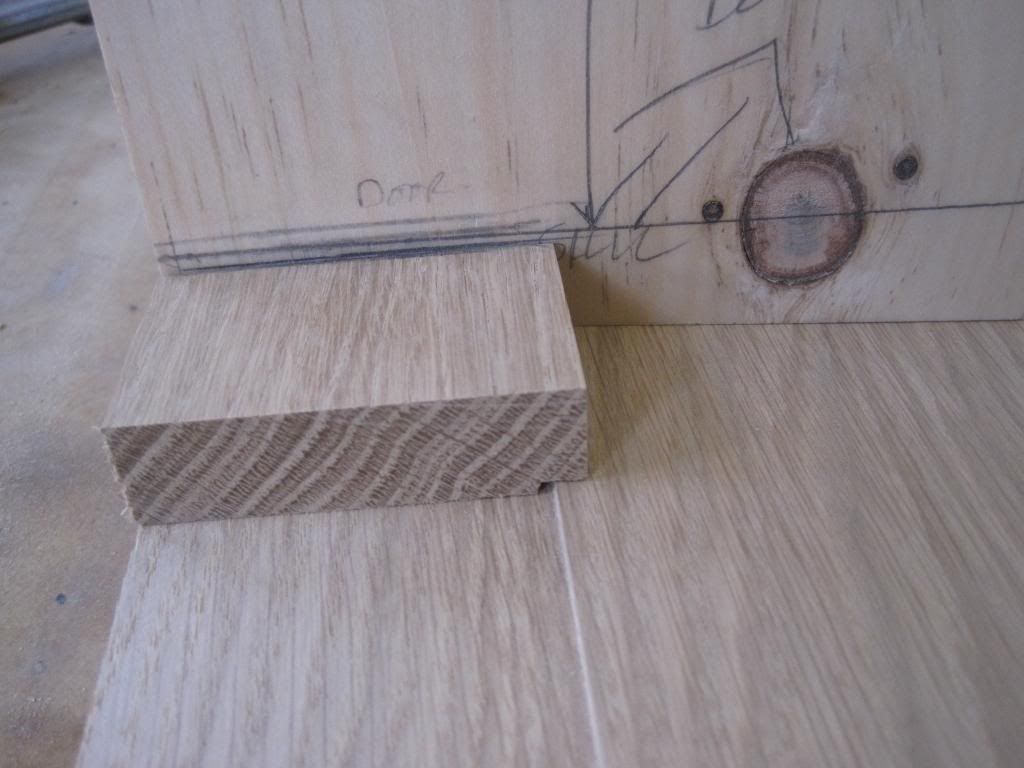
. Three have it out when I hang the door so I don't damage the sill weather striping on the bottom of the door.

    we cut the jams joint this way so the sill portion is removable


    this lets the threshold sit between the jams for removing/adjusting it or replacement in later years. It also locks the jams in place from moving in on the door. We use brass machine screws taped into the wood to attach this part of the door sill so it can be replaced by the home owner many years latter.i put oil in the threaded hole too. We cover the bottom of our wood sill with ice shield (grace) too so we can level the sill in a bed of caulking and keep moisture from coming up through the bottom from rim linkage condensation or a concrete foundation.


    I really like to keep my joints in the sill water tight to so I always make provision for large wood movement from wet weather and never have vertical seams in the sill work so water can't sit and rote.


    lastly I put a caulking channels to back up the threshold joint inside/under the threshold out of the sun for a clean water tight threshold joint. This is easy to do by over cutting the threshold rabbit. this does not make it hard to remove or replace it ether but keeps the sill dry from sitting in water that may work its way under it in wet weather that is wind driven other wise.


    there other advantage is it keeps the main sill thick as its not one piece so 8/4 is all that is needed even for wide sells. I do like Mil's idea to of the traditional drip moulding as well.

    Very nice work Pete thanks for sharing,
    Last edited by jack forsberg; 09-01-2014 at 2:43 PM.
    jack
    English machines

Posting Permissions

  • You may not post new threads
  • You may not post replies
  • You may not post attachments
  • You may not edit your posts
  •