Page 1 of 2 12 LastLast
Results 1 to 15 of 17

Thread: My First True Build, Cabinet For Pantry

  1. #1

    Question My First True Build, Cabinet For Pantry

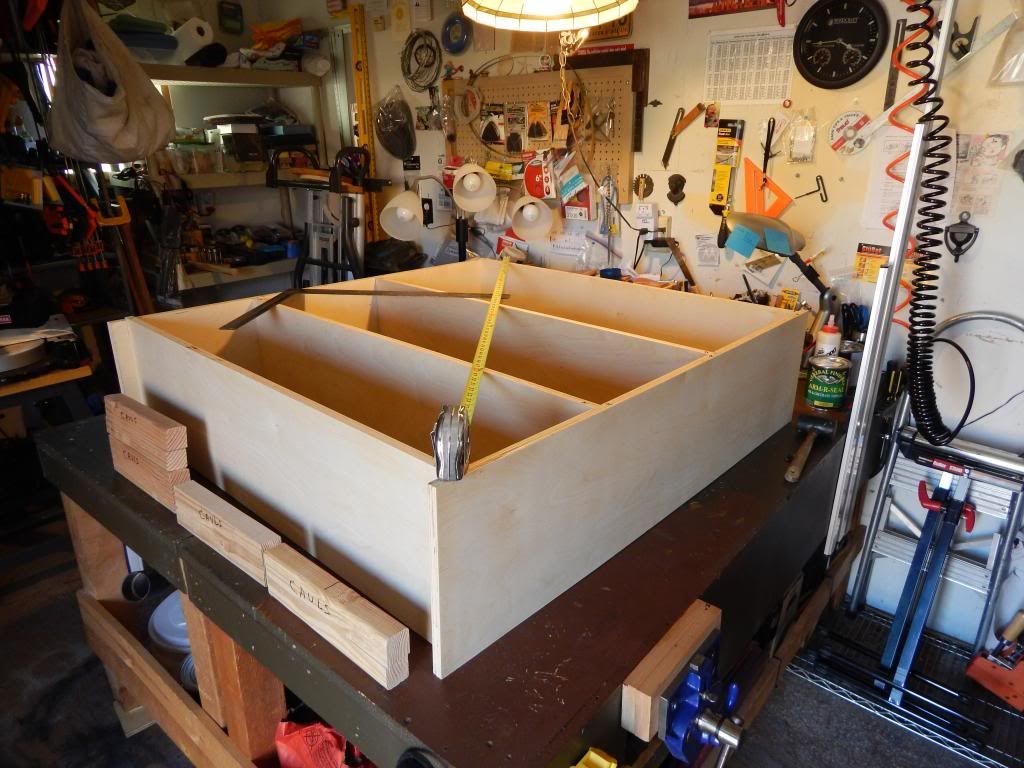
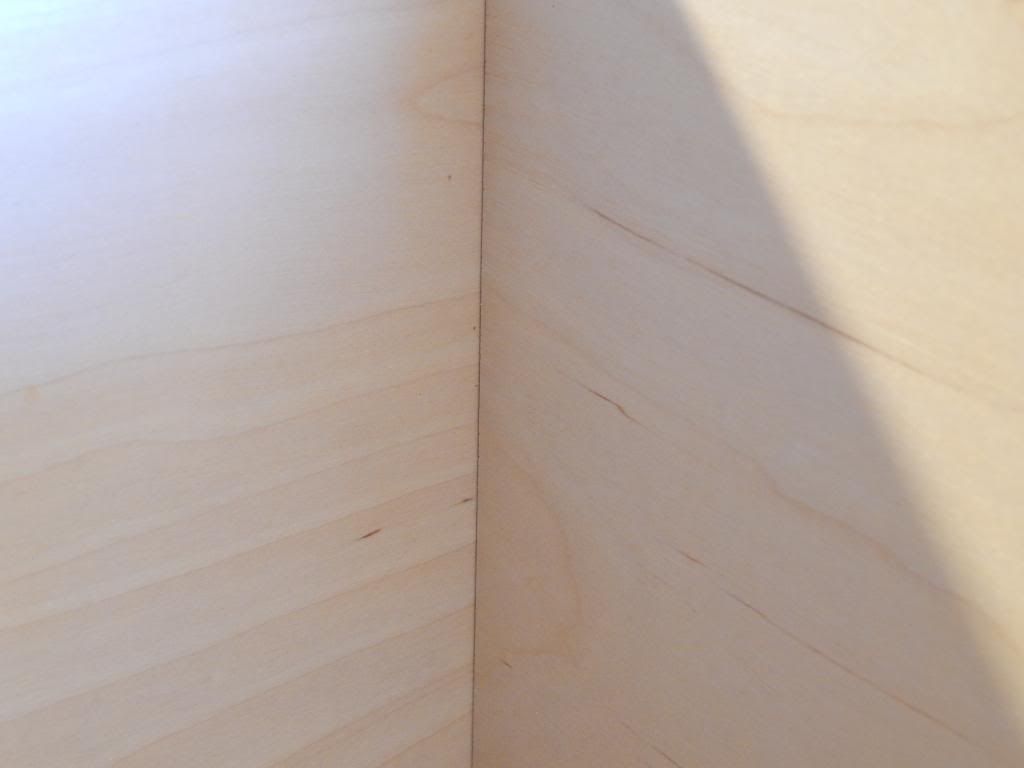
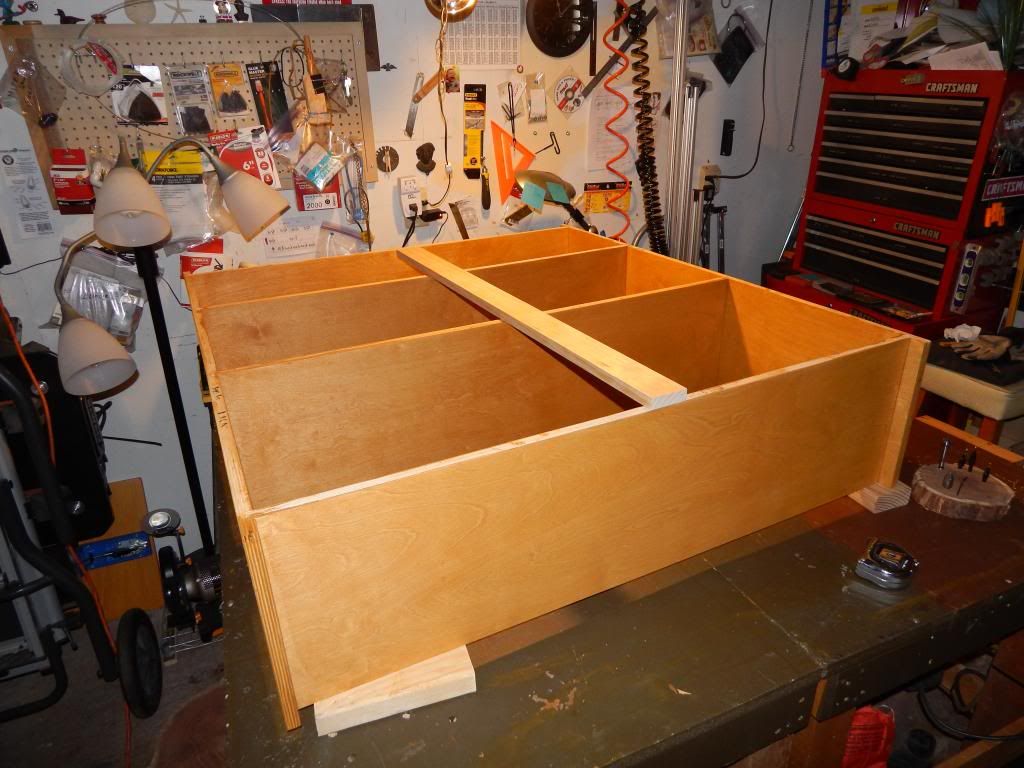
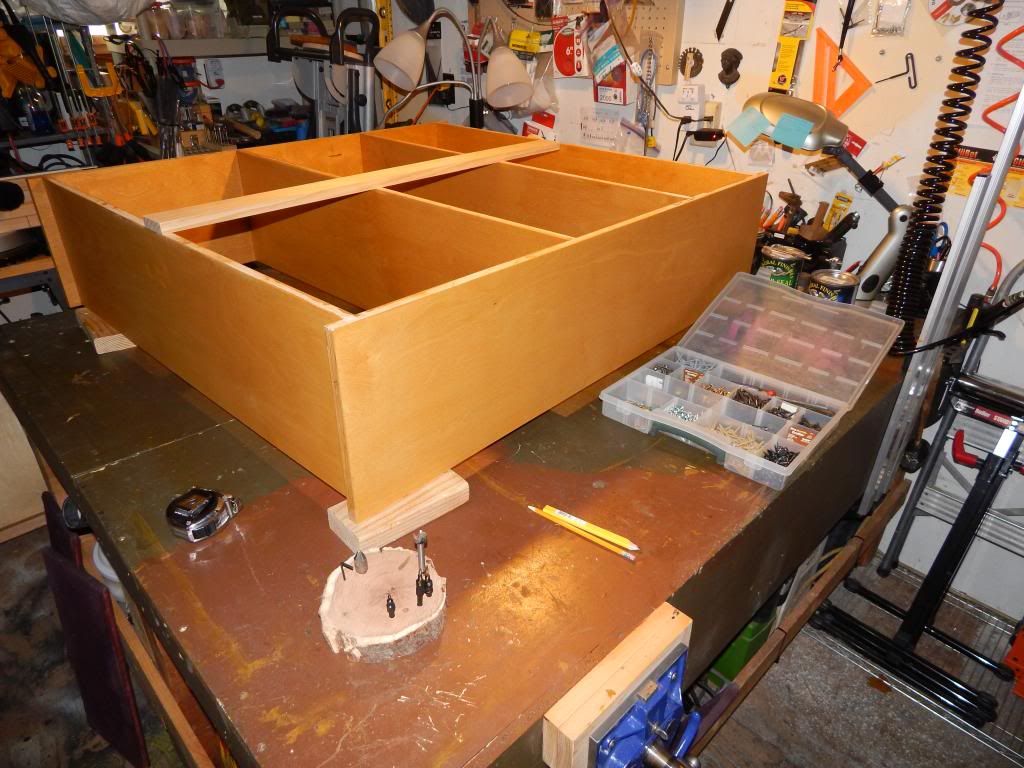
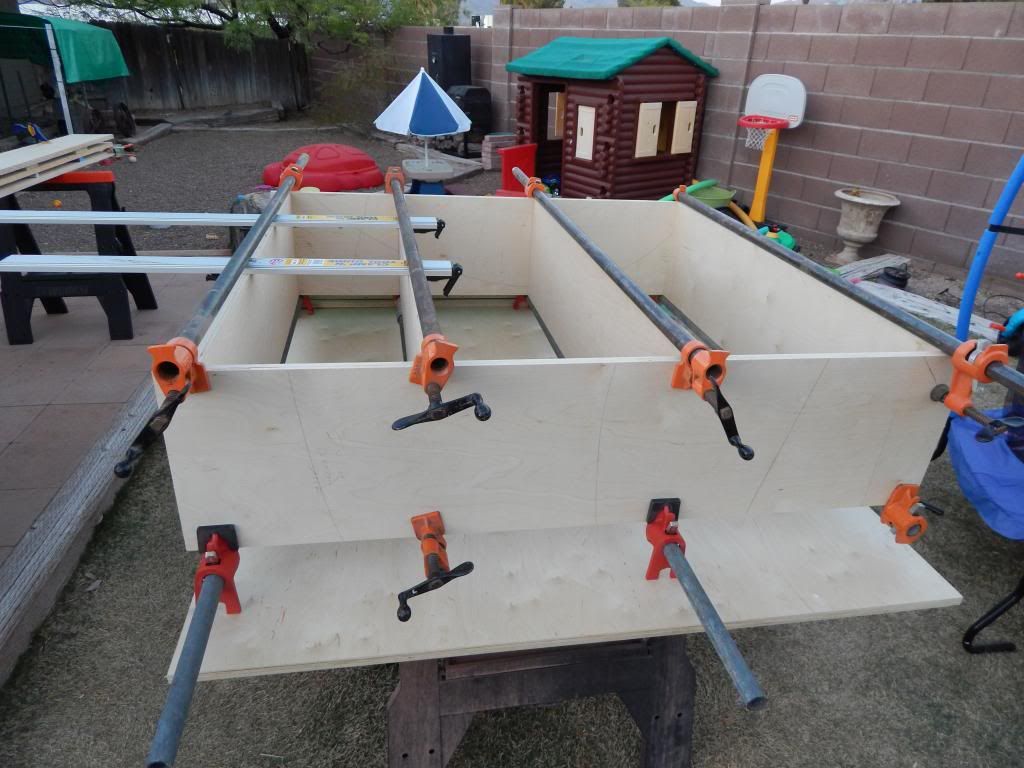
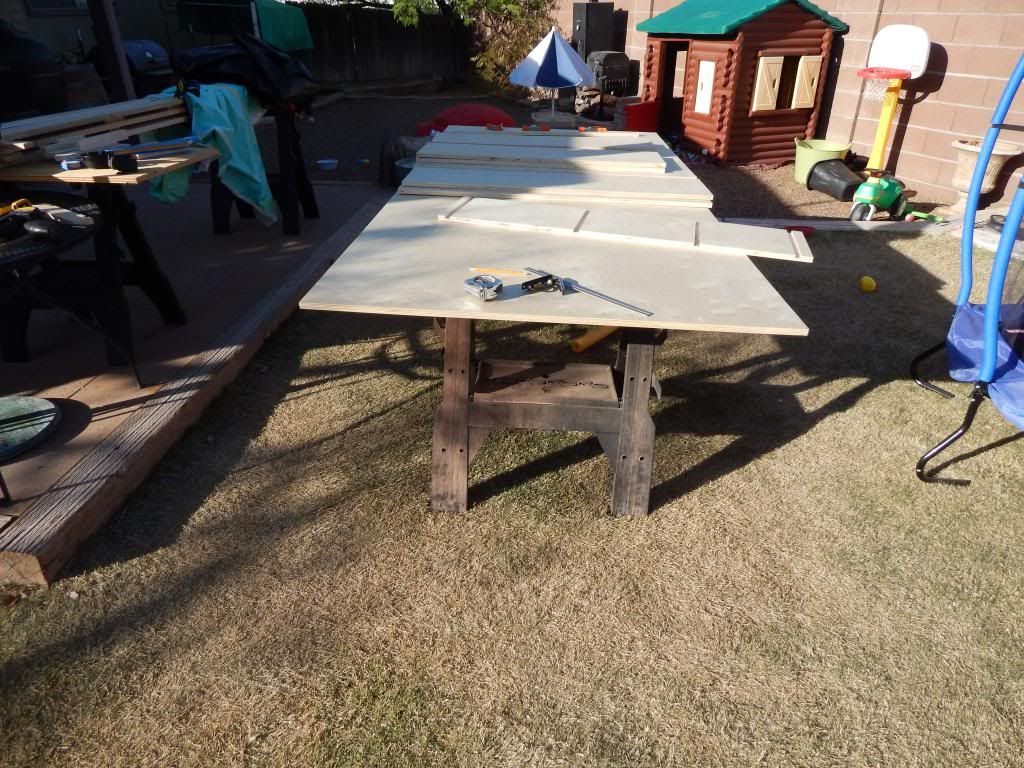
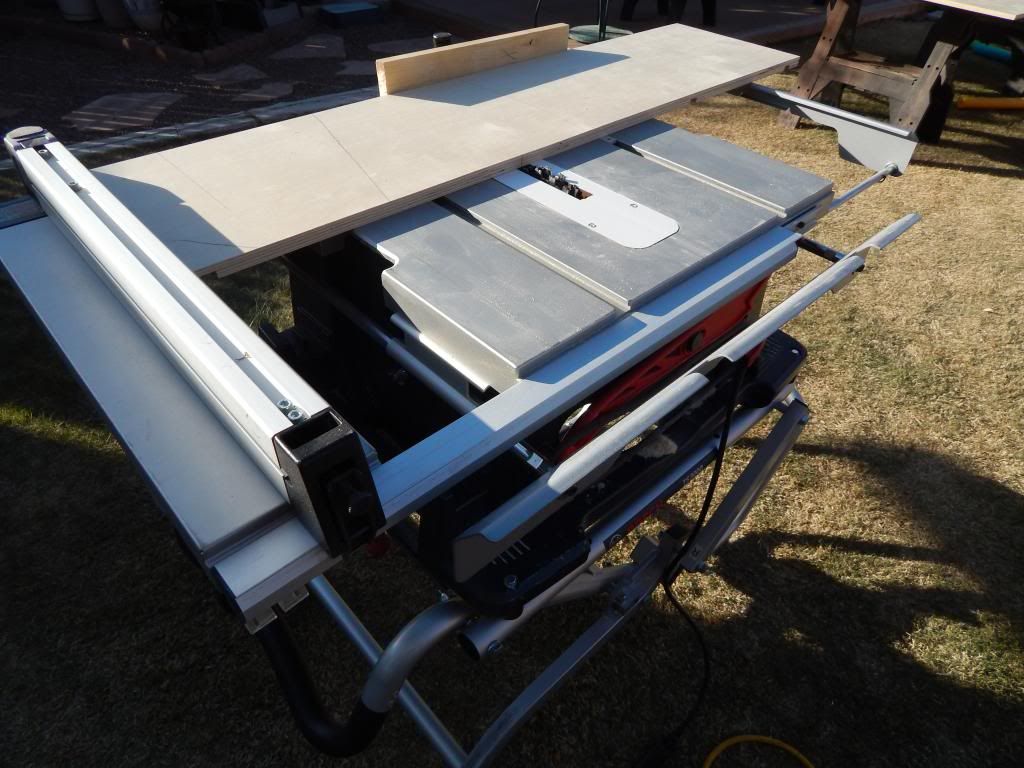
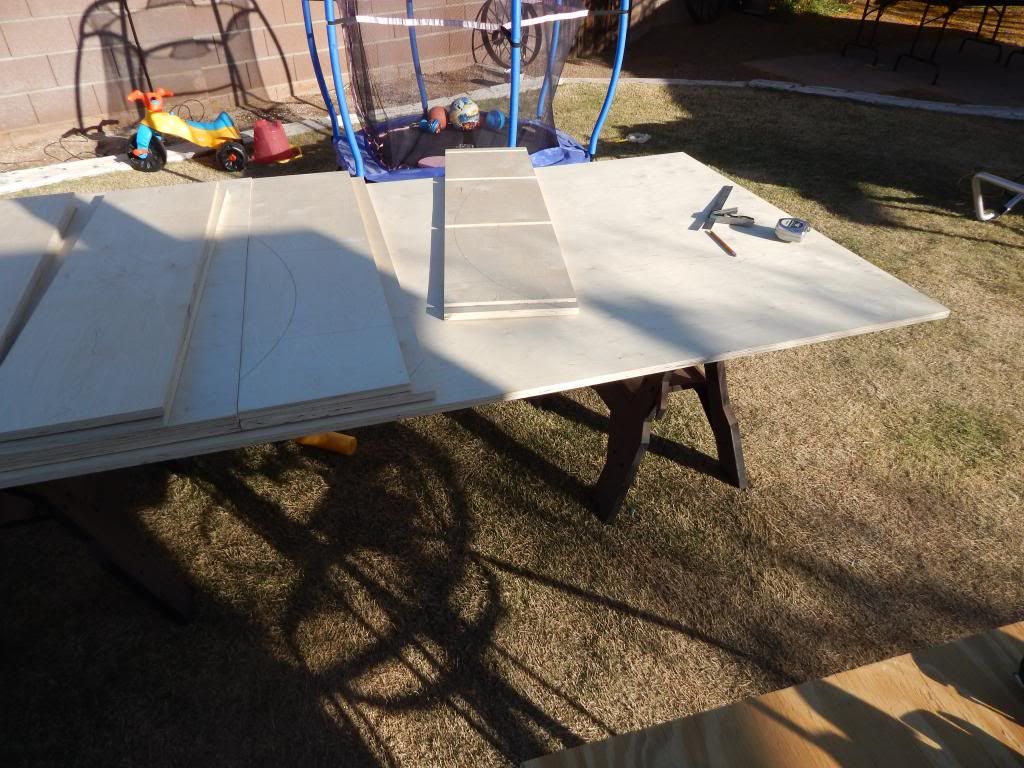
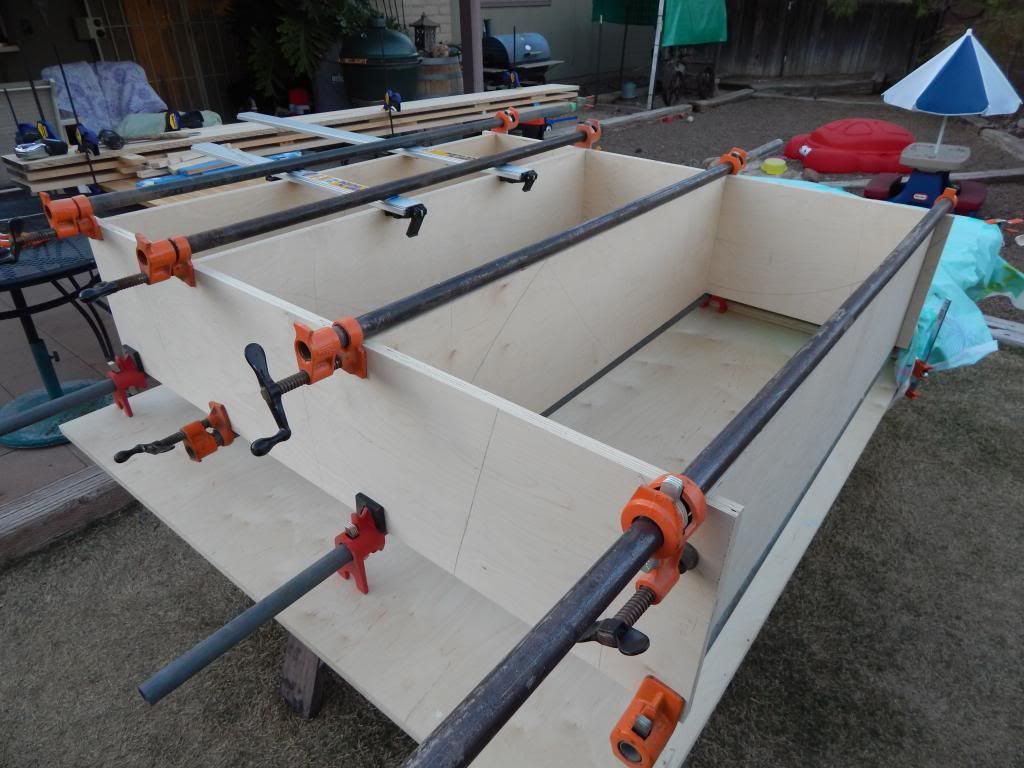
    I have found that I am really slow with Woodworking. To cut down a 4x8 sheet of 3/4 plywood, cut to size and Dado took me over 6 hours. Everything came out pretty good, Dado's fit great. Size is 44" X 47"

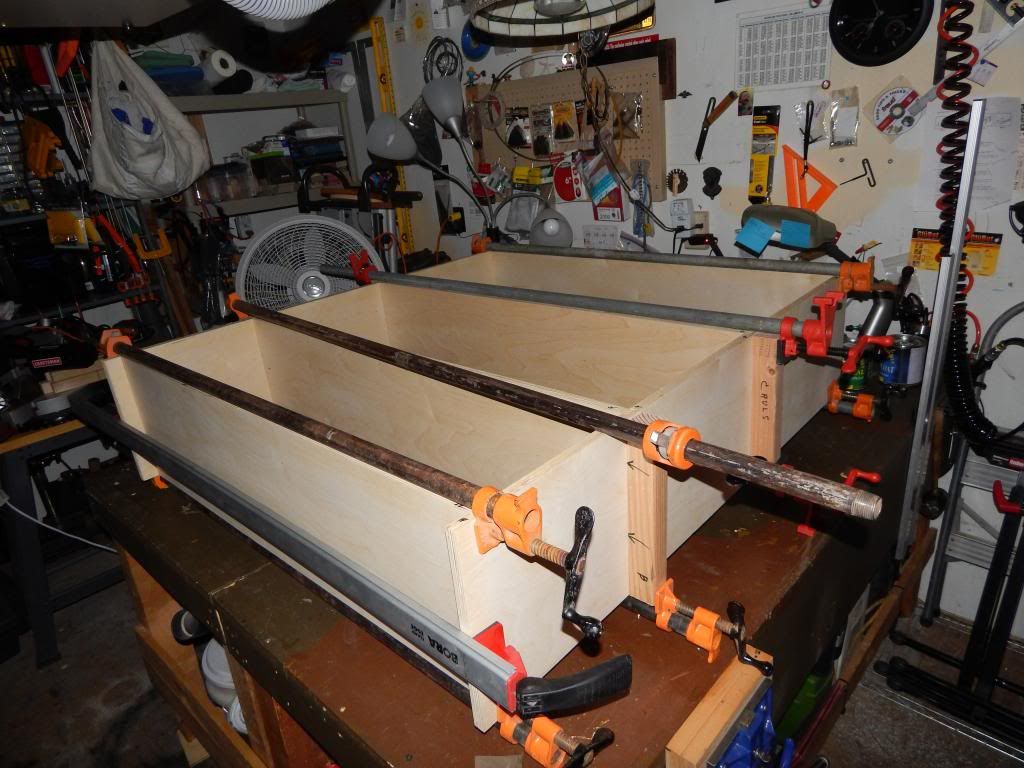
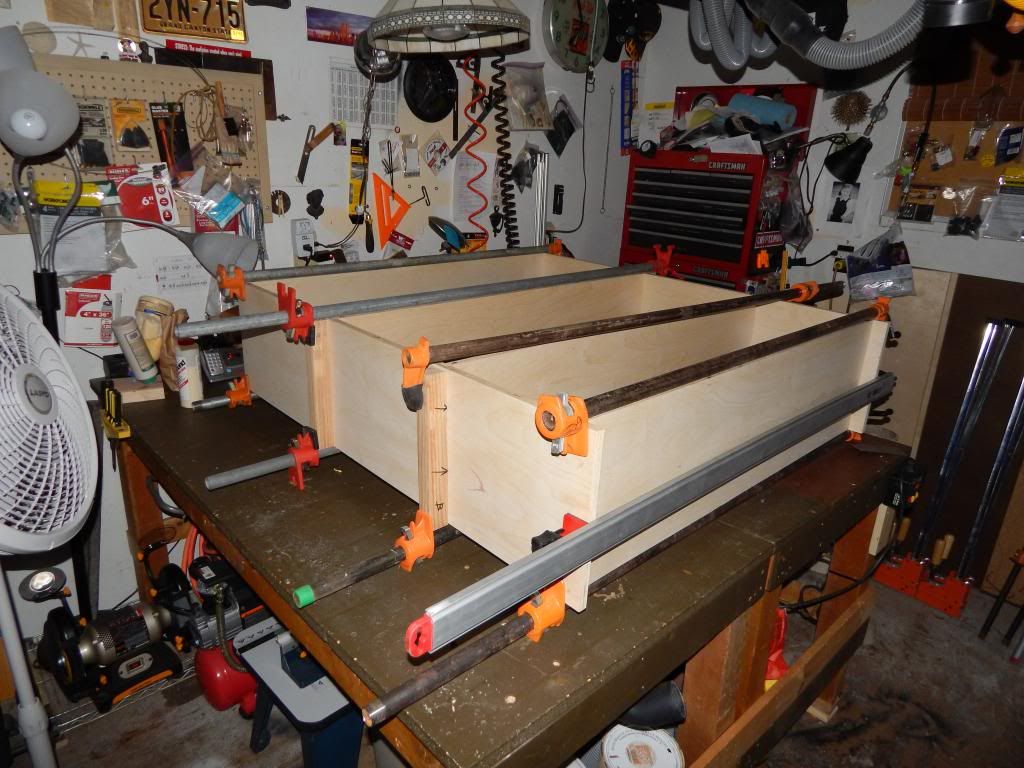
    I need some advice, nothing is glued up yet just put together for fit.

    I am planning on staining the entire unit, should I do that before the Glue up?

    I would like to try spraying my Top Coat, could someone recommend a reasonably priced HPLV sprayer for a hobbyist.

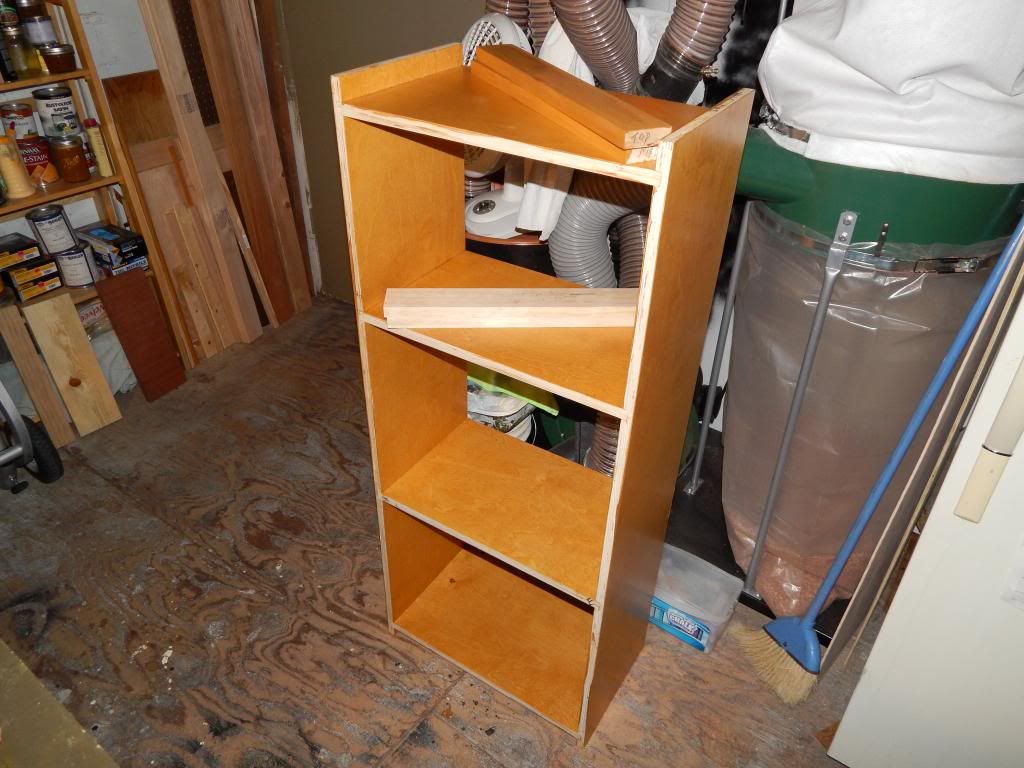
    I have 2 compressors one is 2.4 @ 40psi and 3.7 @ 40psi the other 6.4 @ 40psi and 5.0 @ 90psi (second one seems odd but that is what is printed on the label)I had not planned on using a backboard is that going to be okay?


    What would be the best way to mount this unit onto a drywall surface?


    I have not decided what to do for doors yet so any ideas would be appreciated.


  2. #2
    First of all - congrats on your first build!

    The advantage with staining before gluing is it is easier to finish when it isn't all together. However, as this is your first build, there will be a learning curve with gluing, so if you get a lot of squeeze out, you'll need to remove the glue, and you may end up having problems with removing the glue from a stained-only surface. I would suggest gluing it first.

    Your larger compressor should be fine. Check the CFM requirements on whatever HVLP gun you buy.

    Having said all that, for a single set of cabinets, I suggest wiping on a stain with a rag, and then topcoating with your choice of finish (I'm partial to wiped on polyurethane).

    In terms of mounting it, if this is sitting on the floor and is sturdy, you may not won't need to. If you want to mount it to the wall for additional security, my inclination would be to do a backer strip at the top of the pantry, then screw through that into a stud.

  3. #3
    My advice is to settle on a finish before deciding on when to finish.

    Some plywoods take stains nicely, others will fight you. I've had BB (Baltic Birch) plywood that has fought it every step of the way. I've had maple plywood that has been pretty decent.

    So decide on how you want the finish to look, and get some test pieces (scraps) of your plywood and try some finish techniques to get the desired result.

    Once you know what it takes to achieve the finish you desire, you can decide whether you want to finish now, or after assembly.

  4. #4
    Join Date
    Apr 2009
    Location
    Mandalay Shores, CA
    Posts
    2,690
    Blog Entries
    26
    Nice work for your first piece. As to mounting, i am a little unclear whether this a wall hung piece or a floor mounted piece. Assuming it is a wall piece, I would reccomend a french cleat to hang it. Anchor the wall portion to the studs. You should be ble to hit 3 of them. Will you be putting a back on the carcass? If so, recess the back to allow for the french cleat thickness. With the front, will you face the shelves with a reinforcement or face frame to prevent them from sagging? Will the carcass have doors or be open?
    Shawn

    "no trees were harmed in the creation of this message, however some electrons were temporarily inconvenienced."

    "I resent having to use my brain to do your thinking"

  5. #5
    Join Date
    Jan 2012
    Location
    mid-coast Maine and deep space
    Posts
    2,656
    In this case - a single cabinet - I would tape off the dadoes and the ends of your horizontals and the stain and finish all the pieces before assembly. This way glue ooze is not an issue. As has been discussed glue squeeze out will very likely add work if not anticipated. Glue before finishing and any where that you can't remove the glue will light up with the stain - looks awful. If you stain first cleaning up the glue squeeze might compromise the stain which is very difficult to repair nicely.

    Doing all the finish of the masked pieces first allows for all flat spraying - easiest and best results - and cleaning up glue ooze after assembly is nothing more than wiping with a damp cloth.

    As for the hanging - if you are hanging this so that the back sides of the cabinet will not really be visible I would screw and glue a full 1/2" ply back directly to the sides and fixed horizontals. This will help tremendously to square the cabinet and add structural integrity, also will allow you to fasten to the wall wherever you have a stud. Use at least 2, preferably four 2-1/2" to 3" washer head screws and your cabinet will never fall off the wall.

    Otherwise I would go along with Shawn's suggestions.
    Last edited by Sam Murdoch; 03-29-2014 at 12:46 PM.
    "... for when we become in heart completely poor, we at once are the treasurers & disbursers of enormous riches."
    WQJudge

  6. #6
    Quote Originally Posted by Peter Keen View Post
    First of all - congrats on your first build!

    Thanks, I appreciate that.


    Having said all that, for a single set of cabinets, I suggest wiping on a stain with a rag, and then topcoating with your choice of finish (I'm partial to wiped on polyurethane).

    My plan is to use General Finishes Gel (Possible Golden Oak or American Oak) and then Top coated with GF Satin Arm-R-Seal


    If you want to mount it to the wall for additional security, my inclination would be to do a backer strip at the top of the pantry, then screw through that into a stud.

    It is a upper cabinet, I have read a little about the Backer Strip. I am not sure what is the best way to attach the strip to the Cabinet, I am not planning on using a back panel on the Cabinet.
    Quote Originally Posted by Phil Thien View Post
    Some plywoods take stains nicely, others will fight you. I've had BB (Baltic Birch) plywood that has fought it every step of the way.

    I did get Birch 3/4 Plywood, would you suggest using a Wood Pre-Conditioner or a Shellac Wash coat first?

    So decide on how you want the finish to look, and get some test pieces (scraps) of your plywood and try some finish techniques to get the desired result.

    I will check some samples on Scrap pieces.
    Quote Originally Posted by Shawn Pixley View Post
    Nice work for your first piece.

    Thank-You!

    As to mounting, i am a little unclear whether this a wall hung piece or a floor mounted piece. Assuming it is a wall piece, I would reccomend a french cleat to hang it.

    It will be a upper wall mount. Can you explain making a French Cleat and how I would mount it to the Cabinet?

    Will you be putting a back on the carcass?

    No back bard on the Cabinet.

    With the front, will you face the shelves with a reinforcement or face frame to prevent them from sagging? Will the carcass have doors or be open?

    I will be using face frame using Maple Hard Country. I am also building the doors using the Maple too.
    Quote Originally Posted by Sam Murdoch View Post
    Doing all the finish of the masked pieces first allows for all flat spraying - easiest and best results - and cleaning up glue ooze after assembly is nothing more than wiping with a damp cloth.

    If I understand I should mask all the areas that will have glue applied to them. Apply the Finish and when dry apply the Topcoats. Then after all dry apply the glue and clamp then with a damp cloth wipe all the glue off and because of the Topcoat the glue will wipe right off. Correct?


    As for the hanging - if you are hanging this so that the back sides of the cabinet will not really be visible I would screw and glue a full 1/2" ply back directly to the sides and fixed horizontals.

    Are you saying use the 1/2 Plywood strips just as I would using a Backer strip? Same question about how to attach these strips to the Cabinet, I understand the Glue but how do I secure it to the Cabinet? On the top and bottom I guess I could use screws from the outside in but what about the sides, they will be visible.

    Thanks for all the advice, I really like this site. The suggestion on the glue up issues has left me something to think about as I had not thought that through at all.

  7. #7
    Join Date
    Apr 2009
    Location
    Mandalay Shores, CA
    Posts
    2,690
    Blog Entries
    26
    Quote Originally Posted by Alan Gan View Post
    Thanks for all the advice, I really like this site. The suggestion on the glue up issues has left me something to think about as I had not thought that through at all.
    A french cleat is a board ripped with a 45 degree angle. One is mounted to the wal typically by screweing through into the studs. The other is attached to the carcass. The cabinet the justs rests on the wall cleat with the rip angles supporting the cabinet.

    image.jpg
    Shawn

    "no trees were harmed in the creation of this message, however some electrons were temporarily inconvenienced."

    "I resent having to use my brain to do your thinking"

  8. #8
    Join Date
    Jan 2012
    Location
    mid-coast Maine and deep space
    Posts
    2,656
    Originally Posted by Sam Murdoch
    Doing all the finish of the masked pieces first allows for all flat spraying - easiest and best results - and cleaning up glue ooze after assembly is nothing more than wiping with a damp cloth.
    If I understand I should mask all the areas that will have glue applied to them. Apply the Finish and when dry apply the Topcoats. Then after all dry apply the glue and clamp then with a damp cloth wipe all the glue off and because of the Topcoat the glue will wipe right off. Correct?

    YES exactly. This assumes that you will not be adding screws through the outsides into the horizontal but just pulling the assembly together with clamps. If you intend to use screws we should have another talk

    As for the hanging - if you are hanging this so that the back sides of the cabinet will not really be visible I would screw and glue a full 1/2" ply back directly to the sides and fixed horizontals.

    Are you saying use the 1/2 Plywood strips just as I would using a Backer strip? Same question about how to attach these strips to the Cabinet, I understand the Glue but how do I secure it to the Cabinet? On the top and bottom I guess I could use screws from the outside in but what about the sides, they will be visible.

    No I am saying apply a one piece 1/2" plywood back (or two pieces if need be with the seam hidden on one of the horizontals). Prefinish as with the other cabinet parts and yes tape the areas that you intend to glue. The taping does not need to be perfect as long as it allows a good glue line. In fact you do not want to use 3/4" wide tape for 3/4" thick parts but rather a 1/2" or 3/8" wide tape - just leave an unfinished surface for the glue to contact.

    A one piece back is excellent for helping to square the entire box and adds a great deal of structure. Cut it precisely the size of the outside of your box and flush it to all the edges as you attach it. Start attaching in one corner and work around. This back would be attached with glue and screws to all your back edges. This might not be practical or acceptable if you will see the sides of the cabinet once the cabinet is in place because you would see the edge of the 1/2" ply. You could always tack on a solid wood trim strip to hide the ply (overlap the cab sides x 1/2" or more - play it up as a detail). Maybe for a pantry cabinet seeing the 1/2" ply would not be that objectionable.
    "... for when we become in heart completely poor, we at once are the treasurers & disbursers of enormous riches."
    WQJudge

  9. #9
    Thought I update the project and have another question.

    Here a few pictures of the Glue up, Overall it is a little out of square by about a 1/4 inch, hoping I can square it up with the backing panel.


    Now here is my question, I put down a good bead of glue into the 3/8 Dado slots. Then used an acid brush to spread the glue out even as possible and most the Dado surface was coated. I had VERY Little squeeze out, next to none. I know that is a good thing but also wonder if I did not use enough glue as I was expecting a lot of squeeze out. Now I am thinking the joints may not be as strong as they should be. Beginners luck, Thoughts?

    1st Pic shows no squeeze out and that is the same for most of the other joints.


    Just a couple spots of glue on 2-3 joints.


  10. #10
    Join Date
    Jan 2009
    Location
    N.E, Ohio
    Posts
    3,029
    If you are out of square and it is glued up the back panel will not square it up. It is too late now to square it up.

  11. #11
    Quote Originally Posted by George Bokros View Post
    If you are out of square and it is glued up the back panel will not square it up. It is too late now to square it up.
    With a project that size you should easily be able to squeeze it into square and then install the back.

    In fact, I have a couple of blocks that are approx. 3" square, each with a 1" square notch out of the corner.

    Once I know which direction I'm out of square, I use the two blocks, clamped to my bench, to square the carcass. The two blocks are used to squeeze the long diagonal of the carcass so the two diagonal measures are the same.

    I clamp one block down, shove the corner of the cabinet into that block's notch, then I push on the cabinet enough to get it square, and then clamp the next block to the bench to hold it square. Check with a tape and nudge things as required, and then install the back.

    Works like a charm.

  12. #12
    Join Date
    Jan 2012
    Location
    mid-coast Maine and deep space
    Posts
    2,656
    …and another point of view - if you make your back square (assuming a 1/2" back) and exactly the dimensions to fully overly and flush with the cabinet perimeter you can start in one corner and attach with crown staples or screws and work your way around. My qualifiers highlighted in italics are key - the cabinet will square up.

    If you applied glue as you described you will have a good glue joint. The lack of squeeze out is not an indicator of a starved glue joint.
    Last edited by Sam Murdoch; 04-17-2014 at 10:56 PM.
    "... for when we become in heart completely poor, we at once are the treasurers & disbursers of enormous riches."
    WQJudge

  13. #13
    Looks great. I believe you will have enough flex to be able to pull it square. Even if not, my hunch is that u may not even notice it.

    as for finishing, i would not stain. I would dye. For me it comes out better on plywood. If you are willing to invest in even cheap spray equipment and learn how to use aniline dye, you can really get the exact color you are after, no blotching. Also, you will reduce the risk of the hardwood edge bands mismatching the ply. Last, spraying will be much easier than trying to hand stain all those surfaces.

  14. #14
    Join Date
    Jan 2009
    Location
    N.E, Ohio
    Posts
    3,029
    Quote Originally Posted by Phil Thien View Post
    With a project that size you should easily be able to squeeze it into square and then install the back.
    Even if it is glued up you could square it with the back?? I would think you would break the glue bond.

  15. #15
    Quote Originally Posted by Phil Thien View Post
    With a project that size you should easily be able to squeeze it into square and then install the back.

    In fact, I have a couple of blocks that are approx. 3" square, each with a 1" square notch out of the corner.

    Once I know which direction I'm out of square, I use the two blocks, clamped to my bench, to square the carcass. The two blocks are used to squeeze the long diagonal of the carcass so the two diagonal measures are the same.

    I clamp one block down, shove the corner of the cabinet into that block's notch, then I push on the cabinet enough to get it square, and then clamp the next block to the bench to hold it square. Check with a tape and nudge things as required, and then install the back.

    Works like a charm.
    Thanks, I kinda understand what you are doing. Do you have a Picture of the blocks in action?

    Quote Originally Posted by Sam Murdoch View Post
    If you applied glue as you described you will have a good glue joint. The lack of squeeze out is not an indicator of a starved glue joint.
    Thanks for the information.

    Quote Originally Posted by George Bokros View Post
    Even if it is glued up you could square it with the back?? I would think you would break the glue bond.
    The cabinet is 44"x48", I hope to be able to tweak it without any issues.

    Quote Originally Posted by Prashun Patel View Post
    Looks great. I believe you will have enough flex to be able to pull it square. Even if not, my hunch is that u may not even notice it.

    as for finishing, i would not stain. I would dye. For me it comes out better on plywood. If you are willing to invest in even cheap spray equipment and learn how to use aniline dye, you can really get the exact color you are after, no blotching. Also, you will reduce the risk of the hardwood edge bands mismatching the ply. Last, spraying will be much easier than trying to hand stain all those surfaces.
    Thanks, to late on the staining option, I already completed the stain. I will keep your input for future jobs. It does sound like a good plan, the Plywood did give some issue on keeping the stain even.


    Here is a shot of the smaller cabinet


    I have another question. Can the Face Frames width be whatever I want as long as the doors have an area to attach?

    Also. should I use glue and Brads to attach the Face Frames after they are hung on the wall or just glue and clamp before hanging?

Posting Permissions

  • You may not post new threads
  • You may not post replies
  • You may not post attachments
  • You may not edit your posts
  •