That should make it much easier to heat and cool!


 Member
That should make it much easier to heat and cool!
Member
Would have been so much cheaper and simpler to mount the girts on edge with 24" vertical spacing to begin with. Plus the exterior walls would be far more stable against the wind.Originally Posted by Mike Heidrick

The company that designed my pole barn uses the "flat" or "on edge" girts like this. The only mistake I made initially was not asking them to lay out for 24" vertical centers so I could insulate and drywall right over the top.
 Moderator
Looks really good Mike. I'm enjoying to palace build!
Please help support the Creek.
"It's paradoxical that the idea of living a long life appeals to everyone, but the idea of getting old doesn't appeal to anyone."
Andy Rooney
[OP]
Member
BAM - all 2X6s are installed as of 2pm today. Now to run some wiring!
The builder wanted $3K more to bookself the wall girts. These 2X6s cost me $1000ish and I got a 11% store credit to menards. I had to do the work myself but I dont see how it would have been cheaper to have the builder do it. Definitely easier. I could have choose easier and faster ways to do the work too but that is usually not my style LOL.
Glad its my shop I am responsible for - I only have to make me happy.
[OP]
Member
My insulation order showed up at Menards today so ran up and picked it up. It is 216 23"X93"X6 1/4" batts of Kraft faced R19.

Glad its my shop I am responsible for - I only have to make me happy.
 Moderator
This IS quite the build!!! Thanks for keeping it up to date, Mike!! I'm wondering if you'll have any money left to FILL that wonderful space! LOL
[OP]
Member
That is what got me this far Chris - the other shop was tooo full. Just like with tools I find the deals on all this building stuff. Really saving me a TON of cash doing it like this. So far this is not even a truck payment and way south of $50K.
Glad its my shop I am responsible for - I only have to make me happy.
 Contributor
Mike, with the bad weather headed your way, you will get a chance to check out your heating systems.
Joe
[OP]
Member
I am a bit nervous about filling it right now - dont want any freezing while getting it filled. So far I have used a salamander heater. Its 17 here today and we had snow on the road at 6am. Like a balmy Minnesota fall I guess but it got cold for here in downstate IL quick.
Glad its my shop I am responsible for - I only have to make me happy.
Contributor
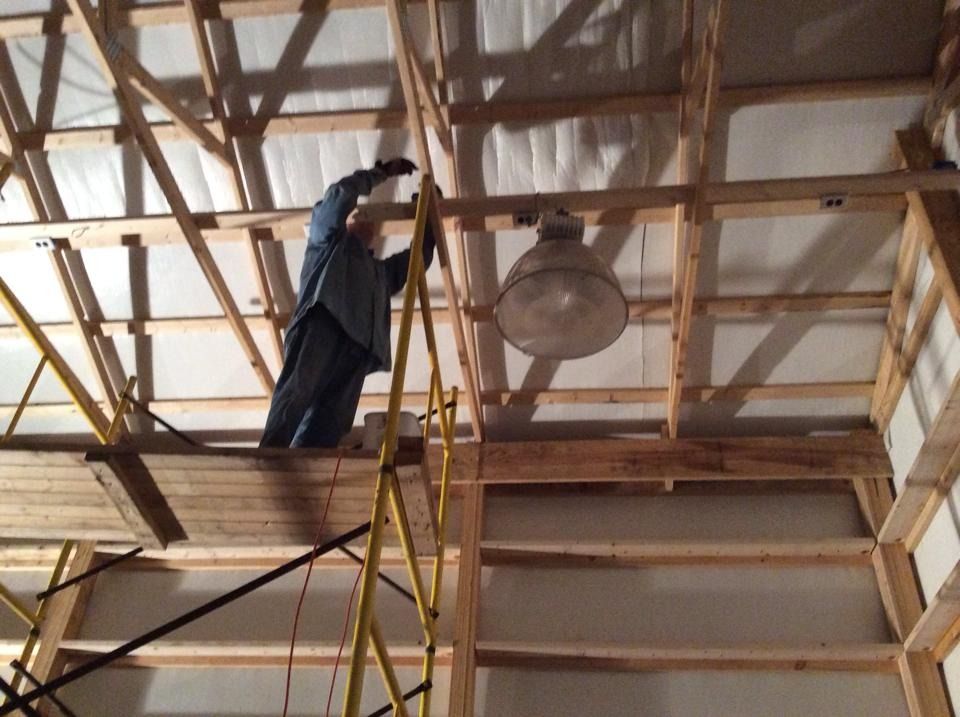
Mike you will definitely appreciate the radiant heat once you have it running. I turned mine on this week and never having it before it exceeds my expectations. I just took down my scaffolding last week finishing my insulation and ceiling and I can tell you my legs are still sore from climbing up and down the scaffolding.
[OP]
Member
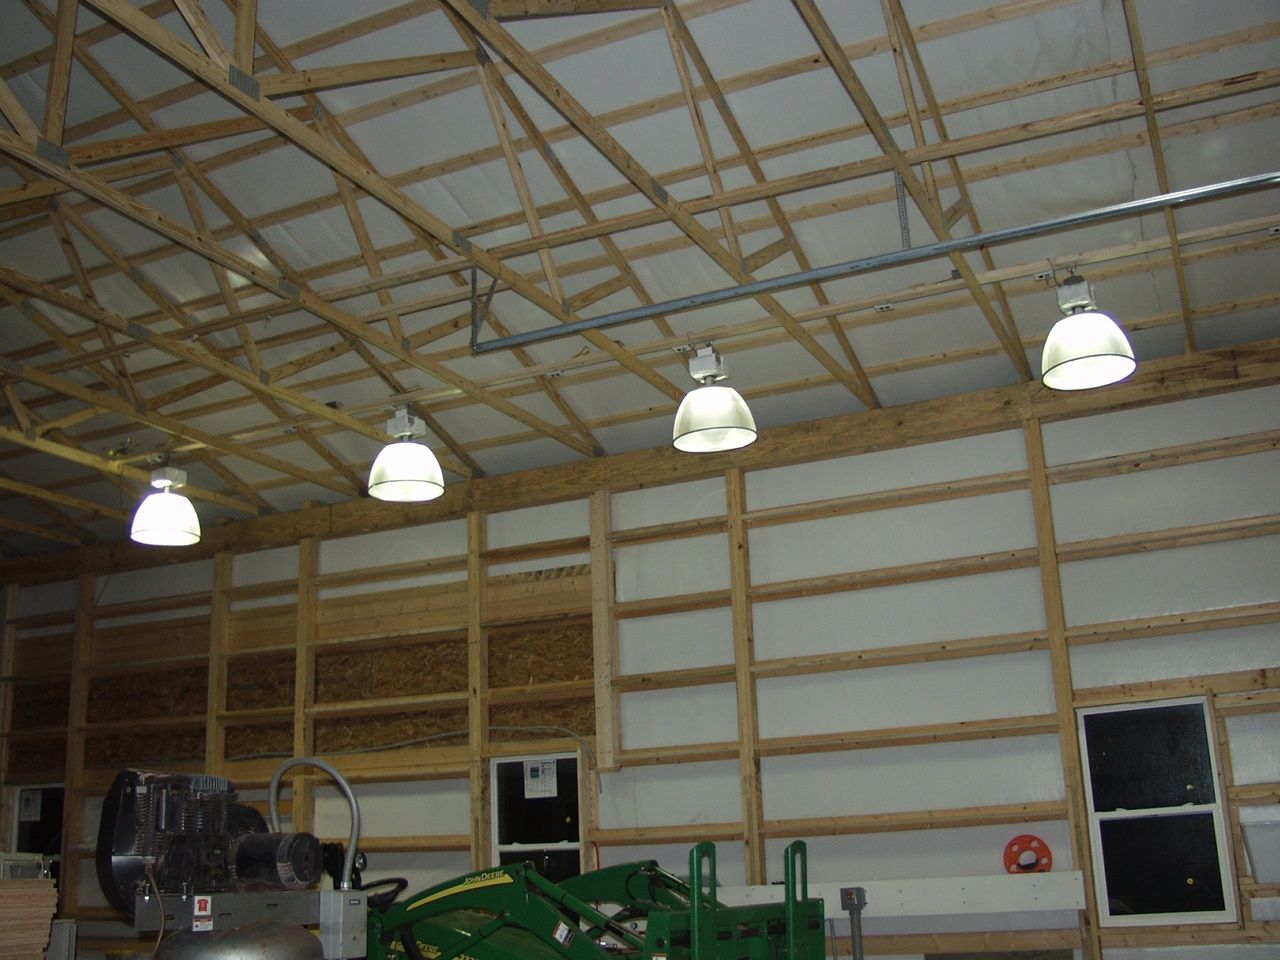
Warmer today and I had the day off so I worked on some wiring for the ceiling in the new shop. Shop ceiling is 16' top bottom of trusses.
Glad its my shop I am responsible for - I only have to make me happy.
Moderator
That is some serious lighting. How many are you going to hang?
"It's paradoxical that the idea of living a long life appeals to everyone, but the idea of getting old doesn't appeal to anyone."
Andy Rooney
[OP]
Member
20 lights at the ceiling. Each was supposed to do 400sq ft - so 14 was double that but 16 worked out better layou wise and worked circuit wise. The extra 4 in the center I just want. I really want it well lit in any quadrant I want to work in.
4 metal halide in each quadrant of the building with each 4 on a 20amp circuit. In the center i will spring for some instant-on T5HO on their own circuit. I bought a bunch of these metal halide lights from a dealership that said make an offer and they wanted them out of their storage locker. I bid before seeing them and the dealer accepted it before he even looked too lol. Both left happy. Ill have 28 plus extra lights I think.
Over time I may switch all over to the T5HOs. For now I have these.
Last edited by Mike Heidrick; 03-10-2015 at 1:01 AM.
Glad its my shop I am responsible for - I only have to make me happy.
[OP]
Member
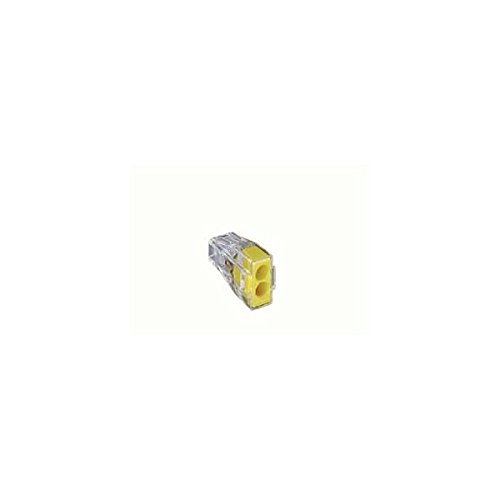
After installing two of my circuit 2X4s I decided I did not like the blue box for wiring them together. So today I changed out those blue boxes where the 2X4s meet for 4" metal boxes. MUCH easier to wire. I also used Wago 773 push wire connectors to make joining the wires MUCH easier. Sure beats twisting wire nuts. Here is the 1st circuit of lights.
Wago 773 2-wire push wire connector
Glad its my shop I am responsible for - I only have to make me happy.
[OP]
Member
I have made a total of 12 of these boards now. Four more to make for the metal halide lights then I need to install them(4 are up already - see lights above).
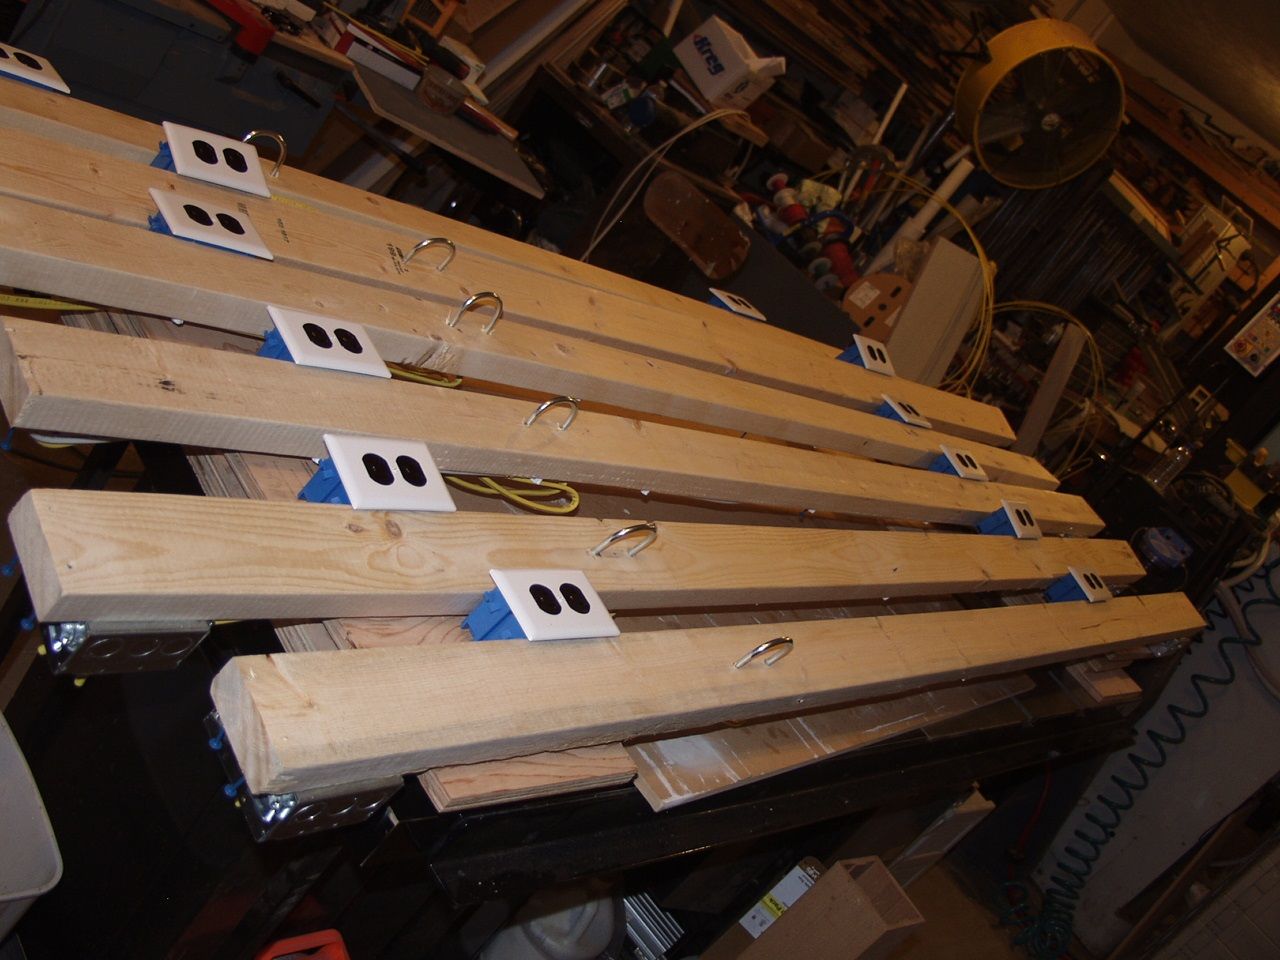
Last edited by Mike Heidrick; 03-12-2015 at 10:38 PM.
Glad its my shop I am responsible for - I only have to make me happy.
 Posting Permissions

 Reply With Quote
")