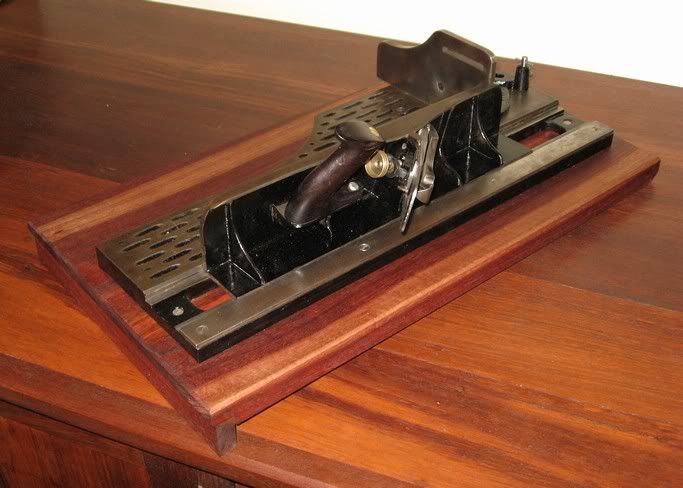
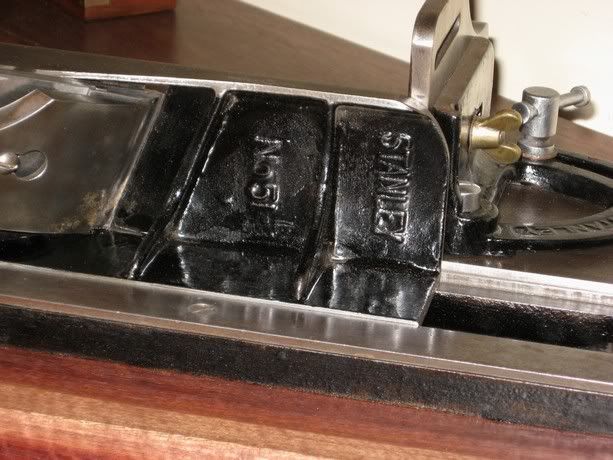
I decided to try out a few of the old metal planes that I read about on these pages. I also had a couple that I bought maybe 35 years ago in the dark ages of hand tools. I have a Stanley 6C, Sargent 414, Paragon #5, Record #7 all of which I gave good long soaks in Evapo-Rust, after doing a little initial scraping, sanding....After getting any remnants of rust off I cleaned them with mineral spirits and sprayed them down with WD40. A couple items seemed to be getting discoloration or flash rusting shortly after the Evapo-Rust bath.
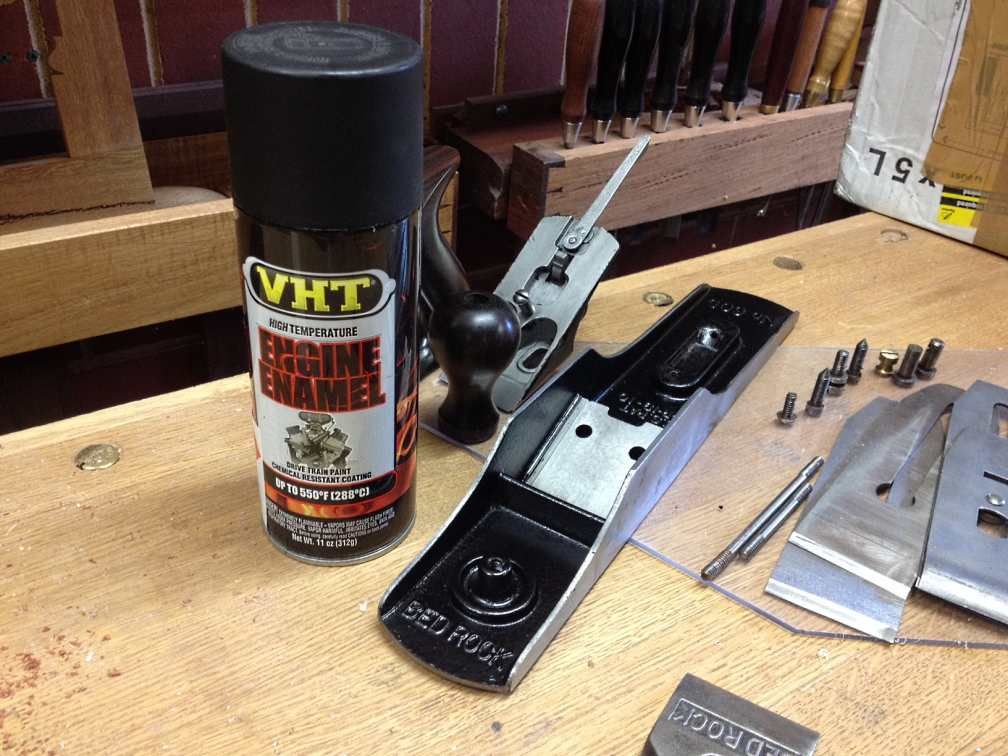
I am trying to figure out how much more I want to do, particularly to the main plane bodies. I am a little perplexed over the painted parts of these planes. Some of these planes have large amounts of worn or rusted off paint. I have seen older planes treated lots of ways. The most severe solution being sand blasting the old paint down to steel. I have seen planes with all the paint removed repainted and I have seen a few just left as raw steel like the rest of the plane. I am not too motivated to make vintage/antique planes into something that looks brand new. At the same time I want a functional tool that does not develop major rust issues up under flaky paint either. Some people seem to just scrape off any flaky paint and paint over the old paint. I wonder if the paints we have available now might be better at preventing rust and protecting the steel?
I am a fan of Renaissance Micro-Crystalline Wax. I have had good success using this wax for preventing steel hand and power tools from rusting. I plan to wax all the metal services I can get to with this wax before putting the planes back together. I expect I will need to refresh the wax on the bottom of the planes regularly due to all the friction but I am hoping the wax will protect other steel parts for quite a while.
Any wood that I am not confident is in good shape I will buff out and refinish with WATCO.
I am eager to hear how others approach this stage of plane restoration.

 Reply With Quote