The forum is a little slow, so I thought I'd post the developments in designing the lingerie chest.
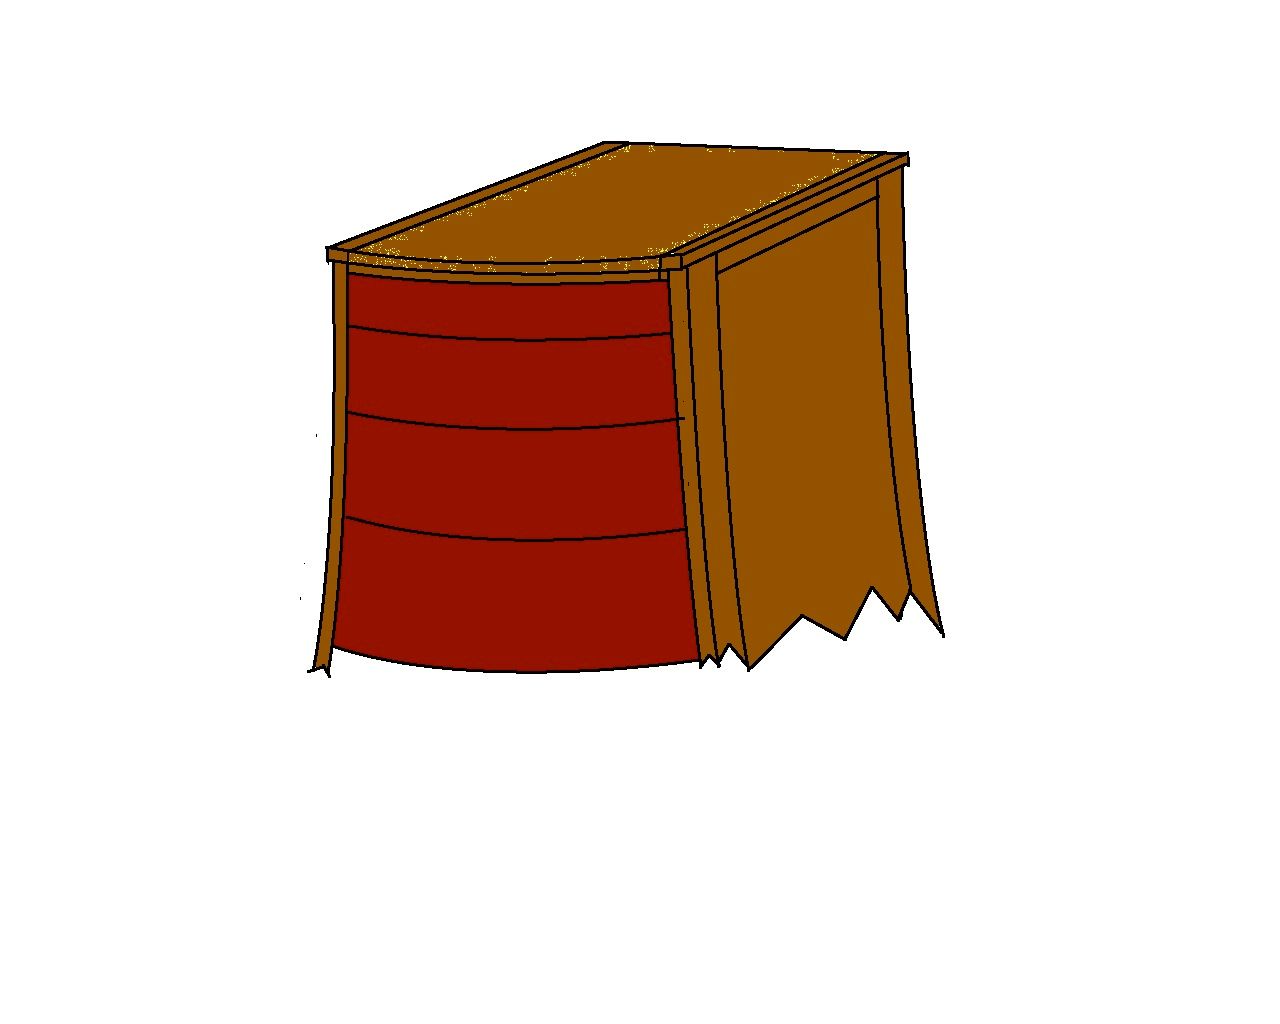
The overall height has dropped to 51" since I plan to incorporate a hidden mirror into a swing-up lid. The lid will look like a moulding, and the hinges will be hidden at the rear. I would like to fit a secret catch that will also unlock the top drawer (this will replace the keyhole mentioned early on).
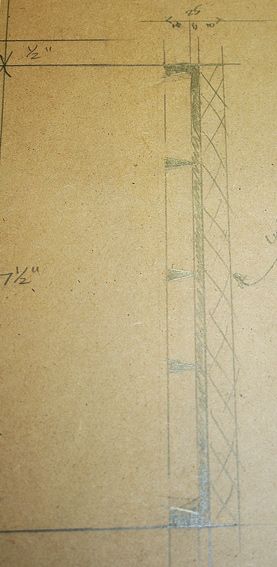
The base is 25" wide and the top is 20". The moulding/lid is 22" wide.
The lid is planned to be a breadboard construction to minimise movement. Any comments?
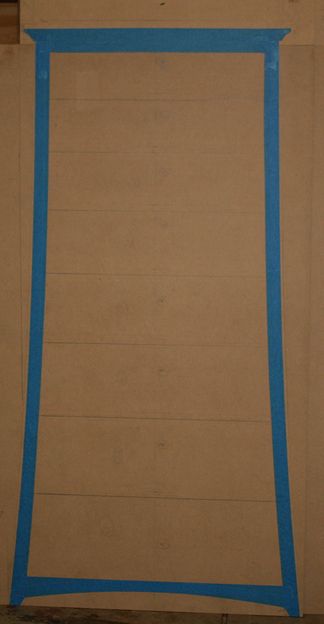
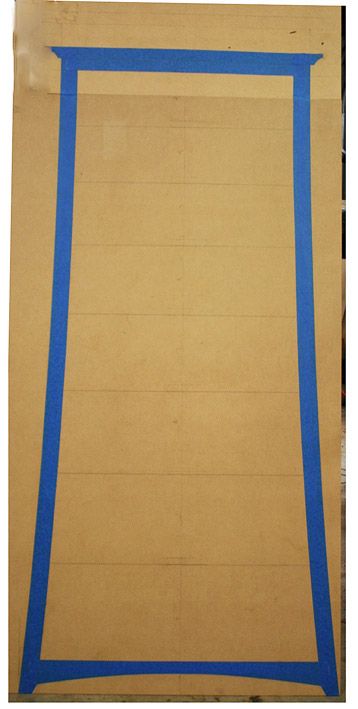
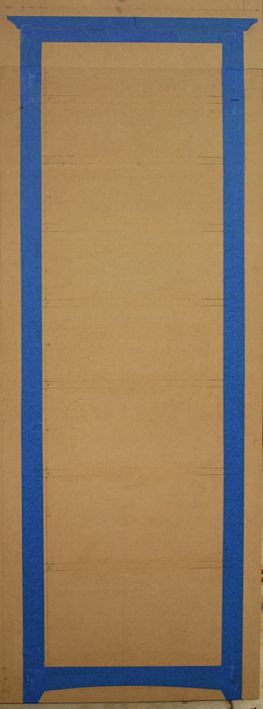
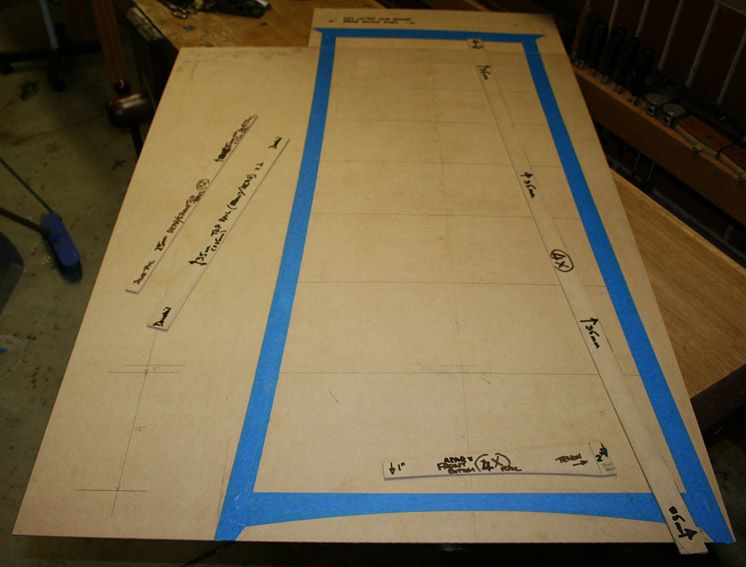
I drew the front elevation to scale with blue tape representing the actual thickness of the carcass:
There are 8 drawers. These taper in depth, although the top two are the side, both 4 1/2". Then comes 5", 5 1/2", 6", 6 1/2", 7", and 7 1/2".
The drawer rails are 1/2" high and will be hidden behind each drawer front. The top of each drawer front lies flush with the underside of the rail, and then drops to cover the rail below. The rail then doubles as a drawer stop.
At this stage I am undecided whether to curve the drawers as this may cause it to be too busy (too many curves). If they are, they will have a very shallow convex (curve to the front). It is difficult to visualise this, and so I will leave that aspect to later.
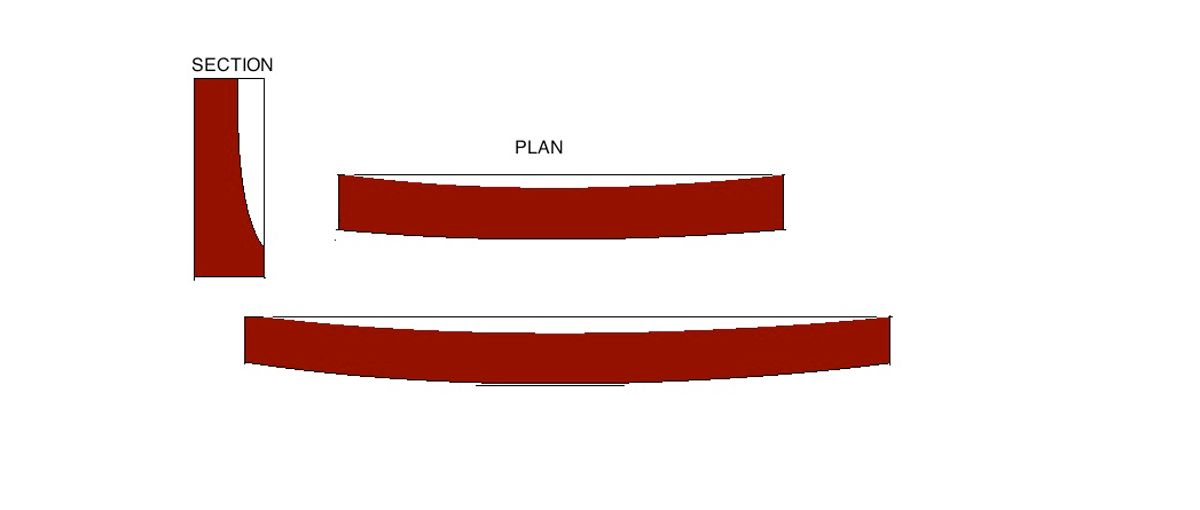
The rear elevation will repeat the lower curved rail. Construction of the rear and sides will be frame-and-panel. The panels will be flush to the side rails, creating a flat surface.
The sides look a little bland in this elevation, but visualise that they curve outward. The depth of the chest is 16 1/2". The lid adds another 1" at each end. This dimension enables the chest to fit neatly into the alcove in the bedroom. Any comments on this depth? The last chests I made were 17" deep, which does not seem to me to be significantly different.
The side panels are expected to be 1/4" thick and rebated into the curved side rails. The interior of the side panels will be reinforced by the side rails for the drawers.
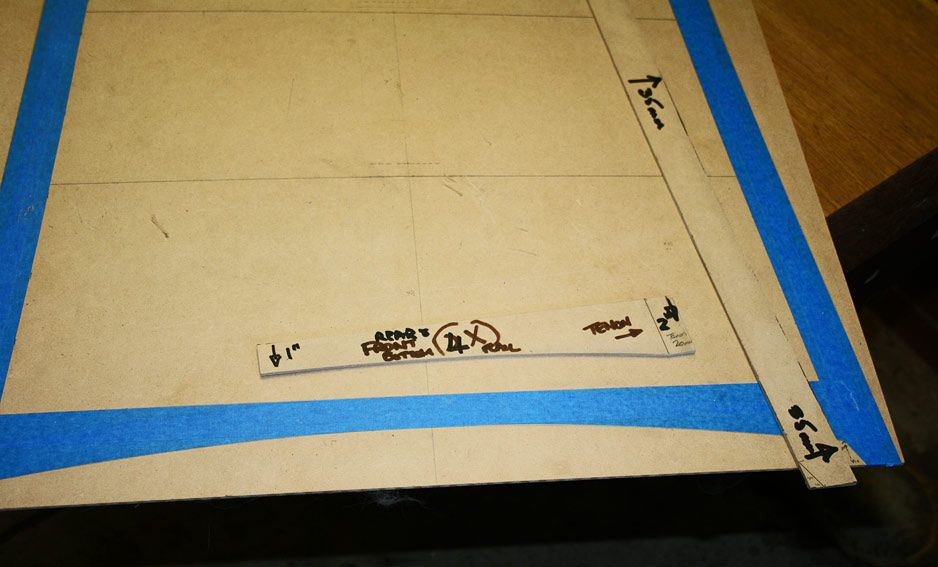
From these elevations I began making templates ..
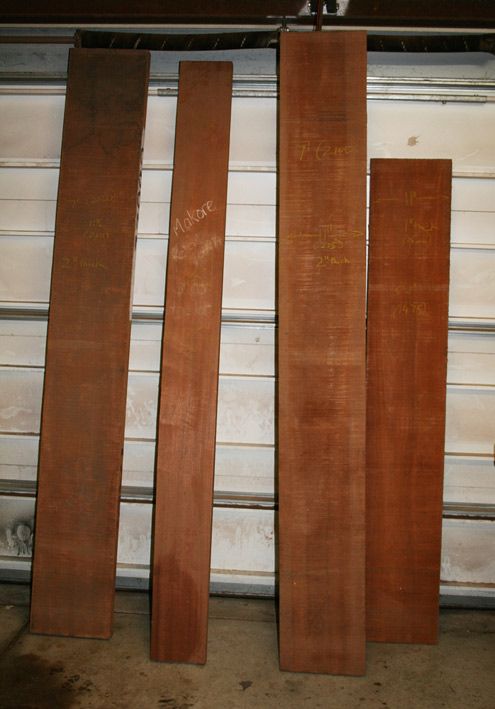
These are also needed to determine how to use the wood I have. I would like to use the Makore. I fear it will not be sufficient. Either I will need to find more - which will be difficult, especially since the boards I have are from the same tree - or I need to change to a different wood.
My thought is that I will mix the Makore with Jarrah. It should compliment each other really well as the tonal colours are the same brown-red.
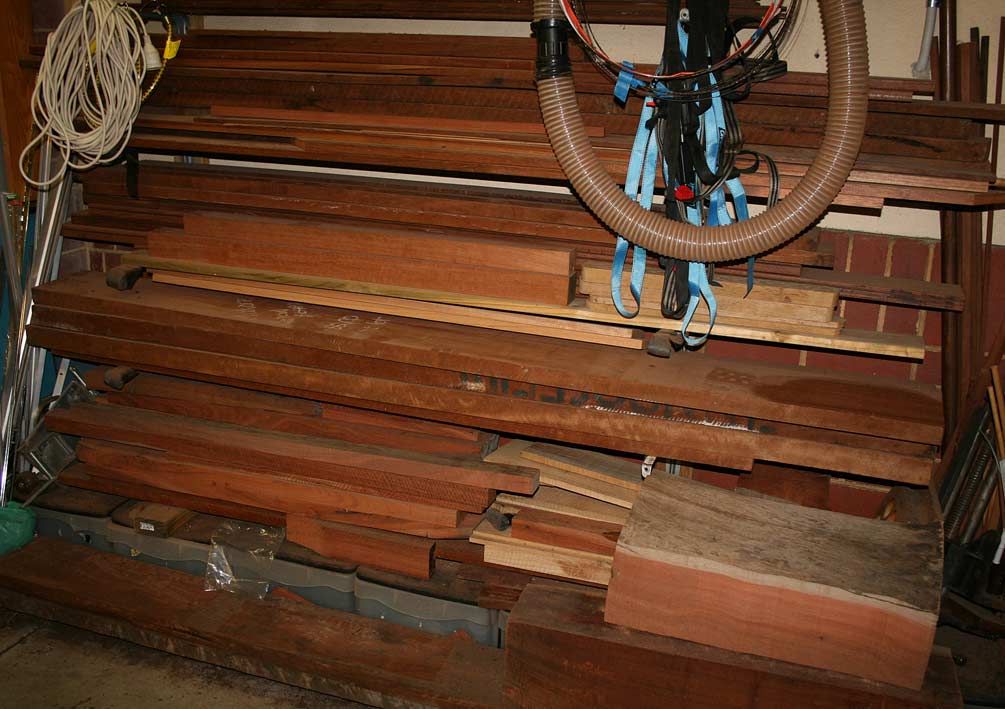
Below is a wood stack. The second-from-the-bottom shelf is the Makore (4 boards), and the remainder is Jarrah.
Three of these boards are 7' long and 2" thick. Two are 11" wide.
The drawers and panels could be Makore, with the frames and rails in Jarrah, or vice versa. Comments?
Regards from Perth
Derek

 Reply With Quote