Page 1 of 2 12 LastLast
Results 1 to 15 of 29

Thread: Lapping planes correctly

  1. #1
    Join Date
    Jan 2013
    Location
    Phoenix, AZ
    Posts
    72

    Lapping planes correctly

    Simply put... I suck at it. I bought a piece of fairly thin glass from home depot and have adhered sandpaper to it using spray adhesive. I put so much time and sweat into trying to lap my Stanley #4 this way and I can't believe how little progress I made. I used 60 grit for 30 minutes straight and I couldn't remove a pretty shallow scratch from the sole (where someone must have run over a nail). I couldn't even tell the difference honestly.

    Is this normal? When people say "this takes a while" are they talking hours per plane? Is it possibly because I am using the wrong sandpaper (or too low quality?).

    I could really use some advice. I have never been more close to trying to justify purchasing a LN plane, which I can't really afford right now

  2. #2
    Join Date
    Mar 2009
    Location
    Chevy Chase, Maryland
    Posts
    2,484
    My advice: Other than to make it look pretty and smooth - don't lap the sole by hand. Despite the hype, it's not necessary. Learn to really sharpen the blade; that's time much better spent.
    ~ Do not seek to follow in the footsteps of the men of old; seek what they sought.

  3. #3
    If it's not out of flat, I agree with Sean. Leave the scratch in the bottom (and learn to use the chipbreaker) . It'll make you feel better when you hit a staple.

    You need a rigid surface to do a good job, which means thicker glass and a flat hard surface below it.

  4. #4
    Join Date
    Jul 2011
    Location
    Ekenäs, Finland
    Posts
    187
    I agree with Sean and David. One of my favorite planes is a old and well used MF no 9 with several deep scratches on the sole. They makes no difference whatsoever. The notion that the sole has to be entirely flat is not one I would follow. And lapping the sole on a thin piece of glass might just make things worse. Make sure your iron is very sharp, tune the chip breaker and set it close enough and forget about the rest.
    ---------------------------------------------------------------
    Rust never sleeps
    http://www.flickr.com/photos/77333663@N07/sets

  5. #5
    Join Date
    Sep 2007
    Location
    Longview WA
    Posts
    27,427
    Blog Entries
    1
    Jared,

    There are a lot of opinions about lapping a plane's sole.

    In my opinion:

    1. If the plane is working fine, do not lap it.
    2. Lapping is difficult to do without a lot of care.
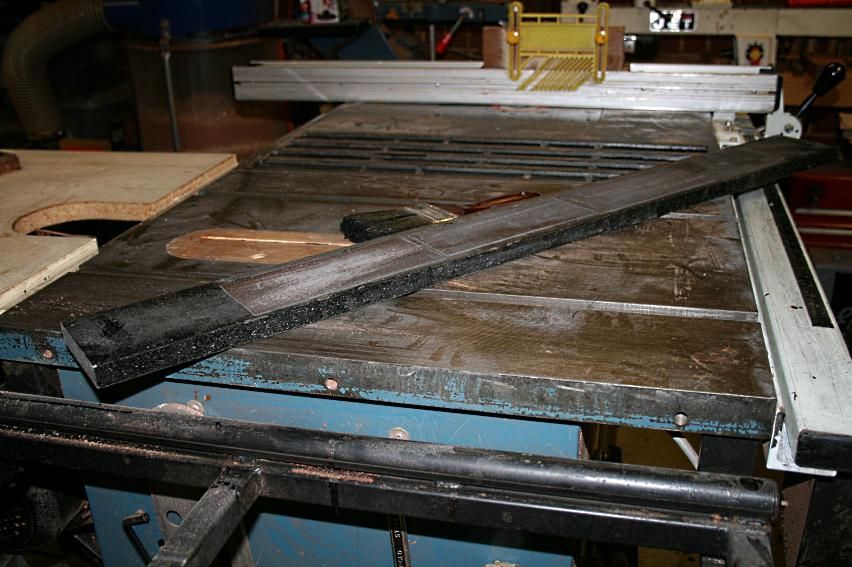
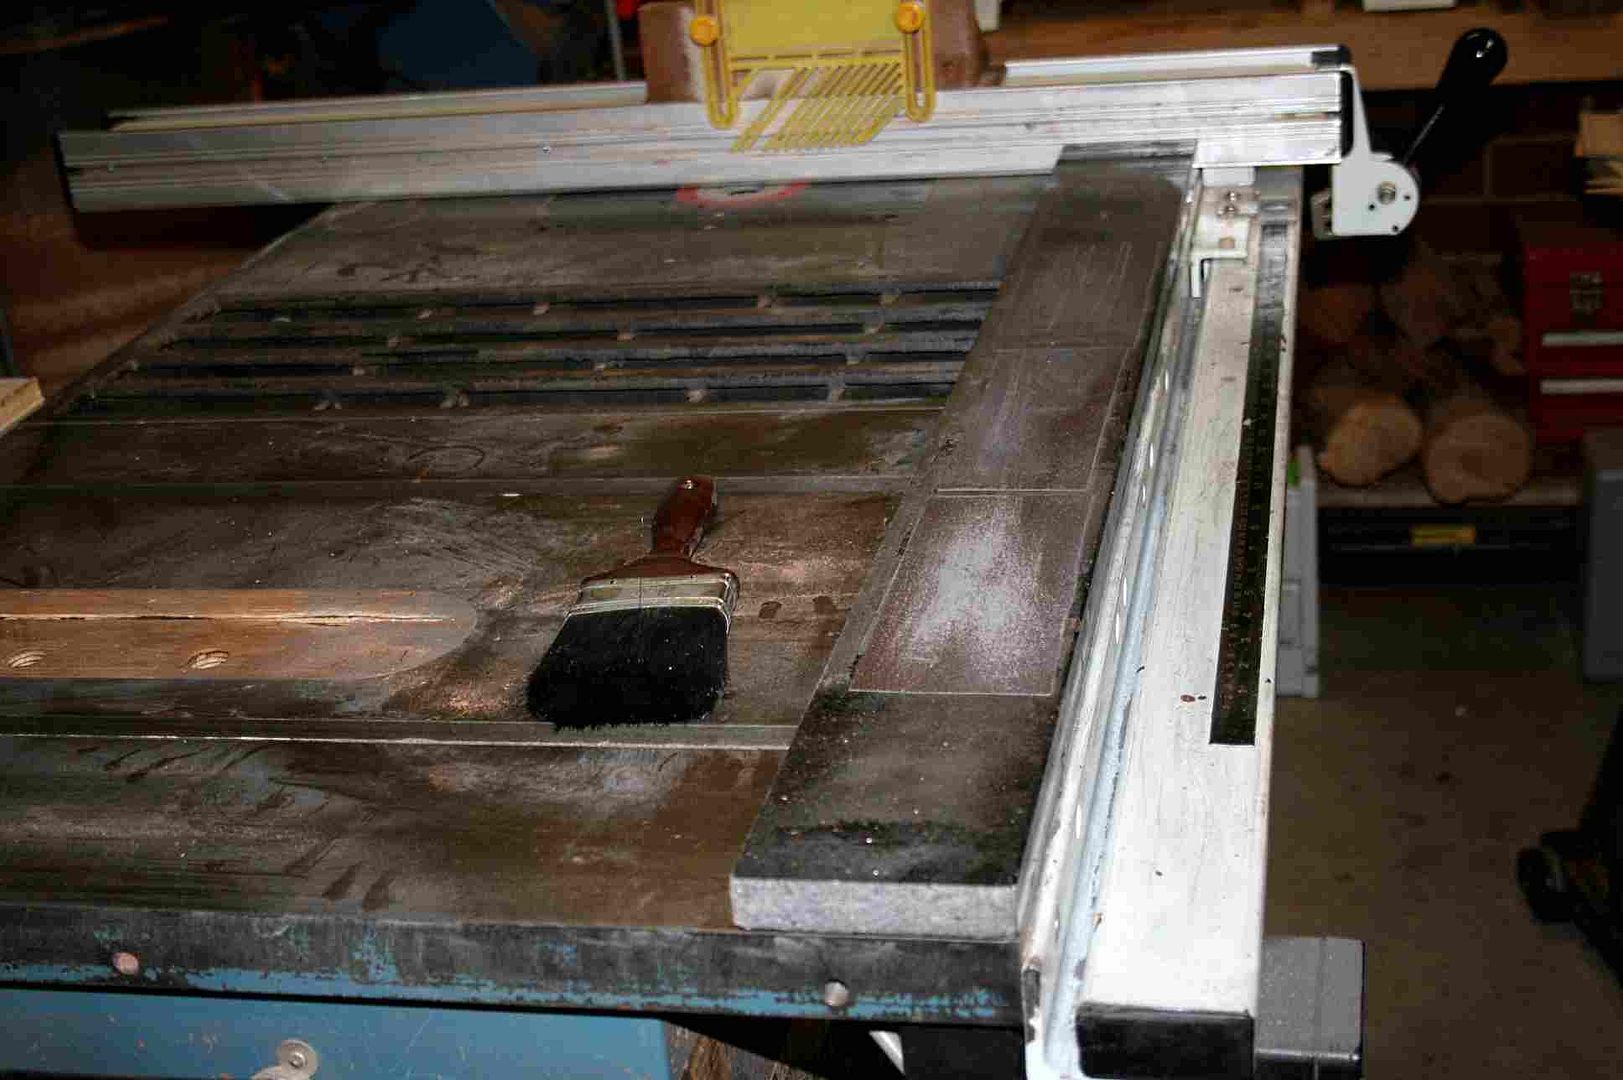
    3. Lapping should be done either by someone with a surface grinder or absent that, use a long flat surface like a table saw or jointer surface. My surface is a 4' piece of granite.

    Sandpaper tends to load up quickly. A magnet wrapped in paper helps to clean out the wasted iron. If the iron filings are allowed to gather, it can do more to mess up the bottom than what it was in the beginning.

    Some sandpaper will dull quickly. It will still cut, only slower. I am not sure if I even have 60 grit in my shop. It seems like it would leave bigger scratches than most of my planes started with in the first place. Mostly my lapping is done with 80 grit. That is also where my lapping usually ends. Some folks like to go through the grades for a mirror finish. To each their own, ymmv.

    If glass isn't on a solid flat surface it can flex.

    If the scratch on the bottom of your plane isn't leaving its mark on the work, as hard as it may be, it should be ignored.

    jtk
    "A pessimist sees the difficulty in every opportunity; an optimist sees the opportunity in every difficulty."
    - Sir Winston Churchill (1874-1965)

  6. #6
    Join Date
    Jan 2013
    Location
    Phoenix, AZ
    Posts
    72
    Oh man it's rare I ask for advice somewhere and get told EXACTLY what I wanted to hear. Thanks everyone

  7. #7
    To give a bit more background information: There are a few reasons why you might want a flat sole.

    When you want to use a tight mouth to limit tearout, the sole just in front of the mouth needs to press down on the wood. The rest of the sole isn't important for this reason, but it is best to have the nose, the area in front of the mouth and the heel of the sole all in one plane. In between you can have concavities or scratches (but not convexities!). On many old planes you will find a hollow just in front of the mouth, because of wear.

    When you can't take a fine shaving anymore, only thick ones of nothing, a concave sole is usually the culprit. Again, it is all about the area just in front of the mouth.

    A jointer with a concave sole or even a twist makes it very hard to create a straight edge.

    And scratches are only a problem when they have a burr and leave marks in the wood.

    So what to do? First forget about the tight mouth. Then test the plane when it is a smoother to see if it takes a fine shaving. And if it is a jointer have a look with a reliable straightedge to see if you didn't aquire a banana. Then post another question to ask for advice on how to proceed

  8. #8
    Join Date
    Dec 2011
    Location
    Israel
    Posts
    1,503
    Blog Entries
    1
    I use a piece of 1 1\2 inch thick MDF that I verified for flat with a straight edge. sometimes they might have a slight bow. I use PSA back sandpaper on it, starting at 80grit, then 180 is more than enough for planes. I have been using the same MDF board for 2 years or so, unless the plane is convex, lapping it flat and smooth is easy and takes very little time. on old planes, don't worry about cosmetics, just get it flat, I feel that it does make a difference and with a simple setup very easy to do.

  9. #9
    Quote Originally Posted by Jared Walters View Post
    Simply put... I suck at it. I bought a piece of fairly thin glass from home depot and have adhered sandpaper to it using spray adhesive. I put so much time and sweat into trying to lap my Stanley #4 this way and I can't believe how little progress I made. I used 60 grit for 30 minutes straight and I couldn't remove a pretty shallow scratch from the sole (where someone must have run over a nail). I couldn't even tell the difference honestly.

    Is this normal? When people say "this takes a while" are they talking hours per plane? Is it possibly because I am using the wrong sandpaper (or too low quality?).

    I could really use some advice. I have never been more close to trying to justify purchasing a LN plane, which I can't really afford right now
    Time wise, by the way, I've never spent more than about 20 minutes on any 4 or 5, no matter how bad they were to start.

  10. #10
    Join Date
    Feb 2004
    Location
    Perth, Australia
    Posts
    9,491
    Hi Jared

    I glue 100 grit (sometimes 80 grit) sander belts to a 1" thick section of flat granite, and this is used on a flat tablesaw top ...


    As Kees notes, it is the section in front of the mouth that is relevant. Make this, along with the toe and heel, with a blue sharpie, and work until these are removed.

    I remove the handle and knob, but the frog stays with the blade tensioned (and retracted).

    The aim is to push the sole down onto the surface (80%) and forward (20%). It must stay flat. Do not attempt to sand as if you are planing - that will cause the sole to rock on the sanding surface.

    Before starting on this, check where the high spots are. There can be scraped away first - and this is particularly important to do if they lie around the mouth/centre of the plane. Failure to get this area flat before starting on the rest of the sole will create a curved sole.

    Keep in mind that the more you do, the slower the progress - because you have moved past the high spots. Use coarse paper to start but not so coarse that it requires extra effort to remove the scratches. I do not go below 80 grit, generally stay with 100, then 180, and finally 240. Keep applying the blue to the sole to check that you are staying flat.

    Regards from Perth

    Derek

  11. #11
    I think it's worth it to test your soles by beginning the lapping process. If it looks pretty good at the critical areas, then I have just left it; I don't have the patience for it.

    The better I get at sharpening (and whenever I use a blade someone more skilled than I has prepared for me) I realize that proper sharpening is SO much more important than any of the other variables.

    So, I'm in Sean's camp. Focus on your blades if your soles are good enough.

  12. #12
    FWIW, once you're flat, getting rid of that last scratch will take FOREVER. Think about how long it takes to get rid of that last little bit when you're flattening the back of a cutting edge, and now apply that to an entire plane! There's a lot of metal that needs to come off to get those last couple of scratches

  13. #13
    Join Date
    Jul 2013
    Location
    NE Ohio
    Posts
    1,029
    As the other's have suggested, once it reasonably flat you're done lapping. That scratch will not affect the use of the plane. Removing will thin the metal unnecessarily. FWIW - I have planes with corrugated soles that work just fine, so a scratch is nothing.
    -- Dan Rode

    "We are what we repeatedly do. Excellence, then, is not an act, but a habit." - Aristotle

  14. #14
    Join Date
    Sep 2007
    Location
    Longview WA
    Posts
    27,427
    Blog Entries
    1
    This thread has me wondering if some of our problems with vintage planes might have been caused by someone who felt their plane needed a thorough lapping decades ago.

    Just a thought...

    jtk
    "A pessimist sees the difficulty in every opportunity; an optimist sees the opportunity in every difficulty."
    - Sir Winston Churchill (1874-1965)

  15. #15
    Quote Originally Posted by Jim Koepke View Post
    This thread has me wondering if some of our problems with vintage planes might have been caused by someone who felt their plane needed a thorough lapping decades ago.

    Just a thought...

    jtk
    I don't think the issues of vintage planes being concave or convex has to do with them being lapped in the past. Even the ones I have found that are nearly unused with the original machining marks from the factory are not flat.

    Of the 20 or so I've found and measured for flatness, I've never found one old stanley plane that was actually flat, or within an acceptable level of flatness for fine work, and the same goes for the sides being square to the sole. Mind you, I'm a big proponent of the importance of having at least one flat plane, so take this with a grain of salt if you don't think flatness is important. Of course a plane for thick shavings doesn't need to be flat, but if you're trying to do fine jointing, or getting stock well squared up, a flat plane helps immensly, in my experience. With my old stanley planes that I haven't flattened, I have a much harder and more frustrating time jointing a long board edge flat so I can prepare it for gluing, for example. Then I take out my flat Lie Nielsen low angle jack plane out, and I can quickly make a piece of wood squared and flat. That's my experience, so I think it can be very nice to have at least one flat and properly machined hand plane.

    Jonas

Posting Permissions

  • You may not post new threads
  • You may not post replies
  • You may not post attachments
  • You may not edit your posts
  •