Originally Posted by
Derek Cohen

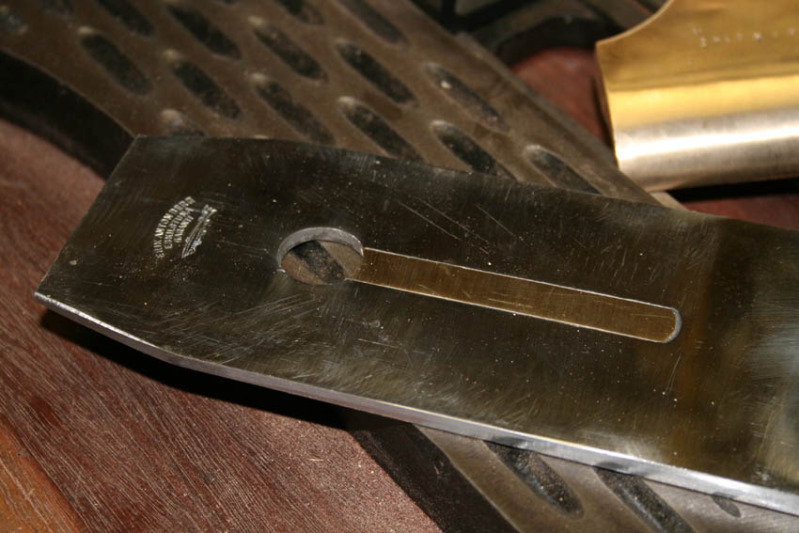
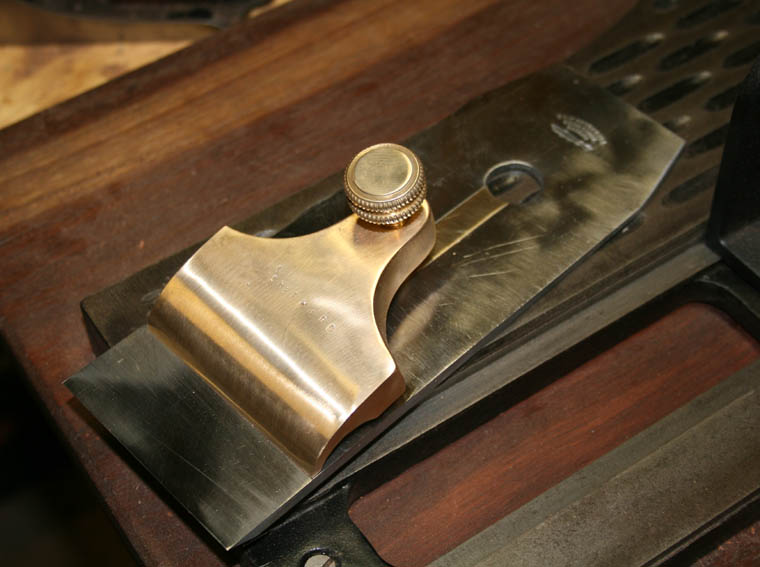
The blade in question is 3" wide and made by Berg in Sweden. It was a gift, and I decided to build a plane around it. I am not sure that was a sensible endeavour as it was an absolute bear to flatten. Really hard steel. Since I was using it as a singe iron plane in a small (36") cooper's jointer, I infilled the slot with brass ...
Derek
Curious to know how you got the brass to stay put in the blade
Sent from the bathtub on my Samsung Galaxy(C)S5 with waterproof Lifeproof Case(C), and spell check turned off!


 Reply With Quote