Page 9 of 19 FirstFirst ... 5678910111213 ... LastLast
Results 121 to 135 of 280

Thread: Cabinet build

  1. #121
    Join Date
    Aug 2012
    Location
    Missouri
    Posts
    2,152
    Brian you are given a paper template for the hinge in the package. It gives you the set back and the outline. The screw boss and the hinge body are different depths and that is given also in the package. There is a bit of wiggle room on the width of the body part of the mortise. I mark the set back chop the body mortise until I can set the hinge in less the screw bosses then mark those directly from the hinge. I use a gouge to mark and cut the ends in a bit and then use an appropriate chisel to cut down to the land for the screw boss. I have done these for full size house doors to the ones I pictured which were 1 1/2 inch or so. They Also have the round ones that fit in a drilled hole and tighten with a wedge screw on the surface. I only use them in special cases because of the expense. The ones that fit house doors cost as much as a very good door. I have not found it to be difficult to do. I would put it about as difficult as doing those tappered leaf hinges for drop leaf tables. All of the ones I have used have been good quality. I have never used any other brand but Soss. I don't have any connection with Soss other than a user. I'm sure you could find instructions for them on the net. I hope this helps.
    Jim

  2. #122
    Join Date
    Aug 2013
    Location
    Princeton, NJ
    Posts
    7,298
    Blog Entries
    7
    Very helpful, thank you!
    Bumbling forward into the unknown.

  3. #123
    Join Date
    Sep 2003
    Location
    South Carolina
    Posts
    1,429
    Brian,
    I'm haveing a hard time envisioning full length handles,probably because I've never done them. What I do see is a diamond shaped set of pulls that echo the diamonds formed in the veneer figure.

  4. #124
    Join Date
    Sep 2008
    Location
    N. Idaho
    Posts
    1,621
    I too am curious about the full length pulls. I was picturing hand carved finger pulls, perhaps with faceted faces similar in texture to your tenon ends. But full length would have a sleeker profile for sure. Would the taper at the top and bottom?
    "You can observe a lot just by watching."
    --Yogi Berra

  5. #125
    Join Date
    Aug 2013
    Location
    Princeton, NJ
    Posts
    7,298
    Blog Entries
    7
    I haven't nailed down the profile just yet, but i expect it will wind up in a sort of Bauhaus style. My style so far has been in the influence of Charlotte Perriand, Bauhaus and Japanese.
    Bumbling forward into the unknown.

  6. #126
    Join Date
    Aug 2013
    Location
    Princeton, NJ
    Posts
    7,298
    Blog Entries
    7
    The doors are set for the moment, I smoothed them, and I will return to them when I start working on the backs.

    Since it is still humid here and will be for about a month I want to get the drawers on a roll, that starts with prepping the stock. This is going to be a log post showing what's involved in this work;

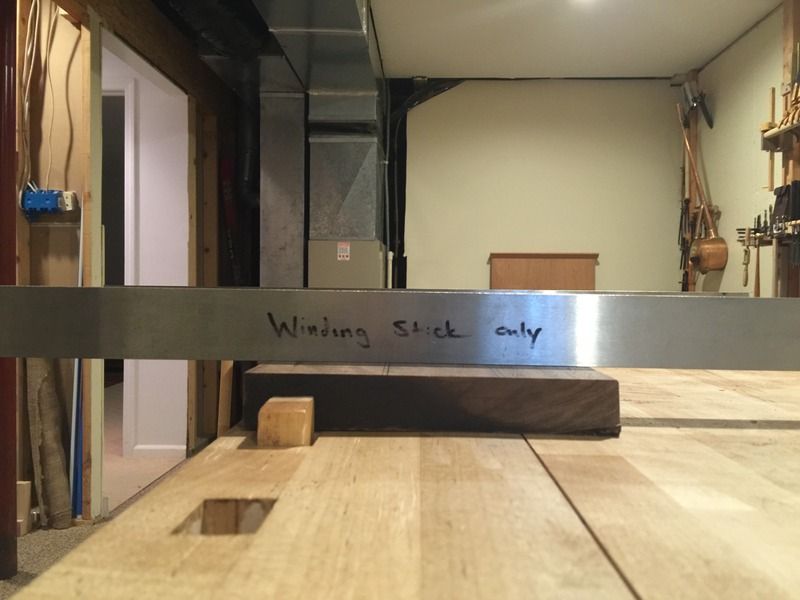
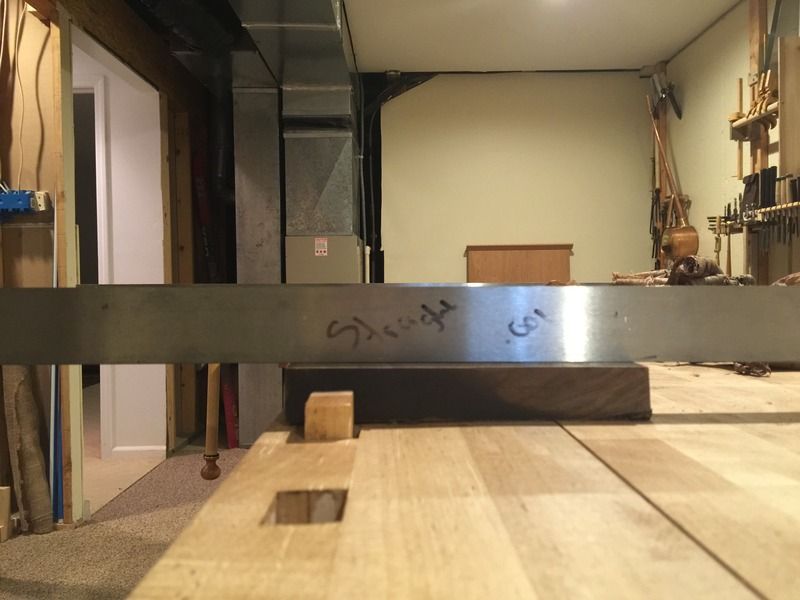
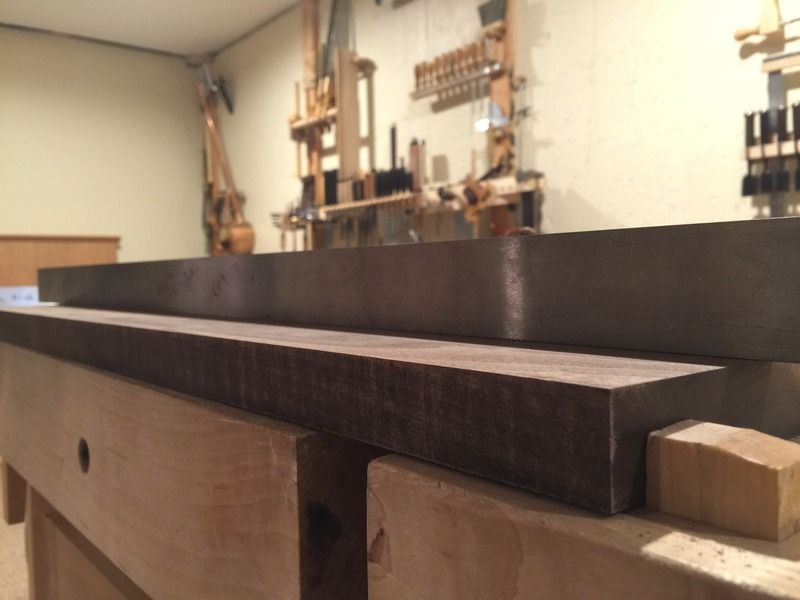
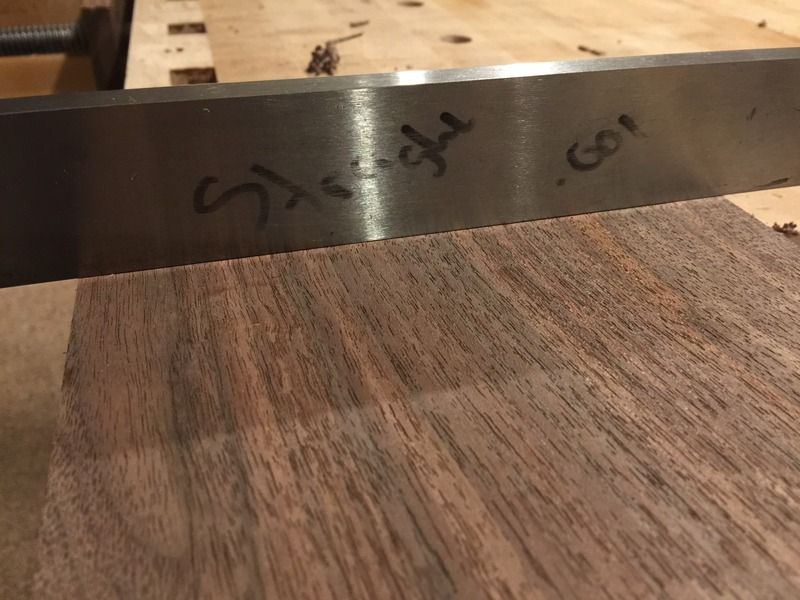
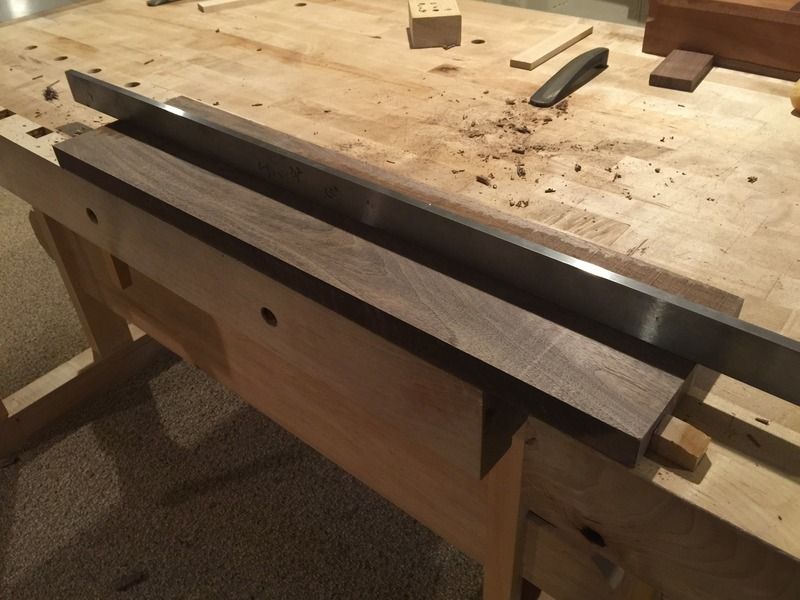
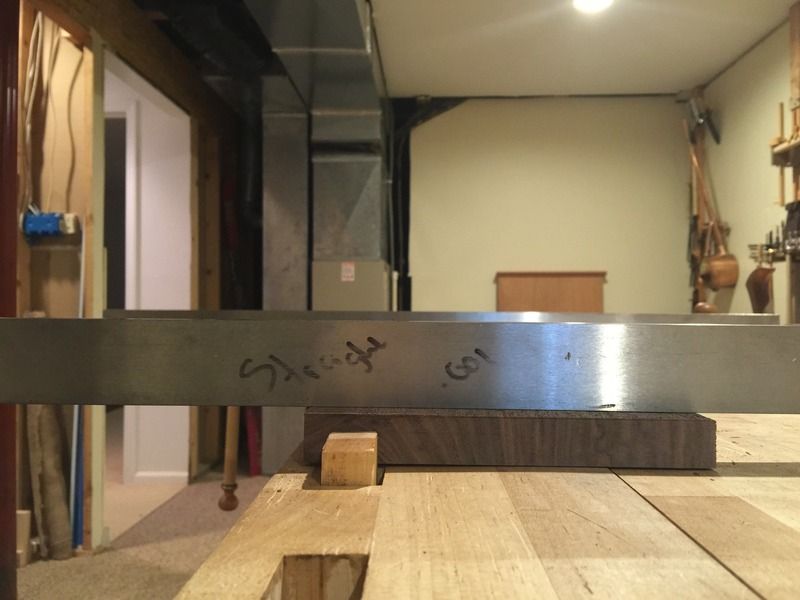
    This is rough milled timber which has been sitting for nearly 6 months after rough cutting to let any twist happen that will happen. I dont want these to twist in use so I'm letting any weirdness work its way out first (hopefully). The large drawers on the bottom have so far been kind to me and they have had fairly minimal twist. I start by setting the winding stick on the stock to see where I need to remove wind;


    You can see the left front and right rear corners just barely turning up. Next I check to see where the board is out of flat along the length. Again i'm pretty well spoiled here, but the board has a belly.


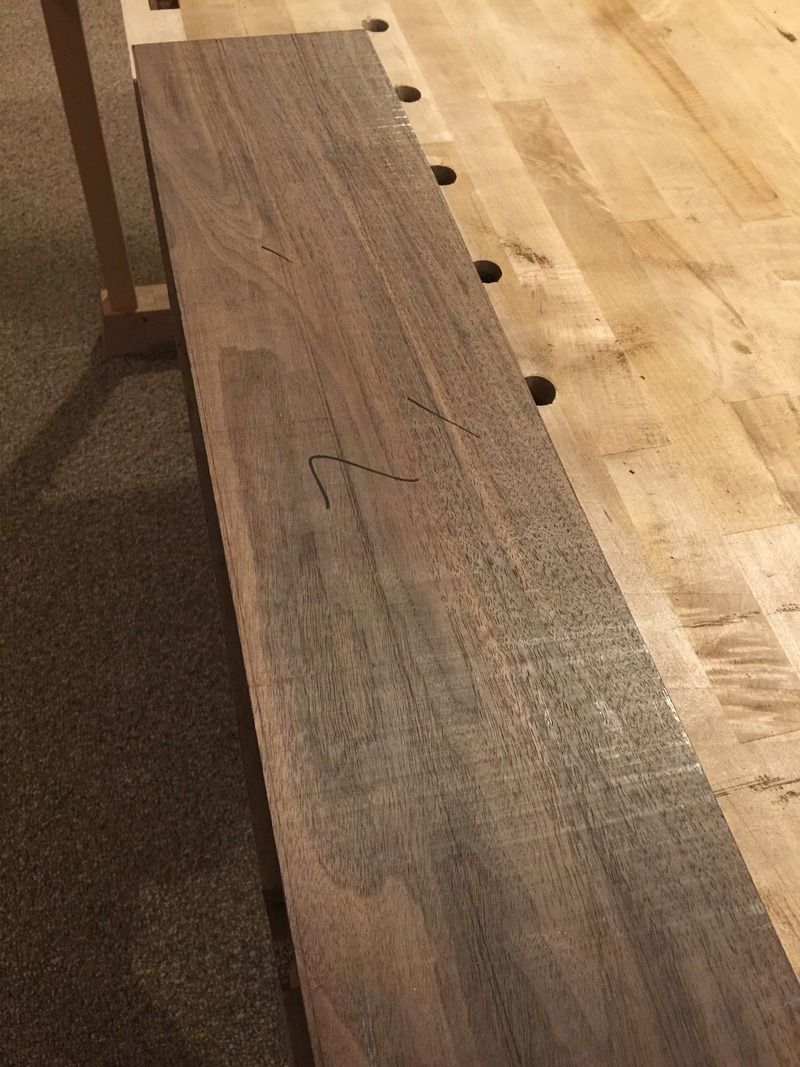
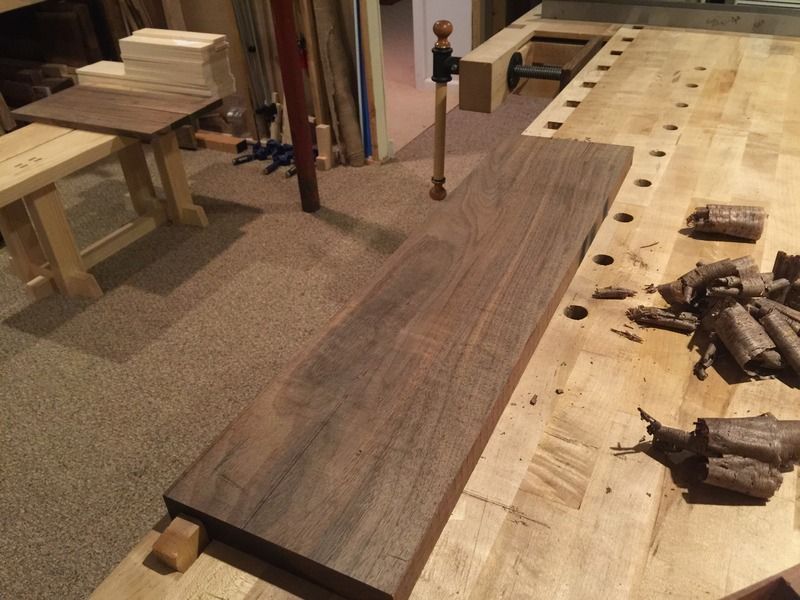
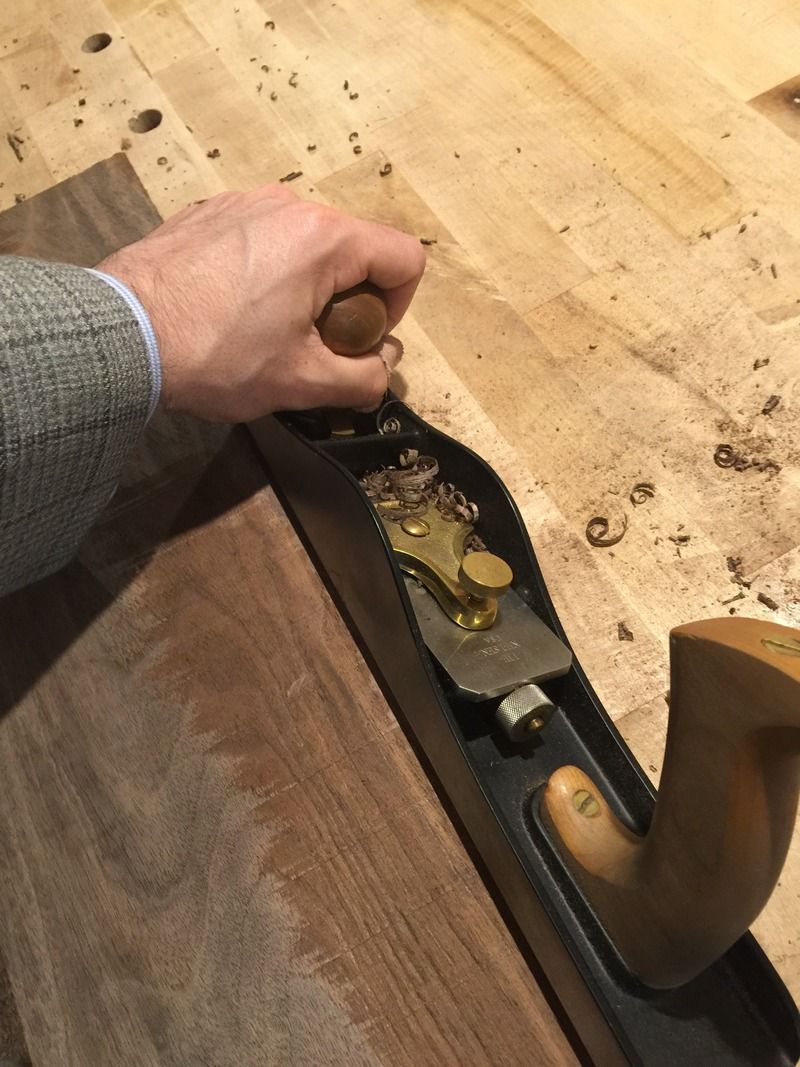
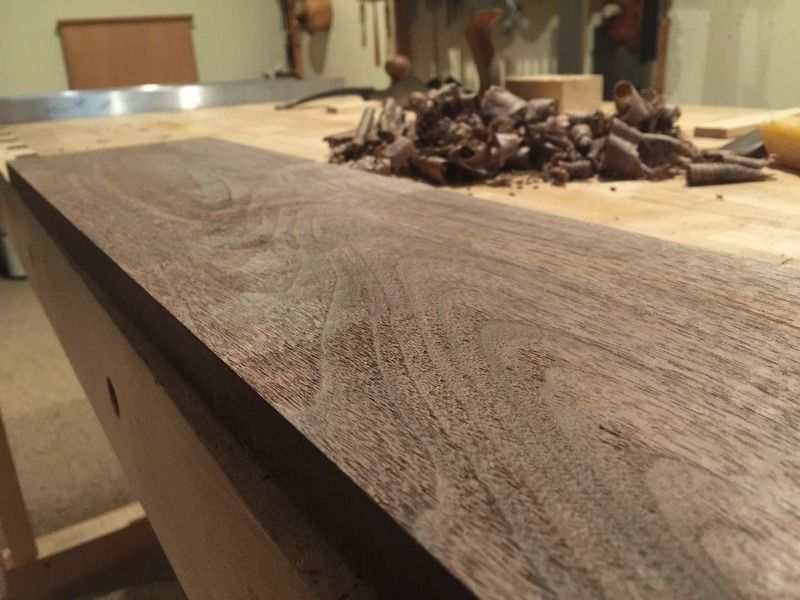
    Some initial cuts are taken, focused on the center of the board to remove the belly, followed by light cuts at the high corners;


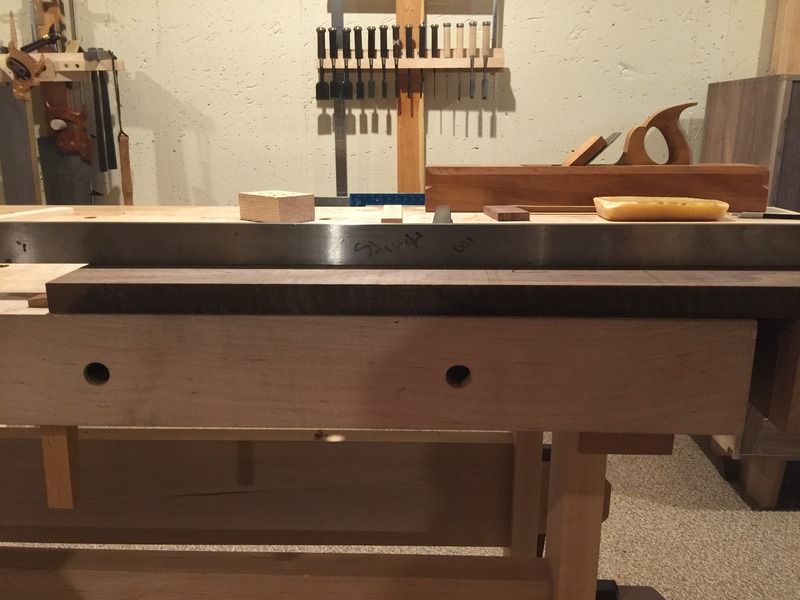
    After I get a clean face, I am returning to the winding sticks to check my work;


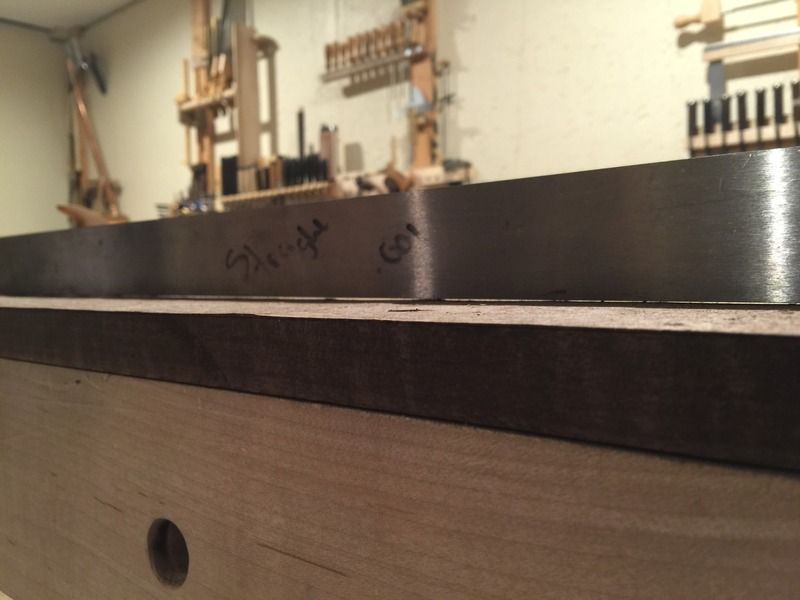
    Followed by the straight edge to ensure the belly is gone (a slight concave is fine, but this is actually flat)


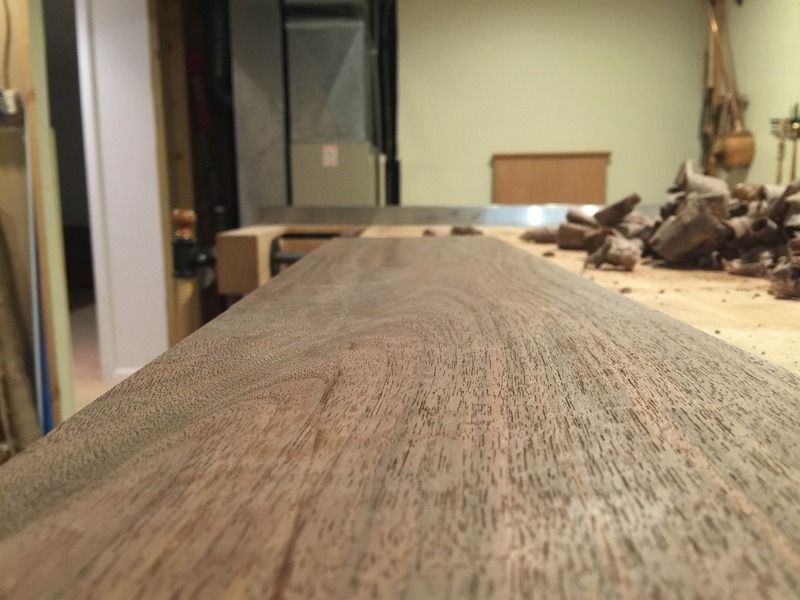
    Checking cross grain as well to ensure the board is somewhat flat across the width
    Bumbling forward into the unknown.

  7. #127
    Join Date
    Aug 2013
    Location
    Princeton, NJ
    Posts
    7,298
    Blog Entries
    7
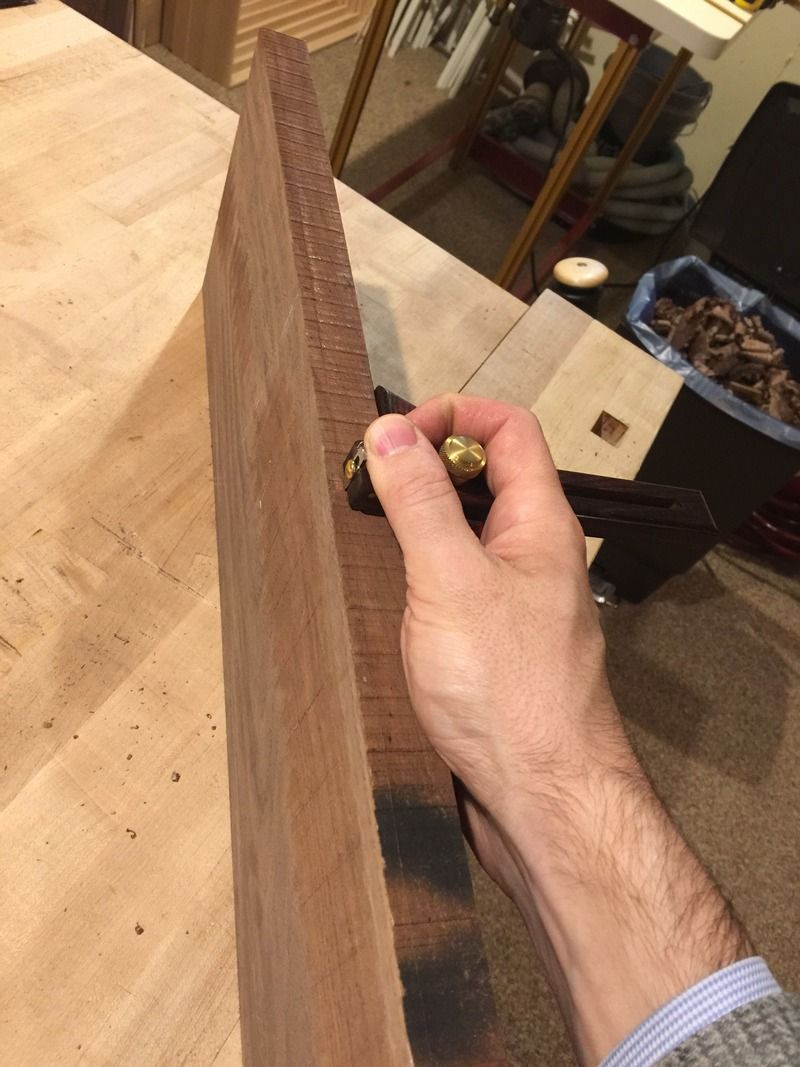
    Markout my lines, you see I have a LONG way to go, but not quite enough to resaw the board. I chose stock like this because you never do know what'd going to happen when you resaw a board, it may turn into junk. With seven faces in the same board I do not want to risk one of them being junk;


    Check to see where the board is out of flat, do not need to check the wind because it is in the markout (thick corners are high)


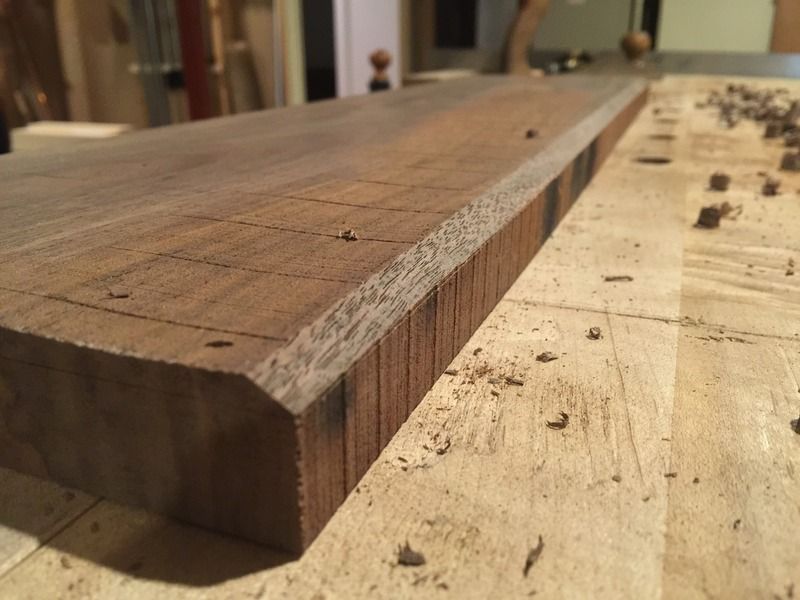
    Miter the back edge to prevent blowout;


    Rough initial passes at a 45 to prevent massive tearout;


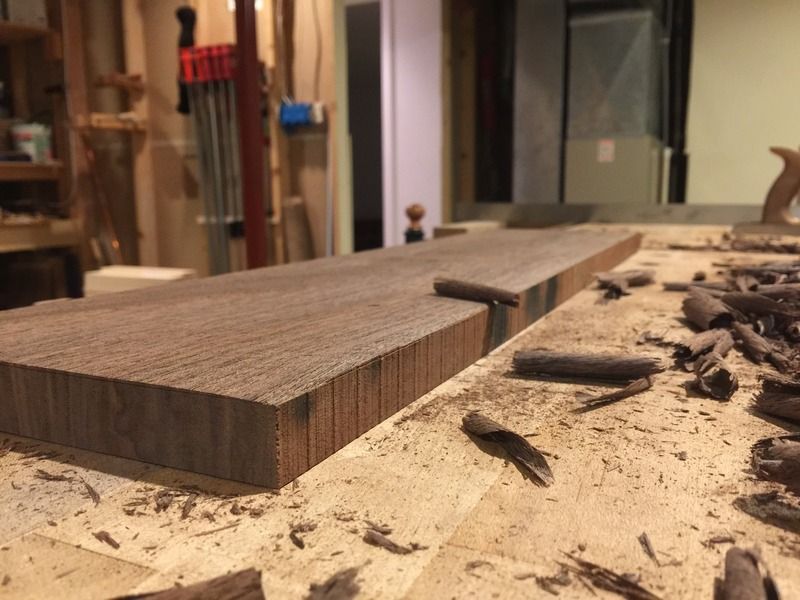
    About 3/16" has been removed quite rapidly;


    Wind is out;


    More later.
    Bumbling forward into the unknown.

  8. #128
    That is some nice dimensioning work, I've never been good at getting the matching side parallel. I'll be using my LN 7 1/2 soon for flattening a big walnut slab... never done something that size before, it'll take some serious time I'll bet.

  9. #129
    Join Date
    Aug 2012
    Location
    Missouri
    Posts
    2,152
    Nice work on this post Brian. Pictures, explainations and objectives is very helpful. Do you use steel toe shoes along with your winding sticks.
    Jim

  10. #130
    Join Date
    Aug 2013
    Location
    Princeton, NJ
    Posts
    7,298
    Blog Entries
    7
    Thanks Allen! There are some nuances to more out of flat boards that aren't shown here; if the initial face were more out of flat or cupped I would start with cross grain cuts. Also, since I removed so much material I will have to readjust my reference face after this side is complete.

    I dont know know how much experience you have, so I hope you don't see this as presumptuous, but here are some pointers that I have found in my experiences;

    on your slab, start with cross grain work on the both the reference face and the opposing face. Do 95% of the work cross grain, you do not want to be taking big bellies or turned ends out with a large plane long grain. It will take an eon.

    I think you will find that once you are taking long cuts with a jointer plane you will find it hellish to push, at that point you may want to switch to a #4 plane setup for heavy cuts.

    If you keep after the flatness with a long straight edge it will be easier to work with a smaller plane at the point when you are taking full width long grain cuts.

    i have heard people say a slab doesn't need to be flat....if you intend to smooth with a plane then it will need to be very flat to get good passes. On your finish plane make sure you have the edges feathered out so that you are not making track marks. Keep the chipper set tightly, you'll meet plenty of grain reversals in a large slab, and work your way toward full length shavings.

    a long accurate straight edge and two or even three winding sticks will save you a lot of headaches if you don't have a set already. Check your straight edge before using it....you'd be surprised at how bad some 8' straight edges can be.
    Bumbling forward into the unknown.

  11. #131
    Join Date
    Aug 2013
    Location
    Princeton, NJ
    Posts
    7,298
    Blog Entries
    7
    Hah, thanks James! Most would be appalled by my footwear...

    I think Prashun is the only one who knows about it.

    on a serious note, those are precision ground beams from McMaster, I had to go through a few before I got any that were accurate along the length.....most were out, and since I do not have straightening equipment on hand I had to request replacements.
    Bumbling forward into the unknown.

  12. #132
    I'm not telling.

    But what does 'Winding stick ONLY' mean? What other uses would compromise it?

  13. #133
    Join Date
    Aug 2013
    Location
    Princeton, NJ
    Posts
    7,298
    Blog Entries
    7


    Just my marker, I settled on a few of those that were out .005" over the length of them. That's not good enough for flattening panels, but it's quite alright for use as a winding stick.
    Bumbling forward into the unknown.

  14. #134
    Join Date
    Aug 2013
    Location
    Princeton, NJ
    Posts
    7,298
    Blog Entries
    7
    OK, and inching toward the finish line.

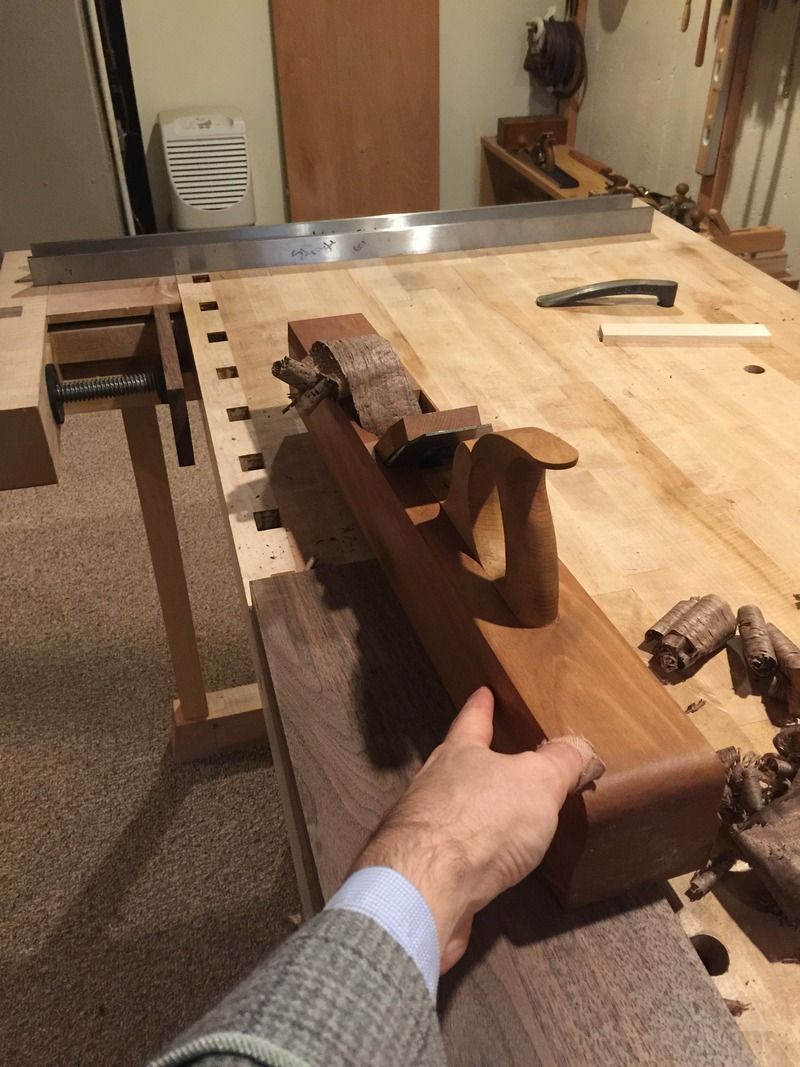
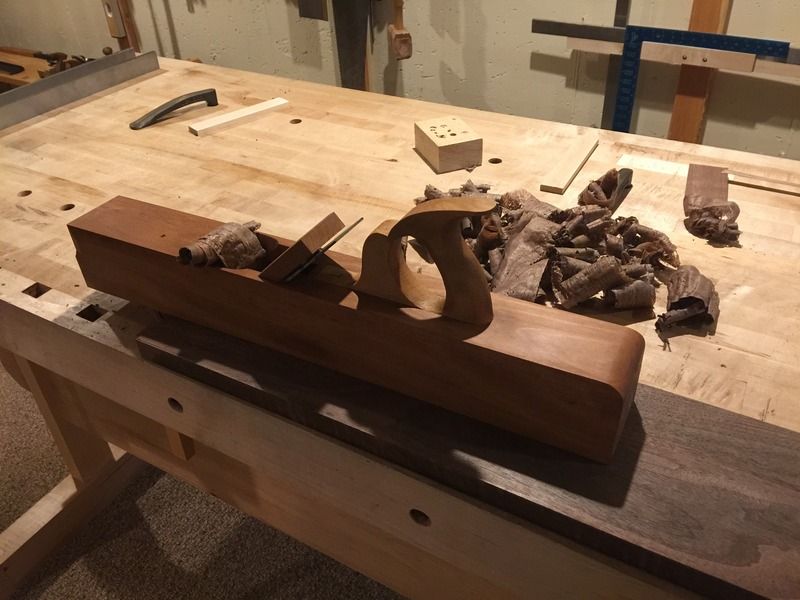
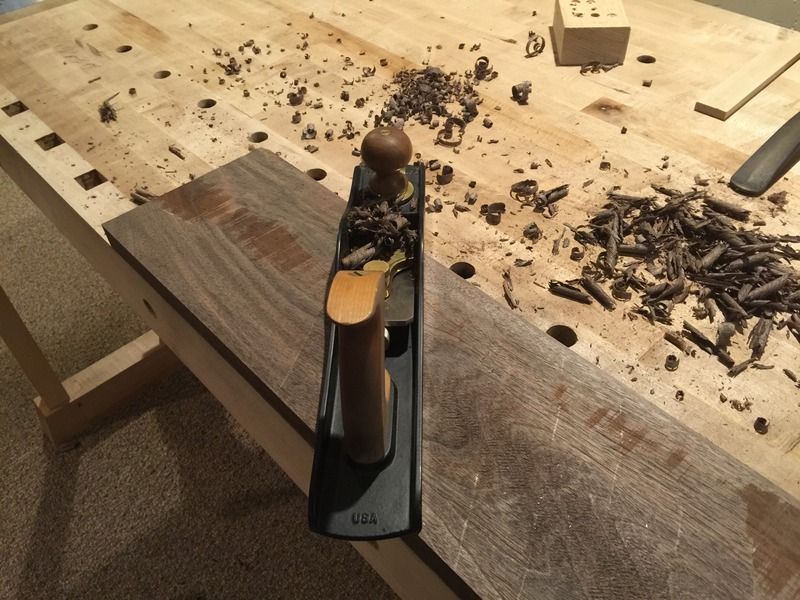
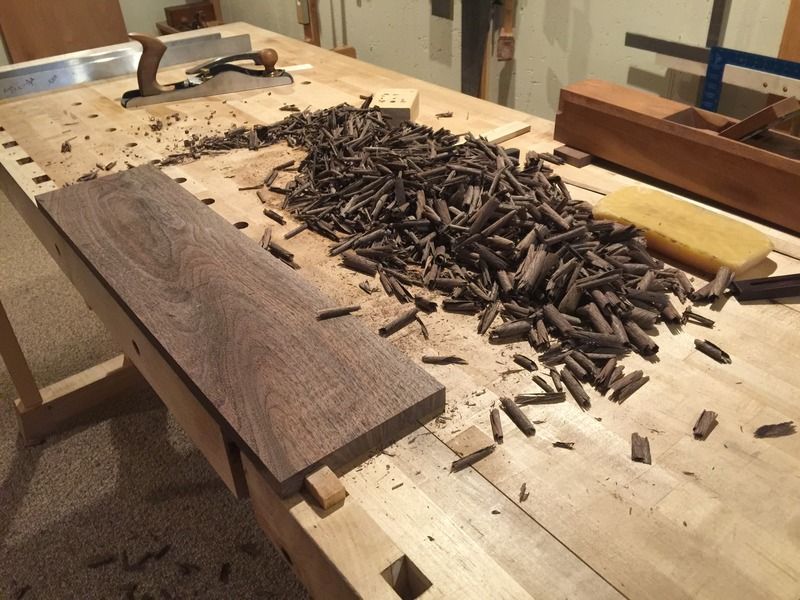
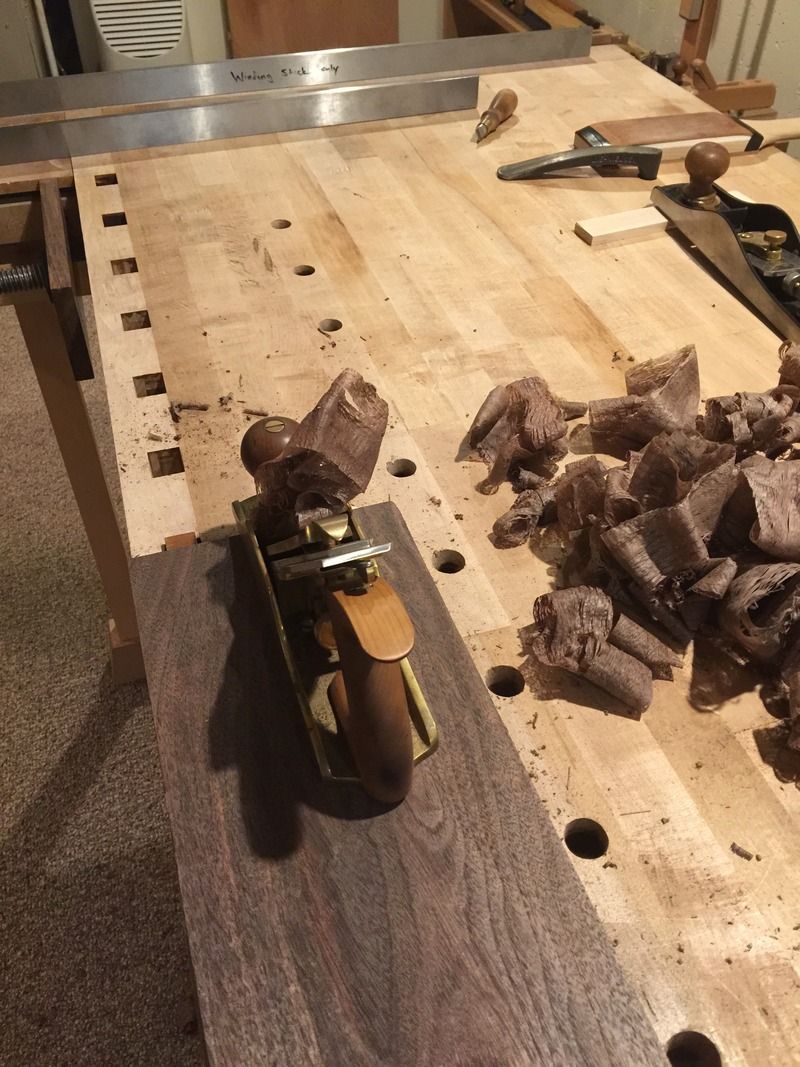
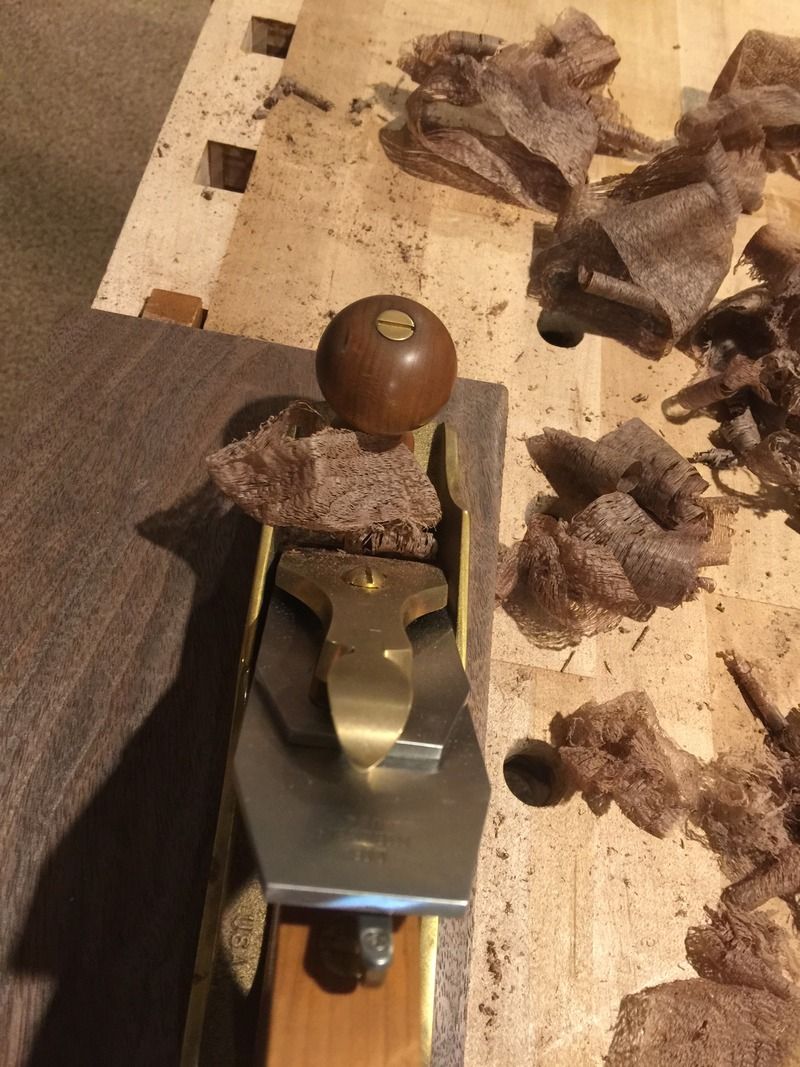
    Getting everything to about 95% with the Try plane. This gets from cross grain cuts to flat enough to finish. There is no medium plane because I am keeping a closely set chipper on the trying plane. The tearout is minimal, not even something most would call tearout;

    The first passes look like this


    Then after I'm done with the try plane it looks like this ;


    For the inside of the drawer it would be fair to use just that and skip the finisher.

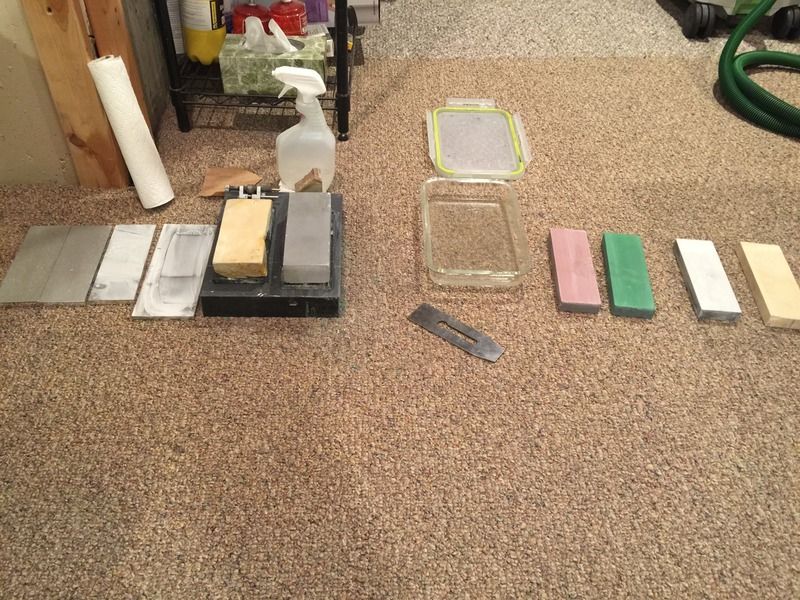
    Anyways, my finisher has seen it's fair share of re-hones, so back to the basics;


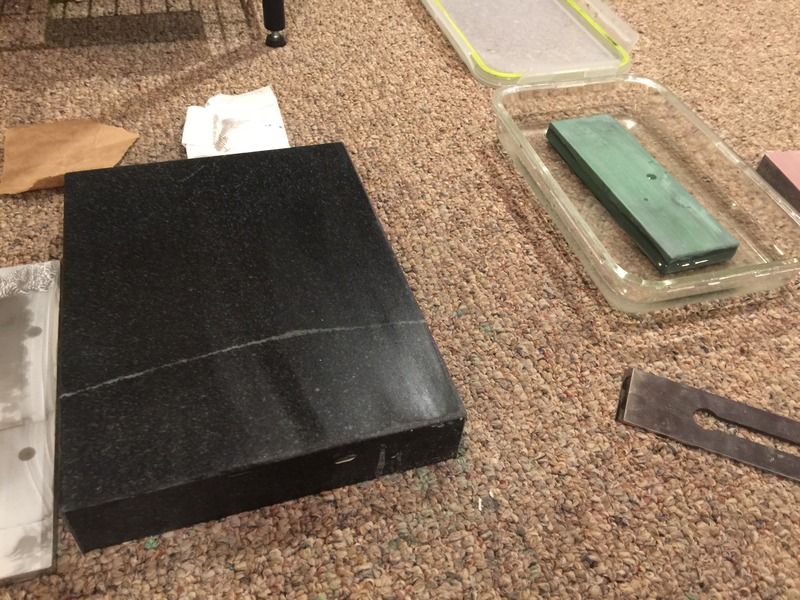
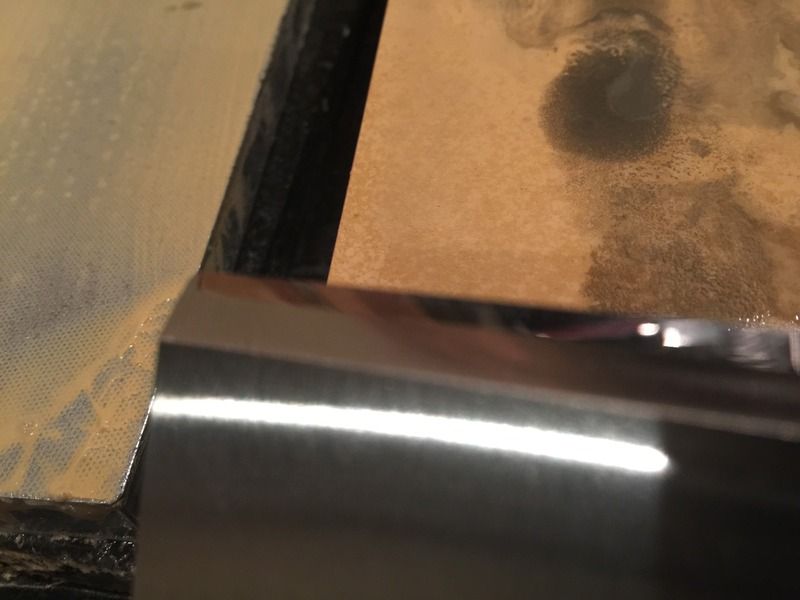
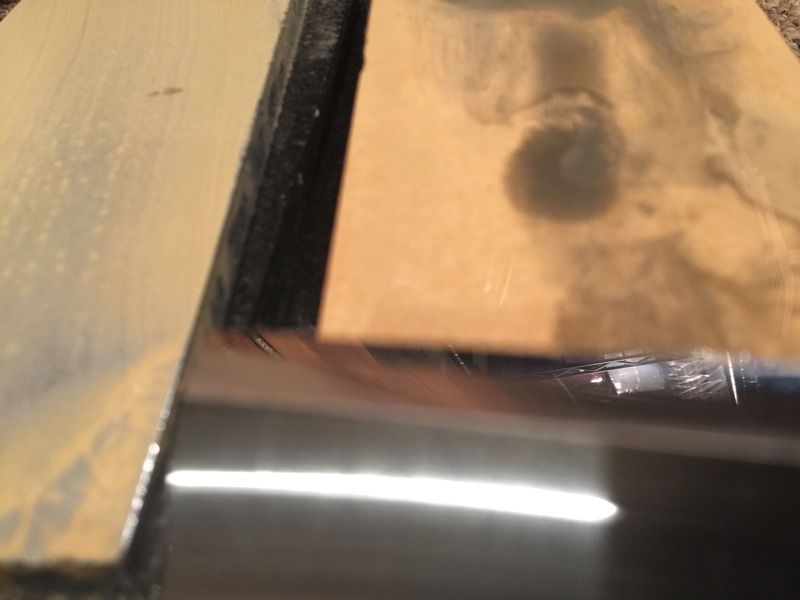
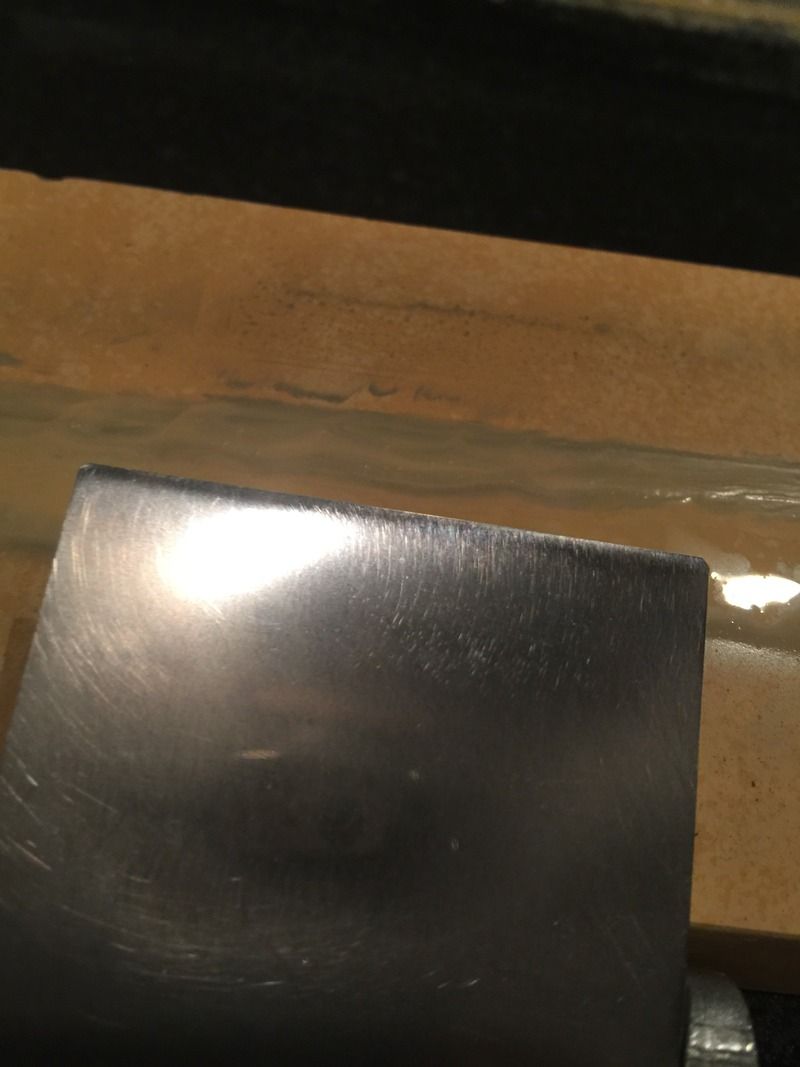
    1000 grit is complete and ready for 3k


    3k is done


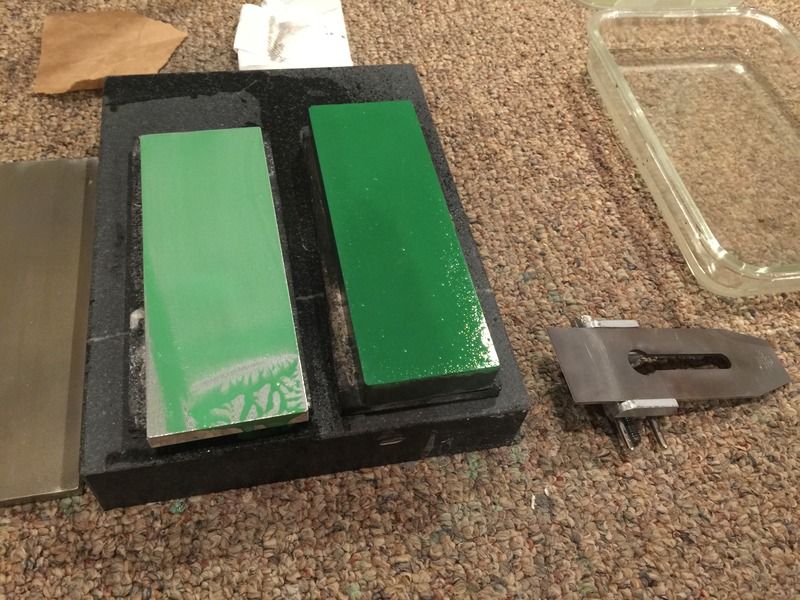
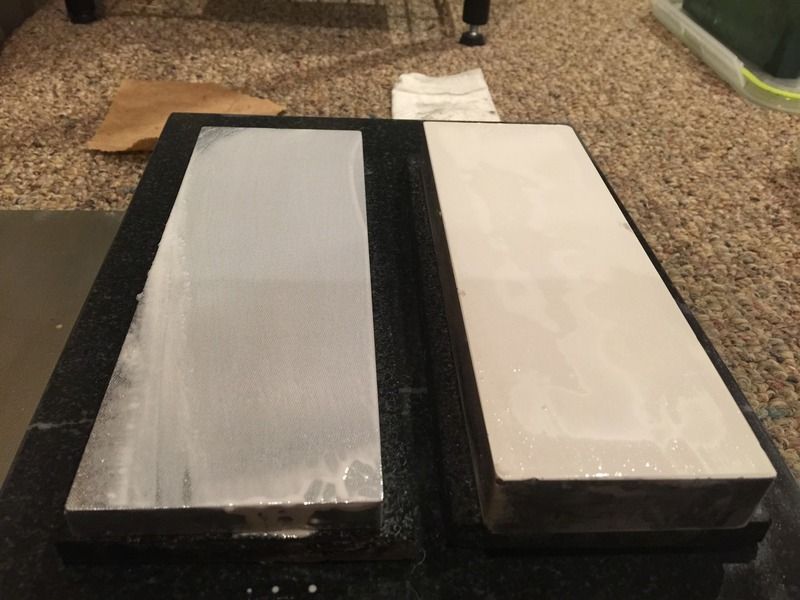
    8k prepped


    and complete


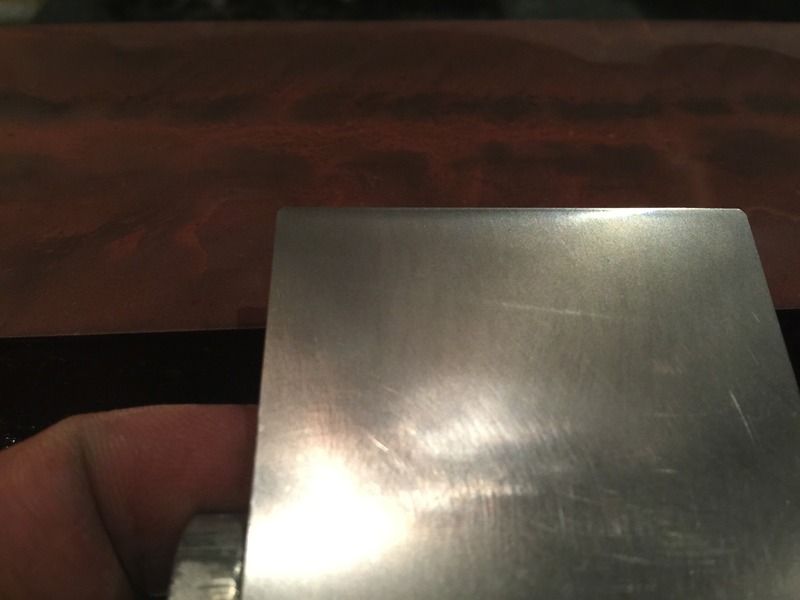
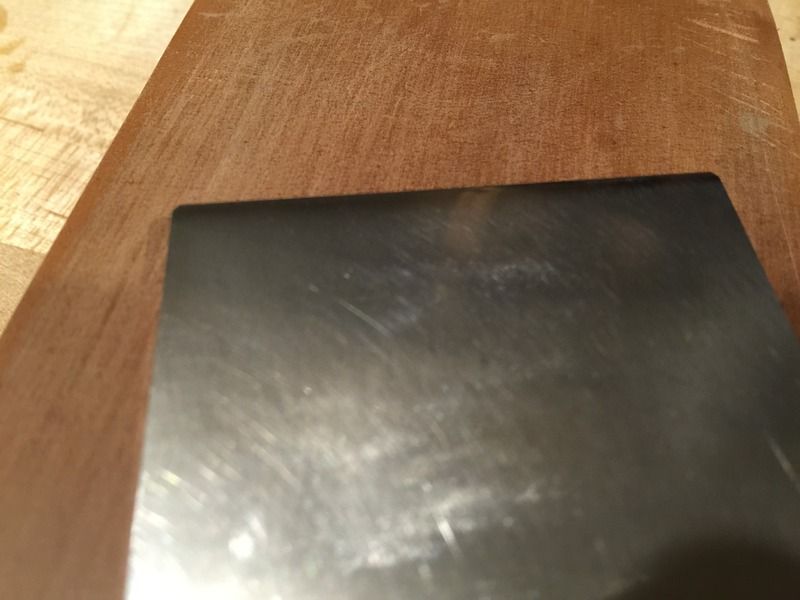
    13k finished I dont do this with anything but A2 since the stuff is brutal to polish. O1, white and blue steel are heading to natural stones at this point


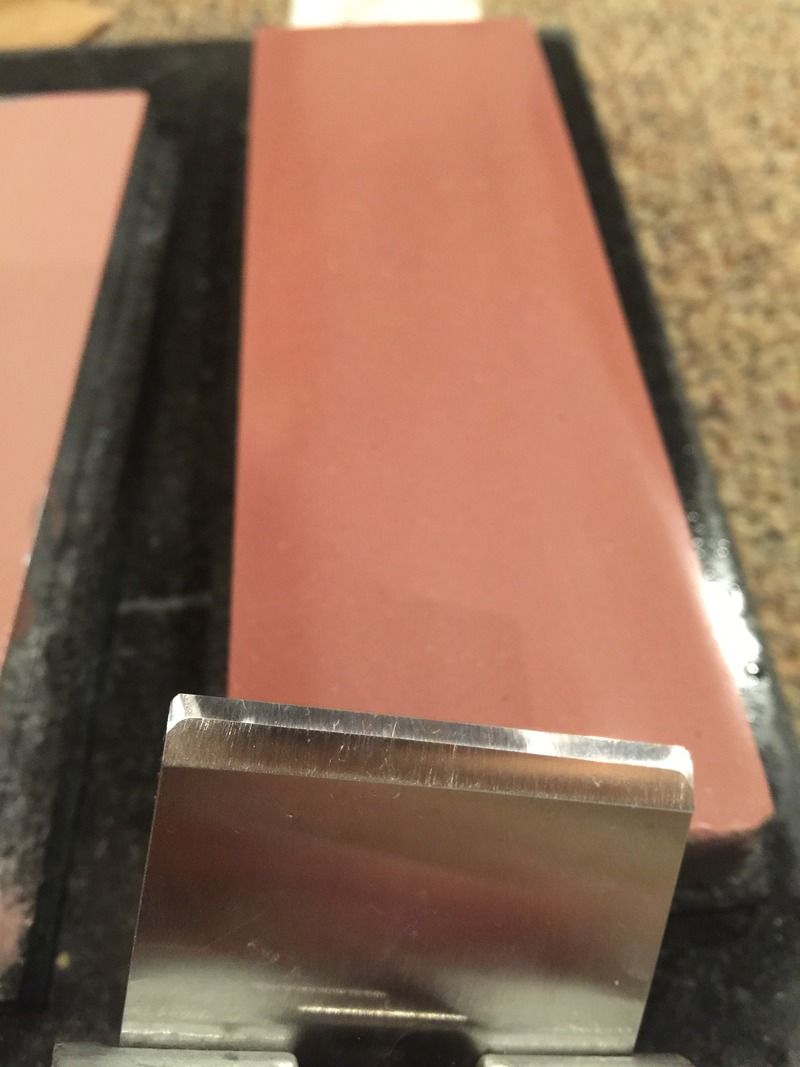
    There are fine swirls, not unexpected from this stone.


    Clean strop


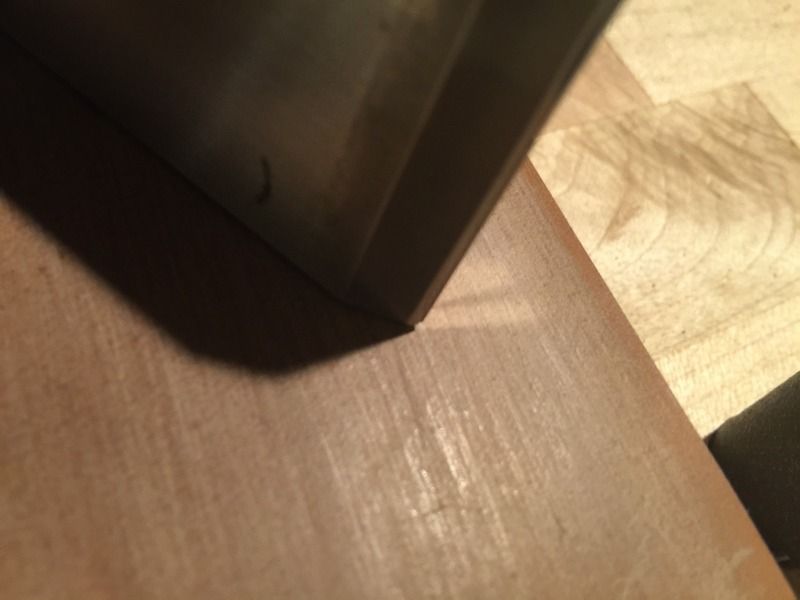
    I set the chipper, you'll notice a sweeping curve to the leading edge of the chipper, also polished. Dont ask the depth, I have no idea, if tearout presents I will tighten it.
    Bumbling forward into the unknown.

  15. #135
    Join Date
    Aug 2013
    Location
    Princeton, NJ
    Posts
    7,298
    Blog Entries
    7
    Heavier shavings (probably .002)


    Light shavings like .001" or less


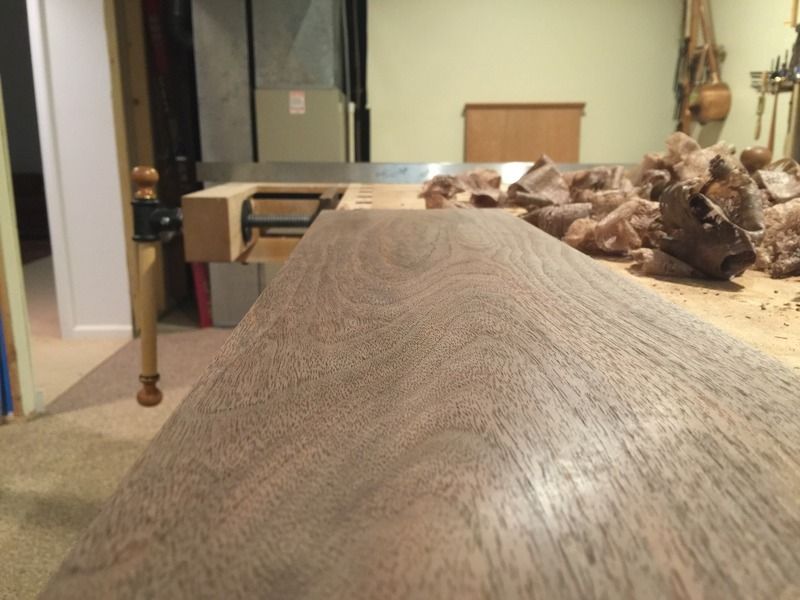
    Finished
    Bumbling forward into the unknown.

Posting Permissions

  • You may not post new threads
  • You may not post replies
  • You may not post attachments
  • You may not edit your posts
  •