p.s. anyone reading this stuff?[/QUOTE]
OH HECK YES. and appreciative too. patrick


 Contributor
p.s. anyone reading this stuff?[/QUOTE]
OH HECK YES. and appreciative too. patrick
 [OP]
Contributor
[OP]
Contributor
Hi Chris
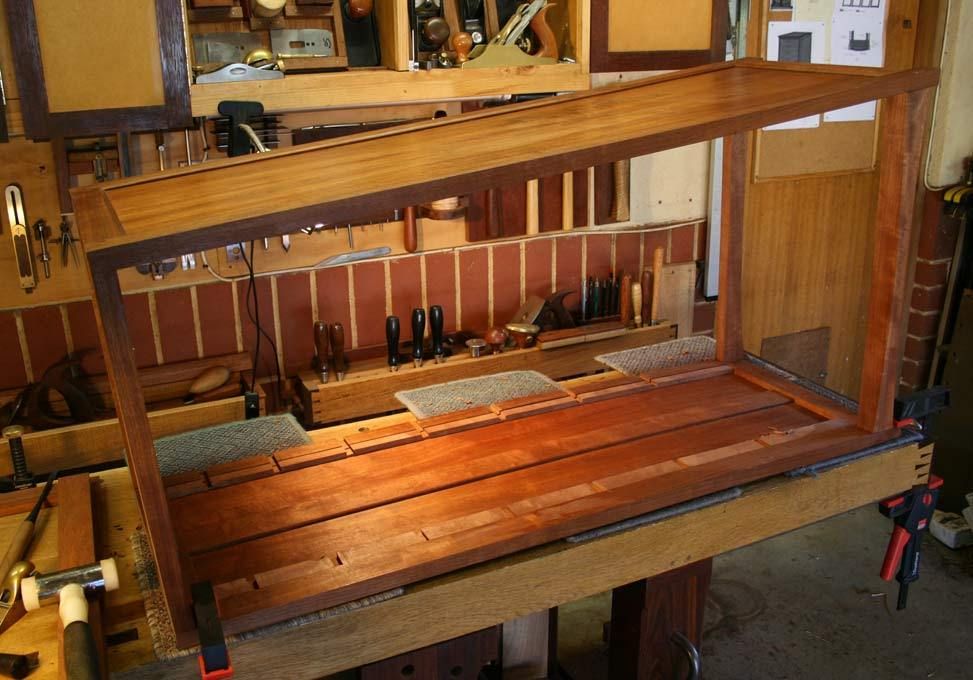
It will remain one panel. The panel is made of four jointed boards. These were the plainest, least figured of the Makore. The slim frame that surrounds them is made in Jarrah, so there is a touch of the front drawers at the rear. While the rear is likely hardly to be seen, I like the idea of finishing it to the same standard as the front. The purpose of the frame is to enable the panel to expand, as well as to hide the edges.
Regards from Perth
Derek
[OP]
Contributor
It's been at least a month since I managed time on the Lingerie Chest. Found some time today. It seems to take forever to get the rhythm back.
We left off last time with the sliding mortice sockets installed. These had been built in one section (a "fillet" - I did not know what else to call it), which was split into two parts, one for the rear and another for the front of the carcase. This was to ensure that they were both parallel and coplanar in this curved sided chest ...
The front and rear drawer blades were fitted ...
Today every was removed ..
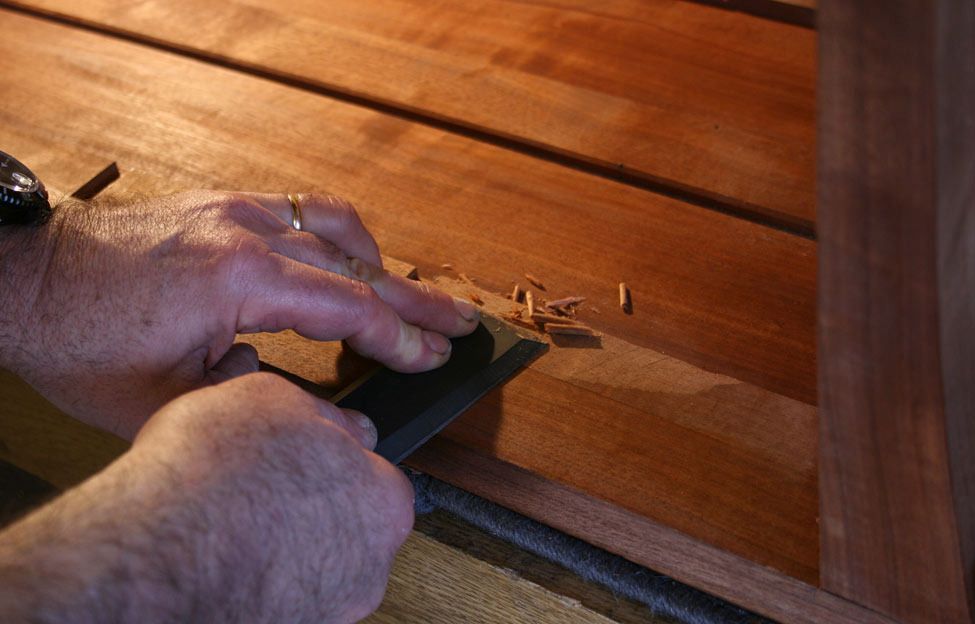
The first task was to ensure that there were no sections of the fillet that were higher than the sides of the carcase (otherwise the drawers would not be flush with the sides). These were pared down ..
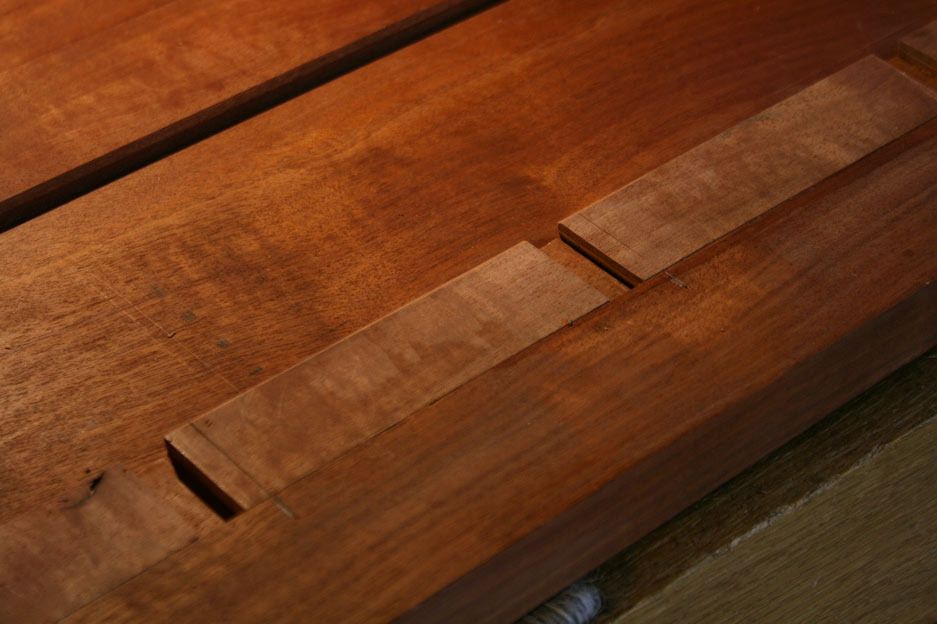
The dovetails in the fillets needed to be extended into the sides of the carcase ...
... by 20mm (this will leave space for a 22mm thick drawer front and a shadow front edge). The fillets were glued onto the panel - any movement in the floating panel will be towards the rear, and allowance for this is made in that area. The extention of the sliding dovetails would solidify the structure at the front ...
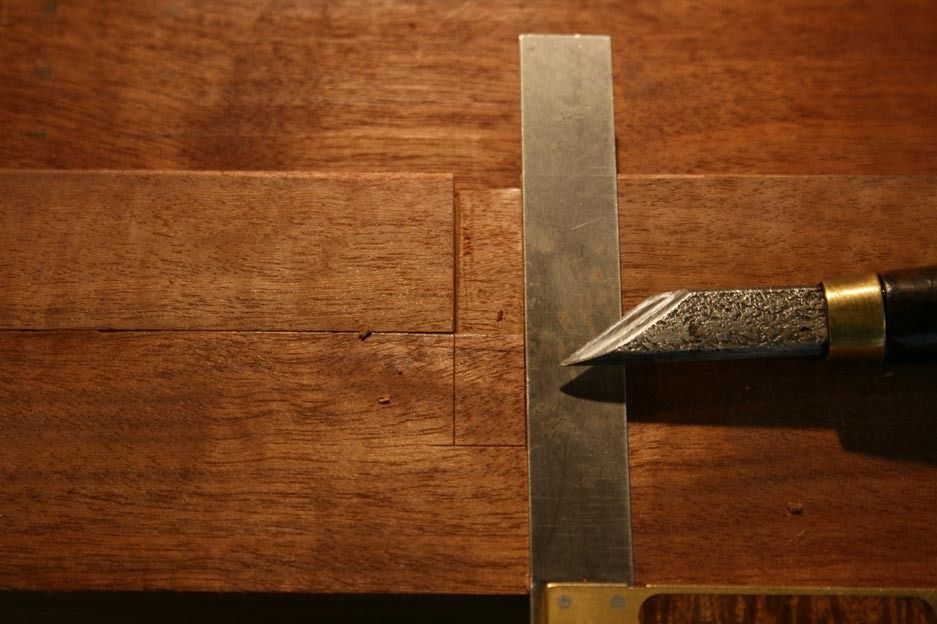
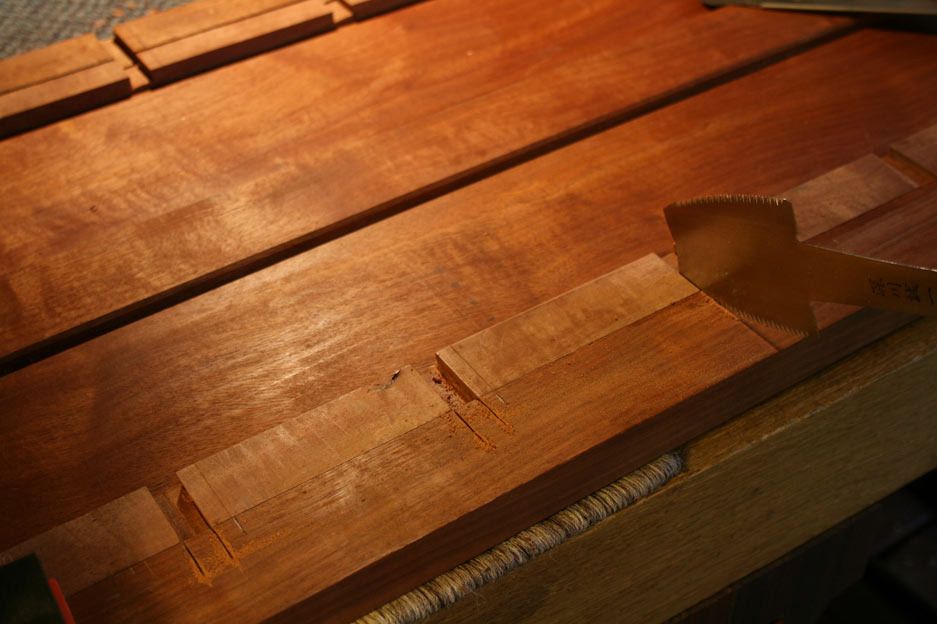
The sides of the sockets were saw, first with a dozuki and then extended a little deeper with an azebiki.
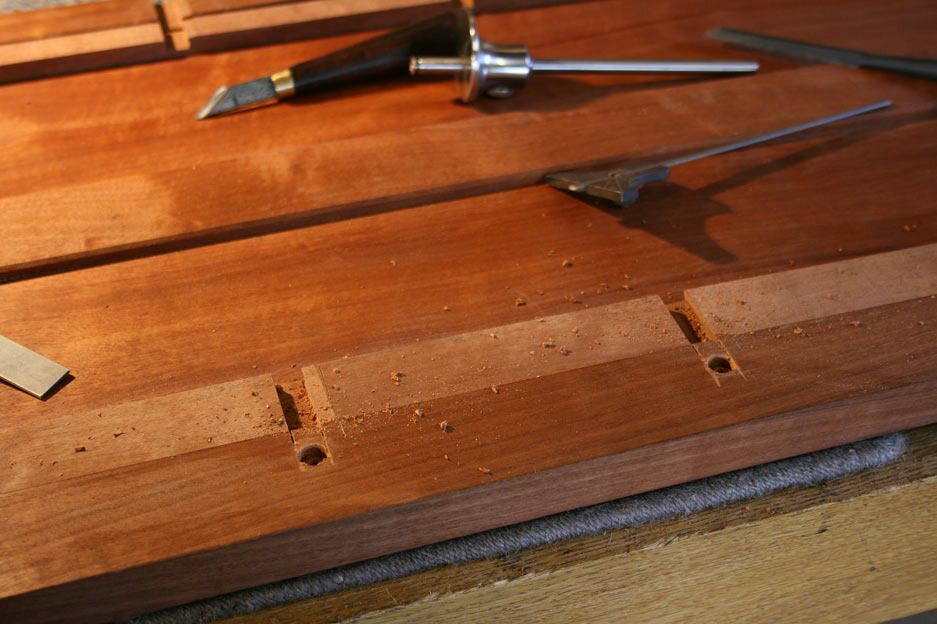
The ends were drilled to depth ..
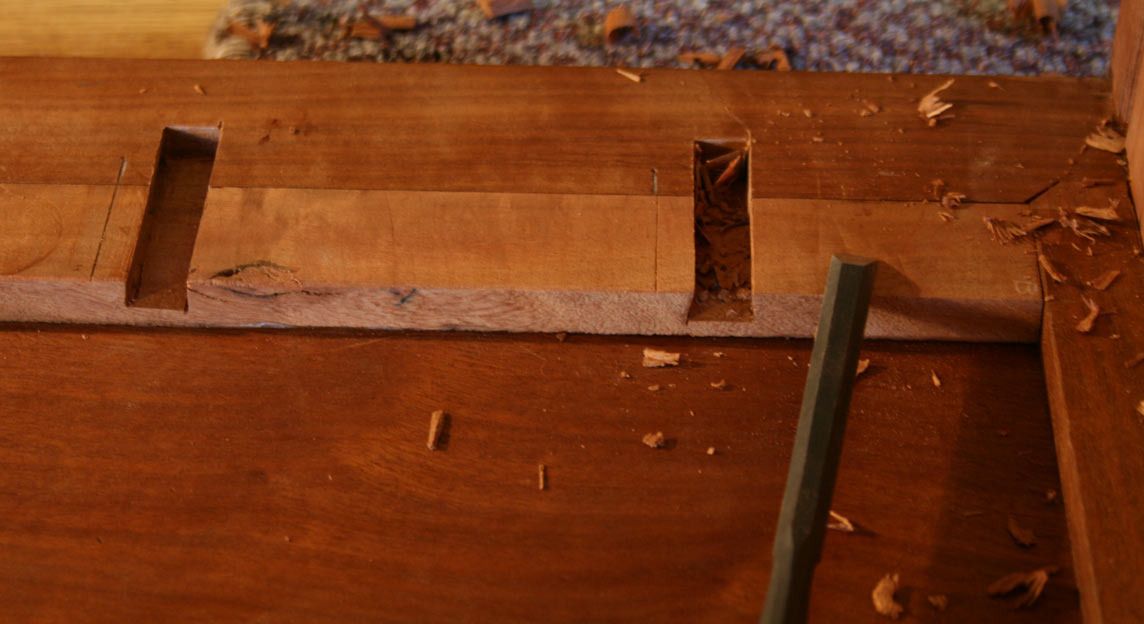
.. and then pared out. The sides of the sockets became handy guides to maintain angles ..
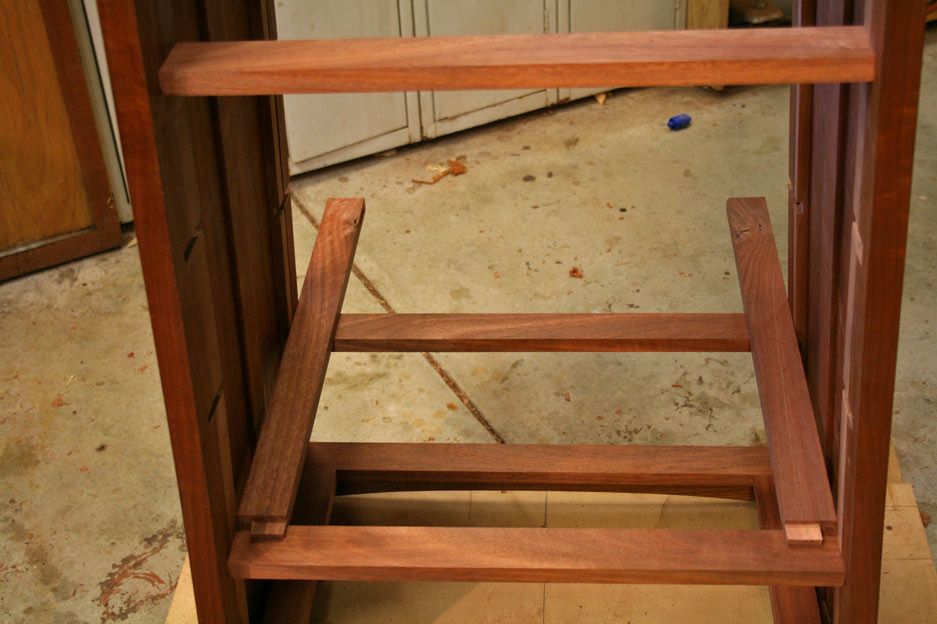
Now that that front and rear drawer blades were in their correct positions, the side drawer runners needed to be made.
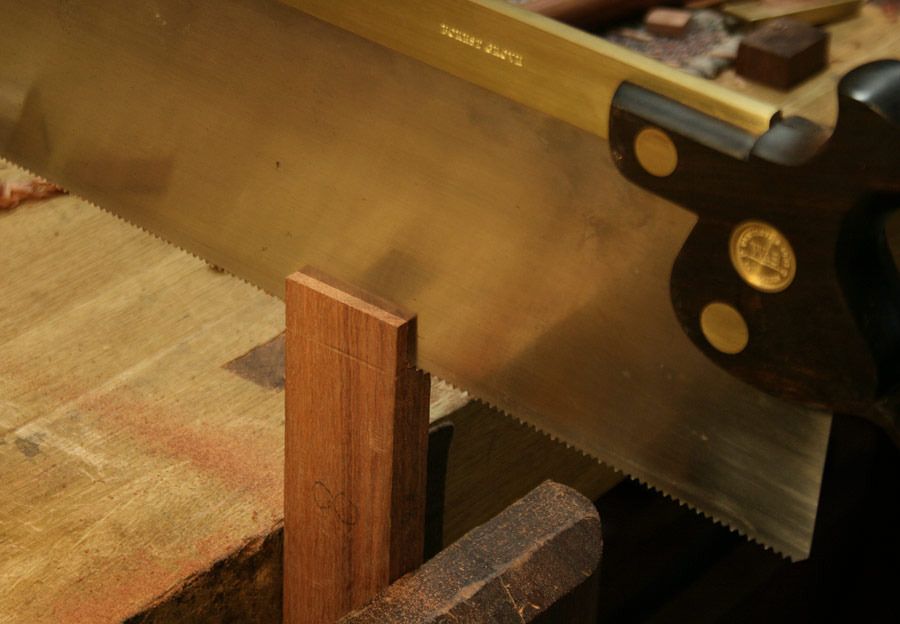
The drawer blades were morticed and the runners received tenons ..
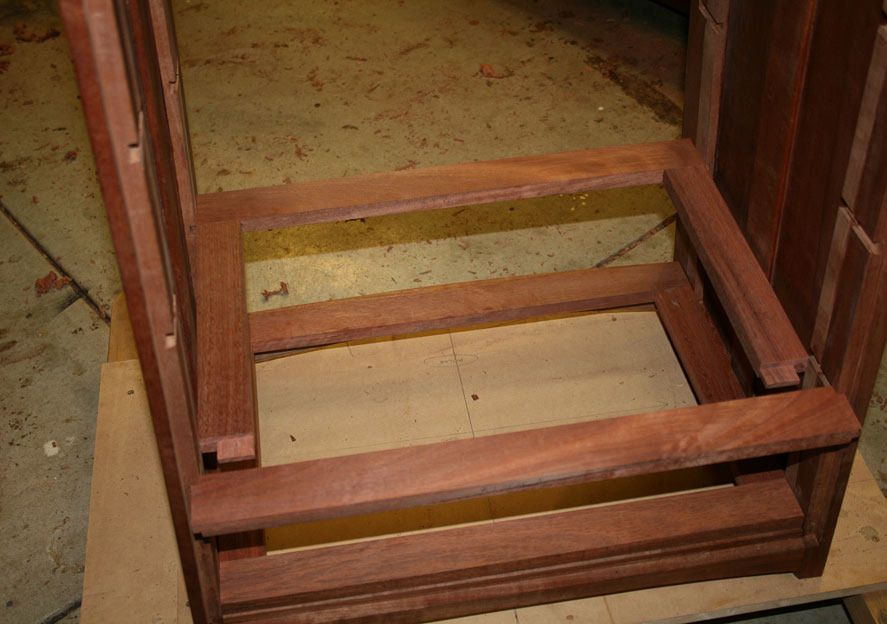
In fitting them, the front blades were first inserted (from the inside), and the runners fitted (the picture below is taken from the rear of the chest) ..
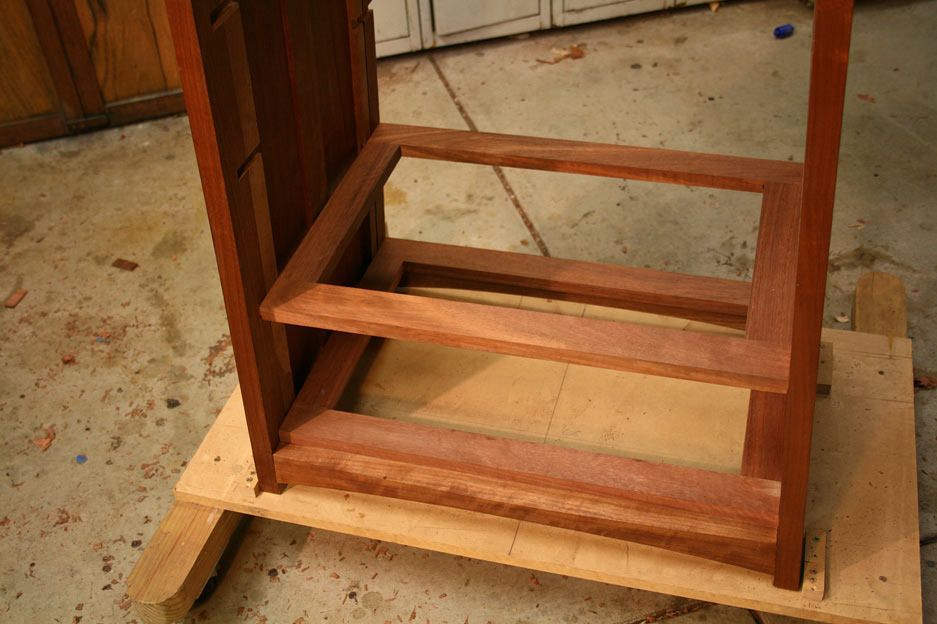
The rear blade could then be attached. The photo below is taken from the front of the chest. The lower two drawer blades and runners are filled (dry so far) ..
Note that the drawer fronts are bowed, and bowed filler sections are yet to be added to the front drawer blades.
And the last photo before I close up for next weekend ...
Regards from Perth
Derek
 Contributor
Wonderful work Derek!
Bumbling forward into the unknown.
 Contributor
Looks like you're making it through a tricky assembly with style and aplomb. Will look forward to more.
Cheers,
C
"You can observe a lot just by watching."
--Yogi Berra
Member
Derek, beautiful work as always. A question about your glue-up sequence: When gluing up a carcass with drawers, do you glue up the four sides first, then add blades and runners, or do you include one or more of these parts when you glue up the sides?. I realize this piece is unique because of the curved sides and the frame and panel, so you have "play" within the carcass to put the runners and blades in afterward. What would be your sequence with straight sides and solid panels?
I ask because I often find glue-ups like these, even after a good dry fit, panic-inducing.
David B. Morris
"Holz ist heilig."
[OP]
Contributor
Hi David
In the typical solid side cabinet, the blades and runners would run in dados. These would be added before the carcase is glued up. The reason I add the blades and runners after glue up is that it is more accurate to work to what is there than what the measurements should be. It is sooooo much easier working with a square carcase!
Here is a solid carcase with runners and blades installed ..
However, retrace steps , and you have the dovetailed carcase beng glued up, and you can see the dados already formed ...
Another piece goes in ..
The top dovetailed section is added ...
And now the blades/runners are added ...
Regards from Perth
Derek
 Contributor
Expertly done Derek.
jim
Member
Thank you, Derek. Very helpful!
David B. Morris
"Holz ist heilig."
[OP]
Contributor
There are a couple of techniques regarding tuning of the mortice and tenon that hopefully are worthy of discussion.
The next chapter of the build is here: http://www.inthewoodshop.com/Furnitu...iceTenons.html
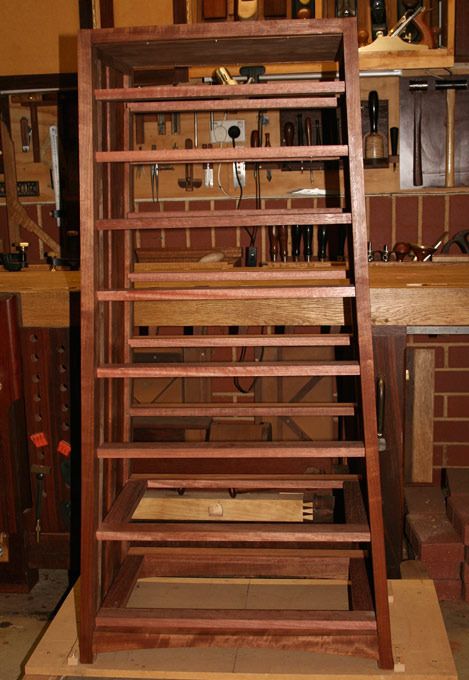
For those who just want the update on the build progress, here it is ..
Regards from Perth
Derek
Contributor
Coming along nicely, I'm sure that you share my moment of satisfaction when seeing all of the drawer web frames in. For me that is when it started to finally feel like a cabinet.
If you don't mind my question, have you decided upon a lock for this chest? If you have, would you mind sharing the maker. I'm looking at whitechapel for mine but have no personal experience with them (I generally do not bother with locks).
I noticed you have a bottom clearing chisel at the ready, do you use that even along with pig stickers?
Thank you.
Bumbling forward into the unknown.
[OP]
Contributor
Hi Brian
I know what you mean about the chest appearing with the completion of the drawer blades and runners!
There will need to be two "locks". One is for the top drawer, which is essentially a jewelry box. I am taken with the Shaker system, where the drawer is held in place with a wooden spring. Simpy, the spring is a flexible section of wood that angles forwards from under the drawer. The drawer locks when the edge of the spring jambs against the back of the front drawer blade. To releave the spring/lock, the second drawer is opened and the lever pushed up to clear the rear of the drawer blade. My variation to this is to add a central muntin. The muntin will have a groove routed down the centre. Fron the underside, if one looks into the cabinet from inside the drawer, it will appear to be decoration/ construction. The groove will act as a finger hole to release the spring.
The top also needs a lock of sorts. This is more of a release catch, to release the central section with the mirror from the surrounding moulding and allow it to hinge up. I am working on this. Any ideas are welcomed.
The bottom cutting chisel is in constant use with mortice chisels as I mainly chop down and avoid prizing upward, especially near the ends.
Regards from Perth
Derek
Contributor
Sounds awesome, looking forward to seeing how that is done when you are at that point.
I've made shift with a birdcage awl long enough that I think I will pickup a bottom cutting chisel.
Cheers
Bumbling forward into the unknown.
Contributor
Derek, Coming along very well. I am watching closely. It is interesting to follow your build and Brian's build and following the back and forth conversation in the process. Two journeymen building similarly purposed furniture almost in tandem. Where else can you find something like that? Keep it up you are being watched!
Jim
[OP]
Contributor
James, you are right. Brian's chest is a different design and has a different concept to mine, yet they have similarities of purpose. And what is the probability of the two chests being built at the same time? Of course, mine is better.
Regards from Perth
Derek
 Posting Permissions

 Reply With Quote