Results 1 to 7 of 7

Thread: Restoring Original Tote/Knob Finish on Type 11 Stanley Plane

  1. #1
    Join Date
    Mar 2015
    Location
    South central Kansas
    Posts
    290

    Restoring Original Tote/Knob Finish on Type 11 Stanley Plane

    Good evening everyone,
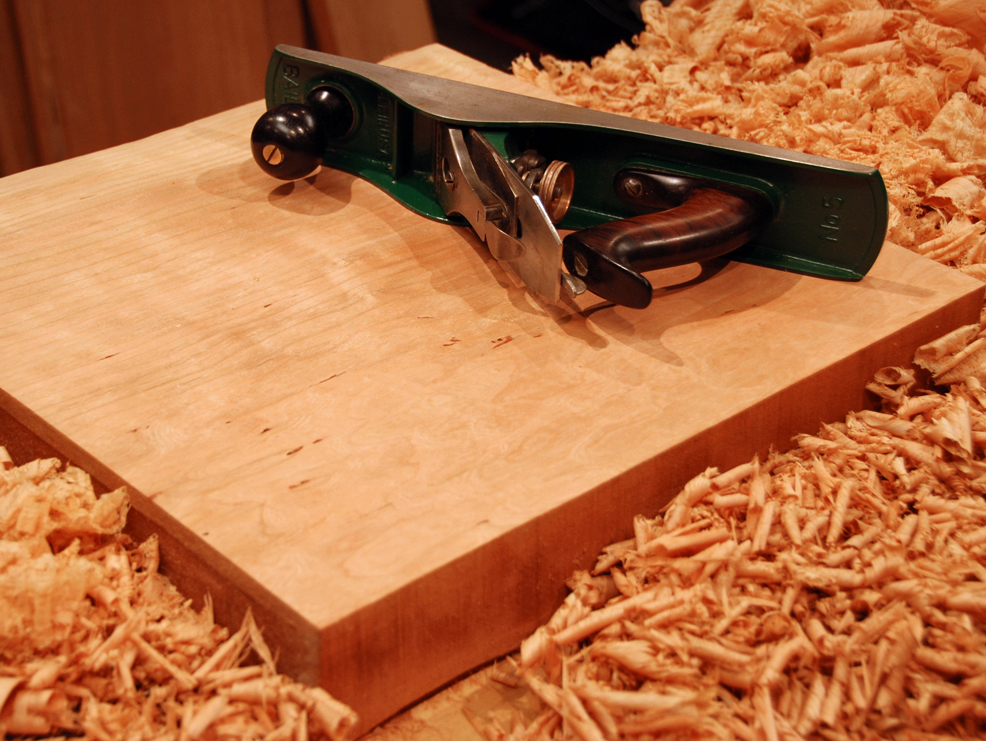
    I've got a type 11 no. 5 that I'm working on, and I'm having trouble getting the tote and knob to a condition that I like. As you can see, the tote and knob are in pretty good condition considering their age so I'd rather not sand and refinish them. The original finish doesn't have any significant chips or deep gouges, and is only hazy in a couple small places. The issue I have is that it's so dark that you can't see the grain or figure of the wood.


    What I'd like is to brighten them up a bit so you can see the figure of the wood. I'm not concerned with the scratches and dings, I kinda like the character it adds. I've been reading a bit about plane restoration and tried what I've read. I used 0000 steel wool and mineral spirits to get all the dirt and grime off, then tried applying a coat of Johnson's paste wax and buffing the finish. I also tried Old English but to no avail. I've read a little about some products like Kramer's Antique Improver but I can't find anything like that here in town and don't want to spend the money ordering something that I may not need.

    Any ideas?

  2. #2
    The only way that I know to brighten the wood requires chemically stripping the finish. You could then use oxalic acid to brighten the wood without removing the color of the wood. You could check out "Understanding Wood Finishing" by Bob Flexner for a better idea.

  3. #3
    Well, Matthew, I'm just another guy here, but here's what I do...

    I put the wooden parts into a Ziploc bag with some denatured alcohol, and let 'em sit for a couple of hours, then qive 'em a rub down with a clean paper towel. This removes the dirt and outside layer of finish. I then buff with 4/0 steel wool. I then use either a shellac (which is historically correct), or a spray can lacquer finish, followed by a wax and 4/0 steel wool buff. This leaves a really nice feel to the wooden parts. Your methods, IMHO, just left out the ability to remove the old finish, and replace it with a new one. These planes aren't collector items, what we end up with should only satisfy our own need for gratification. I get lots of comments about how nice mine feel in the hand, you must decide for yourself...My hands appreciate the effort...

    Again, JMHO.

    Doug Trembath

  4. #4
    Join Date
    Dec 2010
    Location
    South Coastal Massachusetts
    Posts
    6,824
    Scuff pad and Butcher's wax should be mild enough for a light cleaning.

    The solvent in the wax will help loosen the outermost layers.
    If you don't want to drop big bucks on abrasive pads, check out auto body shops.

    They'll have a scuff pad or two they could unload for cash.

    I like the 'medium' weight for this application.
    You can even reuse the pad if you store it in the wax can
    or keep it tightly sealed in a ziploc bag.

  5. #5
    Join Date
    Apr 2010
    Location
    Essex, MD
    Posts
    421
    In my experience, the rosewood itself used on the earlier Stanley planes is usually darkened with age, plus the shellac is darkened as well. Even if you stripped all the finish off, it would not show much figure unless you also sanded the wood to get through the thin darkened layer of wood - but then the dings stay dark unless you sand them off. To me removing the old finish without sanding the wood looks worse than just leaving it be and putting some wax on the cleaned old finish- the dings become freckles of darkness, especially on lighter saw handles. I only remove the finish when it's worn off in areas or badly crackled - yours looks good as-is, but if you want to see any grain, it and the dings will probably have to go (unless you bleach it, as noted). Whatever you do, avoid refinishing products with linseed oil in them; it just makes them darker, almost black.

  6. #6
    Join Date
    Mar 2015
    Location
    South central Kansas
    Posts
    290
    Thanks for the replies everyone, all opinions are appreciated.

    Quote Originally Posted by Karl Andersson View Post
    In my experience, the rosewood itself used on the earlier Stanley planes is usually darkened with age, plus the shellac is darkened as well. Even if you stripped all the finish off, it would not show much figure unless you also sanded the wood to get through the thin darkened layer of wood
    This is what I was thinking/fearing. Just wanted to see if my thoughts would be confirmed. I'm also in the process of restoring a No. 6 that was in about the same condition and I stripped and sanded the tote and knob on that one to see how much different the wood would look. It's definitely a lot brighter after the sanding, and with the right finish I imagine they would brighten considerably.

    I'll try the scuff pad and butcher's wax method and if that doesn't work I'll just have to decide whether its worth the whole refinish.

    Thanks
    Last edited by Matthew Hutchinson477; 05-21-2015 at 9:39 AM.

  7. #7
    Join Date
    Mar 2009
    Location
    Chevy Chase, Maryland
    Posts
    2,484
    I don't like the feel of the lacquer or shellac or whatever that varnish was much, so on all my old Stanleys, I sand and oil (BLO). It also allows me to slightly reshape the totes on some of the blockier ones and make them more oval in cross section like the older ones. As for the oil, I wipe them with several very thin coats over days - sort of whenever I've got an oily rag or paper towel in my hand from something else, I will always look around for tool handles that could use a wipe before burning the rag. It's like a well loved gunstock finish over time. I really like it.


    I know this is not what you want to do, but for what it's worth ...
    ~ Do not seek to follow in the footsteps of the men of old; seek what they sought.

Posting Permissions

  • You may not post new threads
  • You may not post replies
  • You may not post attachments
  • You may not edit your posts
  •