Many of you are familiar with the deadman design from Chris Schwarz book. The bottom of the deadman has a recess - 45 degrees on both sides with 1/4" flat. Essentially: /-\ This allows it to run on the same/opposite profile of the stretcher.
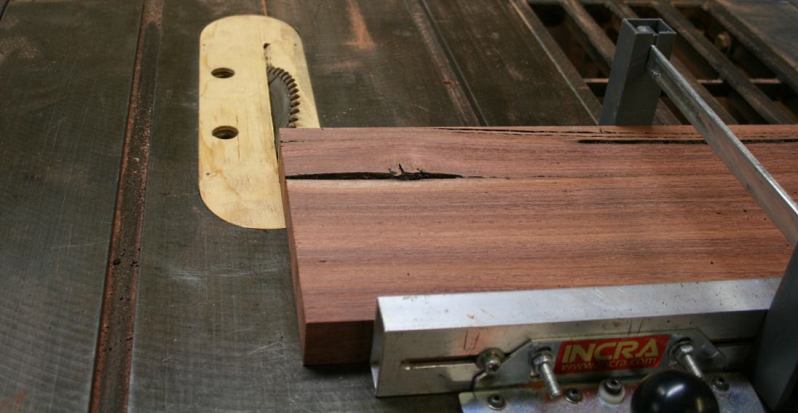
Doing the stretcher was straight forward. What tool/tools would you use to create this 45 degree with 1/4 flat bottom recess on 1 1/4" x 8" end grain? Chris does it with a table saw. Is there a hand tool approach you could recommend?
My current thinking is to use a router plane with 1/4" cutter to depth, then chisel the 45 sides?
Thanks.

 Reply With Quote