My 20yo daughter uses a simple, full-size platform bed that Professor Dr. SWMBO has had since grad school back in the 1980s. Other than a new mattress from Ikea, it's pretty much original "kit" type furniture made of pine and particle board. Because of my daughter's emotional issues, she has a tendency to move her bedroom furniture around with frequency as a stress reliever. Interestingly, a month or three ago, she asked me to make her a headboard and I agreed that it would be part of her holiday gifts. I started it a few weekends ago and it was completed and installed on Monday of this week...a few days after Christmas, but that's how it goes sometimes.
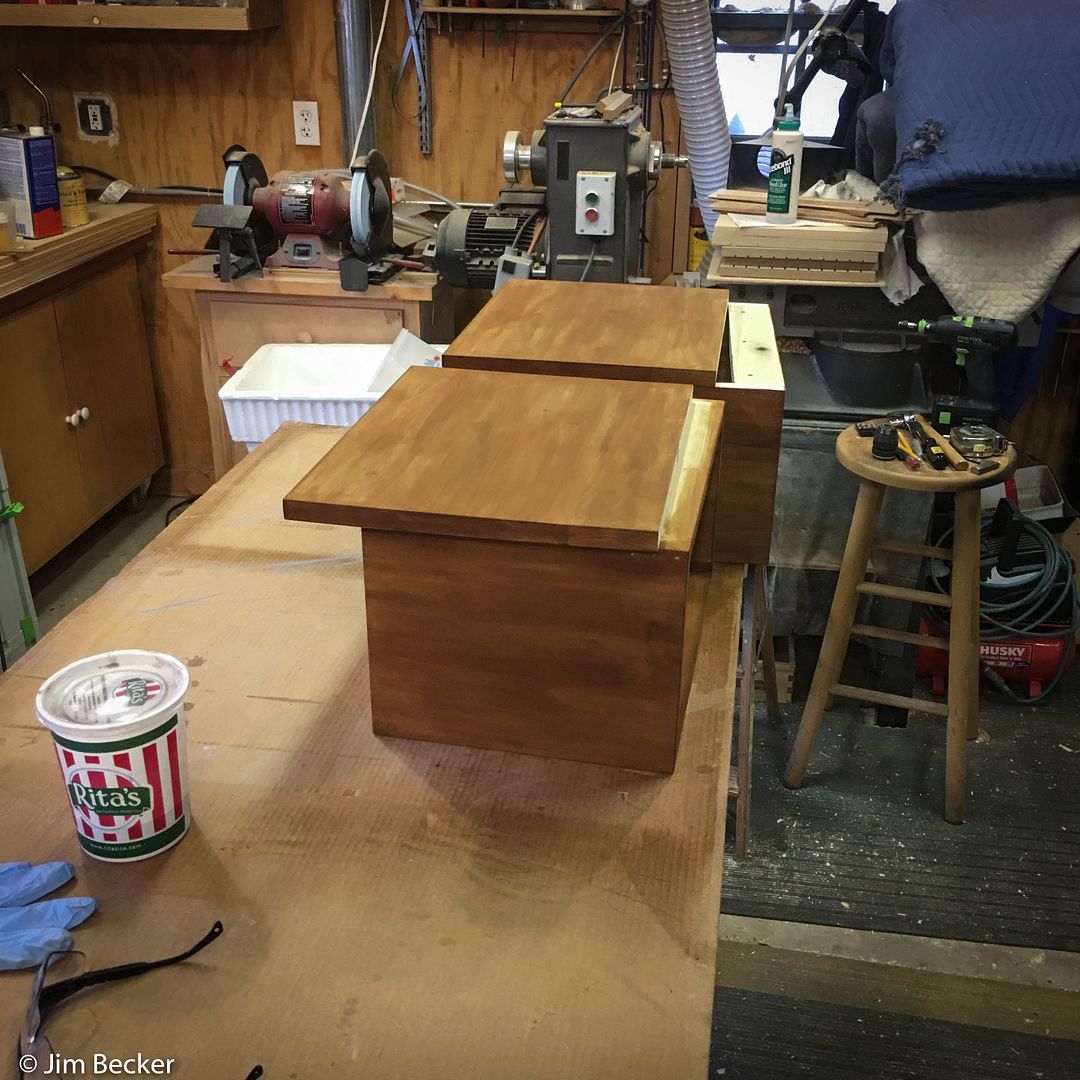
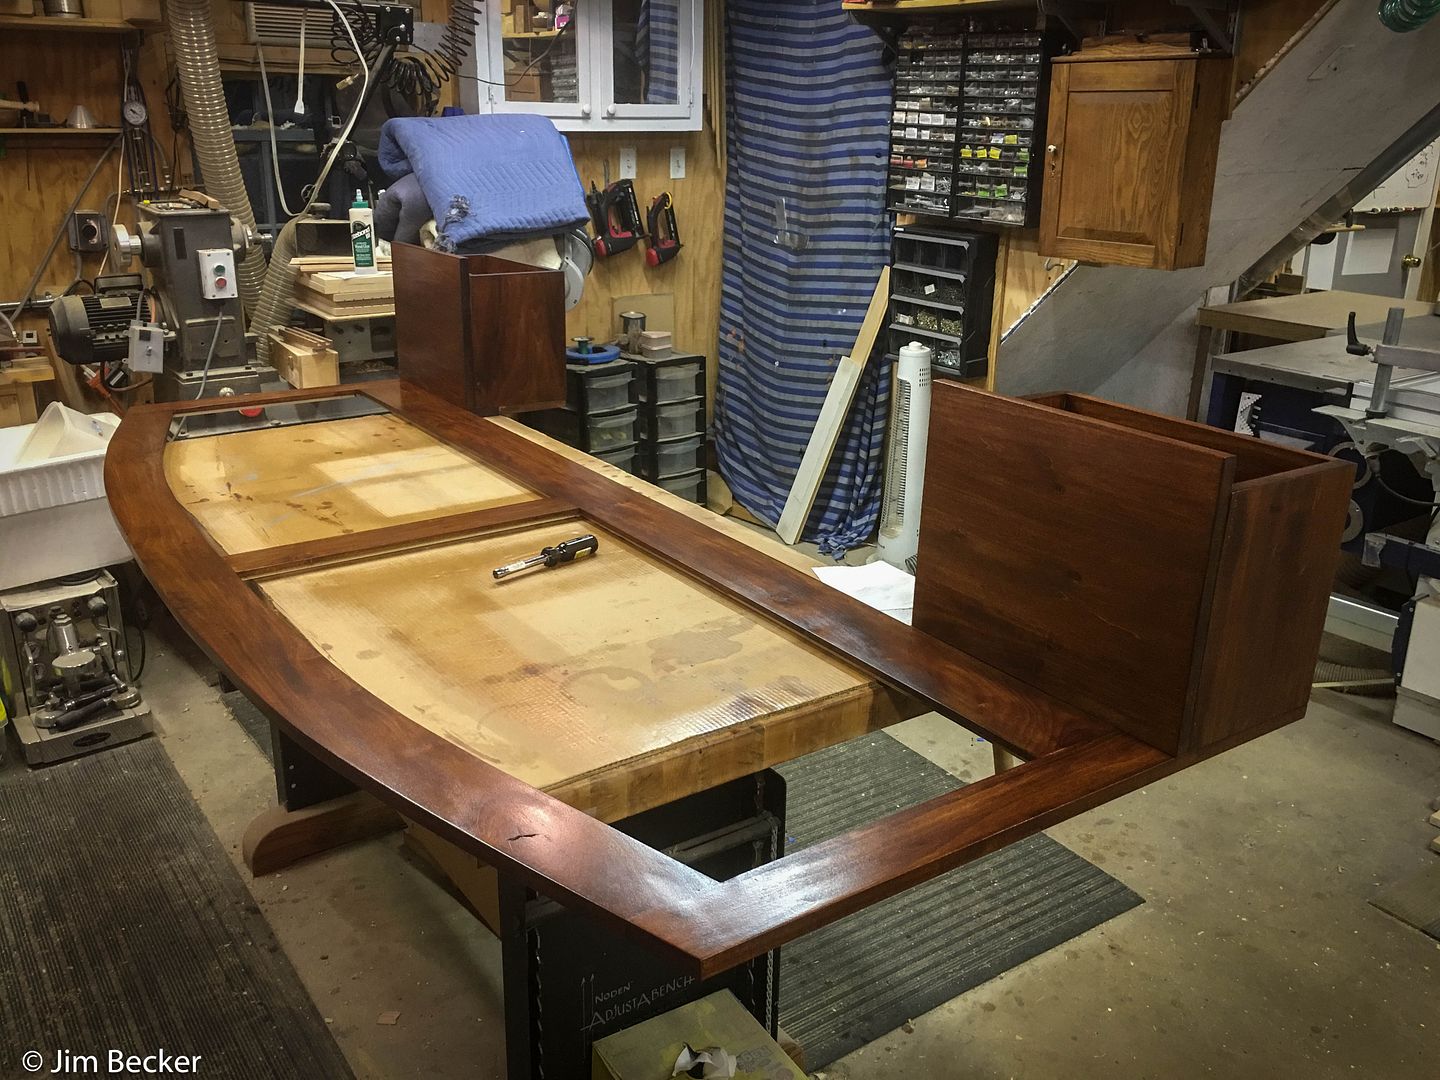
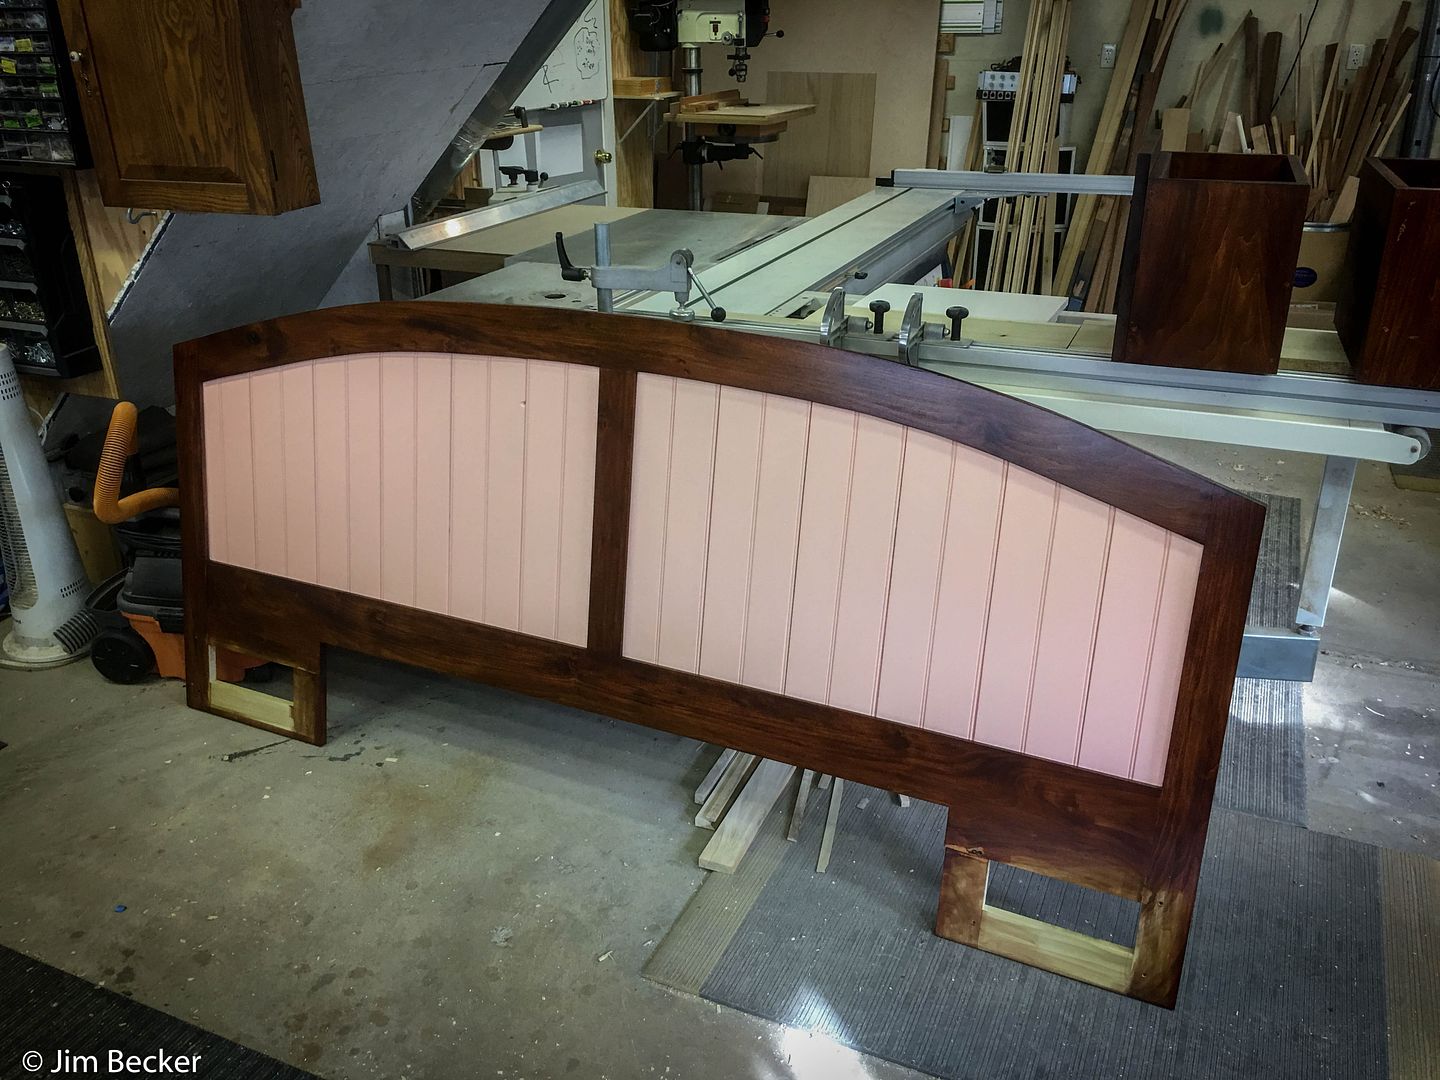
While I was thinking about how I wanted to design this, it occurred to me that she'd also requested a second nightstand on multiple occasions...so when I put two and two together, I came out with five.Err...I came out with a way to curtail the furniture movement while addressing both of her "needs". And that is an integrated headboard with nightstands that pretty much dictates exactly where that bed needs to stay in her room going forward.
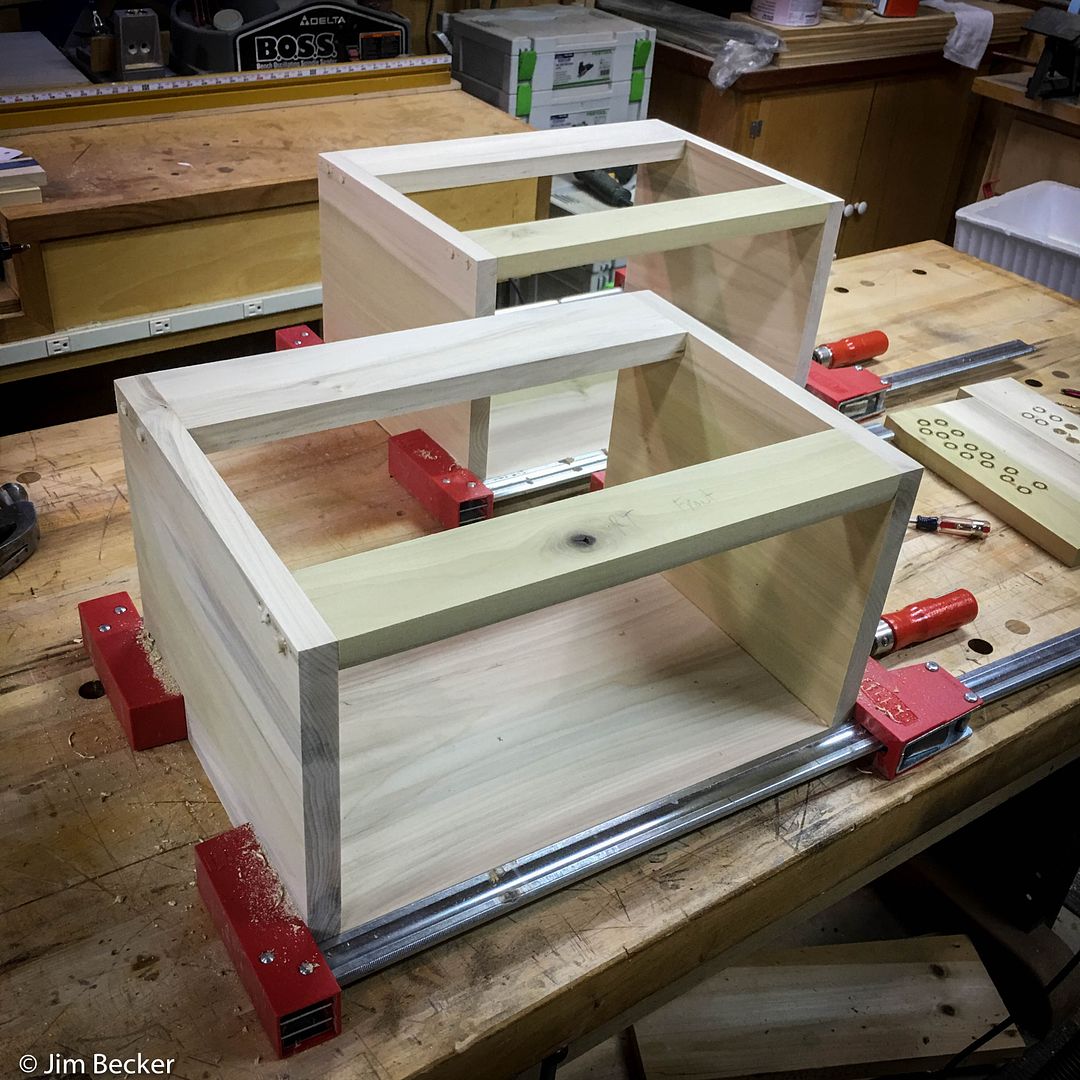
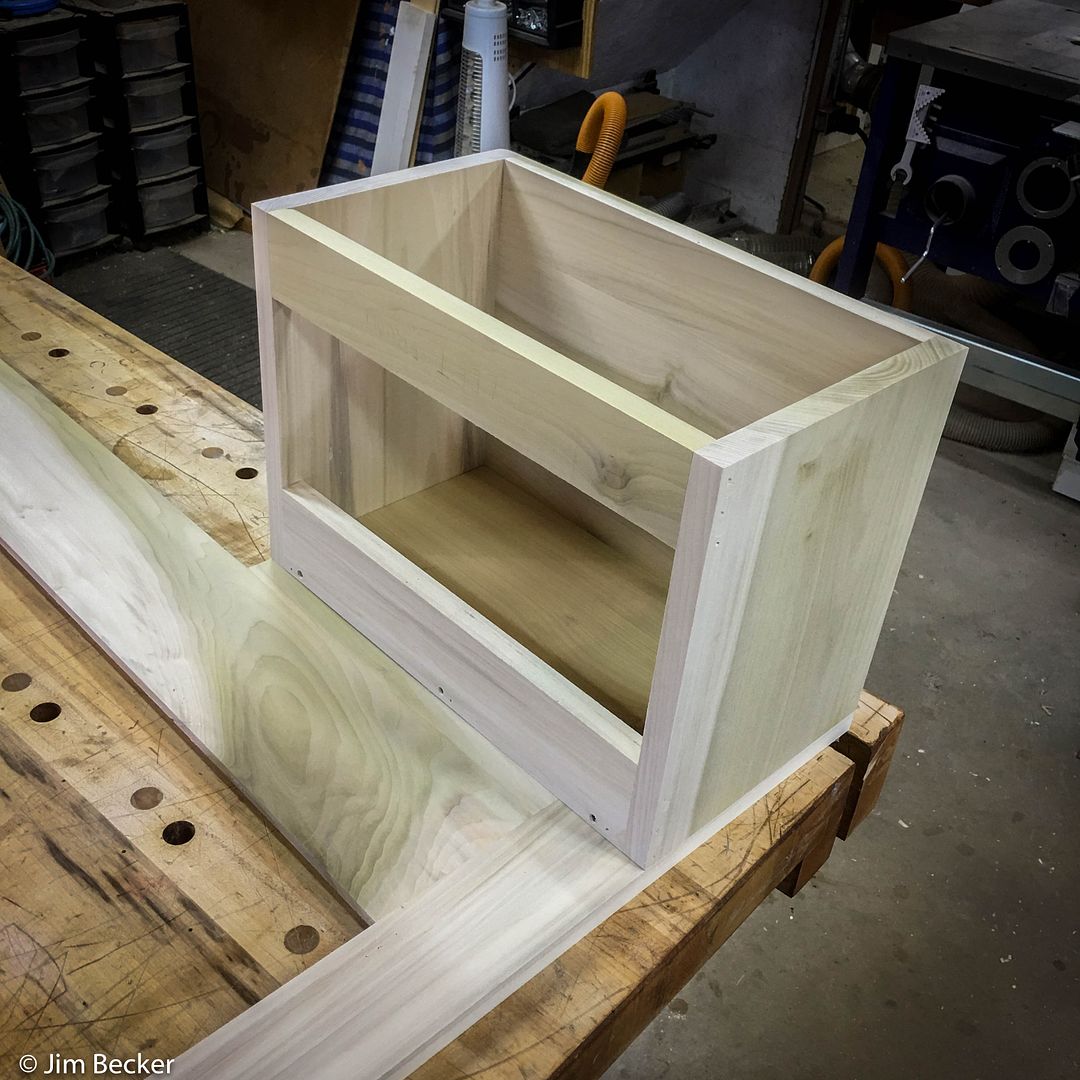
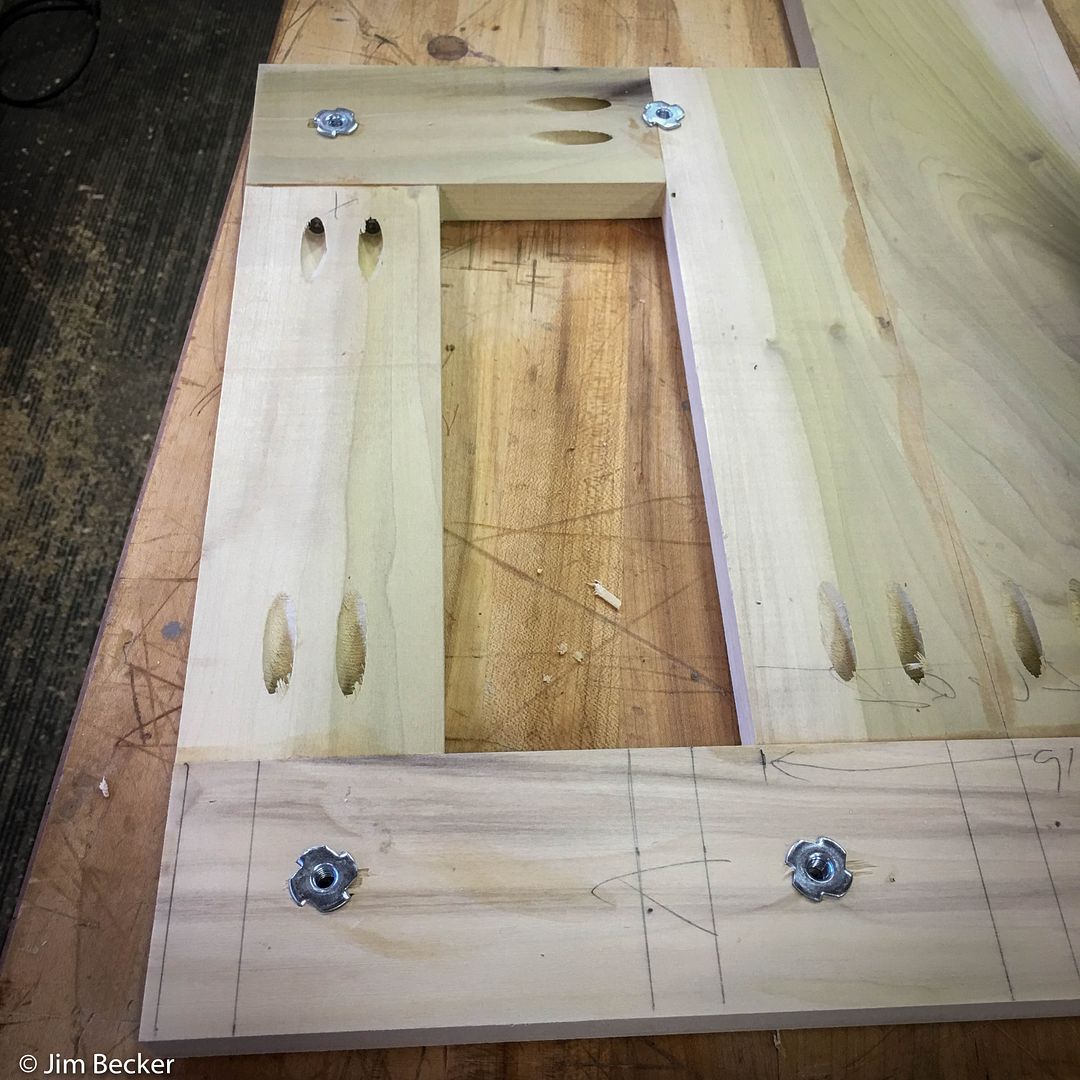
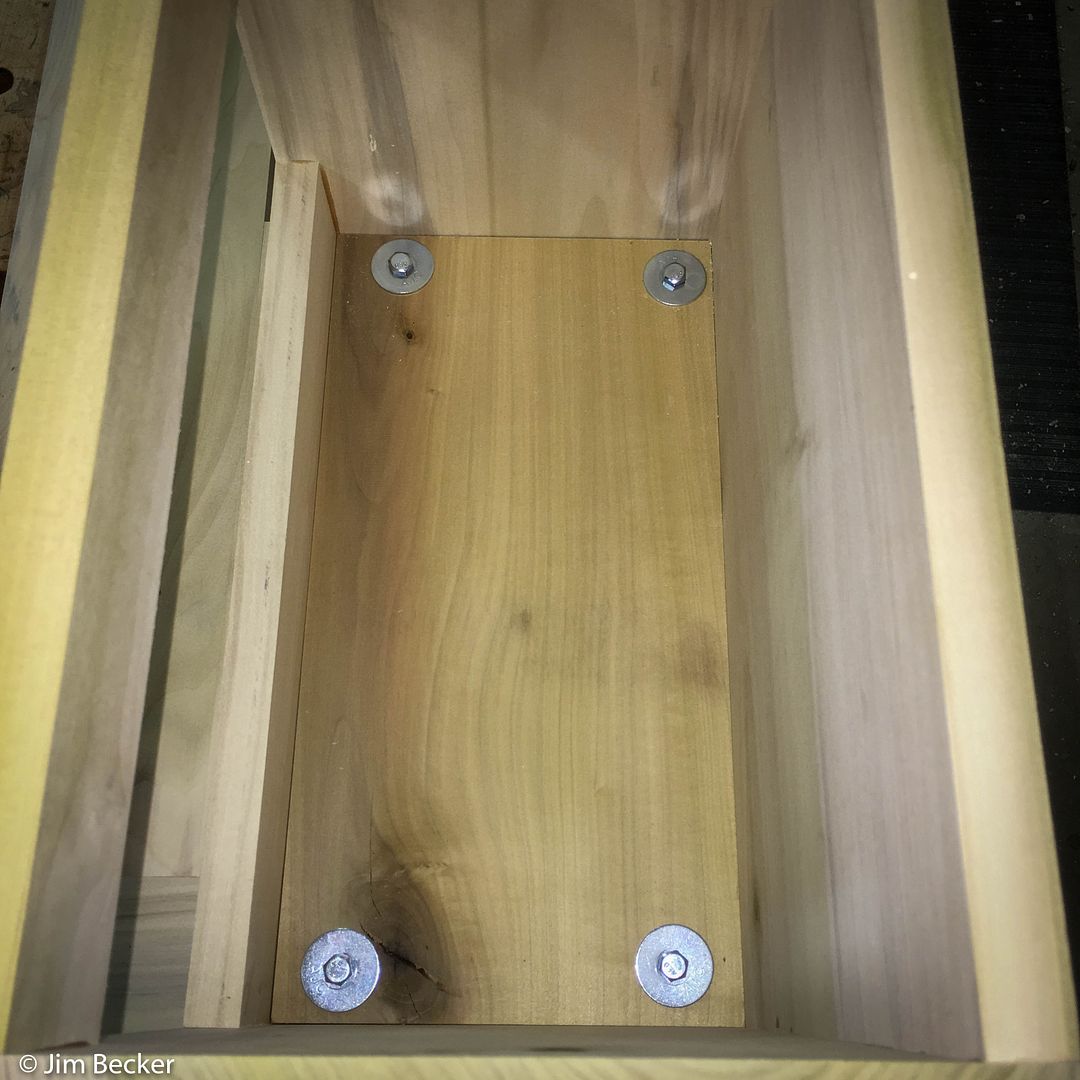
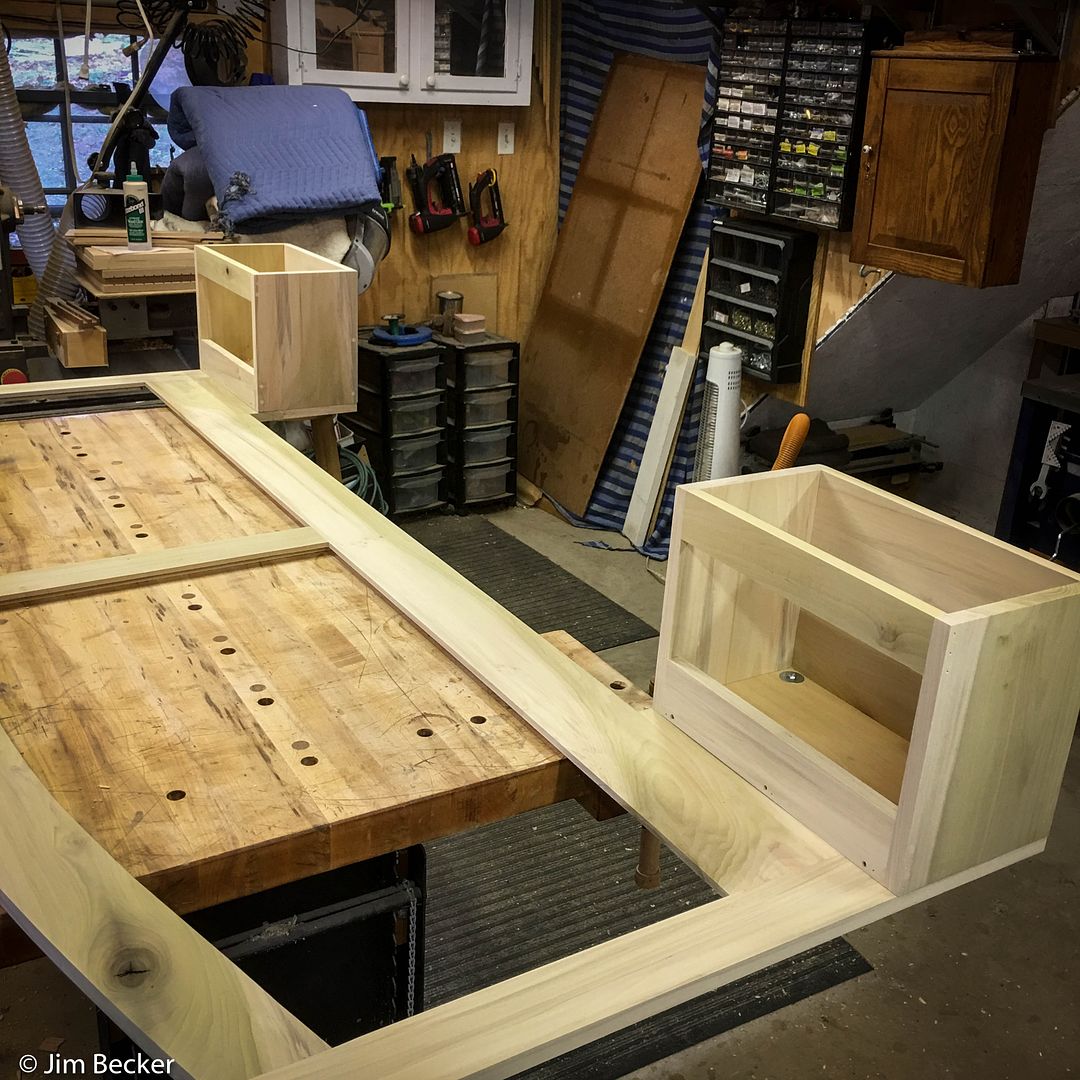
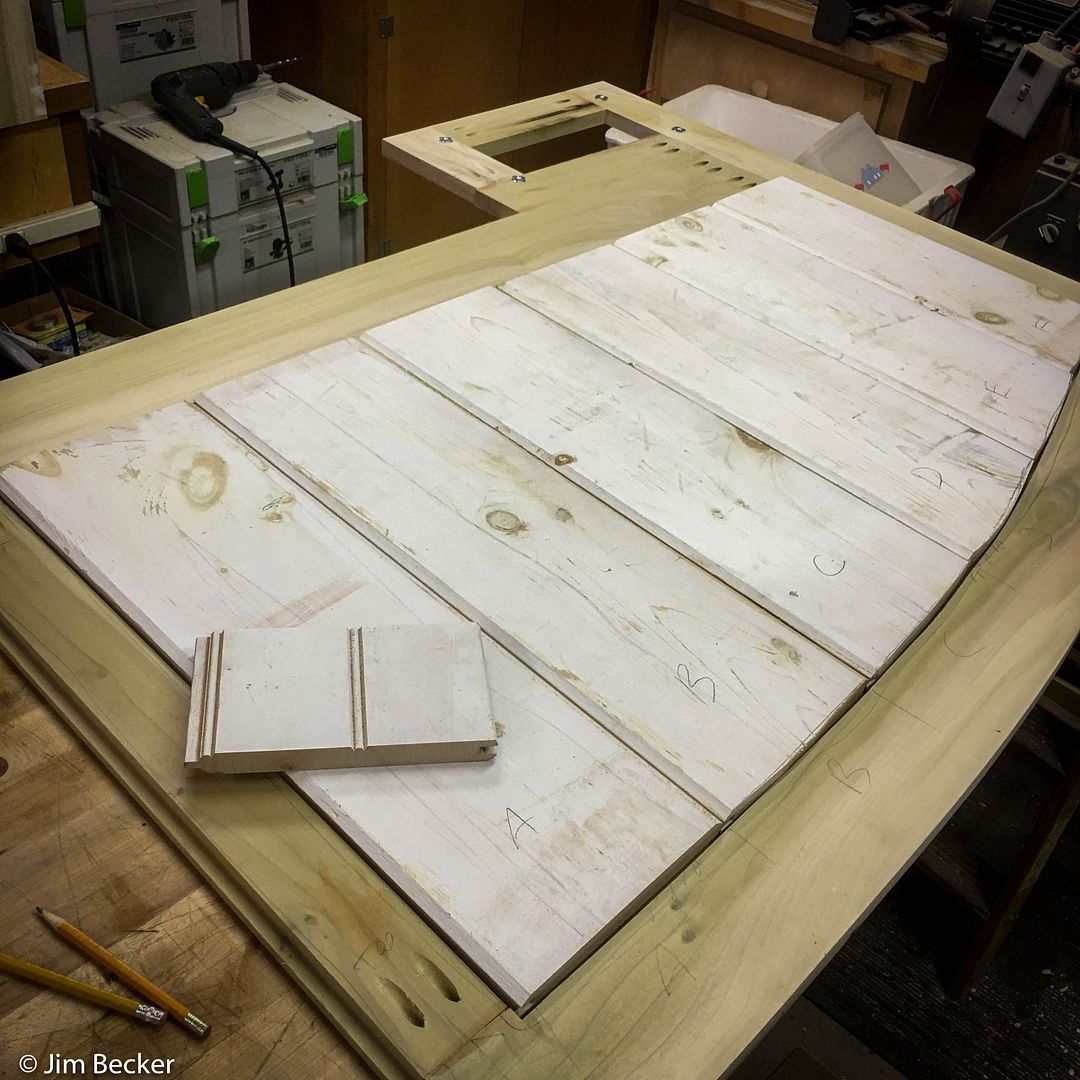
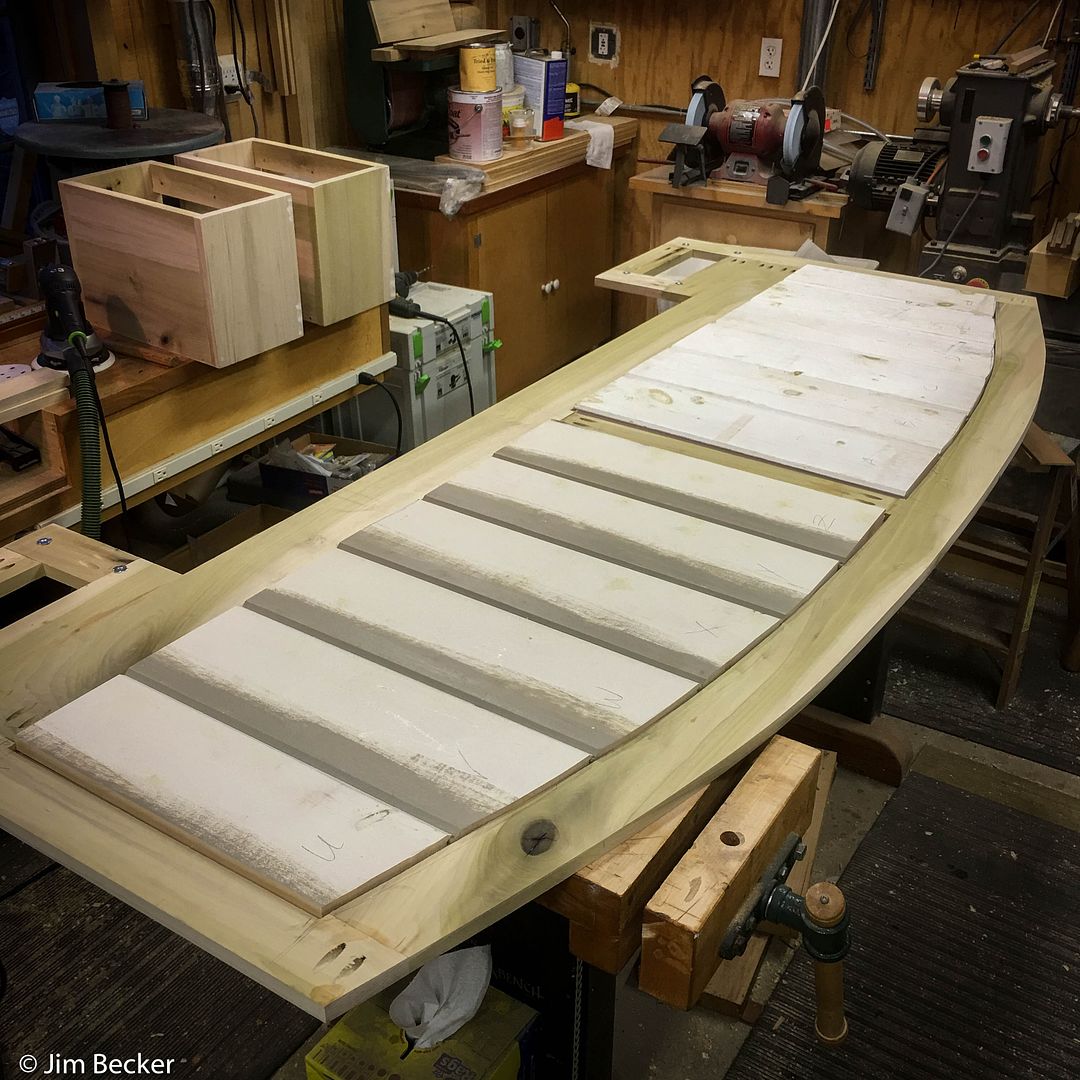
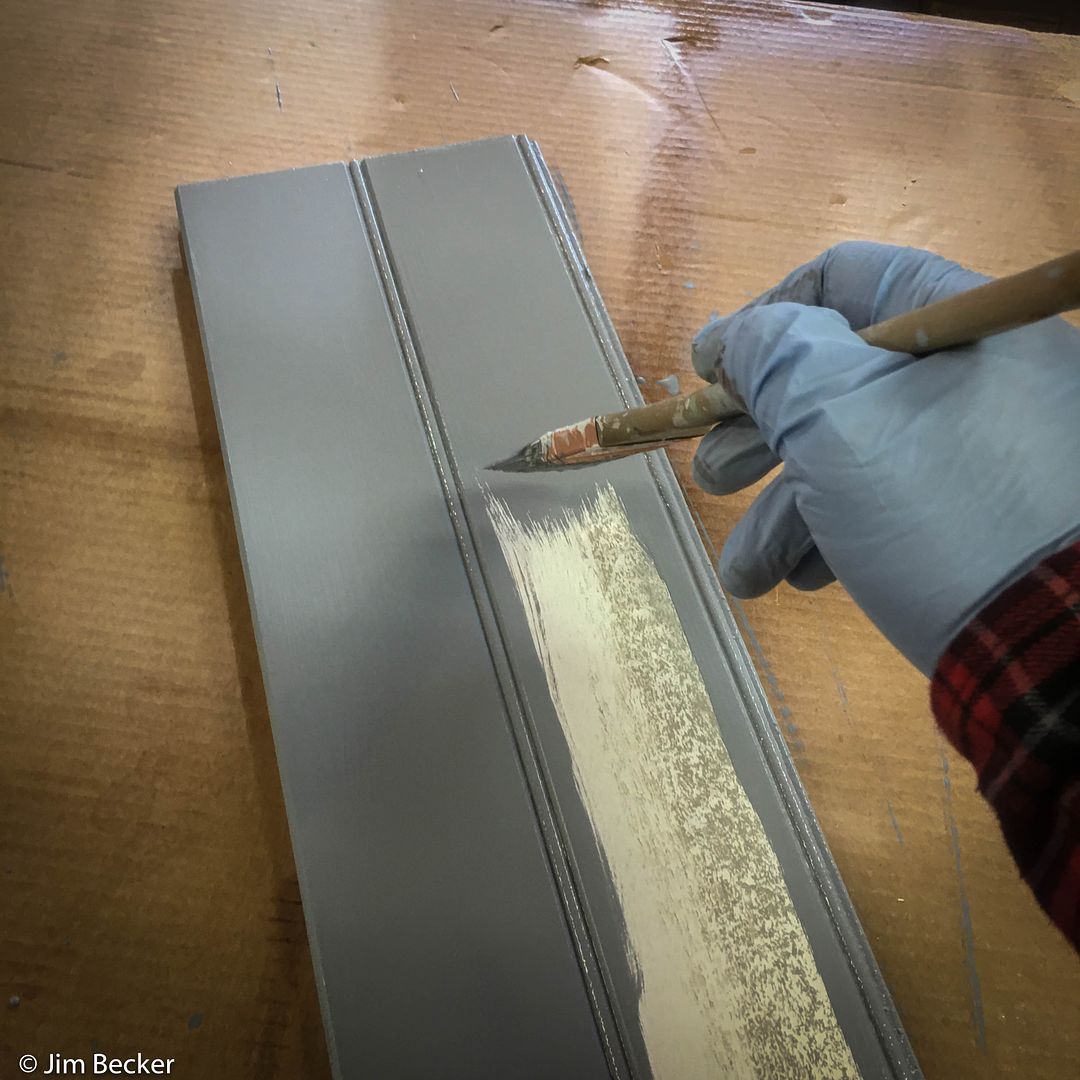
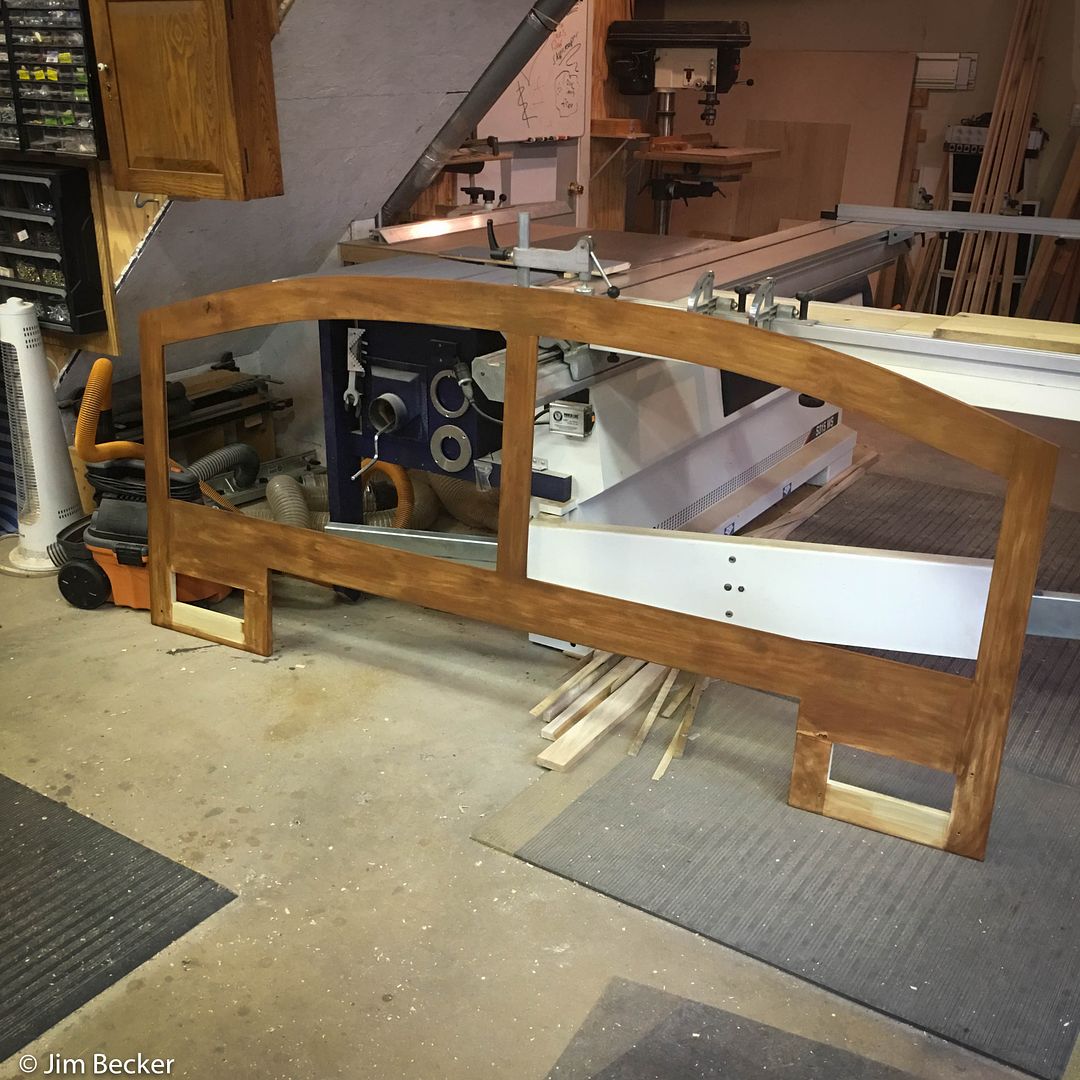
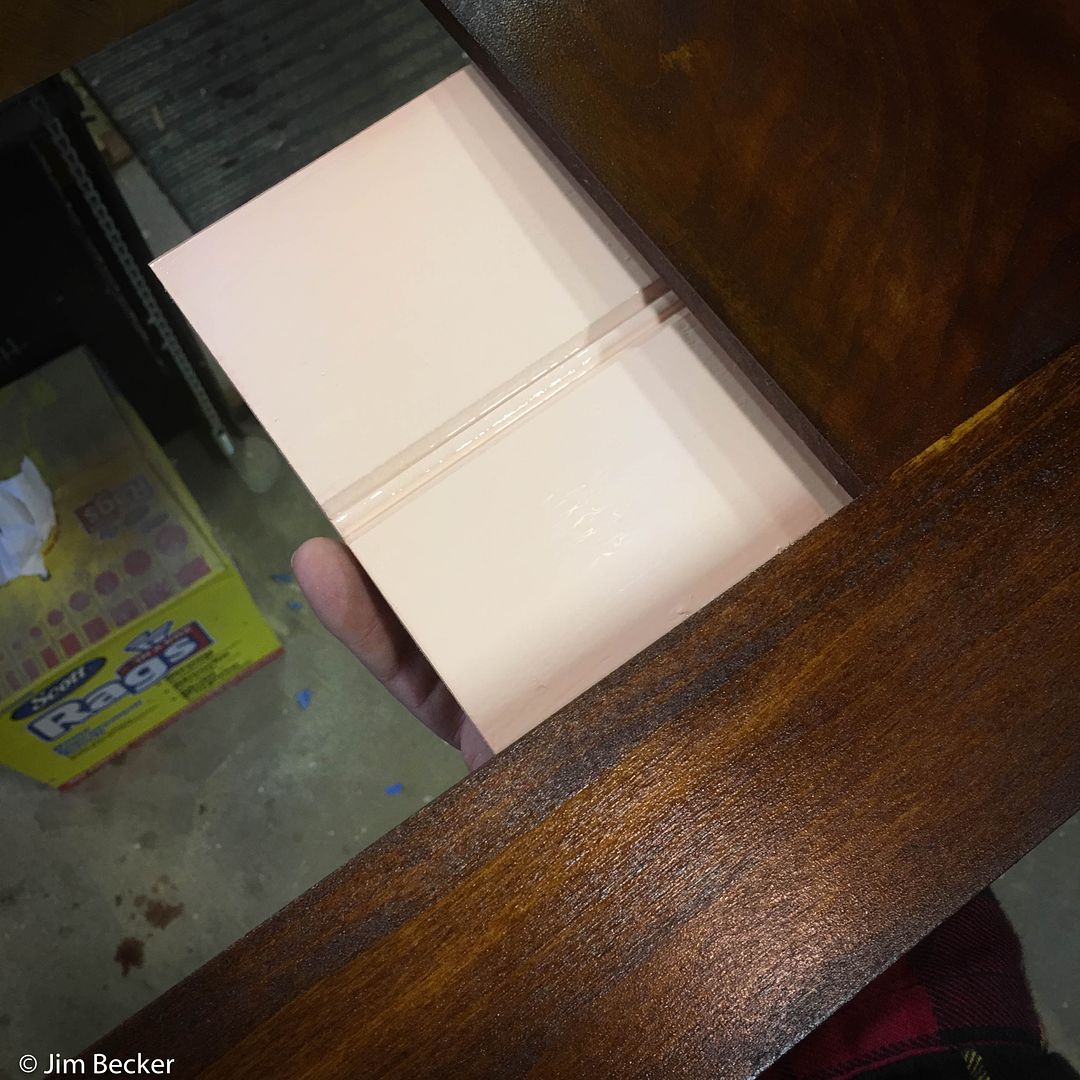
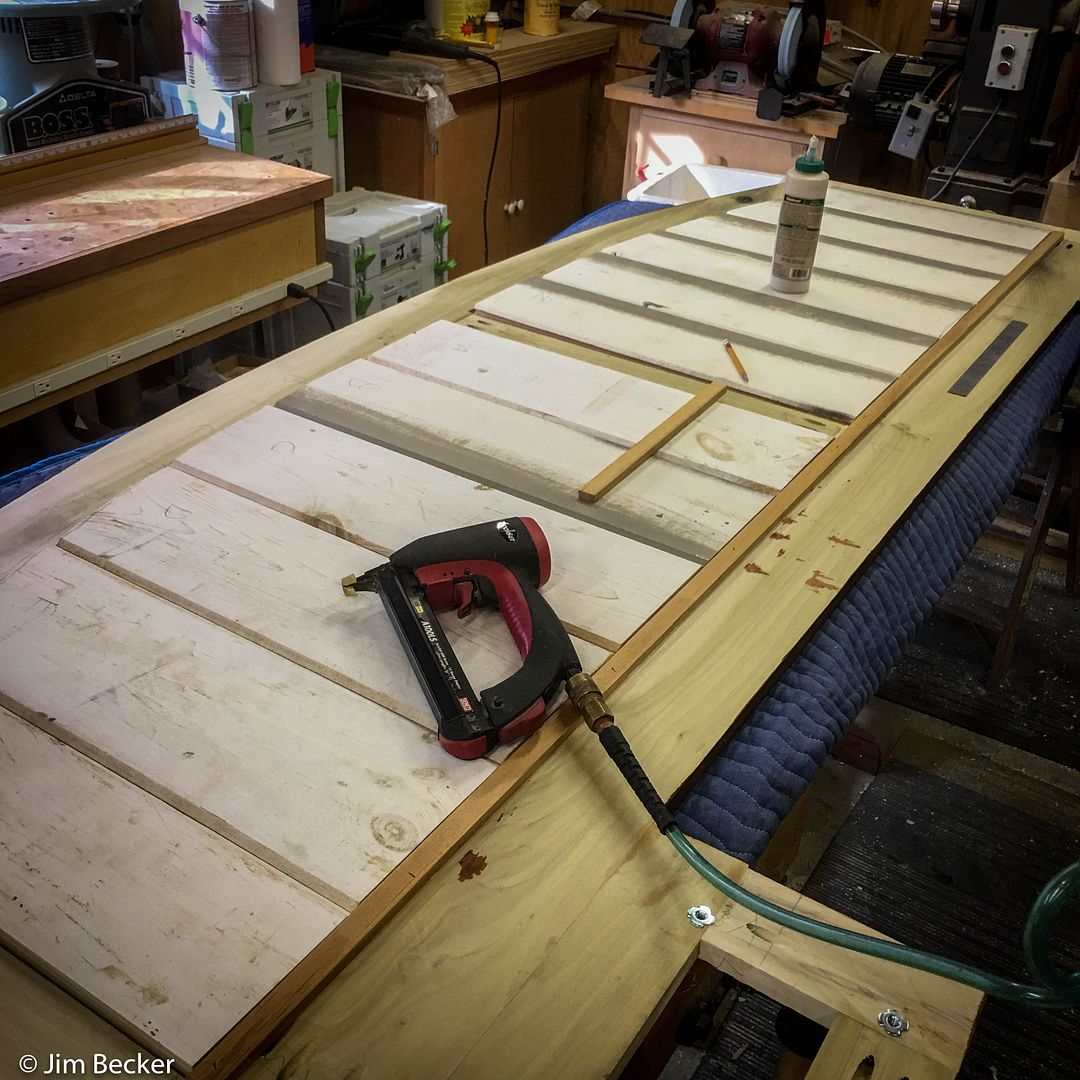
Aside from coming up with an attractive design that met the stated (and unstated) needs, I wanted to use available material in my inventory and only purchase hardware that I don't keep around, such as metal angles for mounting it to the bed, etc. So the frame is made from poplar cut and milled off our property and the "field" of the headboard is bead board that was gifted to me by a contractor friend when he cleaned out his storage area. The bead board was actually perfect for this as it mirrors a wall on the opposite side of the room from where the bed is located. Construction is simple pocket screws and glue. The bead board "field" is painted in the color that she chose for all of the trim and the bead board wall...that paint work will get done in the spring.
I like to post full construction threads and this is no exception, but I'll start with the "finished project" first so anyone not interested in the steps can avoid scrolling through a few posts full of pictures. A lot of folks really hate pictures, you know...
Finished Project:
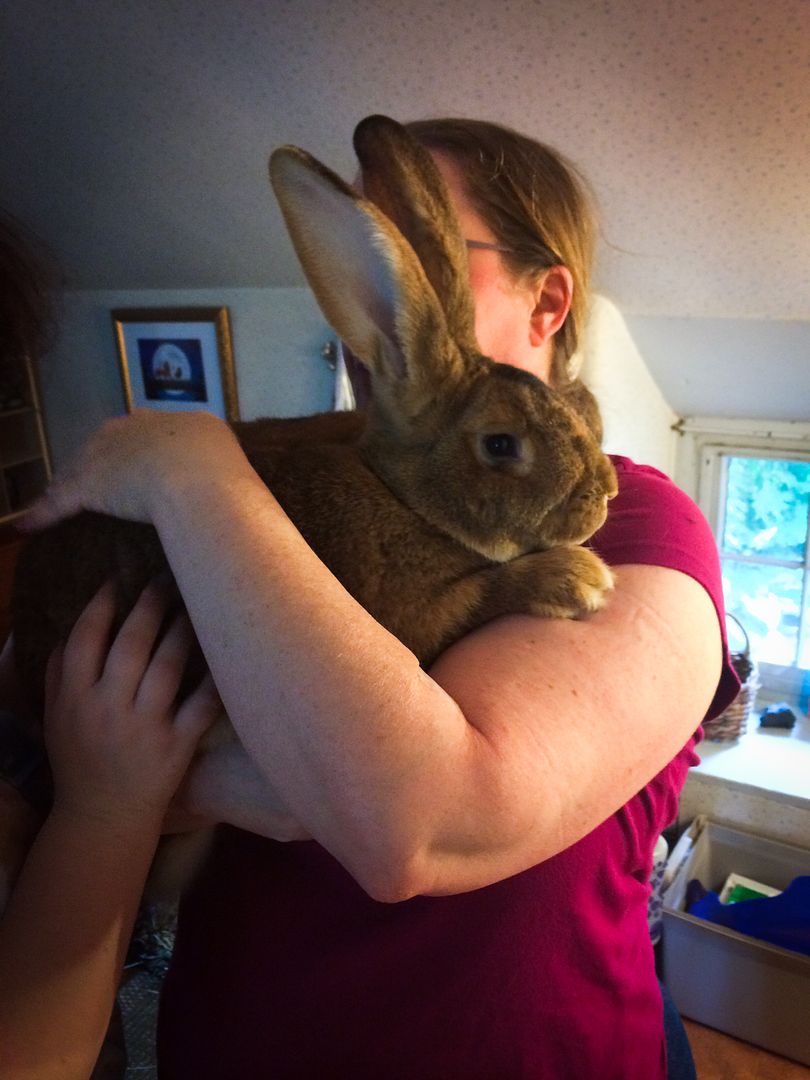
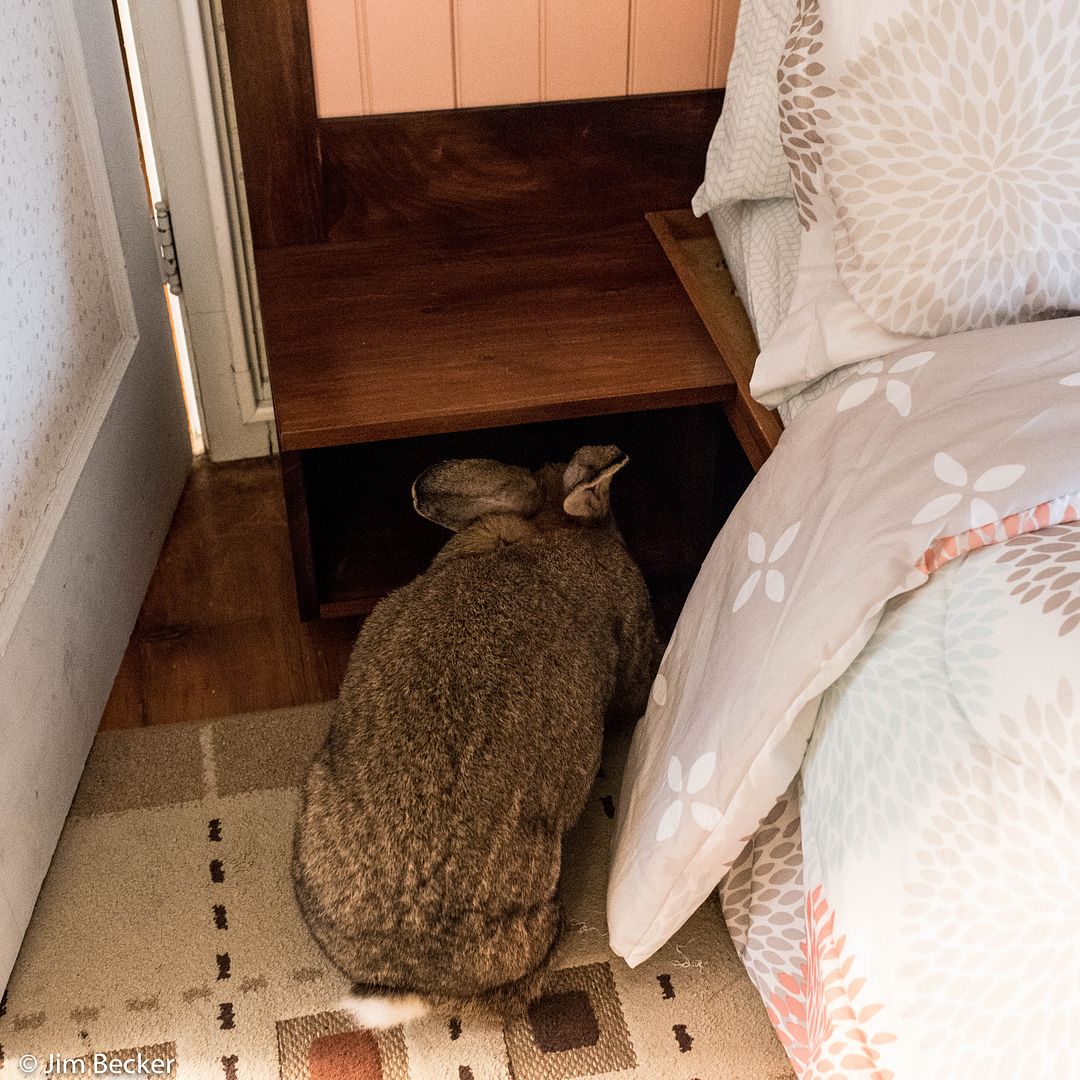
Rufus, the 3-legged Flemish Giant bunny (15 pounds) just had to check things out as soon as he was allowed to do so.
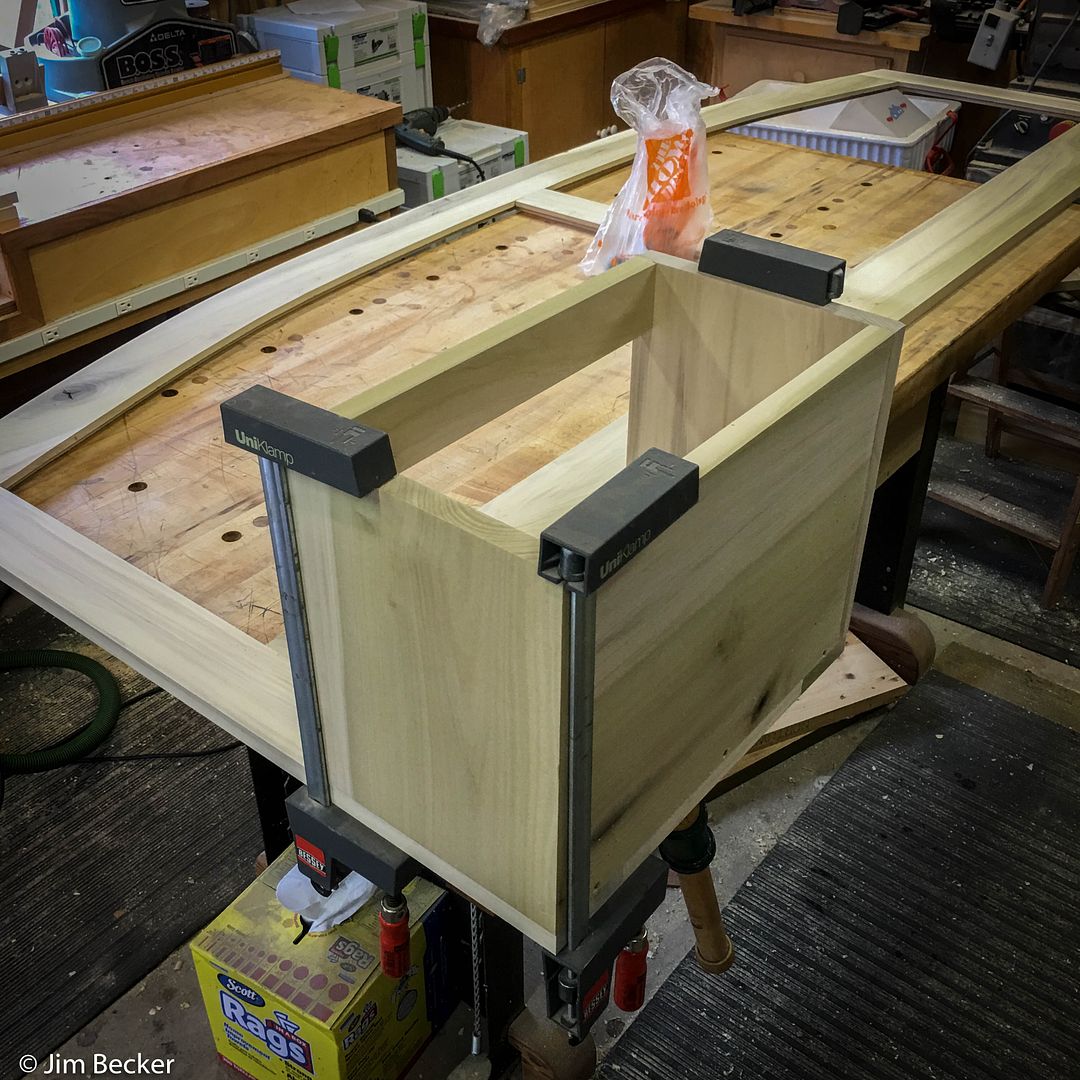
Build Photos and Commentary:
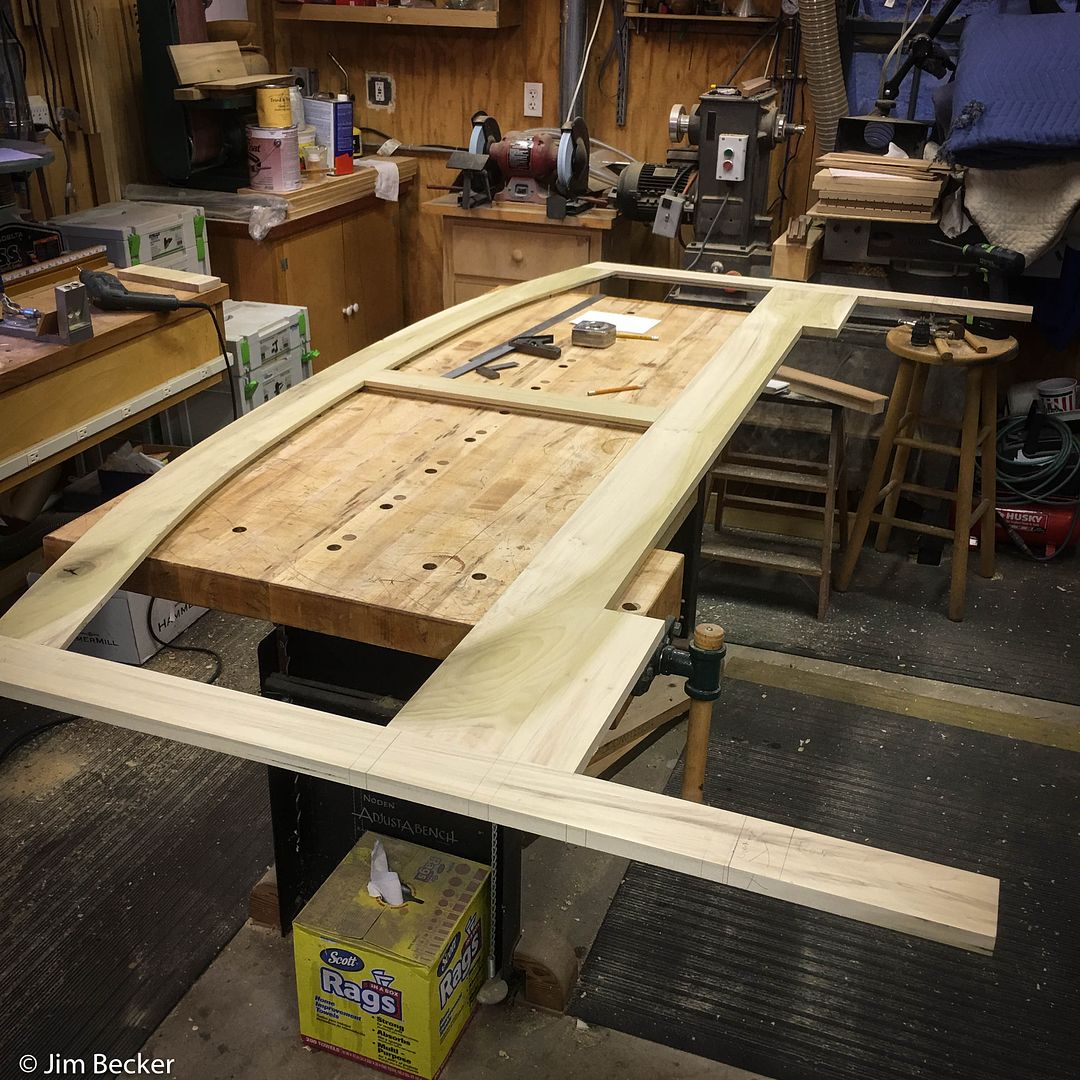
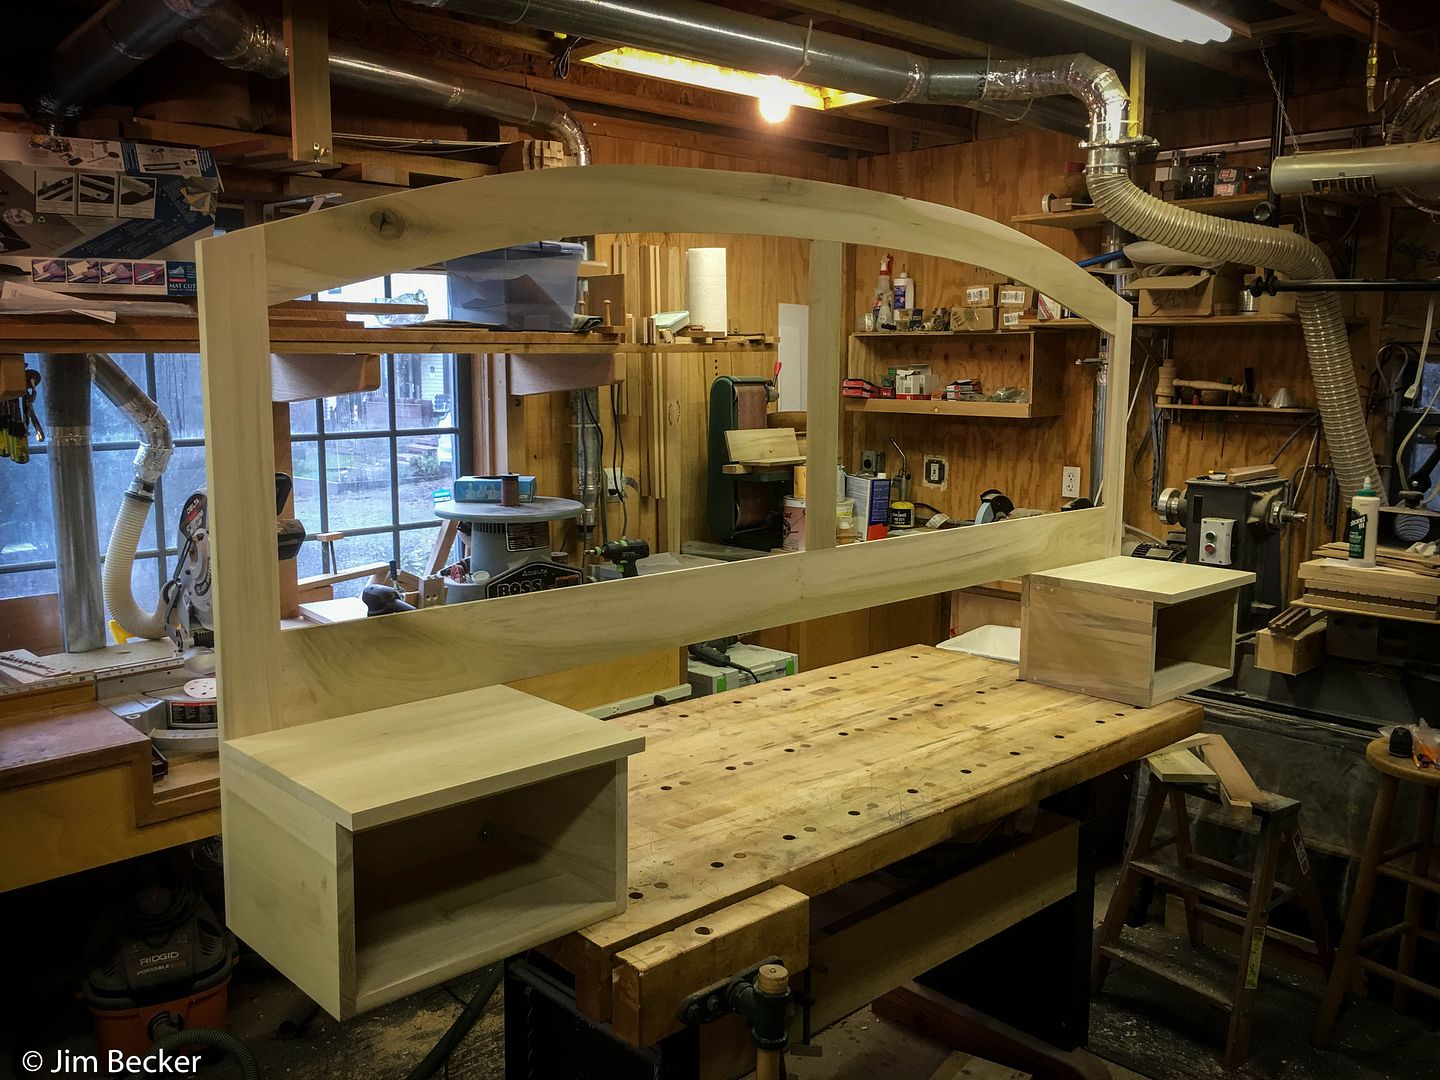
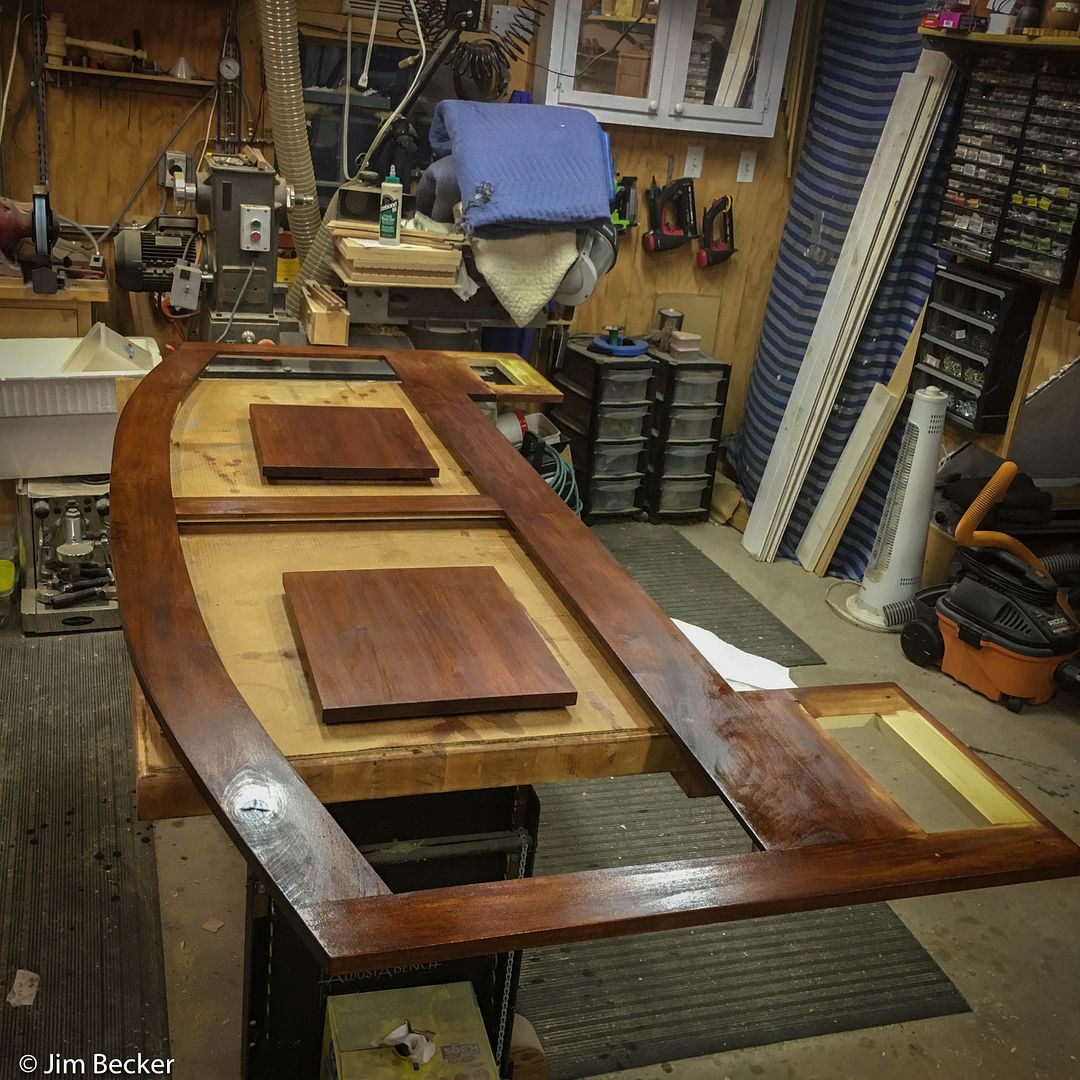
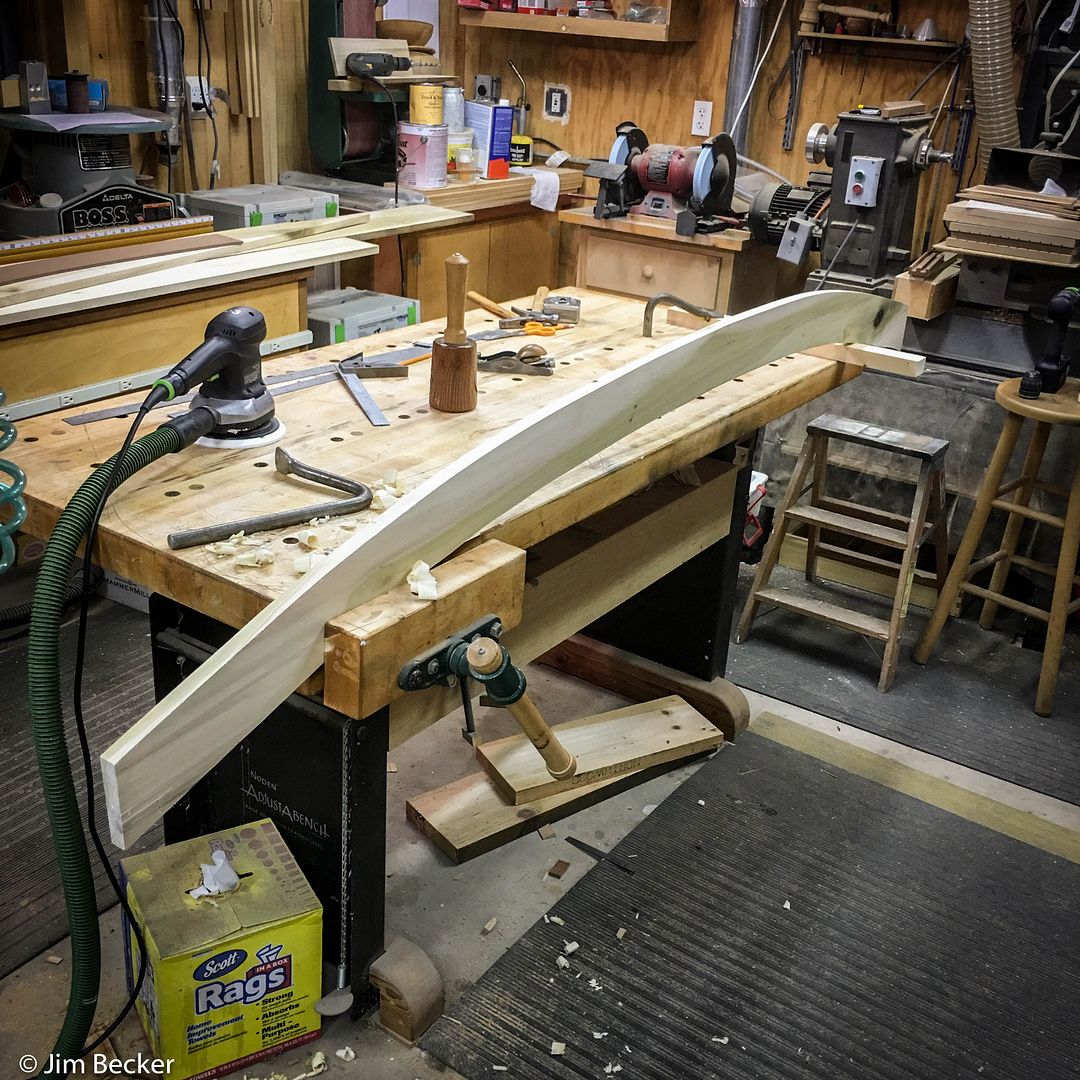
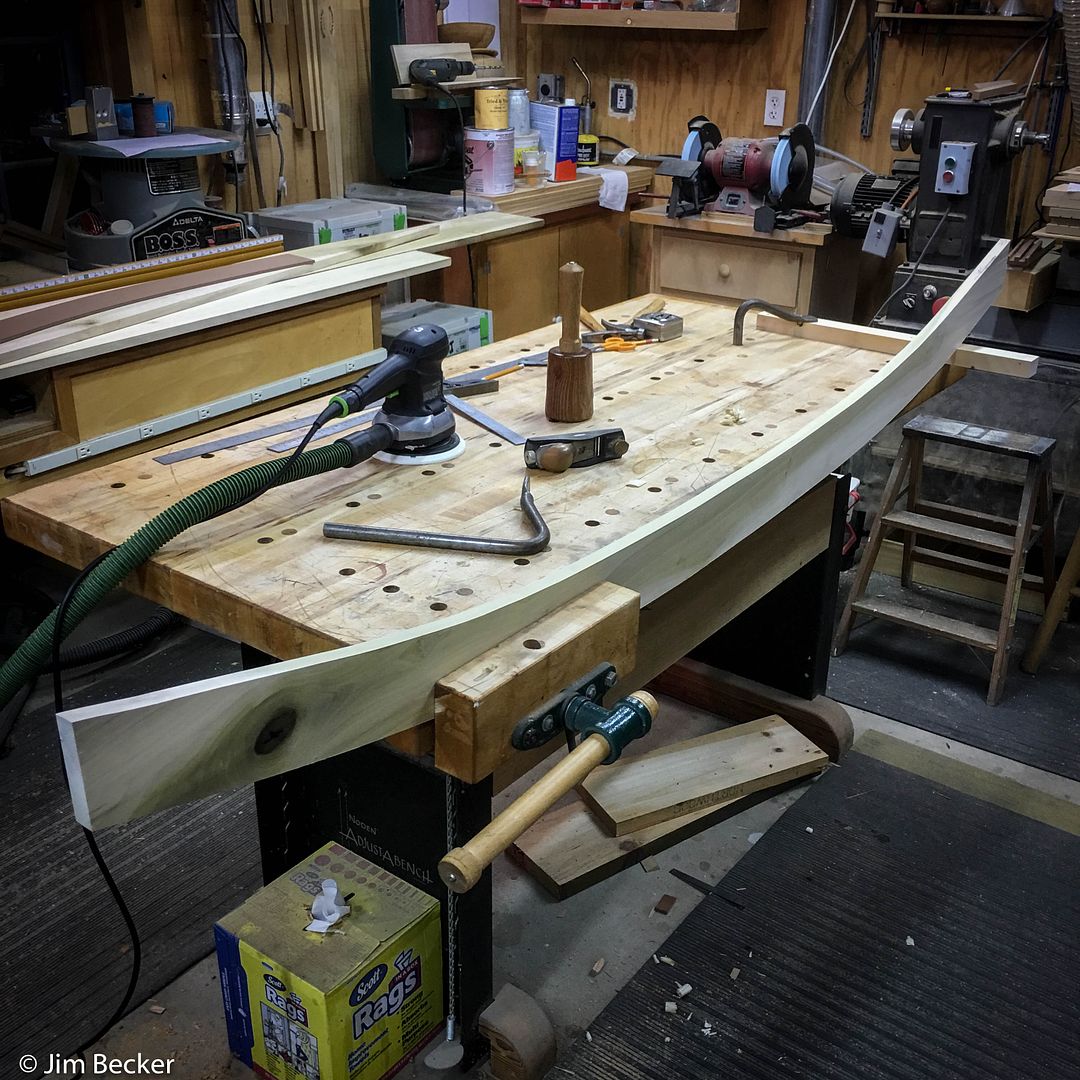
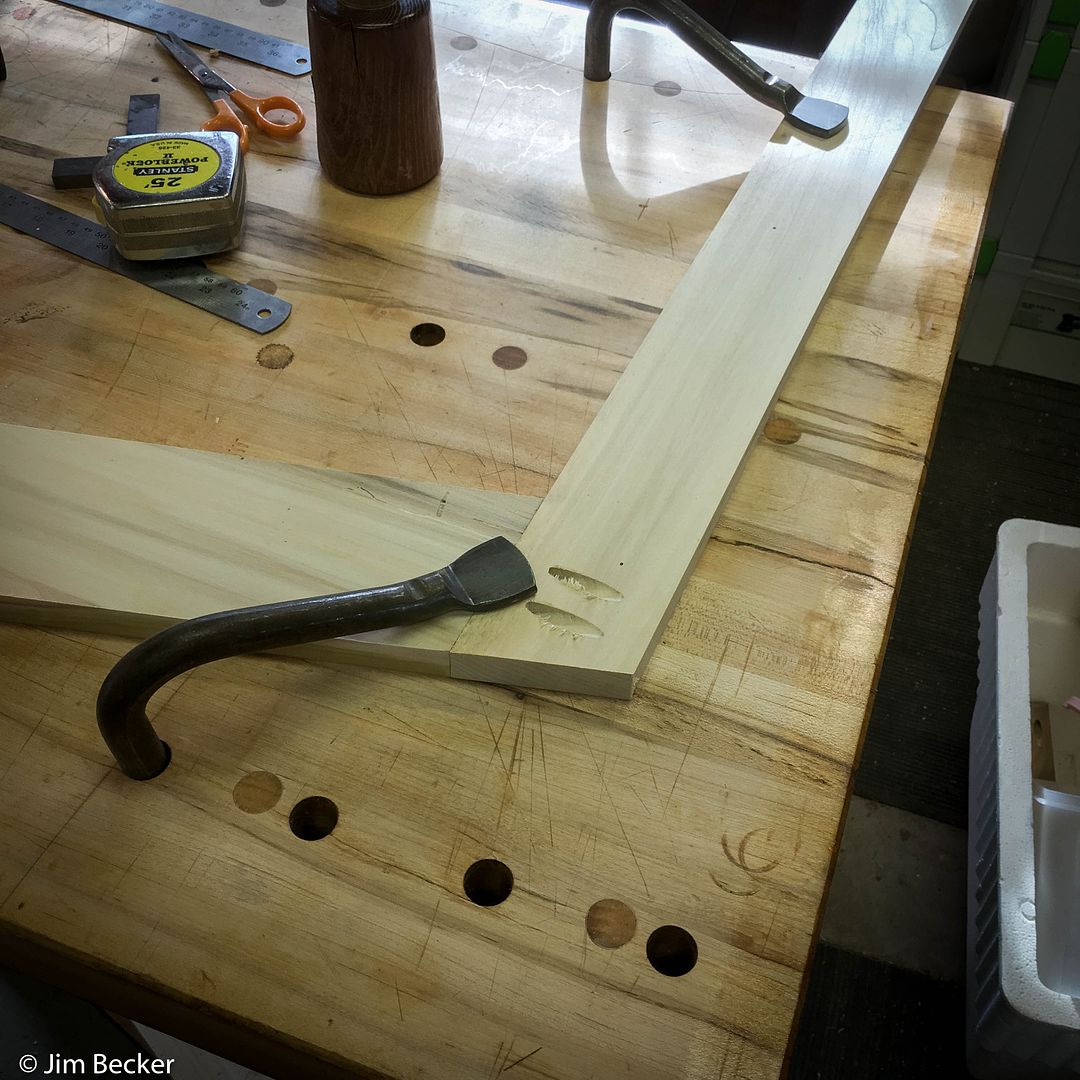
The top of the headboard is curved and after it was cut on the bandsaw, it was necessary to smooth the edges using a block plane and some power sanding
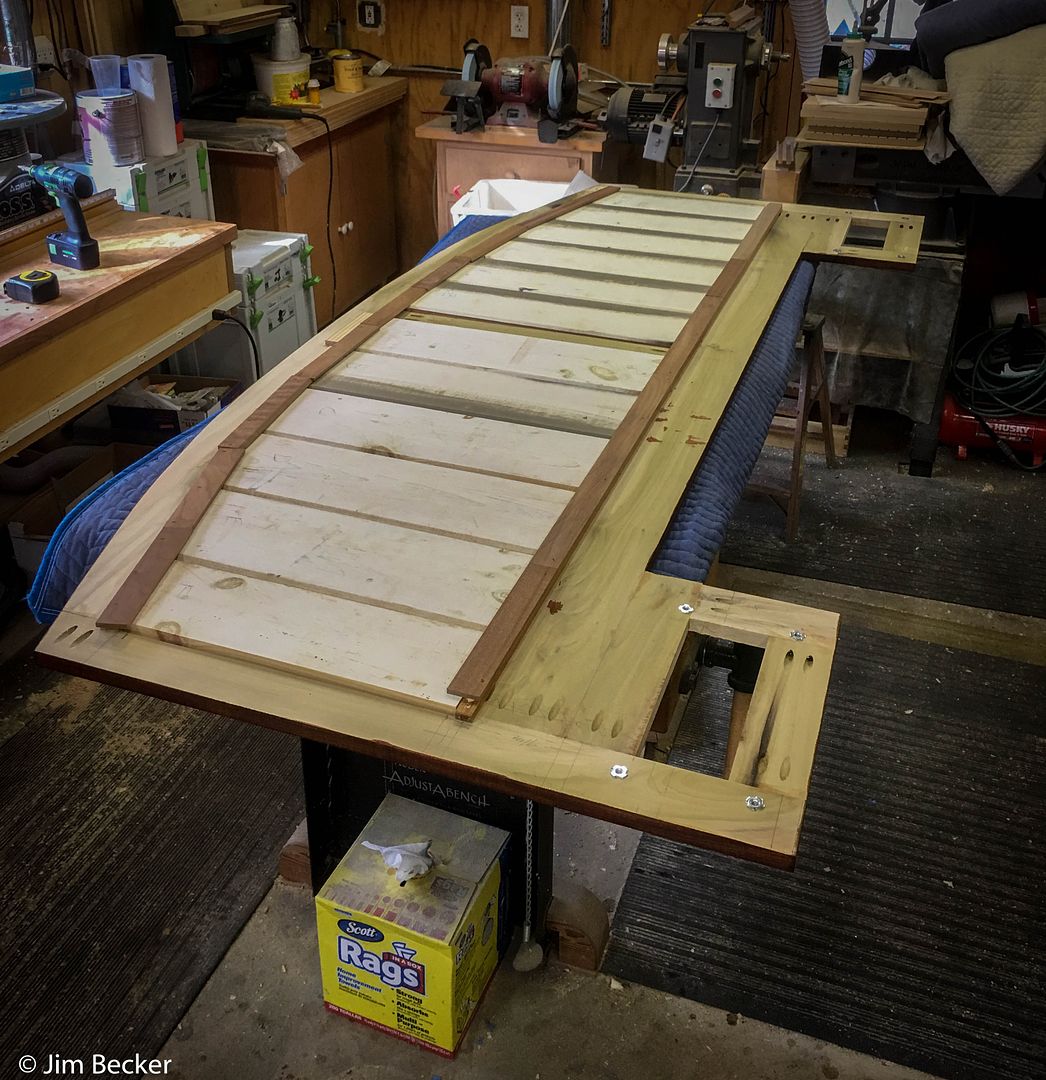
The side pieces were cut long and temporarily screwed on to get the right angle to cut the tops to mate with the curved top. Using the pocket screws was an advantage on this project in that I could test assemble before fully committing. This photo was taken after the top angle was cut.
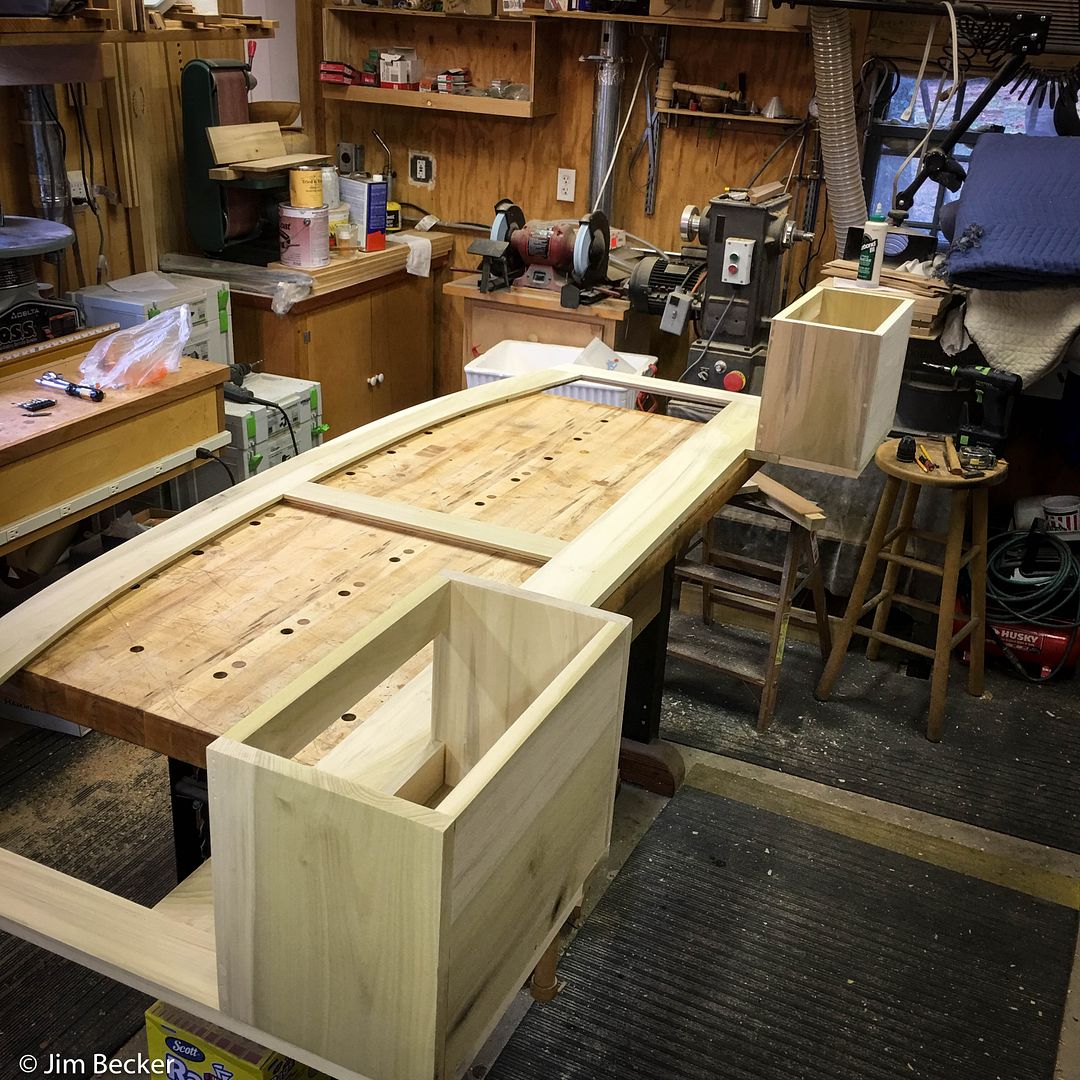
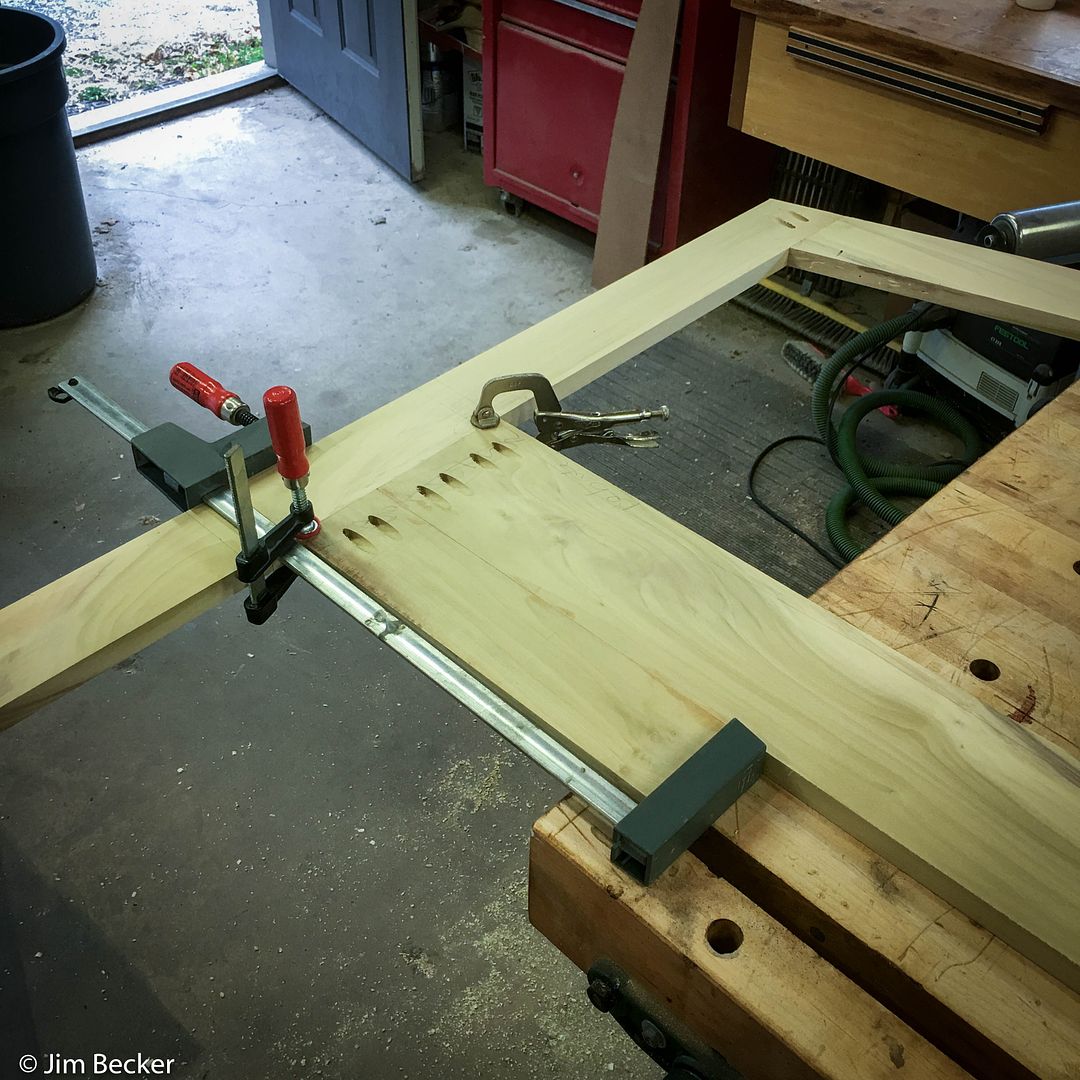
Similarly, I was able to measure, cut and temporarily install the lower cross-piece before determining the exact length of the center stile in the frame. The cutout where the grey clamp is holding on is where the headboard slips over the existing bed platform's raised edge. The width of the cutout was derived from the exact width of the bed plus about 1/8" to insure it wasn't too tight during installation with the nightstands to the bed
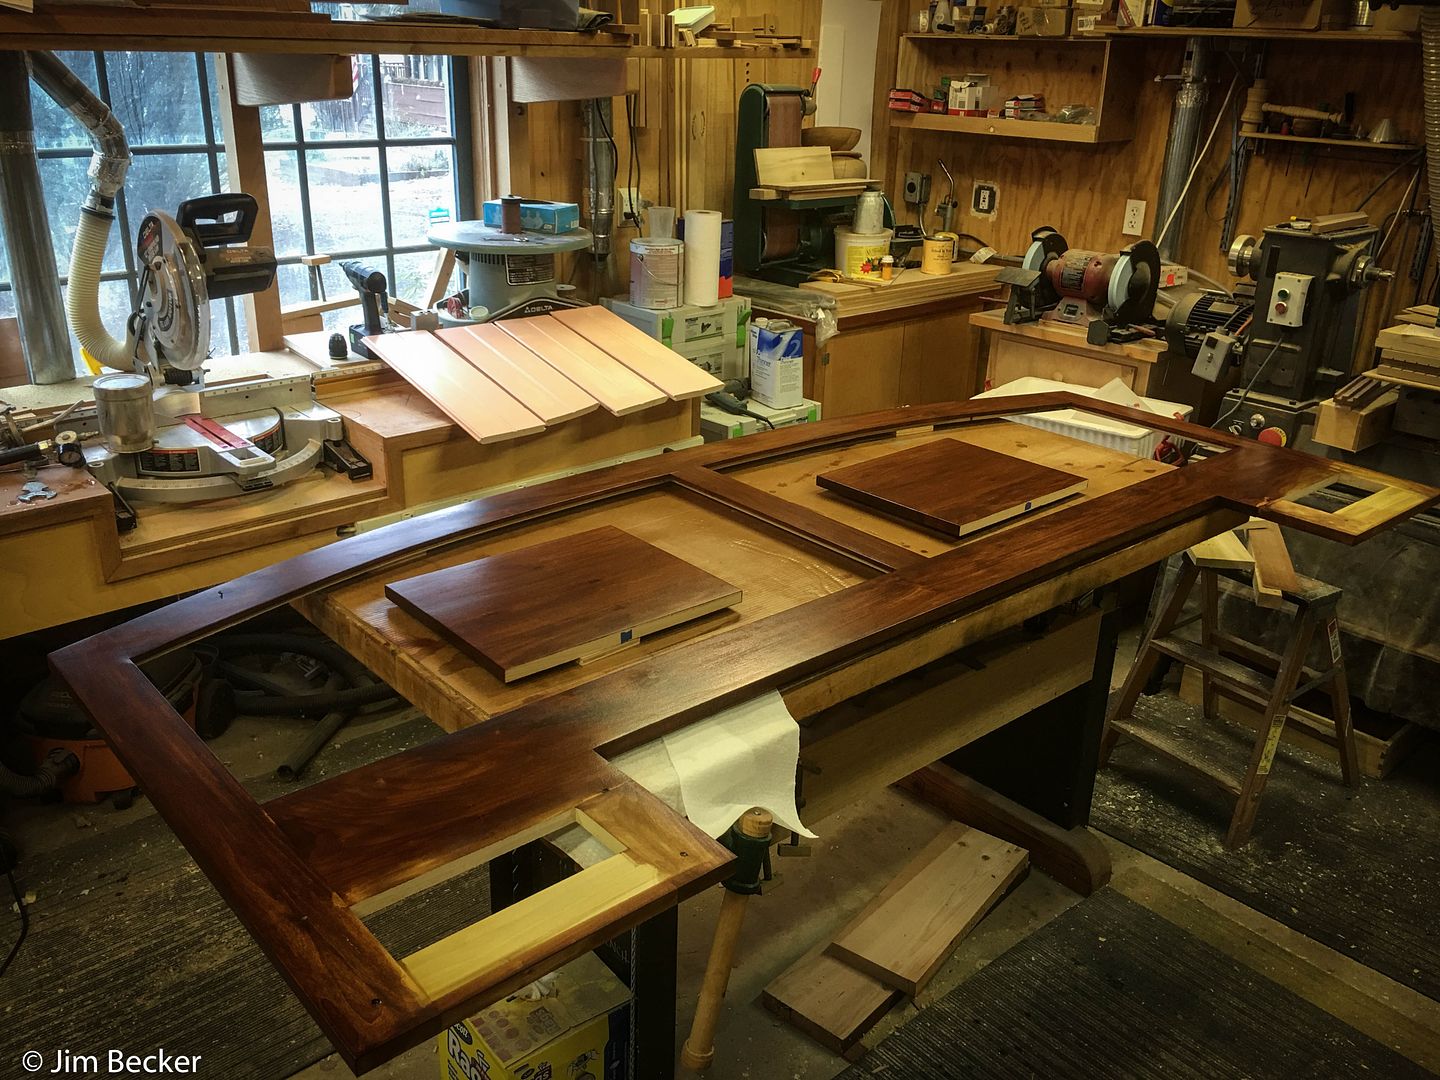
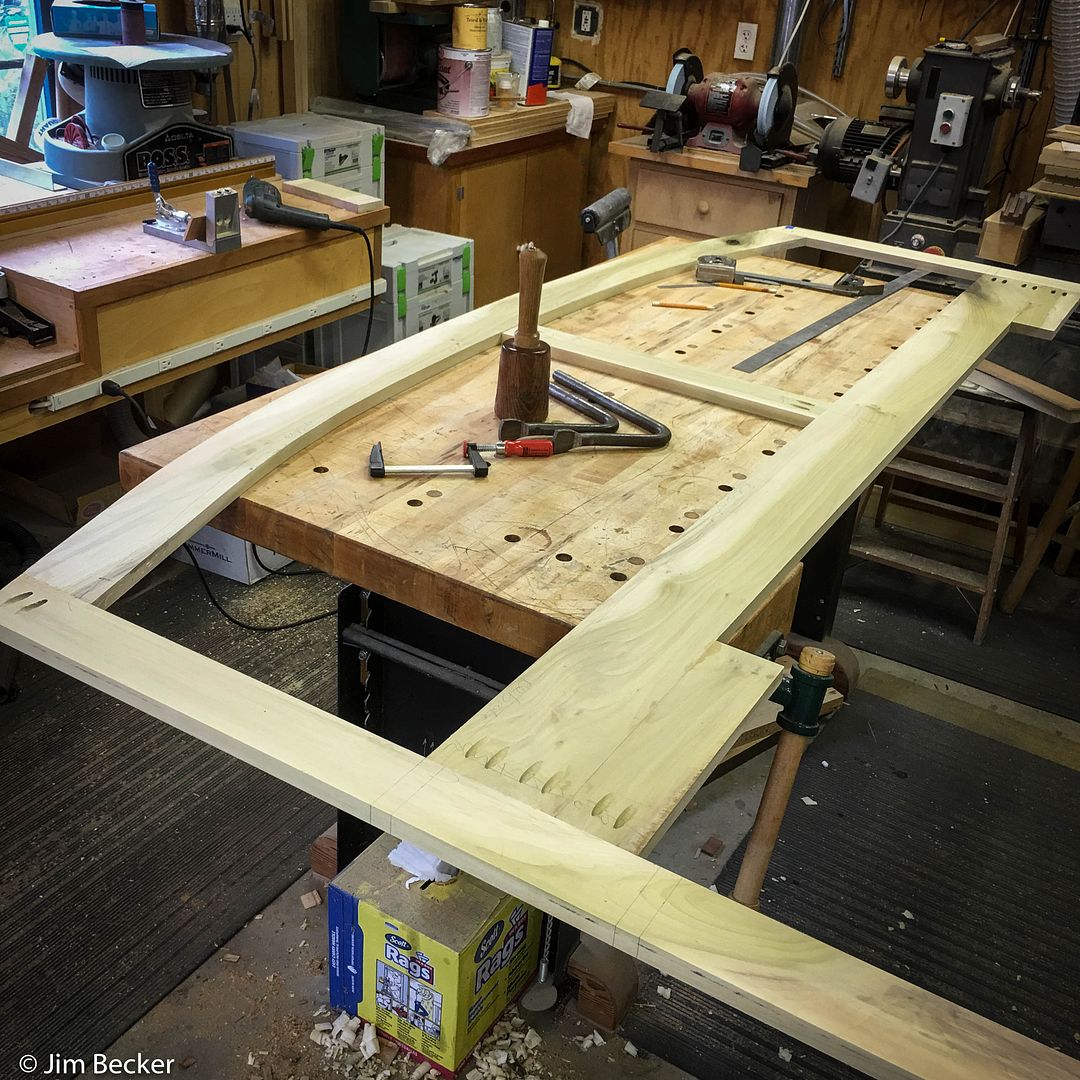
Here is a shot with the center stile measured, cut and temporarily installed
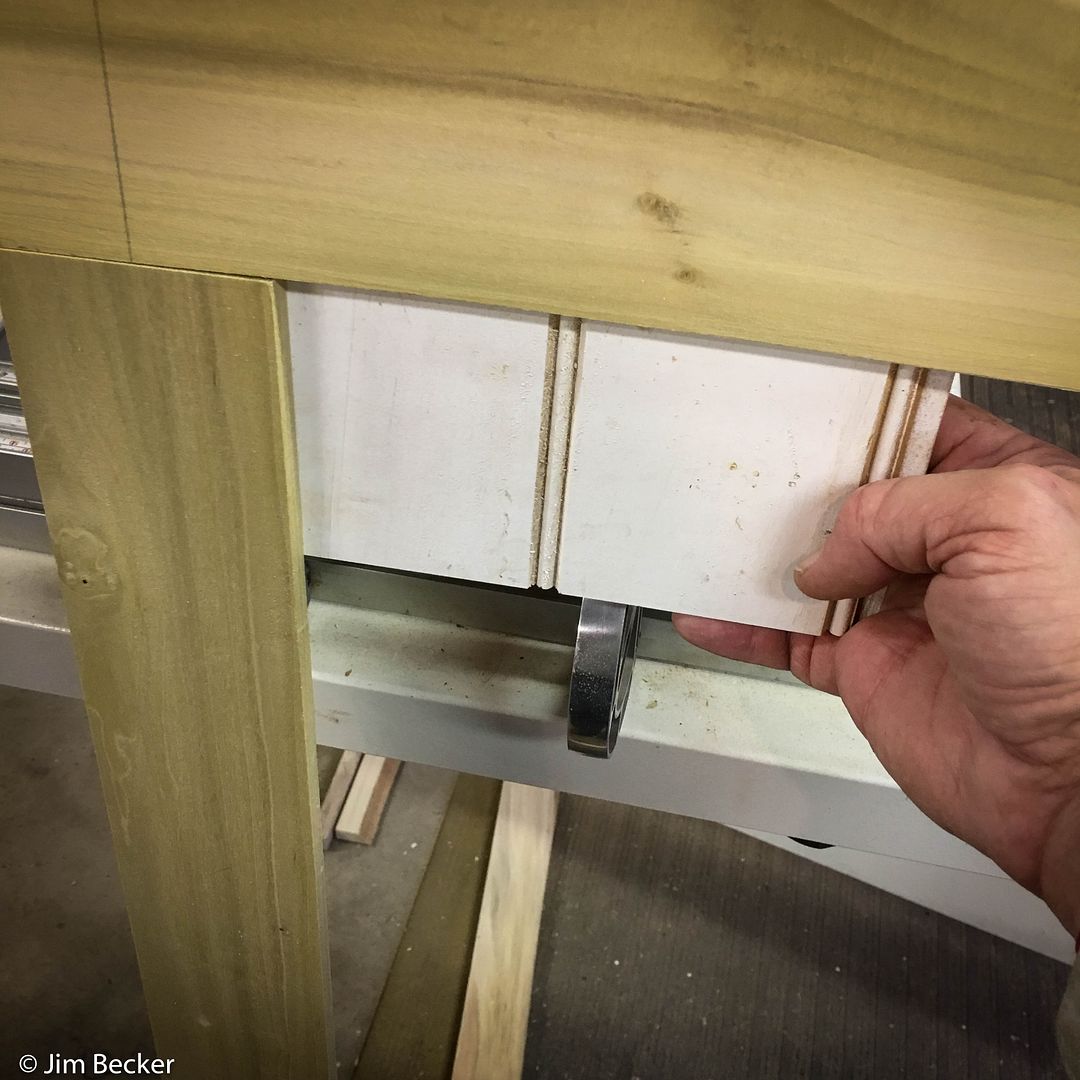
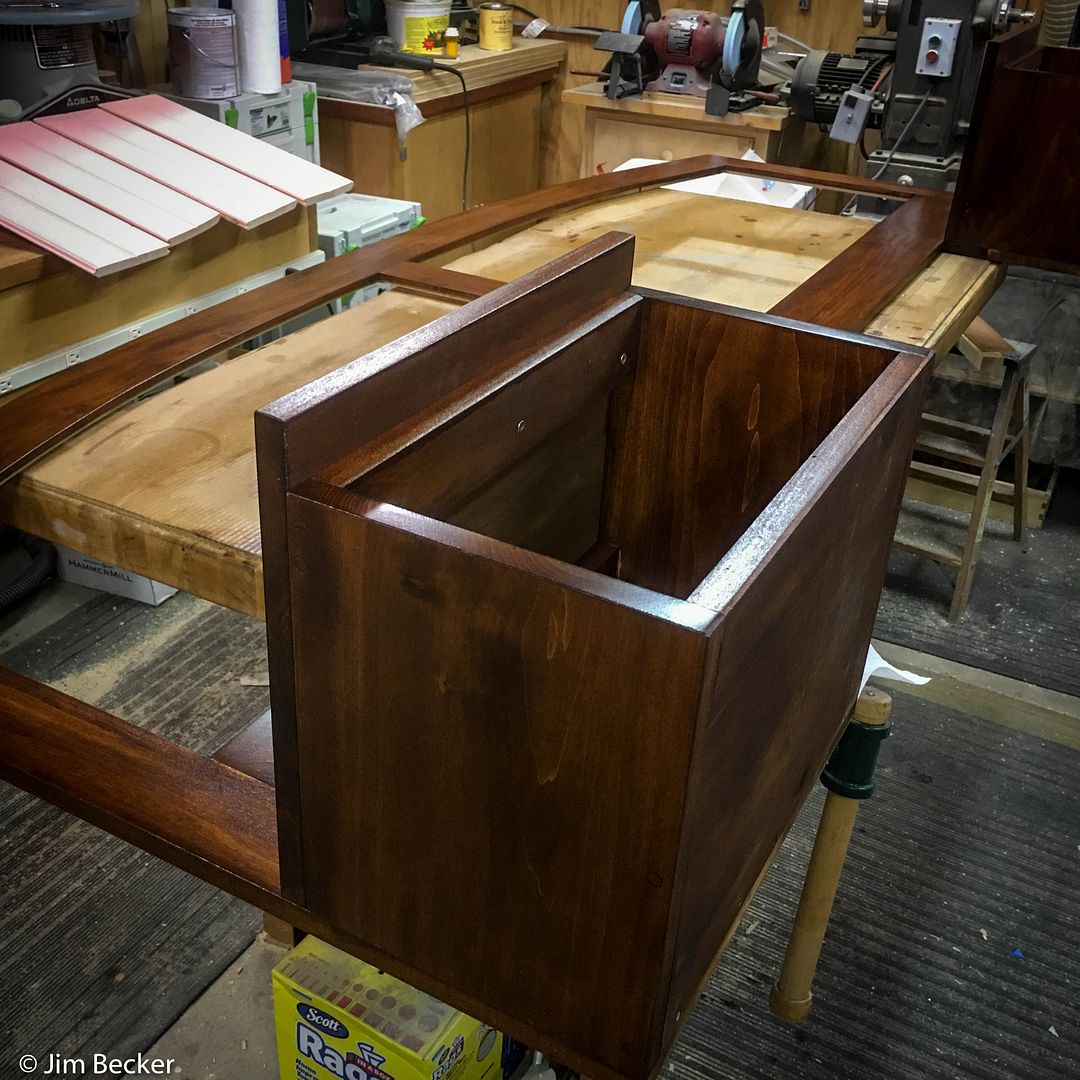
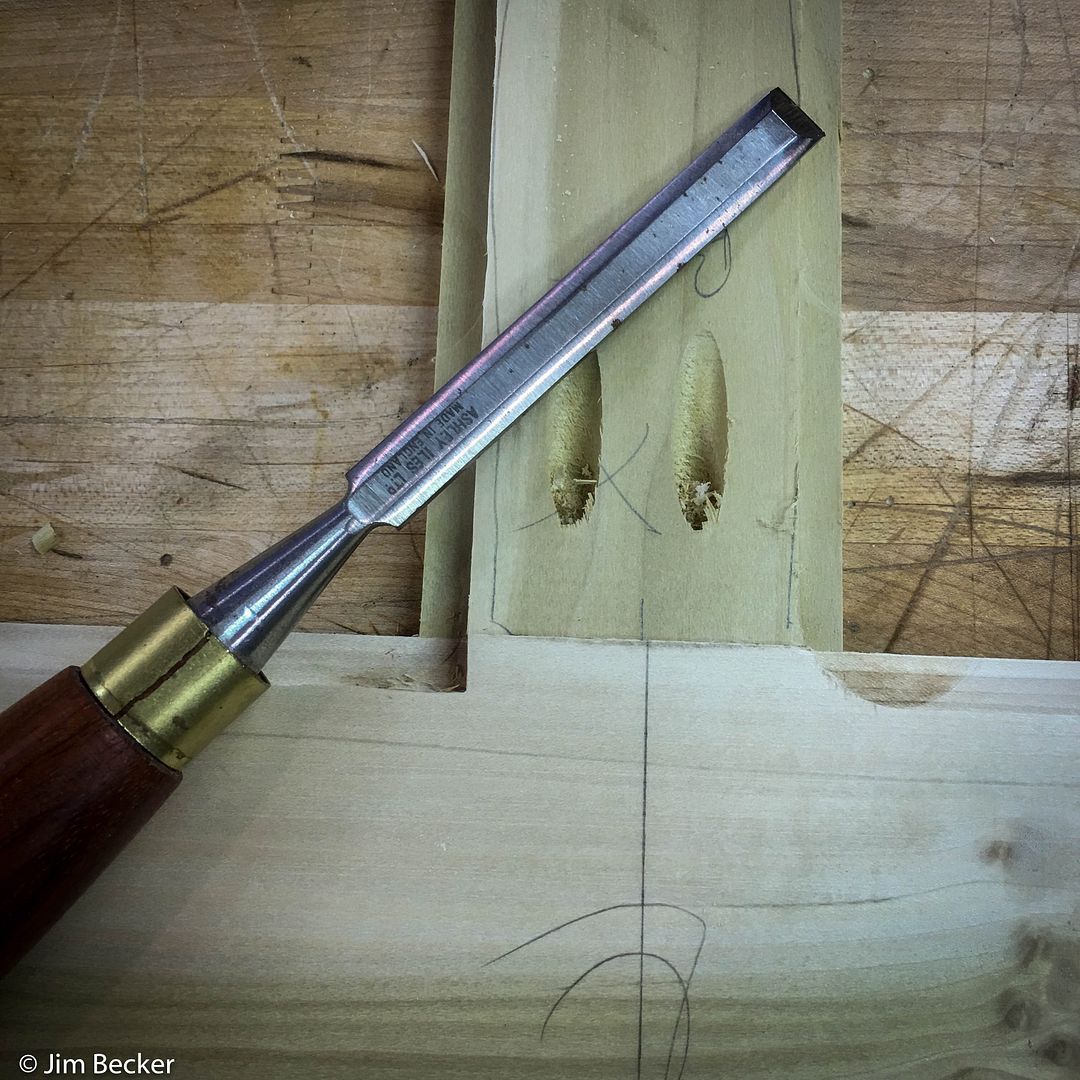
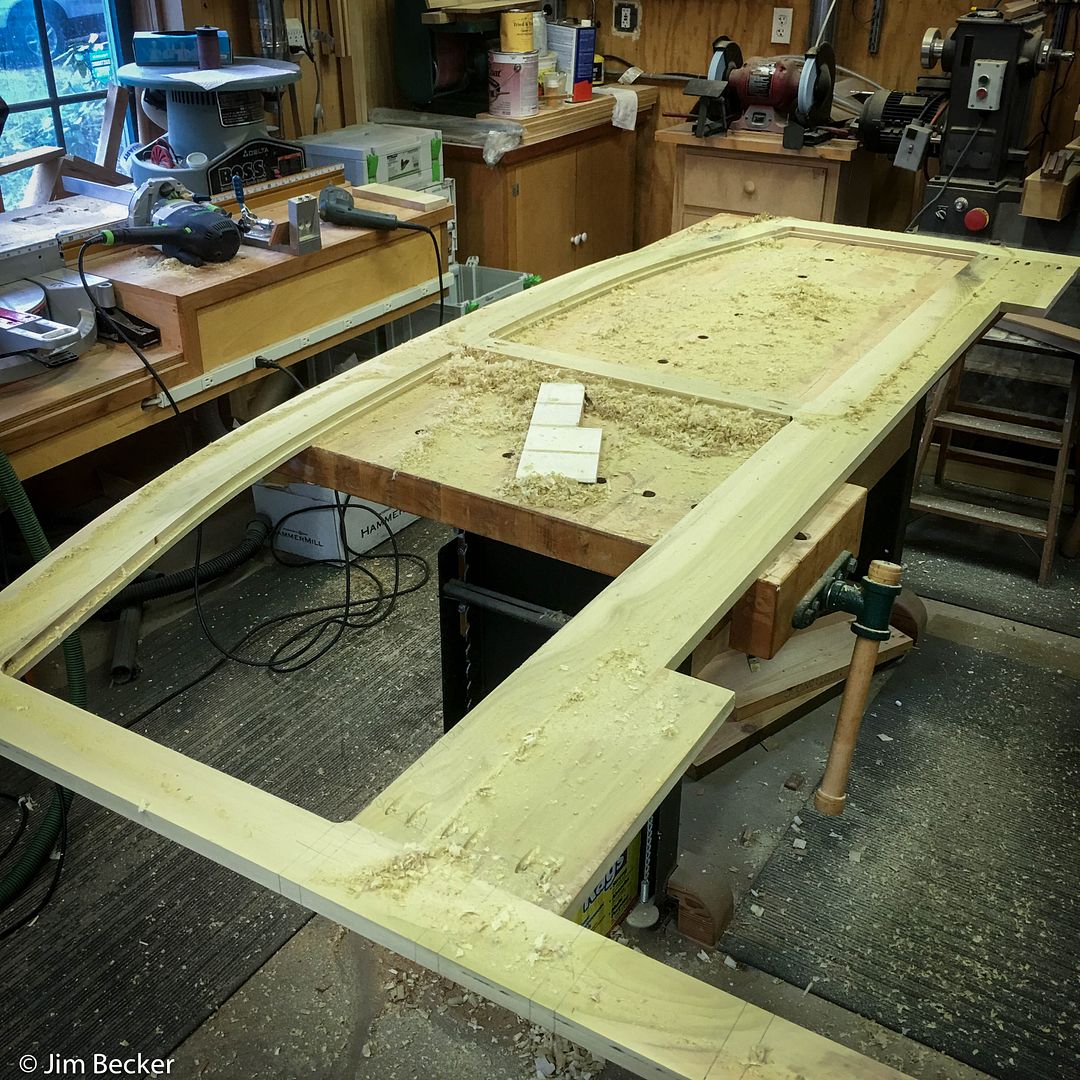
At that point, I pulled out a router and made the rebate that the bead board will set in upon final assembly
Routing the rebate does a nice job, but doesn't leave "square" corners..."square" is in quotes simply because the corner at the top of the outer stiles isn't "square"...but I think you can understand what I mean from this photo...routed on the right and cleaned up on the left


 Reply With Quote