Page 2 of 4 FirstFirst 1234 LastLast
Results 16 to 30 of 48

Thread: Medicine Cabinets - Build thread

  1. #16
    Join Date
    Aug 2013
    Location
    Princeton, NJ
    Posts
    7,295
    Blog Entries
    7
    And now for a more detailed follow up of the second cabinet;

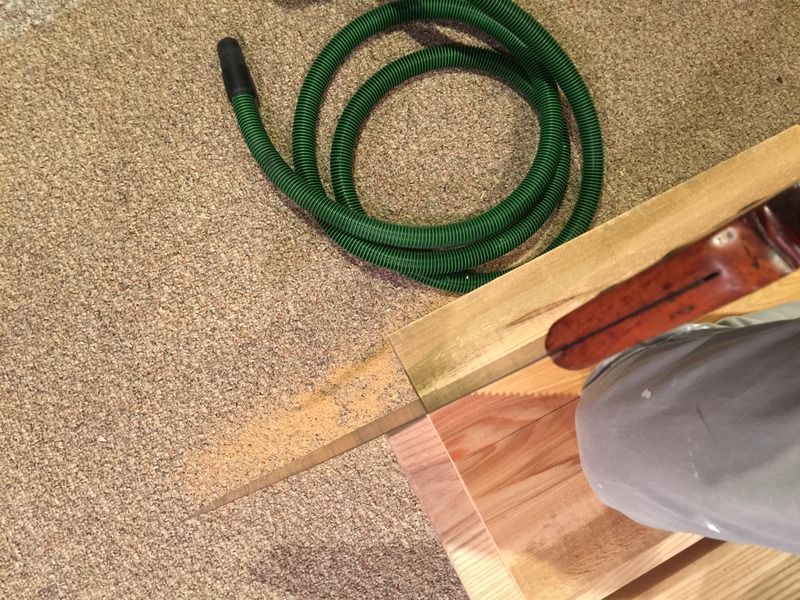
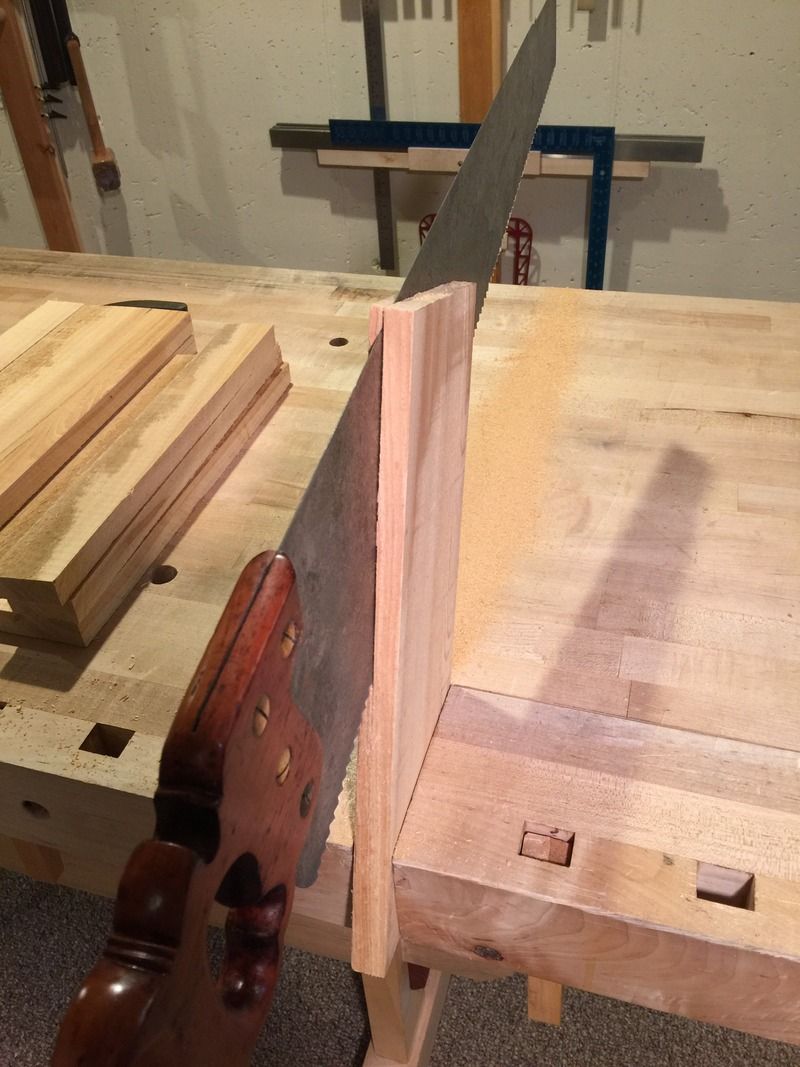
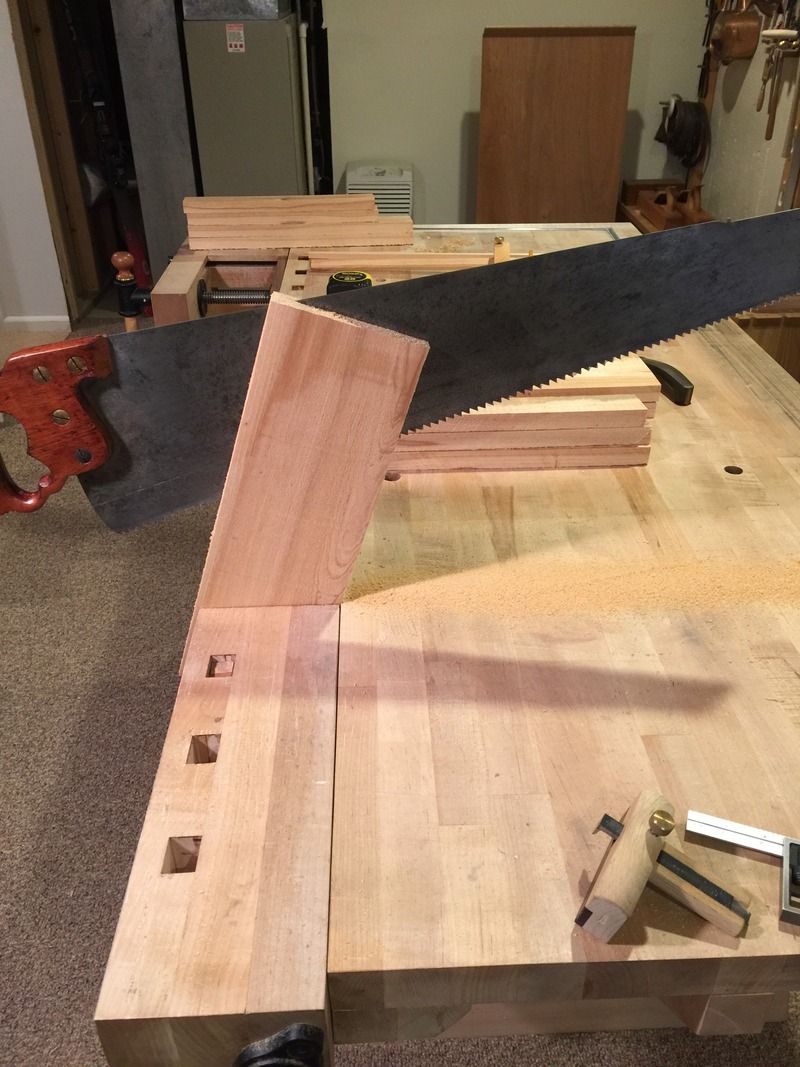
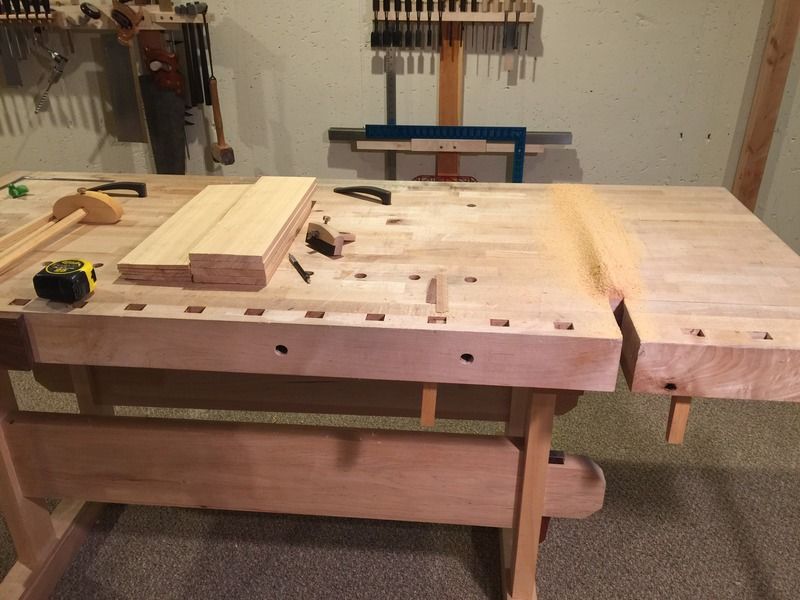
    Starts with a lot of sawing and resawing;


    Four boards resawn


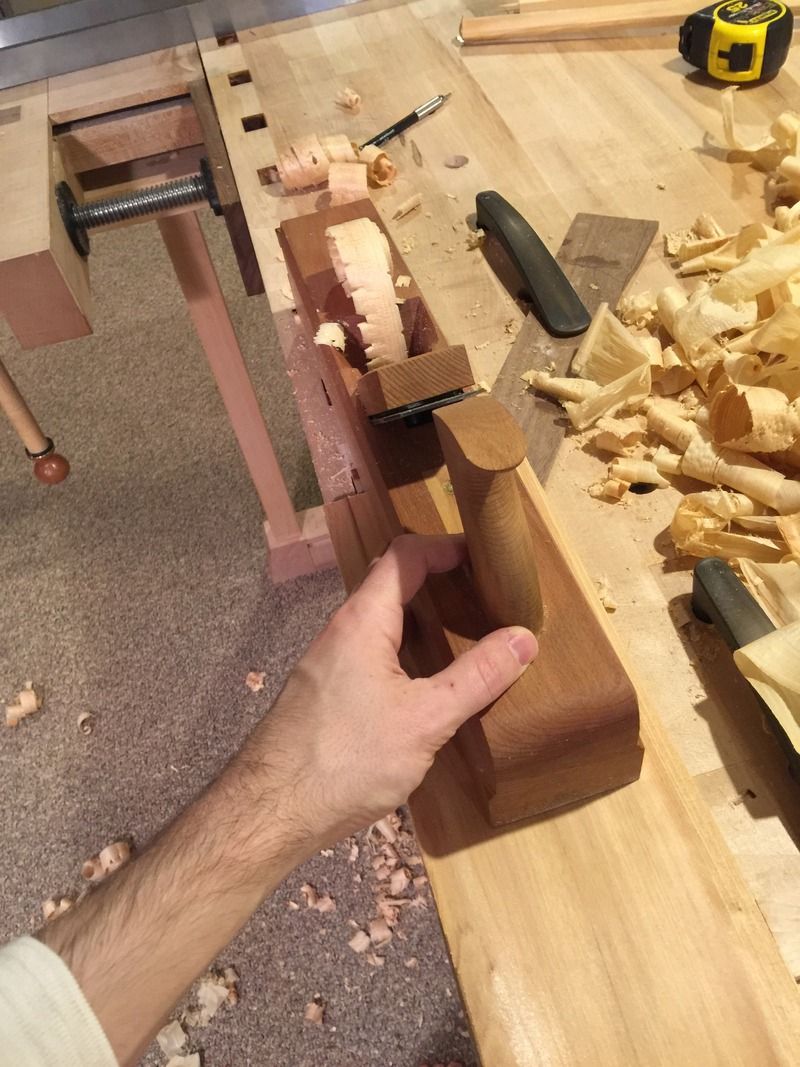
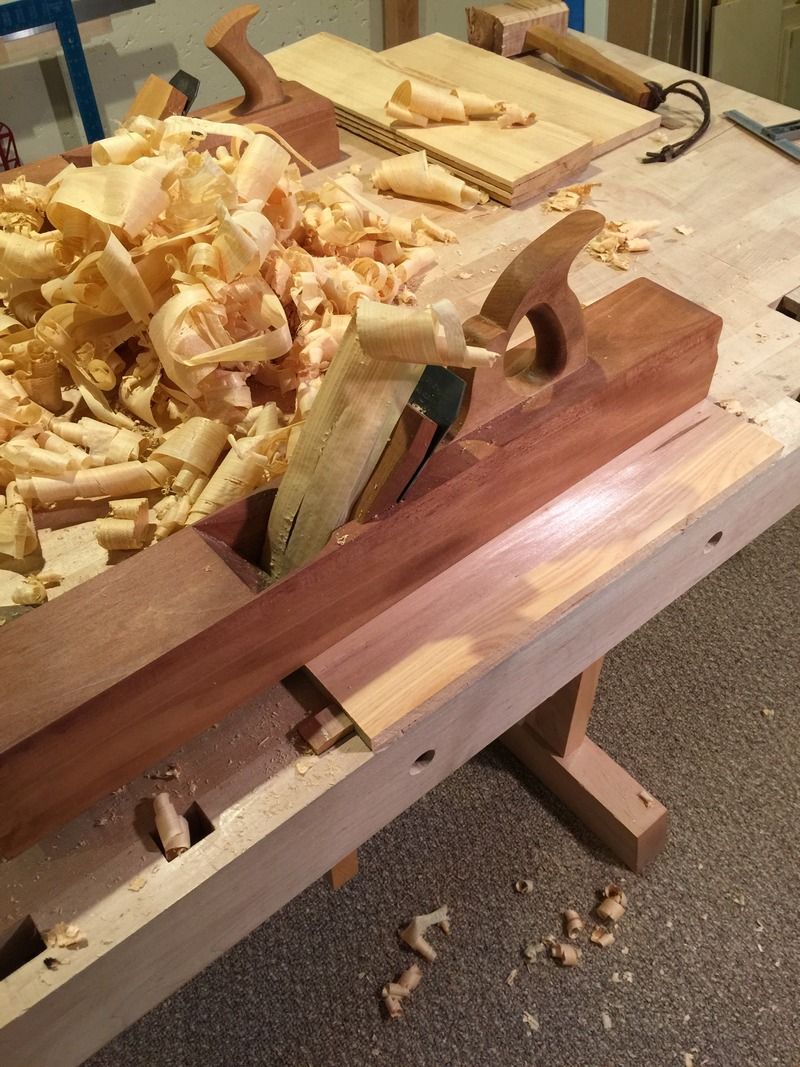
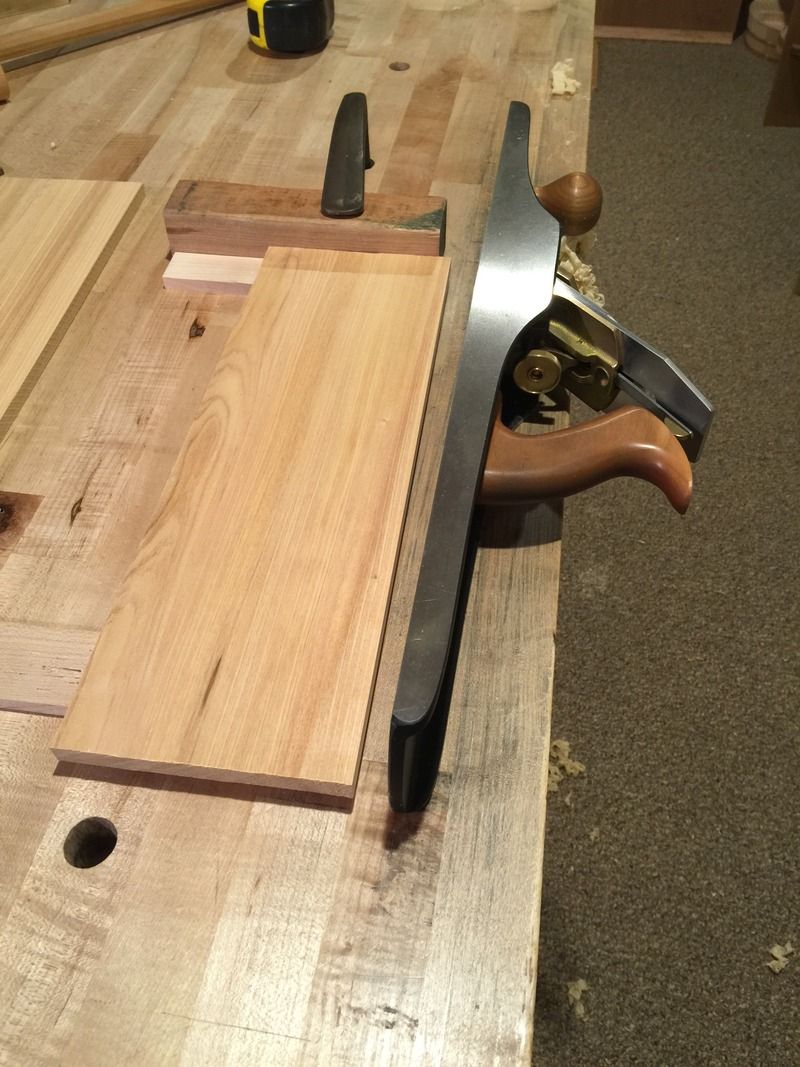
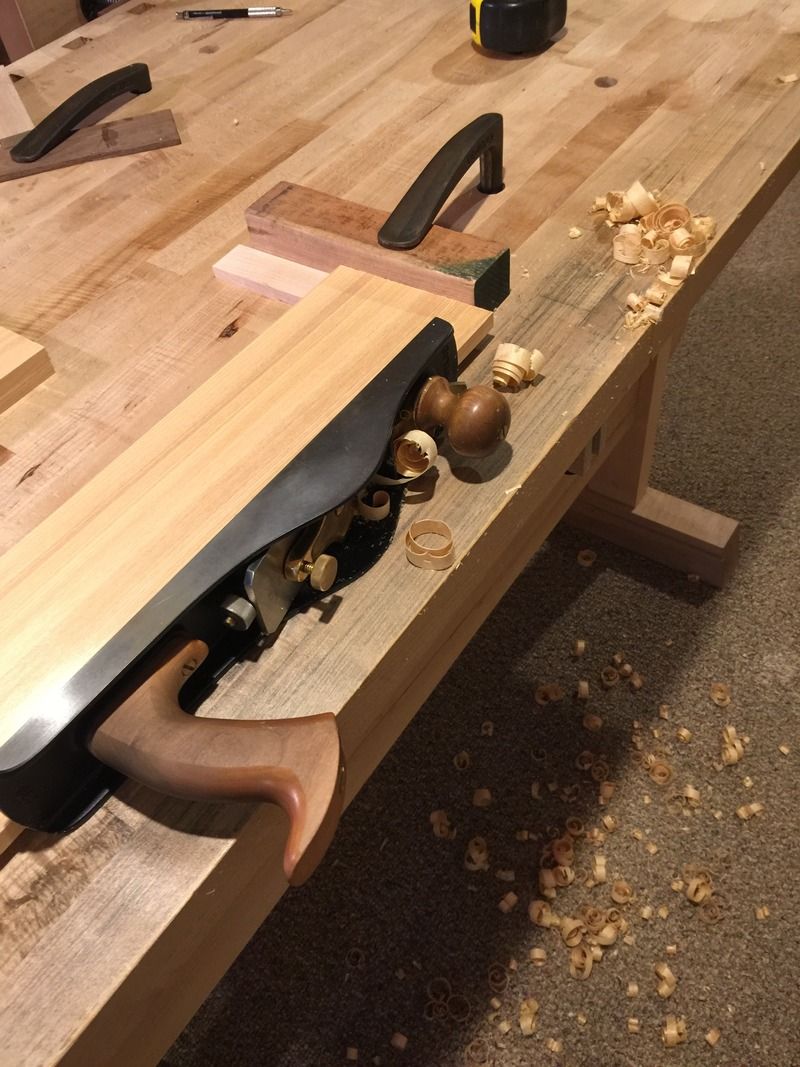
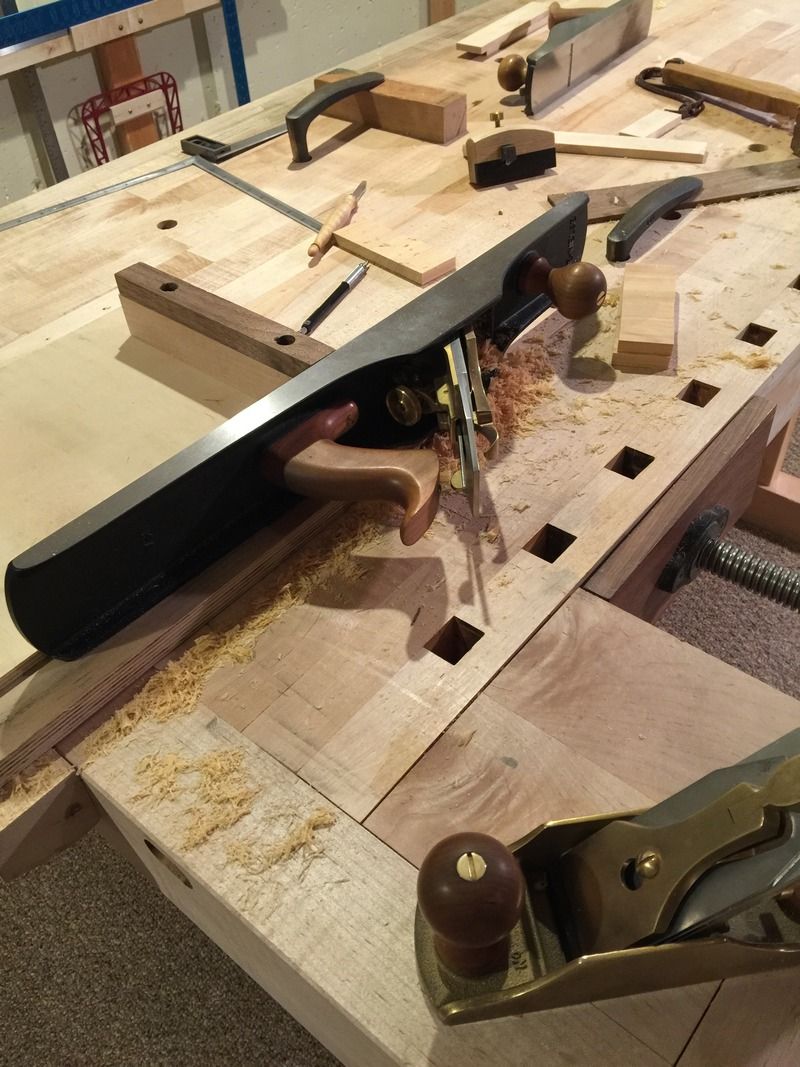
    Then jointing and thicknessing, using the jack and try planes for this


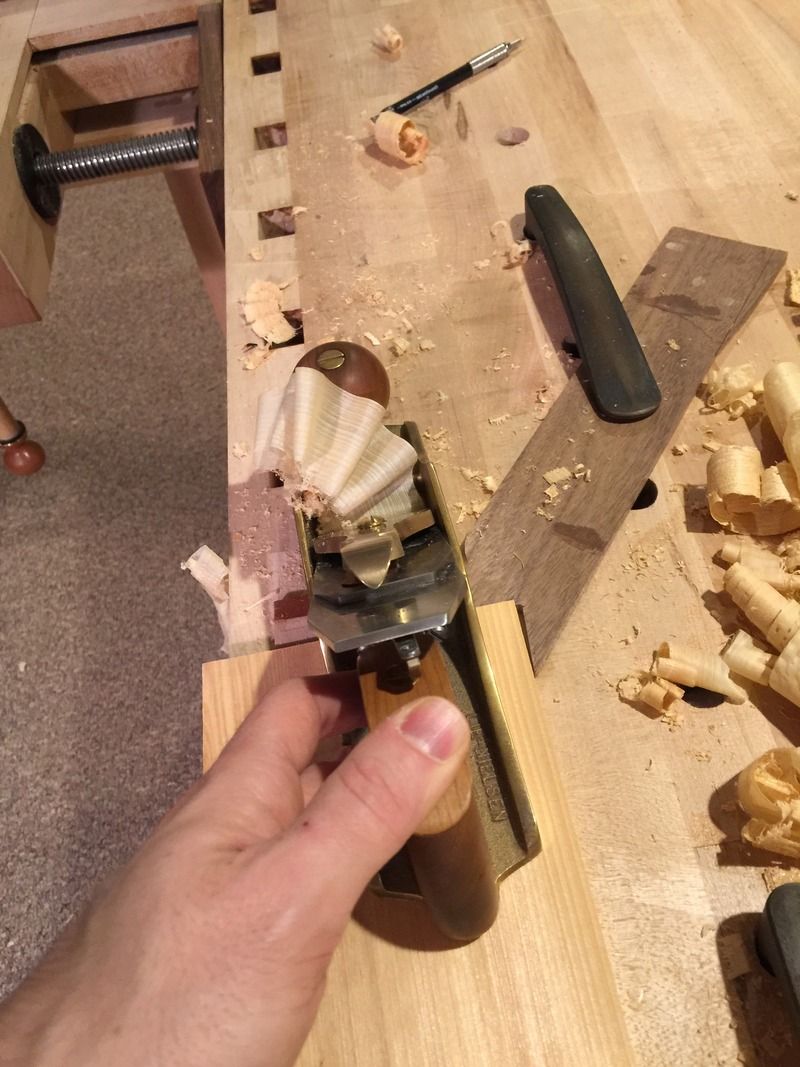
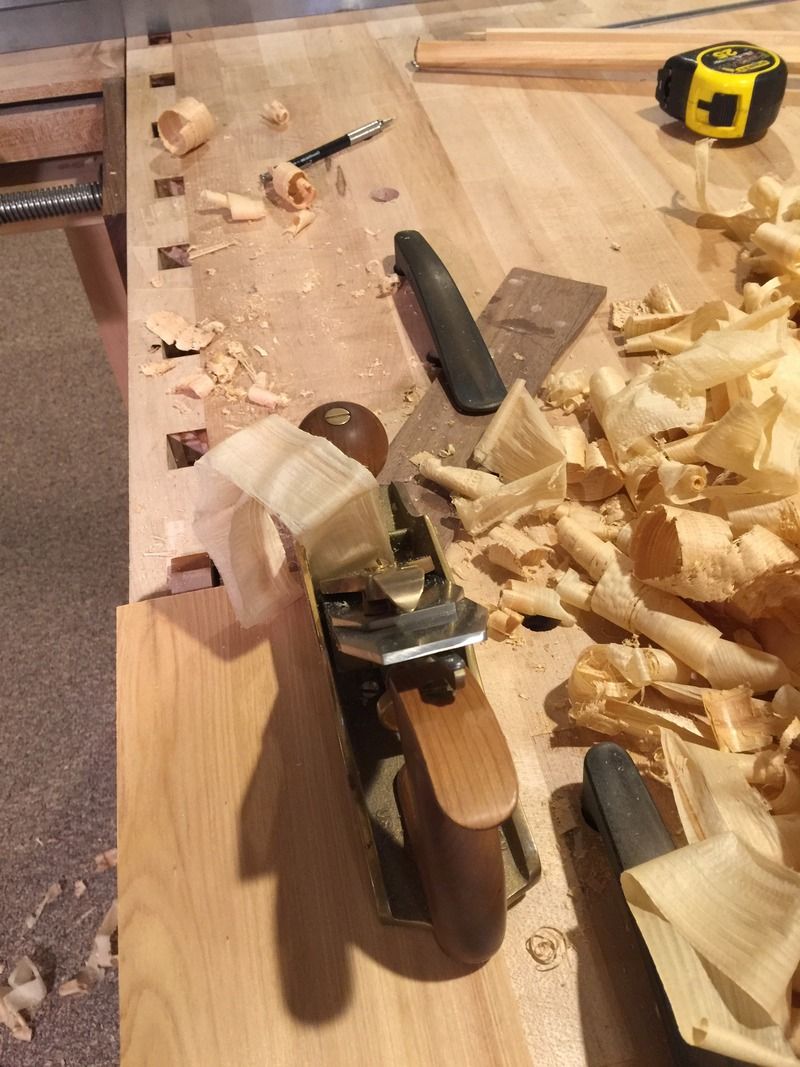
    Then finish planing


    Two sides are set, now onto the reference side. I'm biasing the finished size toward the quarter sawn sections.


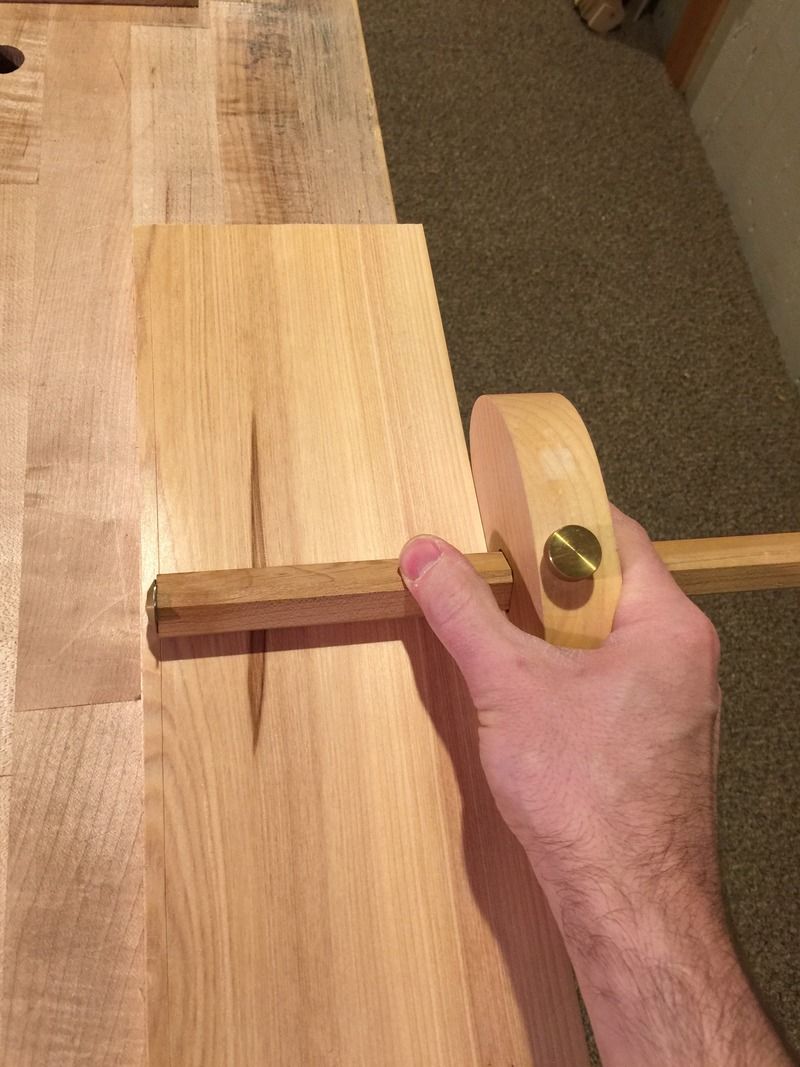
    Transfer a line


    Then on to side four


    And then the evidence of the remaining sides


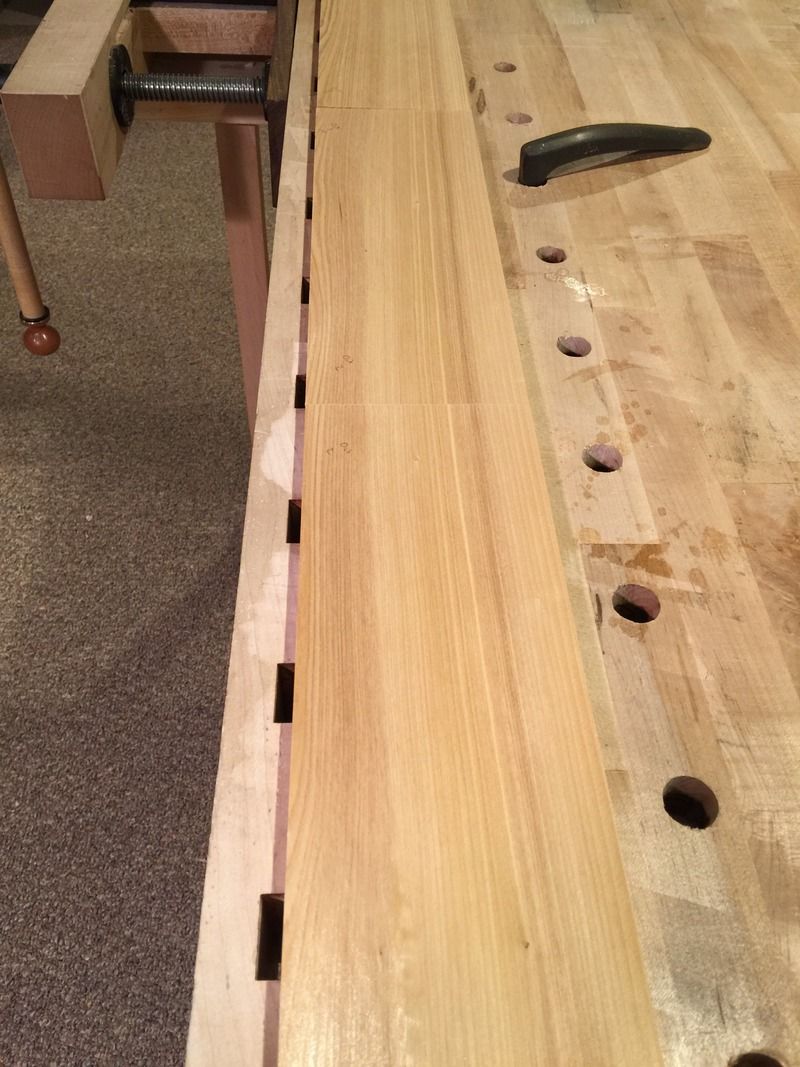
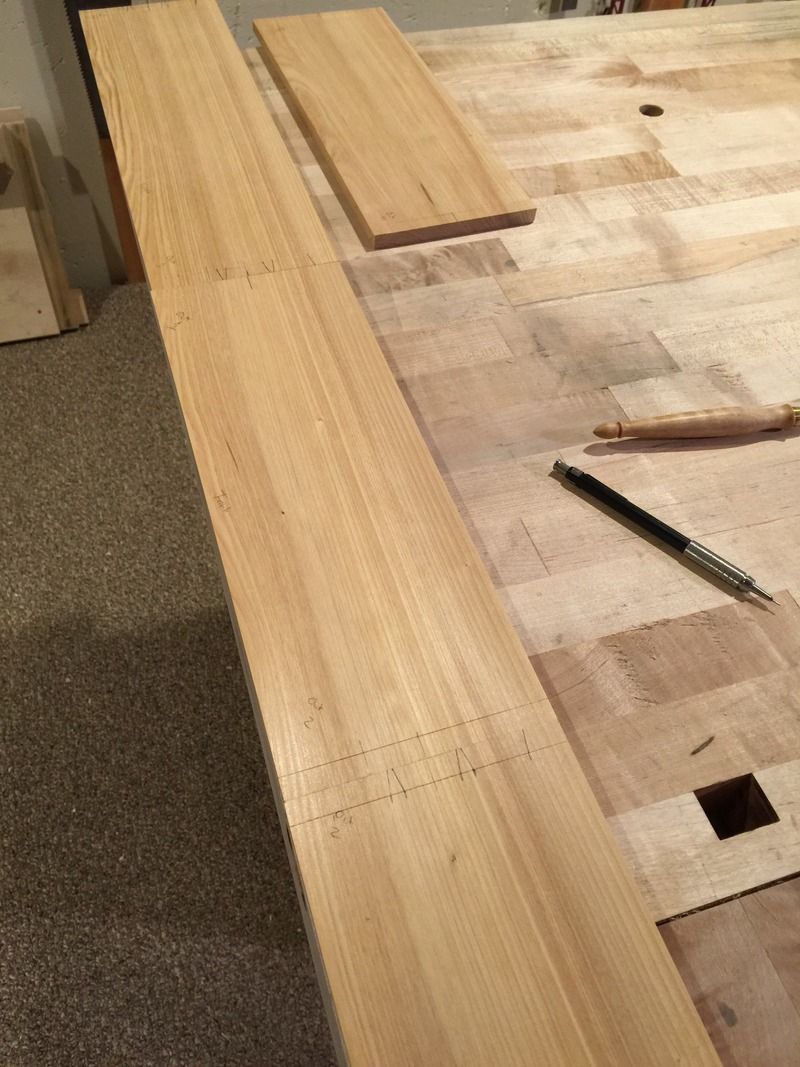
    Prepped and ready for marking


    Bumbling forward into the unknown.

  2. #17
    Join Date
    Aug 2013
    Location
    Princeton, NJ
    Posts
    7,295
    Blog Entries
    7
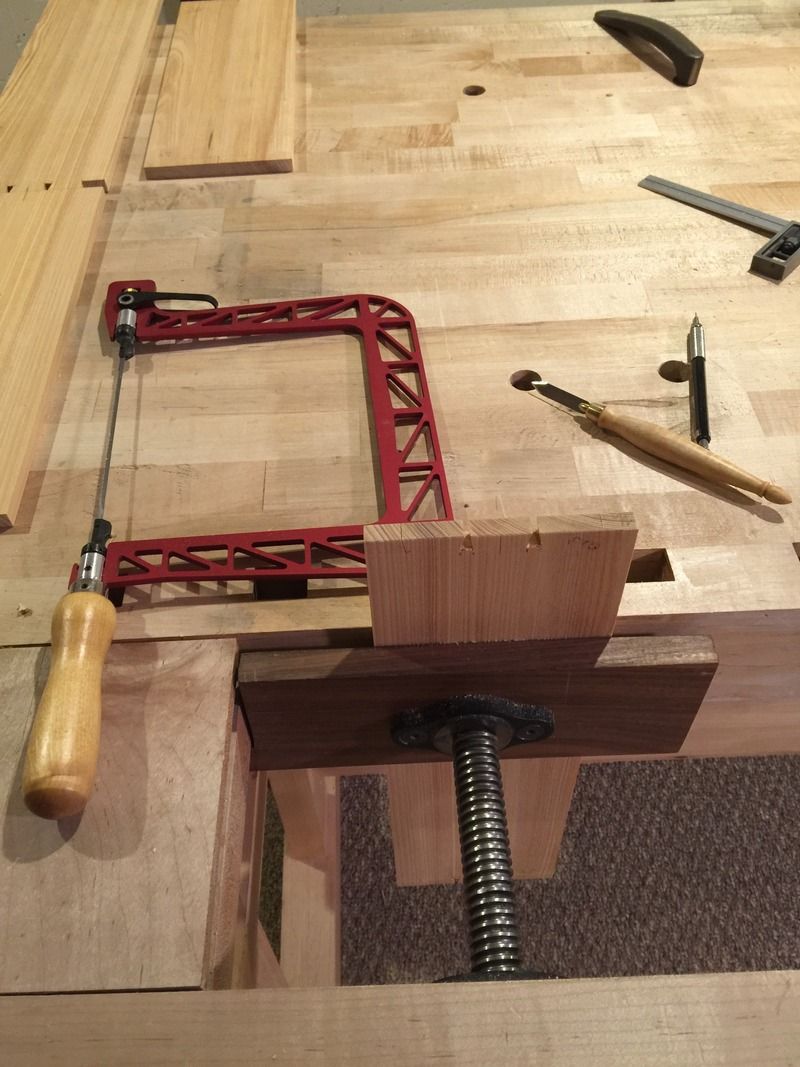
    Onto the cutout;


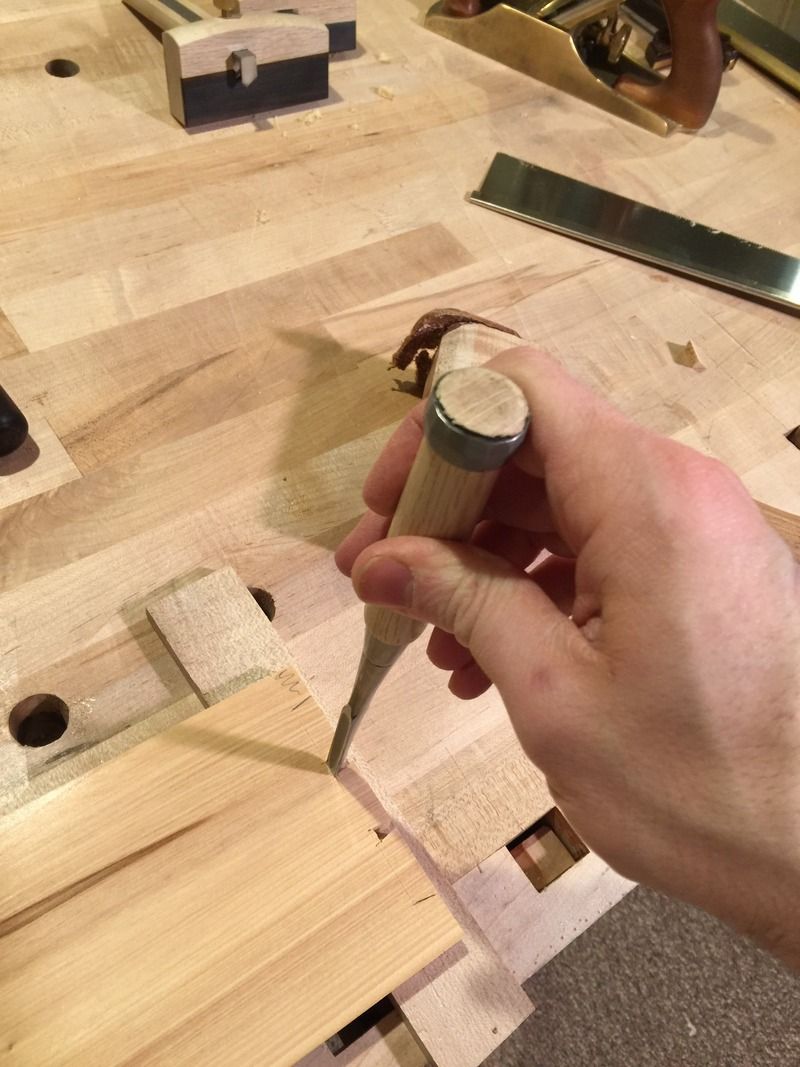
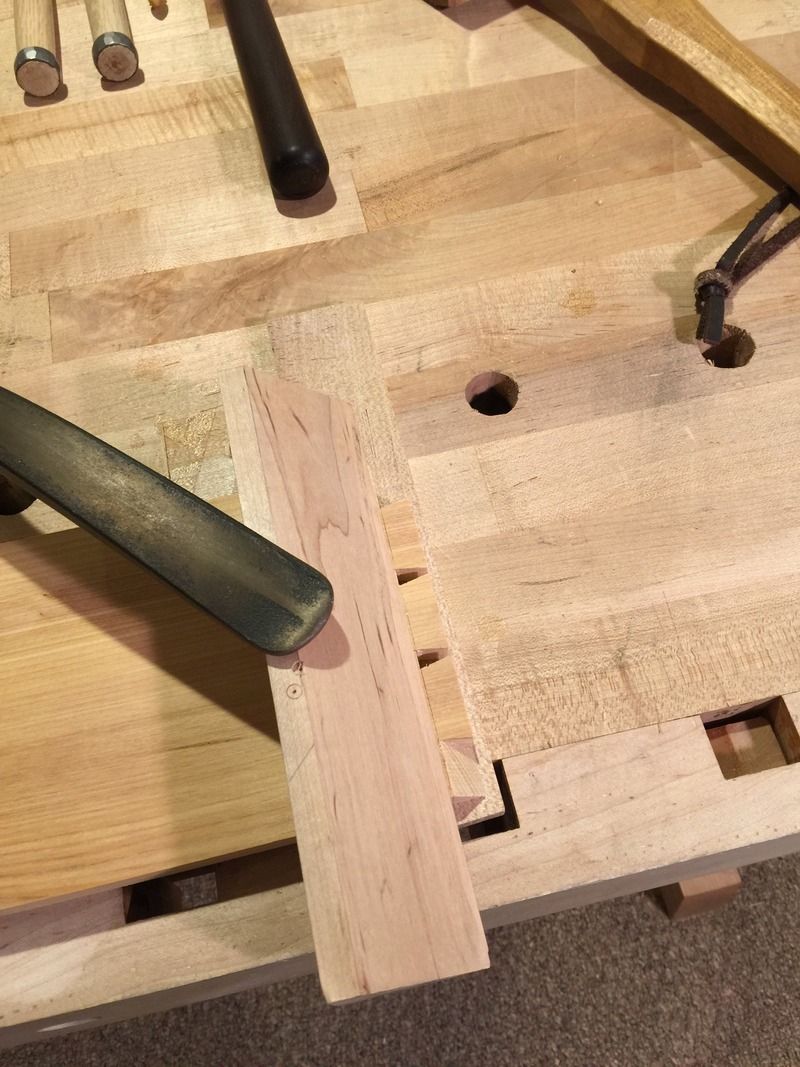
    I'm paring away the waste, what will be visible is the inside of the case so I'm paring from the inside.


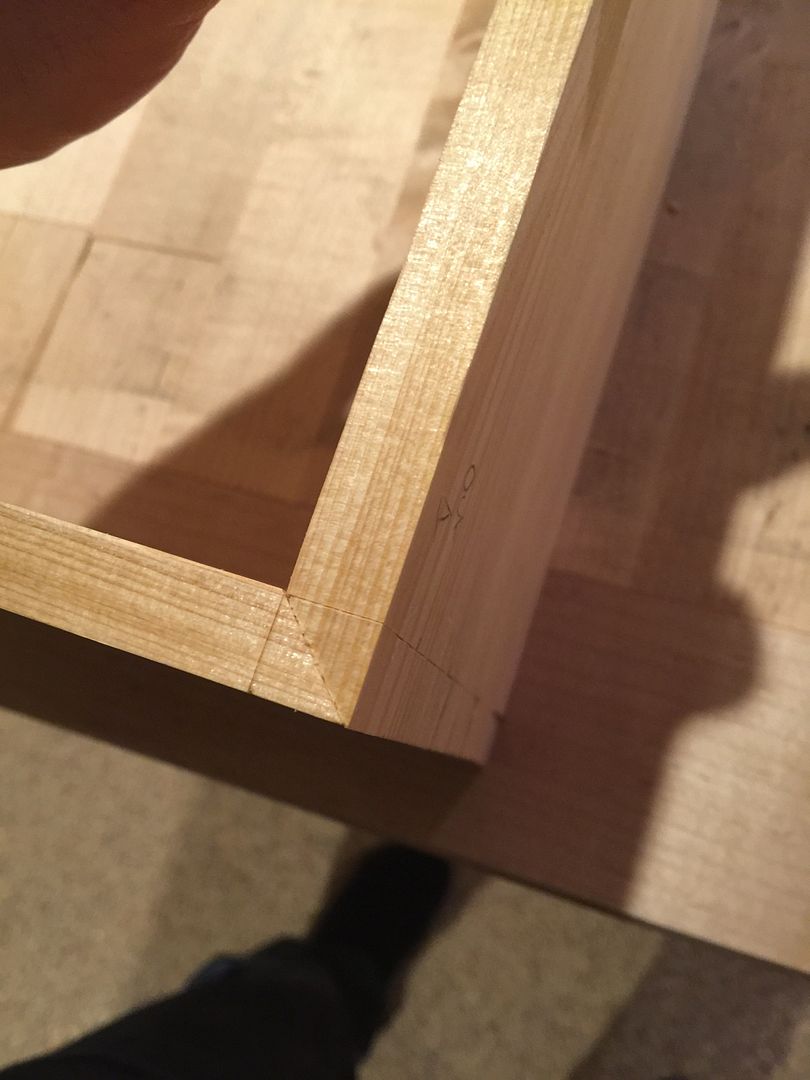
    I normally do not bother with paring blocks, but I made an exception here, I also changed the layout from miters at all corners to miters at the visible corners.


    And that's where I have stopped for the day, I managed to tear the bolt out of my shoulder vise, so that's taking a few moments to fix.
    Bumbling forward into the unknown.

  3. #18
    Join Date
    Apr 2010
    Location
    Tokyo, Japan
    Posts
    1,550
    Nice work!

    How are the ebony handles on your chisels holding up?

    Stan

  4. #19
    Join Date
    Aug 2013
    Location
    Princeton, NJ
    Posts
    7,295
    Blog Entries
    7
    Thanks Stanley!

    The Ebony and rosewood handles hold up really well, gumi handles are a little nicer to hammer on so I've been sticking to shitan for the Tsuki's and gumi for any new chisels for use with a hammer.

    I love my rosewood Kikuhiromaru enough that they're mine for life, but everything with Ebony handles has been sold off (not due to the handles though).
    Bumbling forward into the unknown.

  5. #20
    Join Date
    Apr 2010
    Location
    Tokyo, Japan
    Posts
    1,550
    Quote Originally Posted by Brian Holcombe View Post
    Thanks Stanley!

    The Ebony and rosewood handles hold up really well, gumi handles are a little nicer to hammer on so I've been sticking to shitan for the Tsuki's and gumi for any new chisels for use with a hammer.

    I love my rosewood Kikuhiromaru enough that they're mine for life, but everything with Ebony handles has been sold off (not due to the handles though).
    Brian:

    I will have to give the Kikuhiromaru chisels a try sometime. I am glad to hear the handles are holding up well since kokutan (ebony) and shitan (rosewood) have a reputation (unconfirmed by me) for being brittle and transmitting lots of vibration to the hand when hit with a hammer.

    I hope you will post pics of the completed installation. What brand of toothpaste do you prefer?

  6. #21
    Join Date
    Jun 2015
    Location
    San Francisco
    Posts
    74
    Looks great! What kind of vise do you use to hold the boards for resawing?

  7. #22
    Join Date
    Aug 2013
    Location
    Princeton, NJ
    Posts
    7,295
    Blog Entries
    7
    Stanley in my experience the Rosewood/ebony transfer slightly more vibrations to the hands, but it's not very noticeable to me, the sound is more sharp and I bet that is how they get that reputation. I bet if you were using these daily you would consume them slightly faster than gumi or white oak because they peen over easier than either of those, more on par with red oak.

    Haha, I use Nature's gate... I'll certainly post up th finished result, complete with finished drywall work.

    Thanks Zuye! I'm using a Lie Nielsen tail vise to clamp while resawing.

    You guys will see an update to my shoulder vise soon as well....since it came apart on me yesterday.
    Bumbling forward into the unknown.

  8. #23
    Join Date
    Aug 2013
    Location
    Princeton, NJ
    Posts
    7,295
    Blog Entries
    7
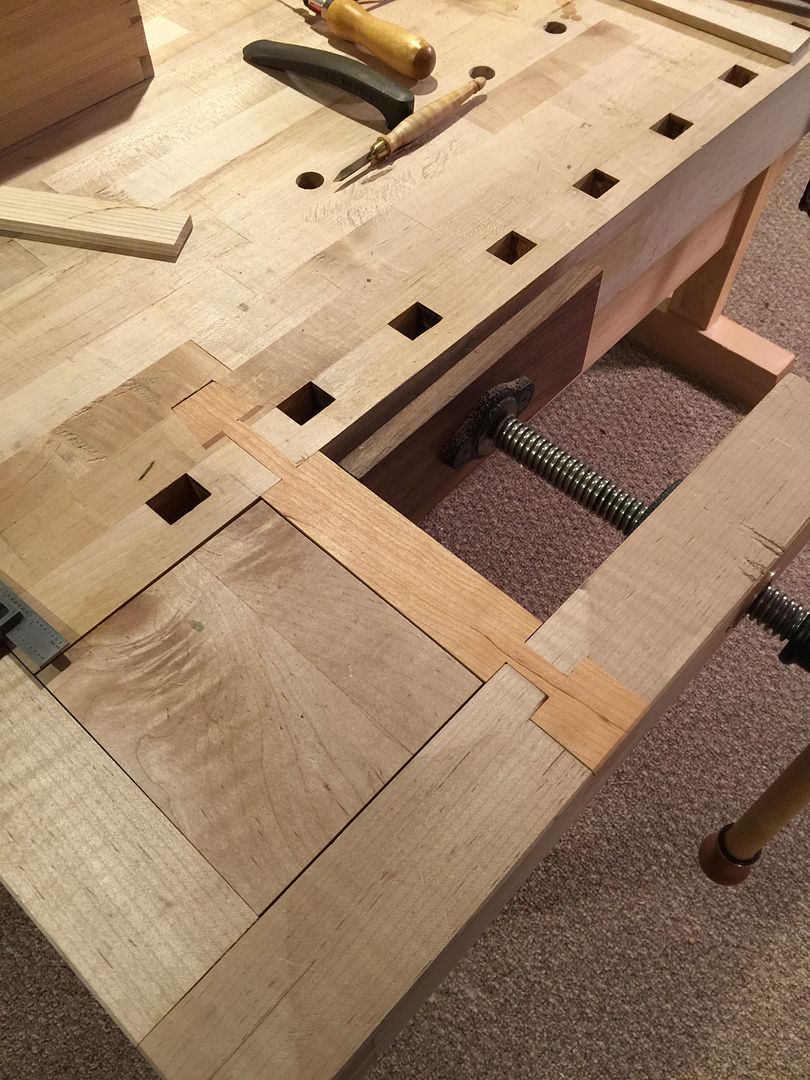
    Continuing on, I've repaired my bench. The bolt which keeps the shoulder vise from twisting under pressure finally gave up the ghost, and so I replaced it with some quick work.


    So far this is holding pretty well, nice and sturdy. We'll see how it does over time, this shoulder vise seems capable of putting out an incredible amount of force, so I try to keep it to 'just tight' and not more but it should still be able to function without self destructing, so we shall see.

    Anyways, back onto work which should not self destruct over time;

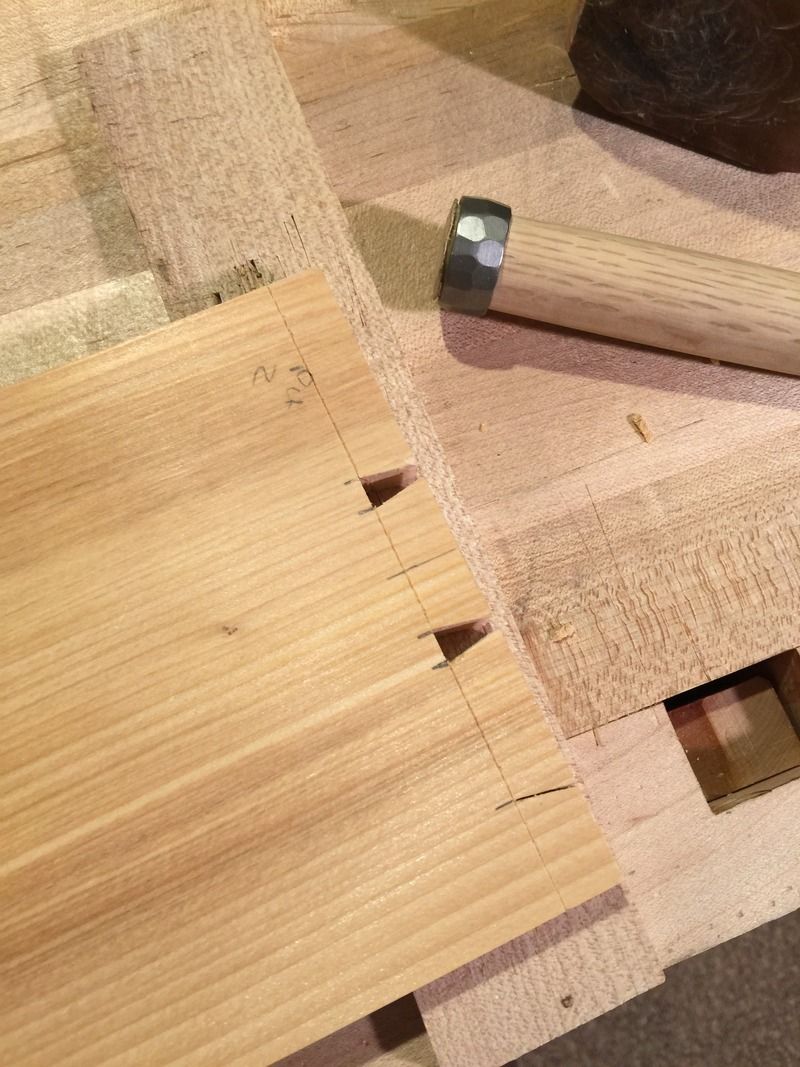
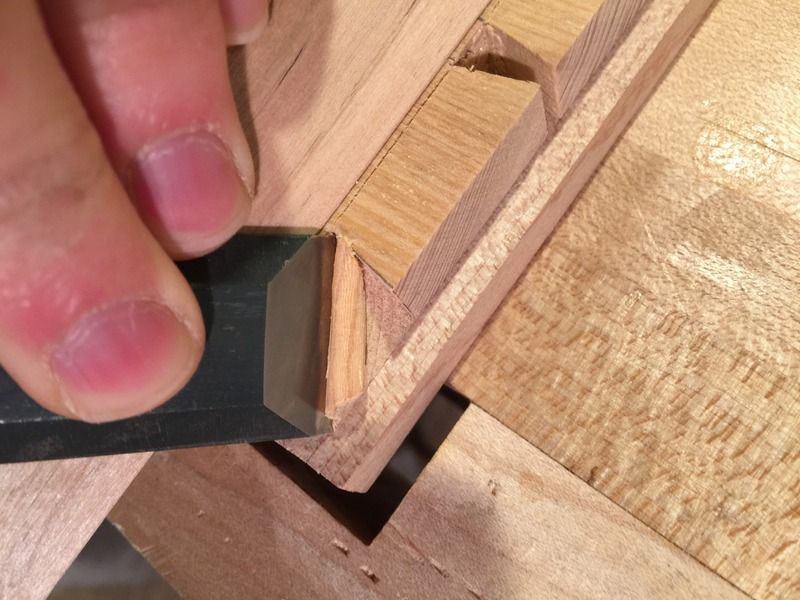
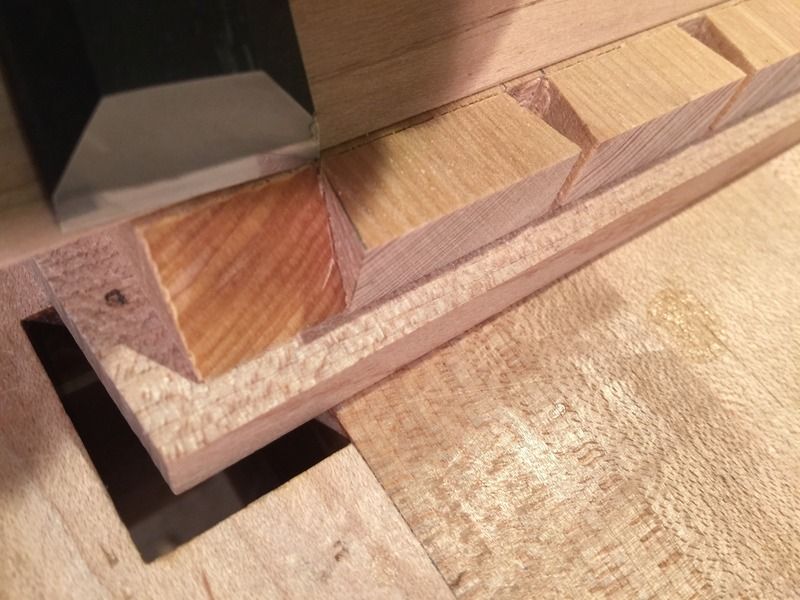
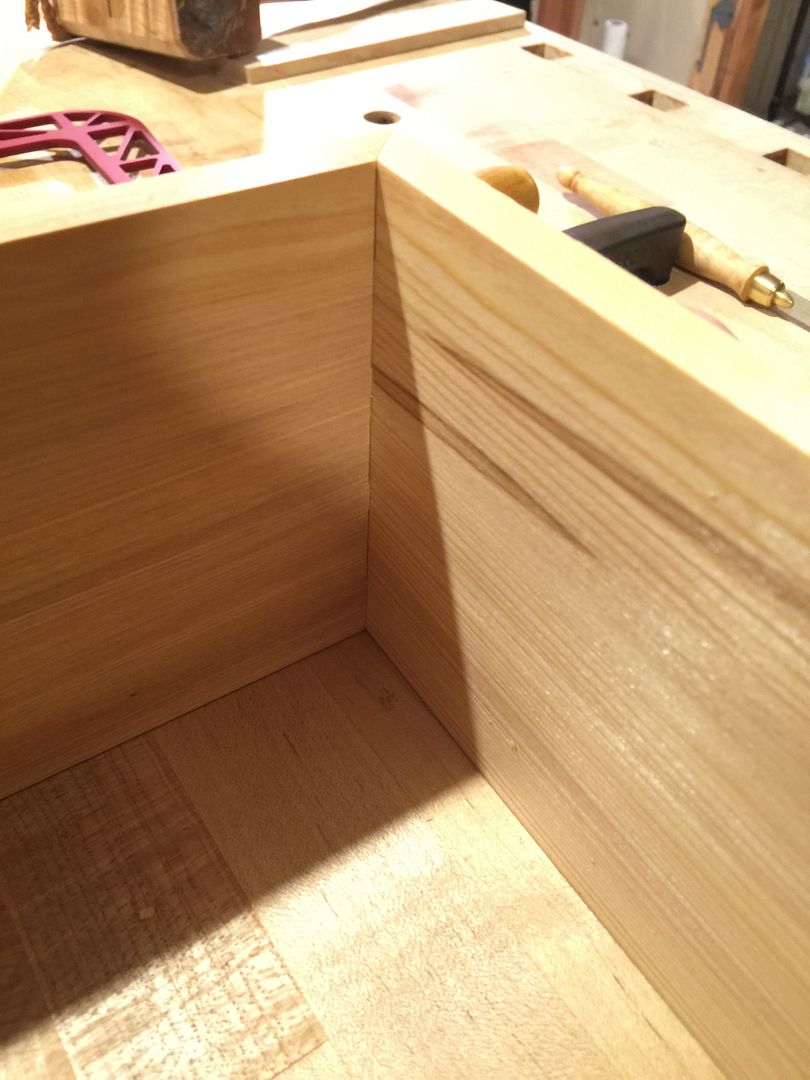
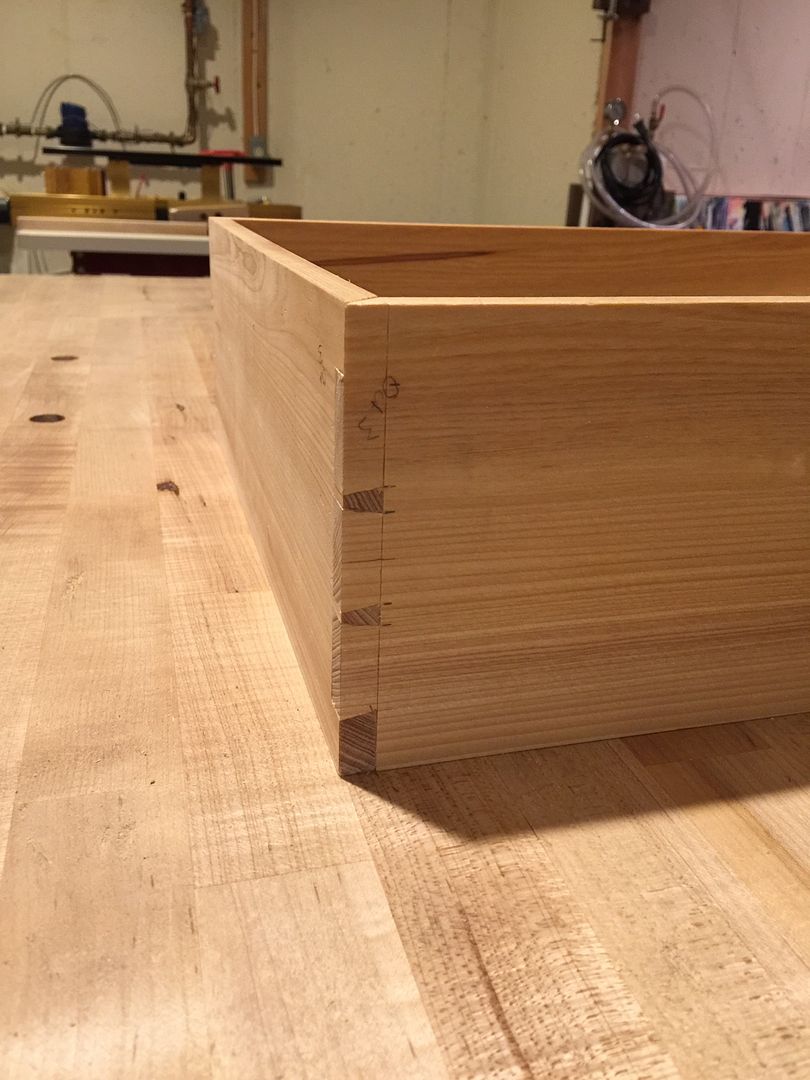
    Finished up the mitered edge dovetails and I'm pretty happy with the results, which do reveal the need for a slight bit of fine tuning but most of which will dissappear during the glue-up.


    The inside is clean, that is very important. It does reveal that there is a bit more going on than just a plain miter.


    And finally the outside, which I'm very happy with, but unfortunetly the work will be buried in the wall. I suppose it's reassuring enough to simply know that these were built as well as possible given my parameters.

    Bumbling forward into the unknown.

  9. #24
    Join Date
    May 2004
    Location
    N Illinois
    Posts
    4,602
    Very nice work, Brian..Looks to me like an enjoyable day or two in the shop with no motors....Thanks
    Jerry

  10. #25
    Join Date
    Mar 2006
    Location
    Austin Texas
    Posts
    1,957
    Nice, fun work Brian. Question: When you re saw, it looks like you do not pre-kerf the cut line. Do you only use a pencil line? A scribed marking line? I have been thinking of trying out a kerf to follow, but have not figured out a "kerfer" yet.
    David

  11. #26
    Join Date
    Aug 2013
    Location
    Princeton, NJ
    Posts
    7,295
    Blog Entries
    7
    Thanks gents! I agree, this has been a really fun project.

    David, I just scribe a line with a marking gauge. If you flip the board often and lead the cut with side you can see, then you will be fine. I think the most important aspect, aside from practice, is the saw. If the saw is well tuned and capable of clearing the dust then you will have very little trouble.

    To give some perspective, I did that sawing and planing work in about 2 hours. Working at a moderate pace and taking a breather to check emails.
    Last edited by Brian Holcombe; 01-30-2016 at 8:18 PM.
    Bumbling forward into the unknown.

  12. #27
    Join Date
    Aug 2010
    Location
    USA
    Posts
    5,582
    Fantastic documentation in this thread - thanks Brian. Also looks like a good fix with your shoulder vise. You can develop a huge leverage torque on the shoulder with this configuration - was a lag bolt the main retainer for the vise arm? The fix you have should serve you well for a long time.

  13. #28
    Join Date
    Dec 2012
    Location
    Bedford, NH
    Posts
    1,286
    The woodworking talent you demonstrate is incredible. Like other elite woodworker on this forum you have taught us neophites much & have done a great service towards promoting this craft. Thank you.
    Thoughts entering one's mind need not exit one's mouth!
    As I age my memory fades .... and that's a load off my mind!

    "We Live In The Land Of The Free, Only Because Of The Brave"
    “The problems we face today are there because the people who work for a living are outnumbered by those who vote for a living."
    "
    Socialism is a philosophy of failure, the creed of ignorance, and the gospel of envy, its inherent virtue is the equal sharing of misery." Winston Churchill
  14. #29
    Join Date
    Jan 2012
    Location
    mid-coast Maine and deep space
    Posts
    2,656
    Very nice work - inspiring craftsmanship. May I suggest this type of a pull - http://www.cabinetparts.com/p/berens...u10RoCFzjw_wcB

    Of course you could make up unique wood knob but the above, in the right finish, would compliment the scissors hinges.
    "... for when we become in heart completely poor, we at once are the treasurers & disbursers of enormous riches."
    WQJudge

  15. #30
    Join Date
    Aug 2013
    Location
    Princeton, NJ
    Posts
    7,295
    Blog Entries
    7
    Thanks Gents! Sam that is sort of where I am, but in a wooden version....similar I should say.

    Pat, it was a 1/2" bolt and two bolts on the supporting member underneath, but really the 1/2" bolt was doing all of the work since that was the one in compression. Glad to see that it looks sturdy to your eye as well.

    Cheers
    Brian
    Bumbling forward into the unknown.

Posting Permissions

  • You may not post new threads
  • You may not post replies
  • You may not post attachments
  • You may not edit your posts
  •