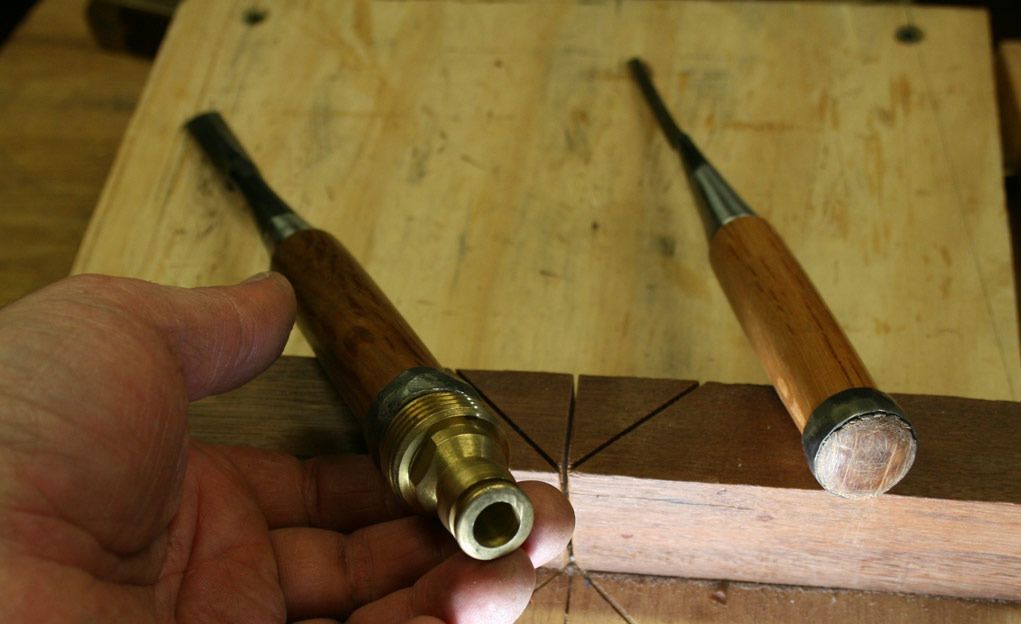
I got a set of Japanese style hollow back chisels. I sharpened them at 30 degrees primary bevel and a small microbevel(1-2 degrees) and am impressed with edge life while chopping dovetails in hardwoods. I have found that the edge is more brittle(chipped a corner) than my American chisels. Since I got them I have read a couple of things that say the primary bevel should be greater than 30 degrees.
1.Looking for opinions on primary bevel and secondary bevel.
What works for you guys?
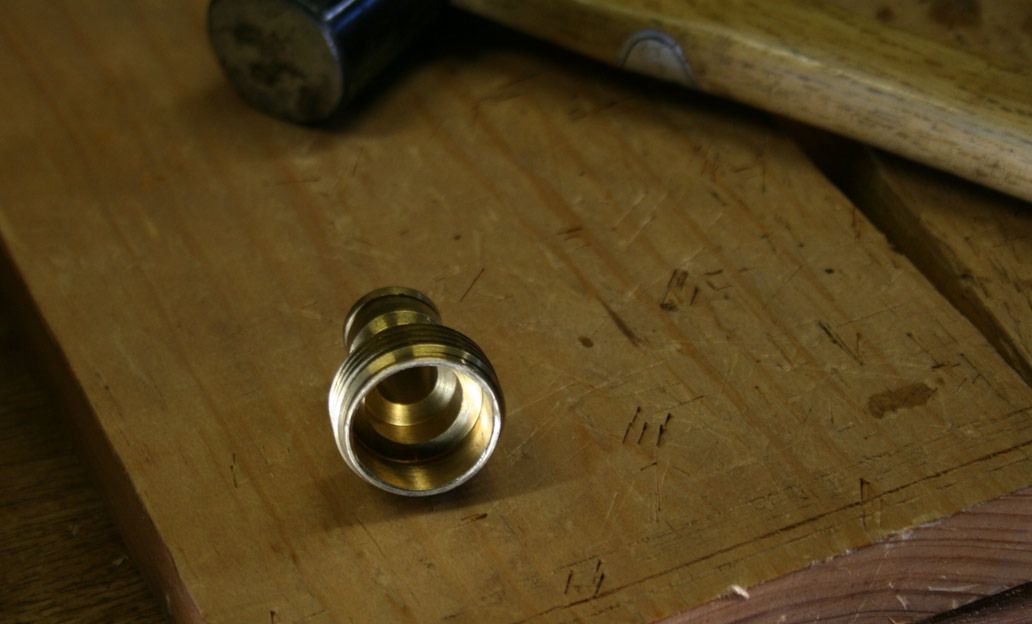
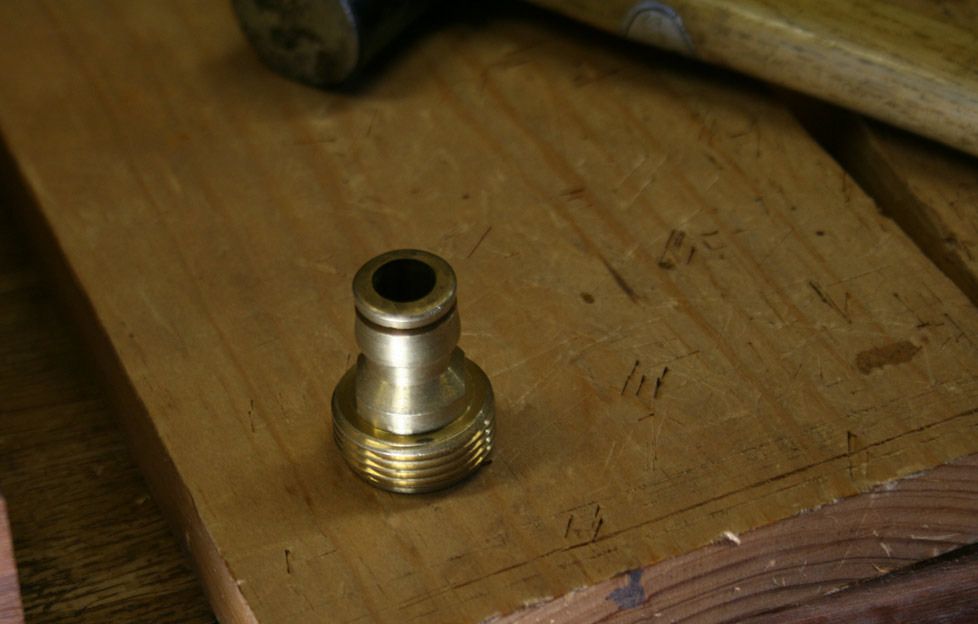
2. The rings keep coming loose, can anyone point me to an article or video that explains how to secure the rings so they do not come loose?
Thanks for your help

 Reply With Quote