Howdy Stan, glad that you are enjoying and thanks for commenting. Indeed that is accurate to my understanding as well that this is not a historic example, but an original design having taken inspiration from those toolboxes.
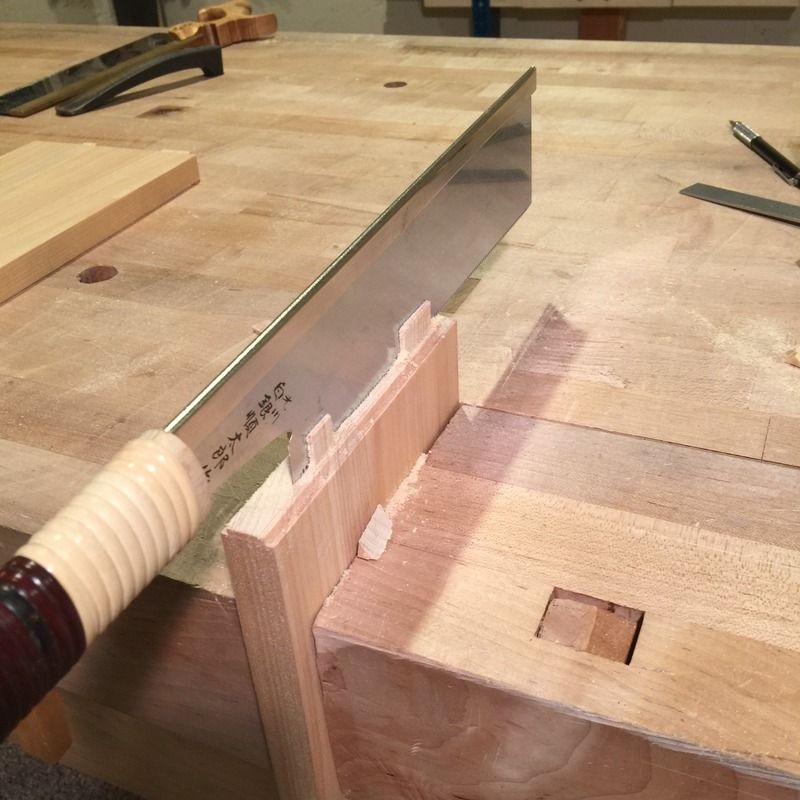
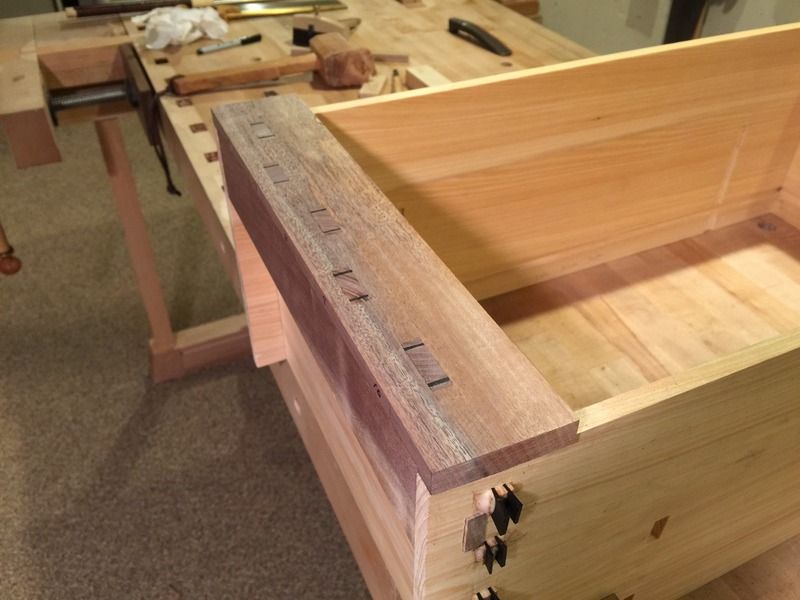
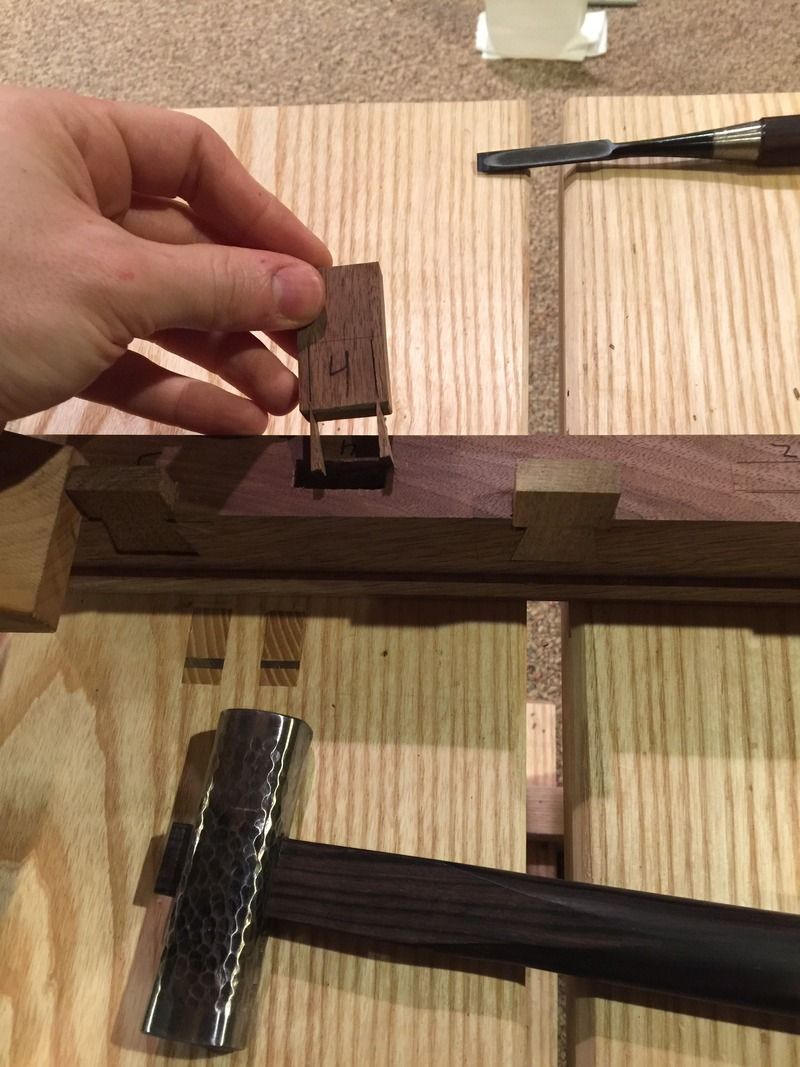
It's important to understand that this was originally designed by Chris Hall as a joinery study for his study group students, that is why it is so involved. I decided to pursue it, not because I needed a tool box, but because I wanted a try my hand at one of Chris' designs (and do so with his blessing). This also helps to push my skills to the next level as I work out things such as the hell tenons. I continue to push myself and stepping out of my own design, for the moment, has been incredibly helpful in pushing personal boundaries.
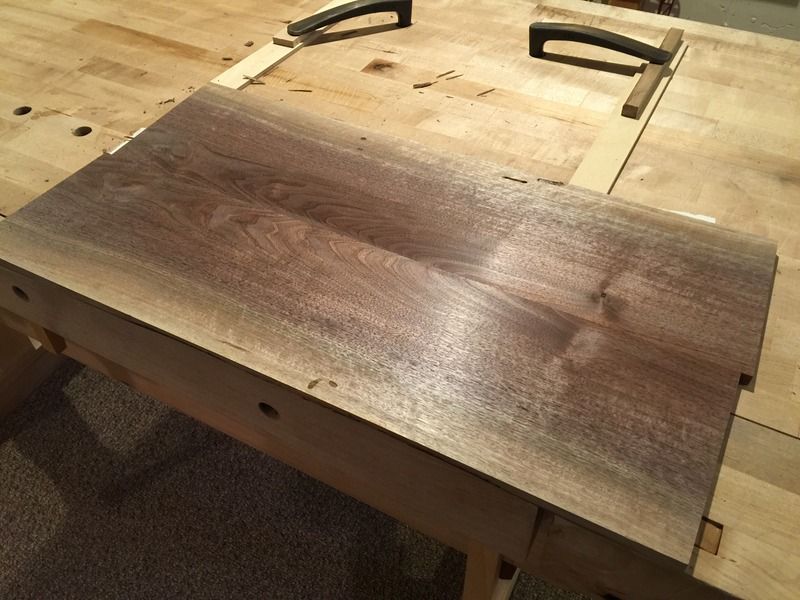
I work mainly in hardwoods so my junk pile is going to look a little differently from others, so I pulled some gnarly walnut out of it, not really fit for fine furniture and put it to use here. The walnut for the caps is excellent stuff, but an off cut that also happened to work out.

 Reply With Quote


 I have plenty of work coming up, some cabinetry and possibly some tables.....and some drywall work and painting, lol.