Jim, thanks for sharing your project..It was fun to see it develope!! Good attention to detail..Thank you for sharing.


 Contributor
Jim, thanks for sharing your project..It was fun to see it develope!! Good attention to detail..Thank you for sharing.
Jerry
 [OP]
Moderator
[OP]
Moderator
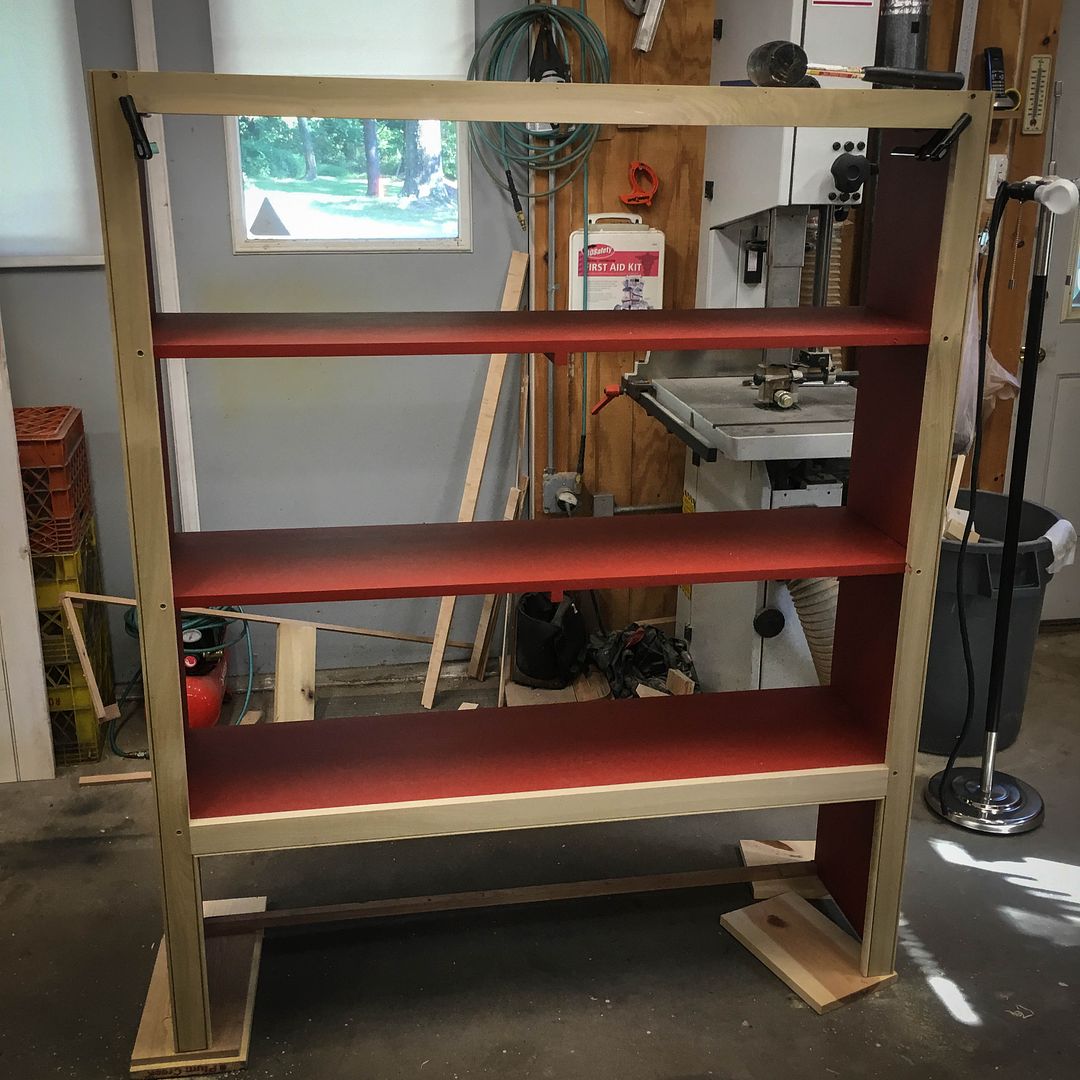
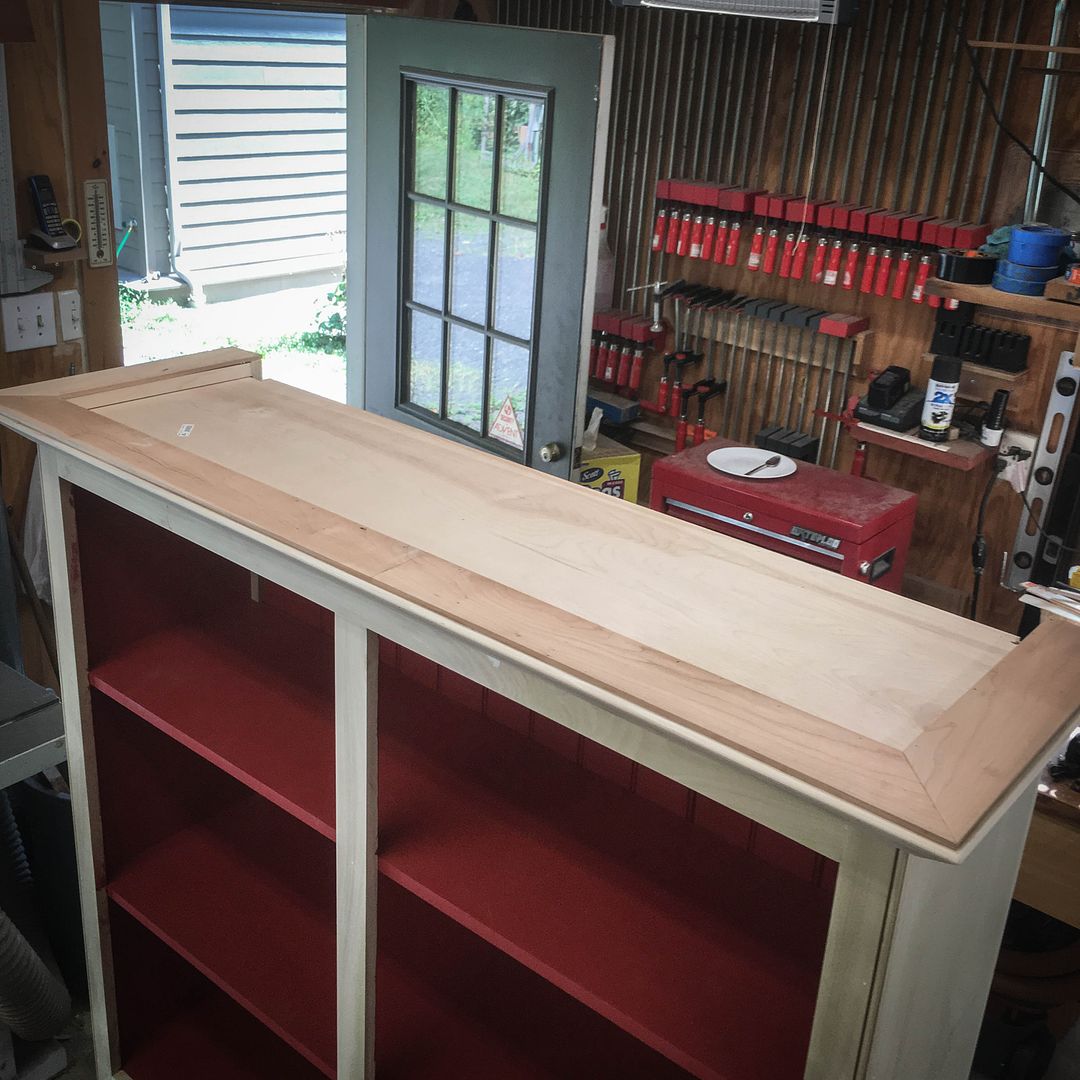
Returning to this great project, the upper hutch portion was finally completed and the unit installed in our great room where it will certainly anchor the dining area end of that big space. Here are some more build photos and at the end, the result.
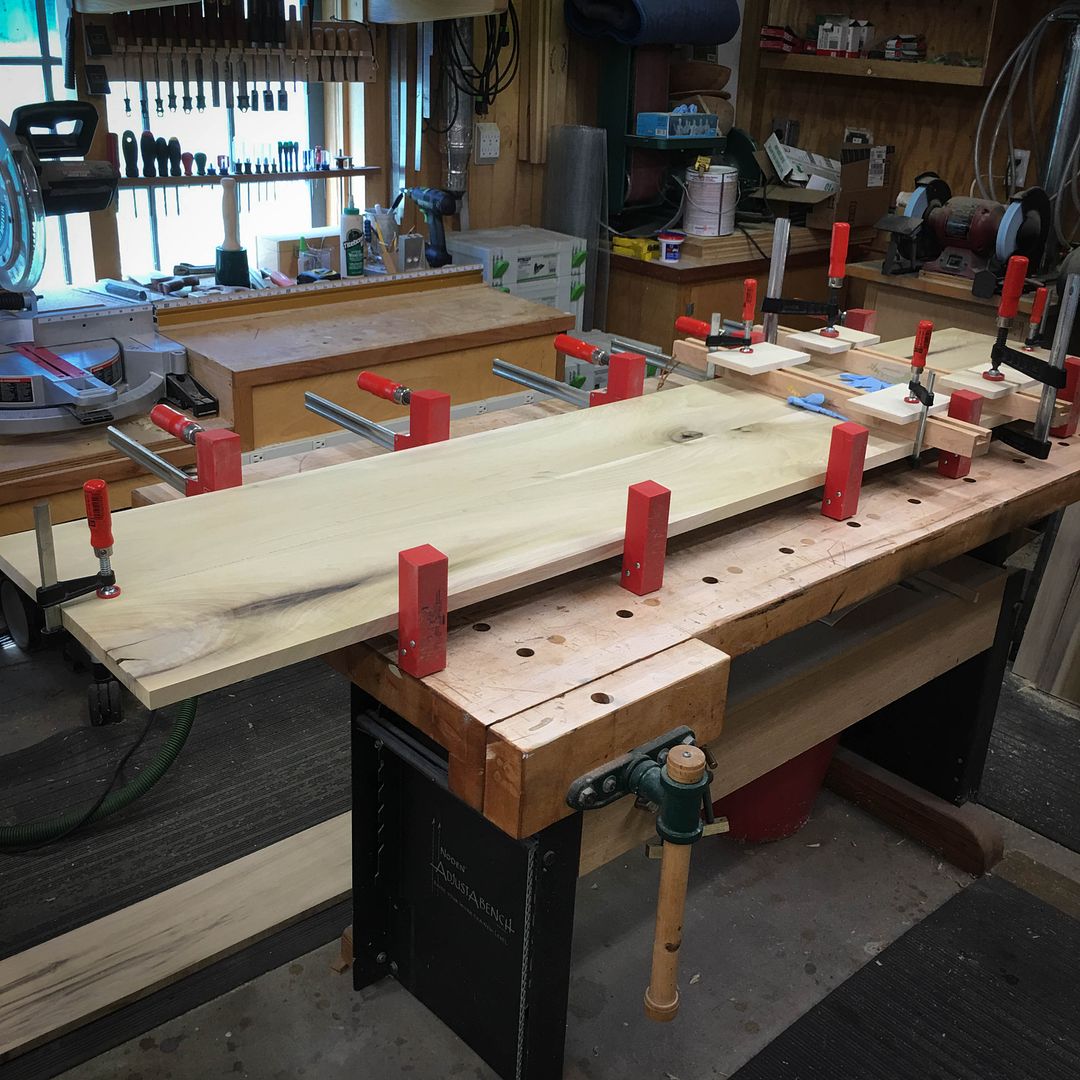
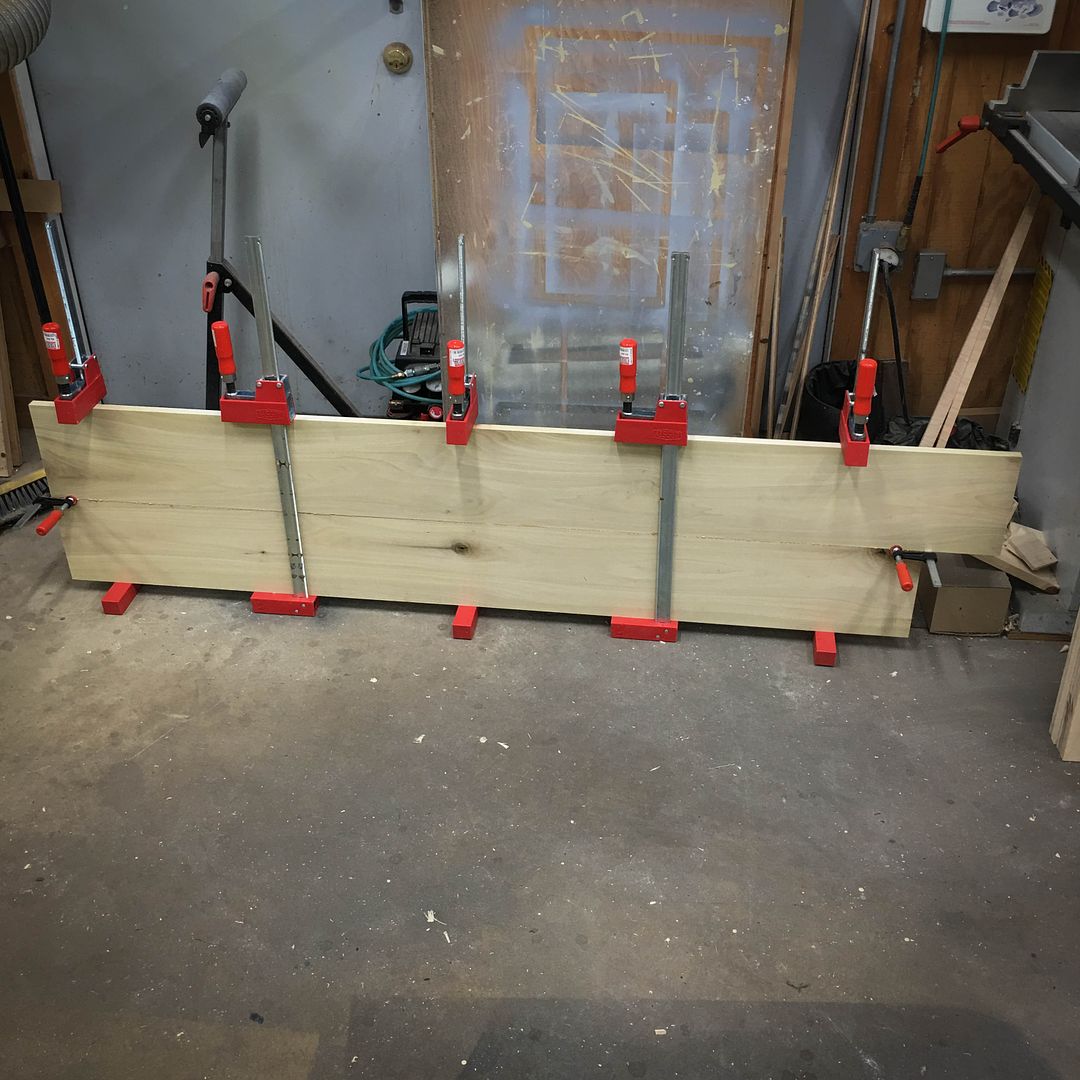
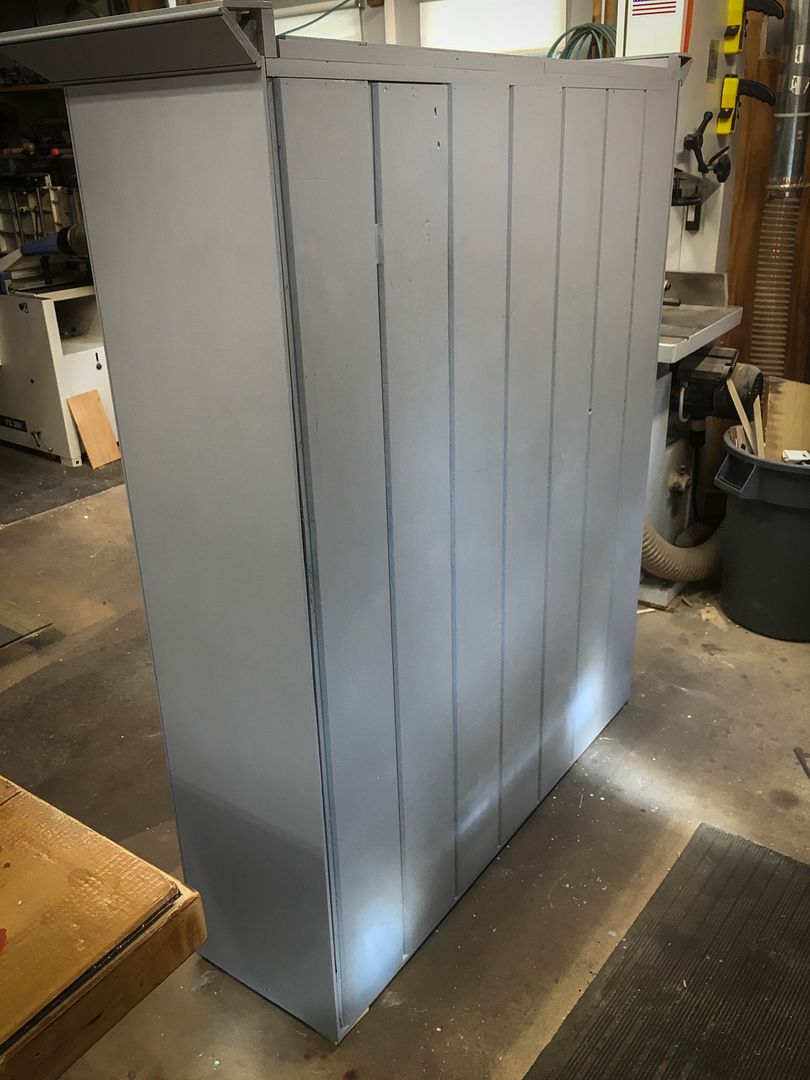
Like the buffet portion, the sides/ends of the hutch are glued up solid stock...poplar off our property in this case
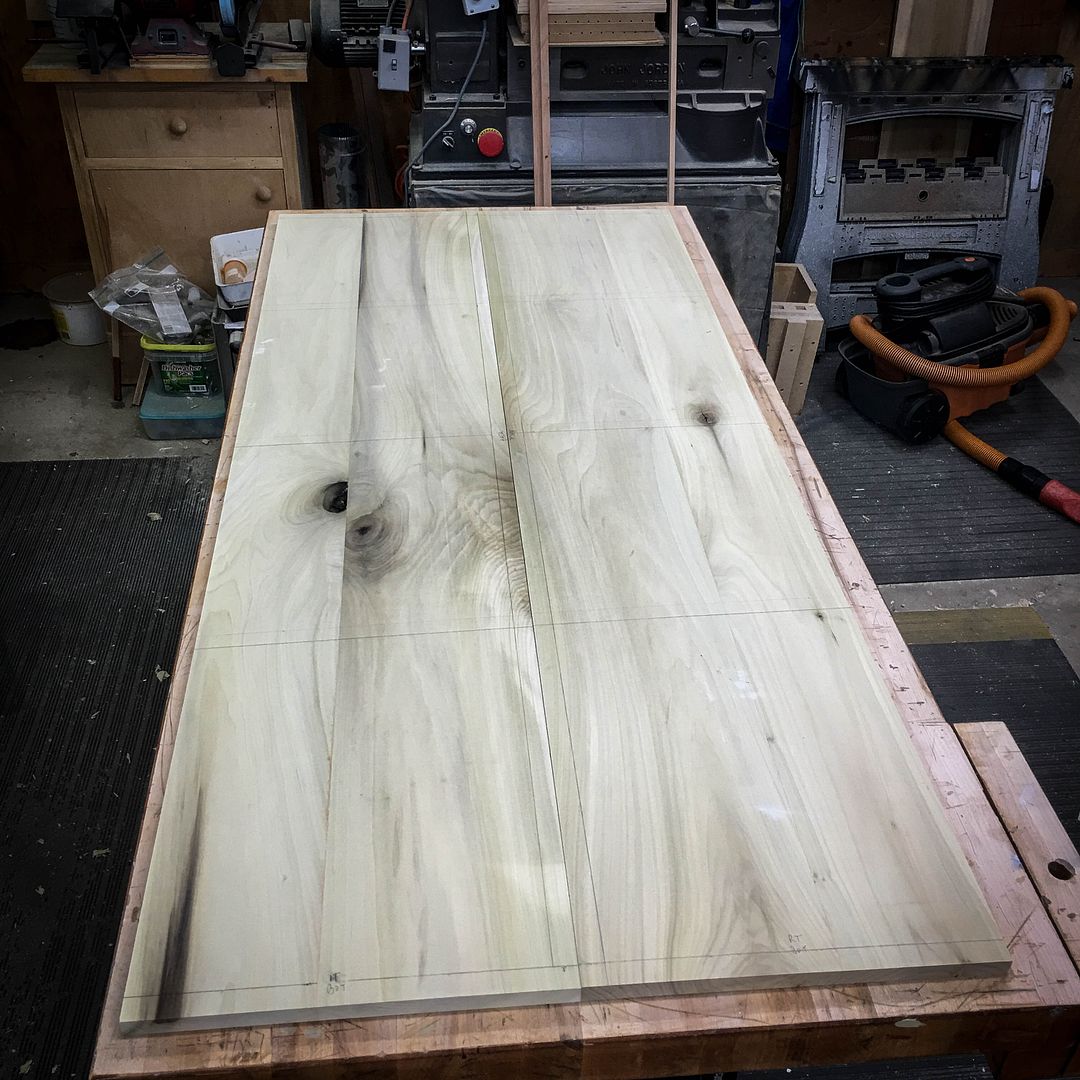
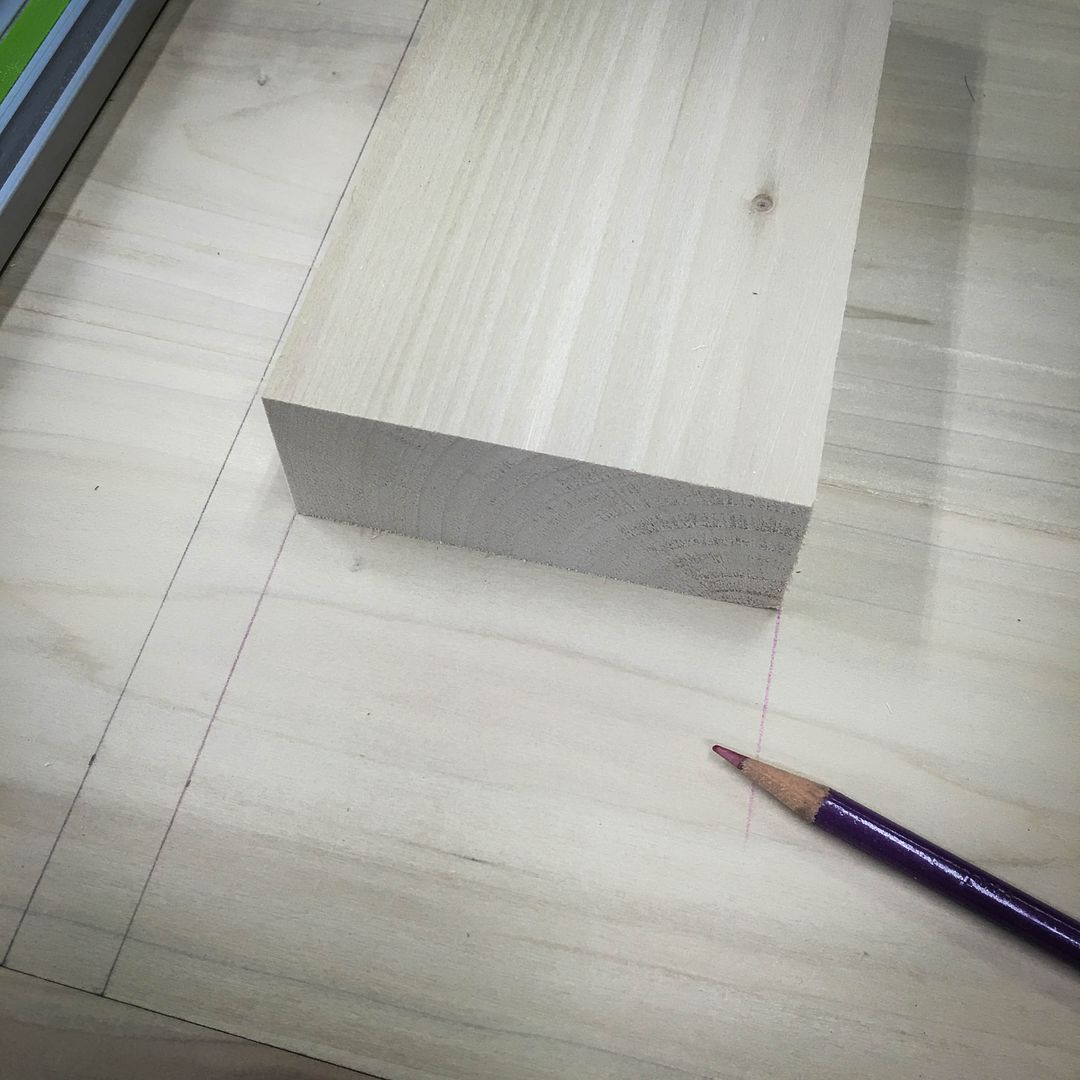
After sizing, the grooves and rabits are laid out right on the material, presumably so things mirror each other. Subtle hint...measure twice...err three times...cut once.DAMHIKT!
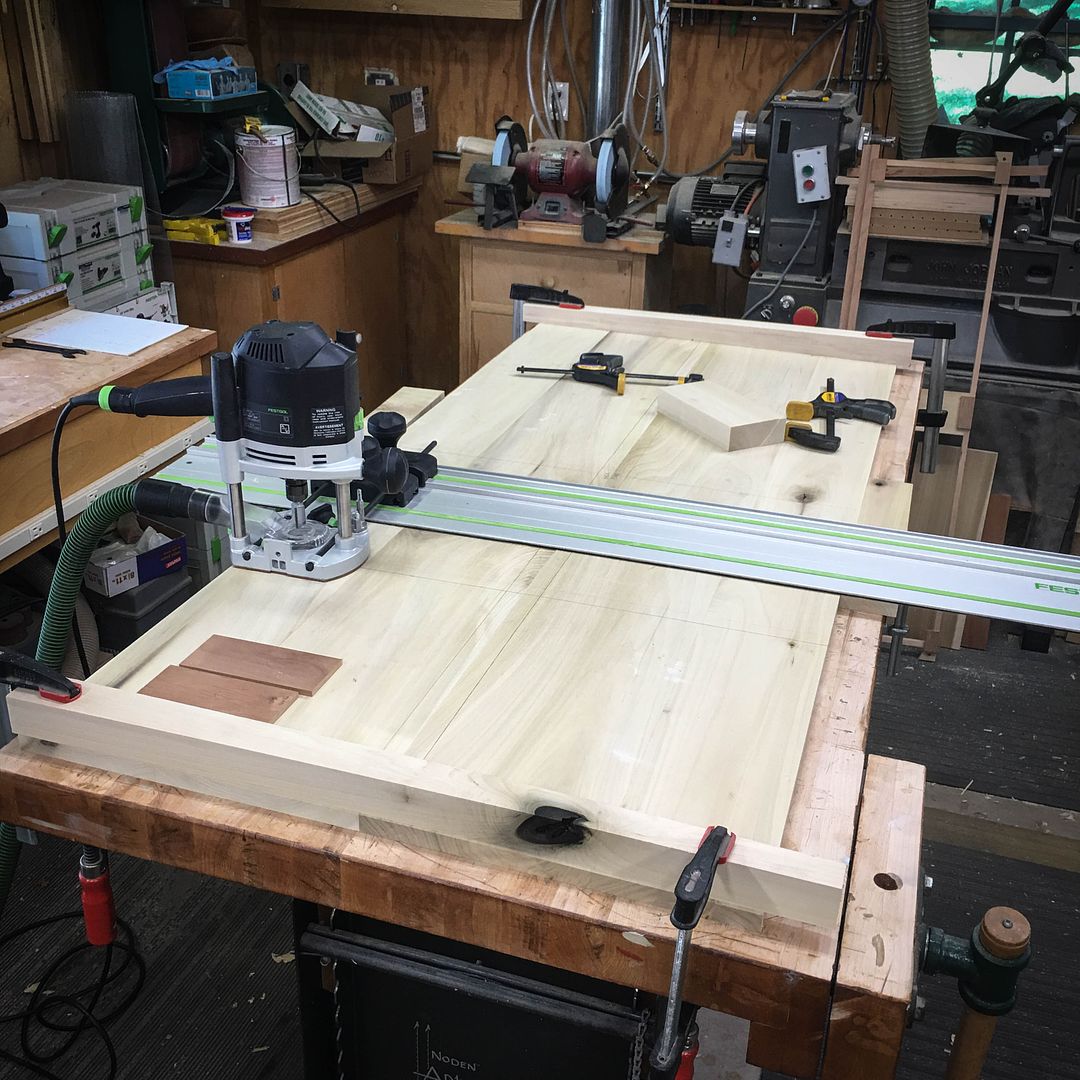
The OF1400 felt like getting GROOVY, so I fed it some wood...
I used setup blocks to mark the exact spot for the rail for each cut
You might recall my mention of measuring? Indeed. Fortunately, this is a painted piece and filling followed by recutting meant no wasted material. (and yes, "bad words" were directed at...um...myself...
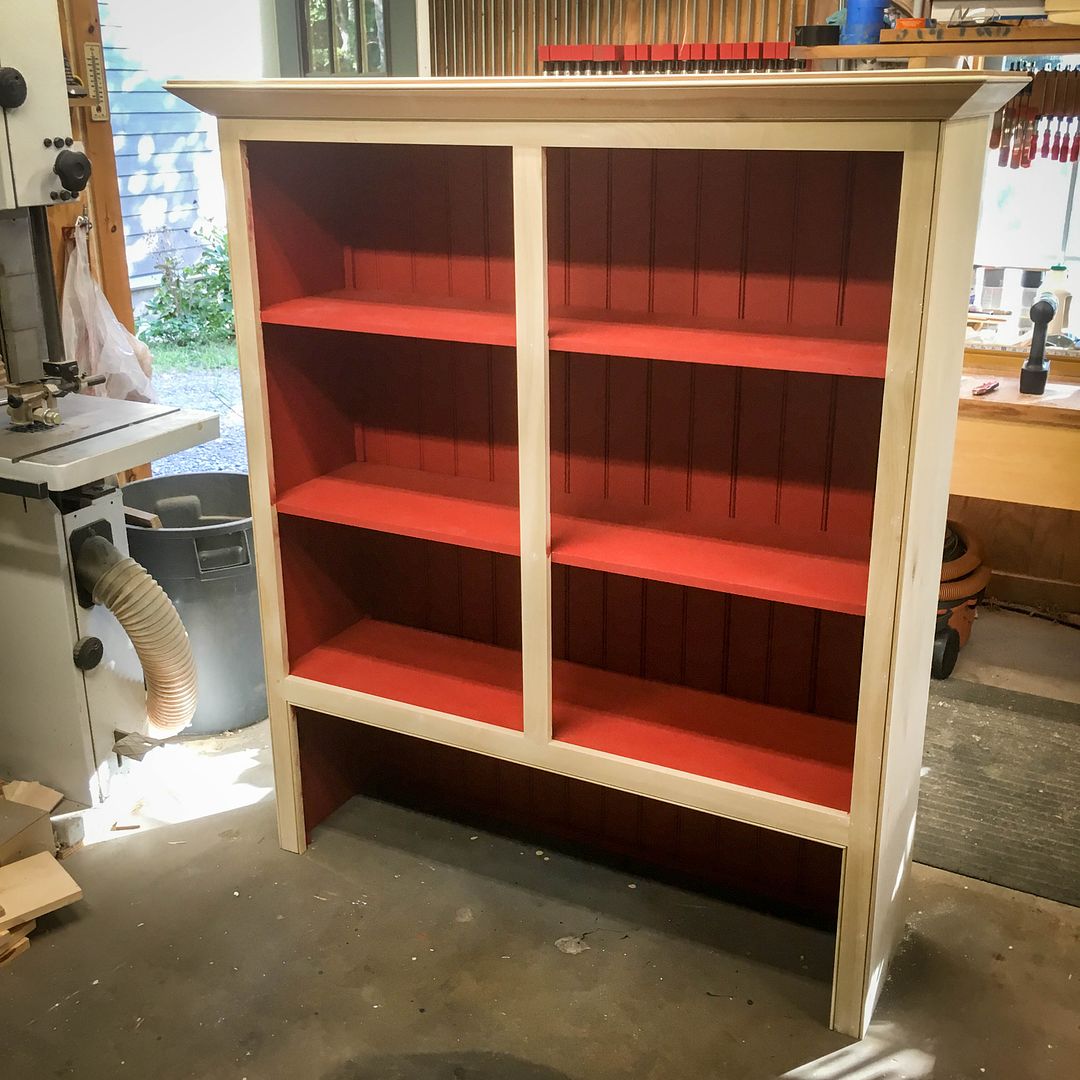
All better...Pre-painting the inside components prior to assembly made for a project with less bodily contortion
and crisp edges...
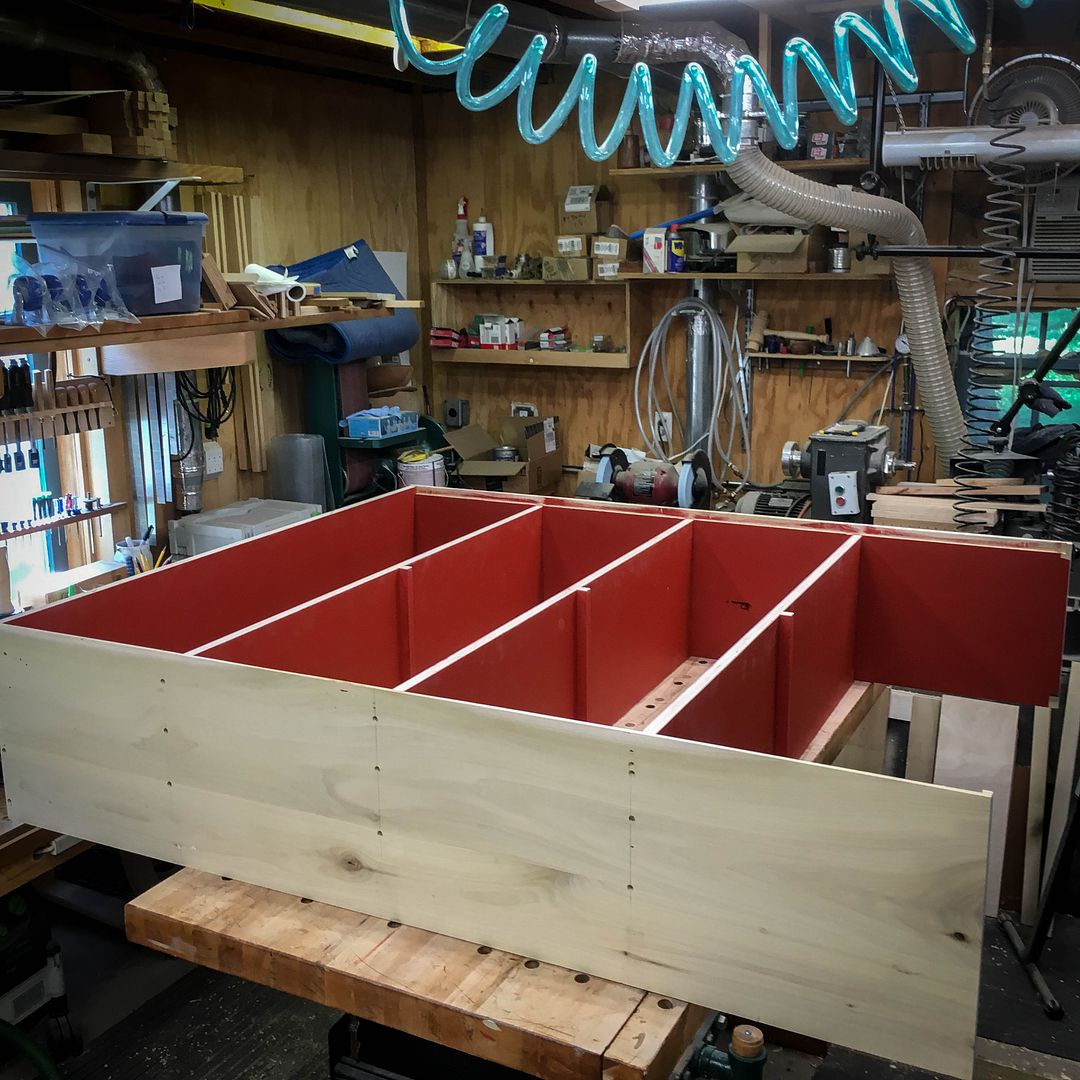
I think I need a bigger bench for assembly of things like this LOL
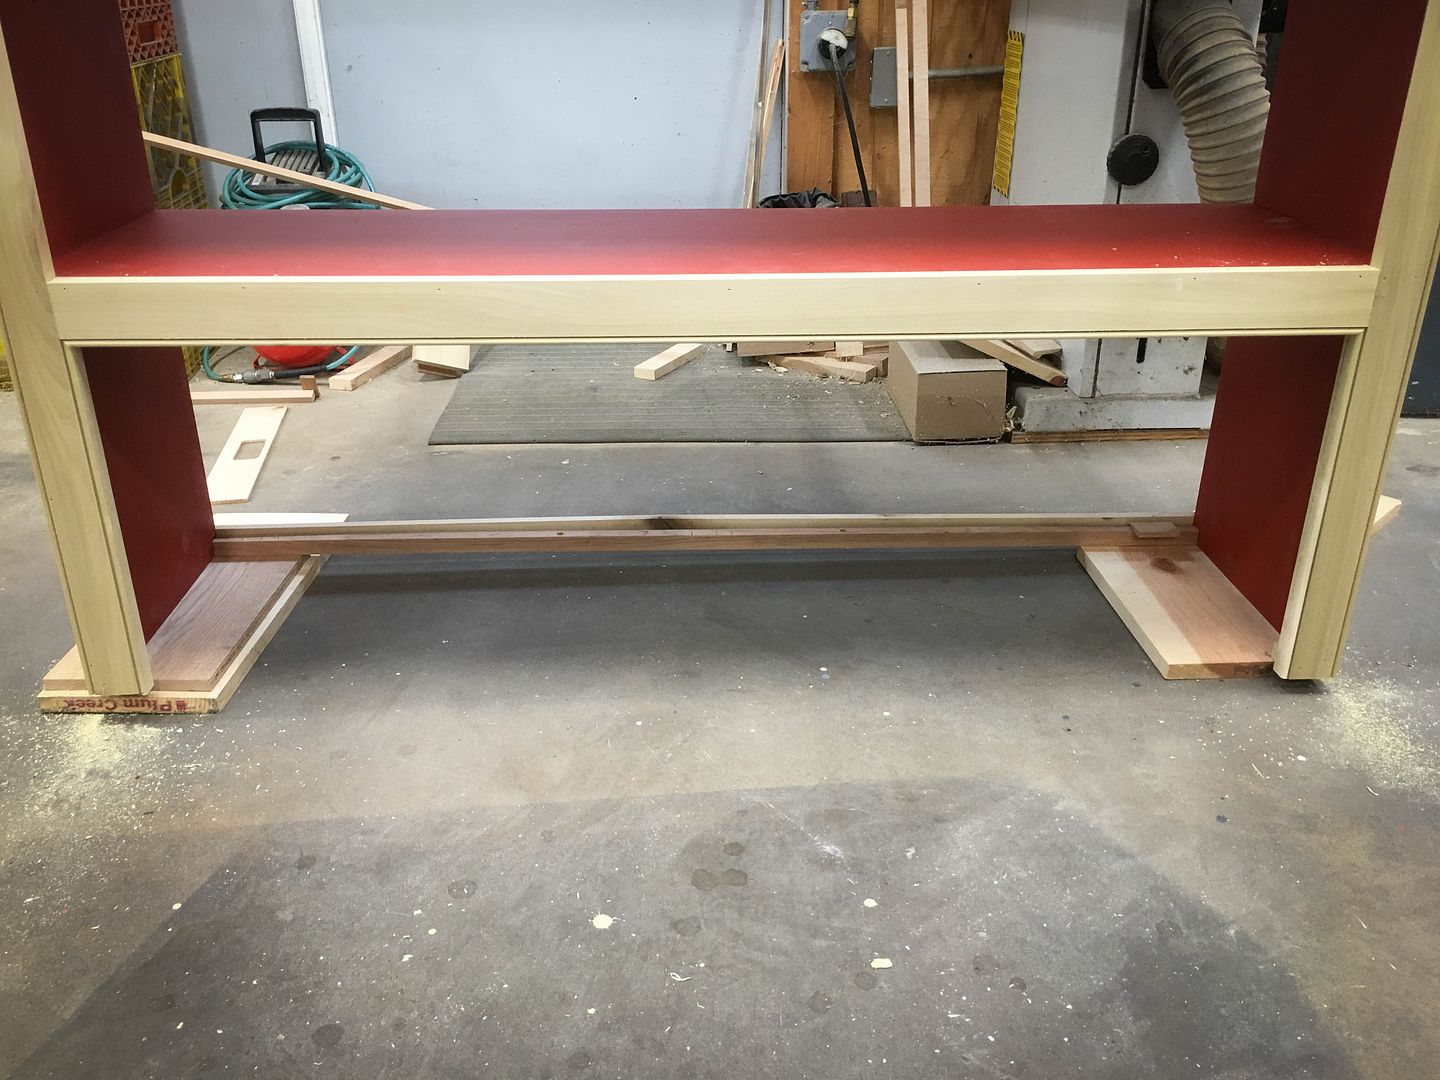
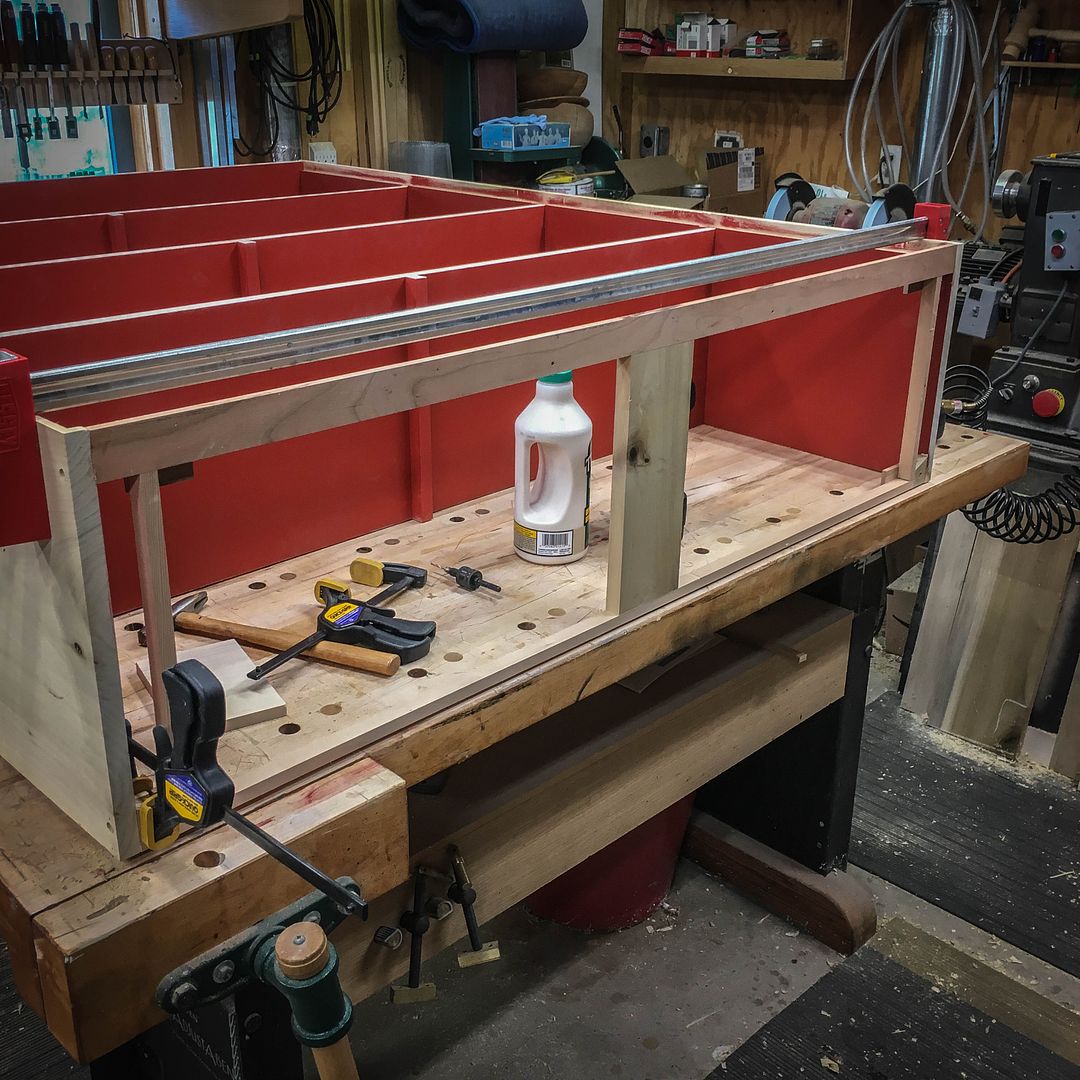
You may recall that during the construction of the lower buffet, I laid out the bottom back horizontal piece and the two front corner blocks for fastening the upper hutch to the lower buffet. These were locked together with scrap and 23 gage pins and this assembly was used to exactly size the hutch. Here, I've fastened these components to the glued up carcass. The scrap jig pieces get removed once glue is cured, leaving the pieces in exactly the places they need to be to line up with the pre-configured threaded nuts in the buffet top.
--
The most expensive tool is the one you buy "cheaply" and often...
[OP]
Moderator
At this point it was time to start applying the beaded face frame to the carcass with glue and brads...and a few countersunk screws at key places that were later plugged
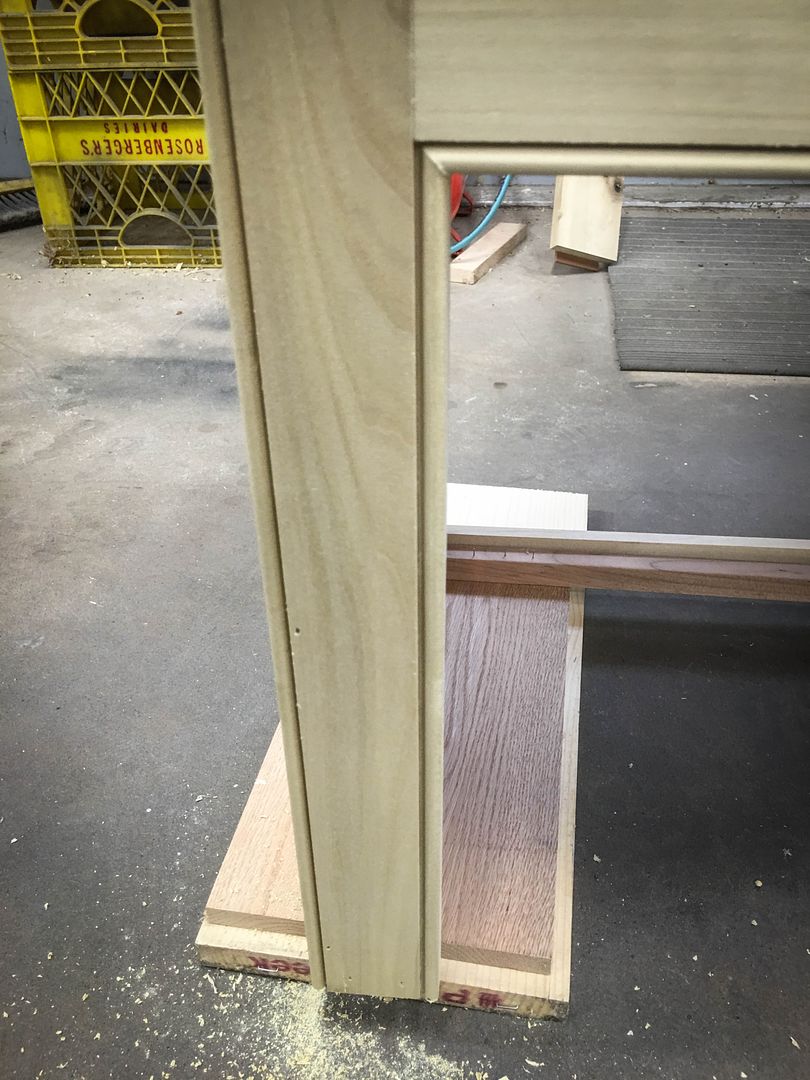
A double bead means careful attention to corners. Here you can see that the bead was cut back at 45º so that an applied bead on the inside of the stile would miter in properly
Resulting in this...
and this...
And finally...this...
Painted piece. Plugs sanded flush, nail holes filled with spackle and ready to lightly sand smooth so we can move on to the next step
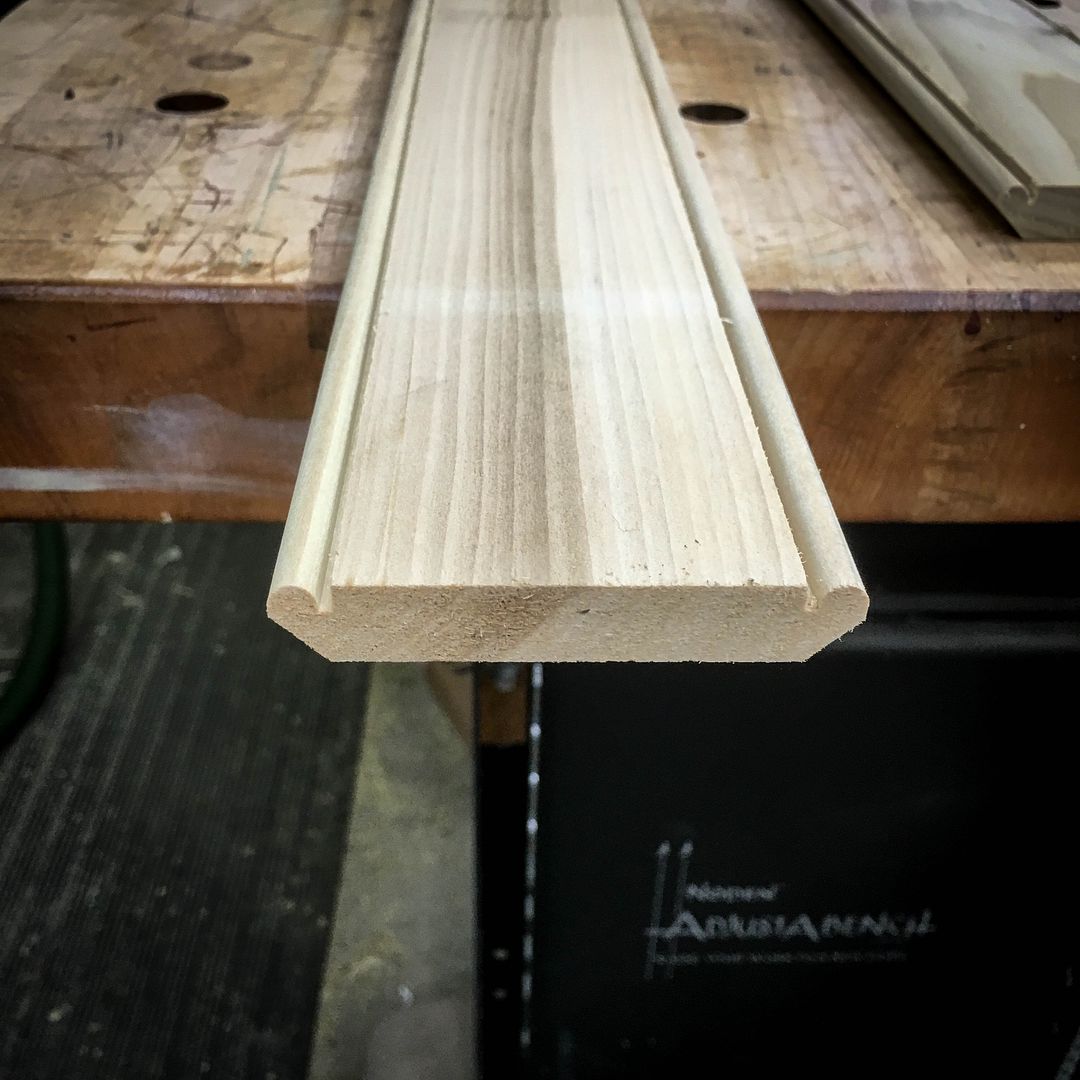
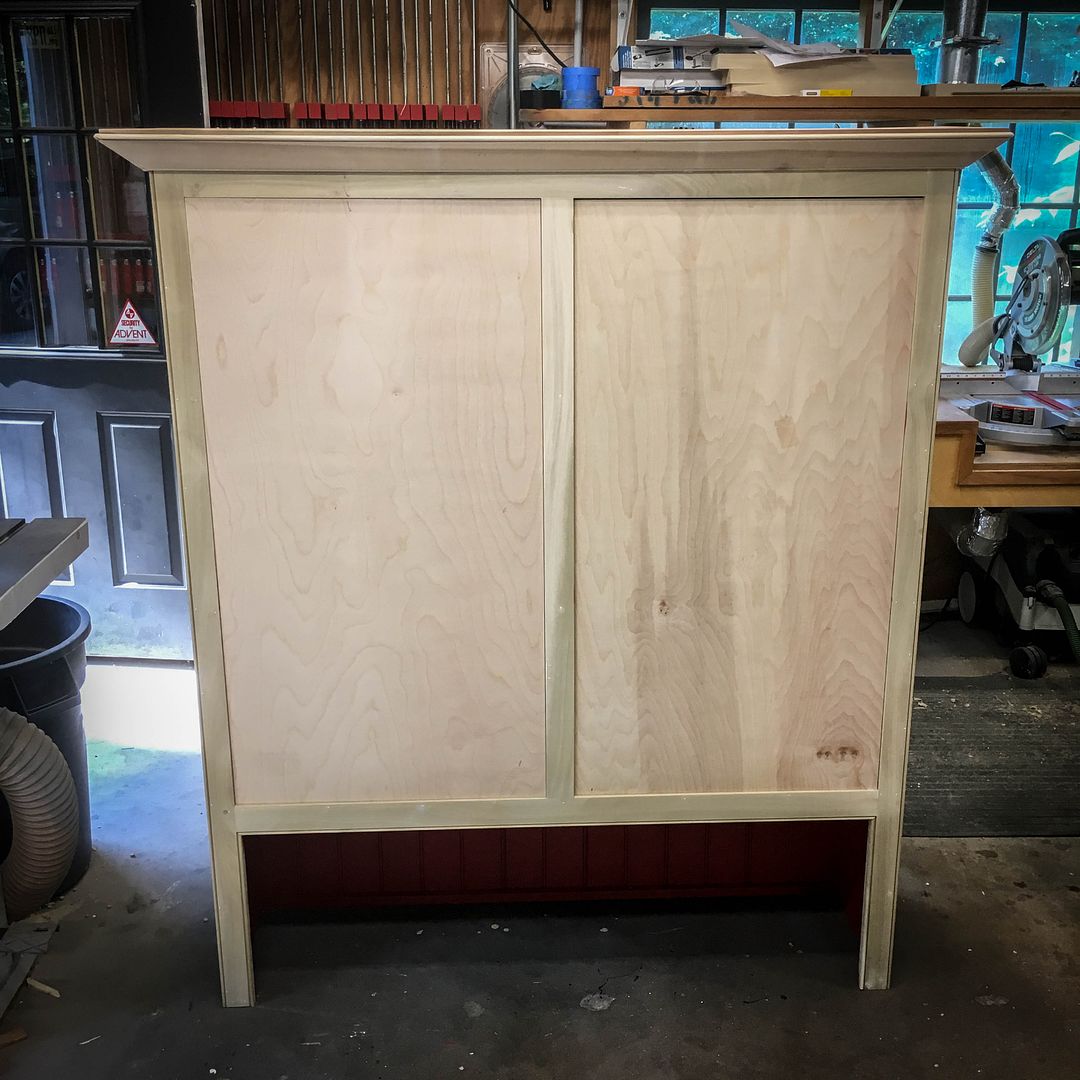
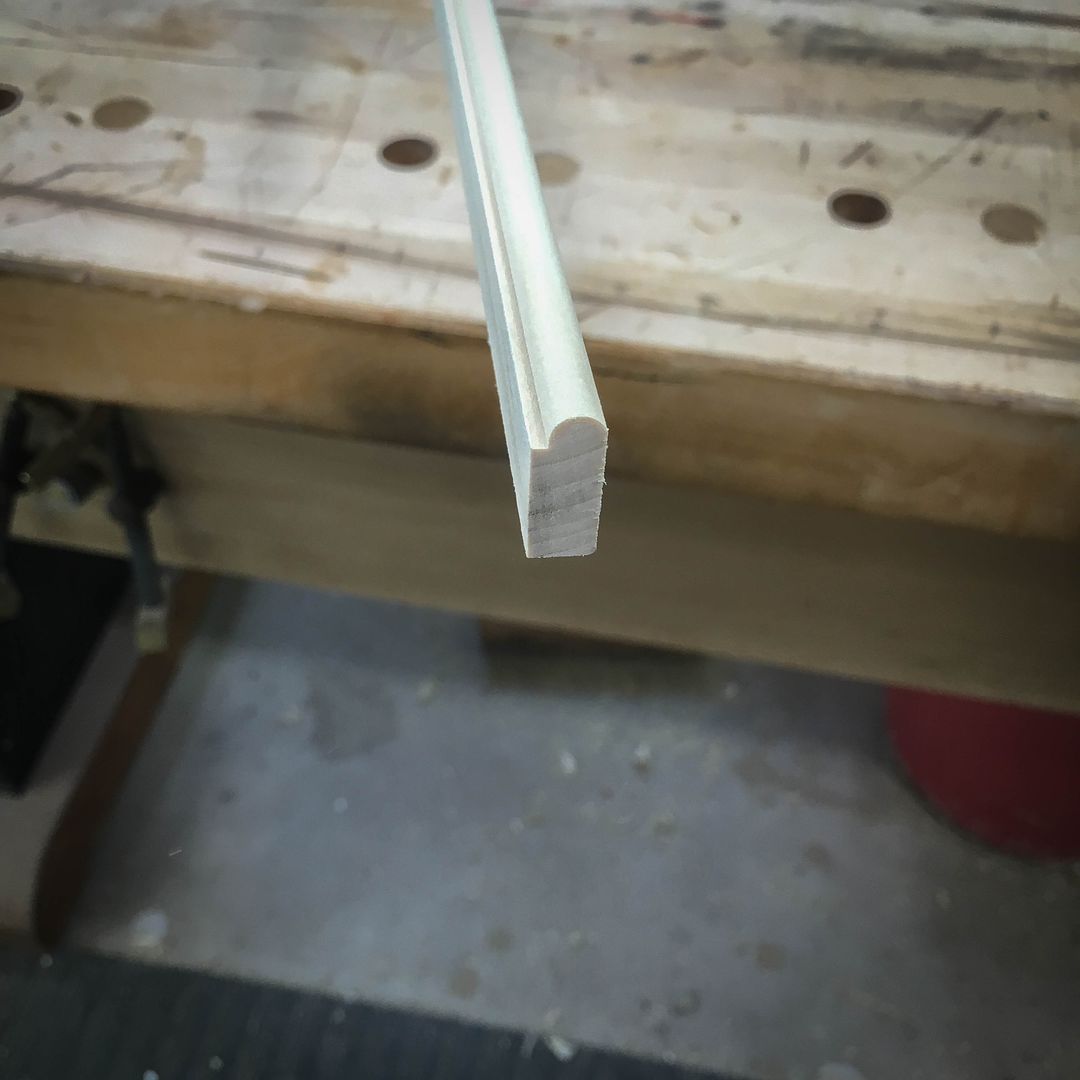
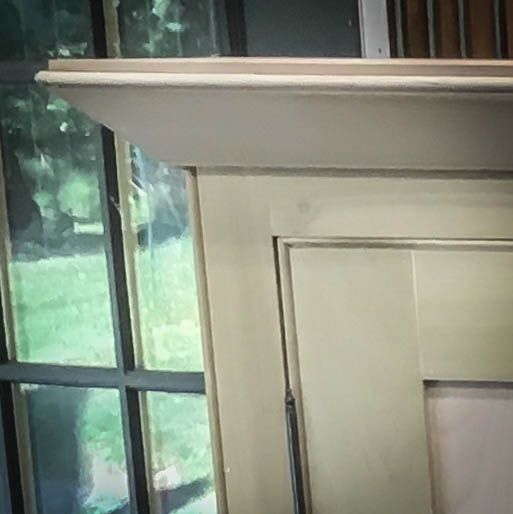
And that would be the "crown" on the top of the piece which also features a double bead. Here's the profile
The crown was built up (all at 45º for simplicity) using scrap blocks (not shown) and then the whole thing was capped and cleaned up. Why? Because the top of this unit will actually be visible from the loft-landing and it needed to not look like a hot-mess of miscellaneous pieces of wood glued together by a drunken chipmunk.
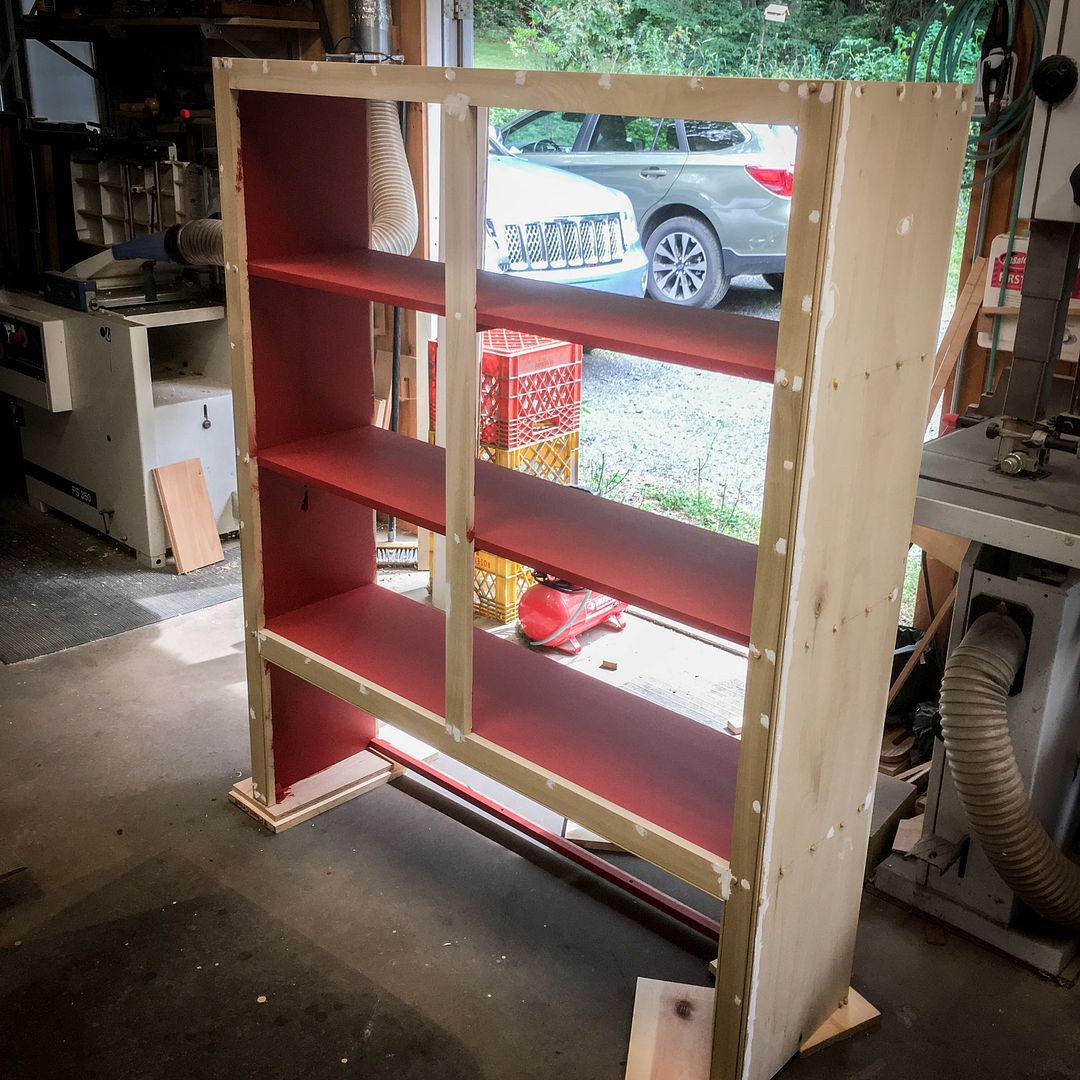
At that point, construction is almost complete for the upper hutch unit
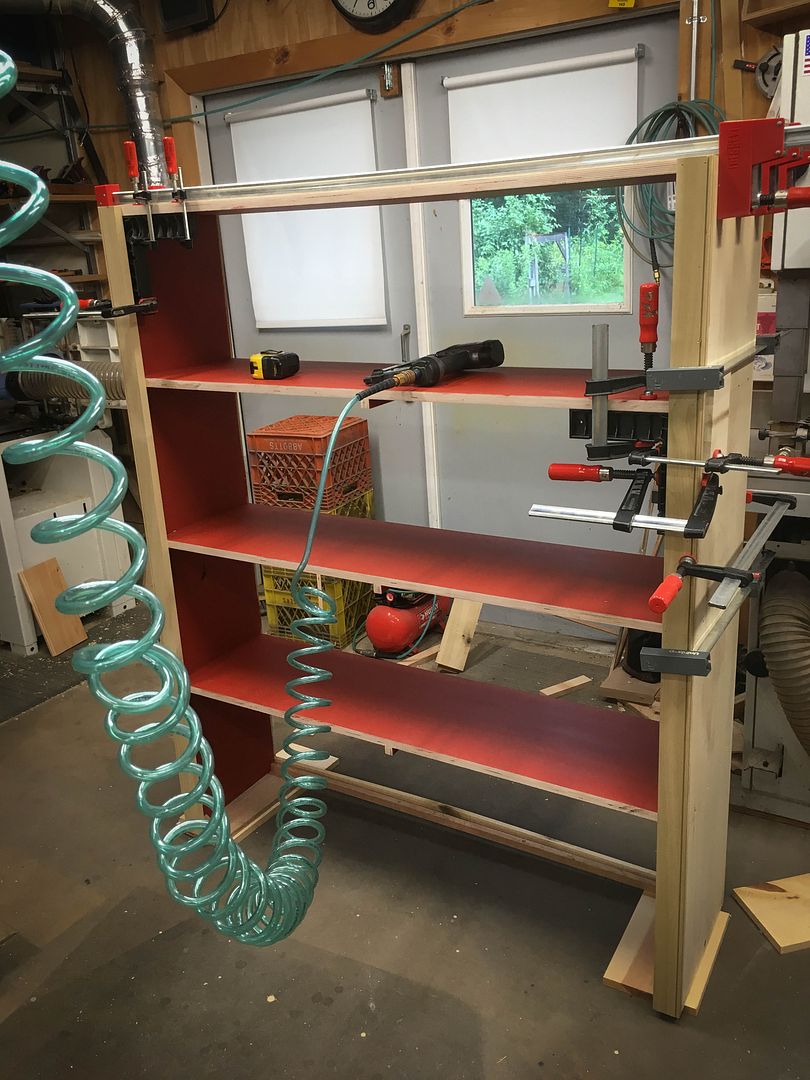
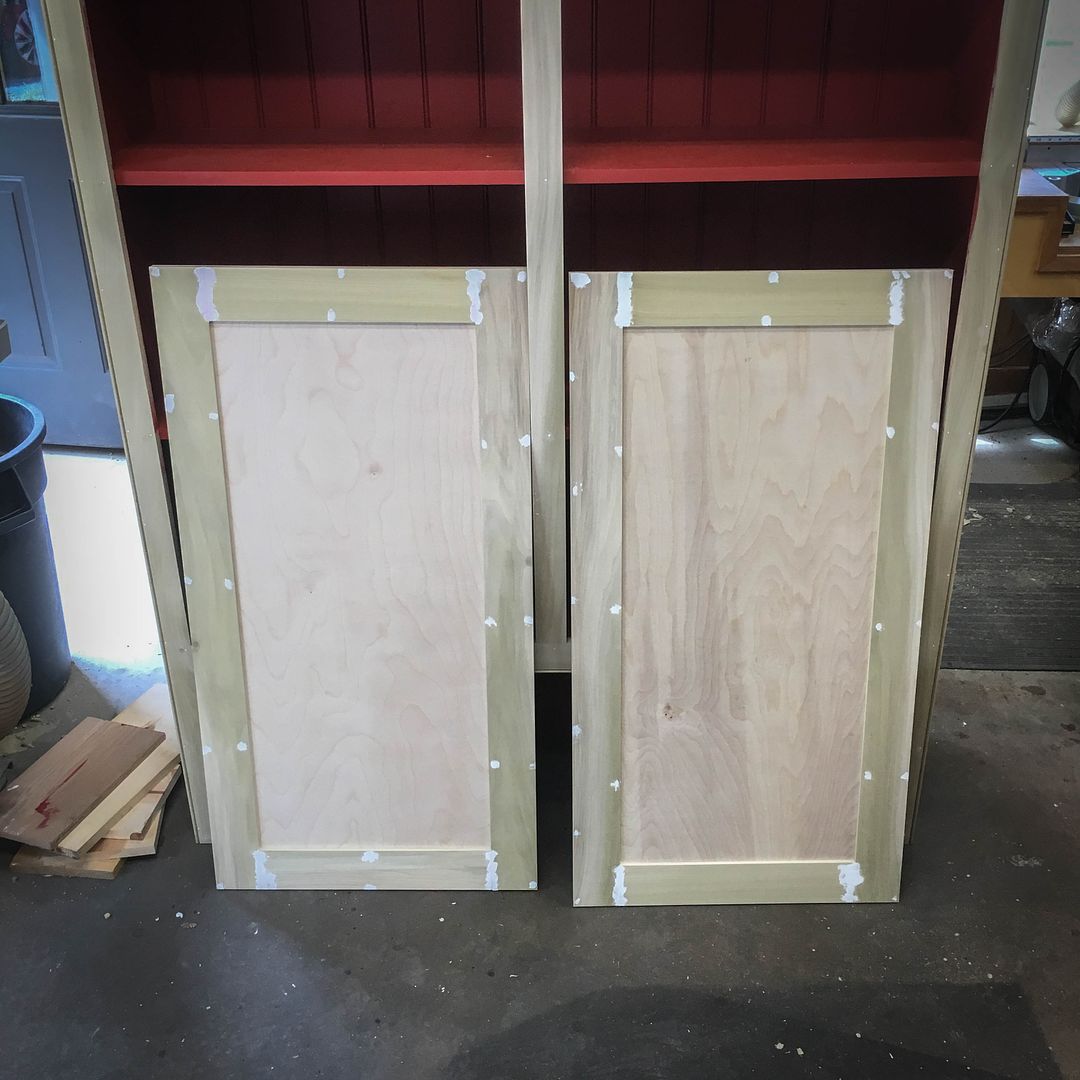
Here, I'm fitting the basic 1/2" plywood panels that will be the core of the doors. The reason I did it this way is that sadly, the unit isn't perfectly square so each door had to be carefully sized to fit the space and the angles. In this initial step, I made the panels snug...material will be removed to account for both the thickness of the beading that will be wrapped around the doors as well as the desired 1/16" gap all around once hung on hinges. Rarely are we perfect in things, so the real challenge is to "make it work"
After the careful fitting and then cutting down the panels the proscribed amount, the 1/4" thick overlays were (lightly) glued and pinned to the plywood cores. I've used this technique for a few years to make faux frame and panel for my tack trunks and it works well here, too. As before, the tiny holes made by the pins, etc, are filled after initial sanding so that they disappear under the paint
Two down...none to go.
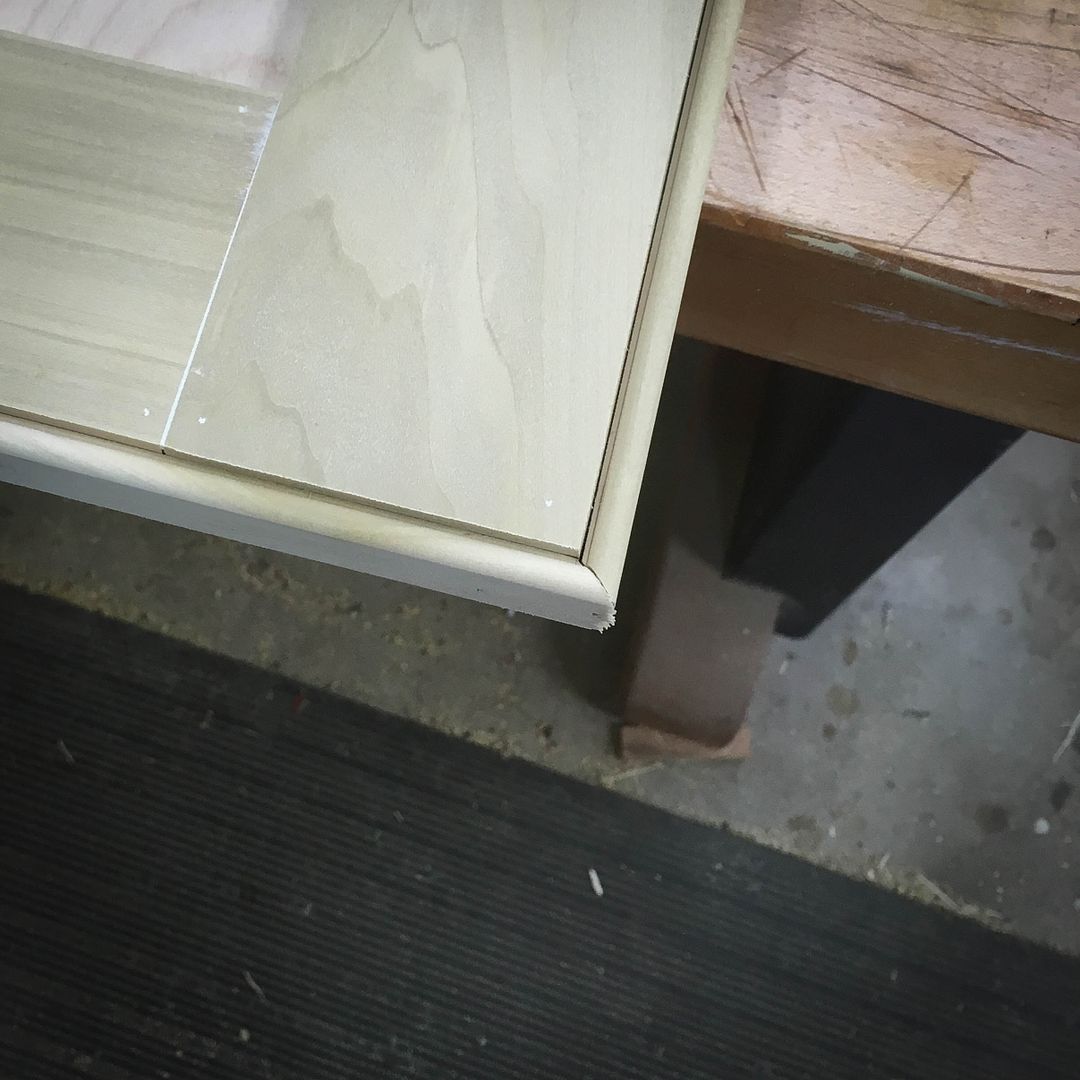
The final construction step for the doors is to apply the beading around the perimeter...here's what goes on with glue and pins, mitering the corners, of course
Giving you this...
Looks good here, too, just dry fit with thin shims on the bottom prior to pre-installing hinges

Last edited by Jim Becker; 11-28-2016 at 9:19 PM.
--
The most expensive tool is the one you buy "cheaply" and often...
[OP]
Moderator
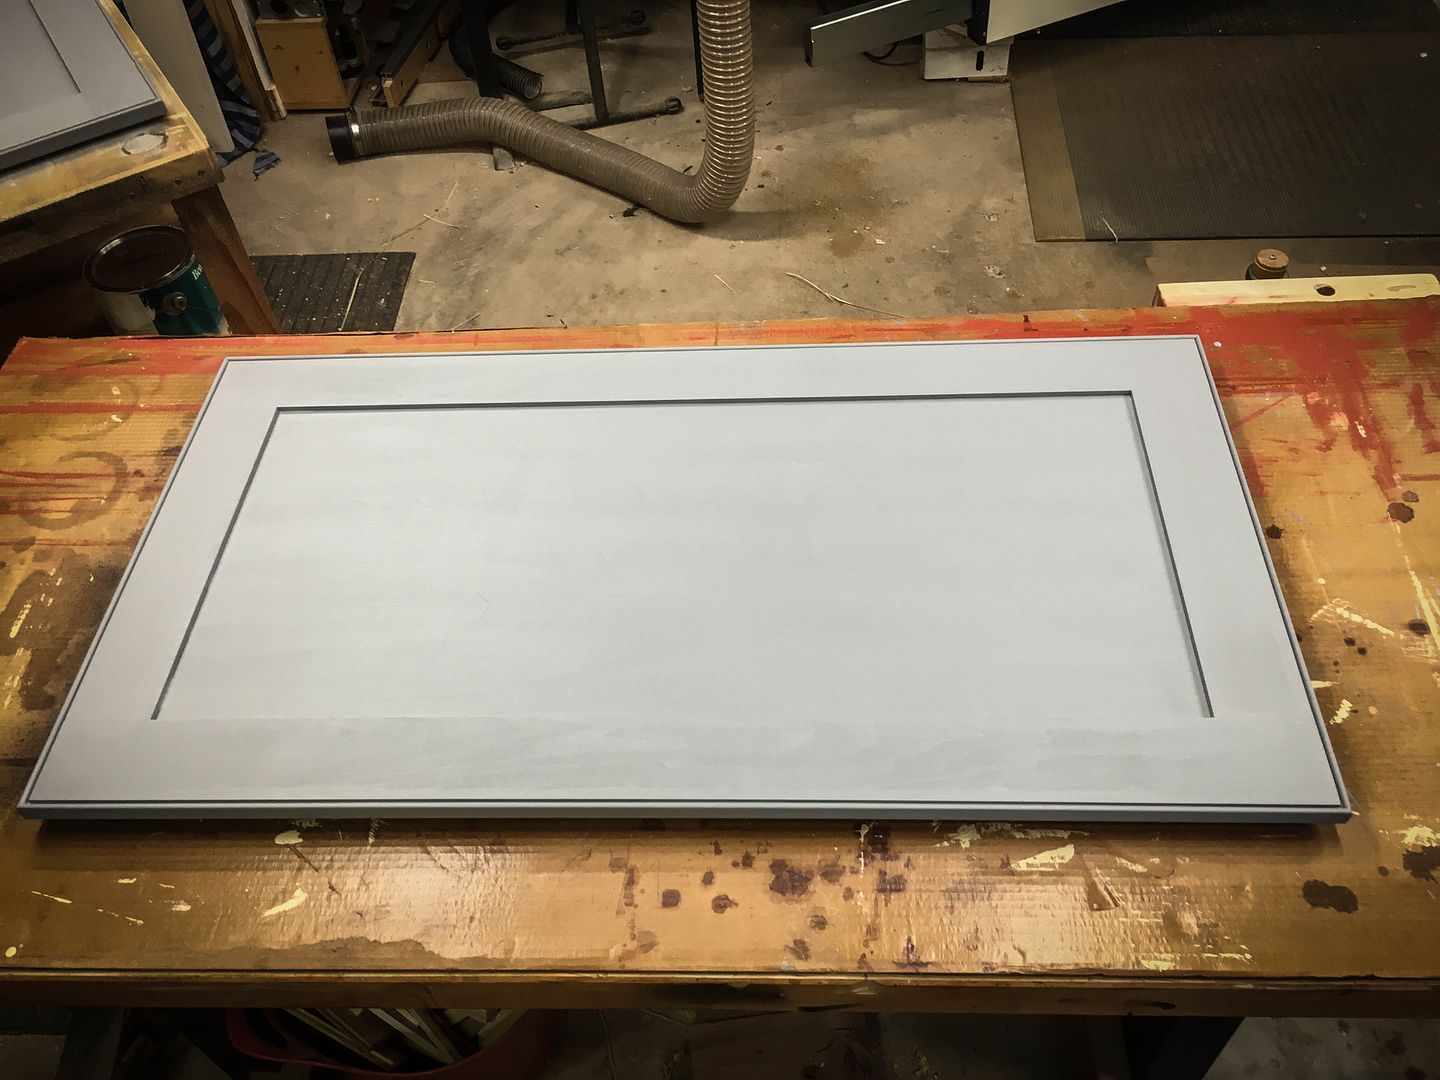
And the look with hinges prior to moving on to paint
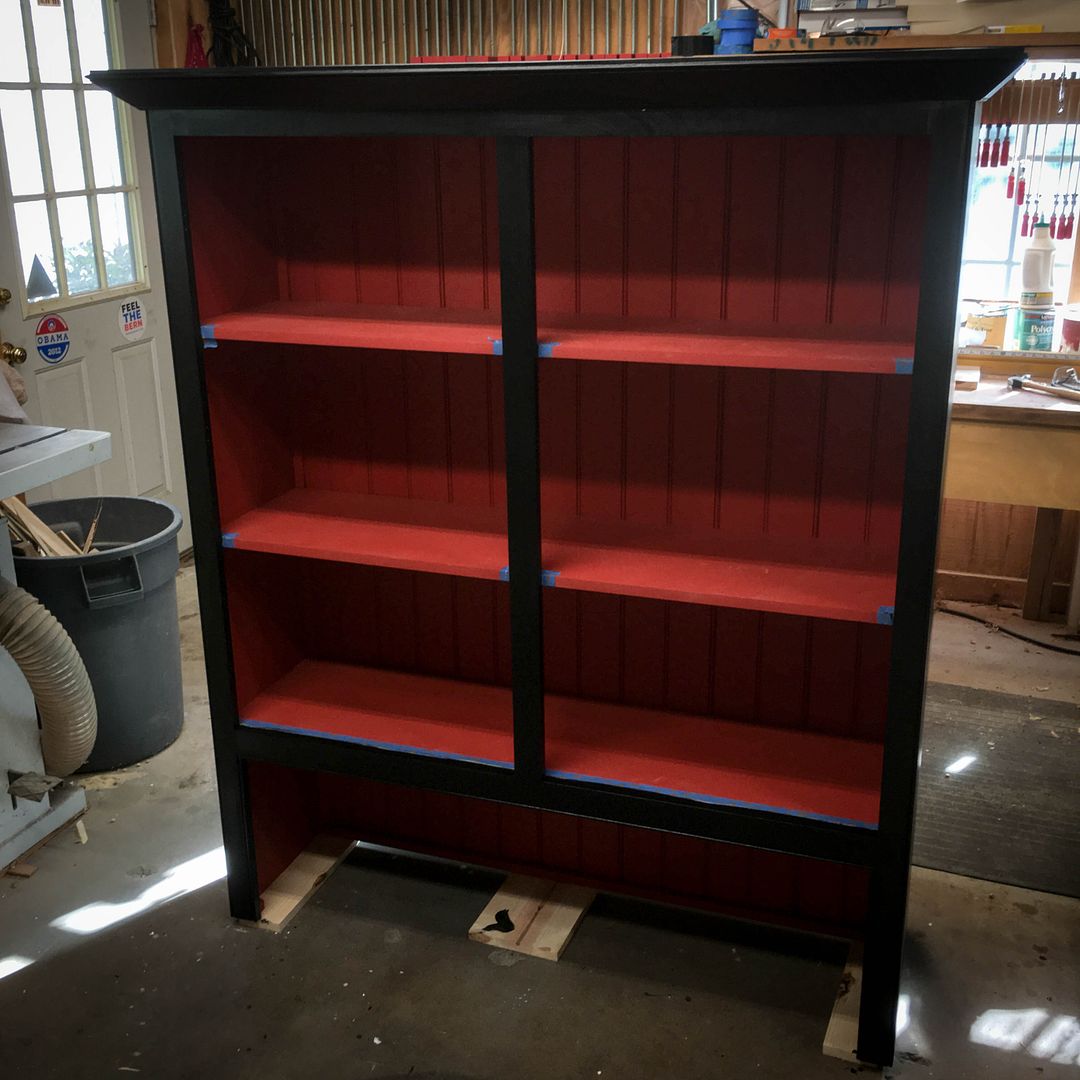
Priming is always a good idea on bare wood...this is just normal SW primer that I tinted gray given black paint was the target
I forgot to mention earlier that the back of the piece is recycled bead board that I got from a contractor friend. While I made the T&G for the lower unit myself, I decided to use this old stuff up top to heighten the desire for this to not appear as something "new"
The doors were also primed on both sides
Oooh...some color...this is BM Advance...brushed on. Again, I didn't want it to look "perfect" and "new"...
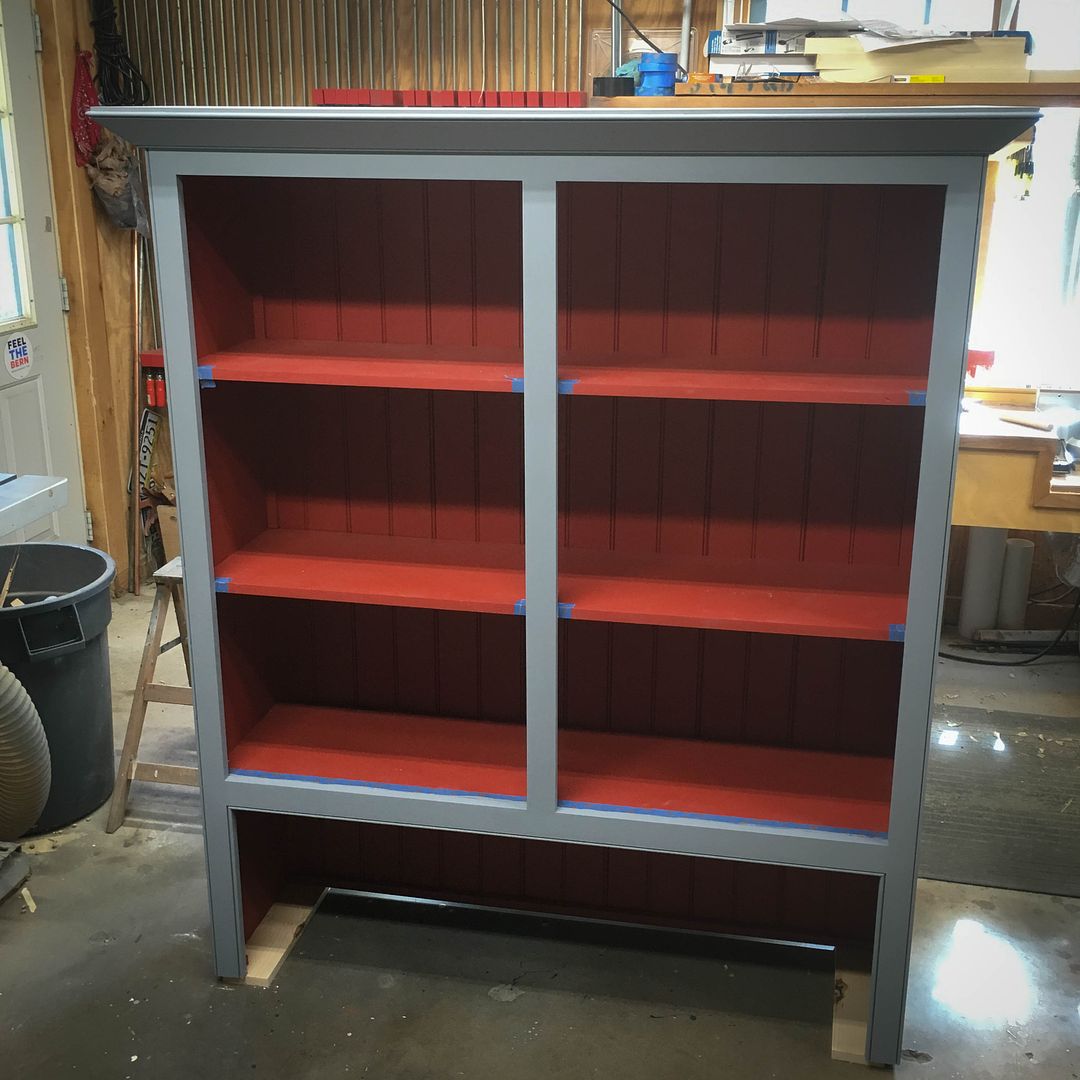
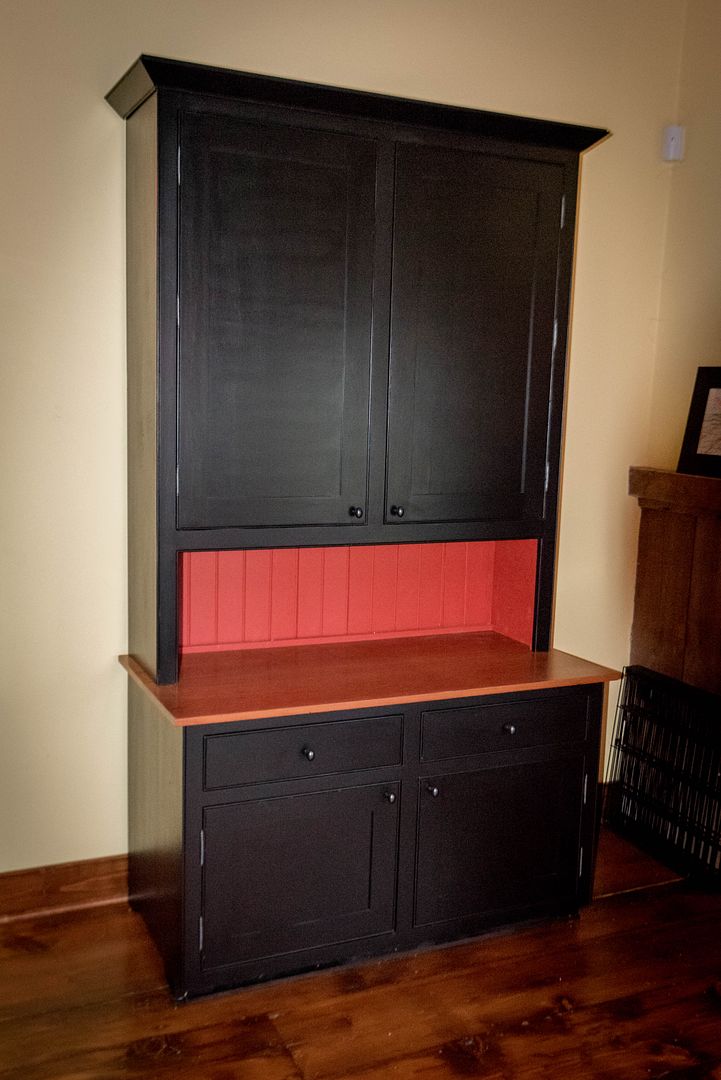
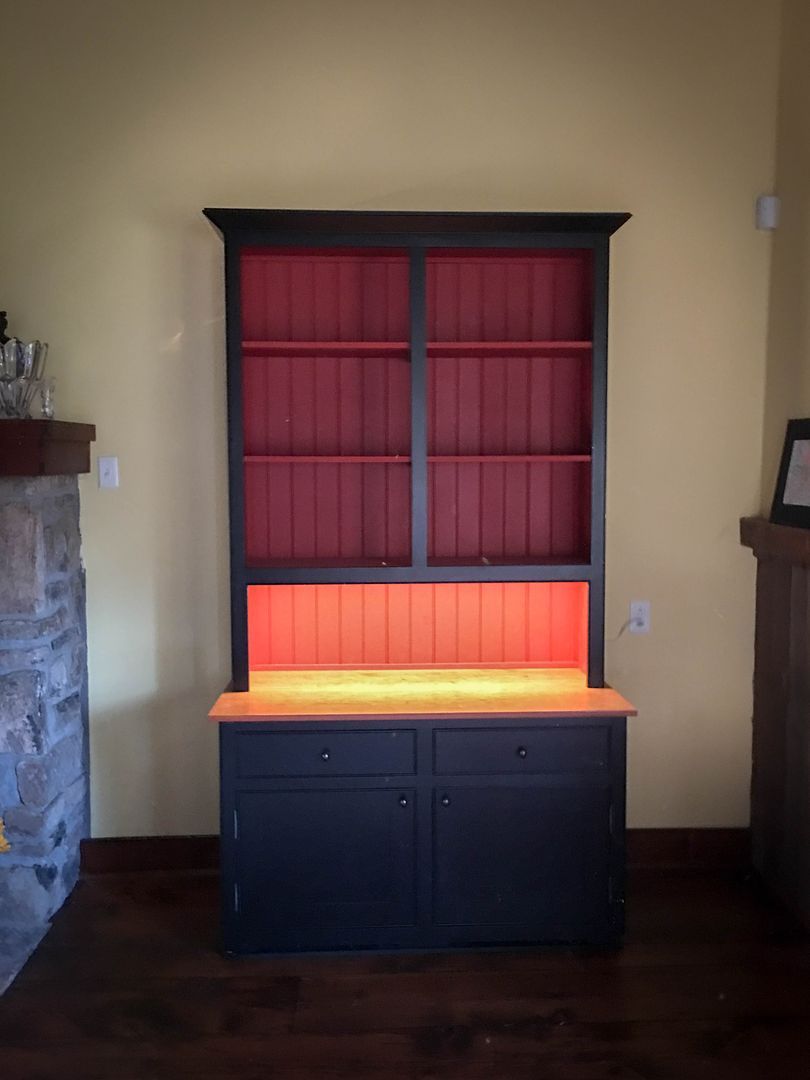
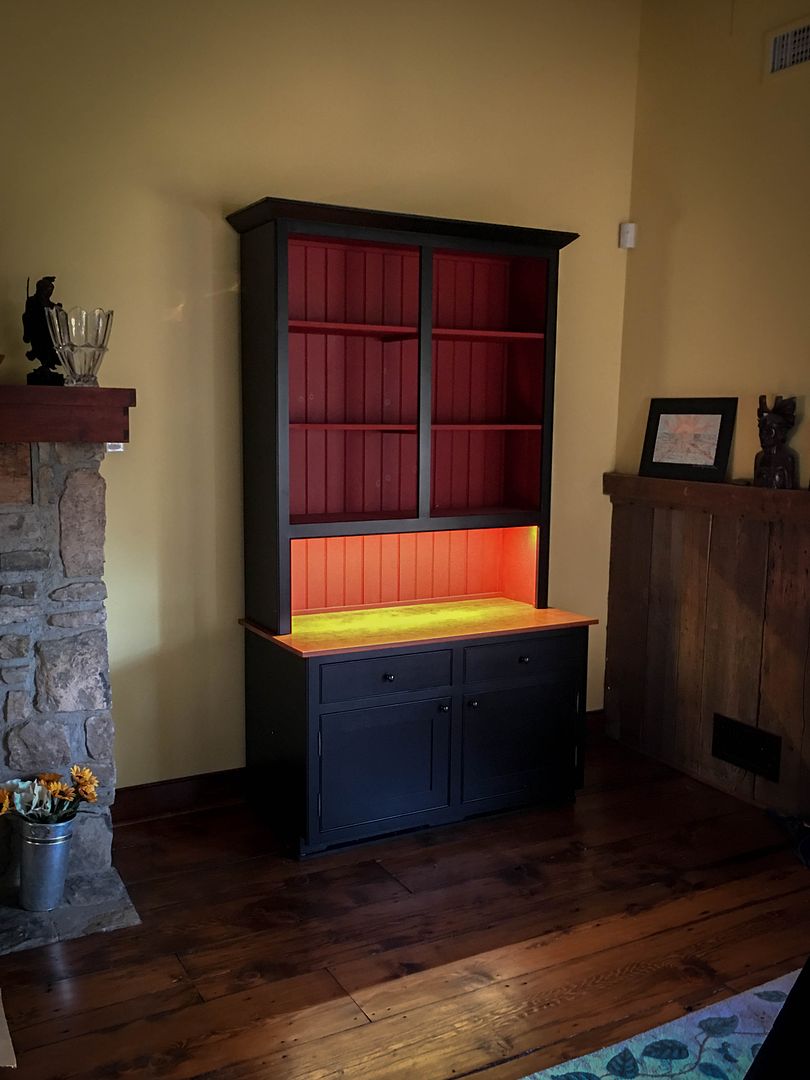
Which brings us to that final moment...just after almost getting killed carrying this heavy thing. Yes, that's a 9' tall buffet hutch. It was inspired by a similar piece in the local restaurant that I have lunch at nearly daily and is a nice addition to this room.
Did I happen to mention using some Lee Valley LED tape for some lighting? Nope...I forgot. I did.
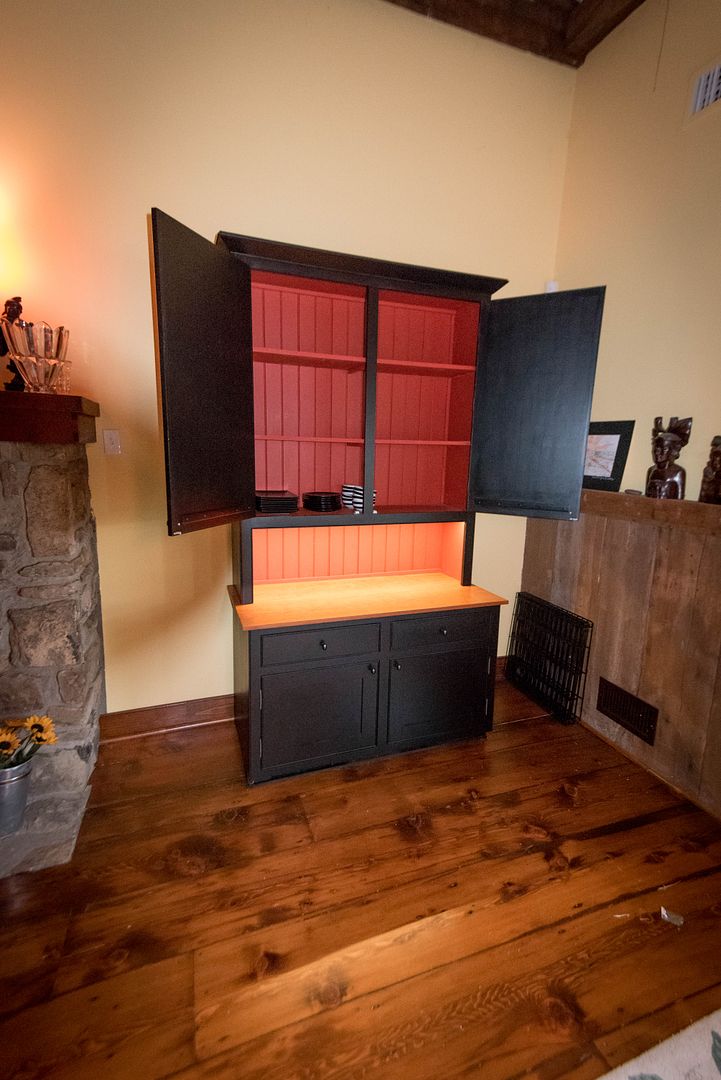
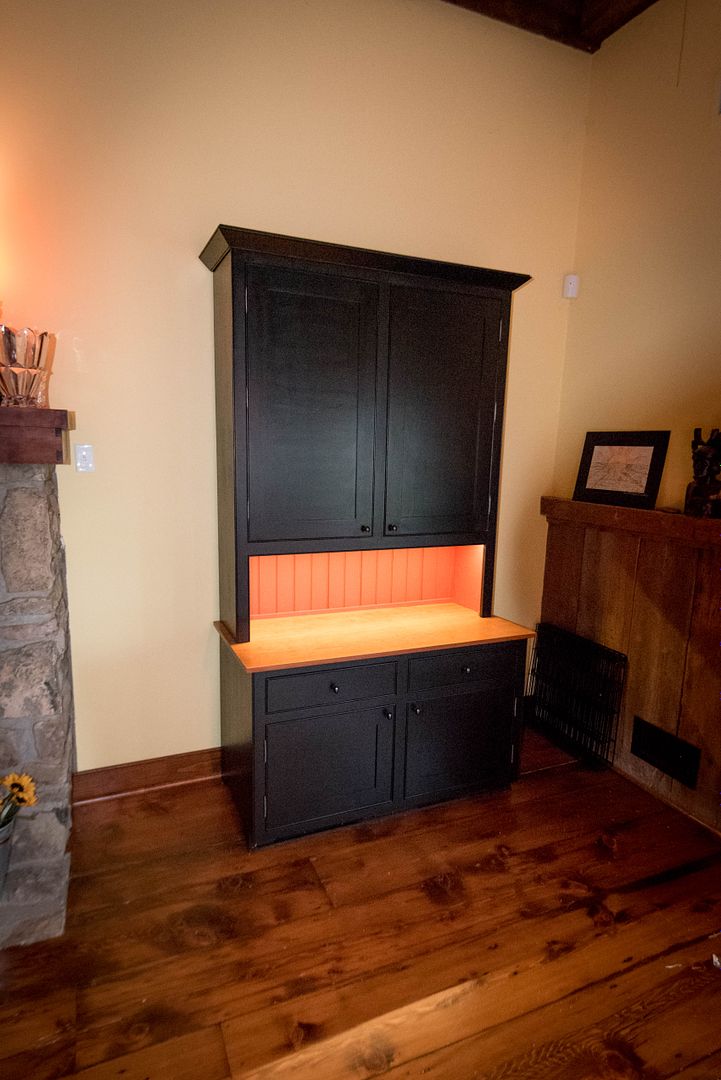
And...with doors...
Tosca approves!

Last edited by Jim Becker; 11-28-2016 at 9:30 PM.
--
The most expensive tool is the one you buy "cheaply" and often...
Contributor
Thanks for build thread. Looking good. Some nice construction tips also. Thanks.
 Contributor
Nice design. Work looks very well done. I like the finish very much. You can enjoy it all now. The build thread is excellent.
Jim
She's a beauty Jim. If Tosca approves, need we say more?
"A hen is only an egg's way of making another egg".
Samuel Butler
 Moderator
Beautiful work Jim. How tall are your ceilings?
Please help support the Creek.
"It's paradoxical that the idea of living a long life appeals to everyone, but the idea of getting old doesn't appeal to anyone."
Andy Rooney
Contributor
Yeah to all above. Great detail on useful project.
Member
Awesome work and it is so nice to be able to learn from a detailed build thread!
[OP]
Moderator
This is a Great Room with a cathedral ceiling, two stories tall. So at that wall, about 16' and much taller in the center of the room. That's why the piece needed some scale.Originally Posted by Bruce Page

--
The most expensive tool is the one you buy "cheaply" and often...
 Member
Nice job, Jim! Also a great job documenting with in depth pictures. That's an interesting beading detail on your doors and drawer fronts. I usually see the beading detail go on the face frames. I'm curious, have you seen those miters on the drawer fronts open up from expansion or did you allow for that somehow?
Member
I love the finished product, Kudos on choosing a painted finish, looks great!
[OP]
Moderator
I don't anticipate much issue with wood movement given the small size of the drawers. I could have used plywood for the drawer fronts, like with the doors, but wanted to try the technique with just adding the mitered beading to the ends for learning purposes. If there ever is some minor gaps...it will be completely in character with the desire for this thang to look older than it really is.
--
The most expensive tool is the one you buy "cheaply" and often...
 Contributor
Jim, you do poplar proud!
And I like those Lee Valley hinges!
 Posting Permissions

 Reply With Quote