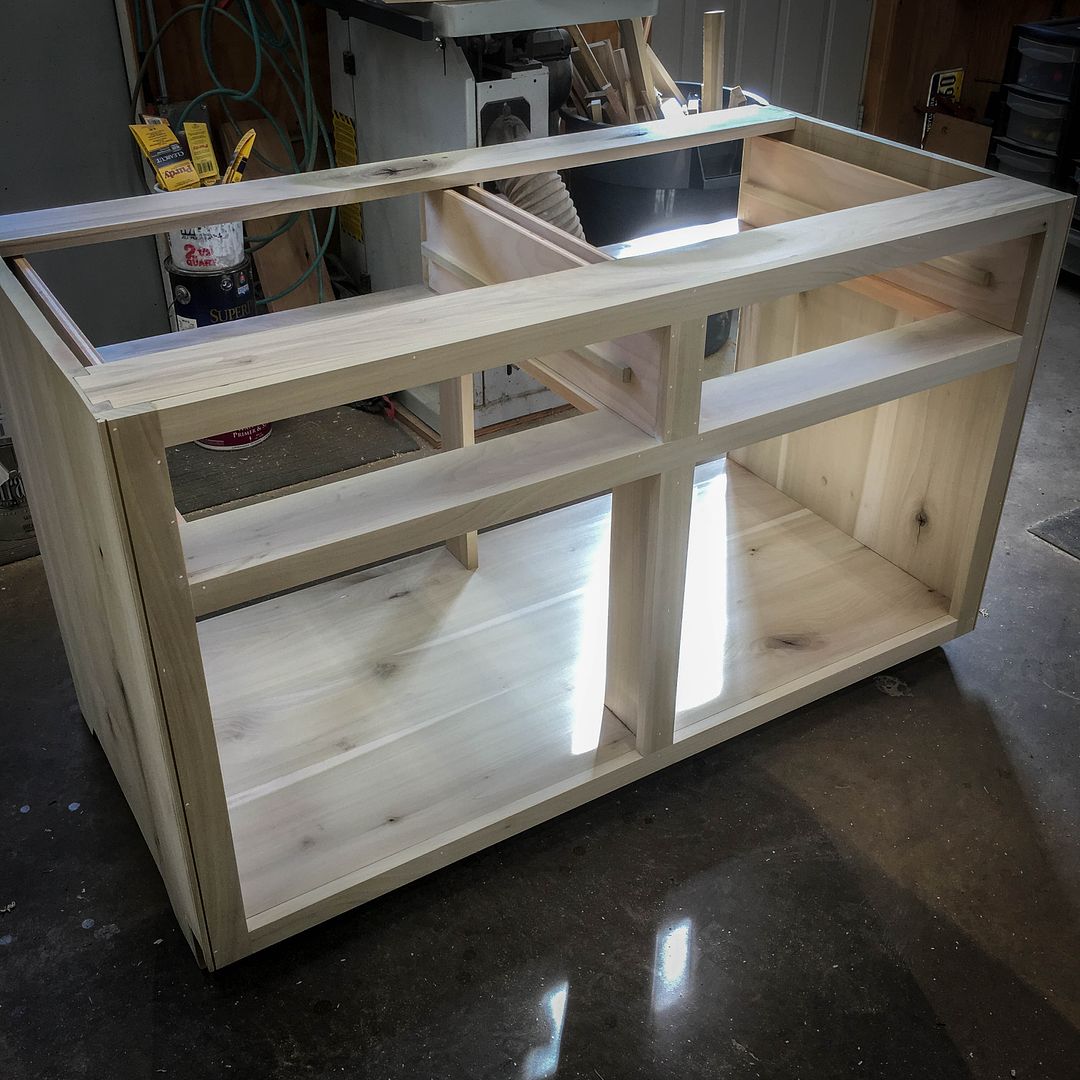
In our home, we have a large, great-room with a story and a half lofted ceiling with barn beams and a walk-in fireplace in the middle of the long wall. One end of the room is a sitting area and the other is our "formal" dining area. A project that's been on "my list" for a very long time has been a tall, buffet/hutch that will take some space to the right of the fireplace on the dining end. Inspired by a tall antique buffet/hutch/breakfront that's in the local restaurant that I eat lunch at nearly daily, this project will fill that need.
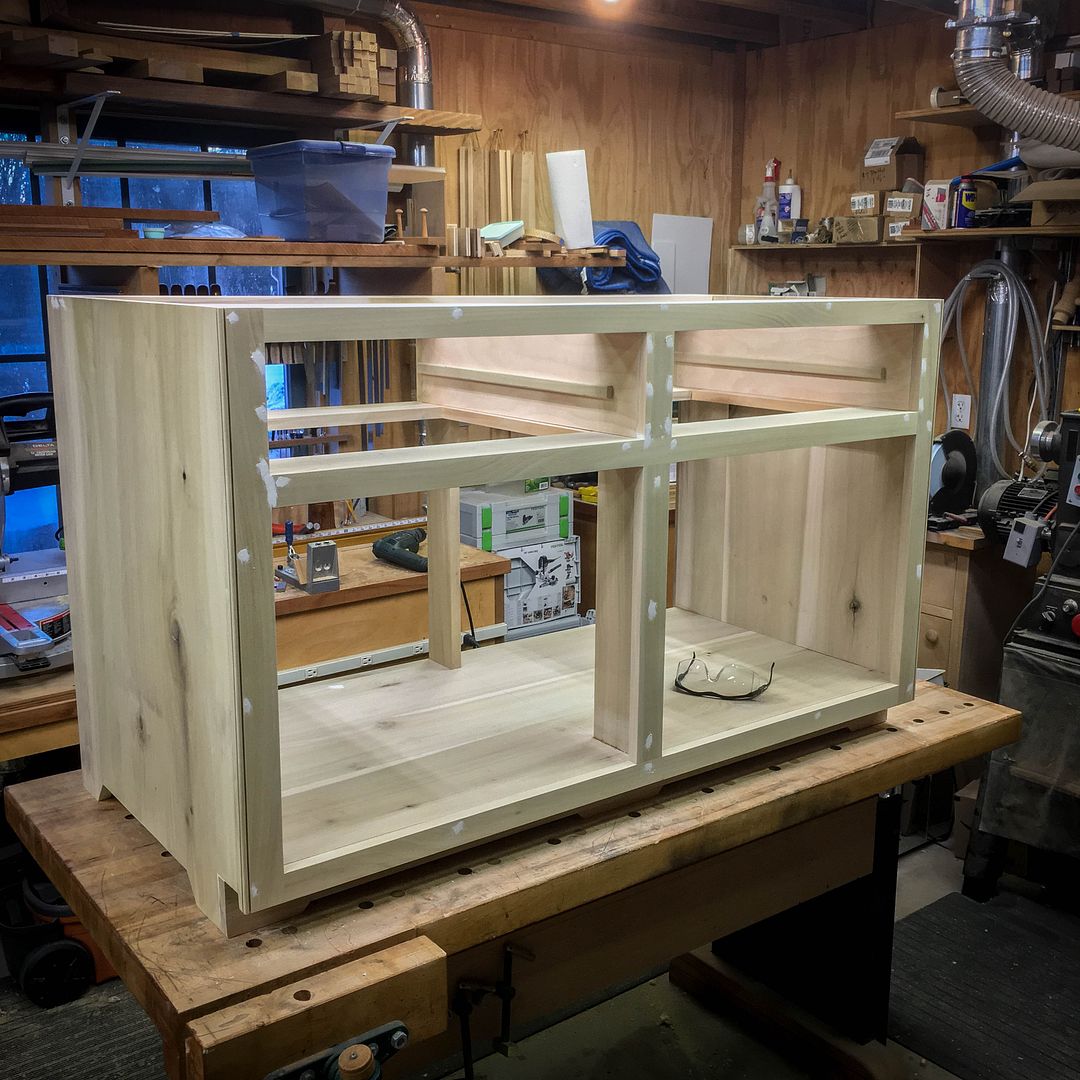
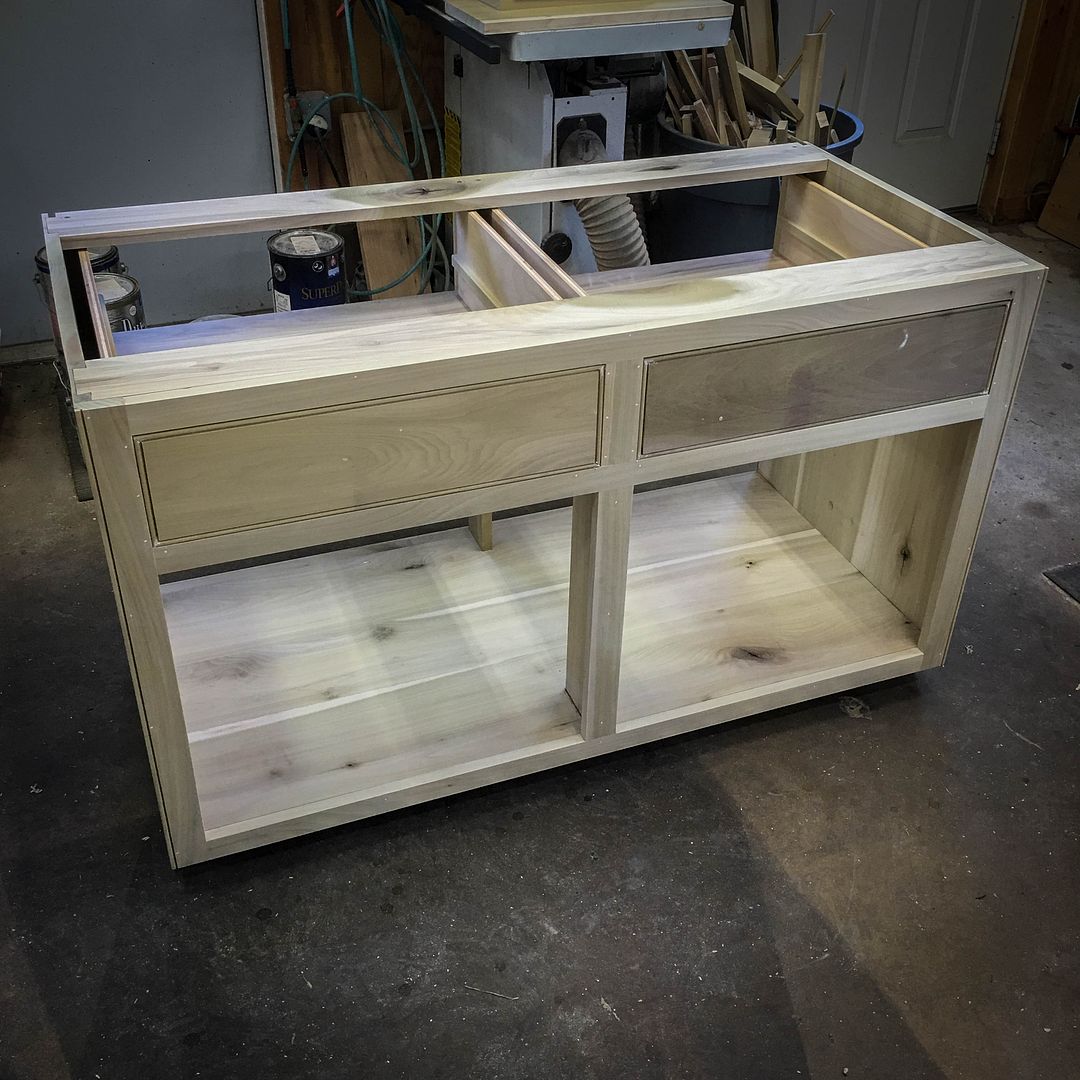
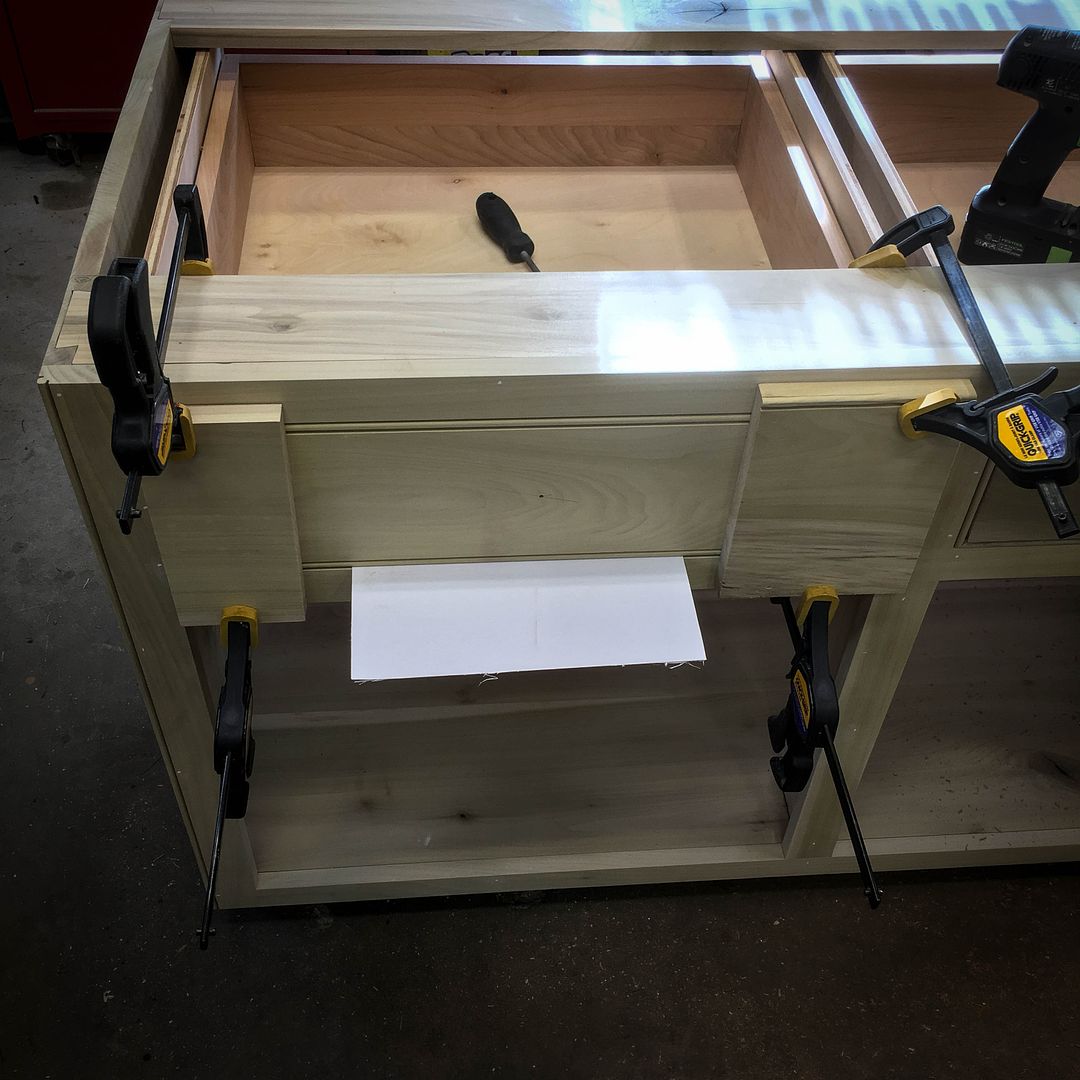
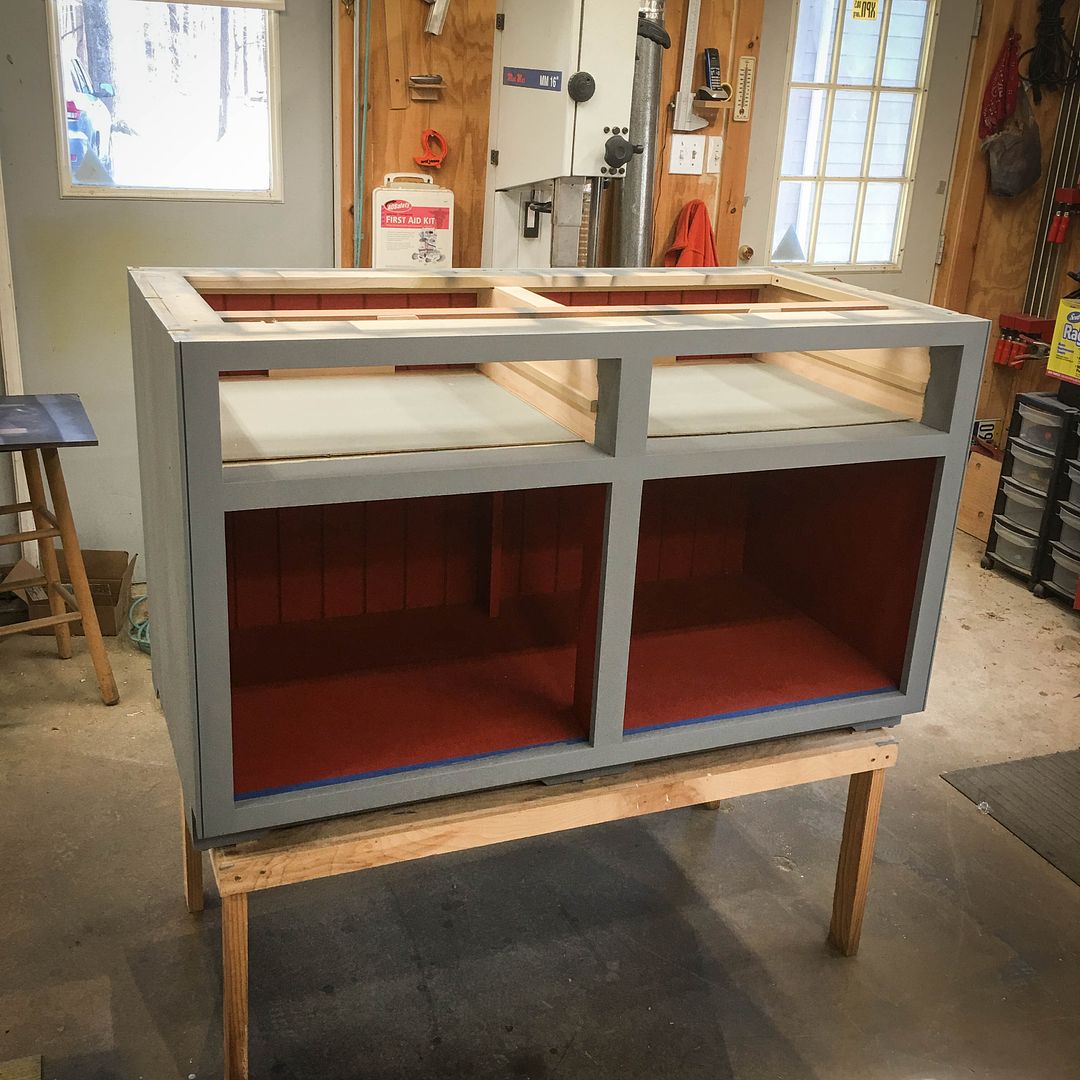
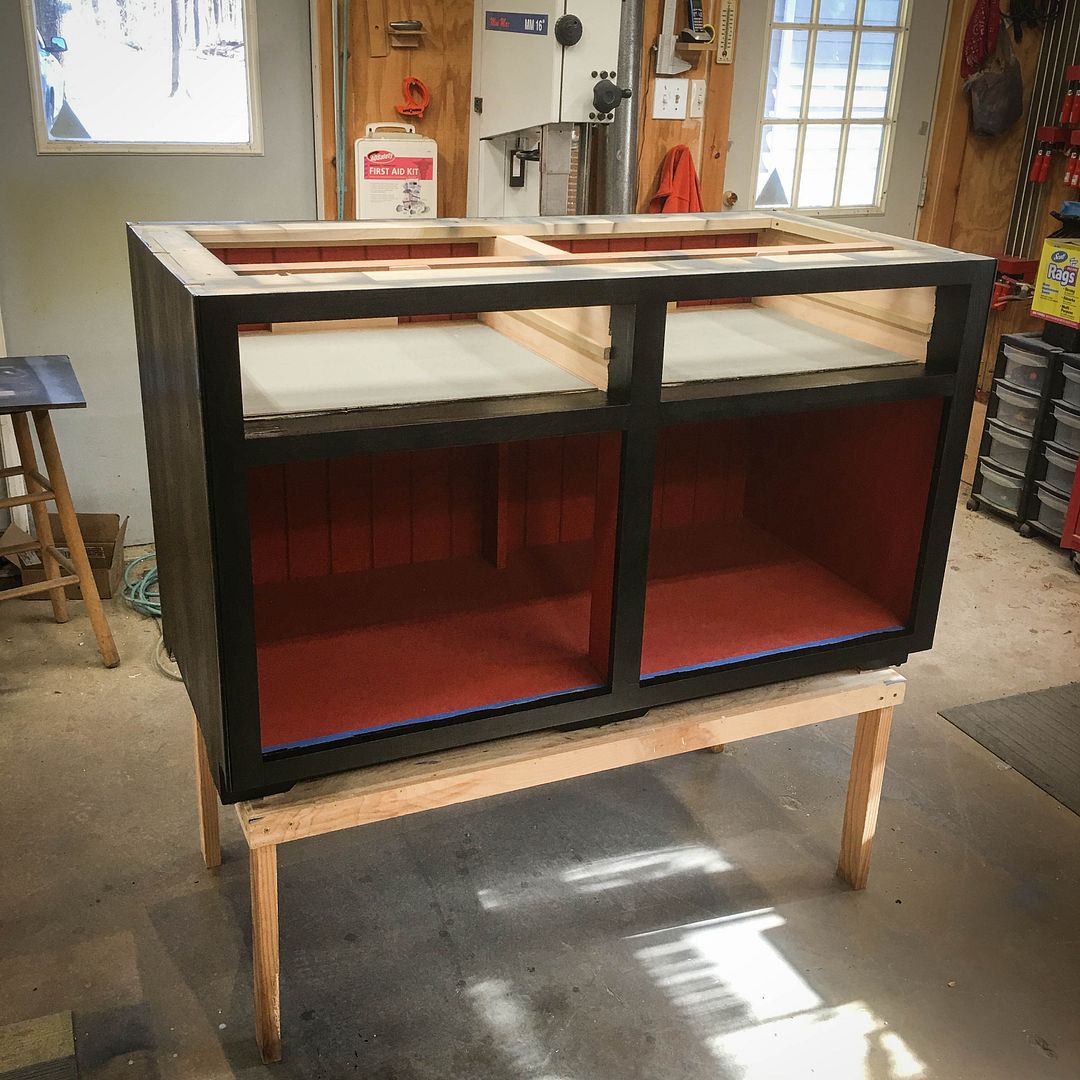
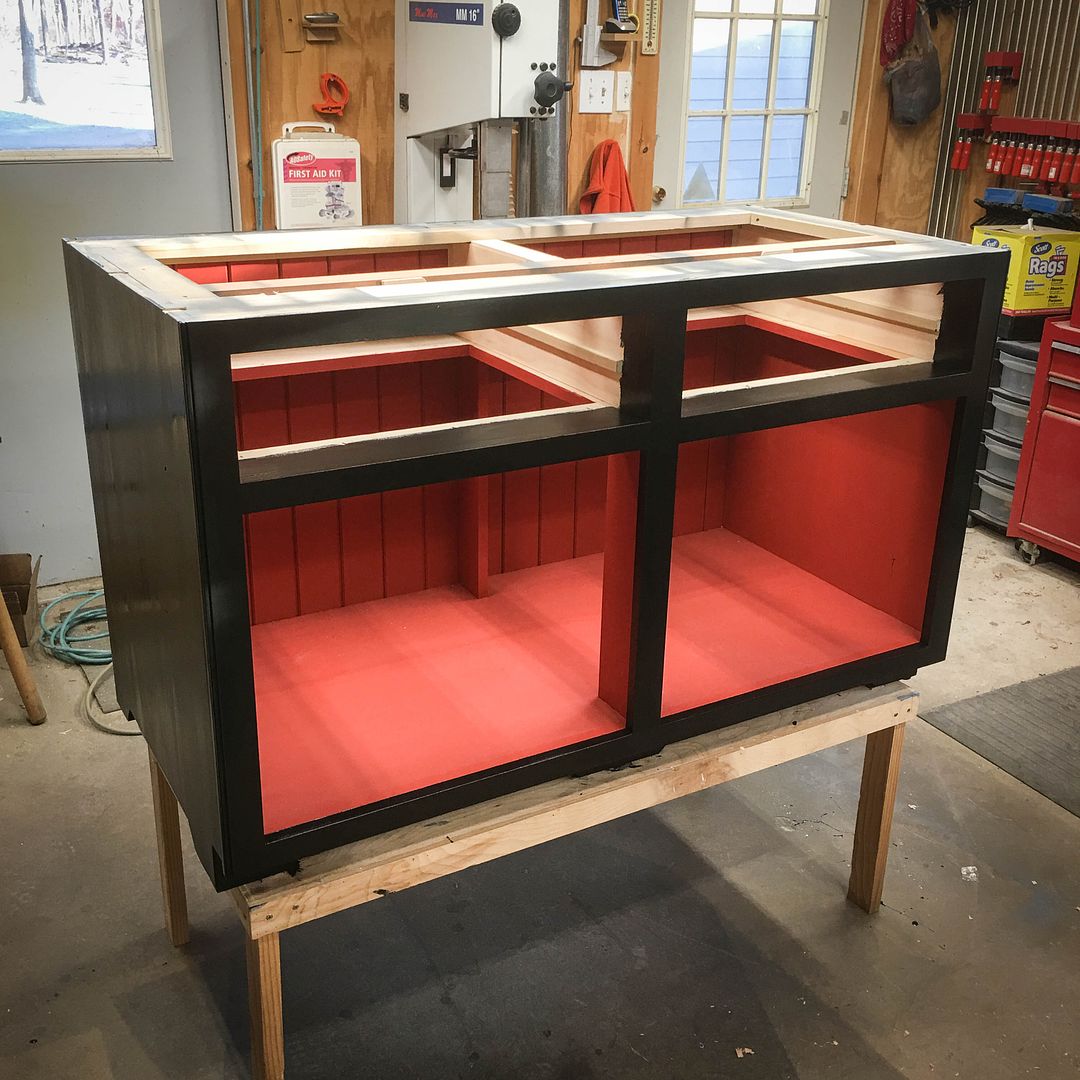
This thread is to document the lower, buffet portion, of the project which is nearly done, but not quite. I'll edit things once the final steps are completed. {EDIT} This project is now complete and I've added more photos of the top hutch assembly as well as the completed unit
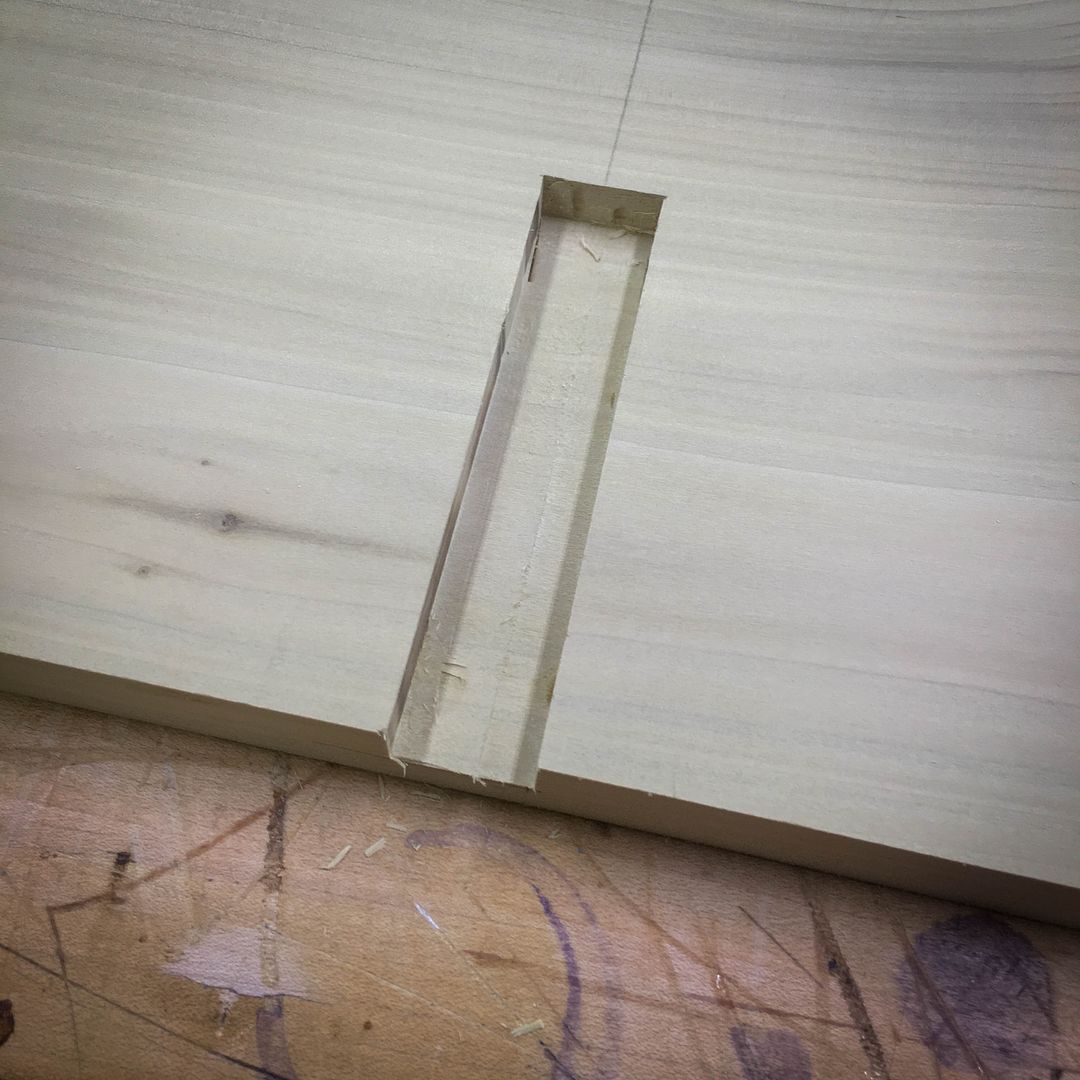
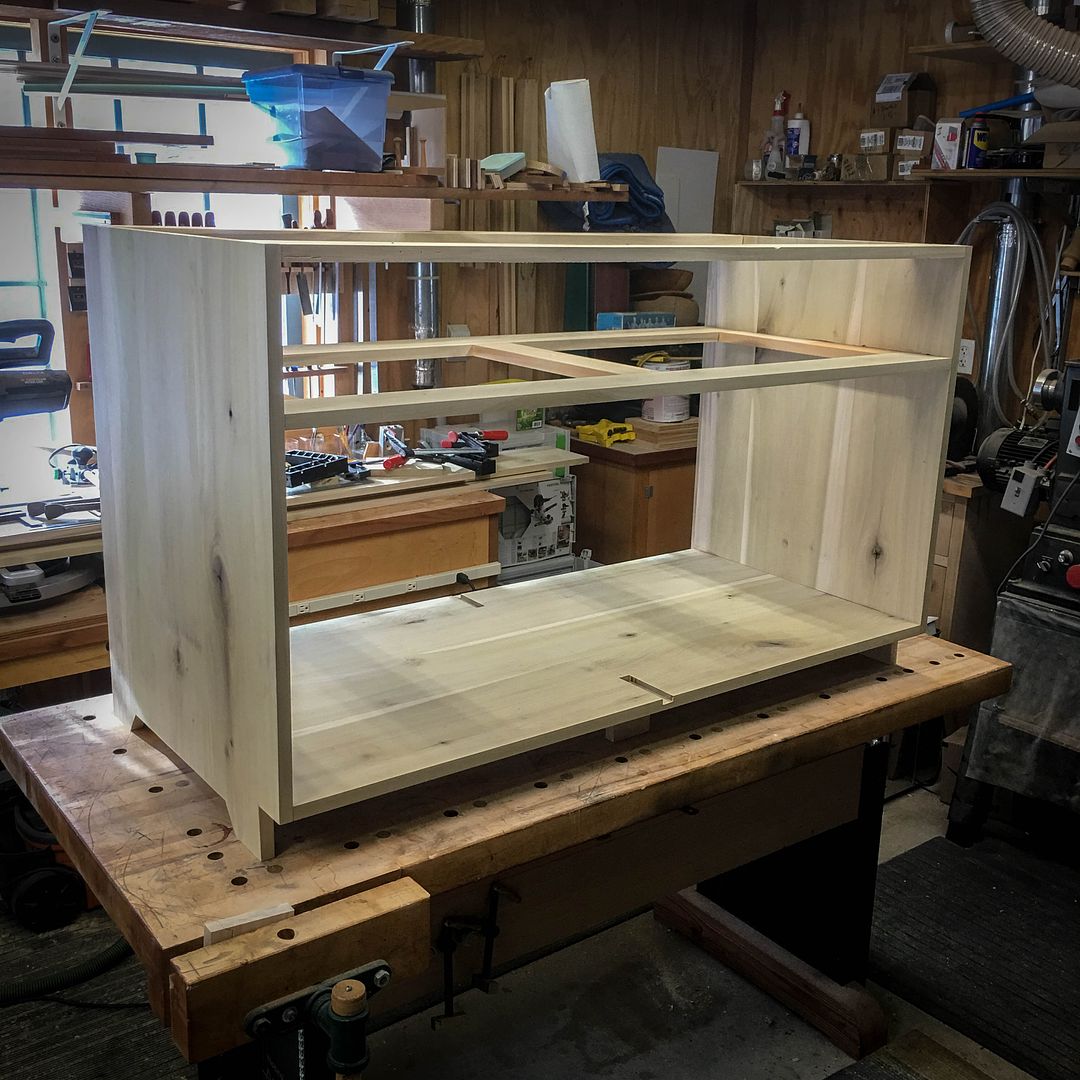
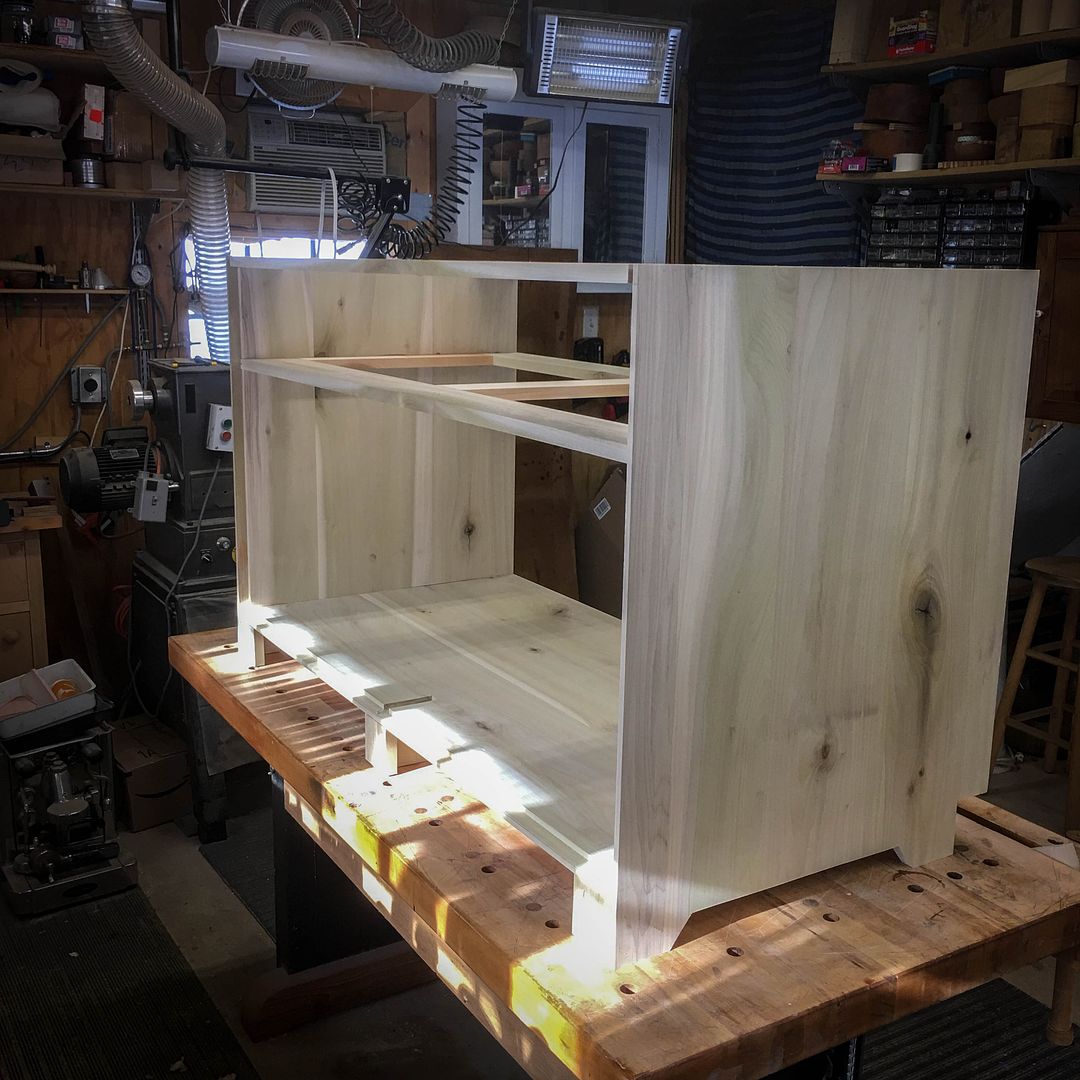
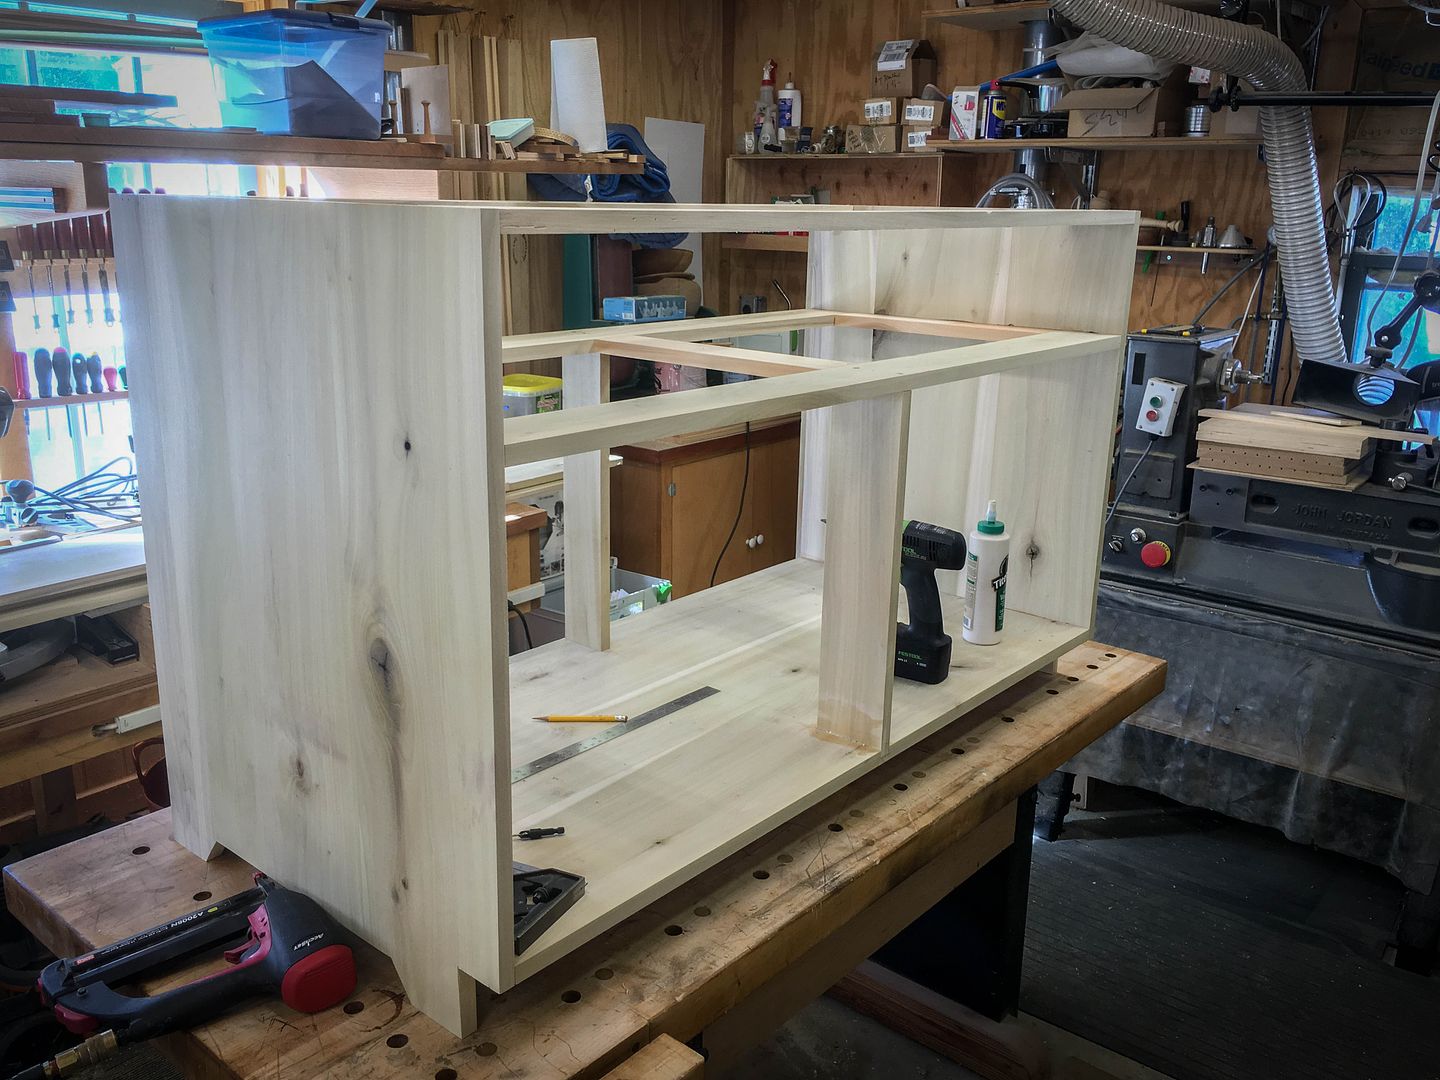
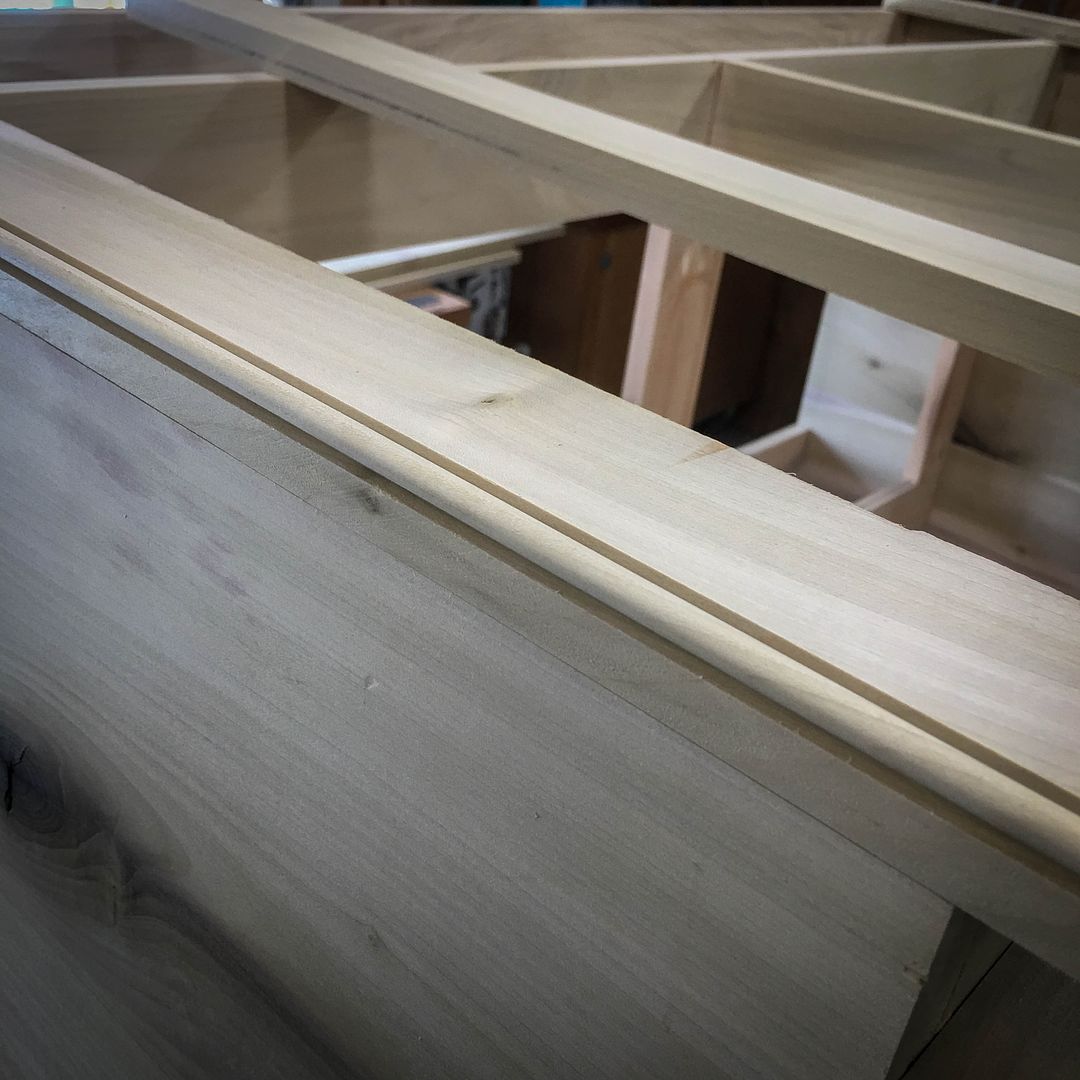
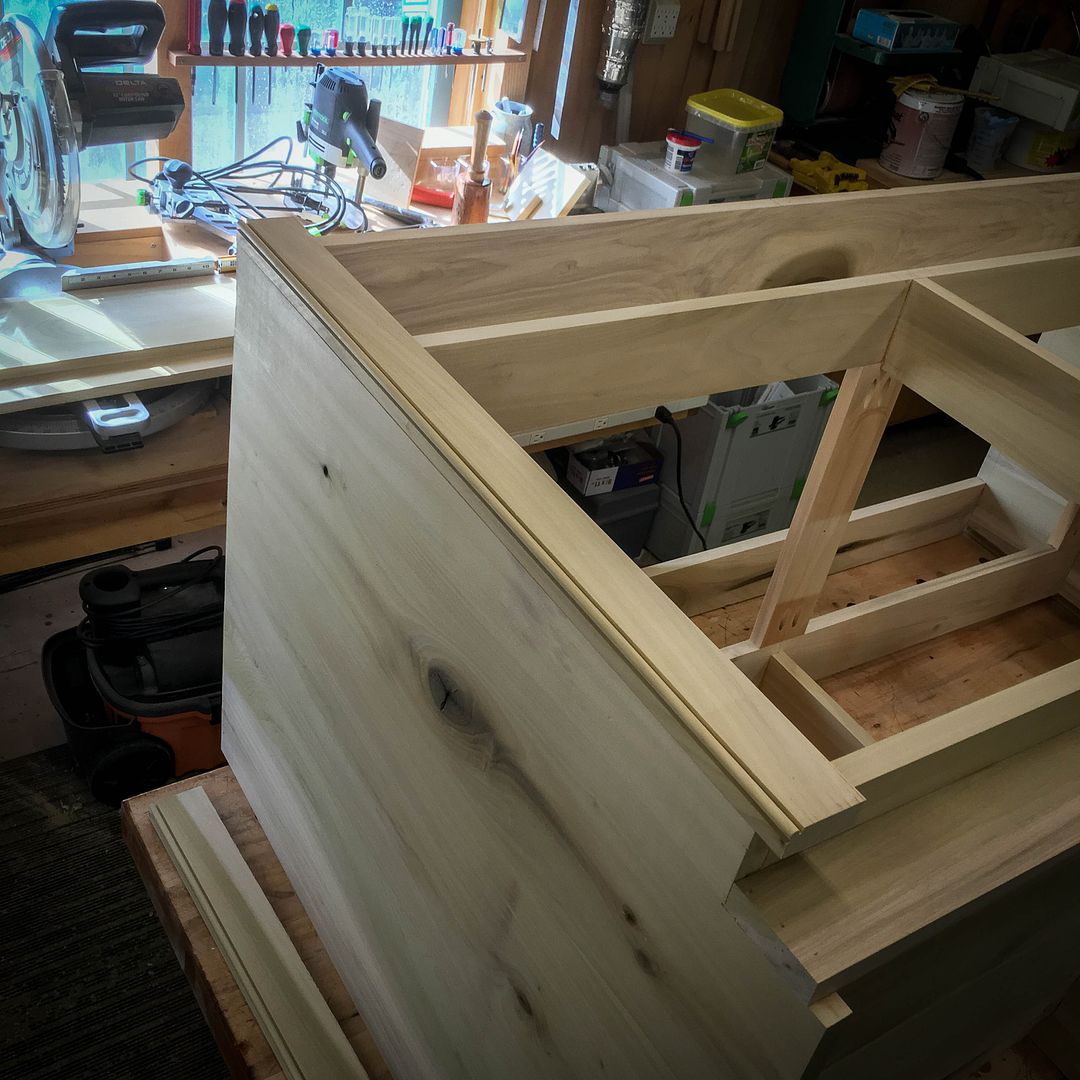
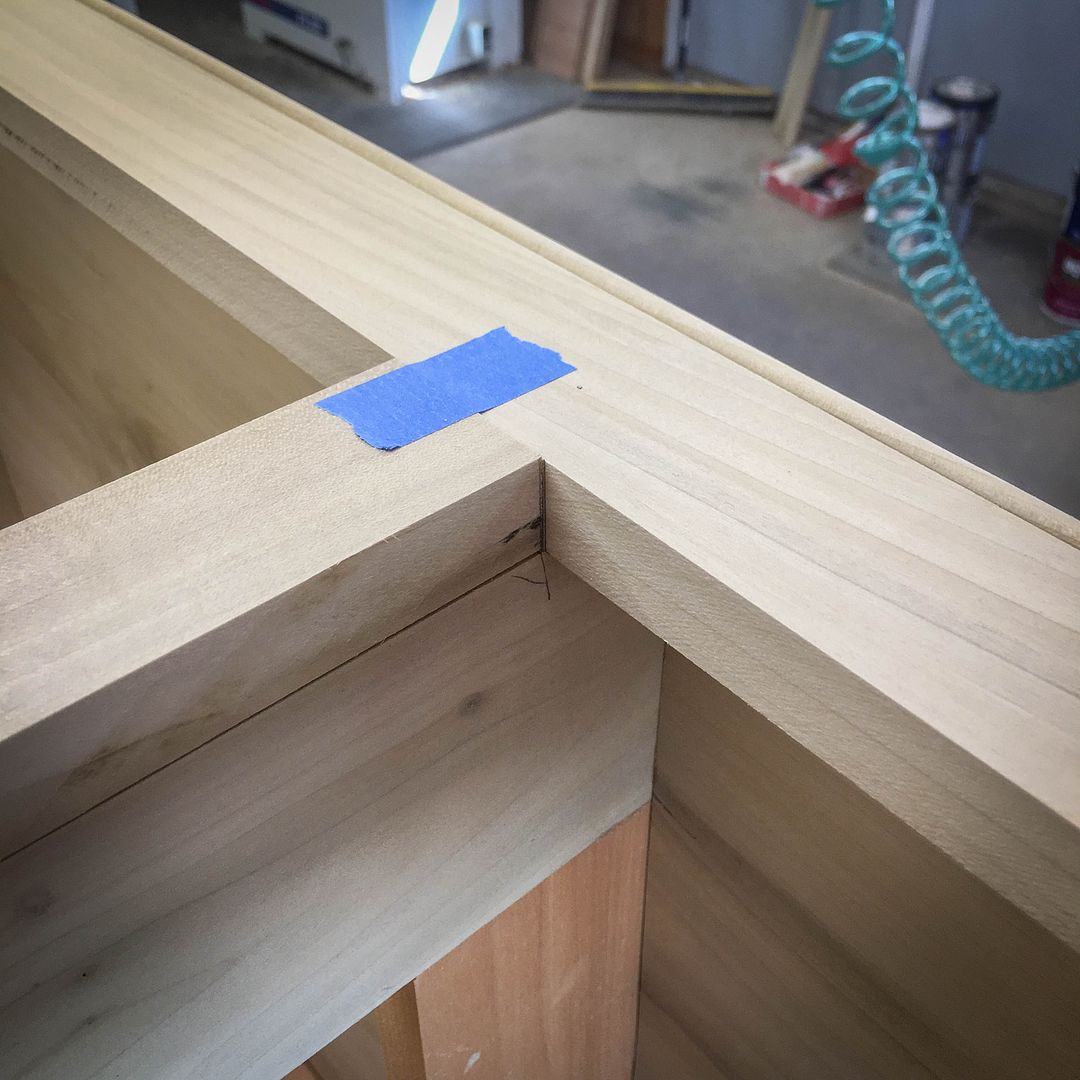
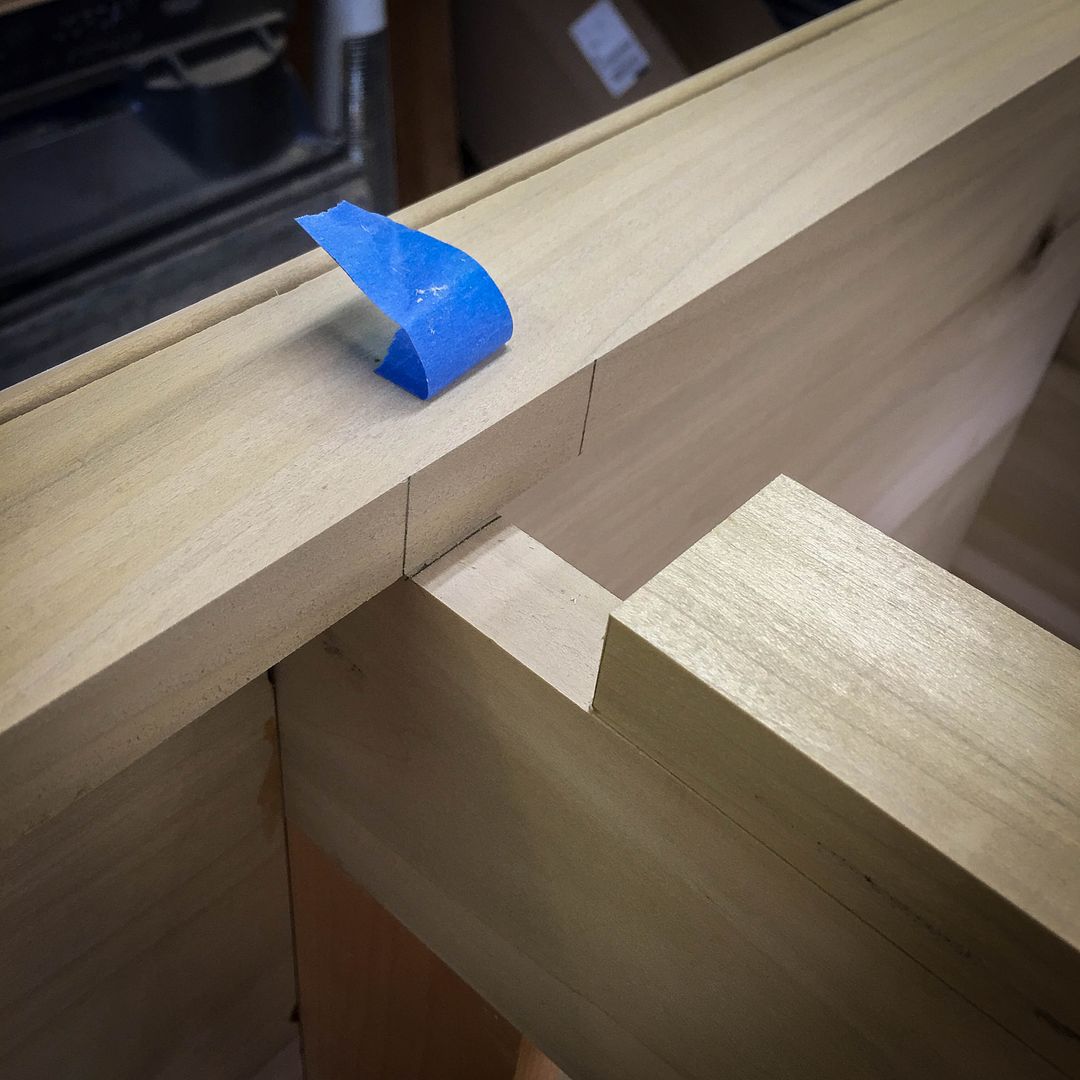
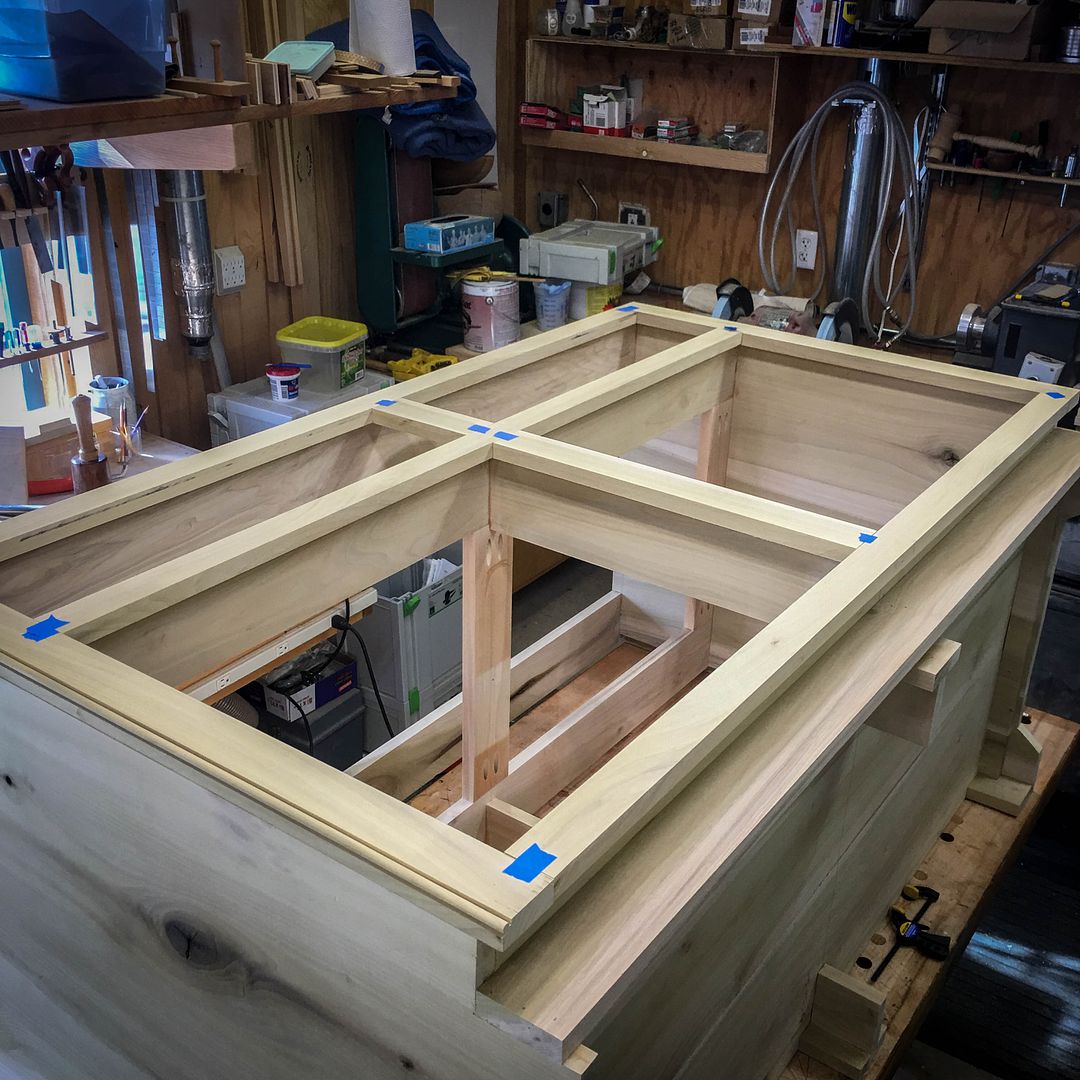
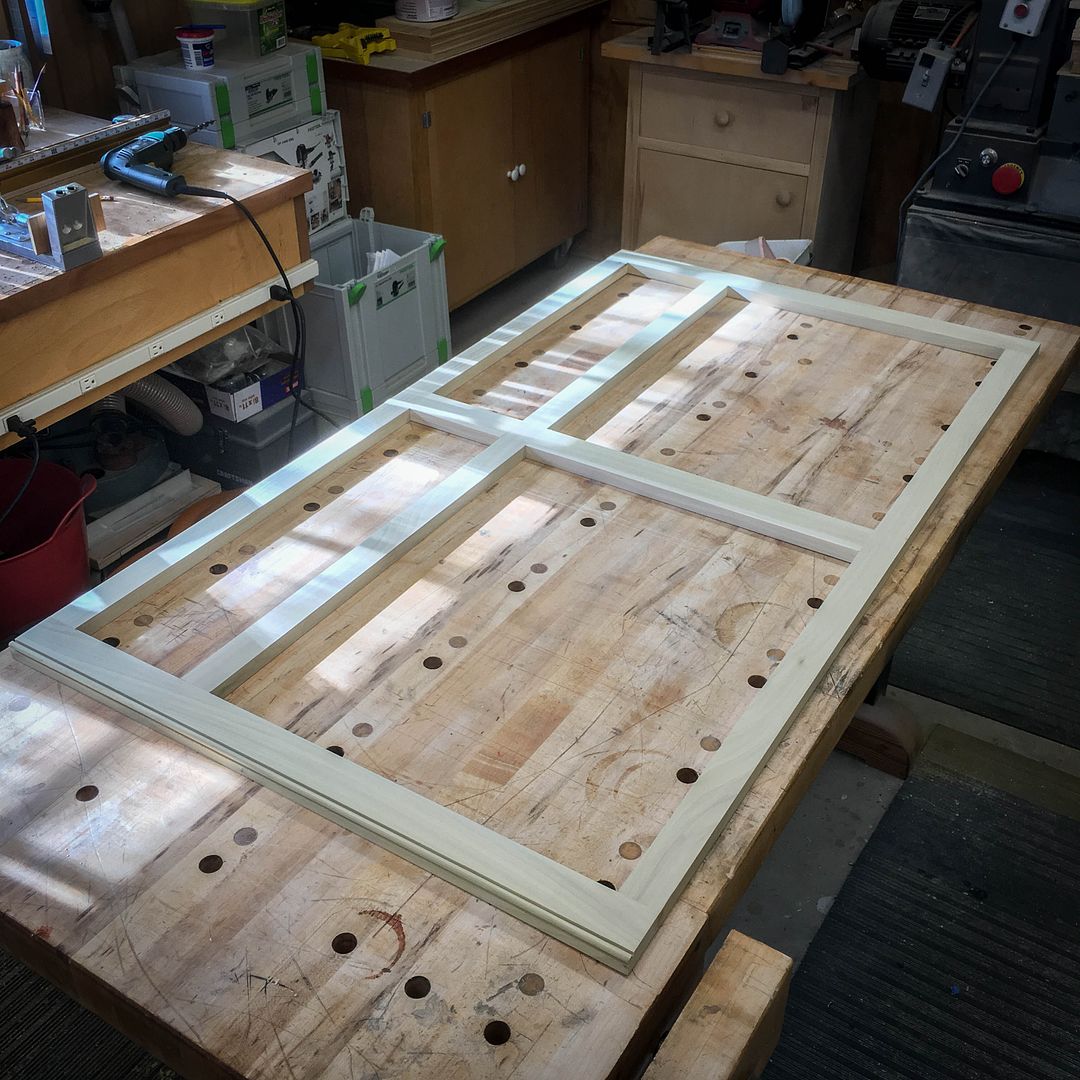
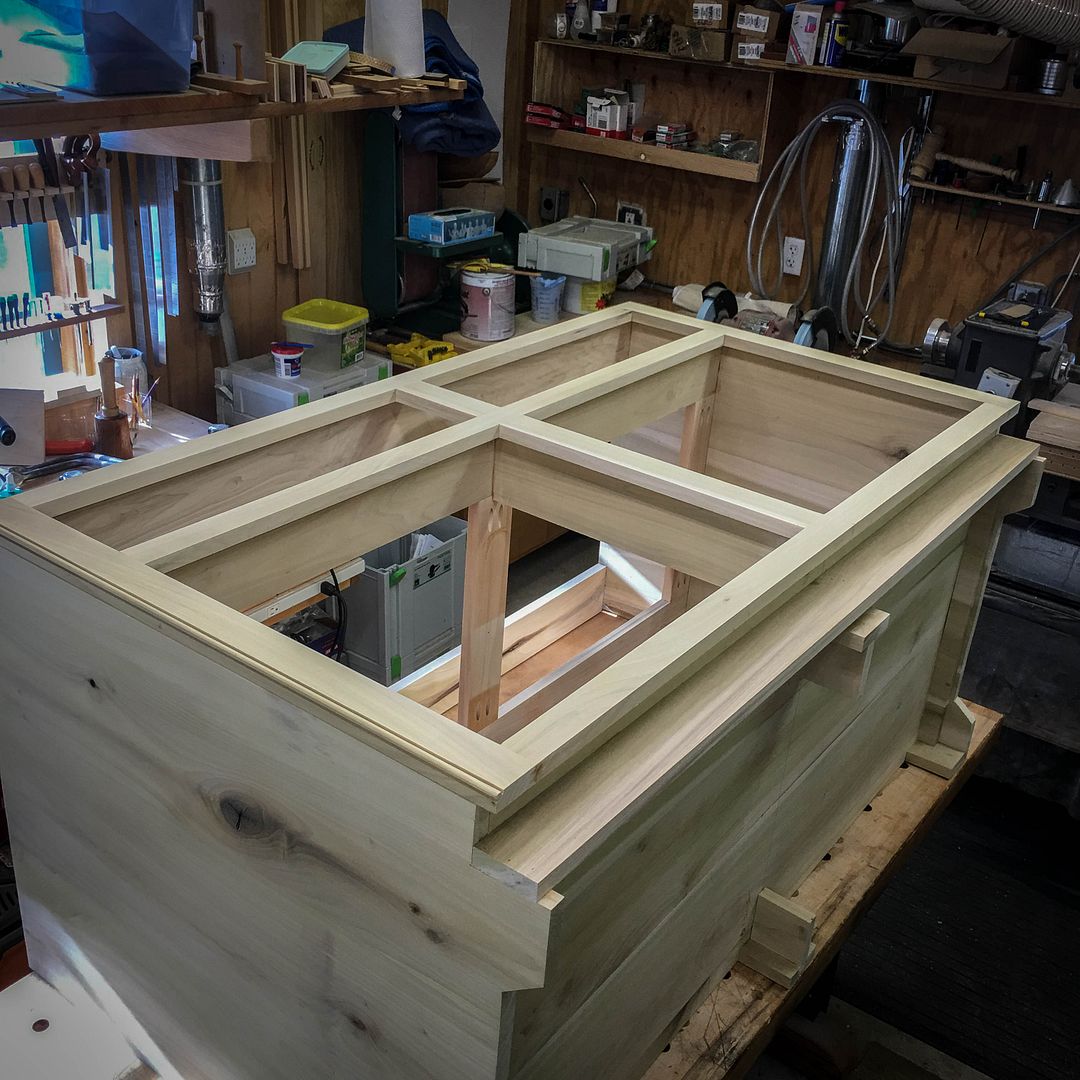
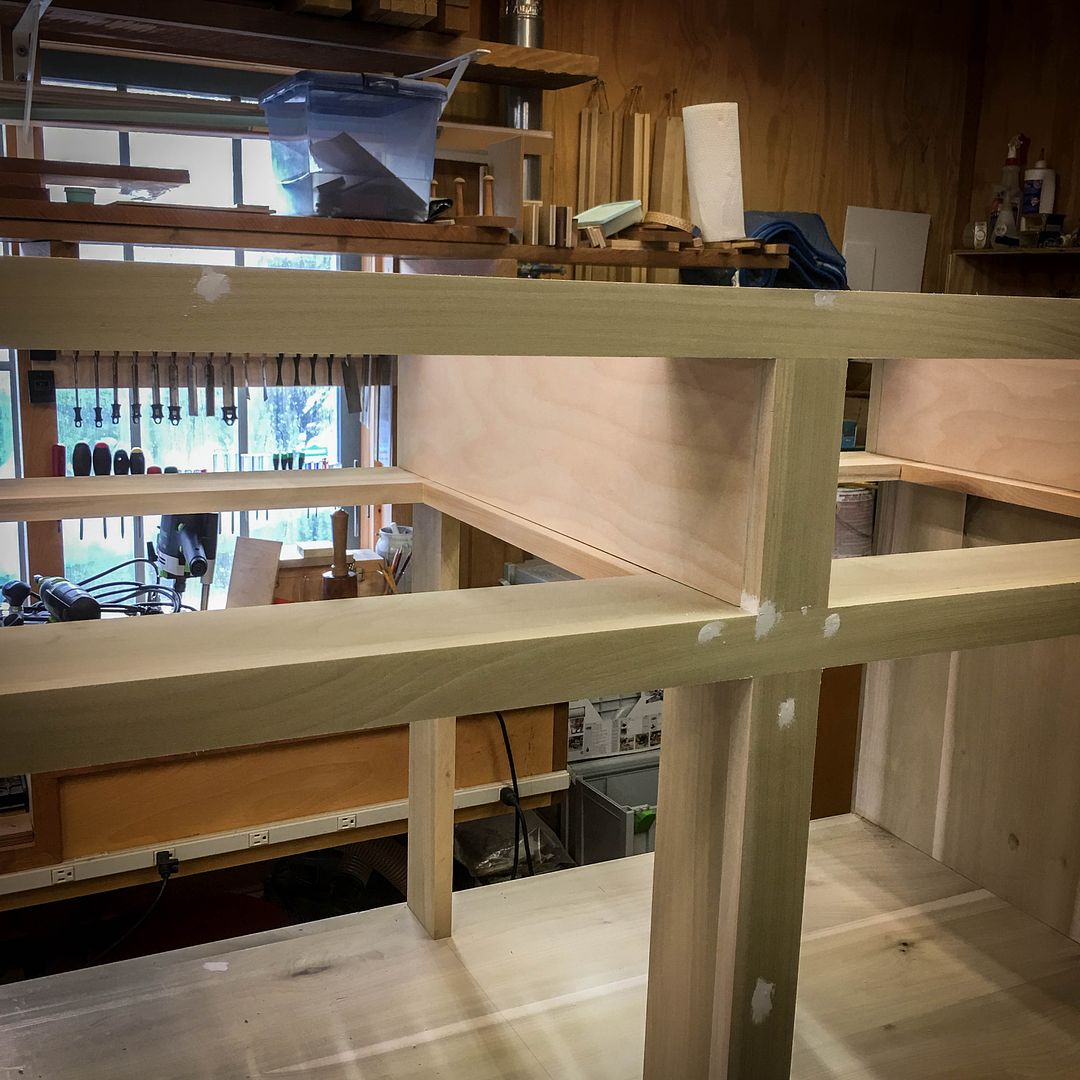
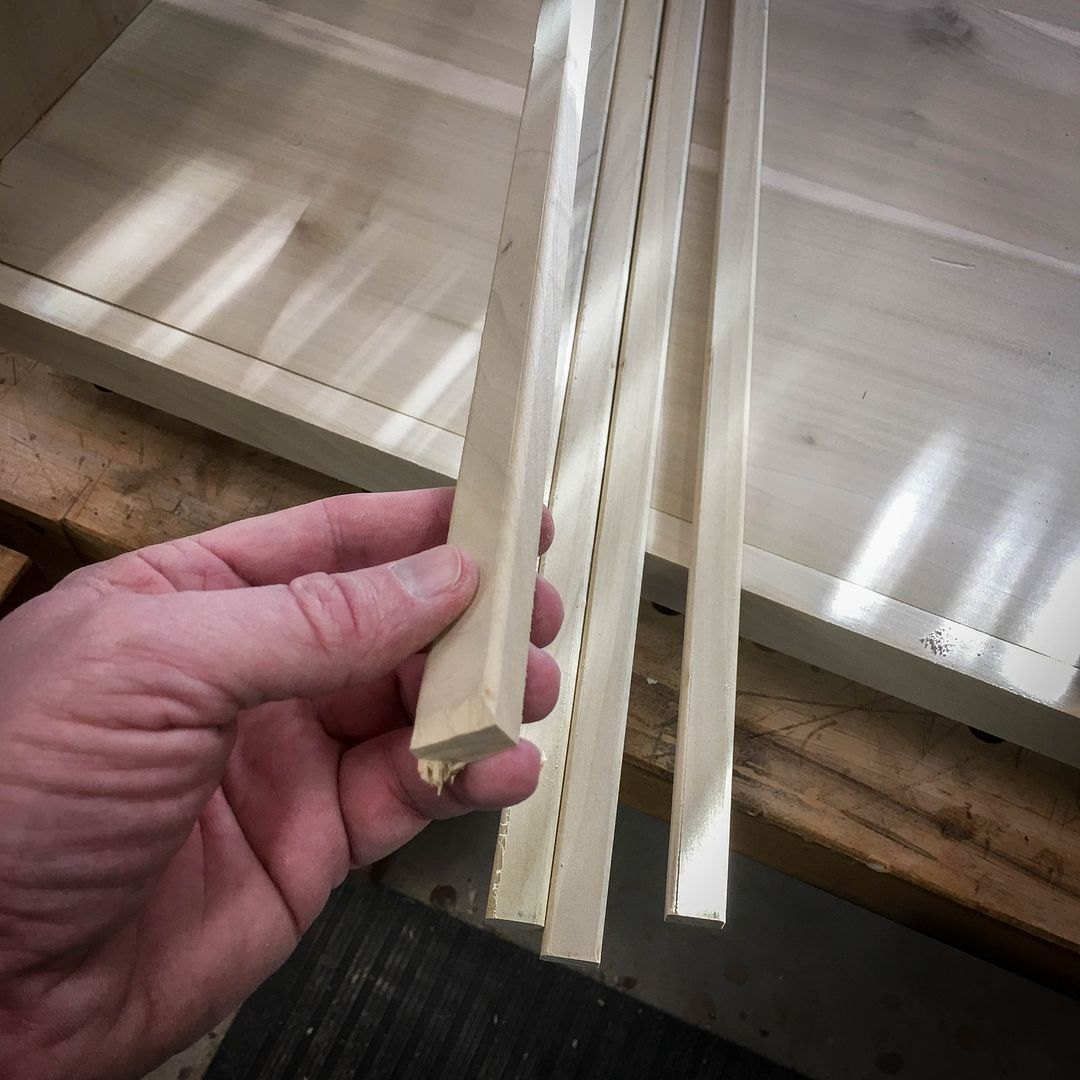
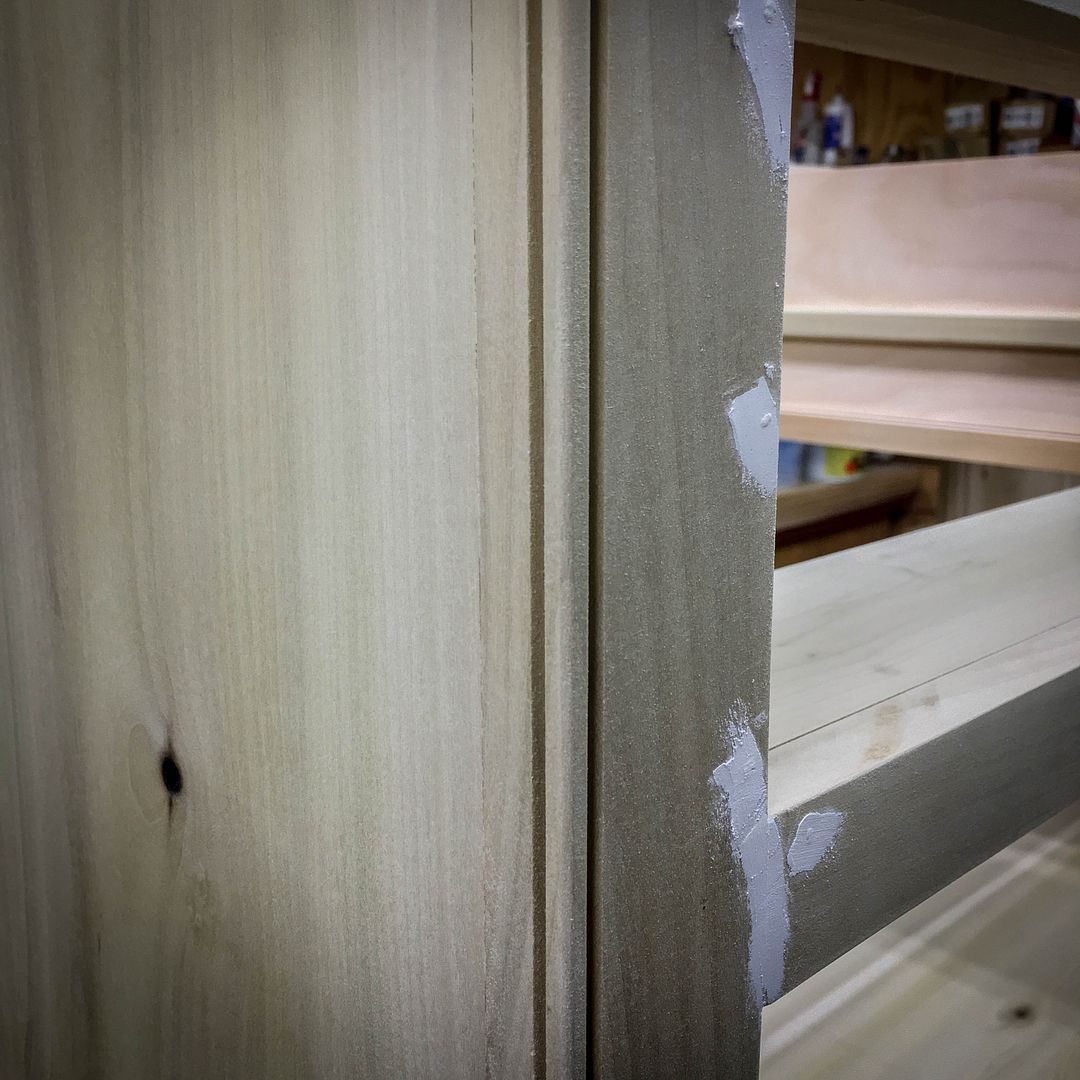
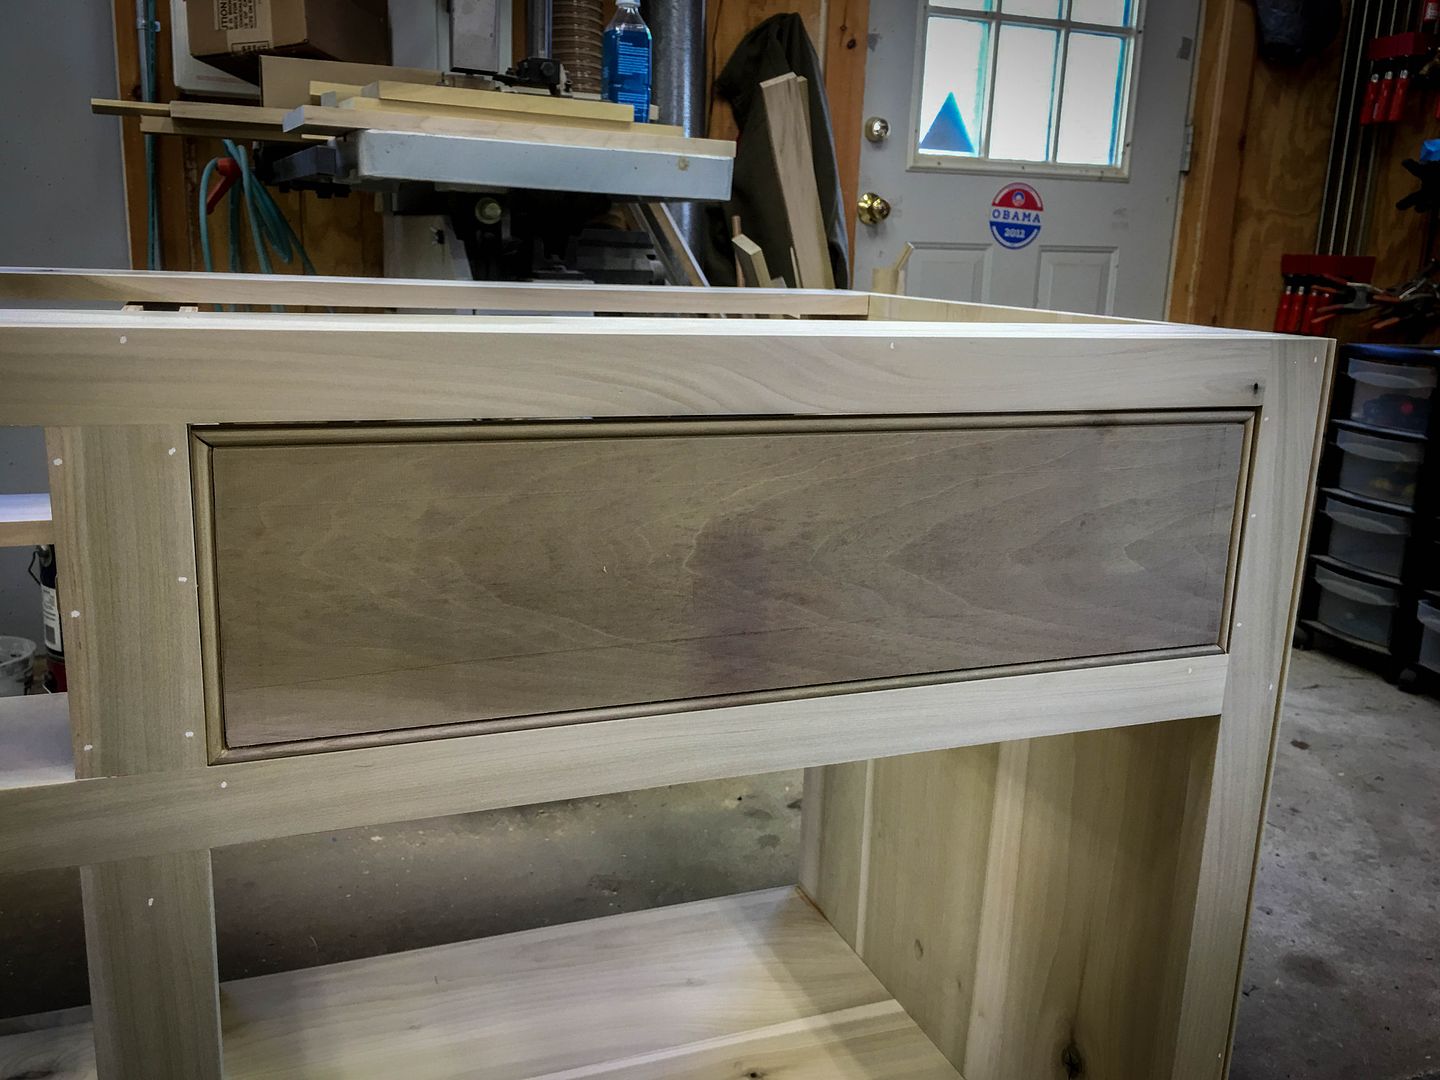
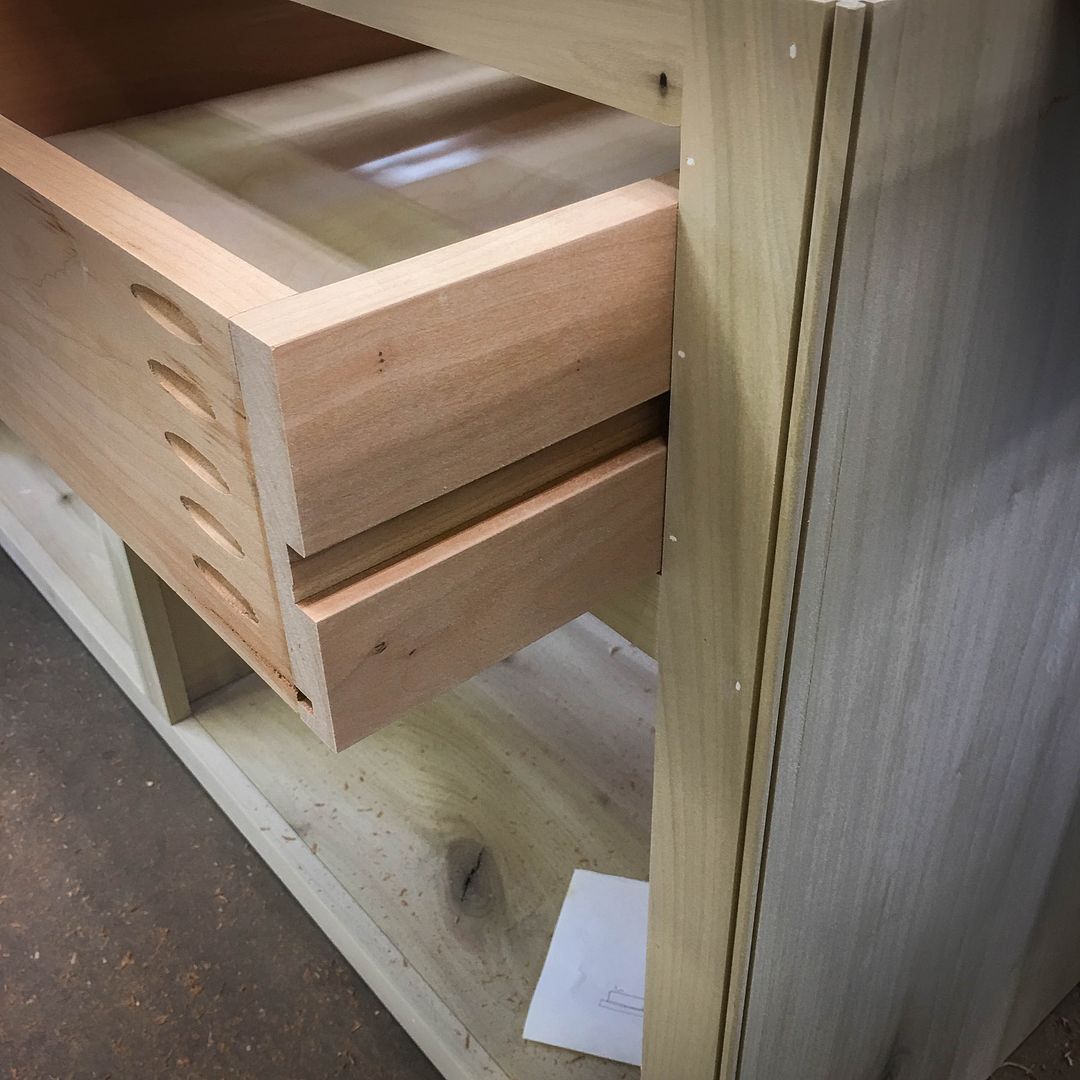
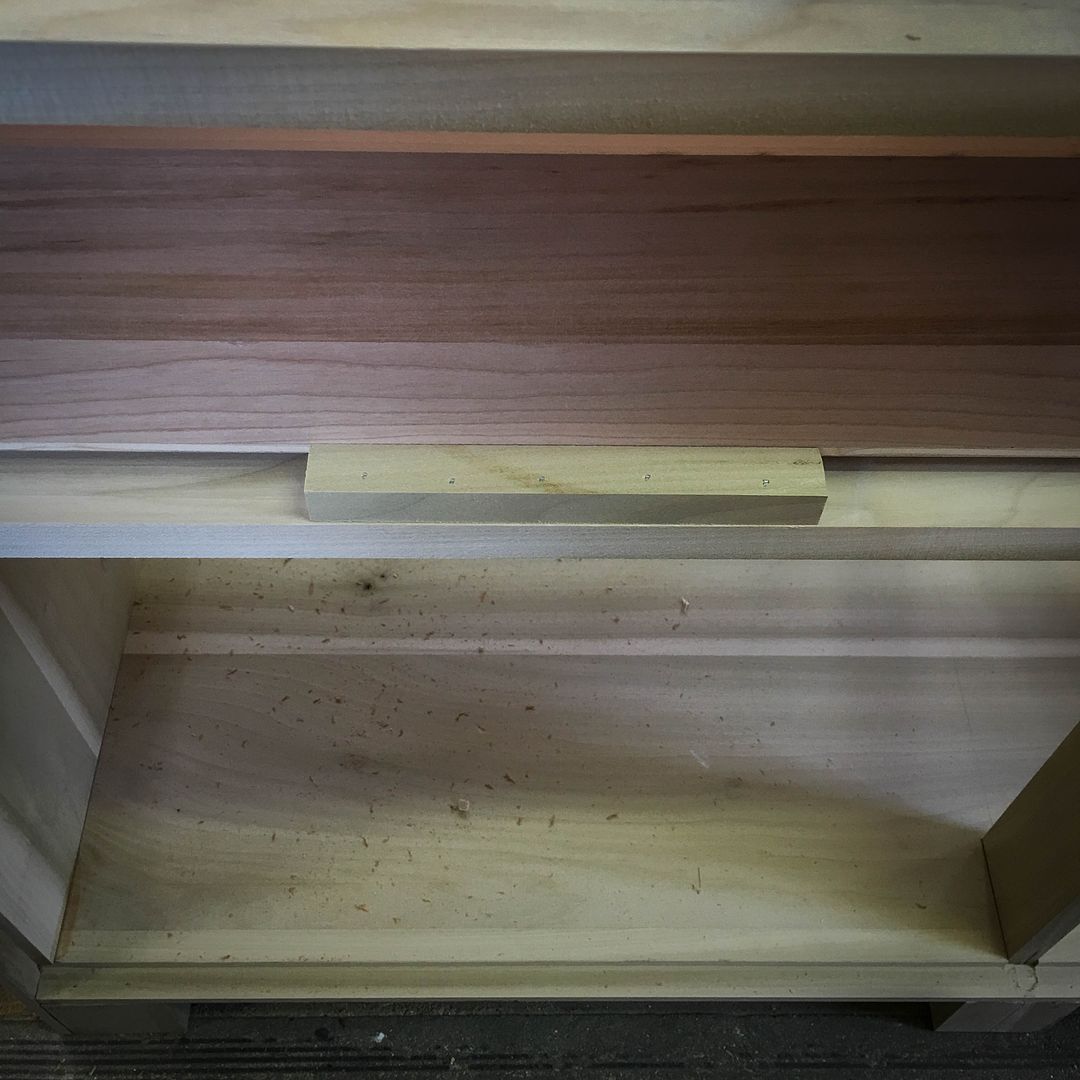
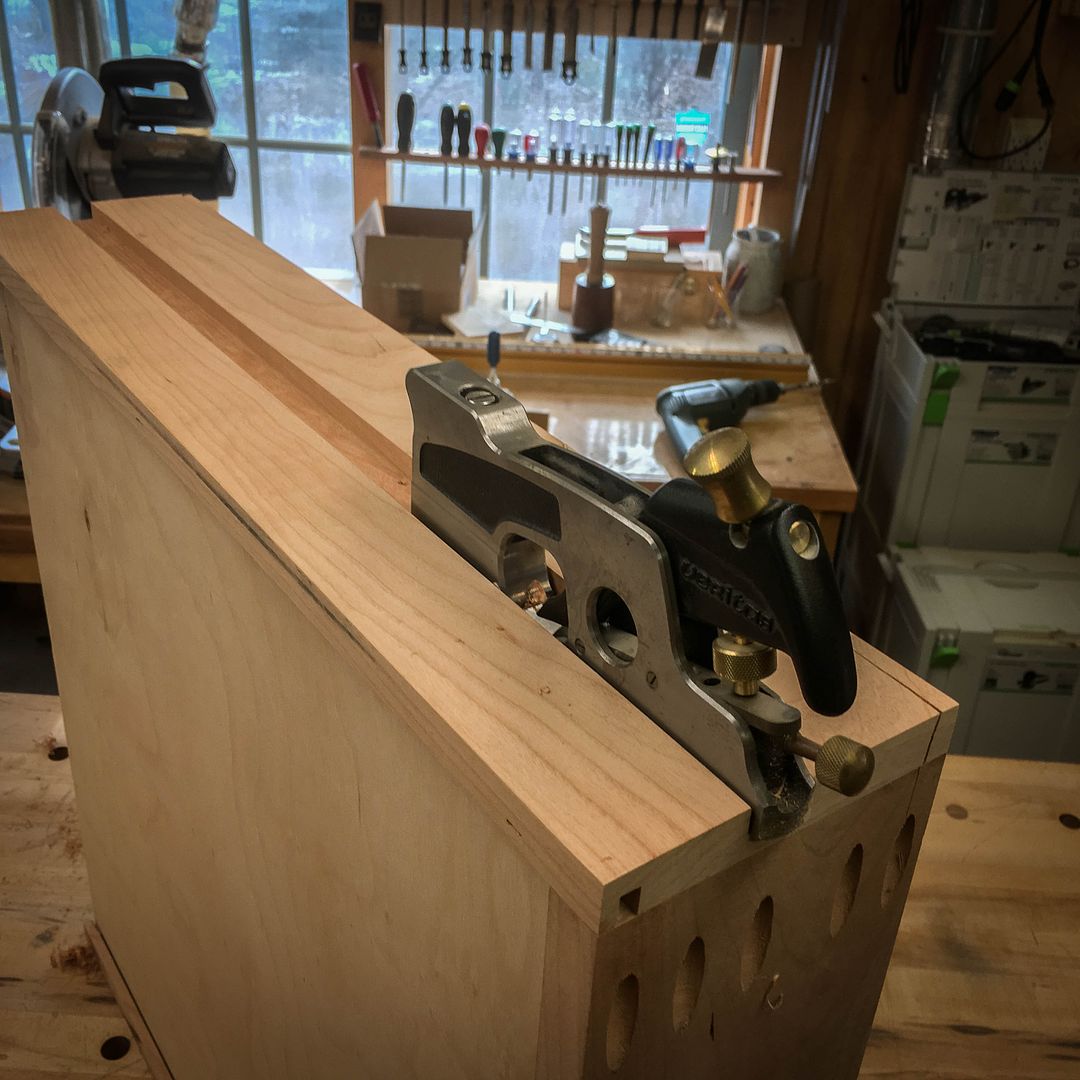
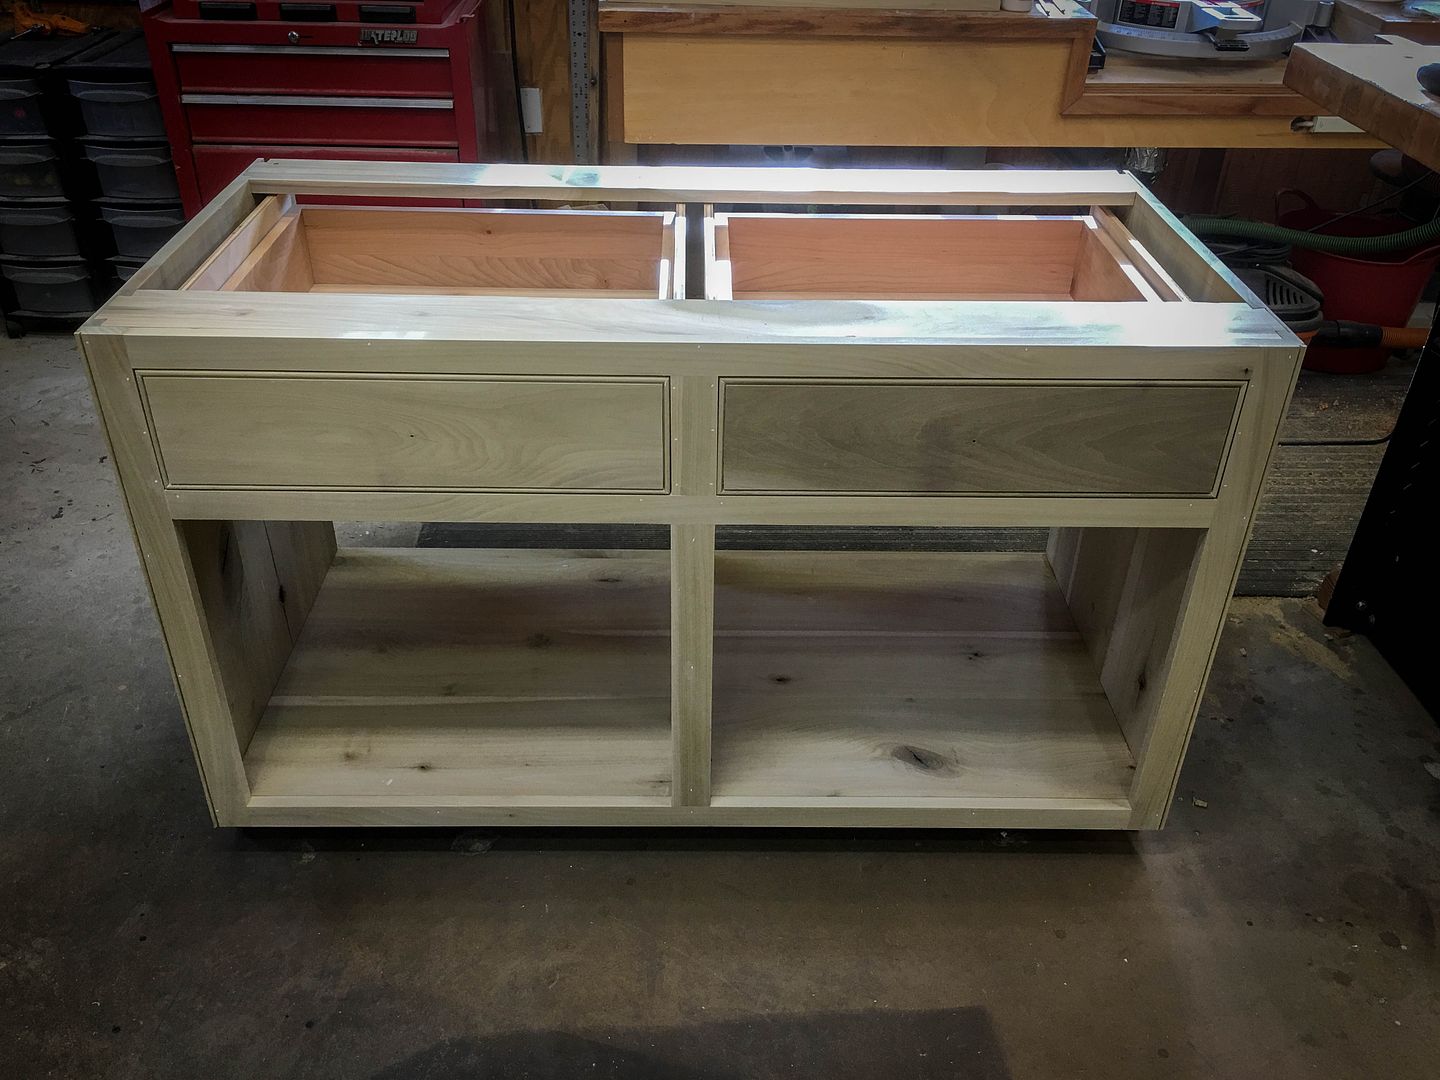
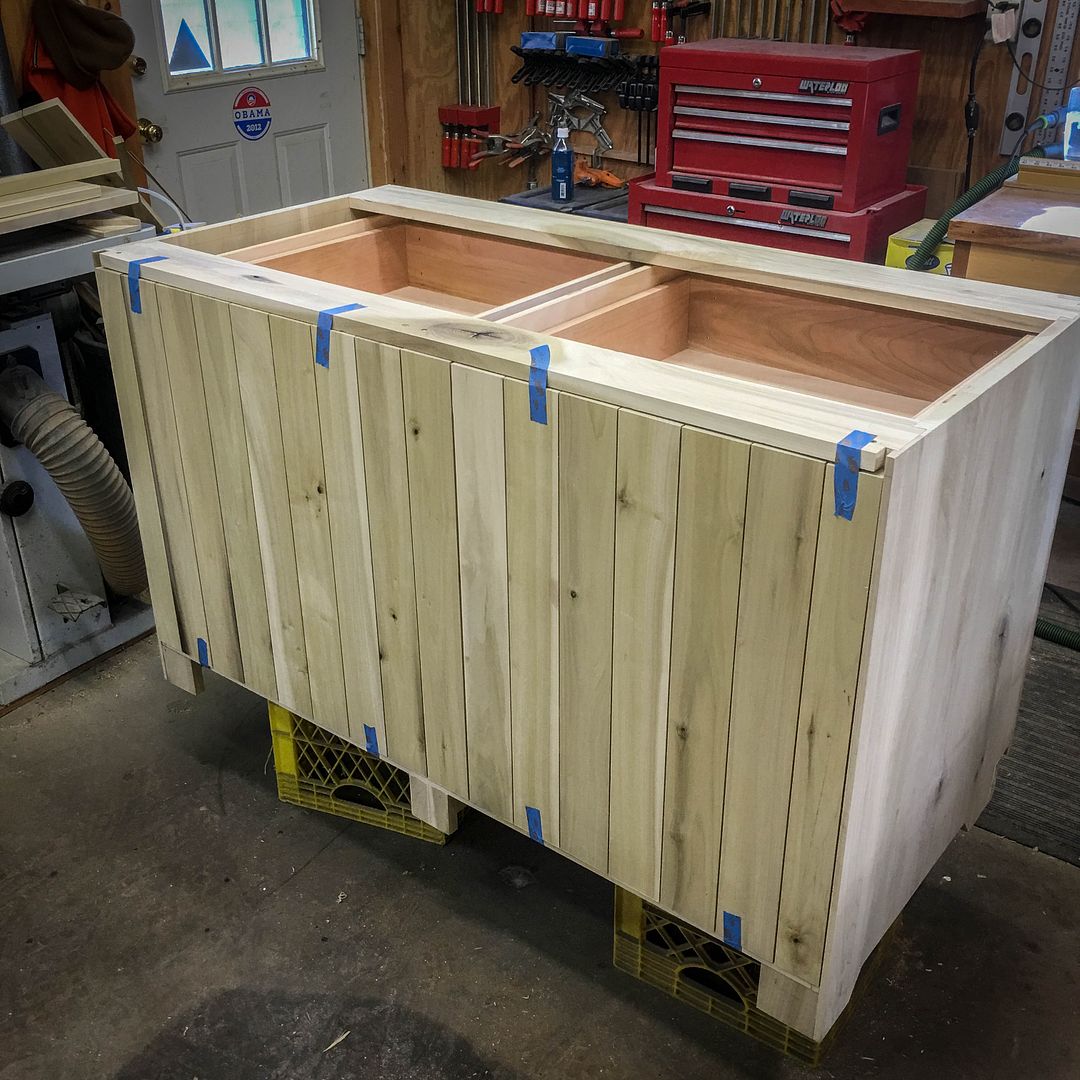
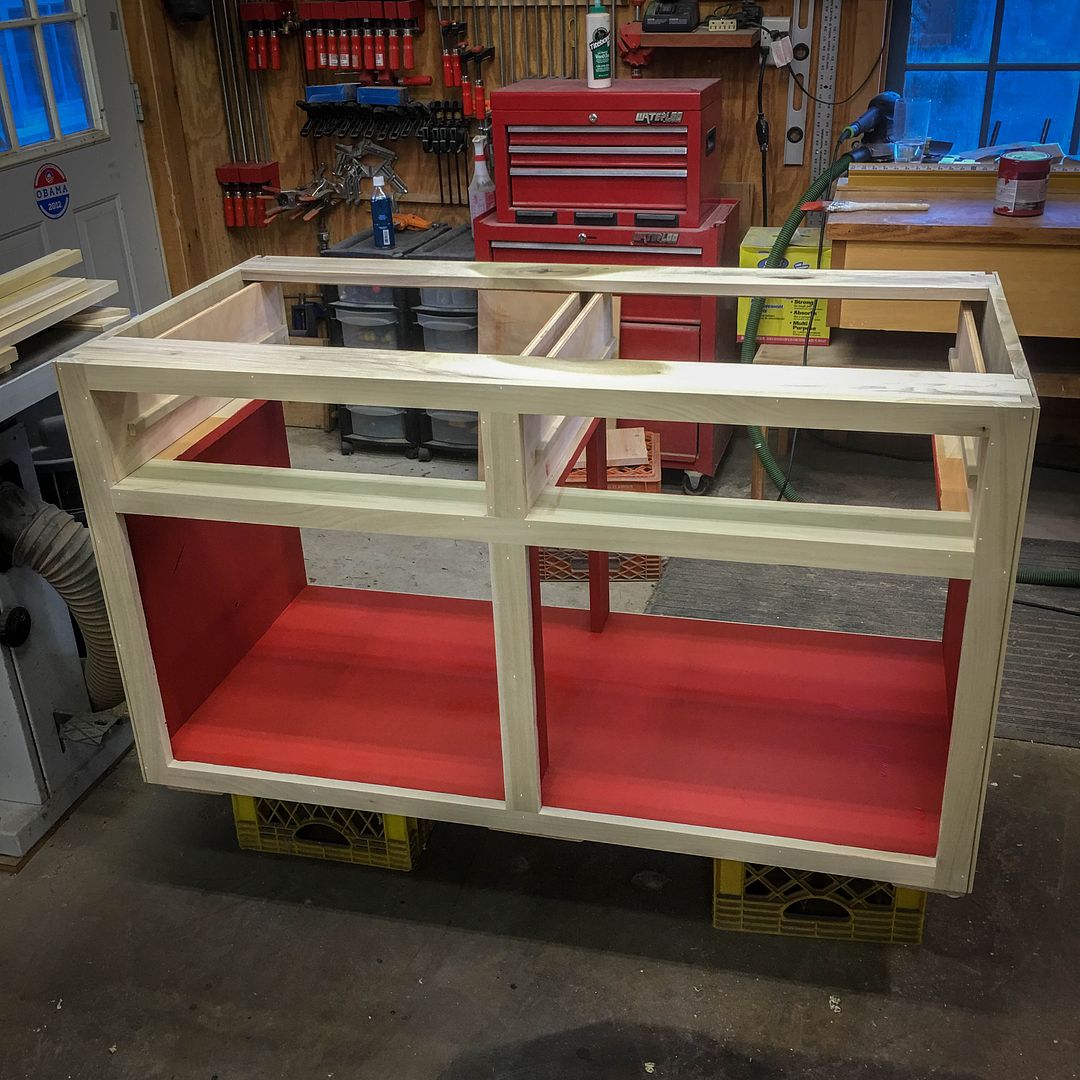
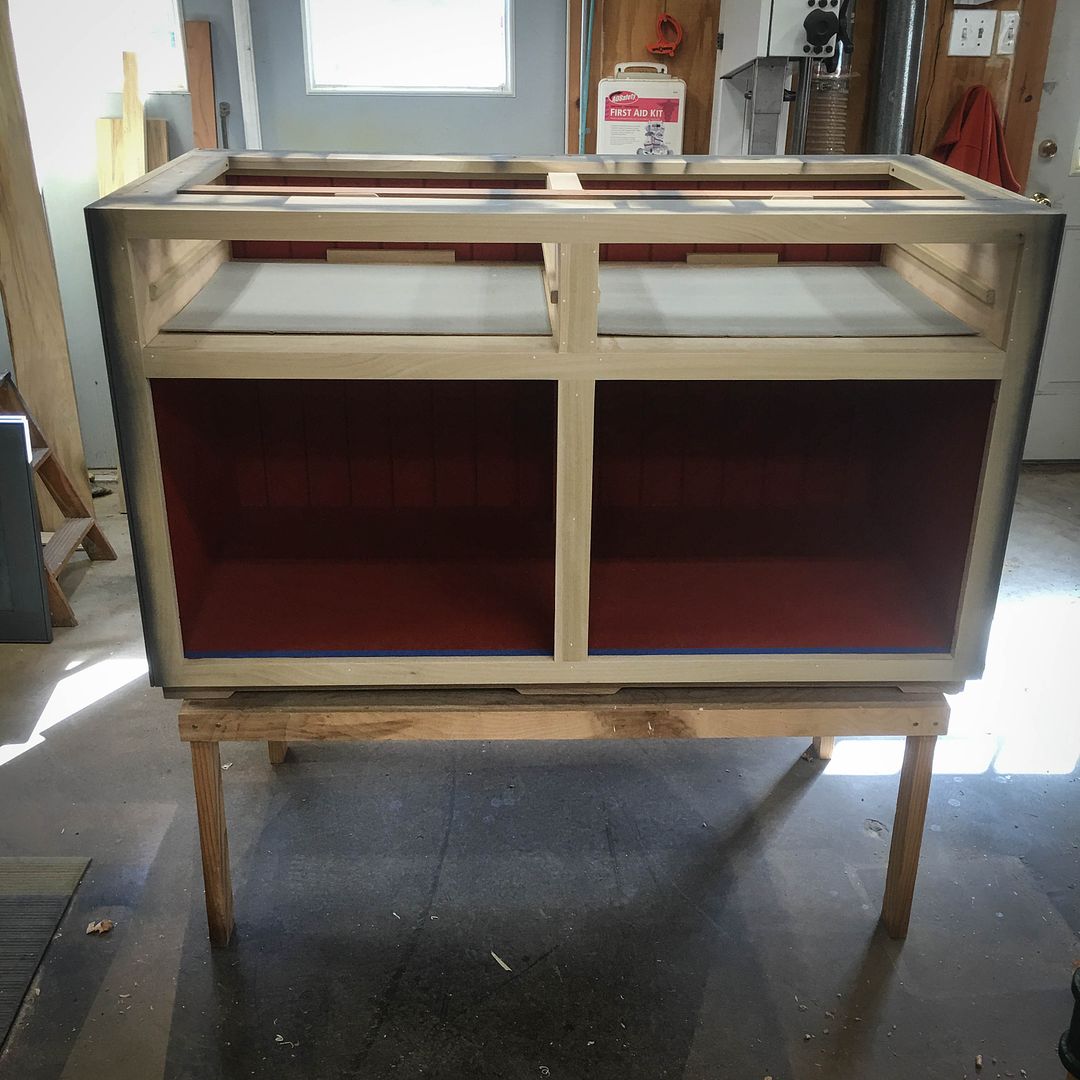
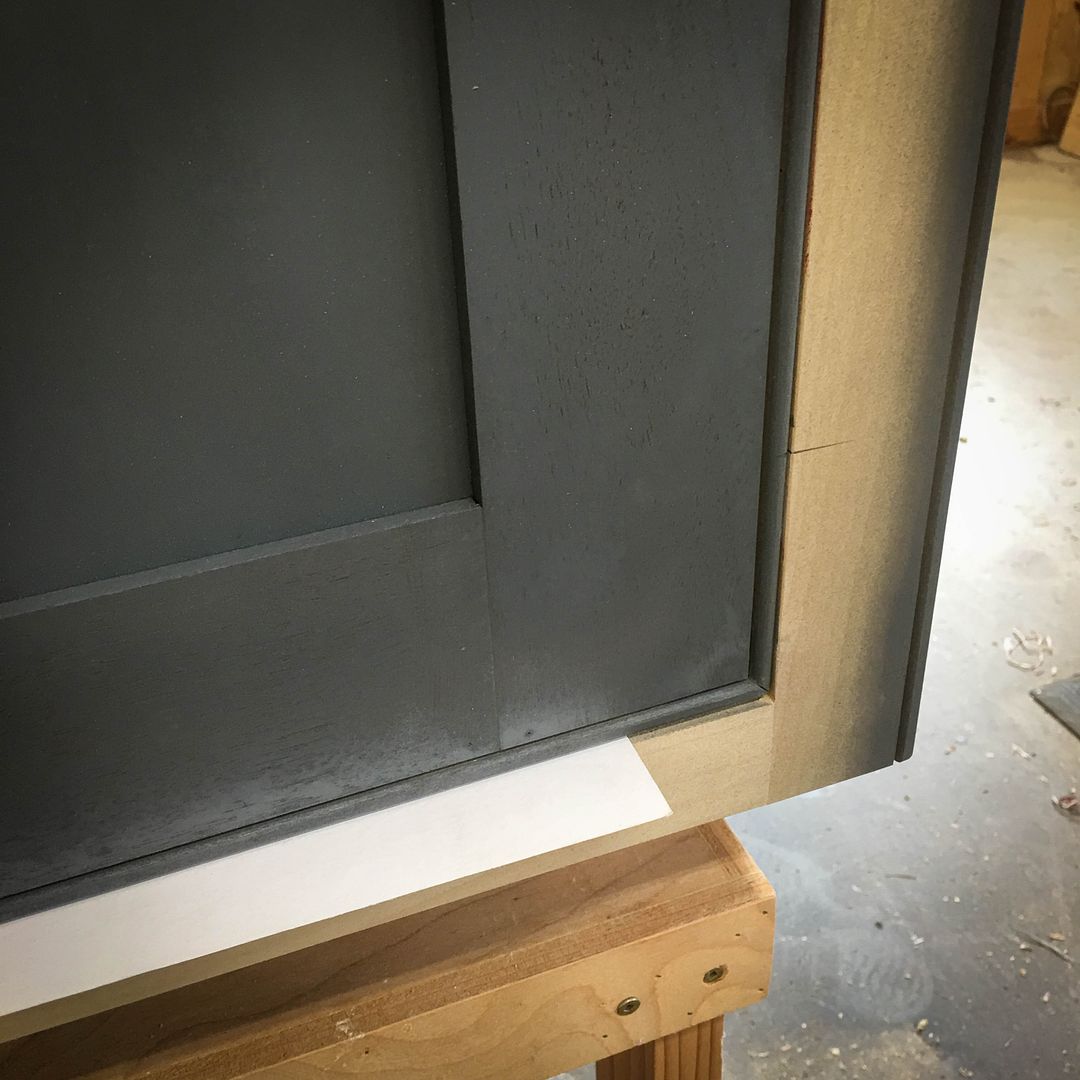
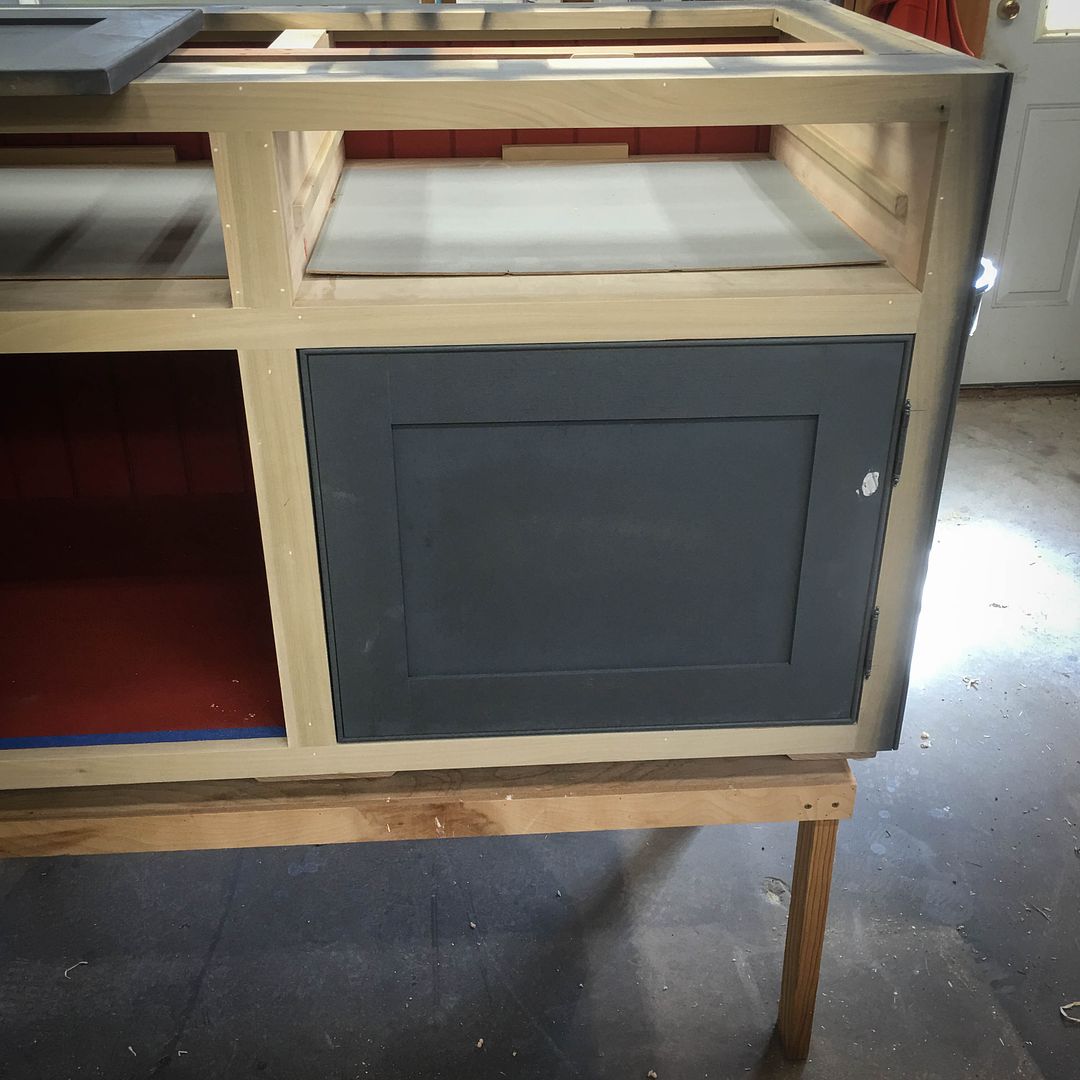
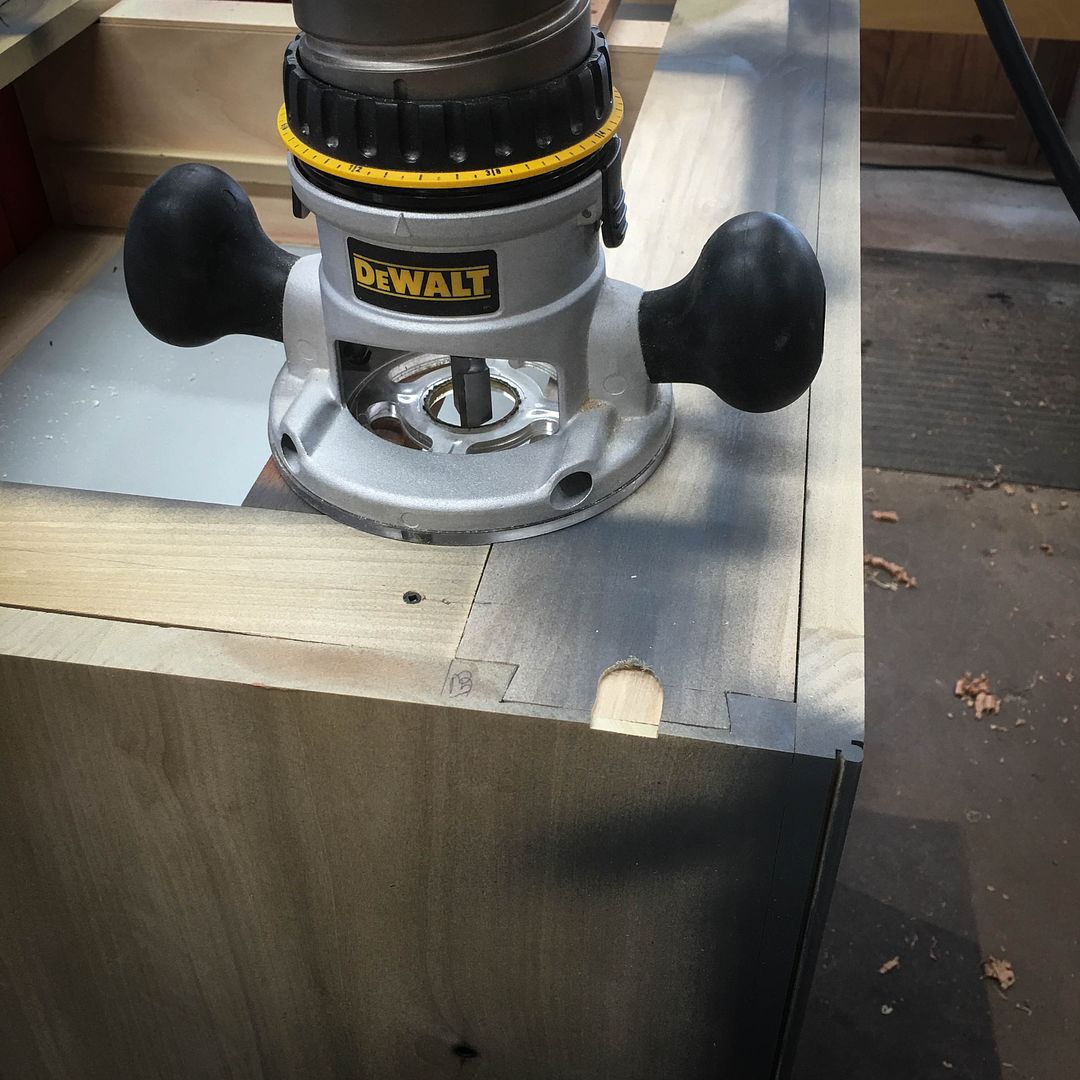
I'm using a really mixed combination of construction techniques for this piece. The material is solid poplar (off our property) for the most part with minimal plywood. The sides and floor are glued up flat slabs and the top rails are dovetailed into the top of the sides with half-blind joinery. Other joinery includes rebates and grooves for glue-strength. Face frames are applied and the corners are beaded. The top for this portion is made of solid cherry...a couple of wide boards I've had for a long time that were "looking for a project" make up most of that piece. The drawer boxes are cherry. Doors and drawer fronts are beaded, too. And with that description...it's time for the "journey"...
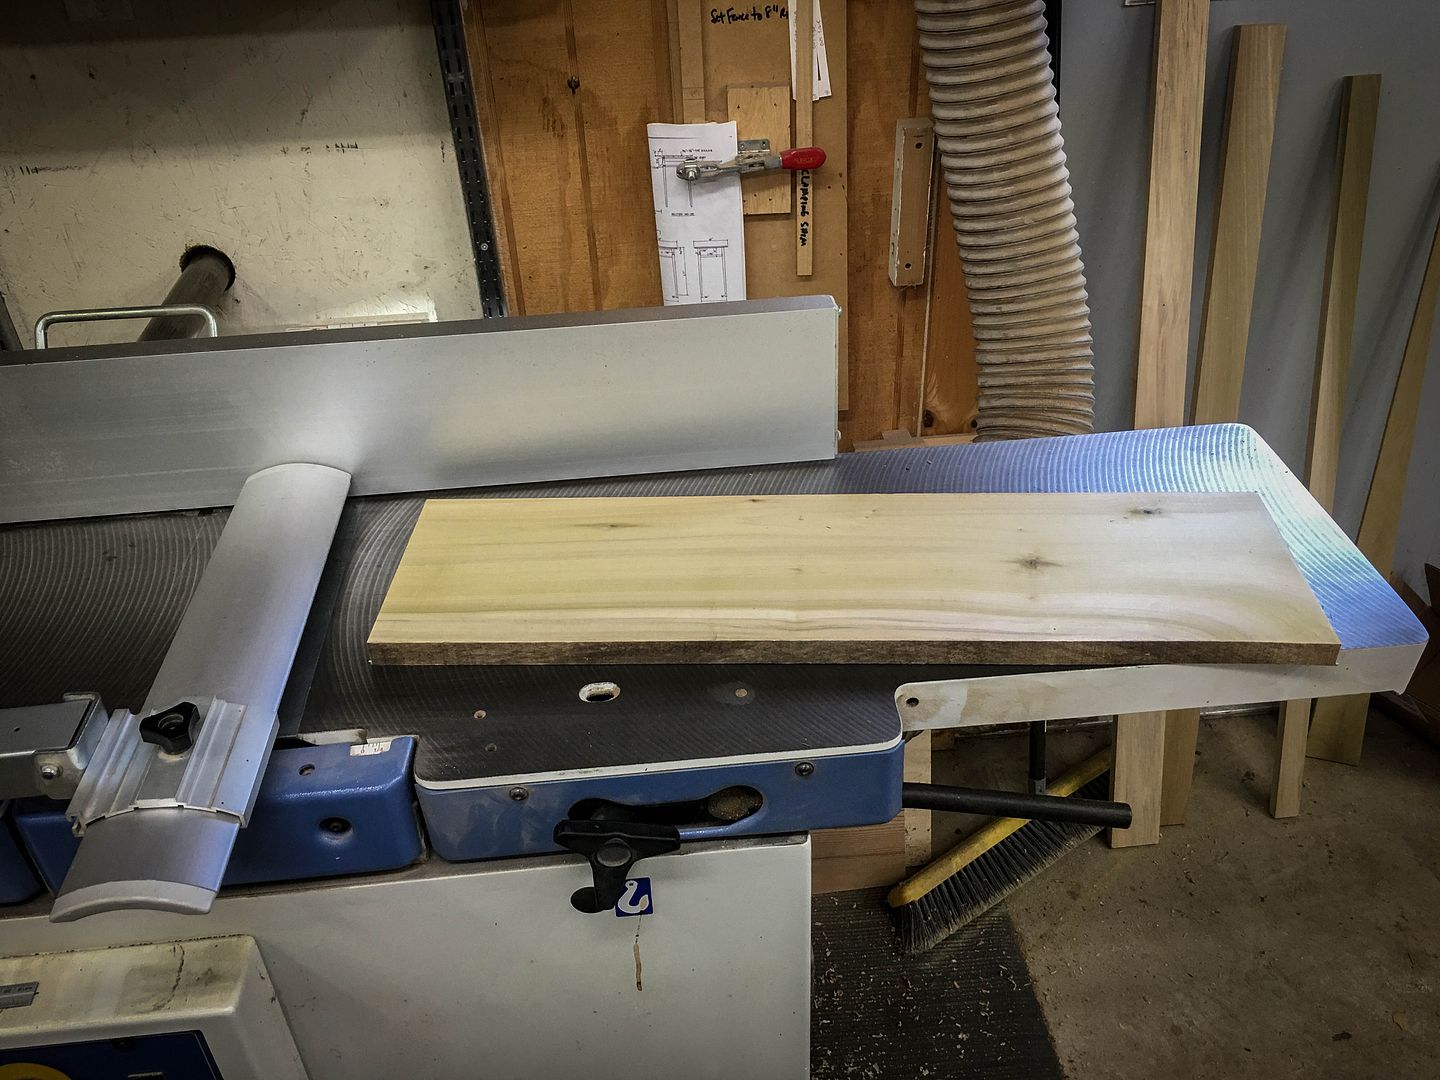
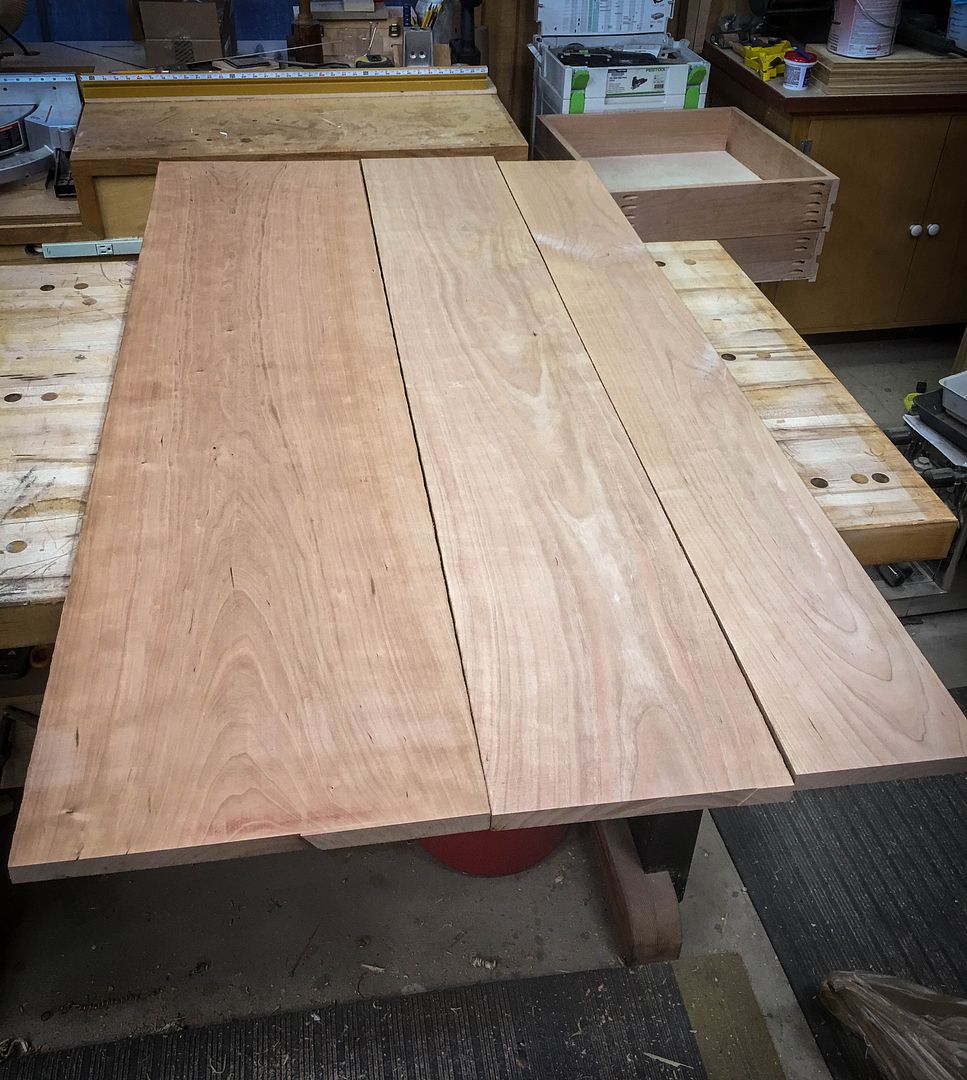
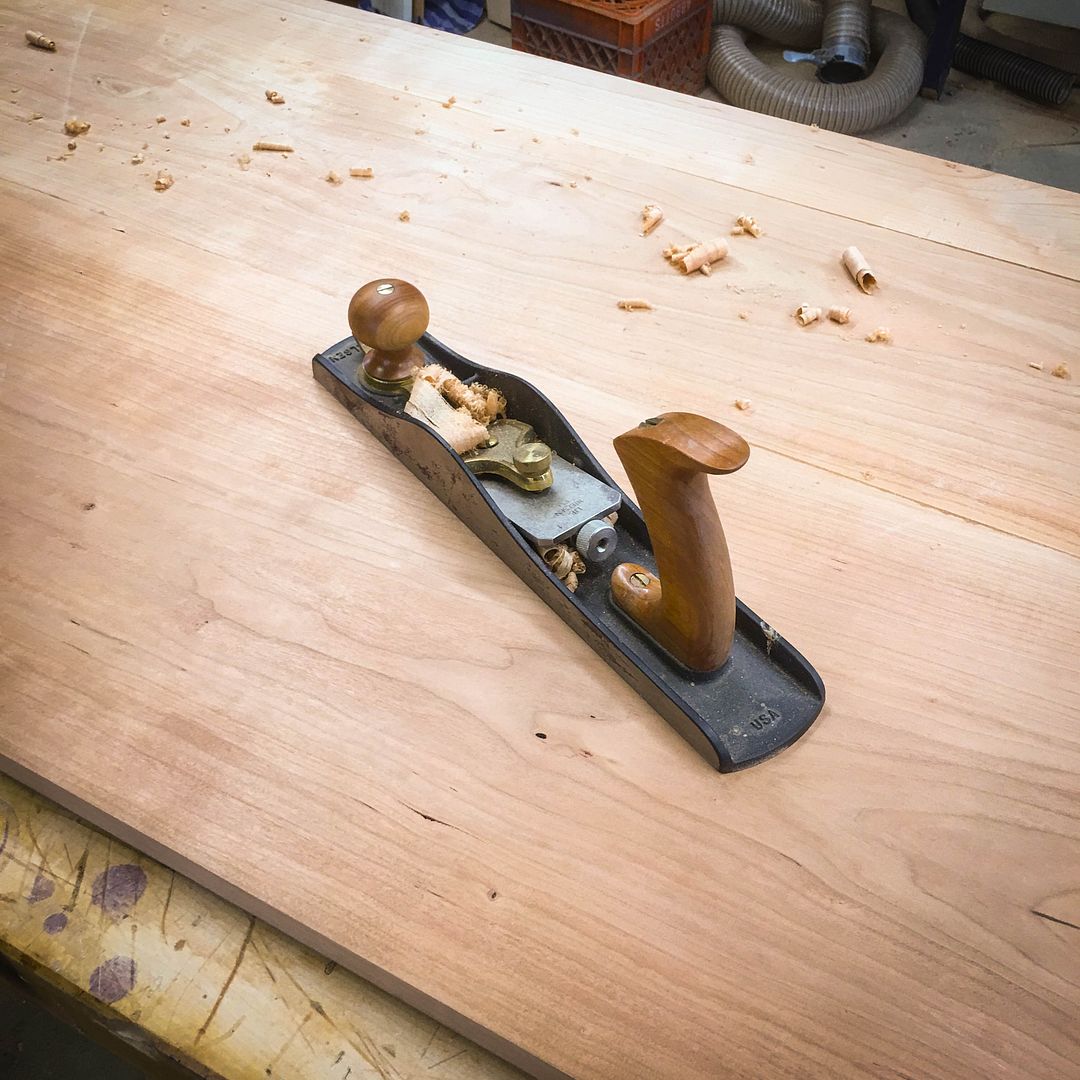
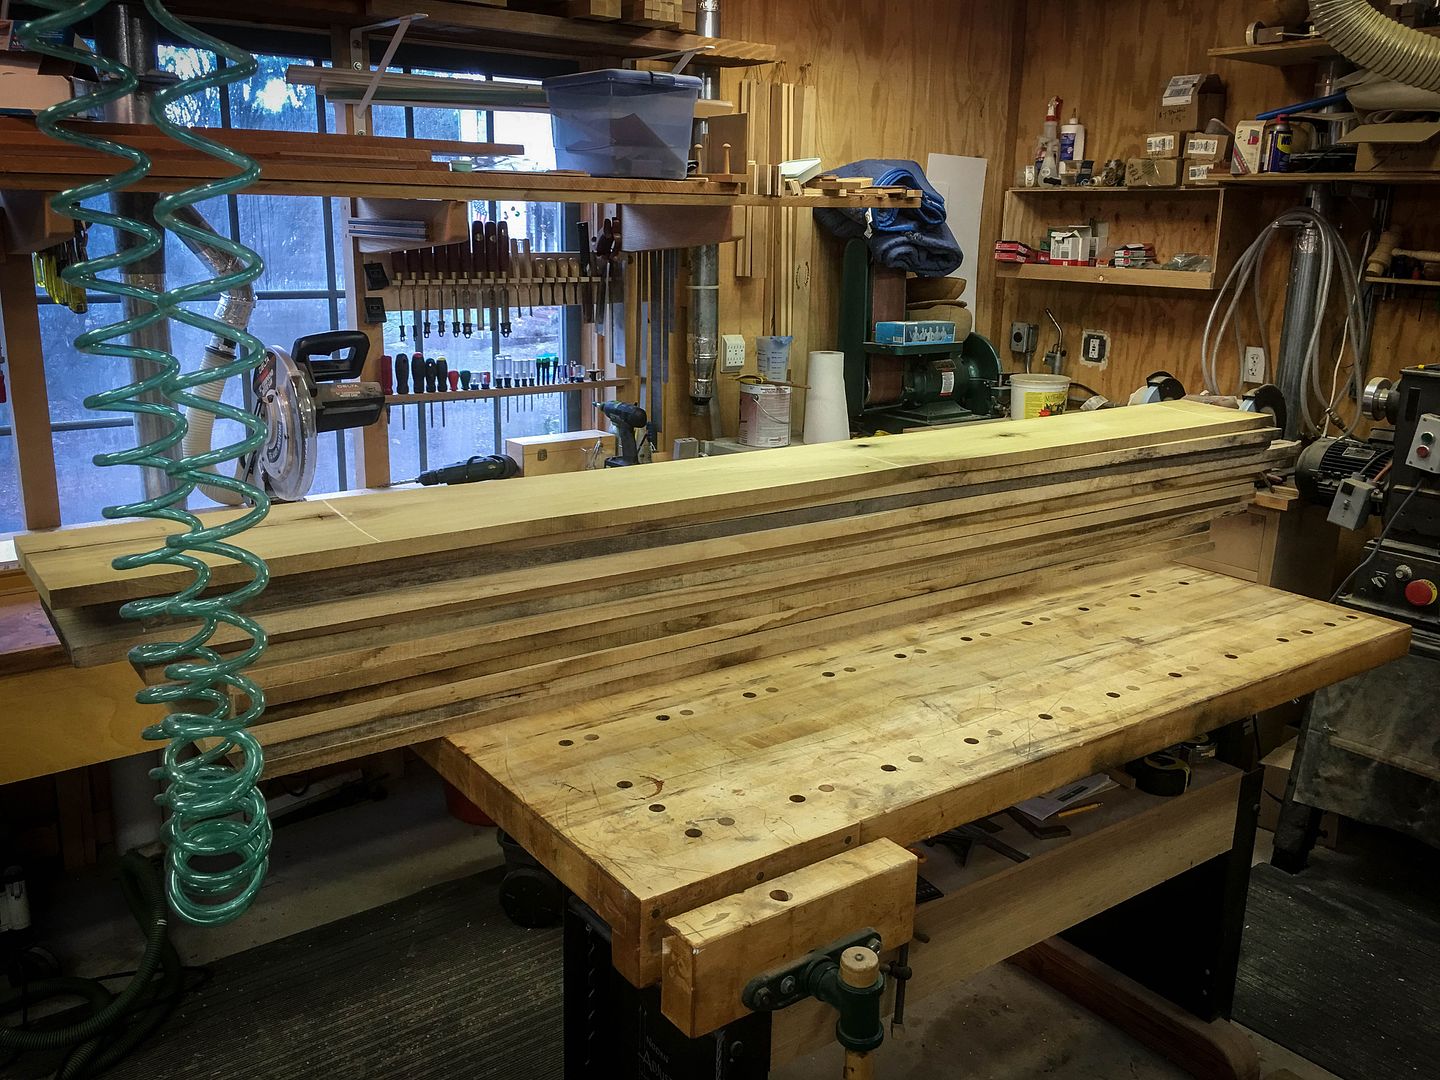
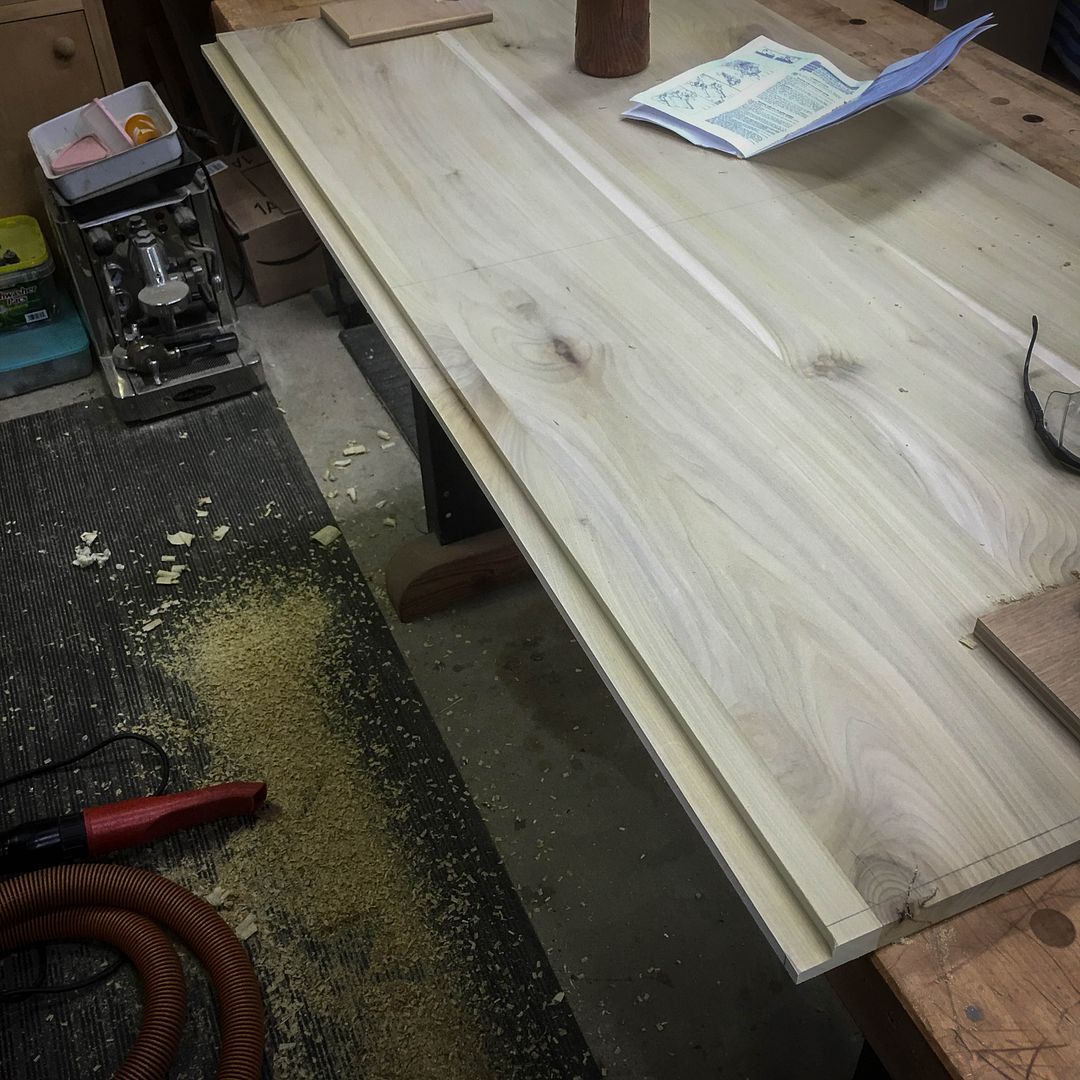
Clearly, the starting point...
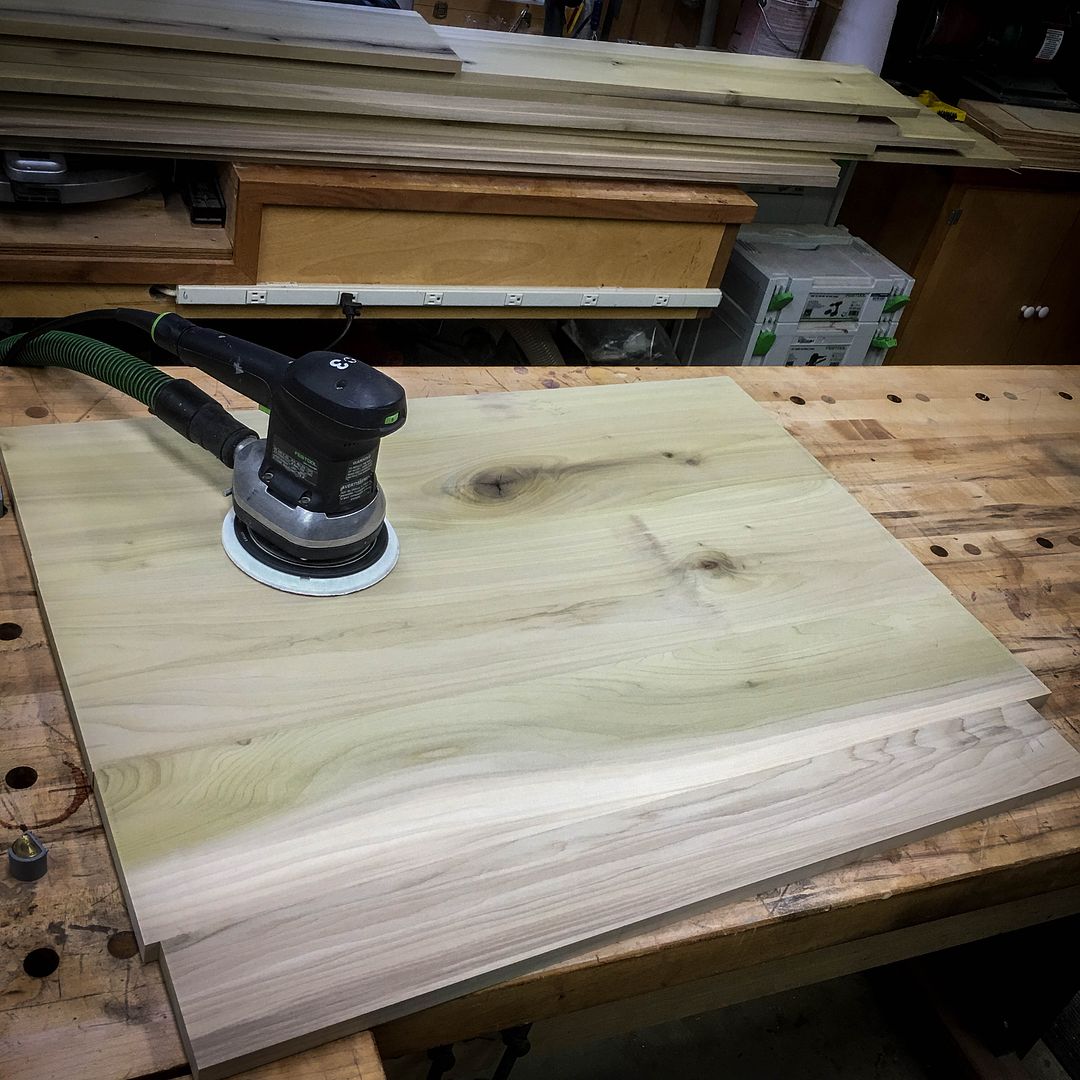
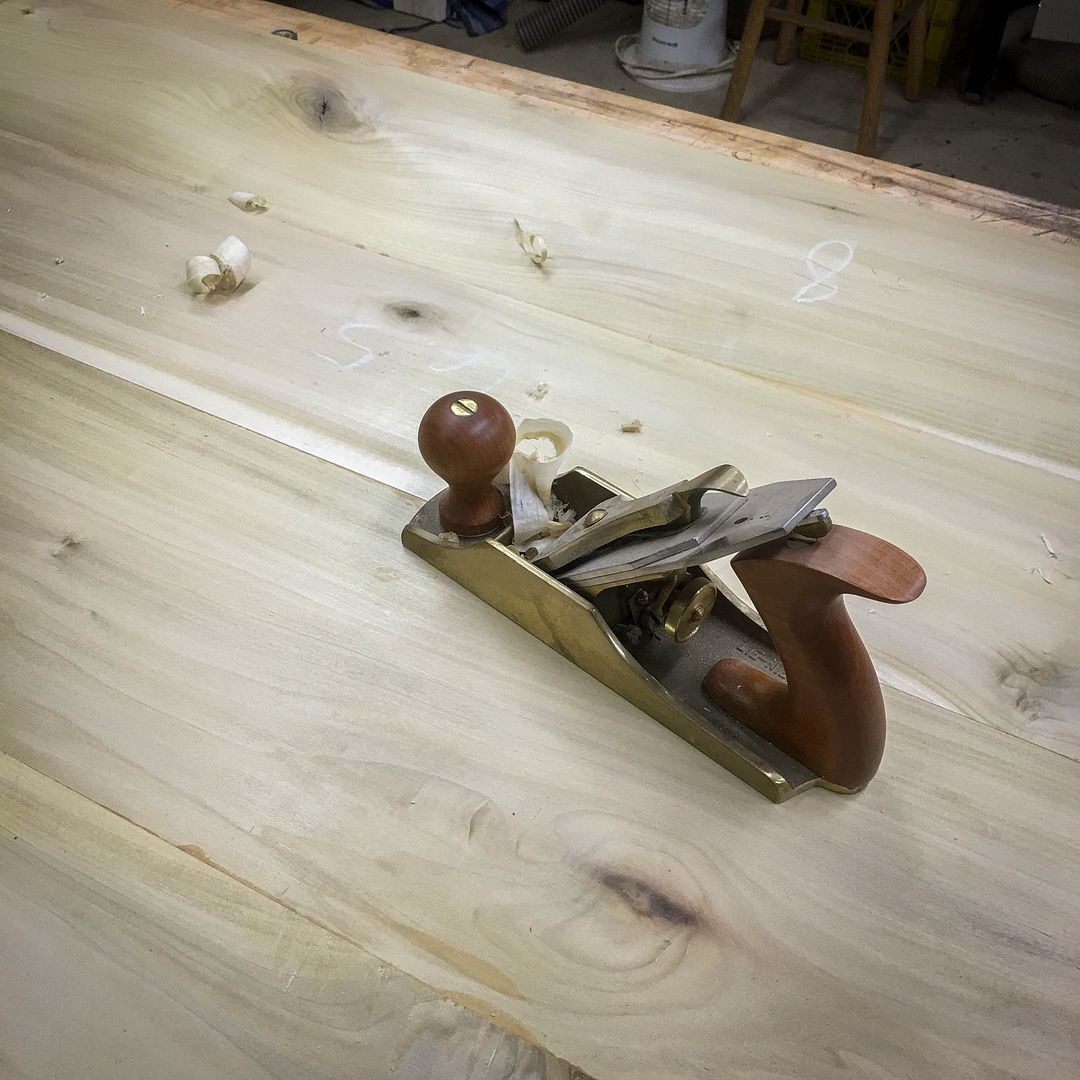
With a little more refinement...flatten first...
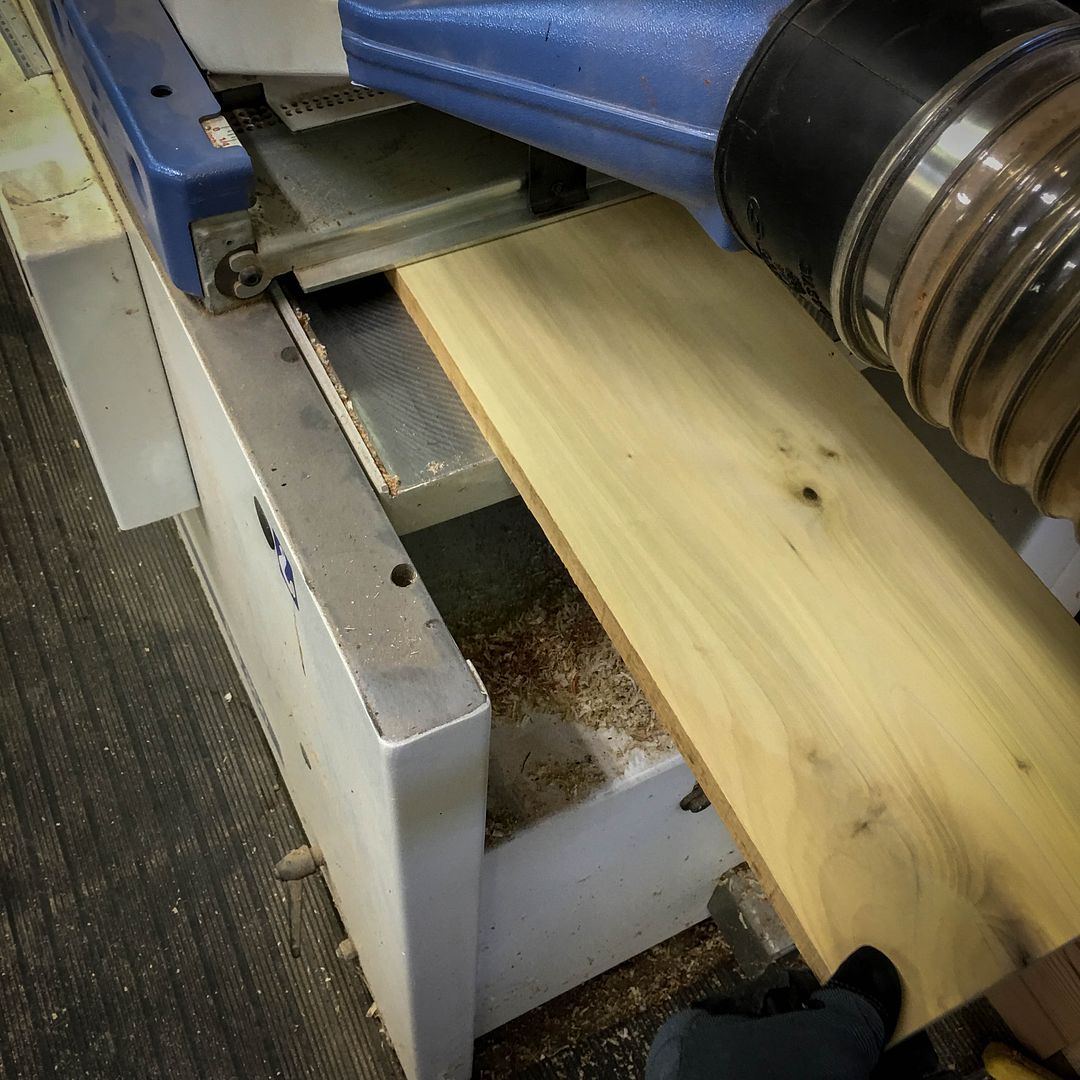
And a bit of thicknessing...
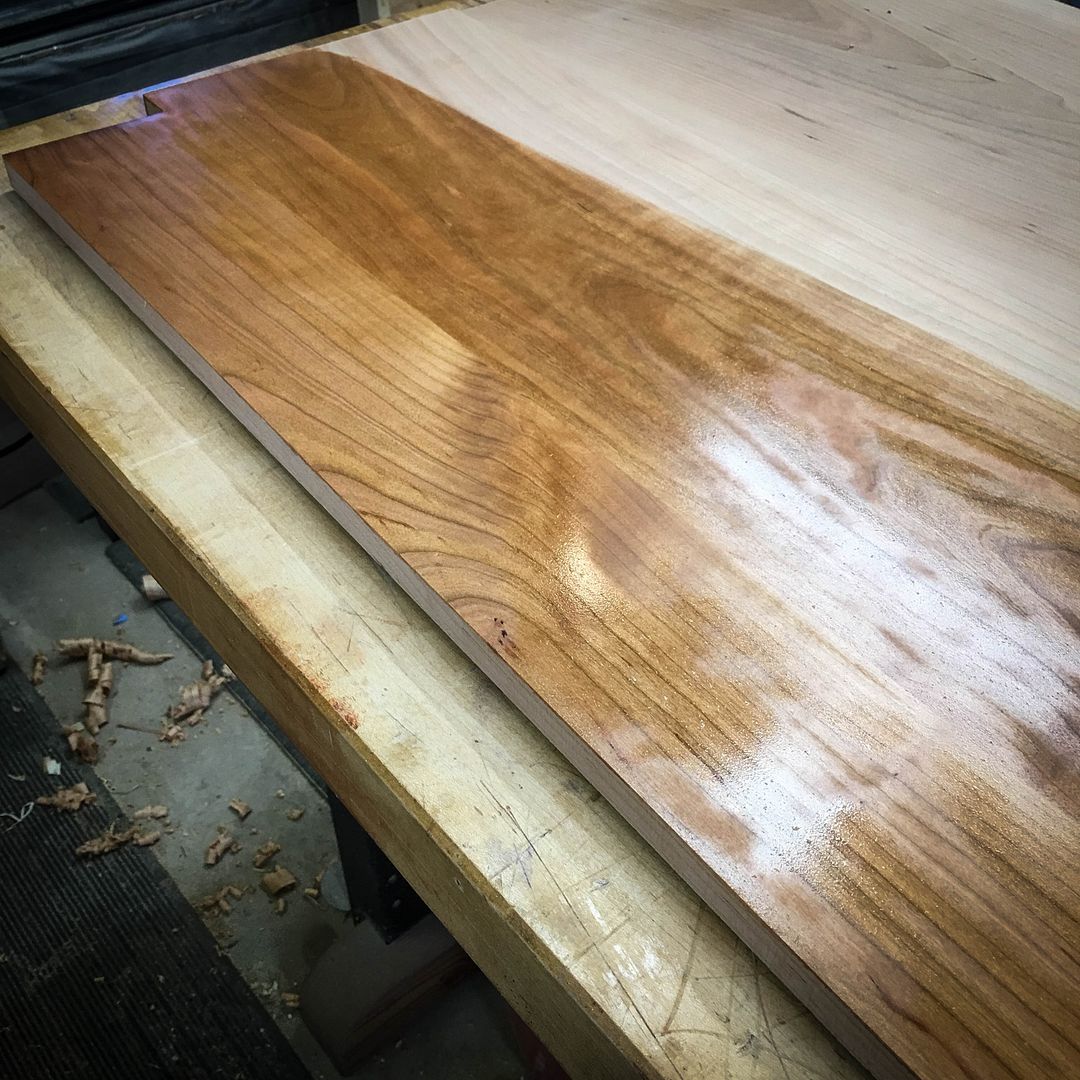
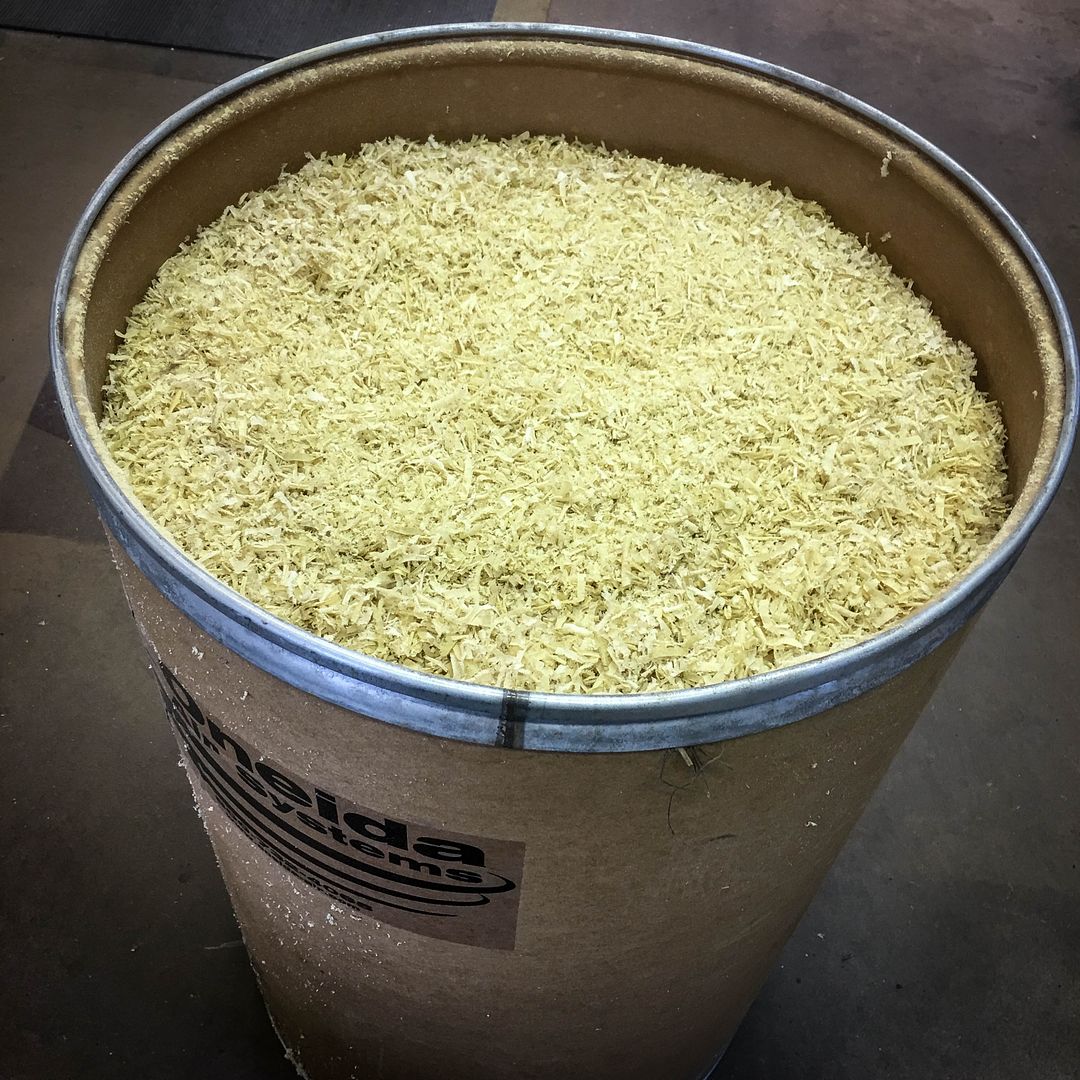
And too much of this......several trips to the sawdust pile, for sure...
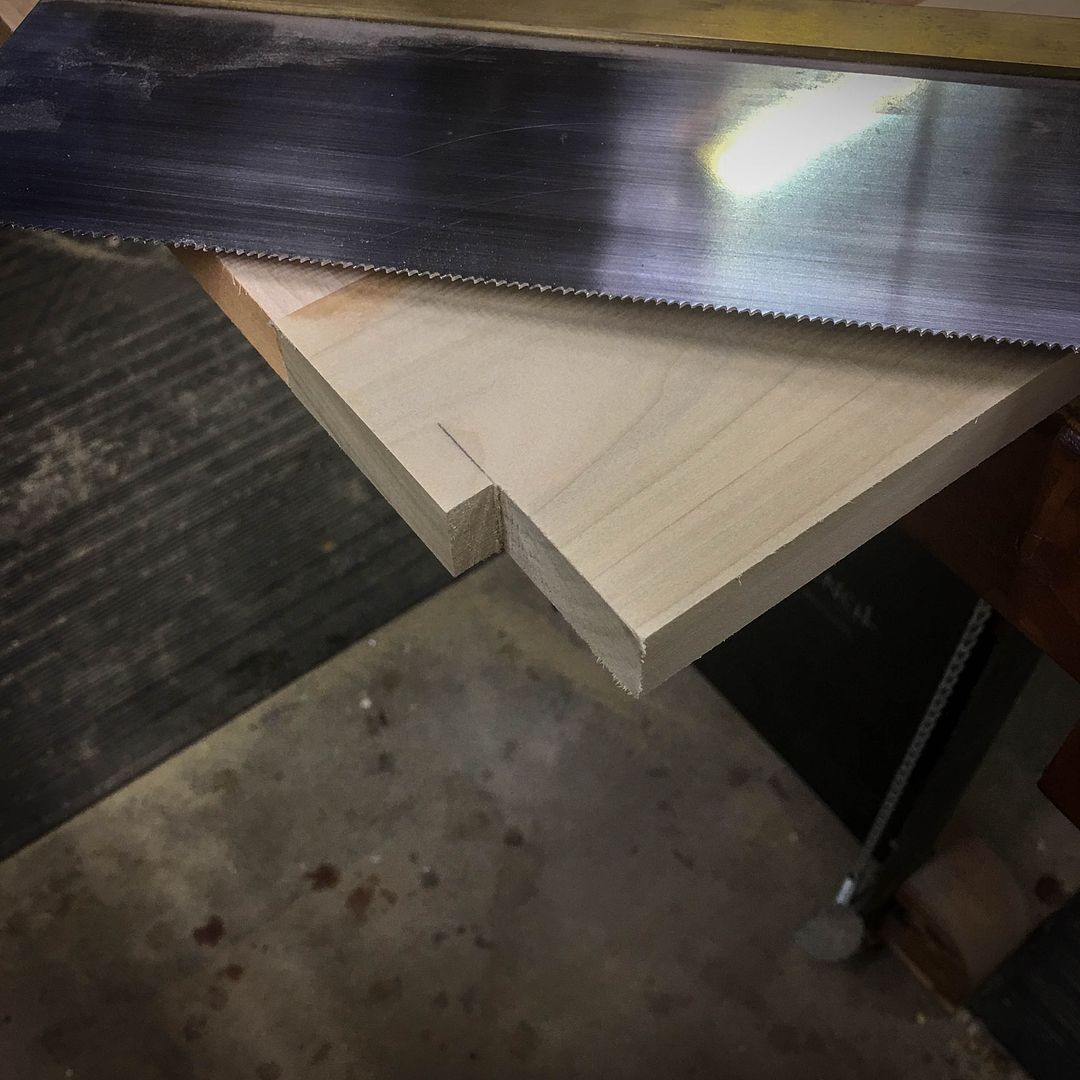
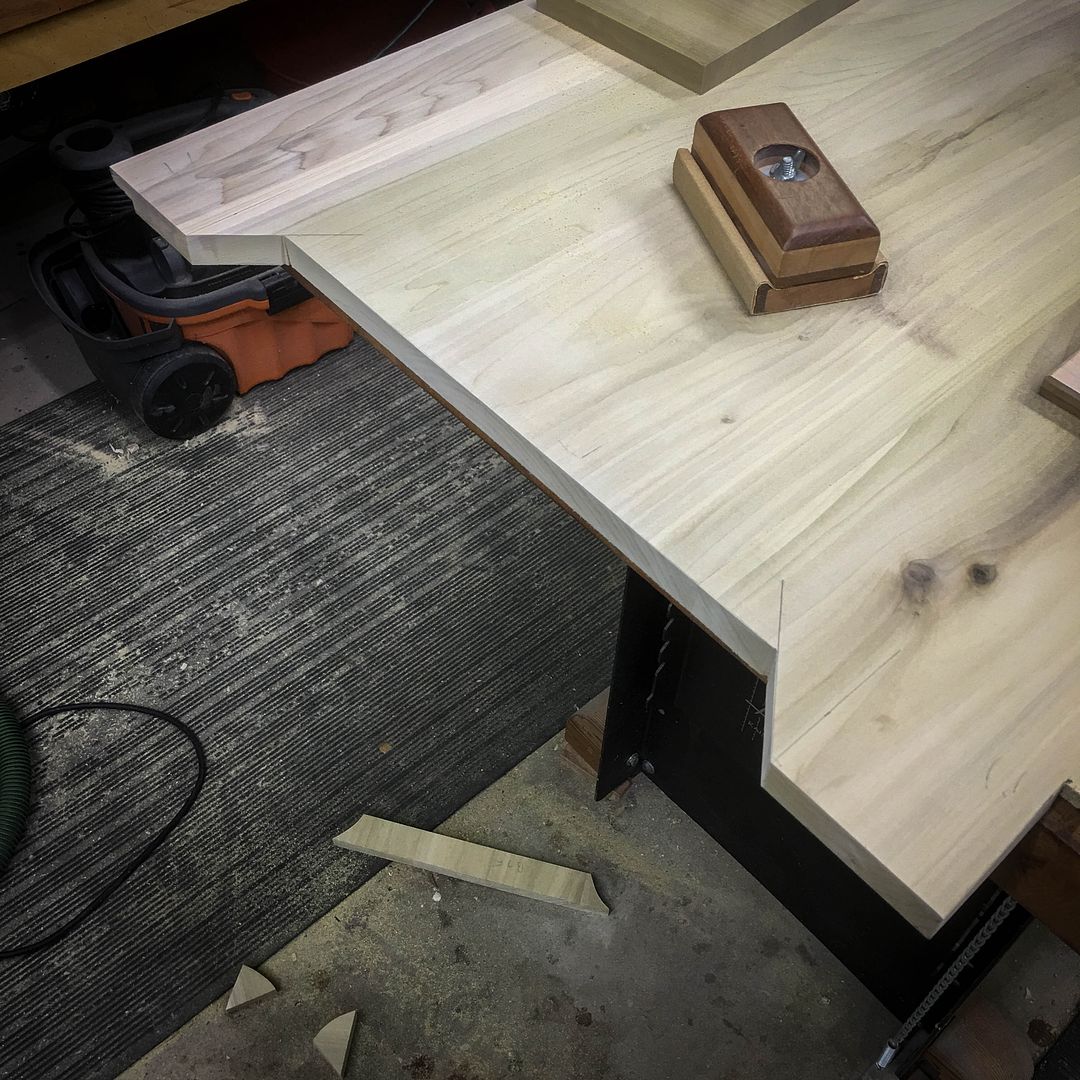
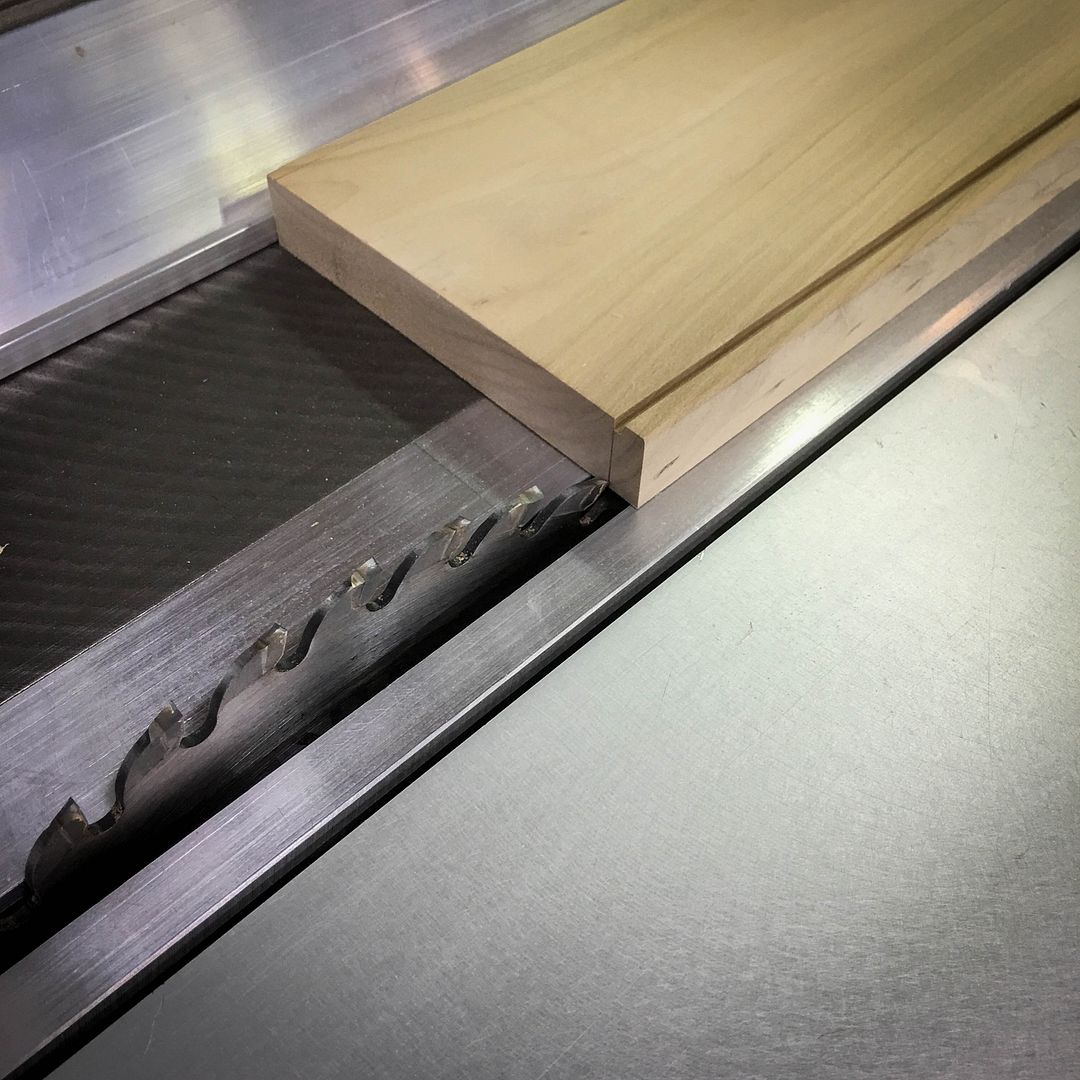
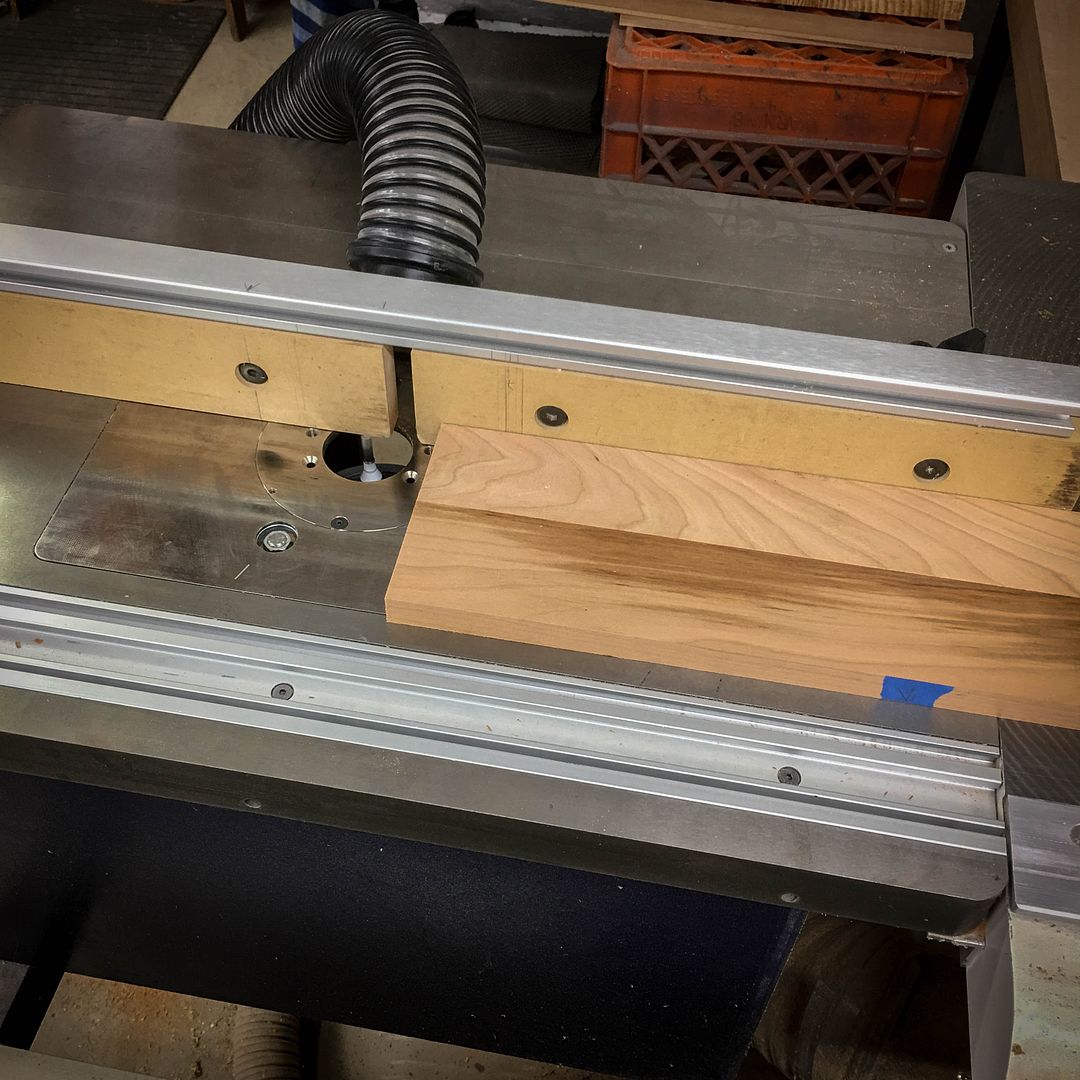
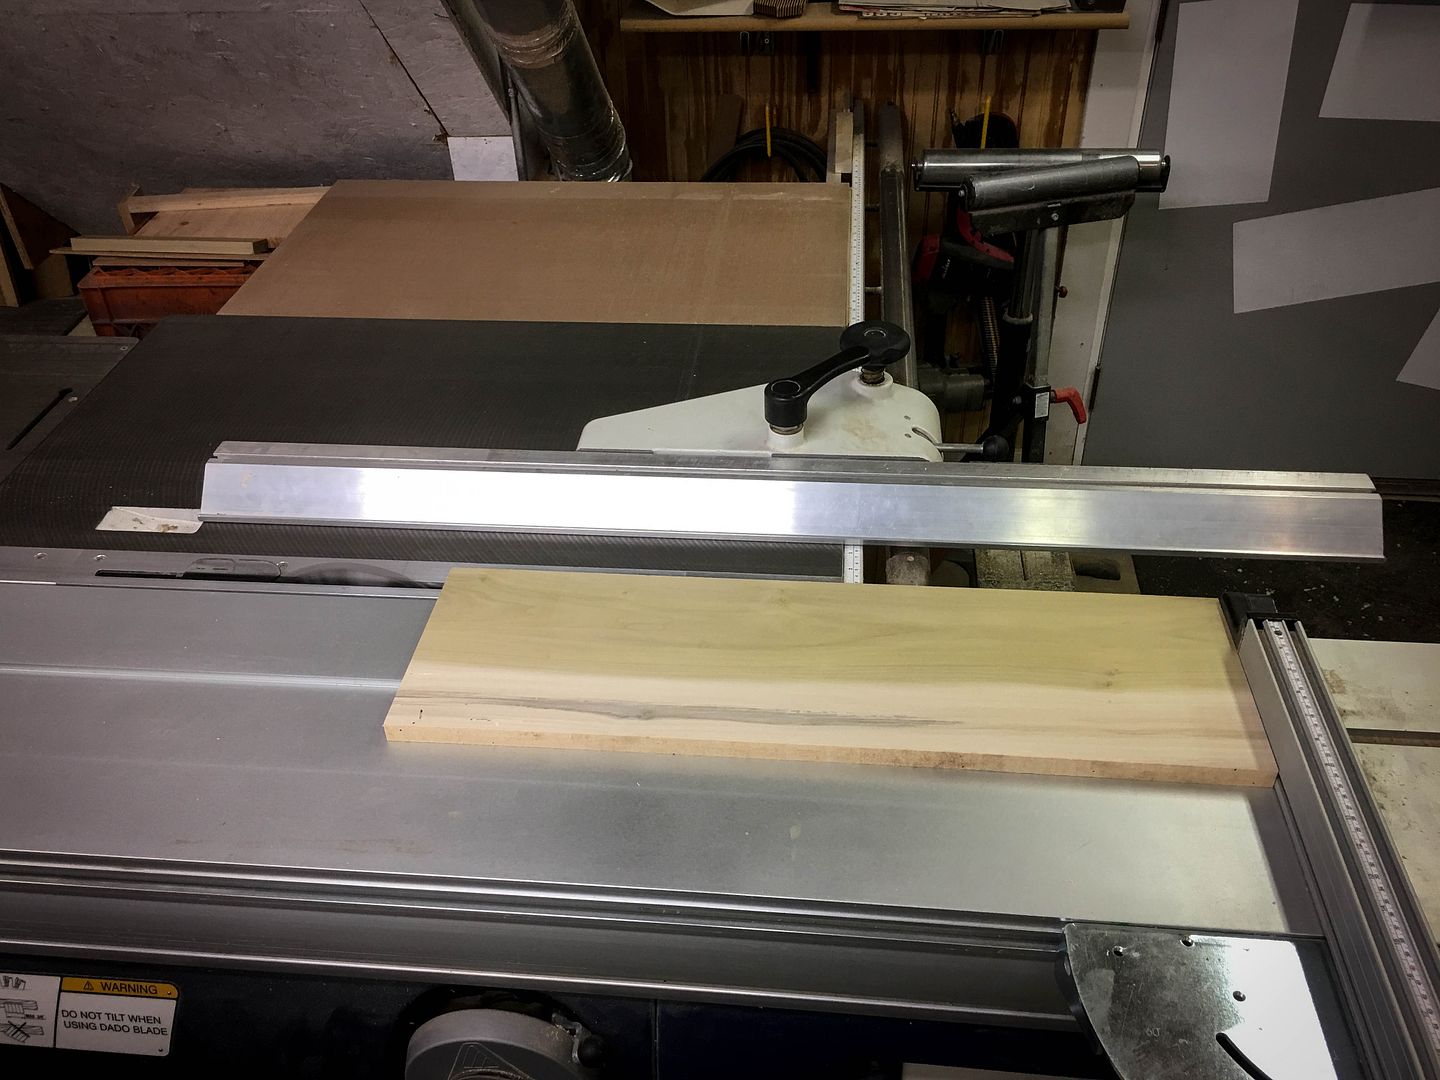
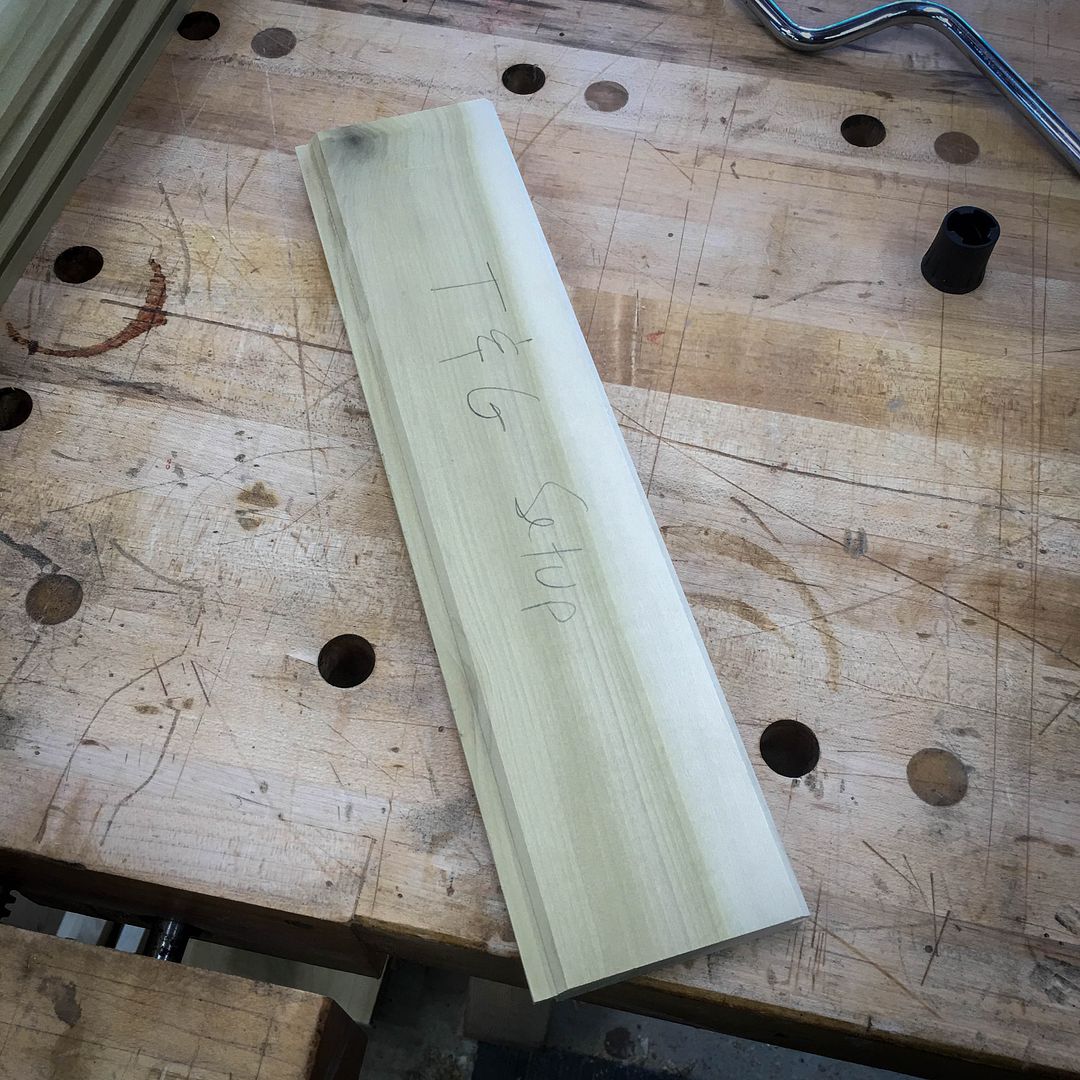
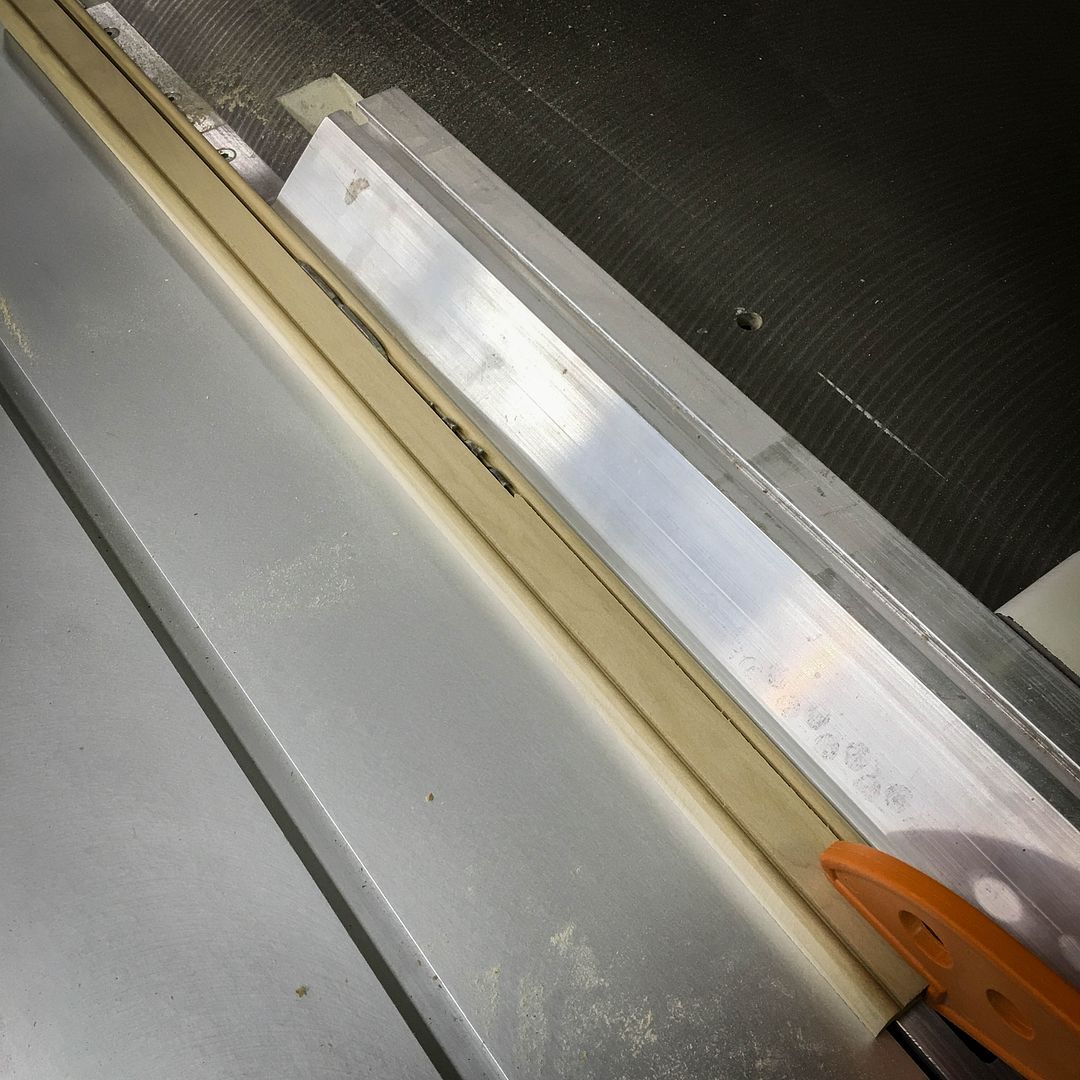
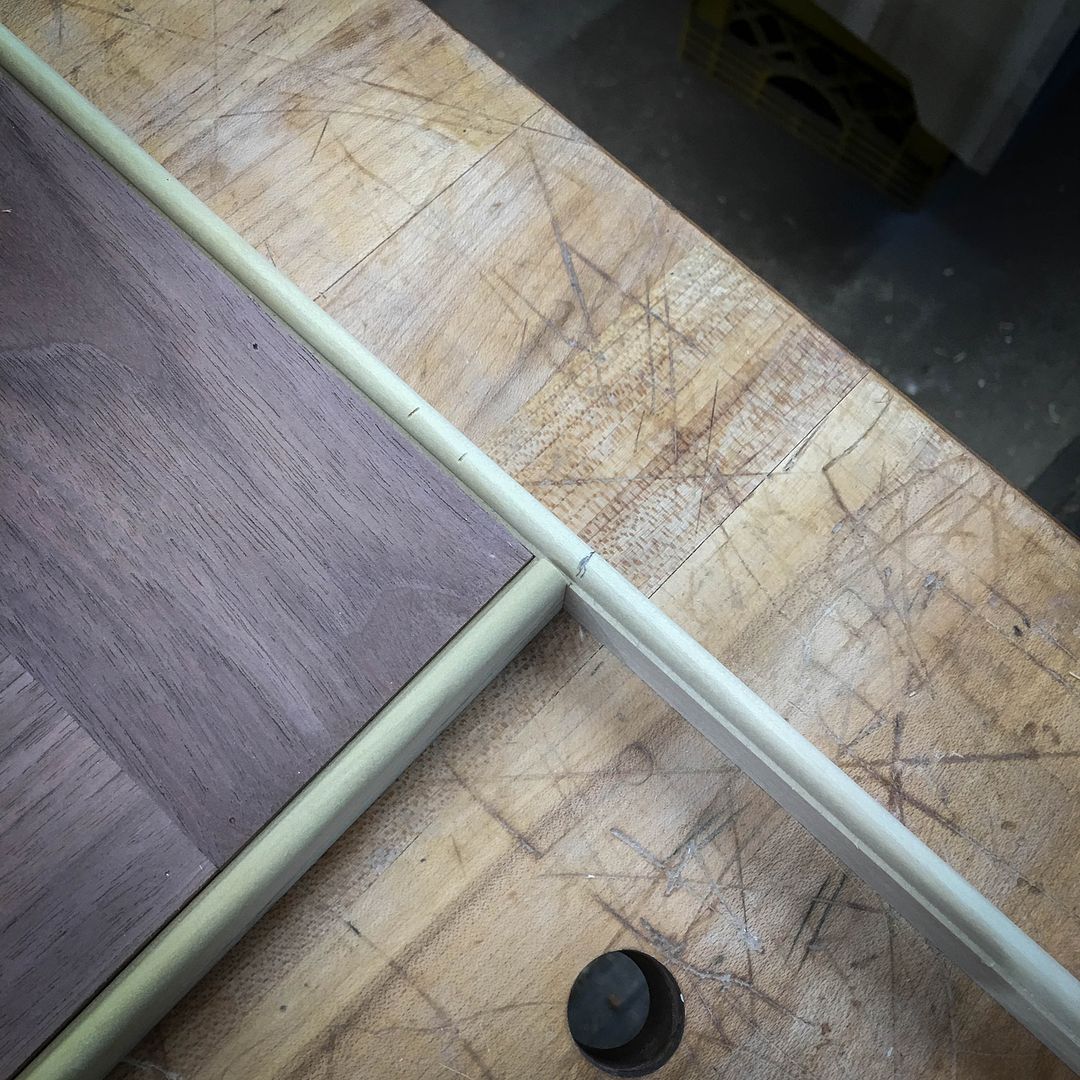
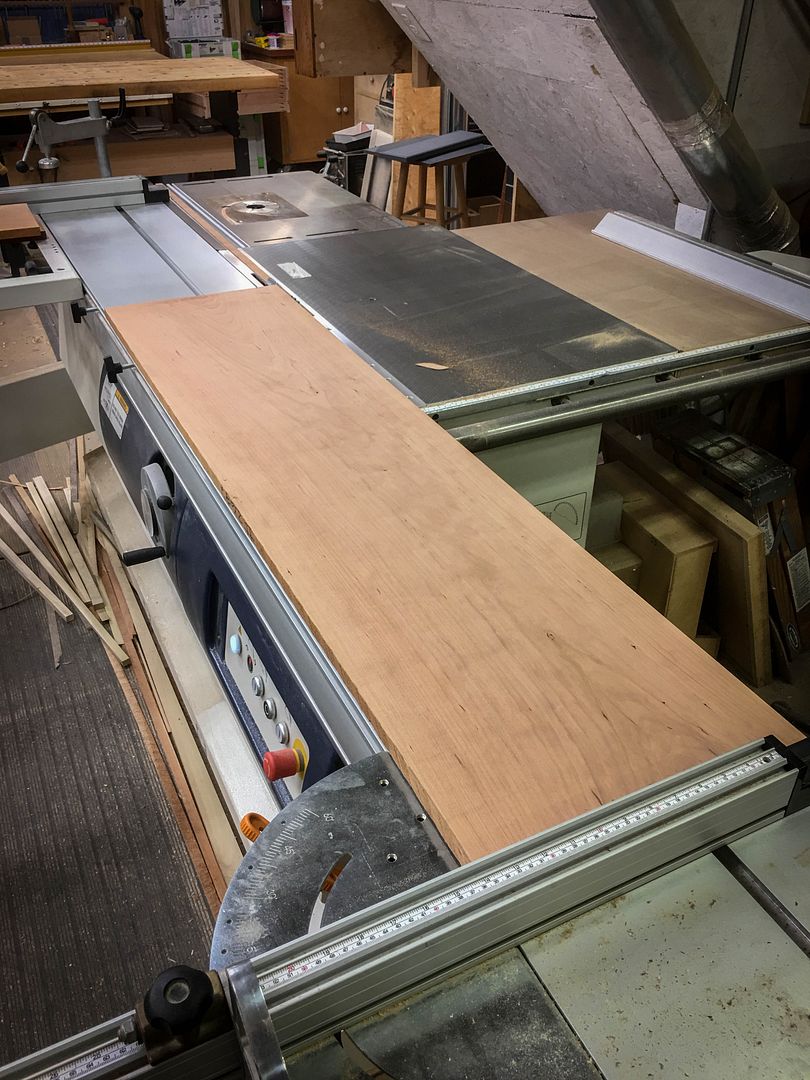
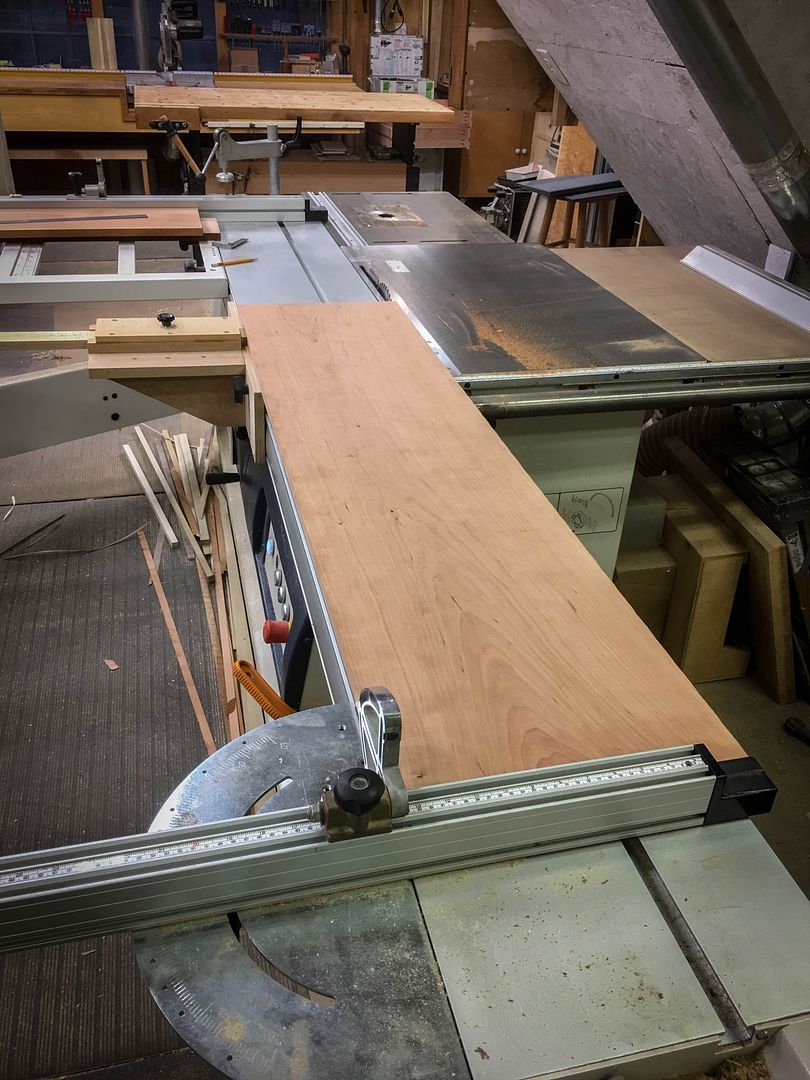
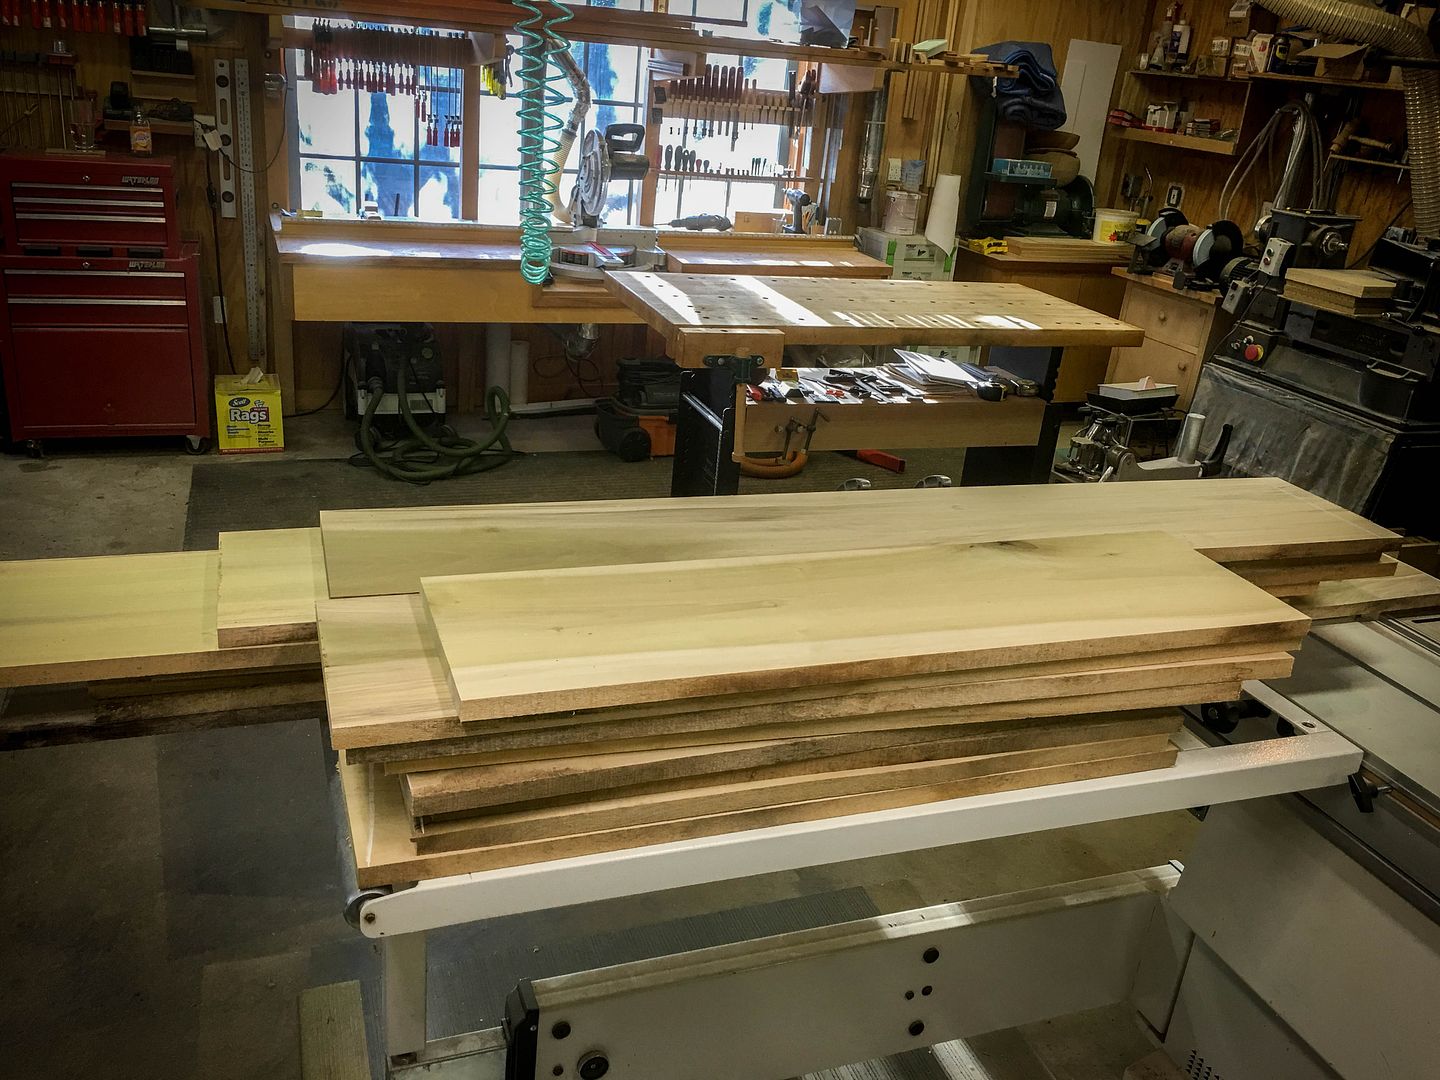
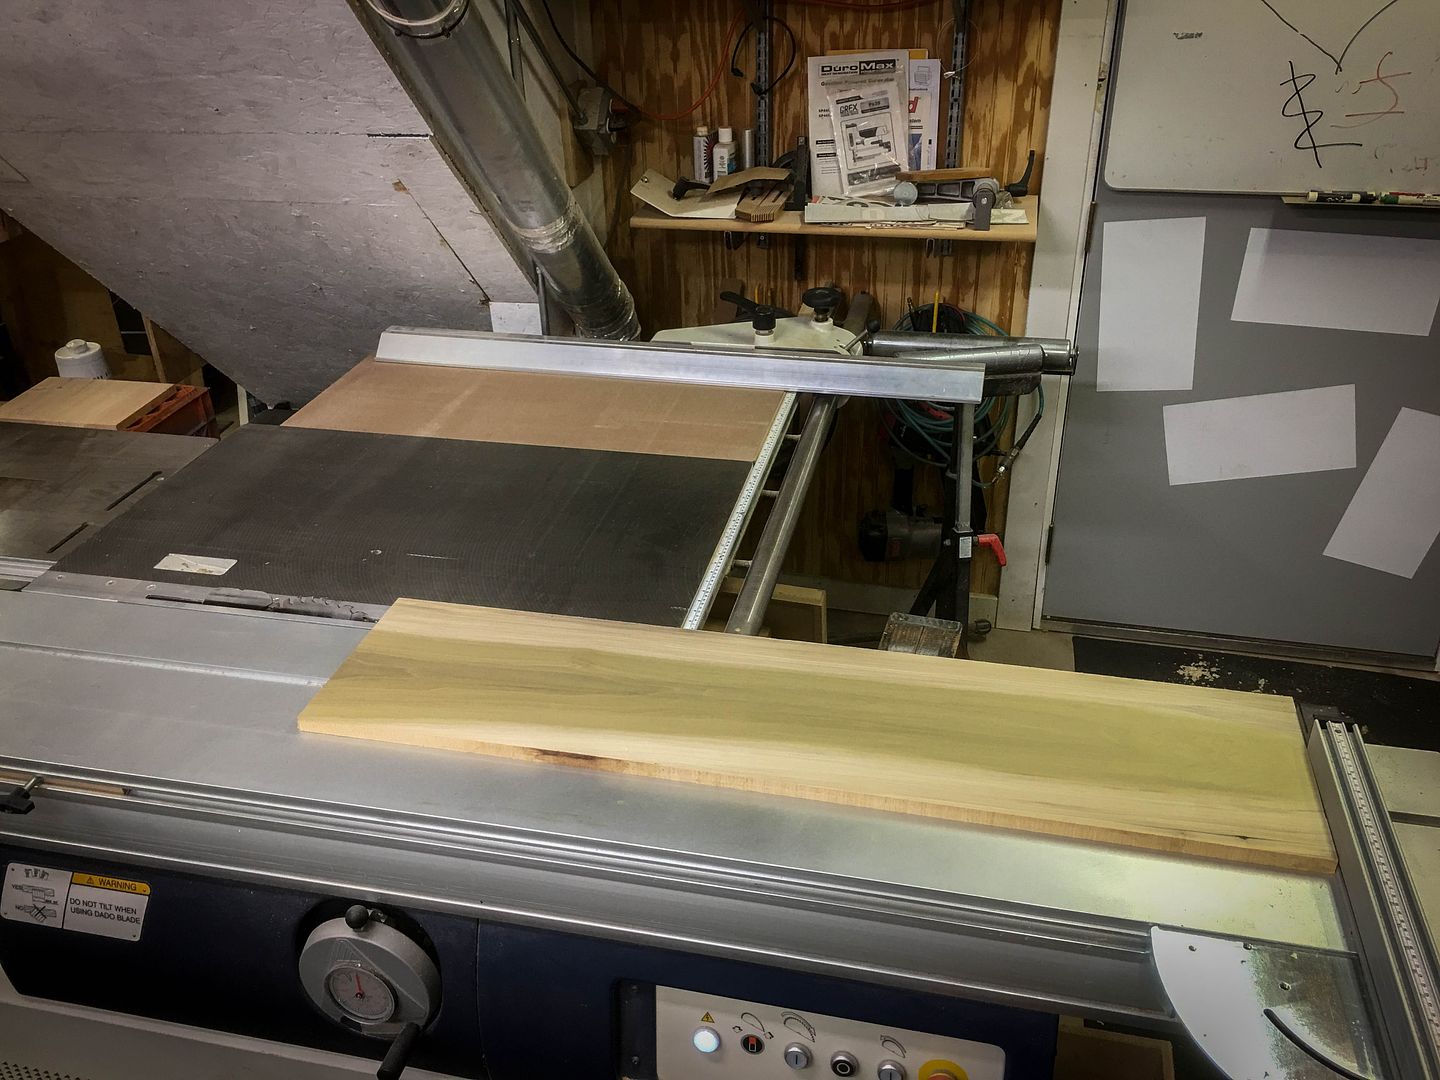
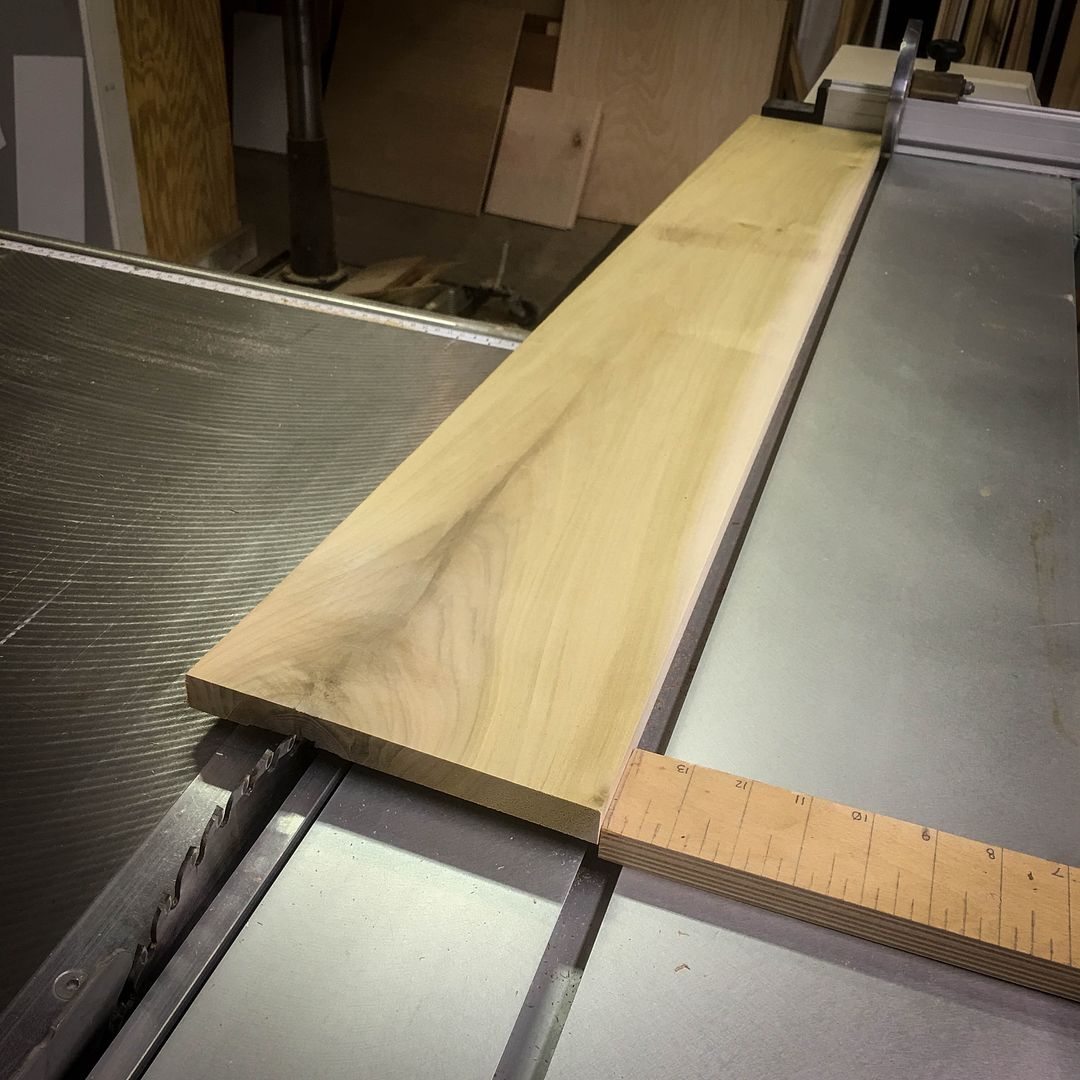
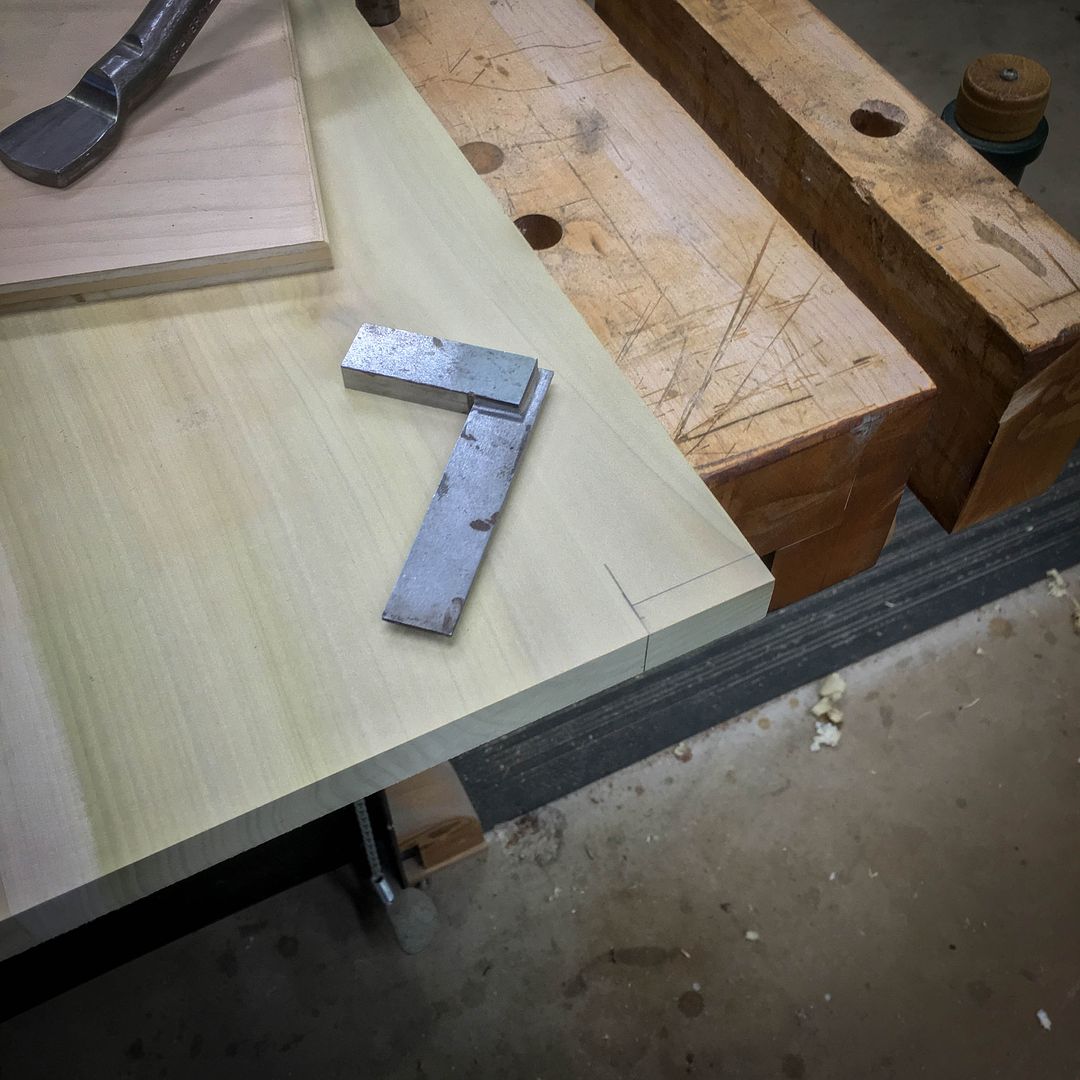
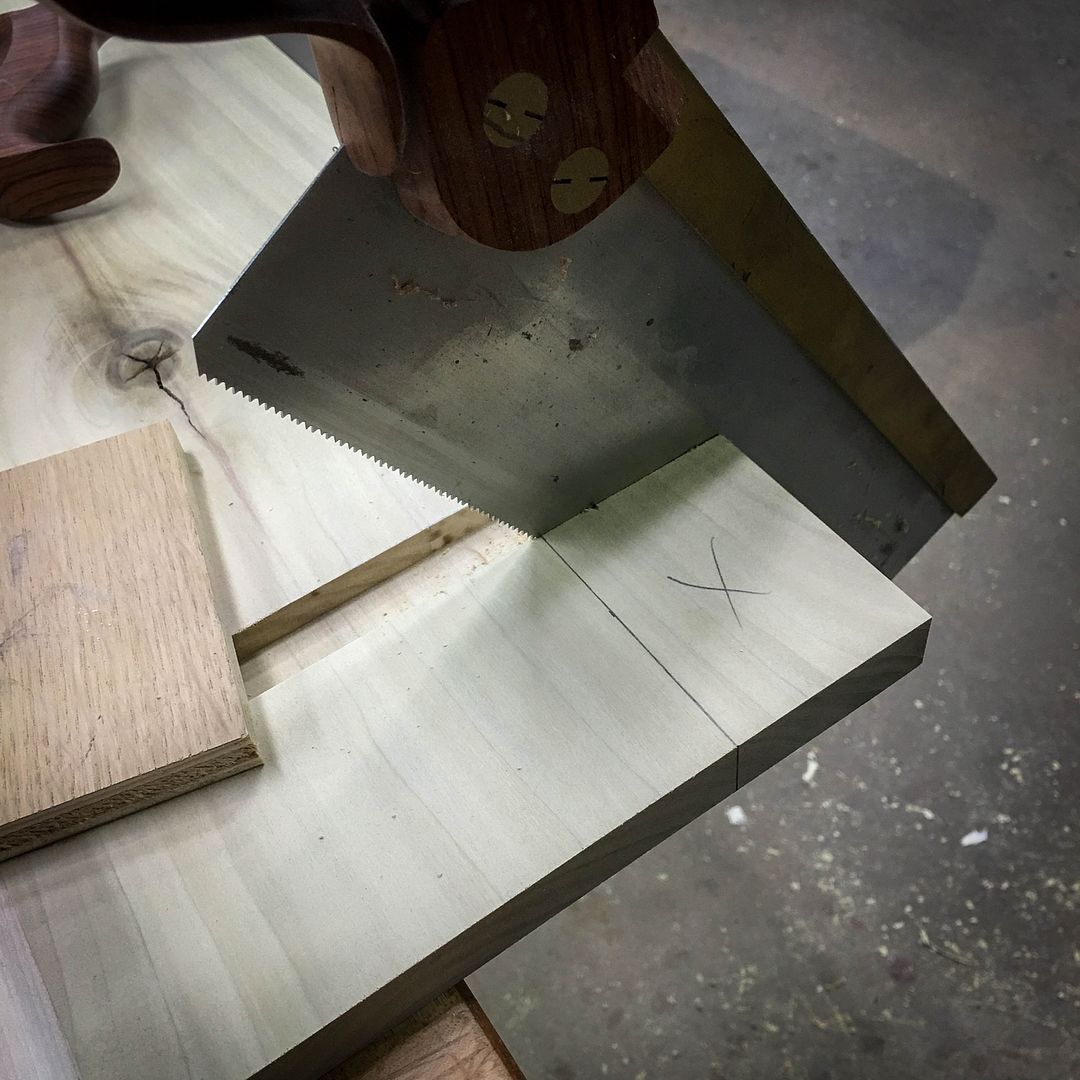
Straight-line rip (which is also "edge jointing" with my setup...)
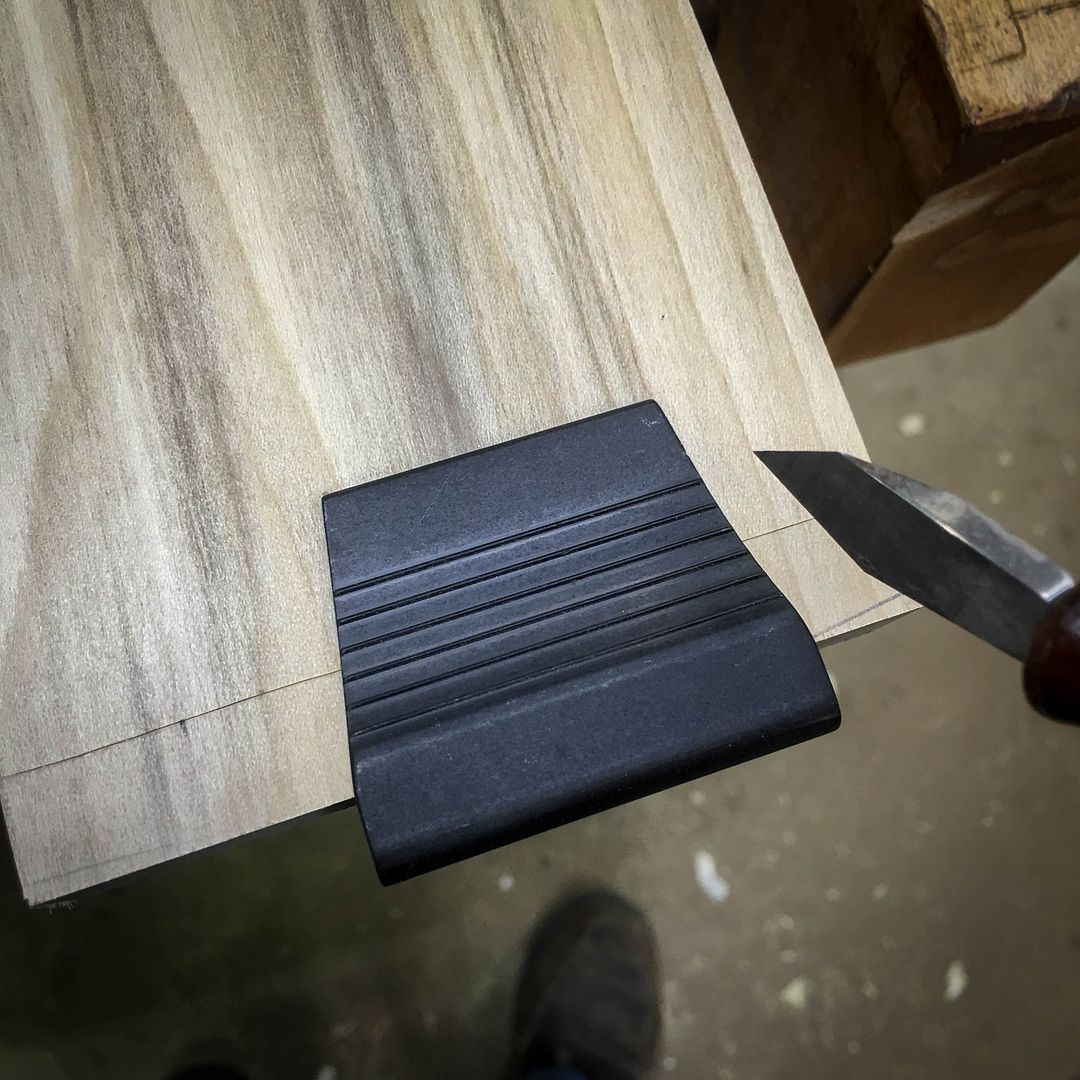
In some cases, the best edge is NOT along the original edge line from the sawyer for a variety of reasons...
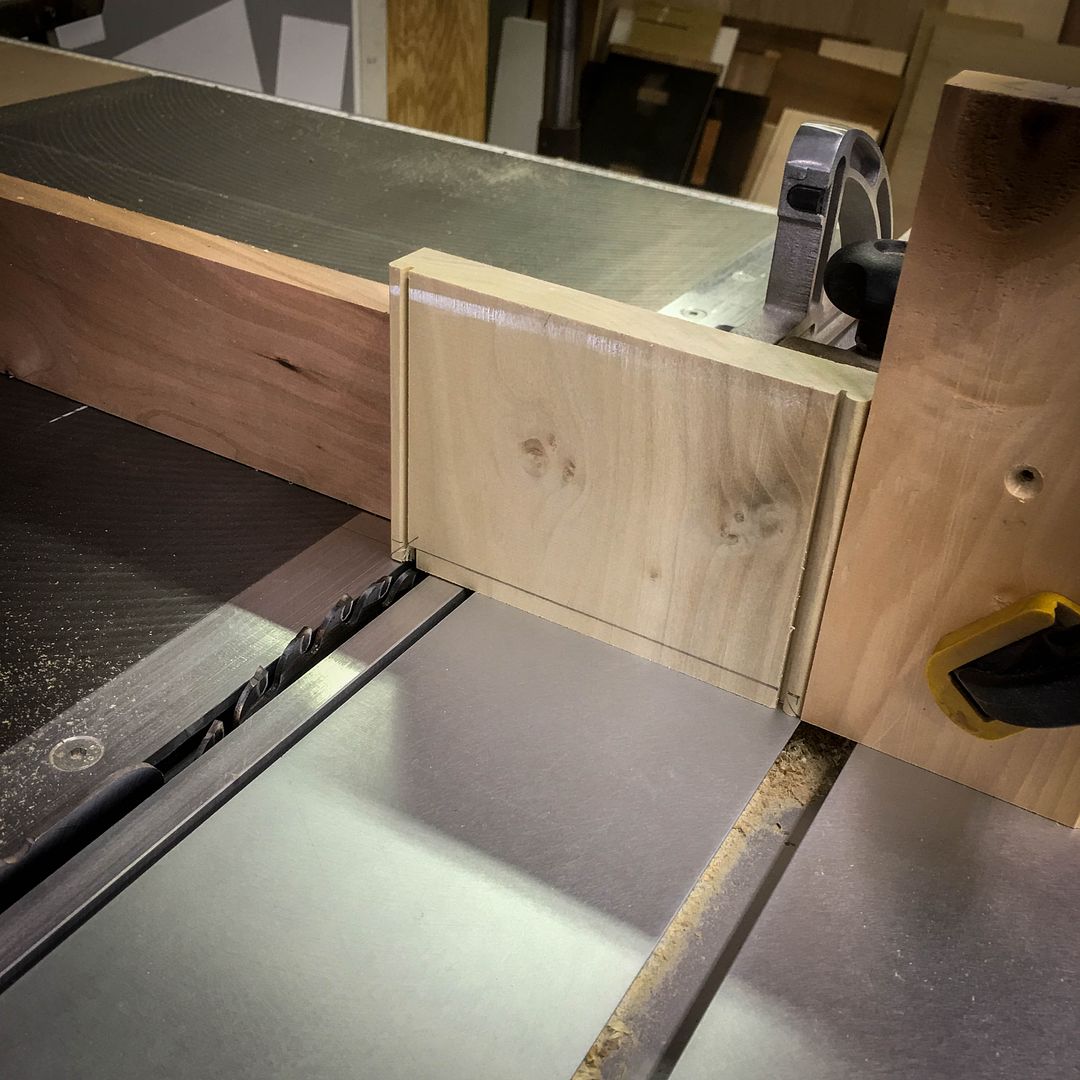
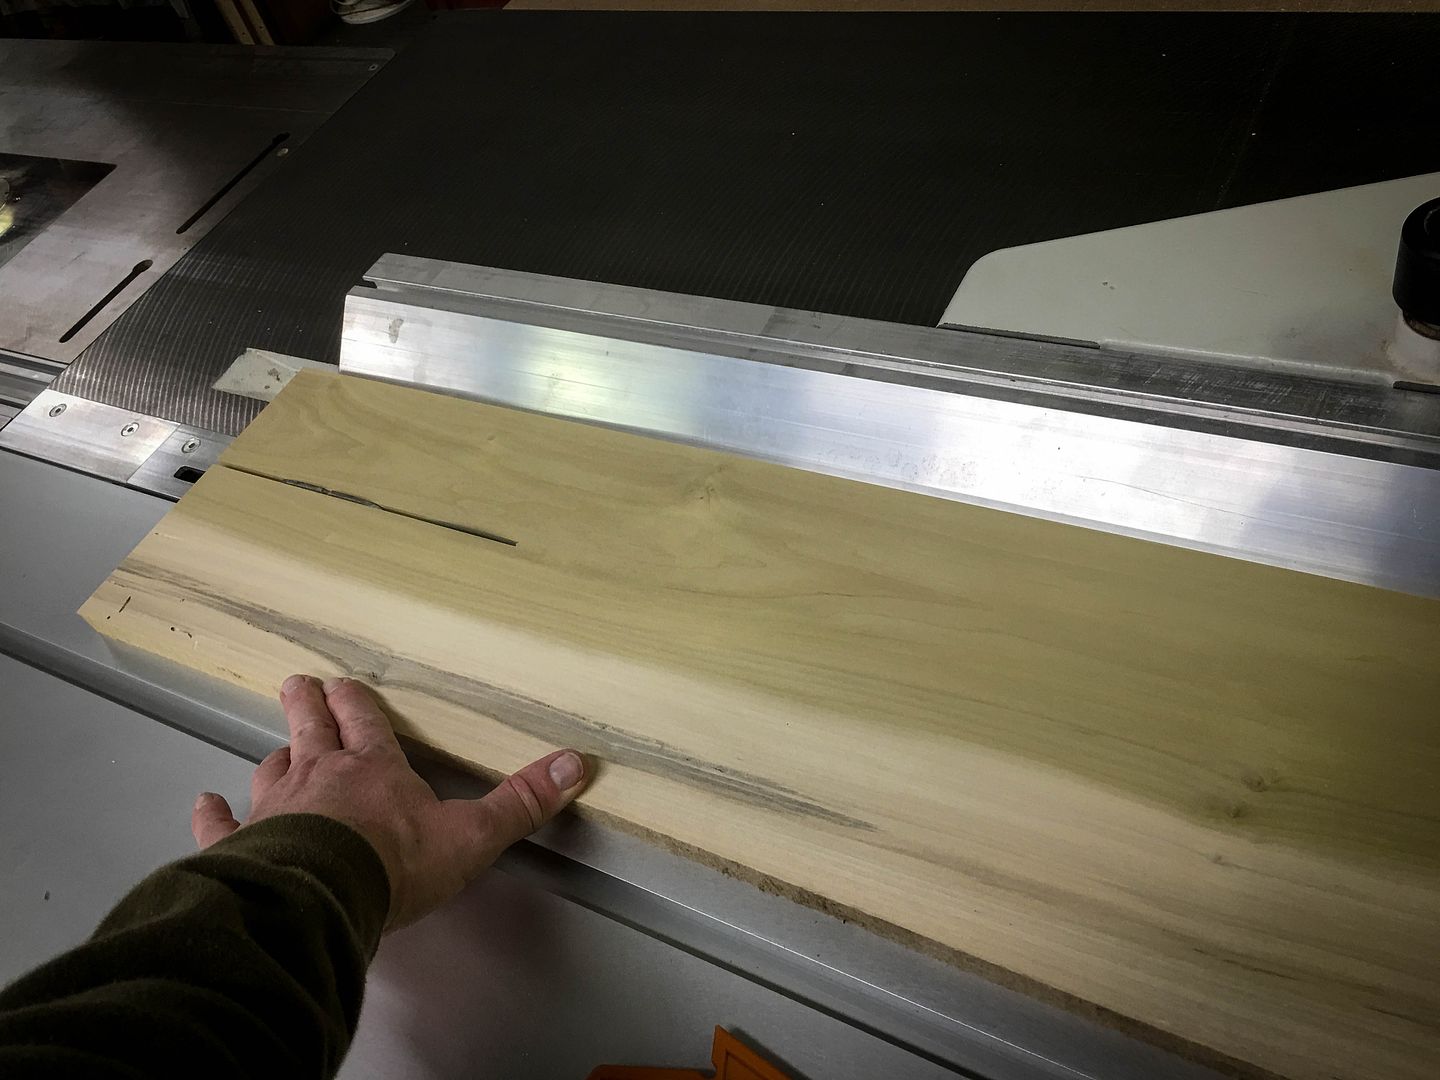
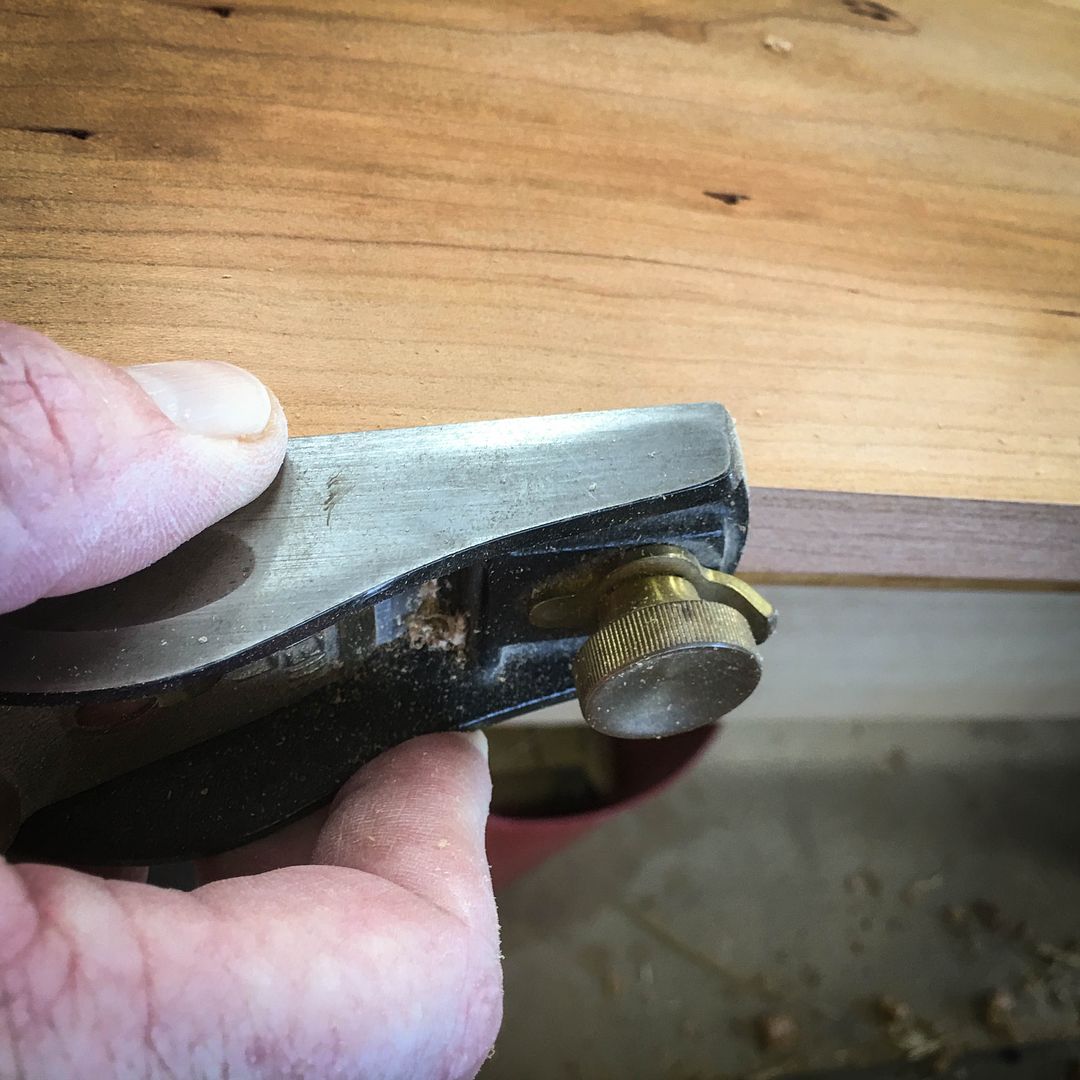
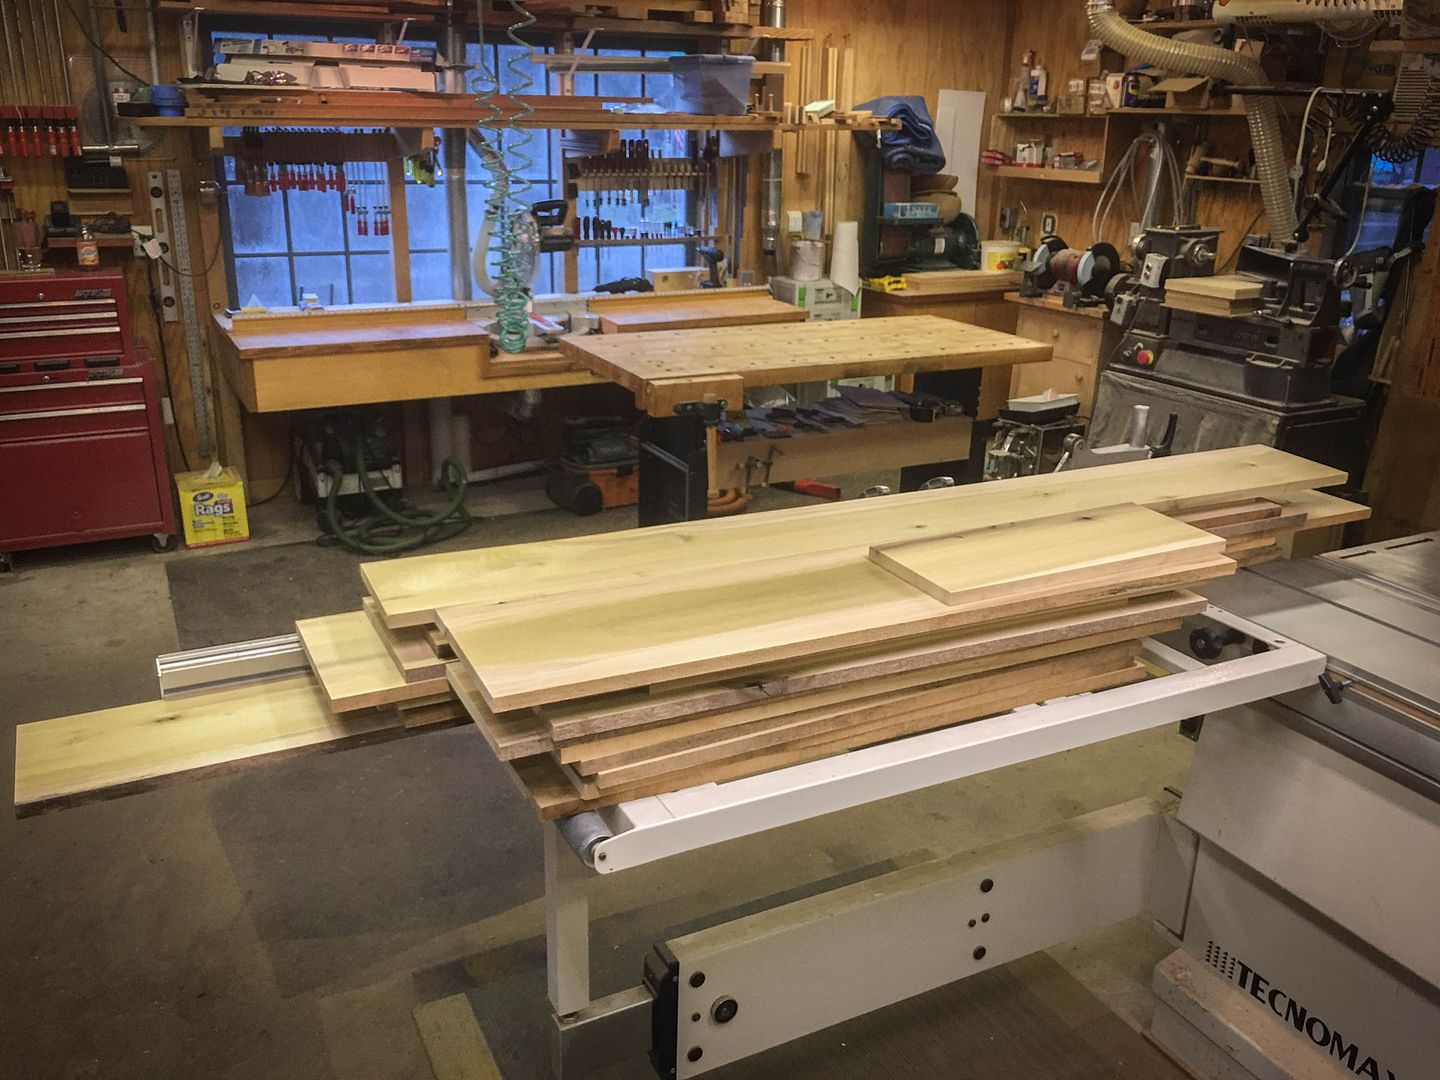
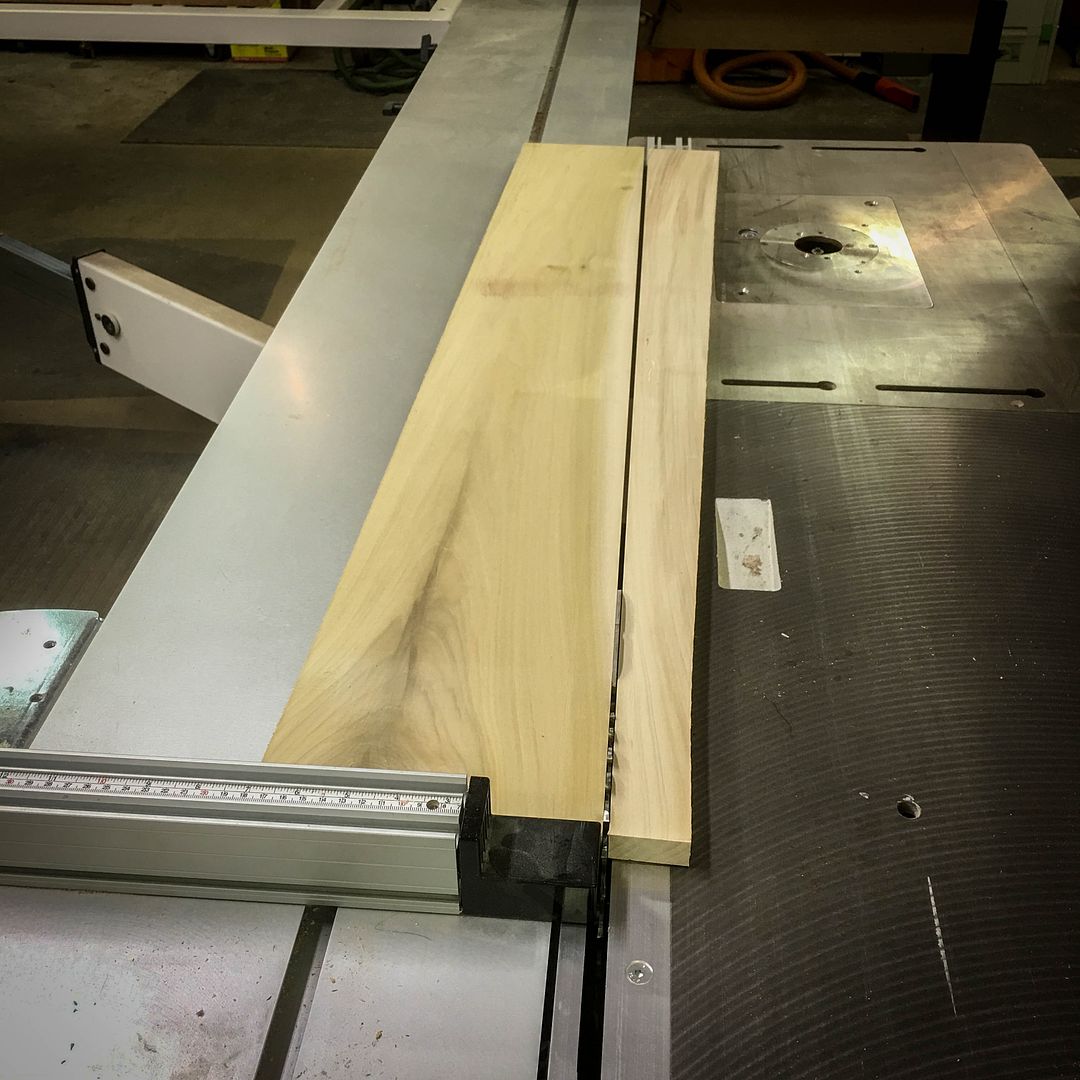
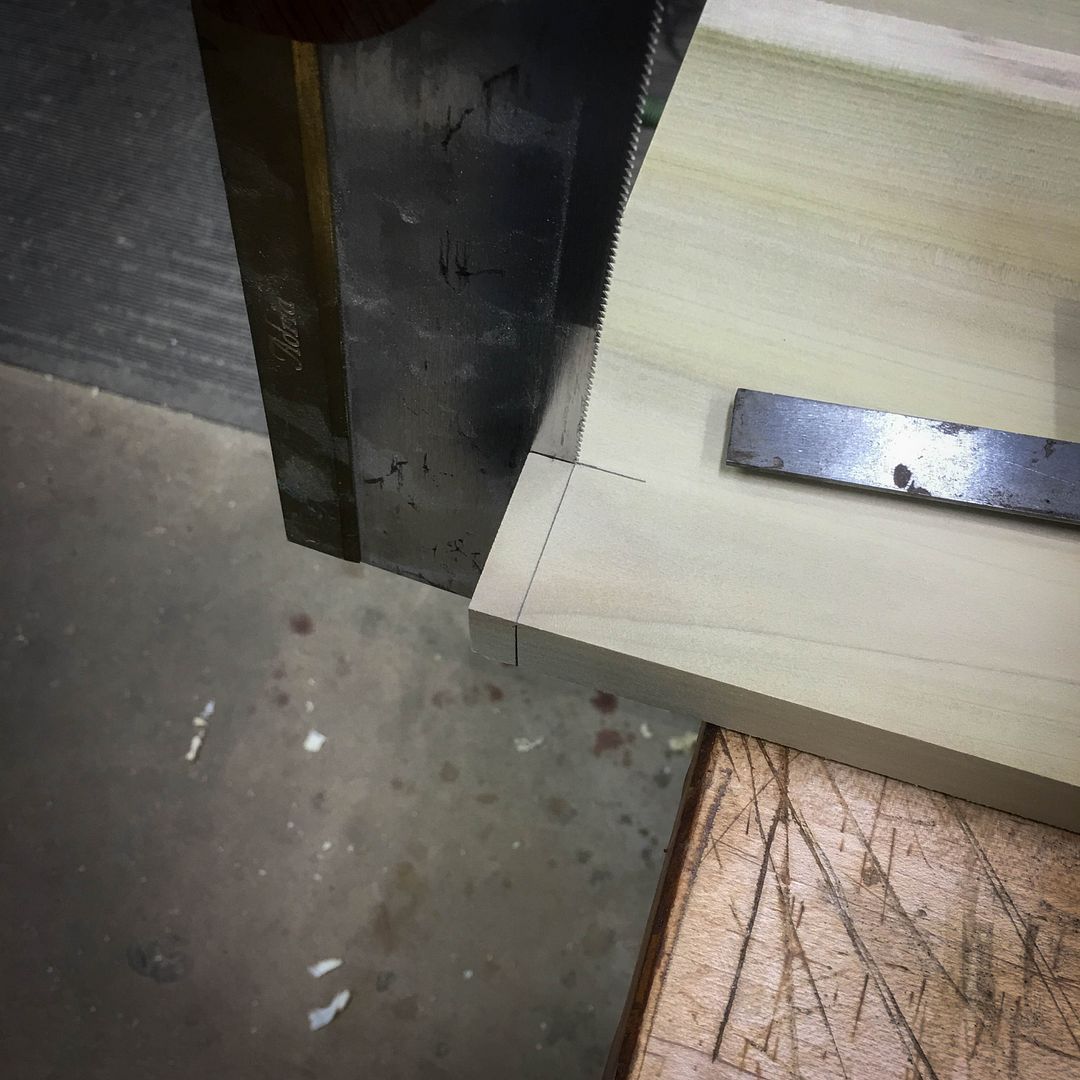
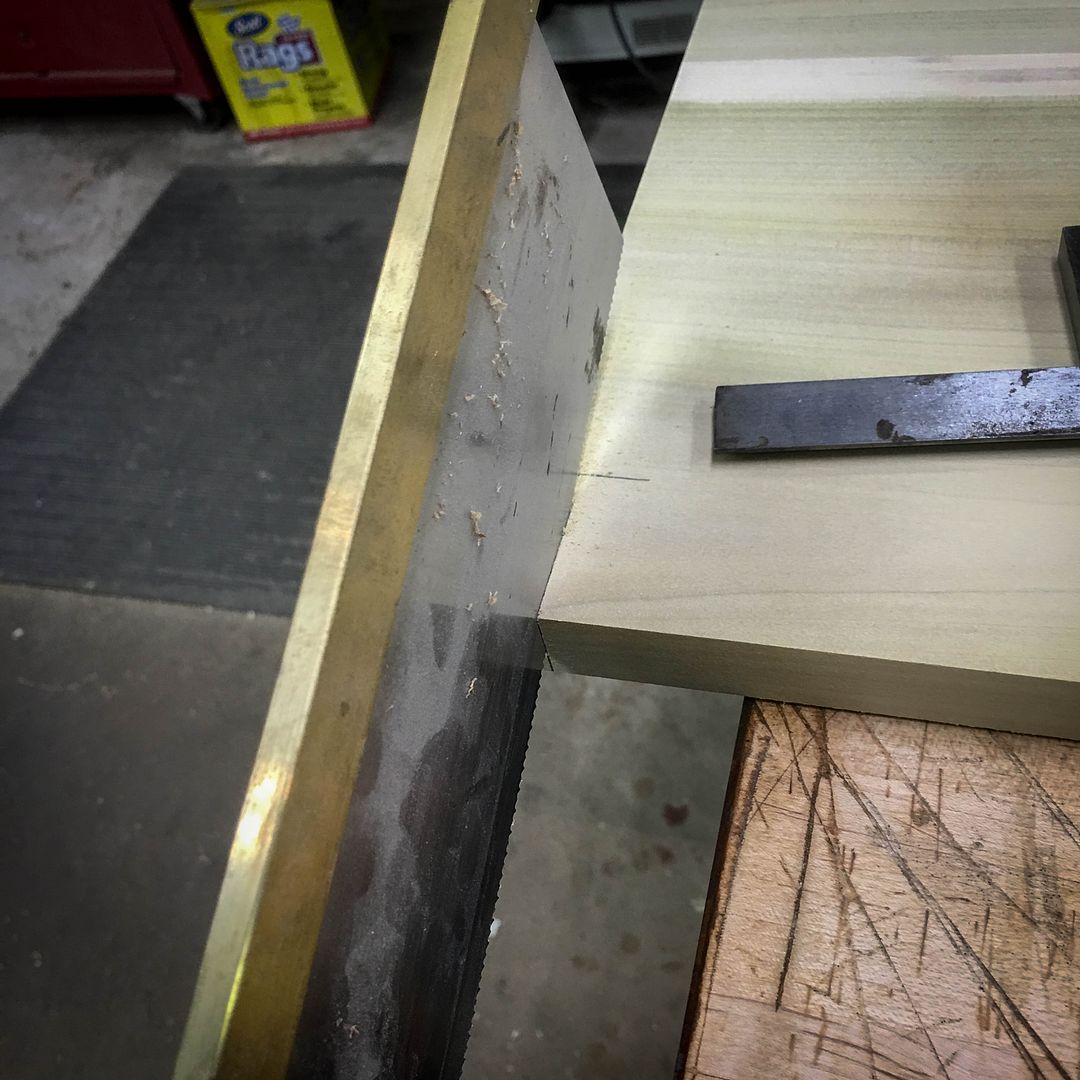
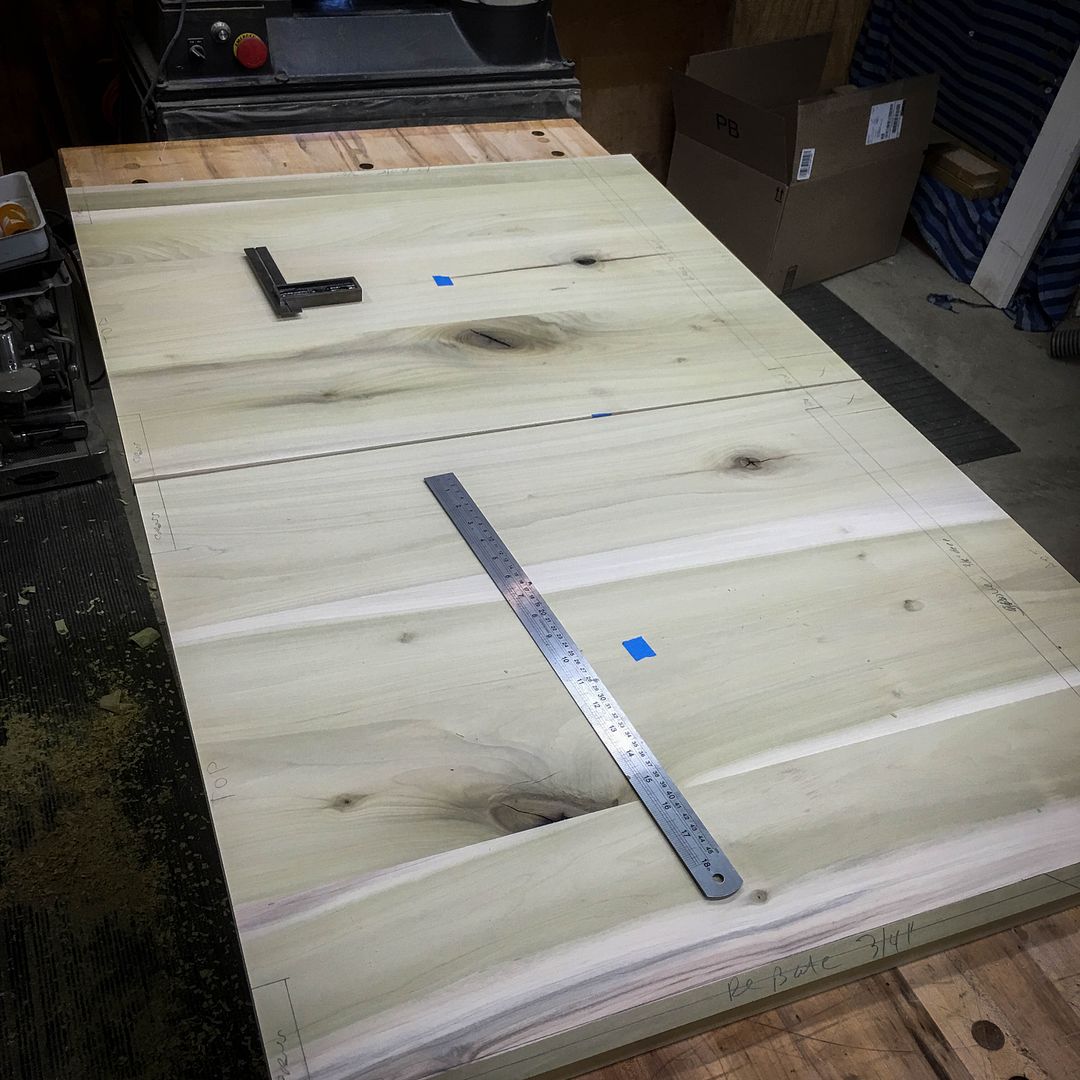
Marking for width on the left end to match the fence setting on the right end while using my parallel ripping jig...
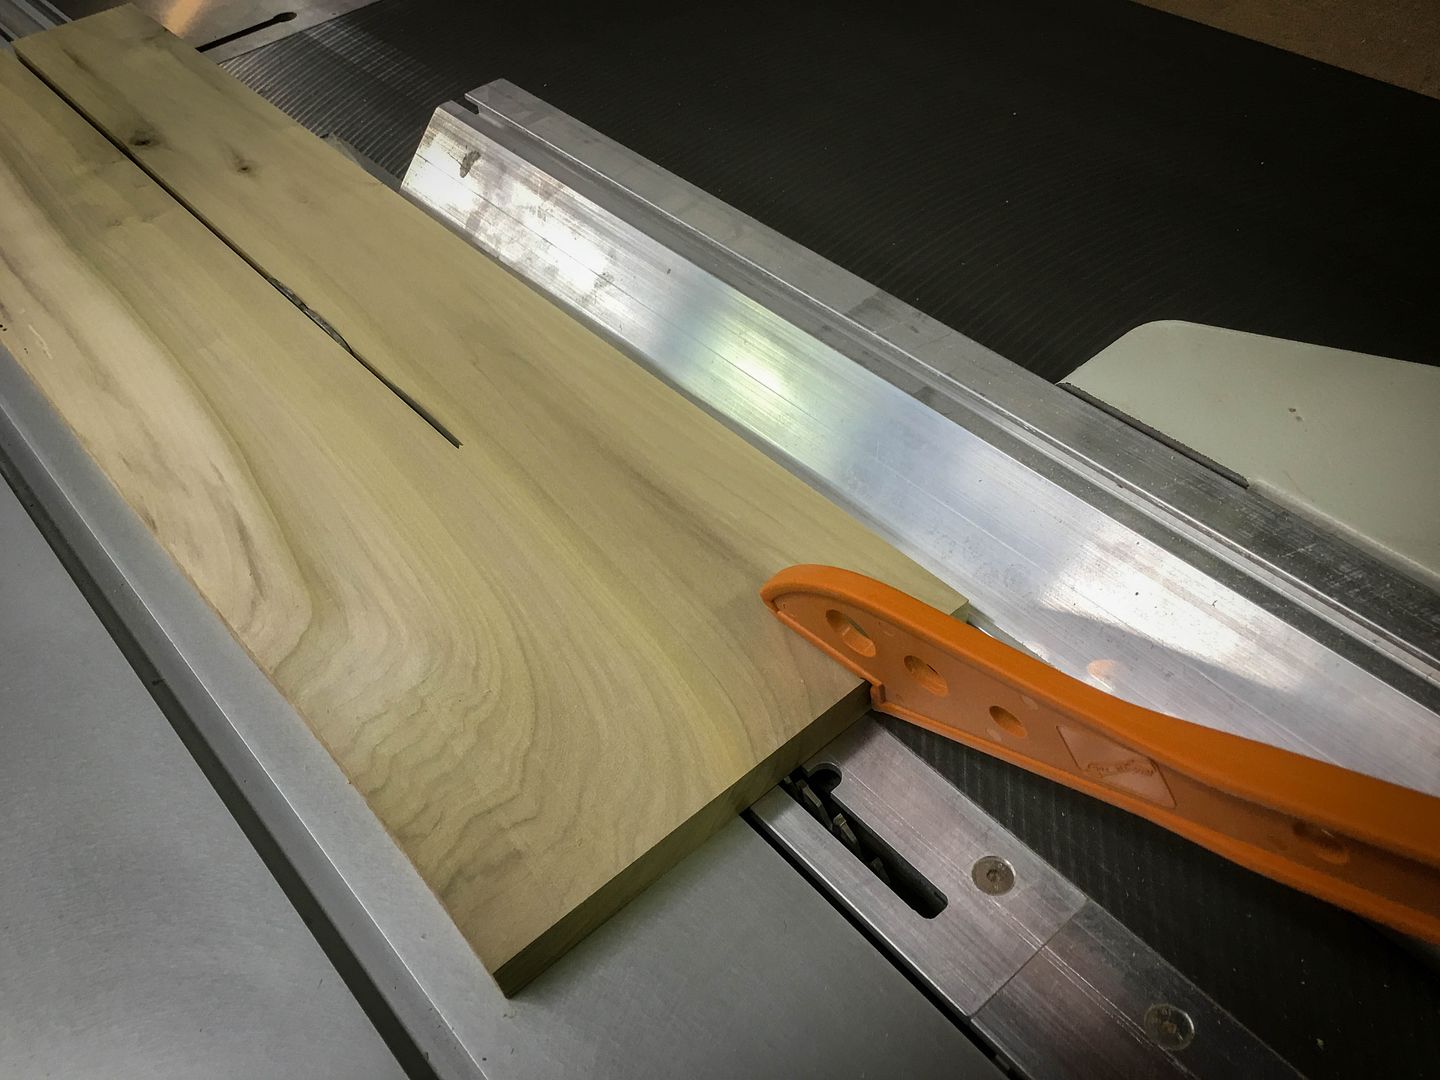
And the parallel rip...yes, this might seem like more work than just running a board along a rip fence, but remember, I'm edge jointing at the same time and I want to be able to hold that board down absolutely flat on the slider wagon through the cut. This results in a perfectly perpendicular edge on the board from the face.
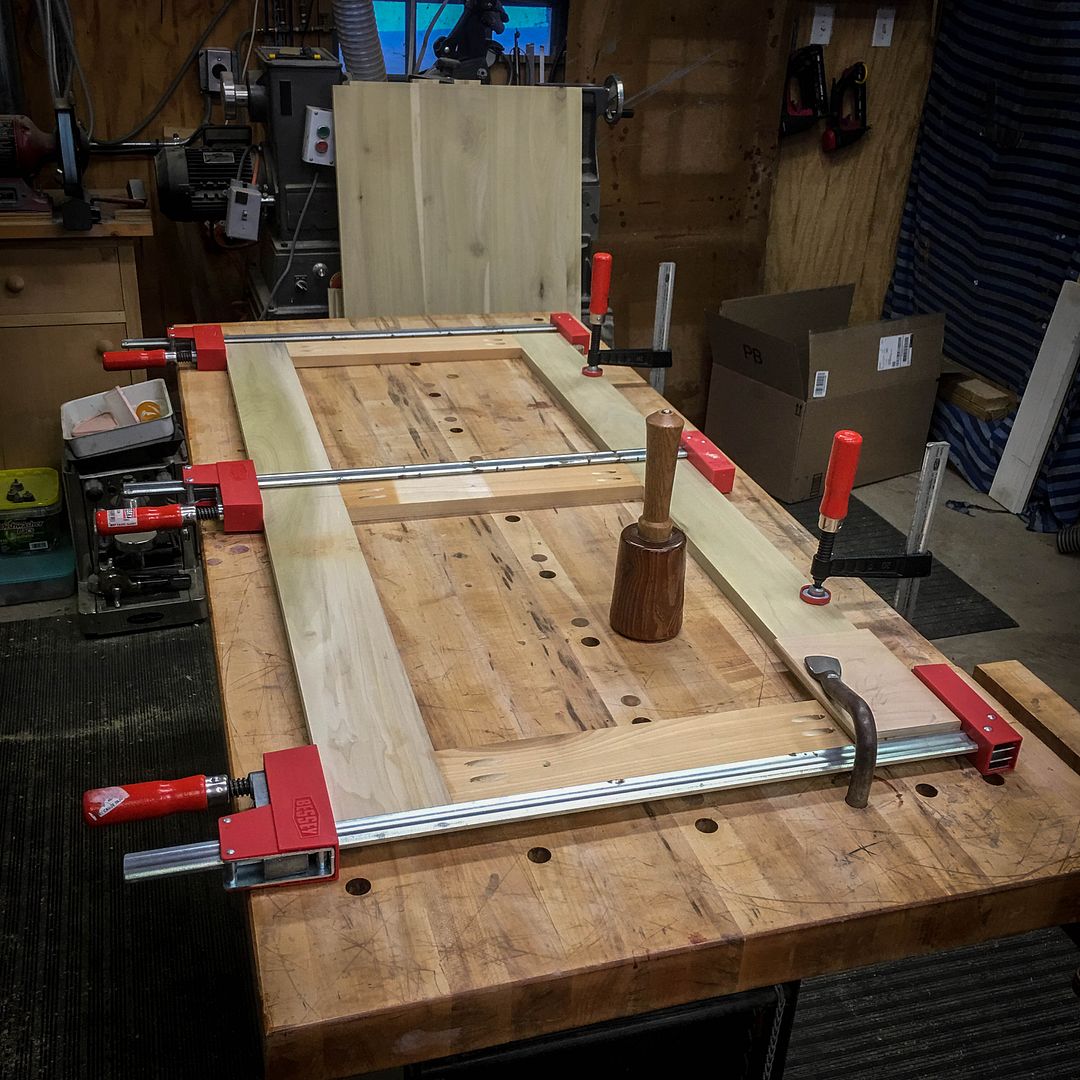
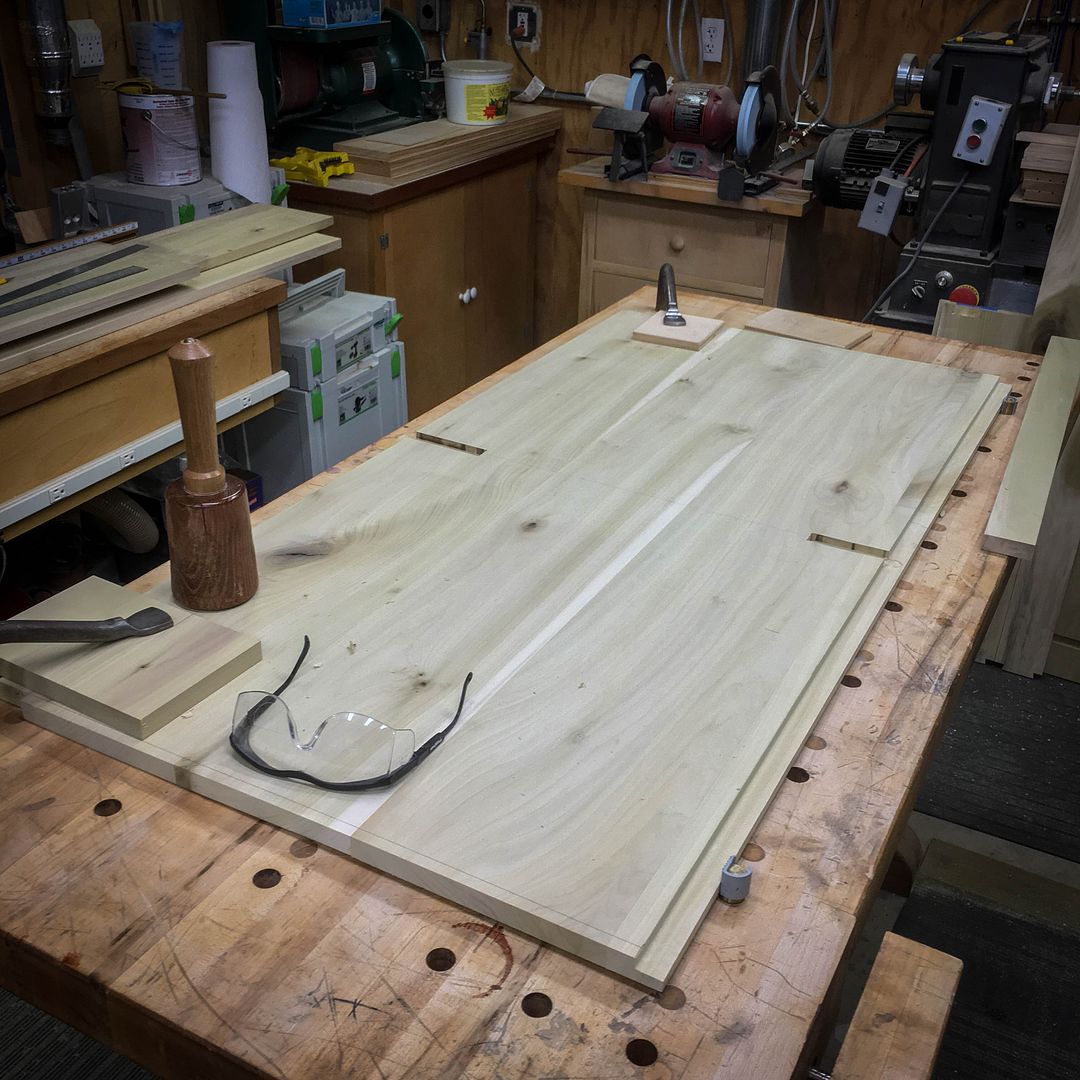
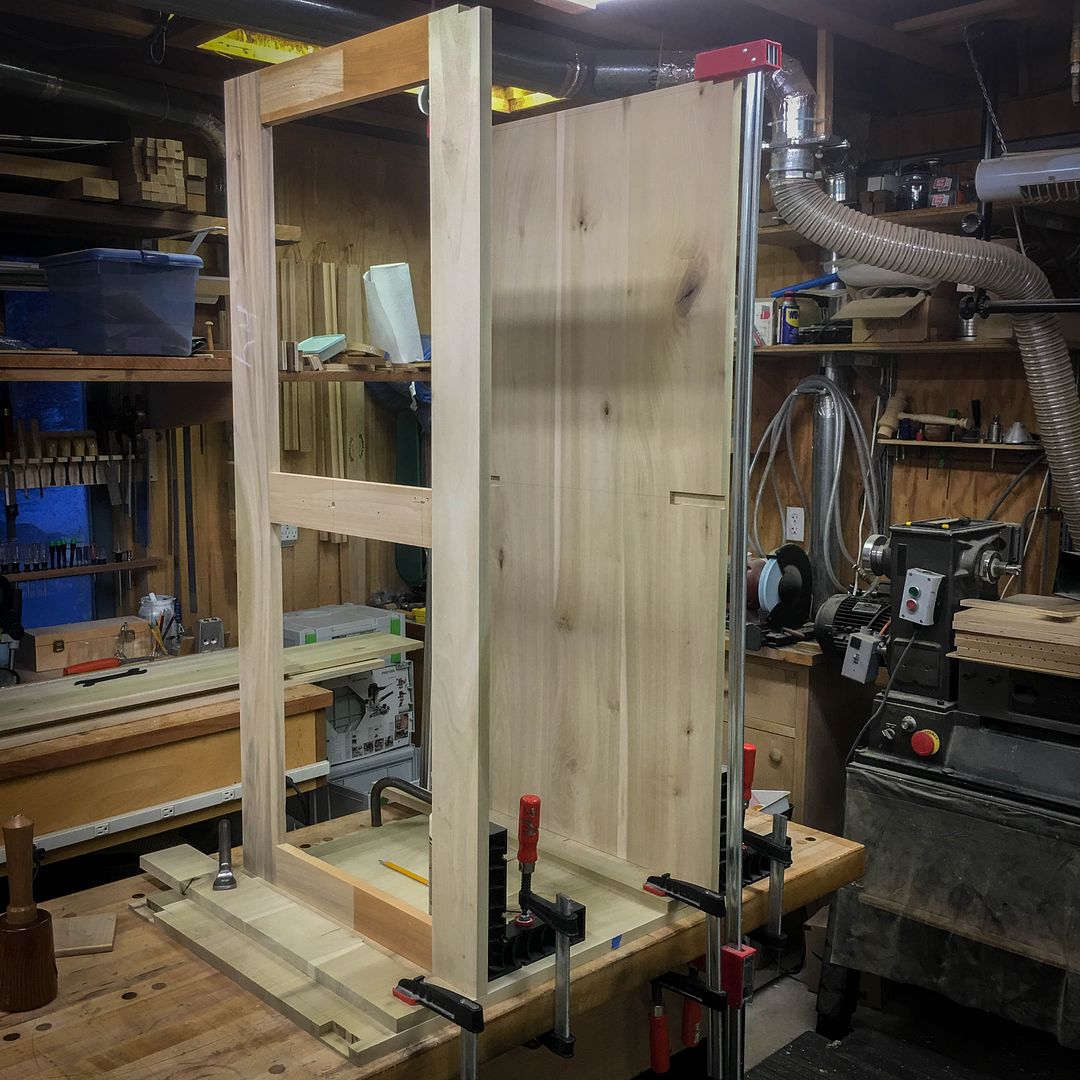
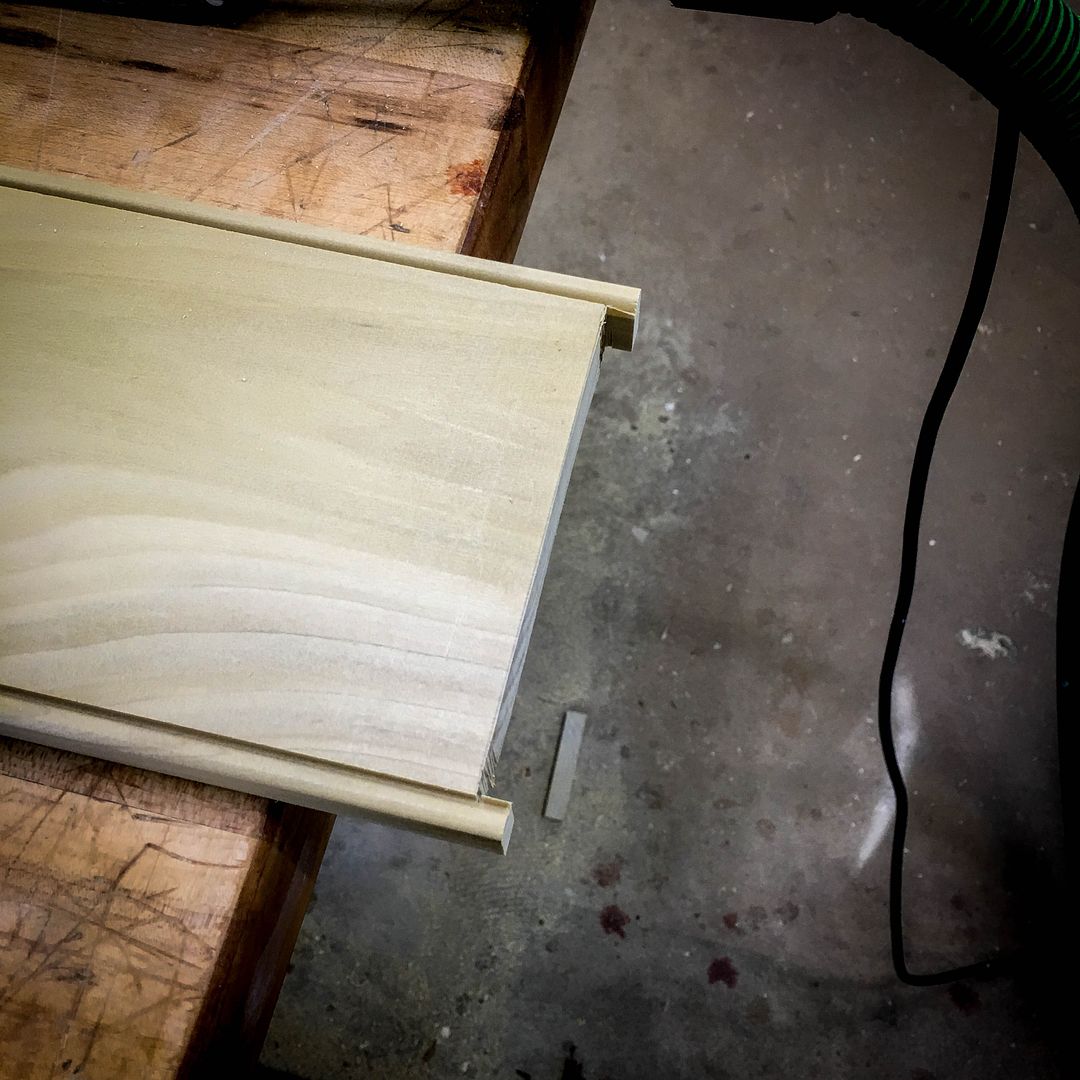
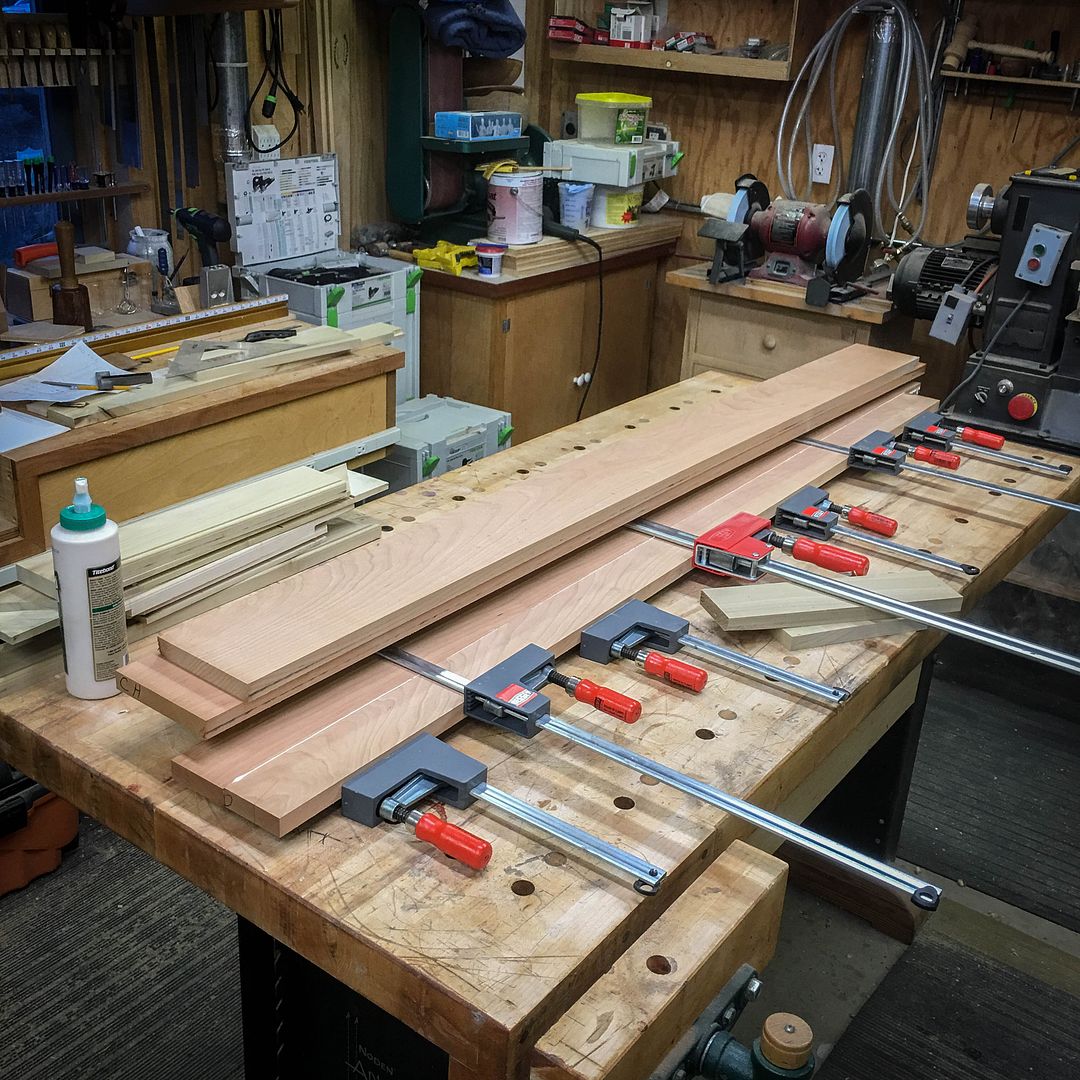
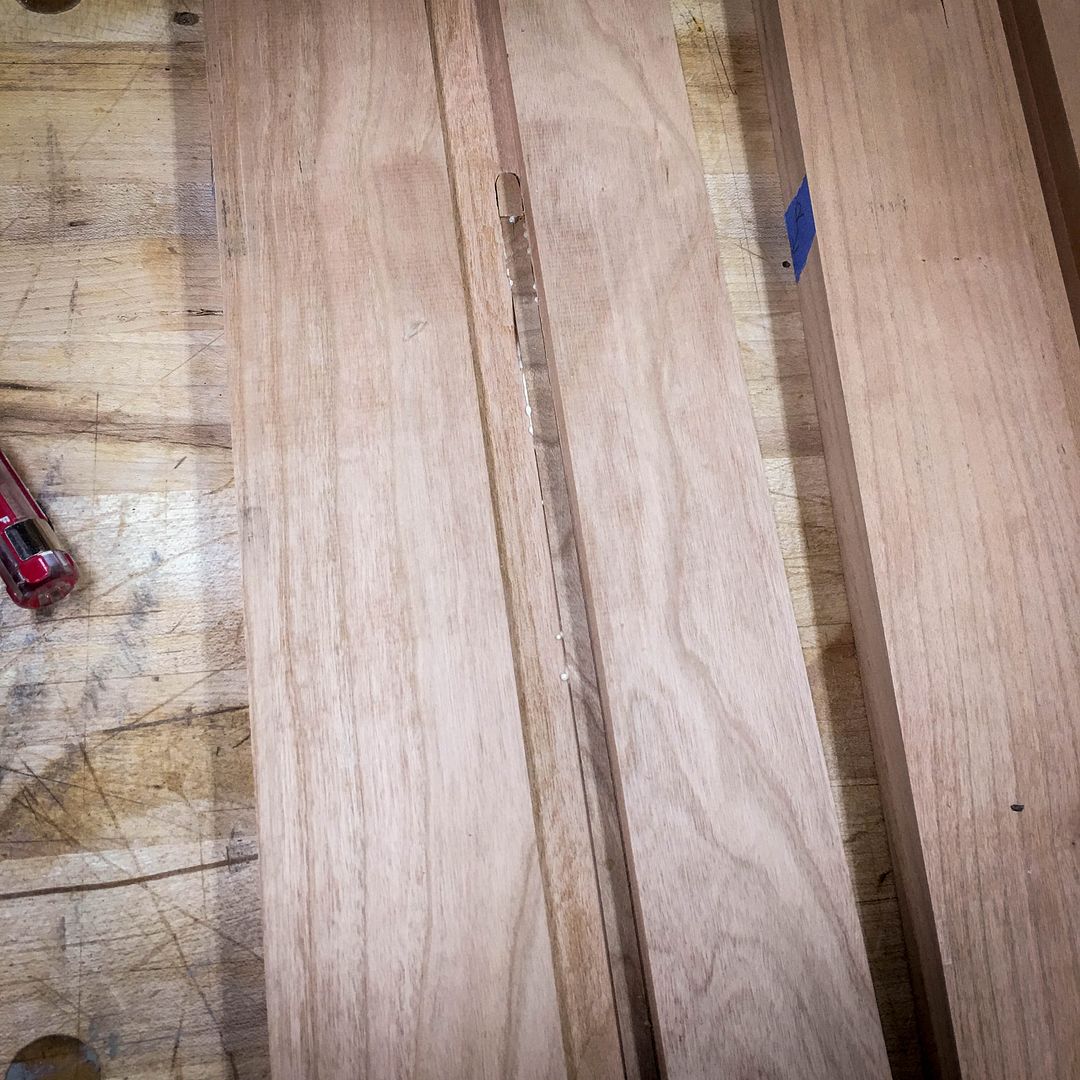
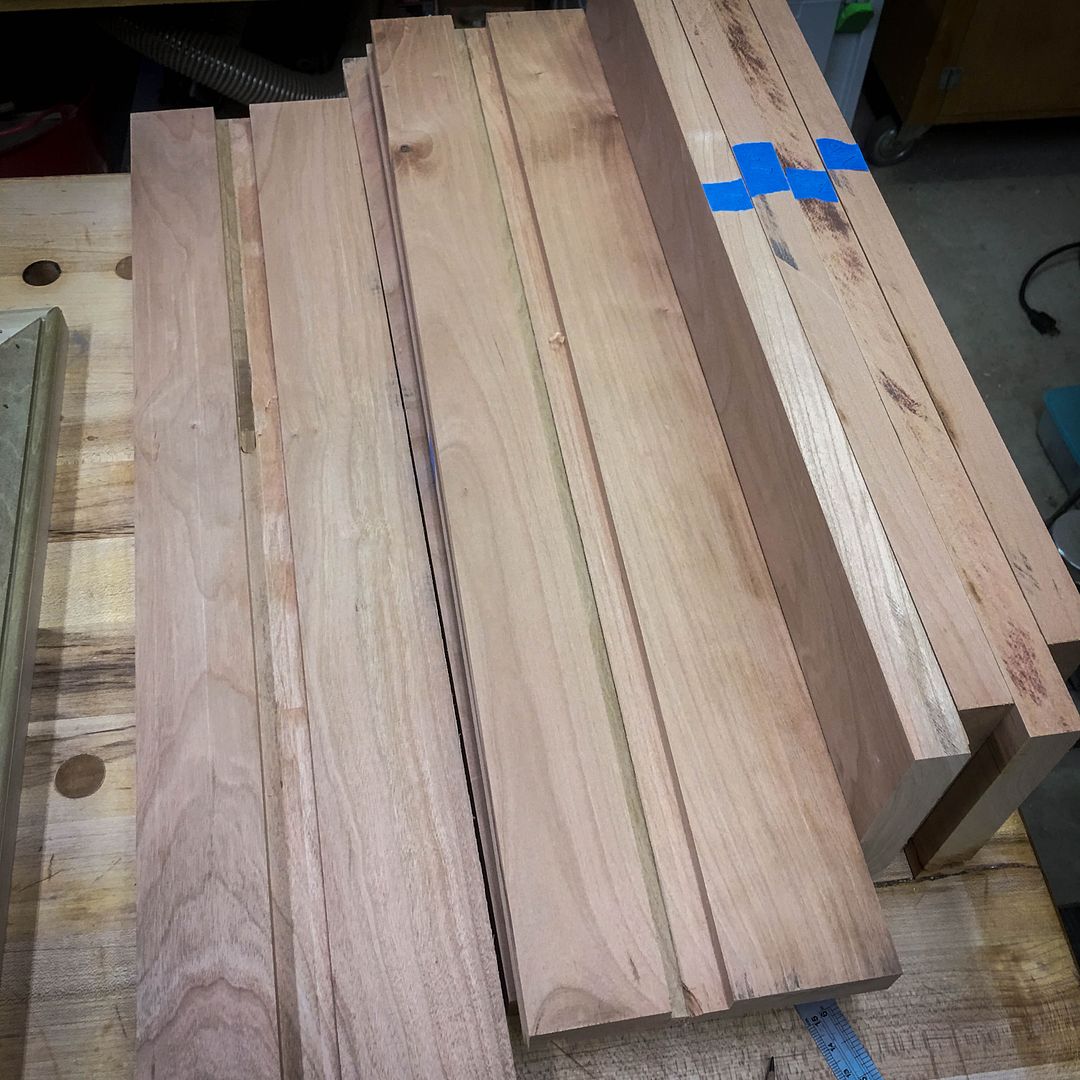
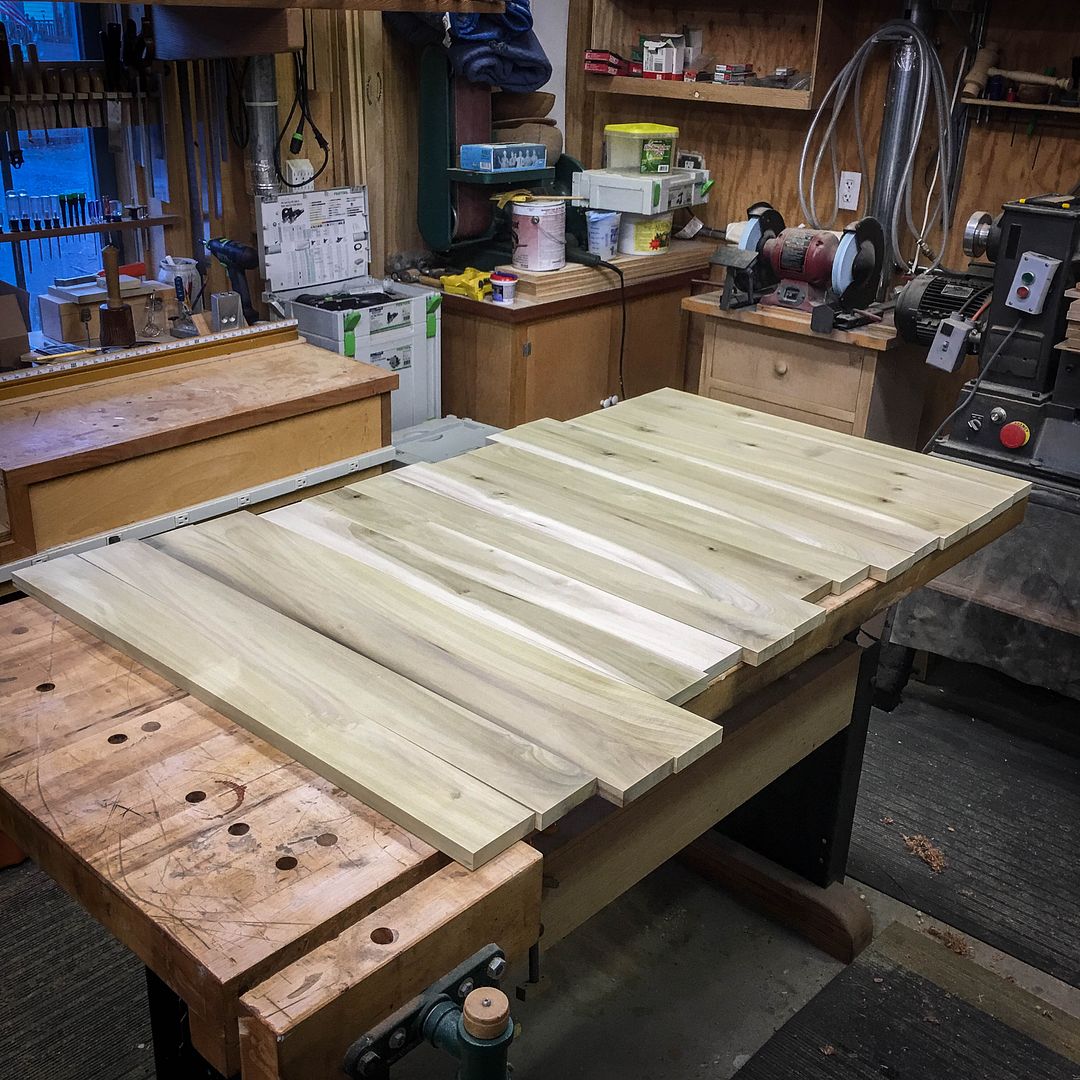
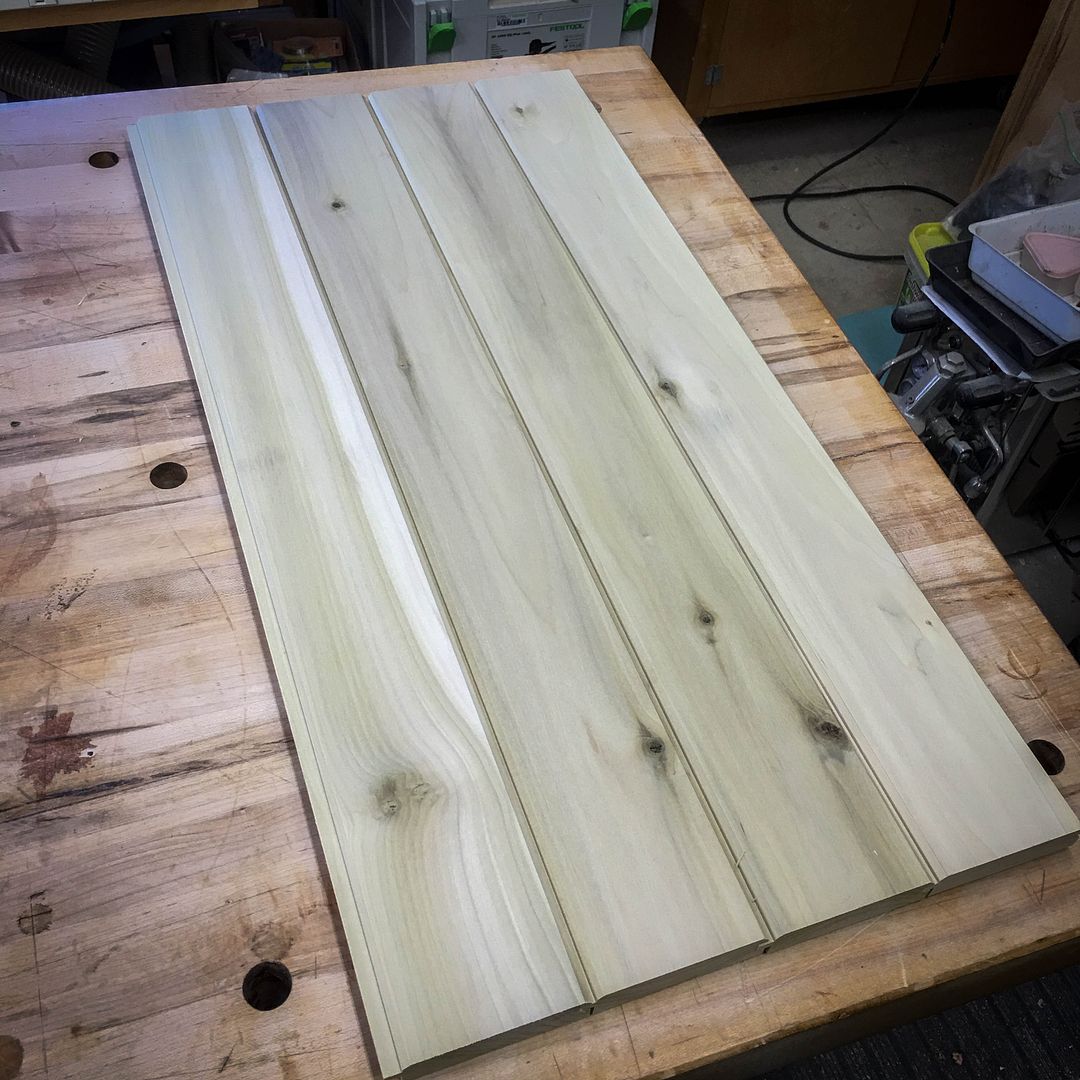
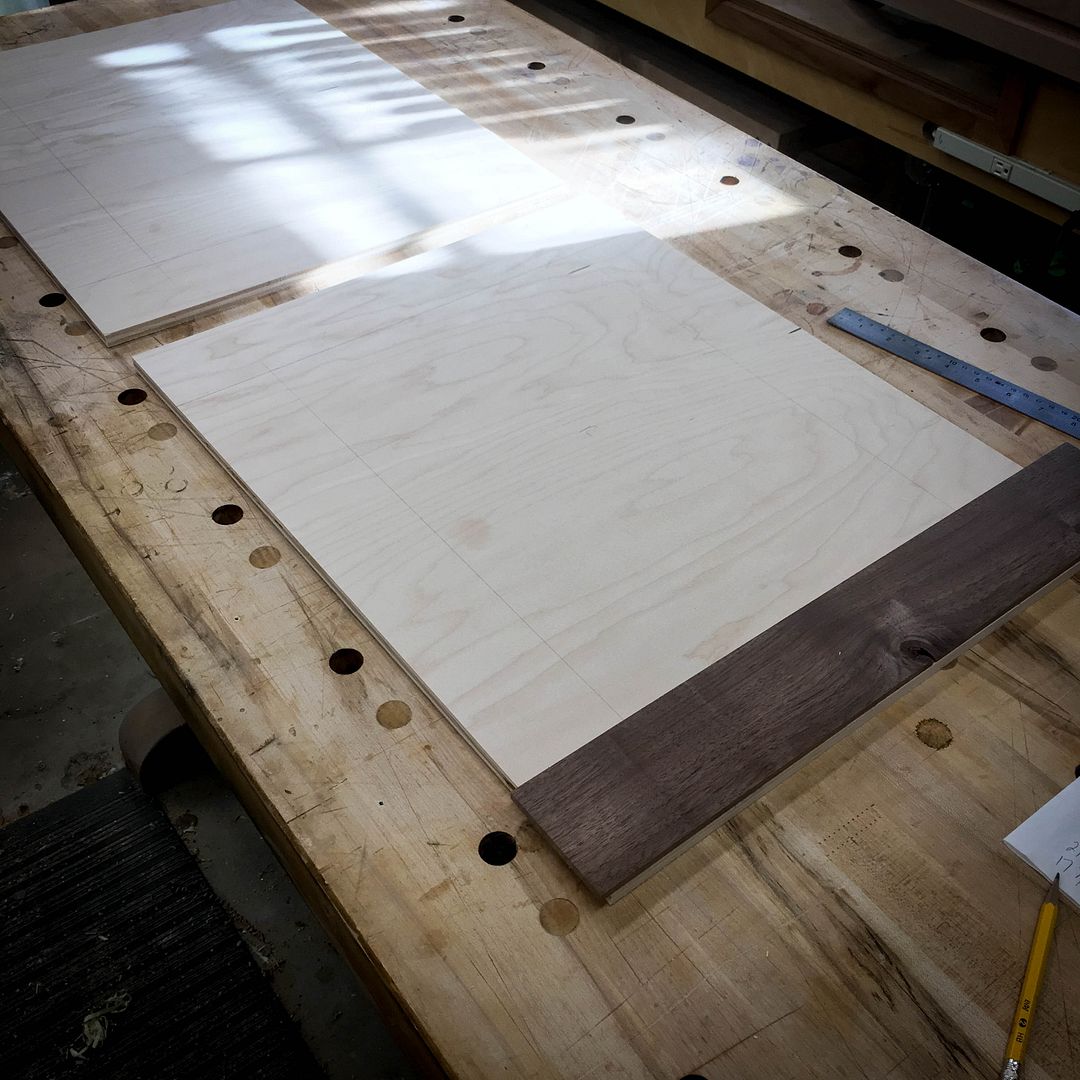
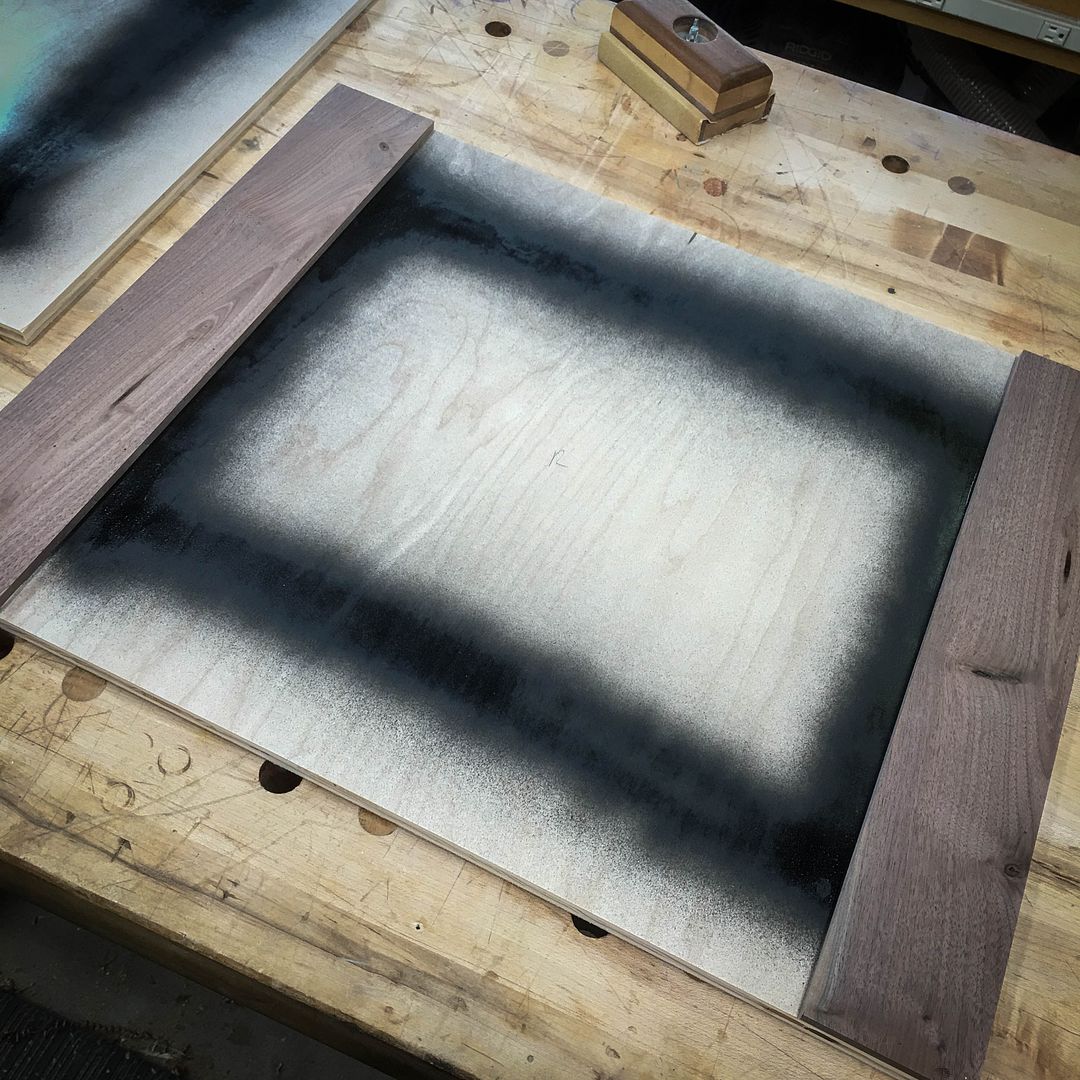
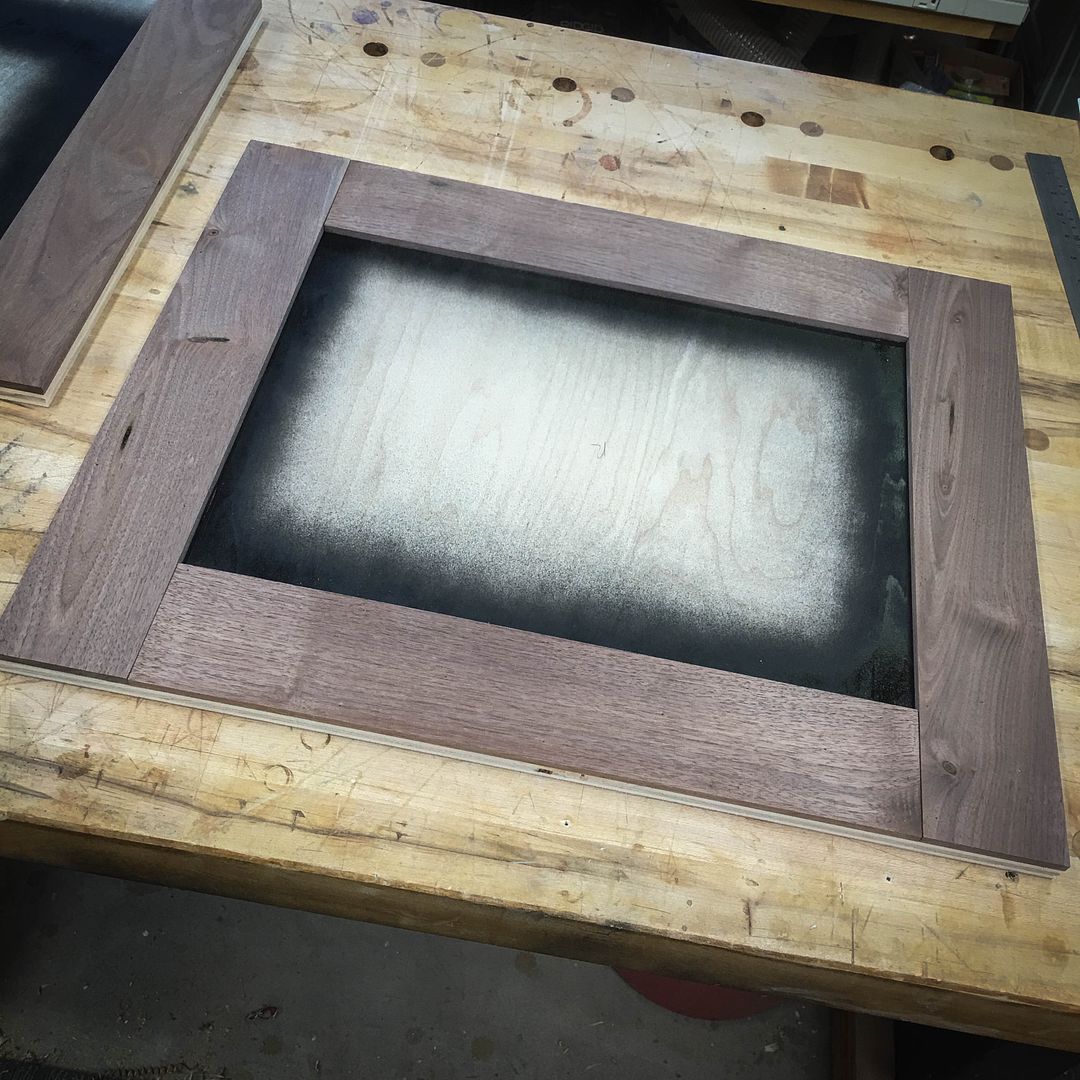
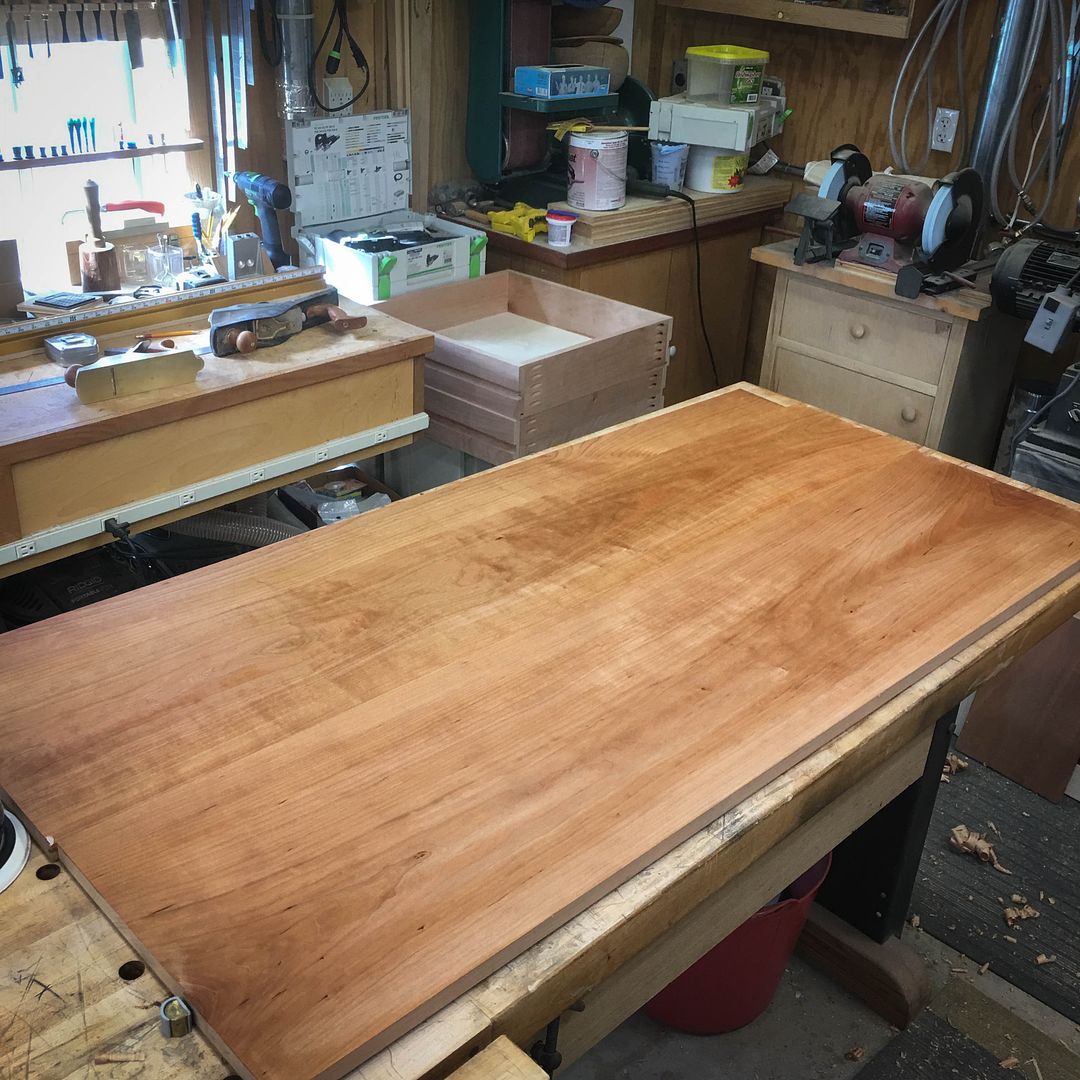
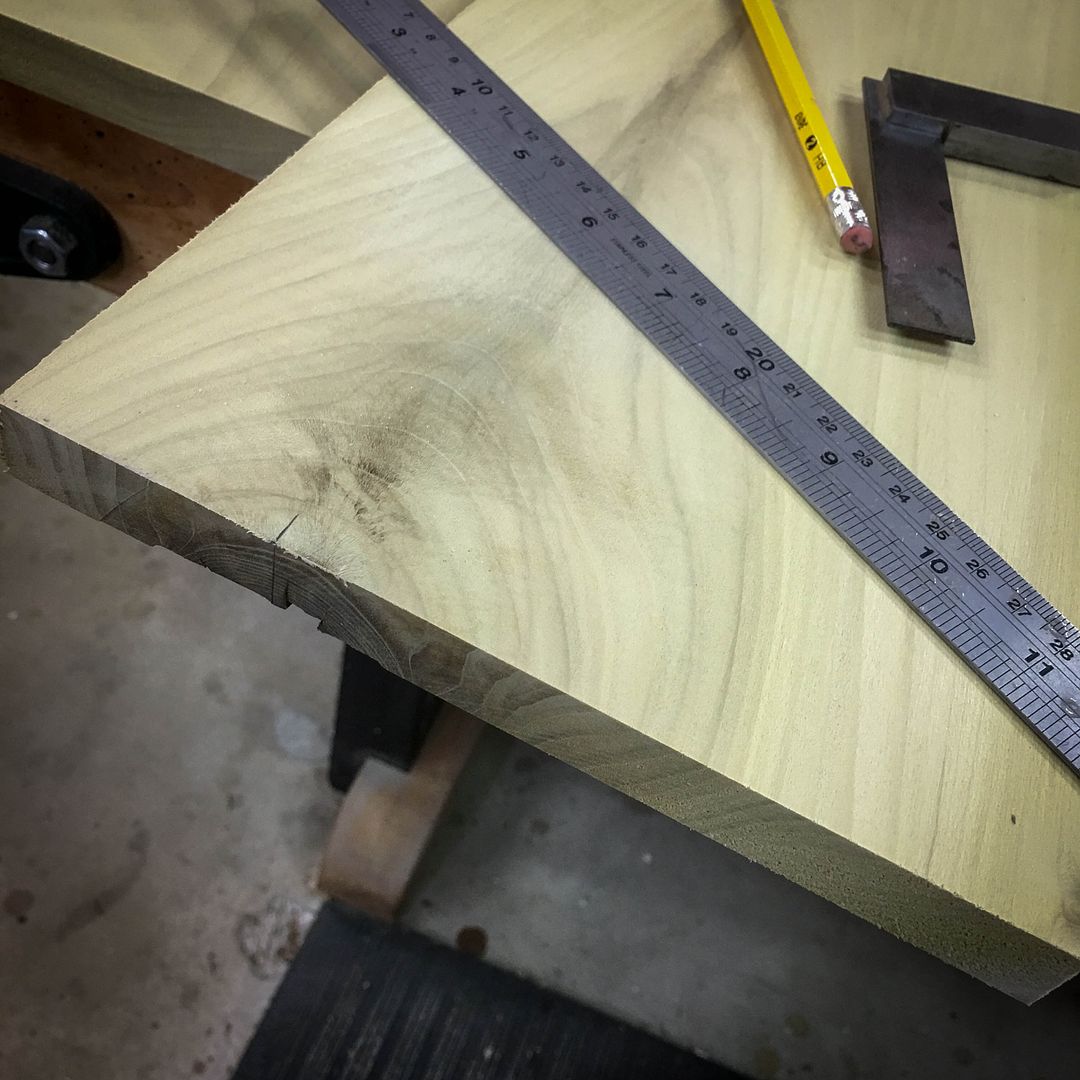
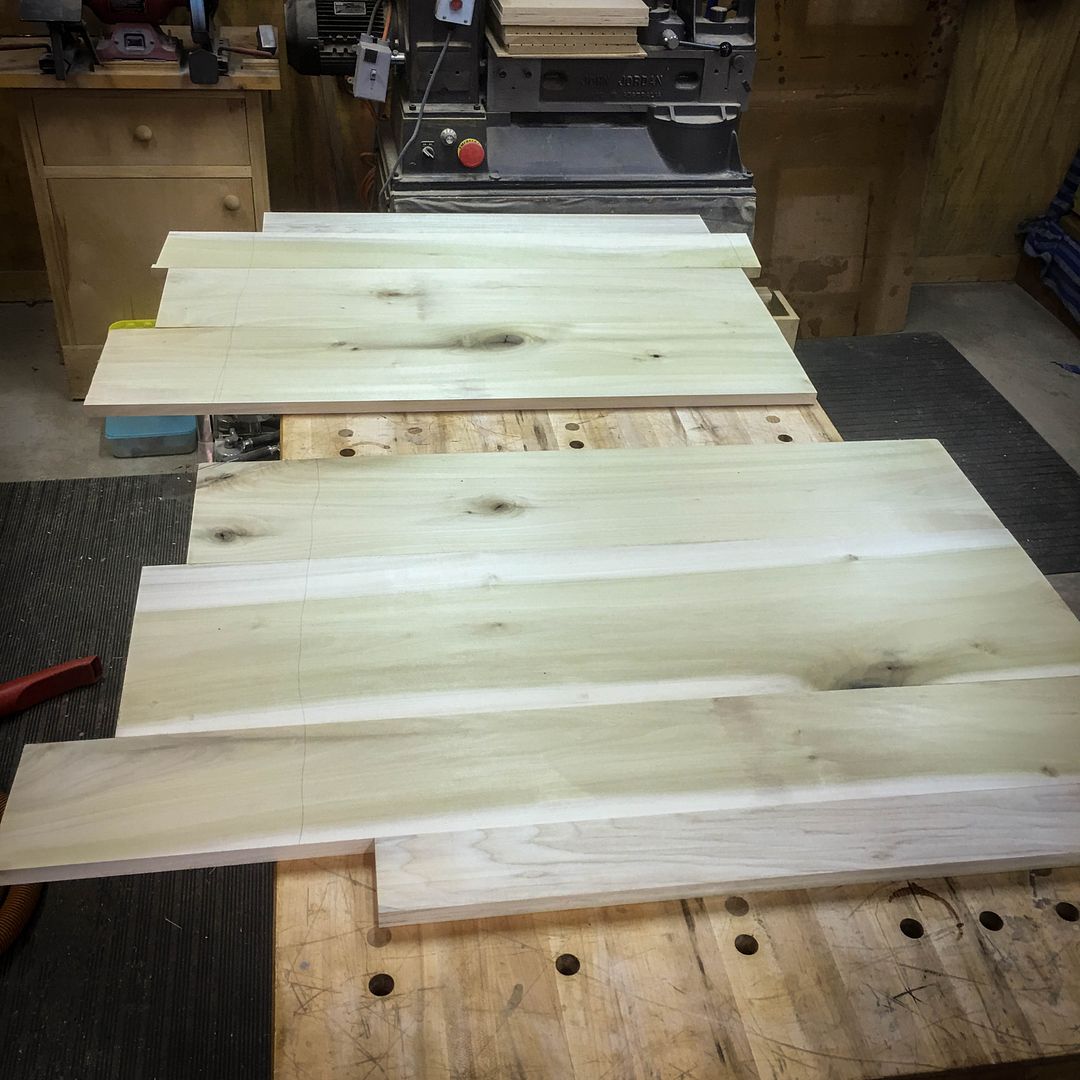
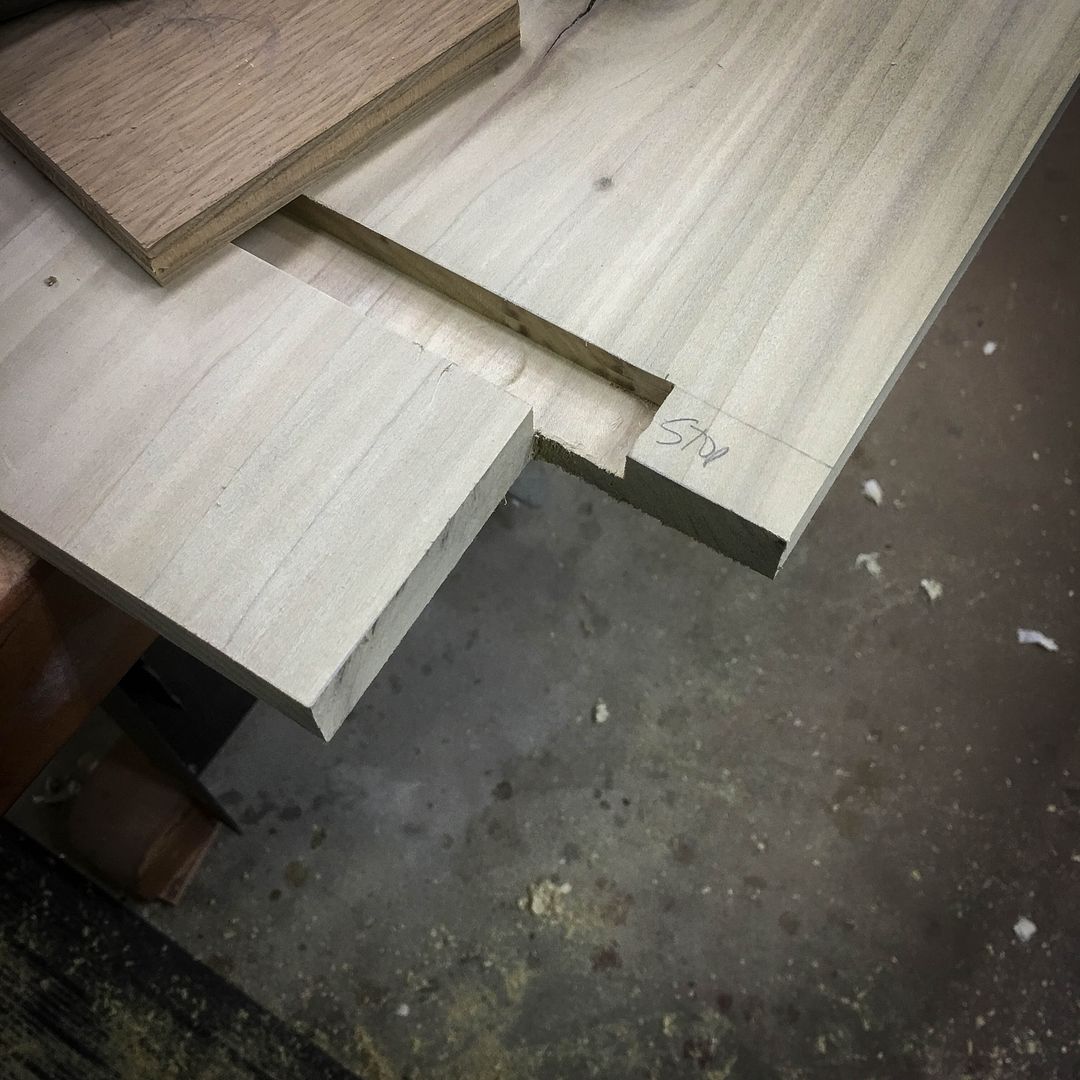
Assembling the "candidate boards" for the carcass sides at the bench...
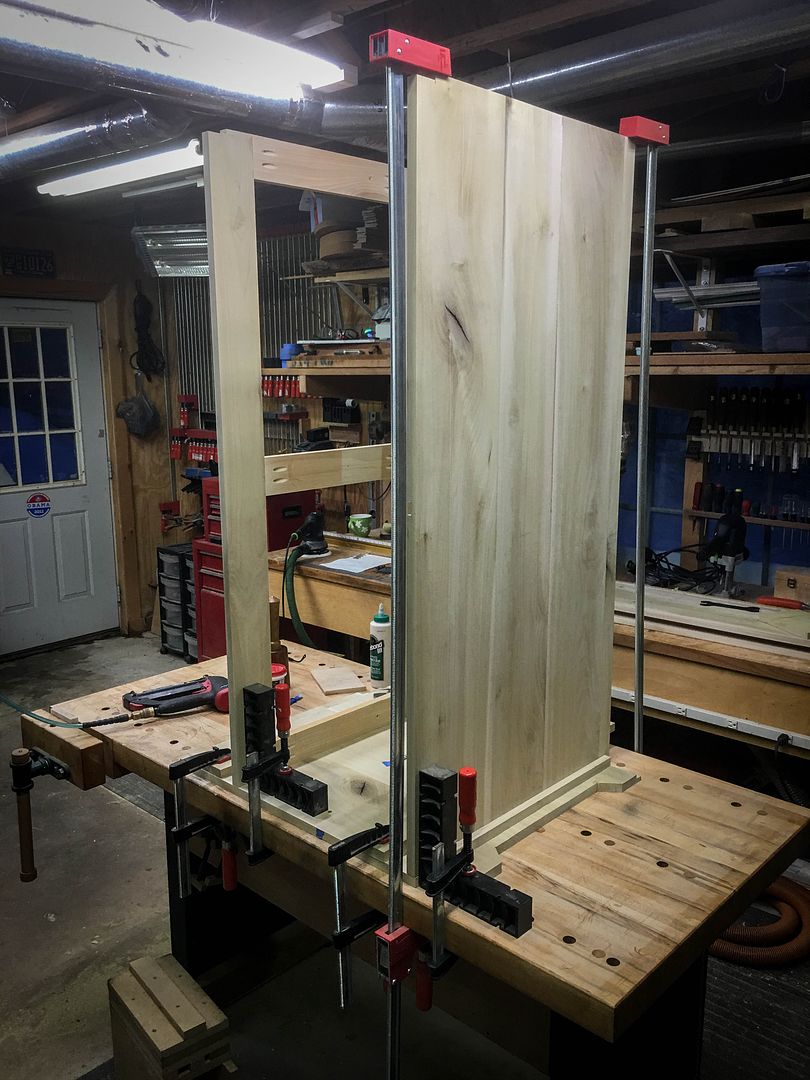
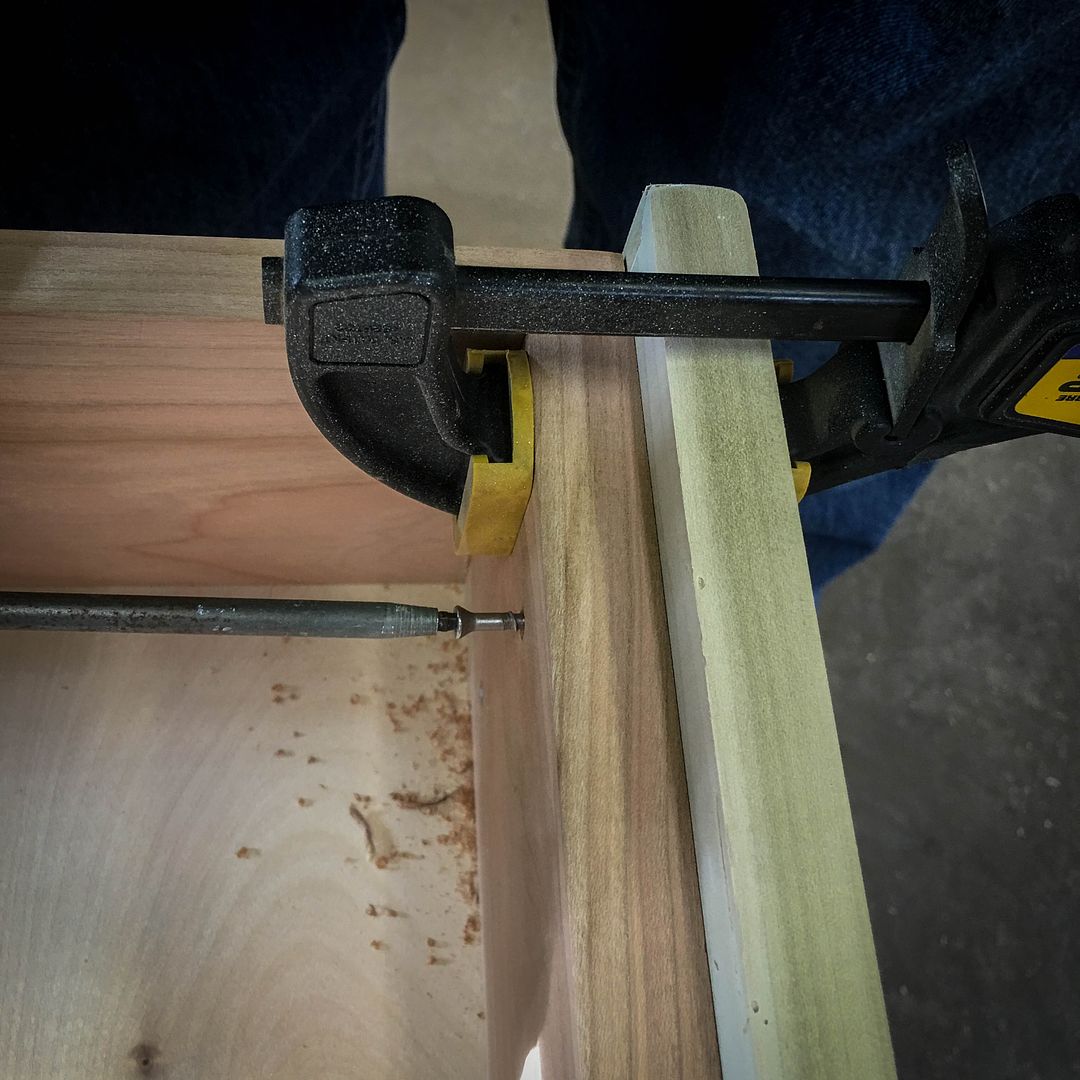
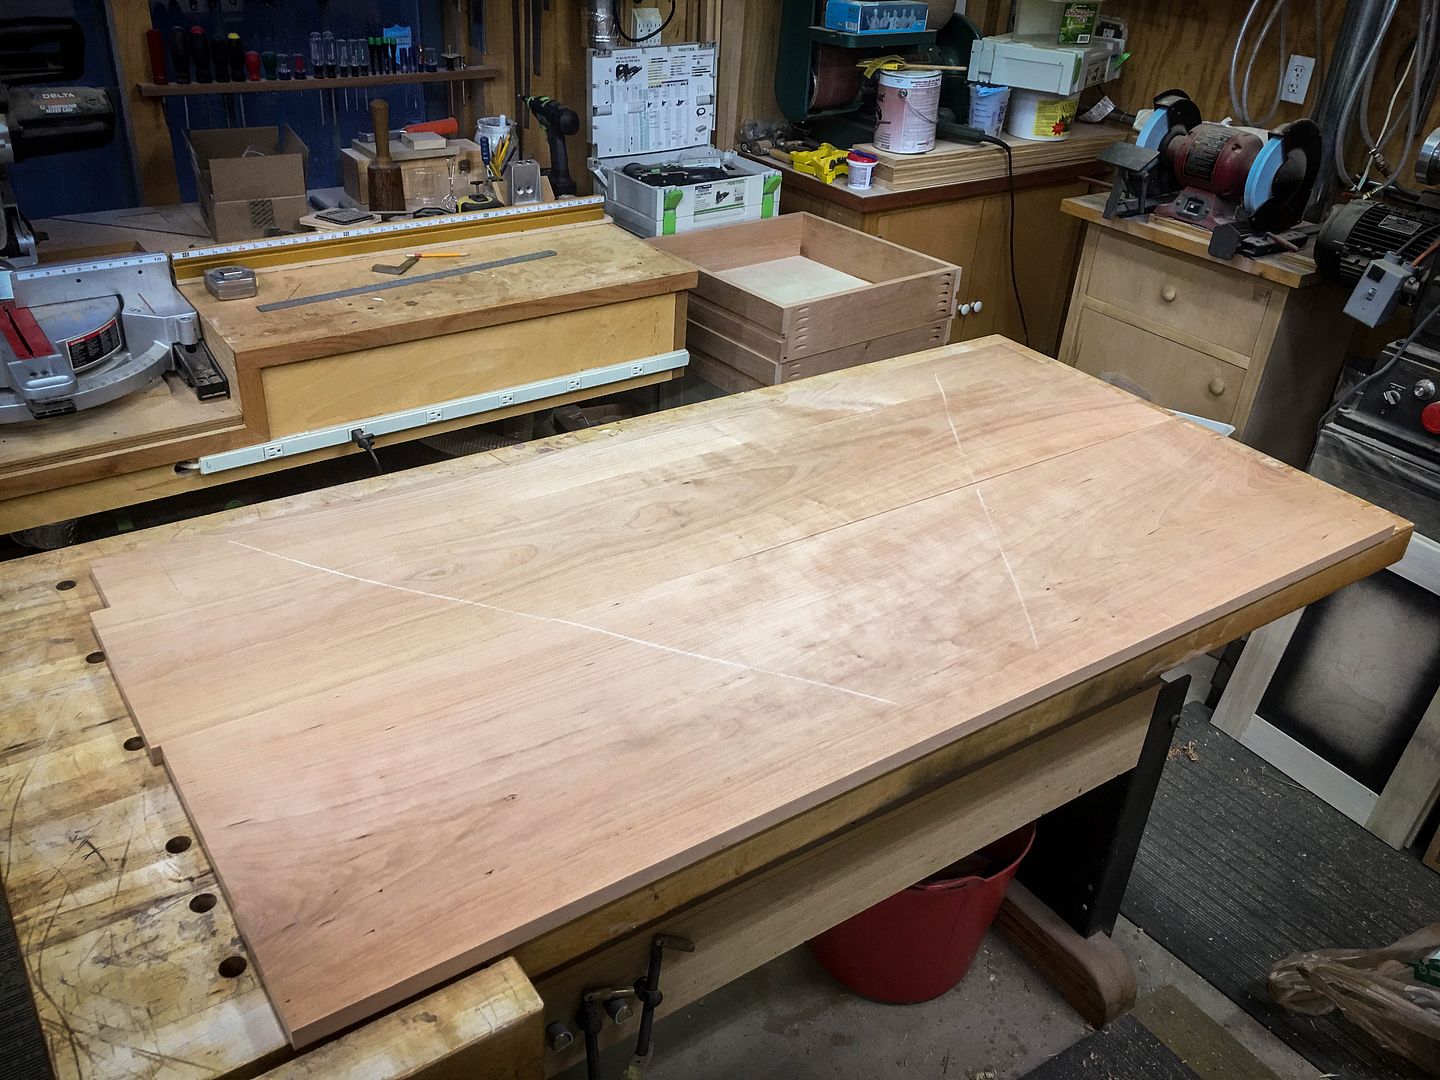
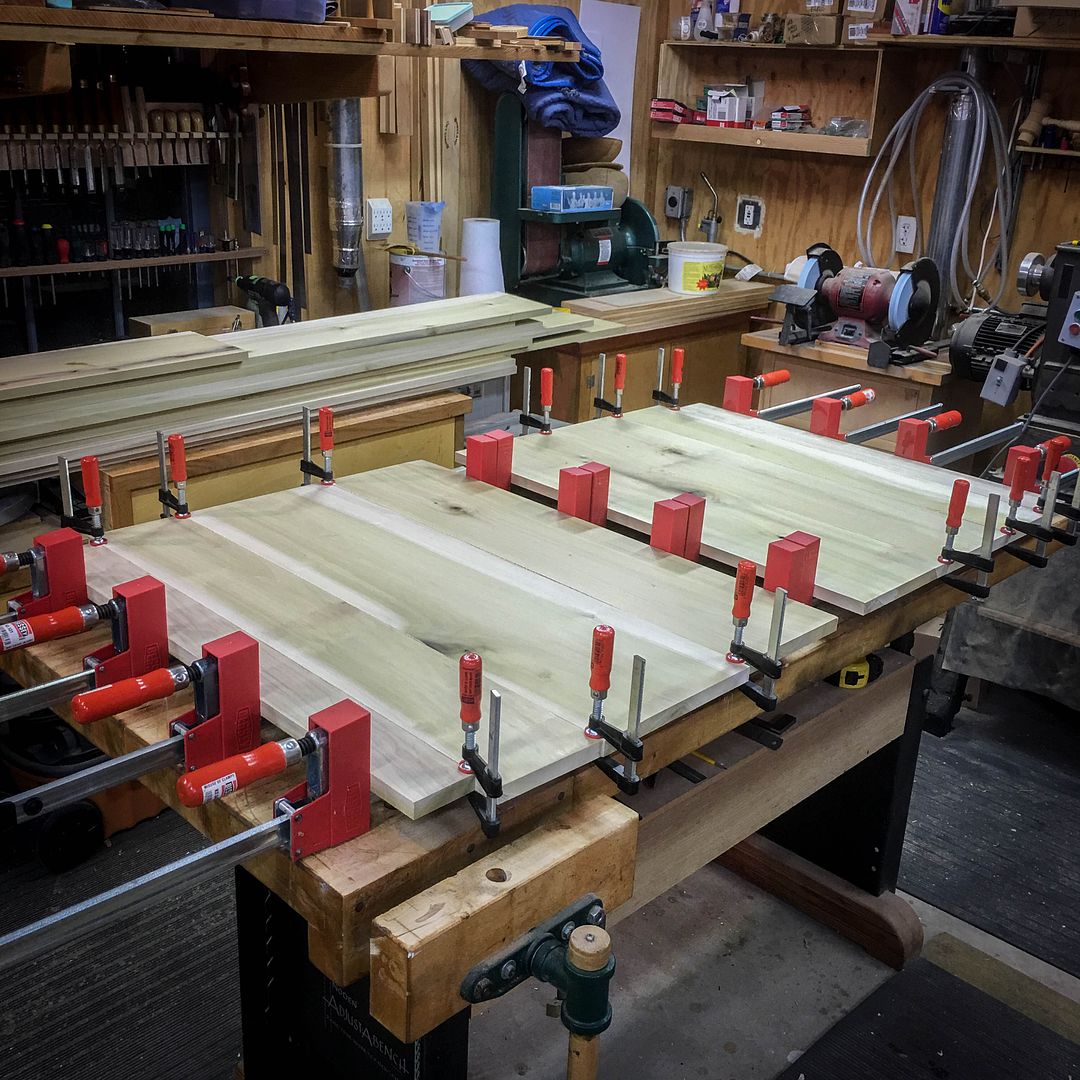
....and gluing them up...
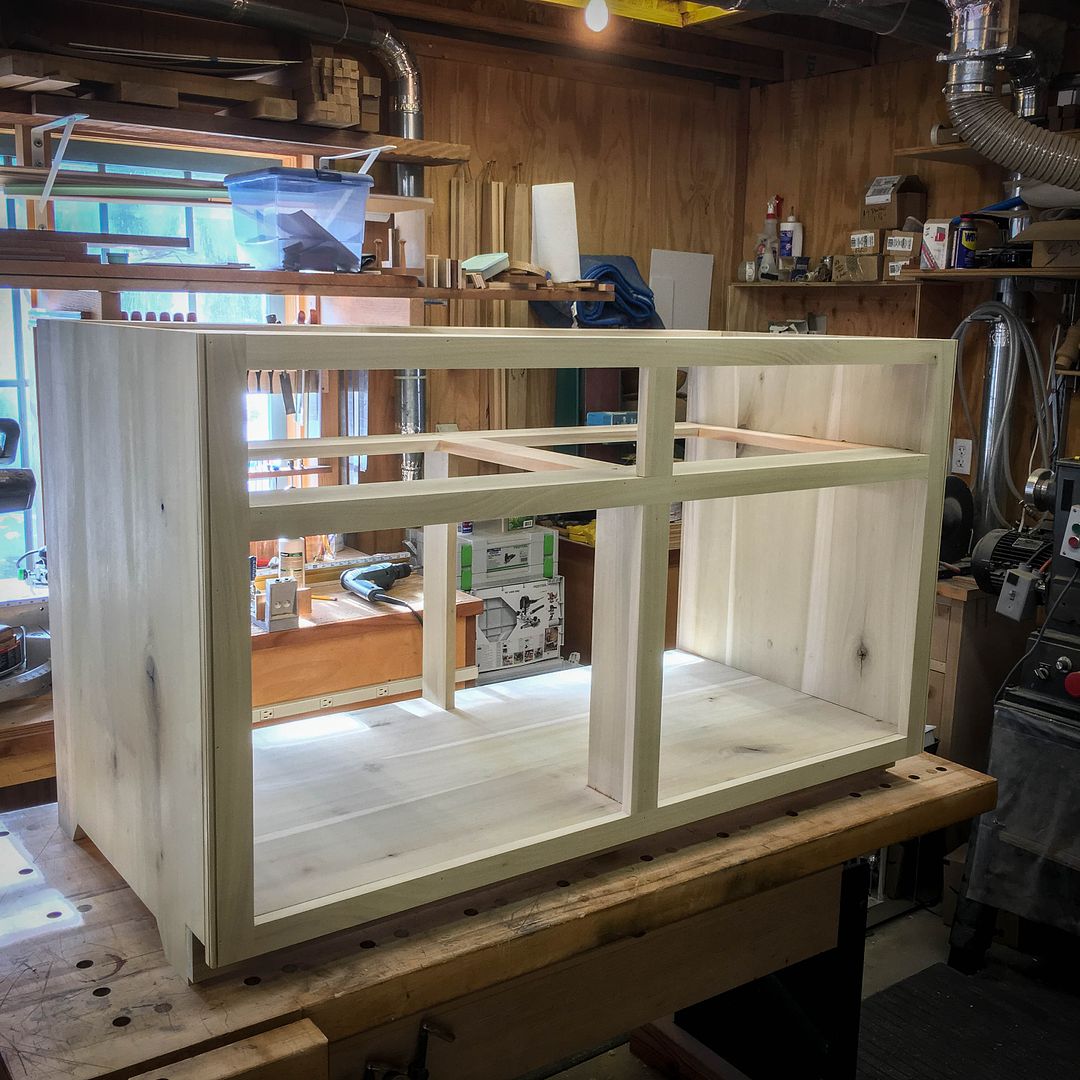
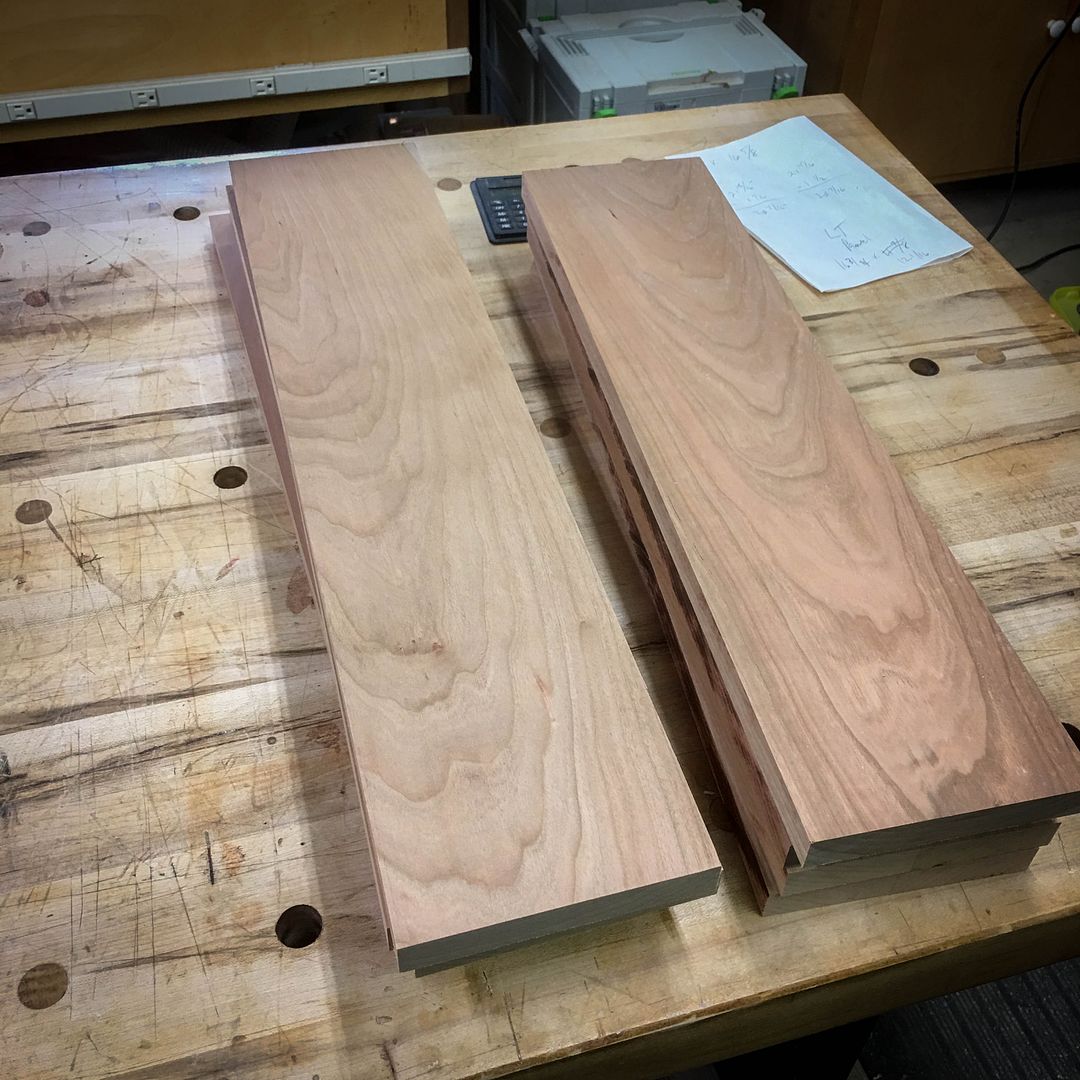
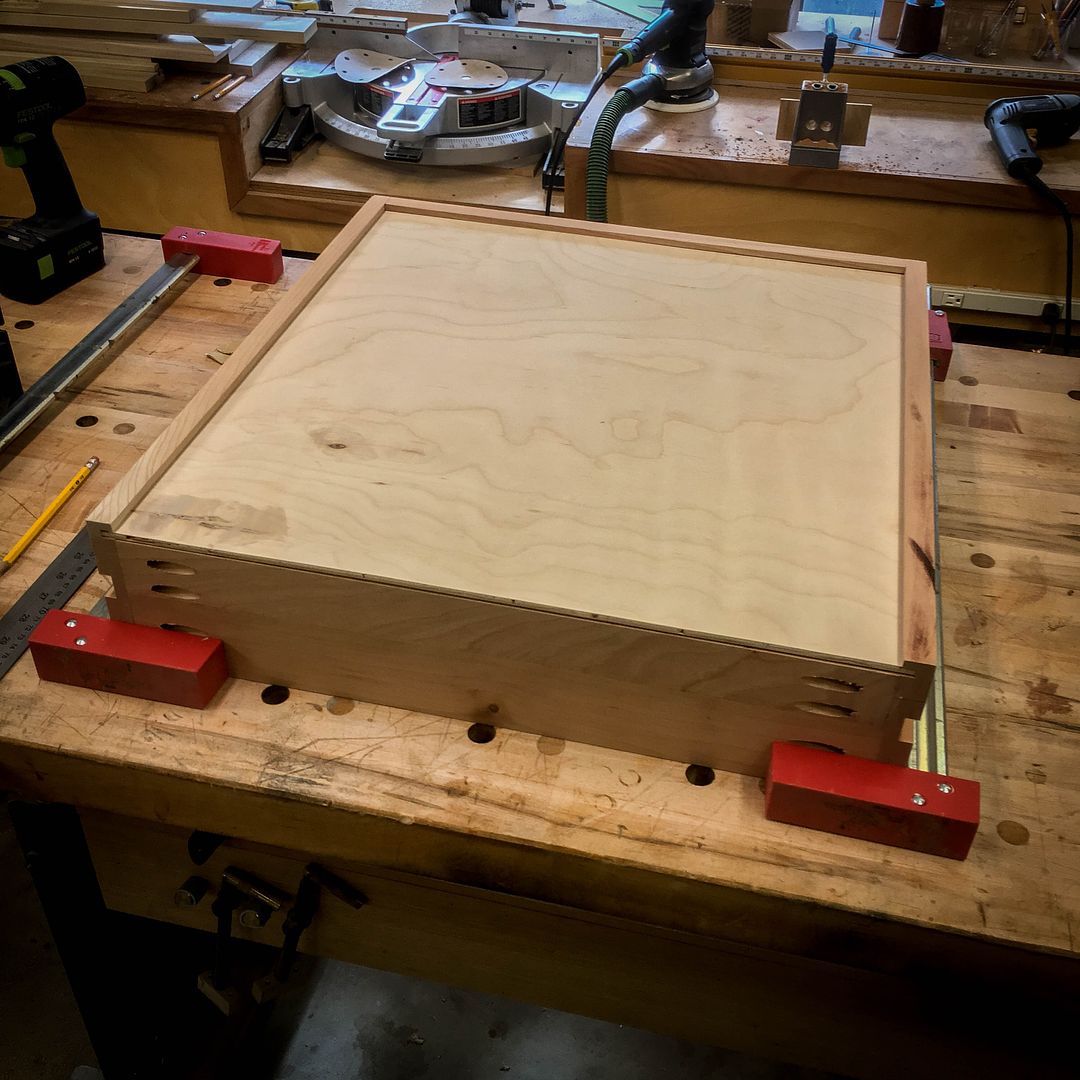
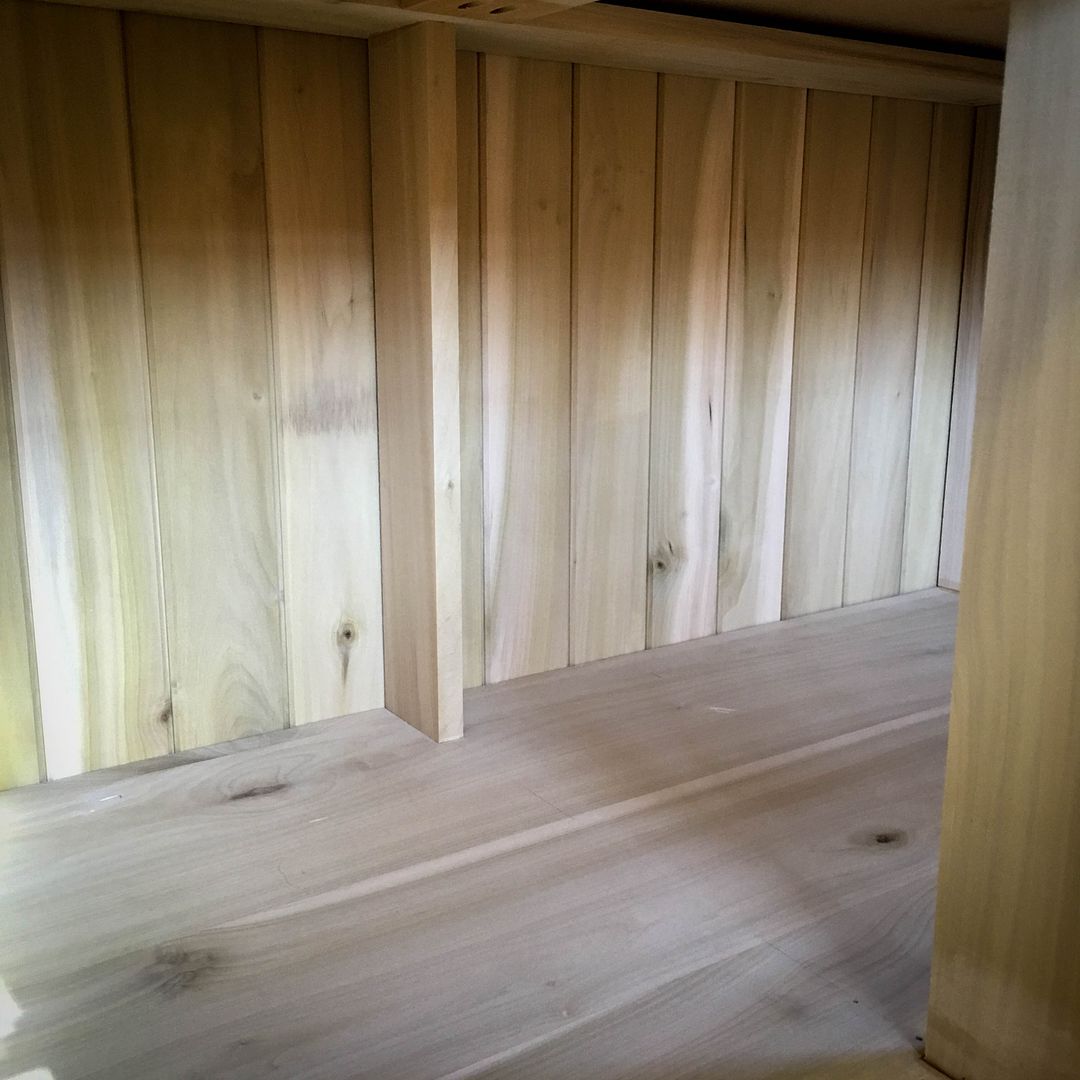
And we have sides...


 Reply With Quote
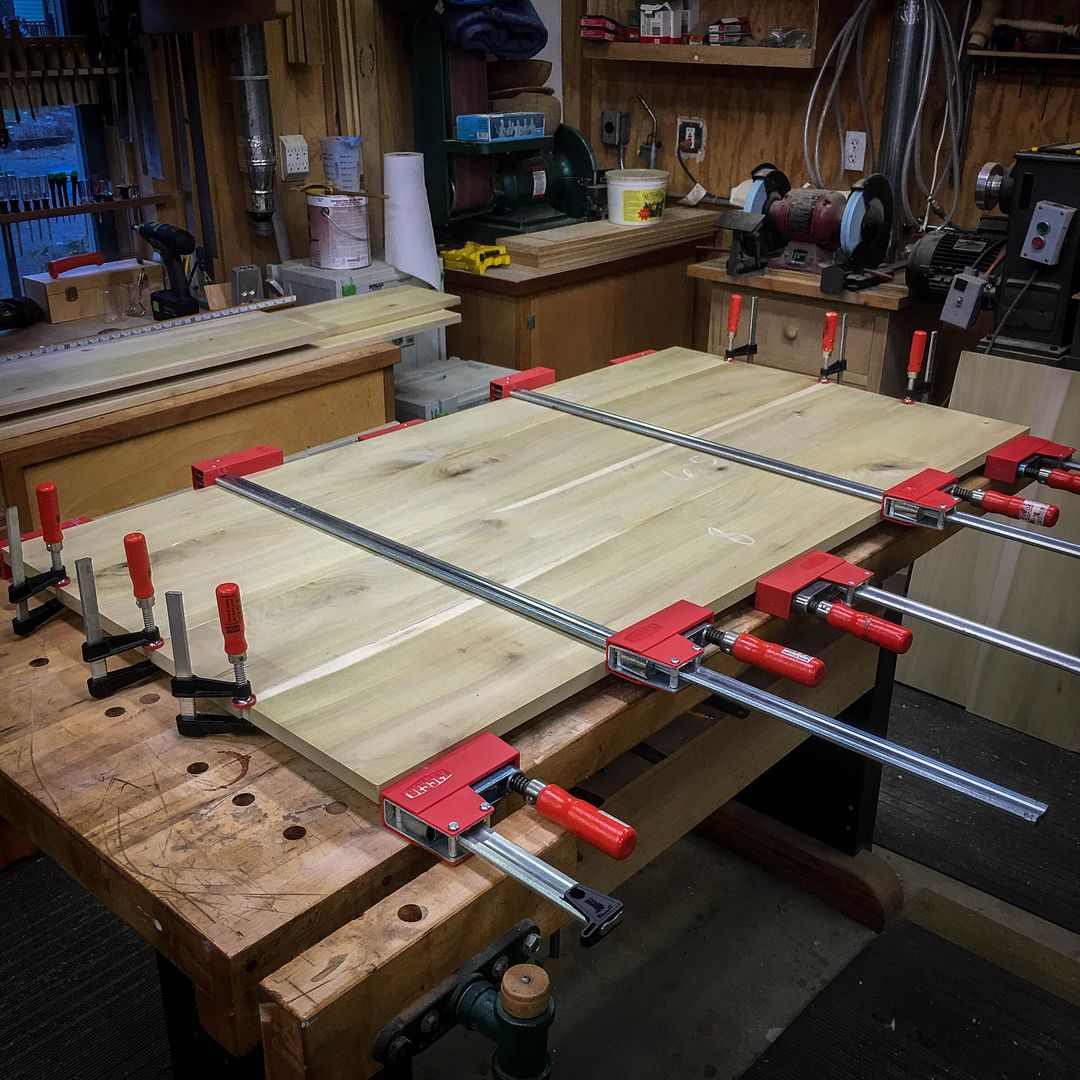


 )
)