Results 1 to 7 of 7

Thread: The Butler's Desk - Casework Part 4

  1. #1
    Join Date
    Aug 2013
    Location
    Princeton, NJ
    Posts
    7,298
    Blog Entries
    7

    The Butler's Desk - Casework Part 4

    Good morning! I've just published the latest in a series about building a butler's desk in black walnut.


    https://brianholcombewoodworker.com/...sework-part-4/


    Looking forward to any questions or comments you might have.

    I have previously just posted the entire series in one thread, I think I will discontinue that and simply create a new thread for each post since the series can be tied together via the blog for anyone who would like to see it in full form.
    Bumbling forward into the unknown.

  2. #2
    Join Date
    Jan 2010
    Location
    Lafayette, Indiana
    Posts
    1,378
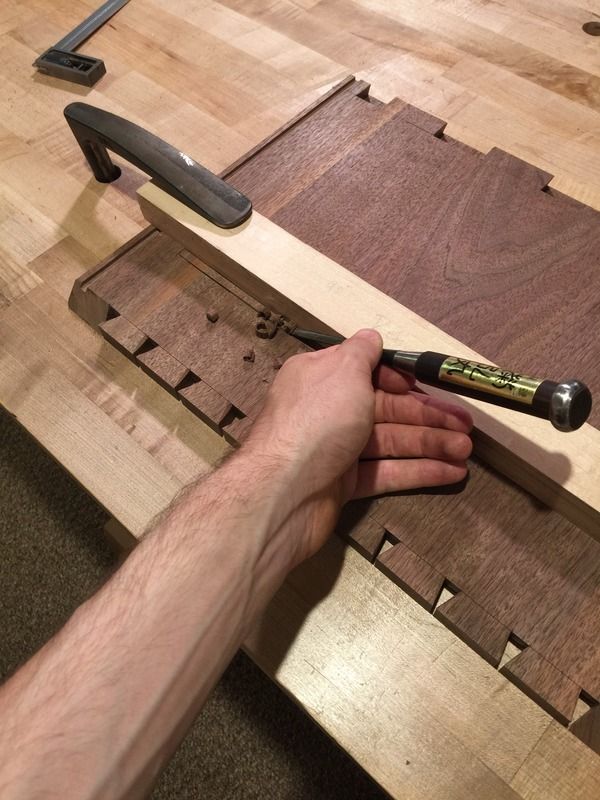
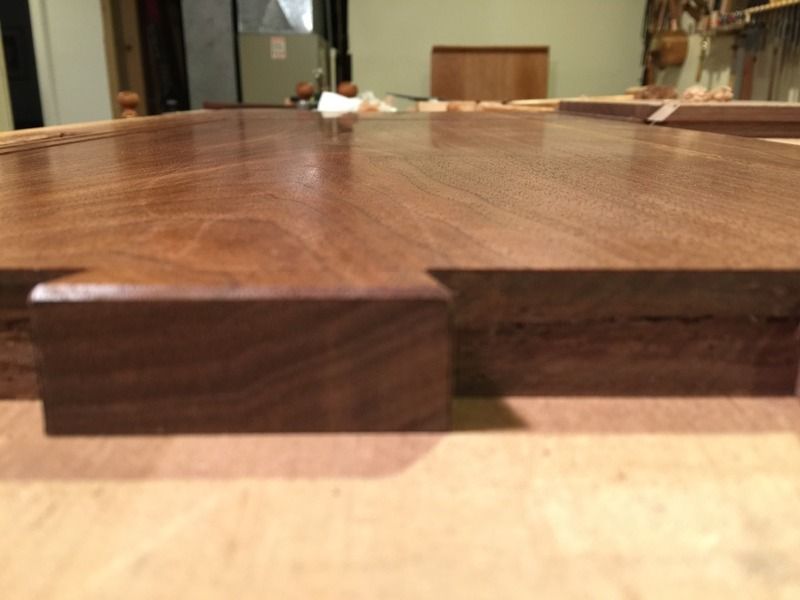
    Thank you for taking the time to document this build. This installment is very timely for me as my 13 year old needs to fashion some double stopped dados or blind dados. What saw did you use to score the sides of the dado and how deep did you cut with the saw. I noticed after a few passes with the router plane you scored with a knife. How deep is the grove? Thanks again for sharing this build.

  3. #3
    Join Date
    Aug 2013
    Location
    Princeton, NJ
    Posts
    7,298
    Blog Entries
    7
    Hi Joe,

    My pleasure!

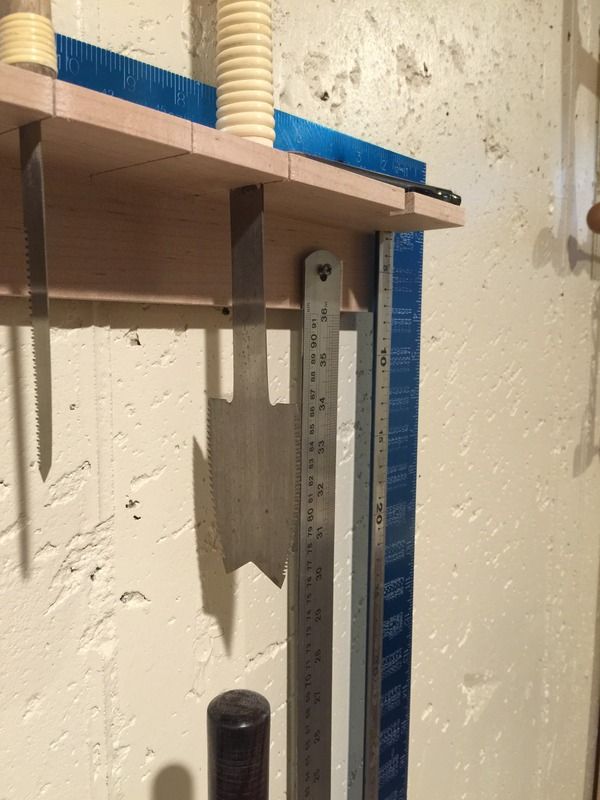
    I used a flush cut saw to score the sides, but have recently acquired a more appropriate saw;


    The grooves were 1/8" deep and scored the line after the router plane was offered some resistance by the groove.
    Bumbling forward into the unknown.

  4. #4
    Join Date
    Feb 2004
    Location
    Perth, Australia
    Posts
    9,494
    Hi Brian

    I watched just the start of your video on making a dado. As I recall, you went directly from the sawed line to your router plane, then re-knifed the walls and routed some more... Is that correct? Personally, I prefer to saw the side walls first (with an azebiki), use a wide chisel to create a wall as close to depth as possible, zip out the waste in the centre of the dado with a narrower chisel, and only then route to level the floor. This is a quick process.

    Regards from Perth

    Derek

  5. #5
    Join Date
    Aug 2013
    Location
    Princeton, NJ
    Posts
    7,298
    Blog Entries
    7
    Thank you Derek, this is why I bought an azebiki saw. They're somewhat hard to acquire so it's taken me some time to acquire one. The ability to cut deeper will eliminate my need to knife.

    I set the router pretty aggressively and have used both methods, they're within a minute or two in timing.
    Last edited by Brian Holcombe; 06-11-2016 at 6:11 PM.
    Bumbling forward into the unknown.

  6. #6
    Join Date
    Aug 2010
    Location
    USA
    Posts
    5,582
    Brian. Thanks for posting all the details. I enjoy watching the videos and understanding your process. Very precise - is your background in machining? I do get some impression that this project is a bit organic, ie not detailed out ahead, ie no detailed plans? Nothing wrong with that of course but it can lead to situations that become a bit complicated. The fact that you can overcome those problems speaks very highly of your skills. Very nice work.

  7. #7
    Join Date
    Aug 2013
    Location
    Princeton, NJ
    Posts
    7,298
    Blog Entries
    7
    Thanks Pat! I think your interpretation of my process is very accurate. In fact it has been, until recently, simply hand drawn sketches on paper, sometimes detailing joinery. I've moved to sketch up because I can work out the scale better and do some minor detailing, but I like to leave it open ended. I work from a very basic outline of what I ultimately want then flesh out the details as I proceed through the build.

    As a teenager even through my early college years I basically took jobs that matched my interest, so I worked in an automotive machine shop for some years. The owner was very similar to me in personality, he absolutely needed interesting work to keep himself engaged so we did a lot of problem solving.

    My father was incredibly supportive of my interests and hobbies from a very young age, I can remember working in his metal shop when I was probably 10 years old. My fathers approach to teaching was often to get me started on a project then encourage me to figure it out on my own, so I picked up this approach after some time where I like to leave a few problems to work out as the project moves along.
    Last edited by Brian Holcombe; 06-12-2016 at 7:25 AM.
    Bumbling forward into the unknown.

Posting Permissions

  • You may not post new threads
  • You may not post replies
  • You may not post attachments
  • You may not edit your posts
  •