Results 1 to 6 of 6

Thread: Build thread - iPad stand

  1. #1
    Join Date
    Jan 2012
    Location
    NW Louisiana
    Posts
    894

    Build thread - iPad stand

    This is a project I started about two years ago before I restored my table saw so most of this was built using a bandsaw, router, Dremel, and scroll saw. Like a lot of projects this one was sidelined for more important and/or urgent ones. A couple of weeks ago I was waiting on my laser guy to cut some letters for my guitar logo and while I was waiting I thought it was a good time to complete this iPad stand.

    I'll probably fly through the build process 'cause there's nothing really new here but I think it's a good mix of woods and I had fun with the design, so here goes...

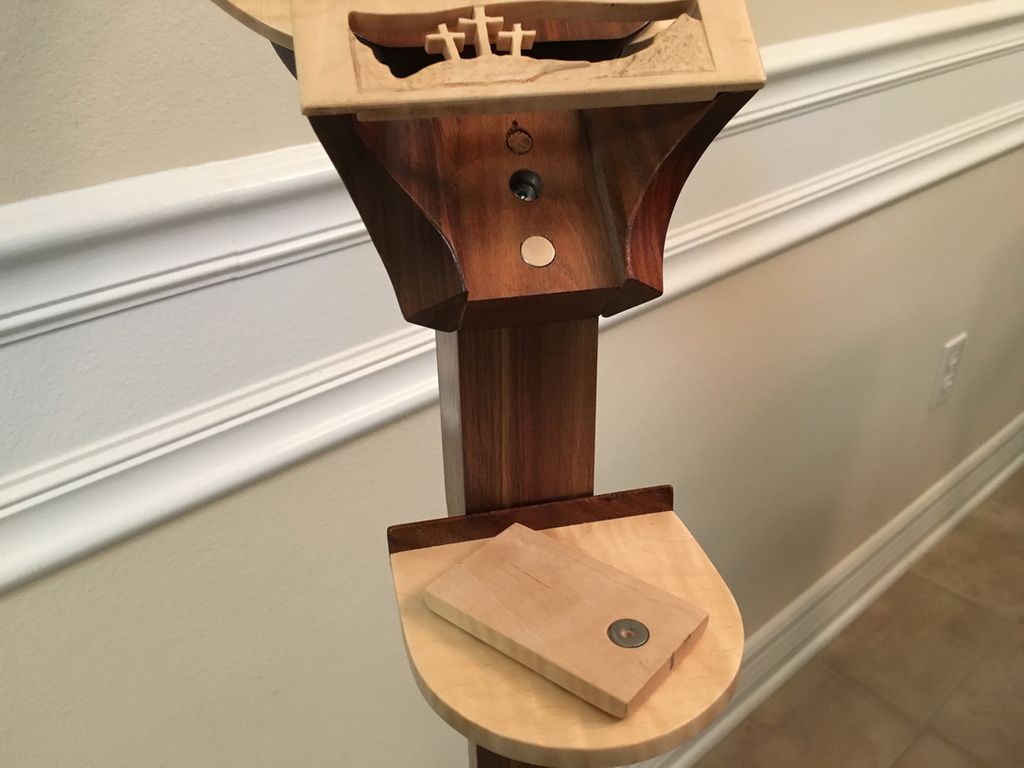
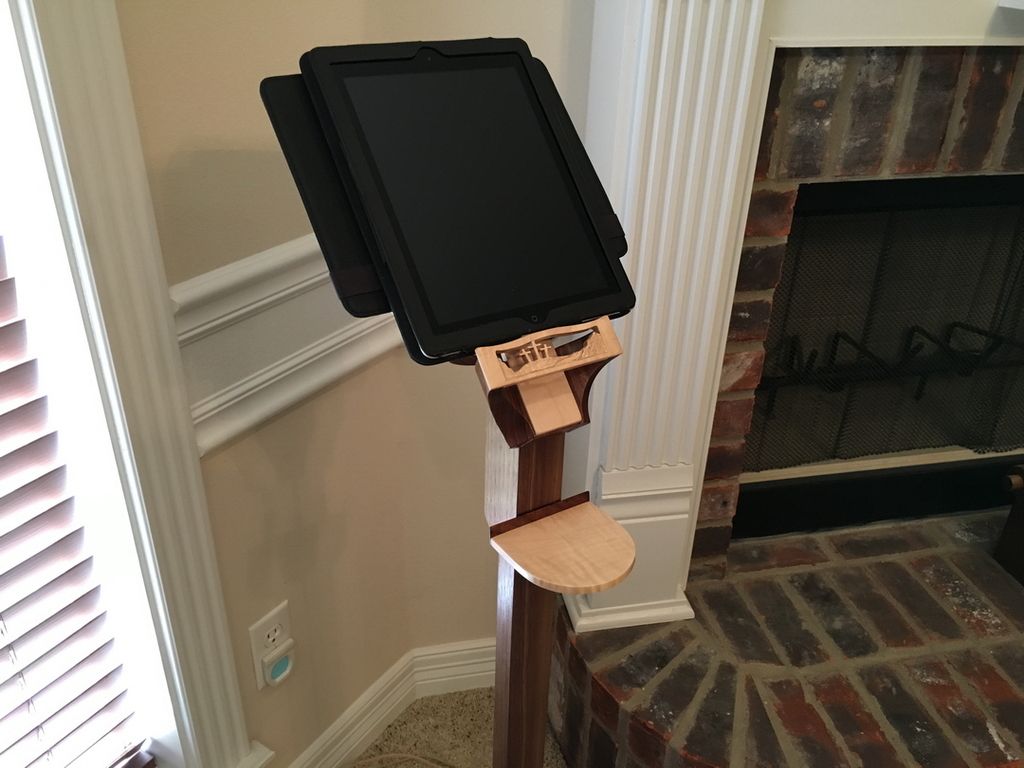
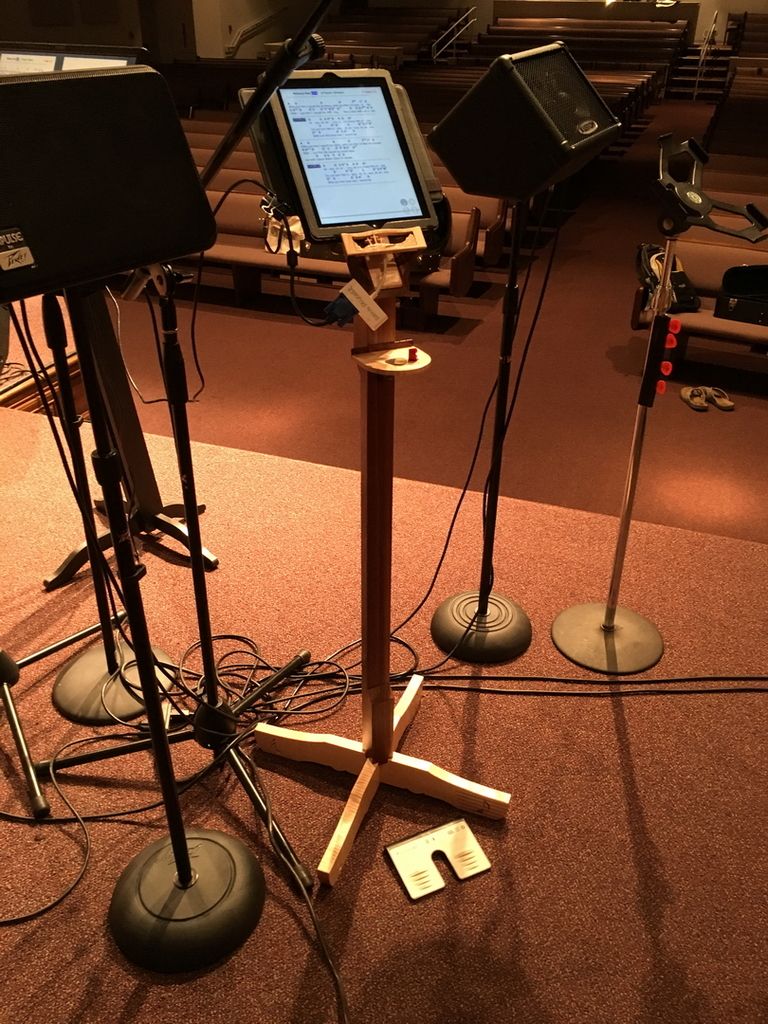
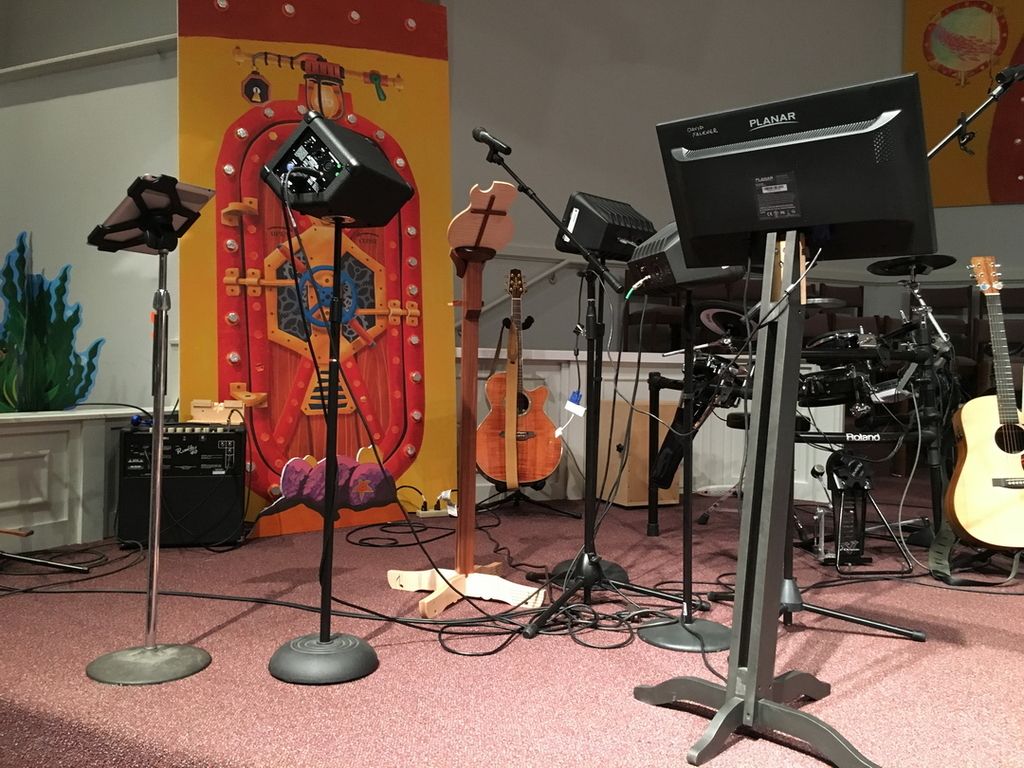
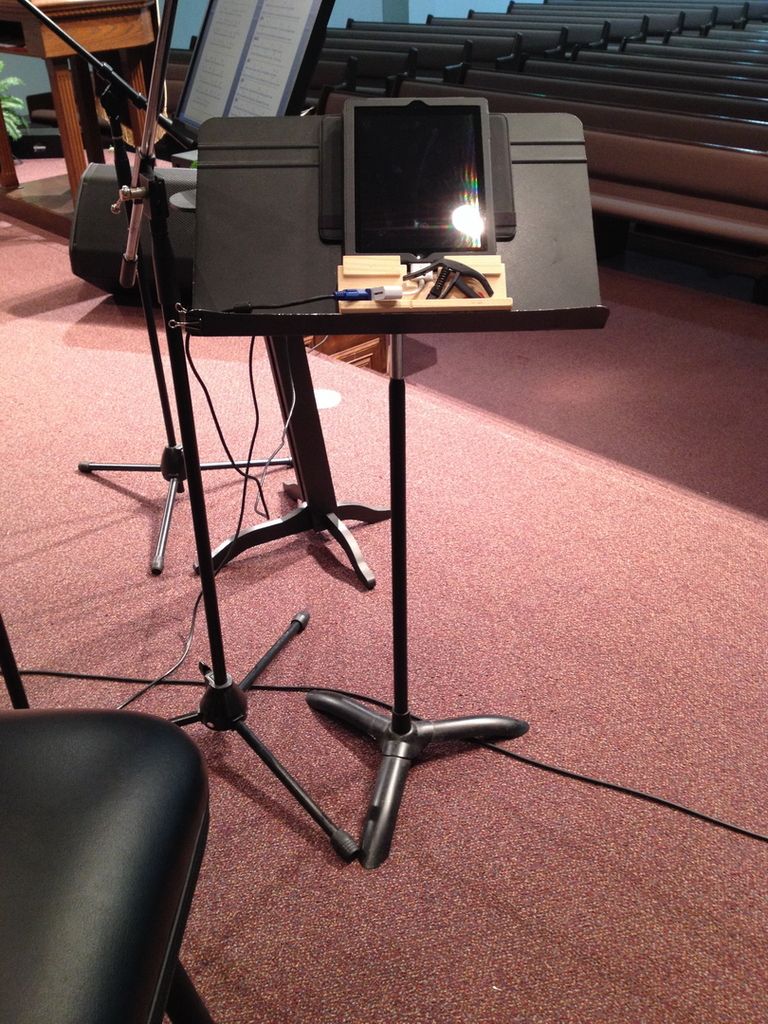
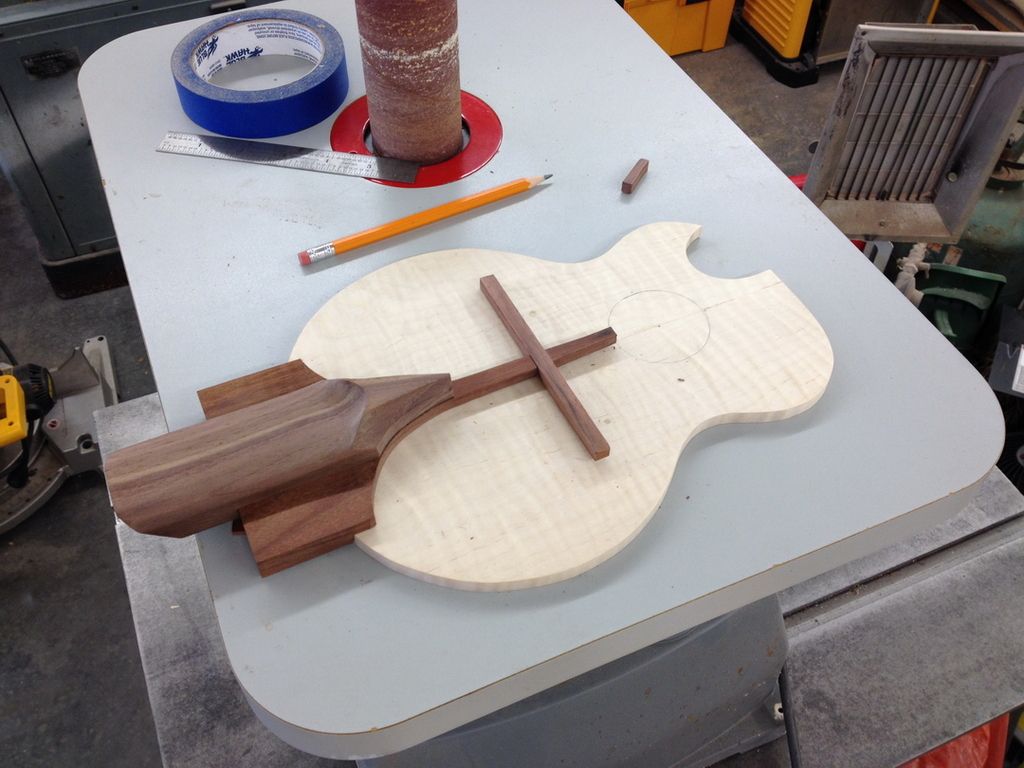
    On stage at church my iPad resides on a standard metal music stand and I wanted something smaller. Making something to look better was a goal, as well but a black metal stand isn't hard to beat. I had made a little support out of scraps so the cable would be protected (truly fine woodworking, too! )


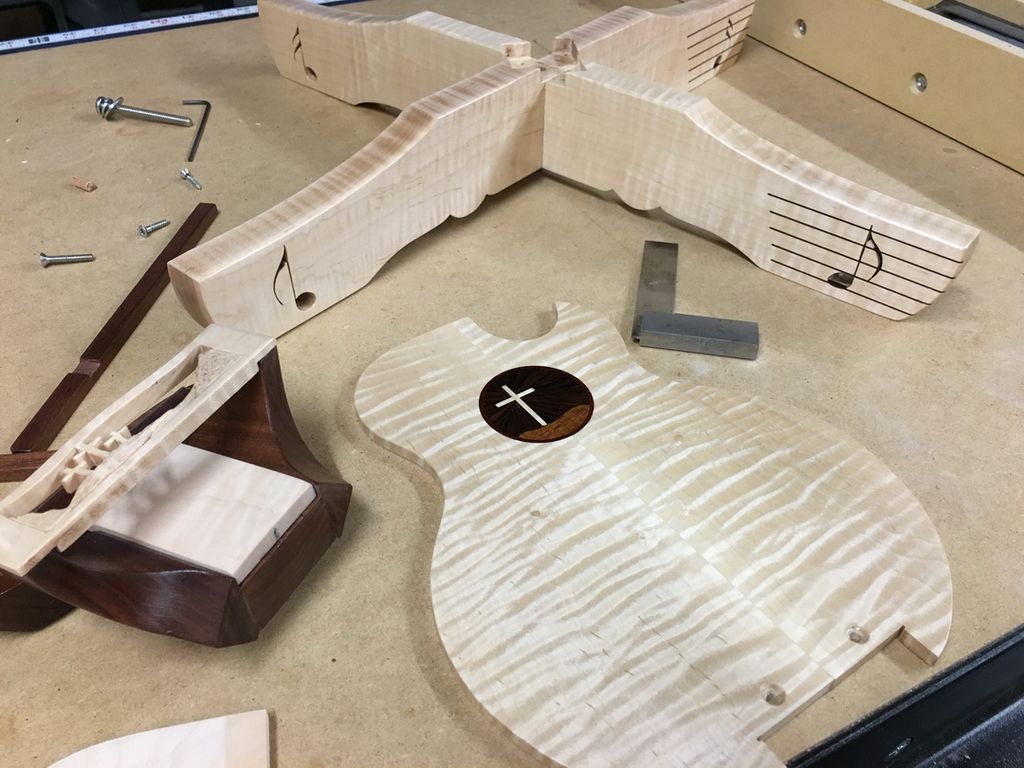
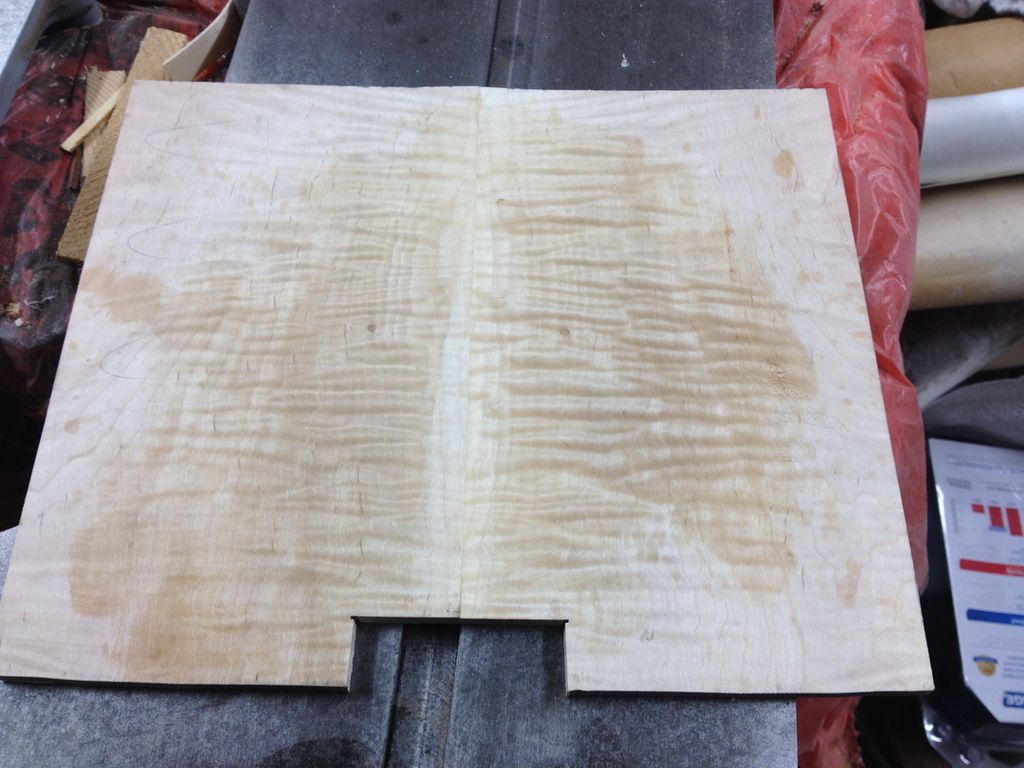
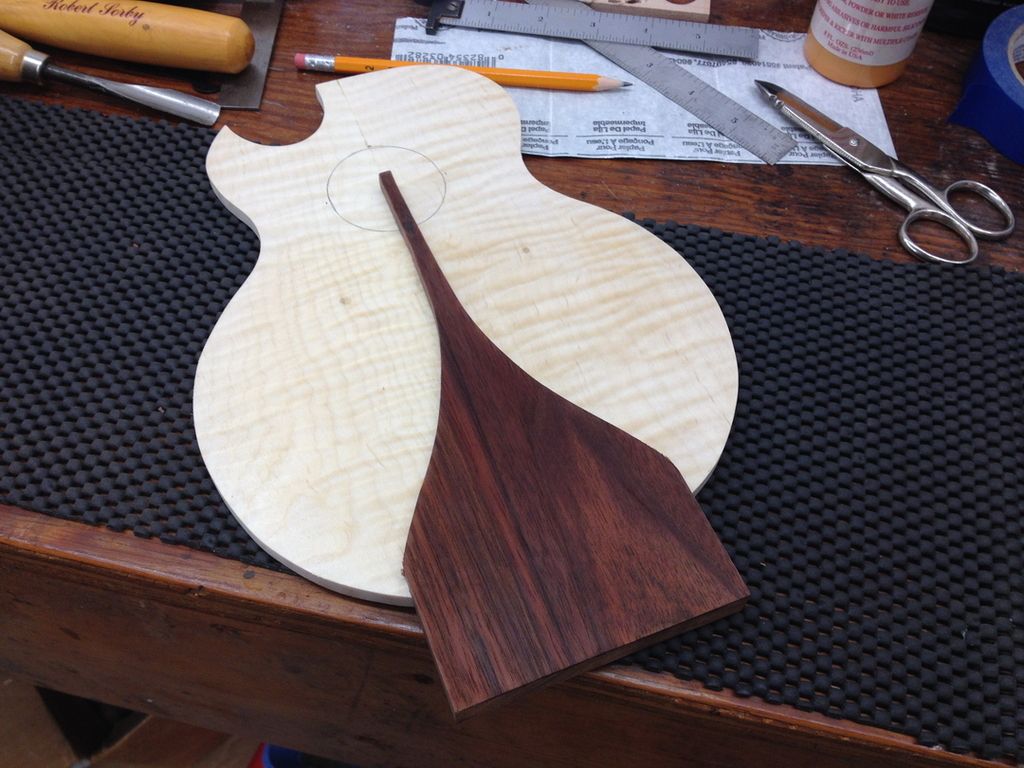
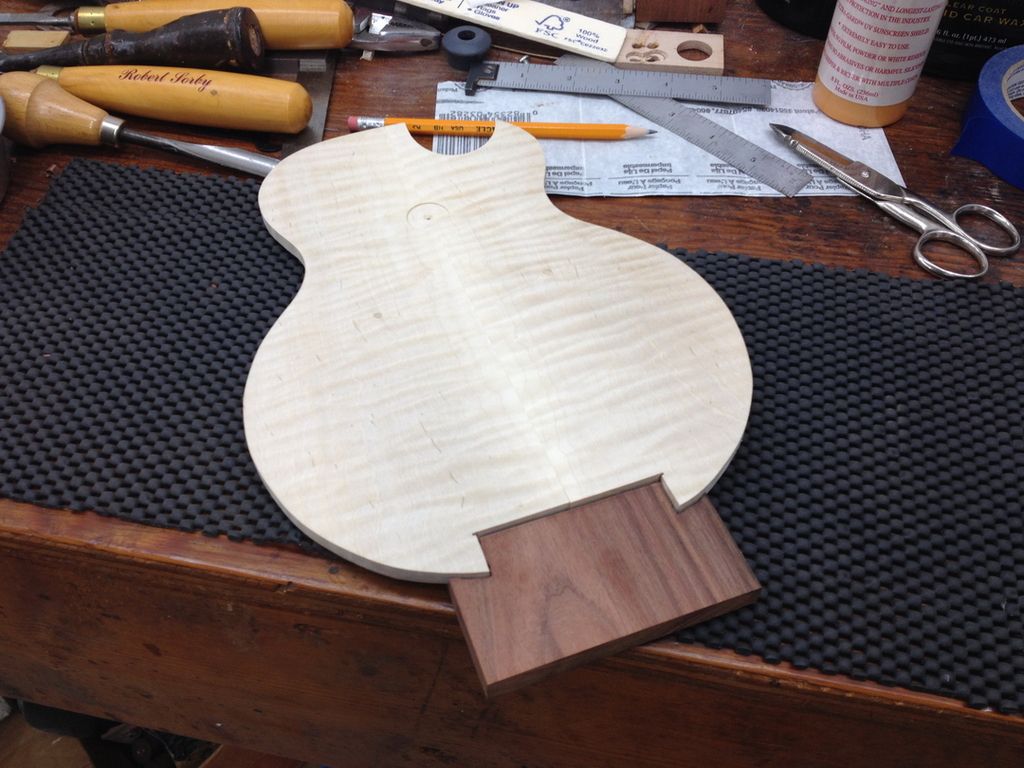
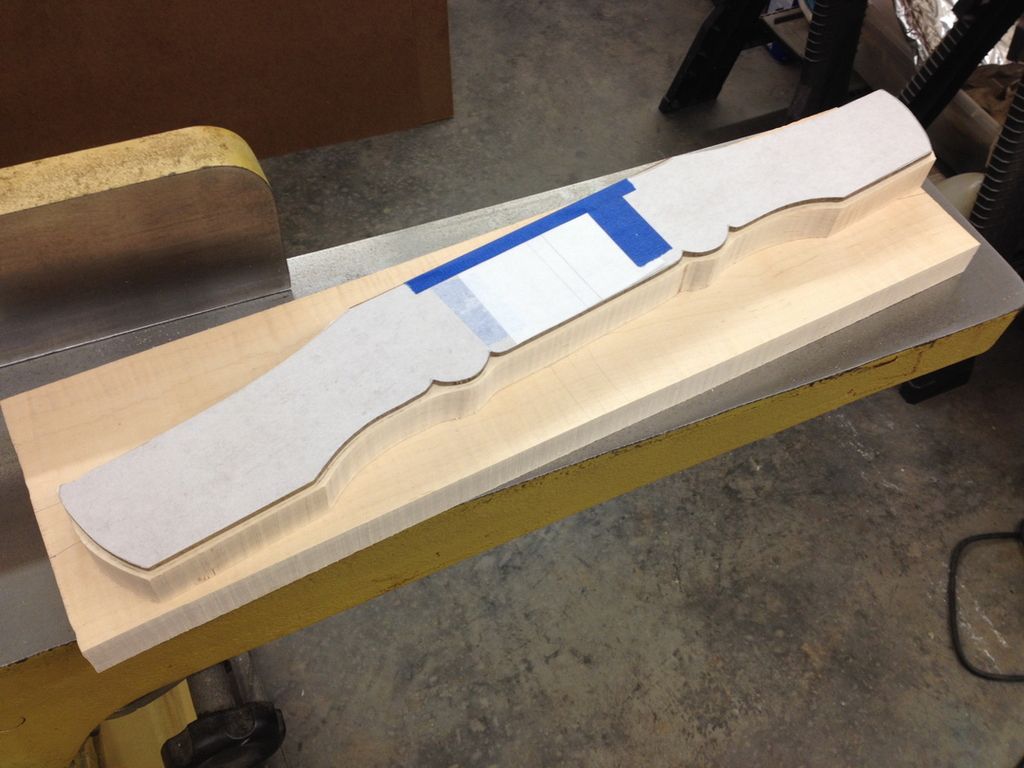
    My choice of wood was Curly Maple and unsteamed Walnut. I resawed some Curly Maple and glued the pieces (the notch was due to my original design that changed several times and didn't really need to be there but since I cut it out I had to live with it) -


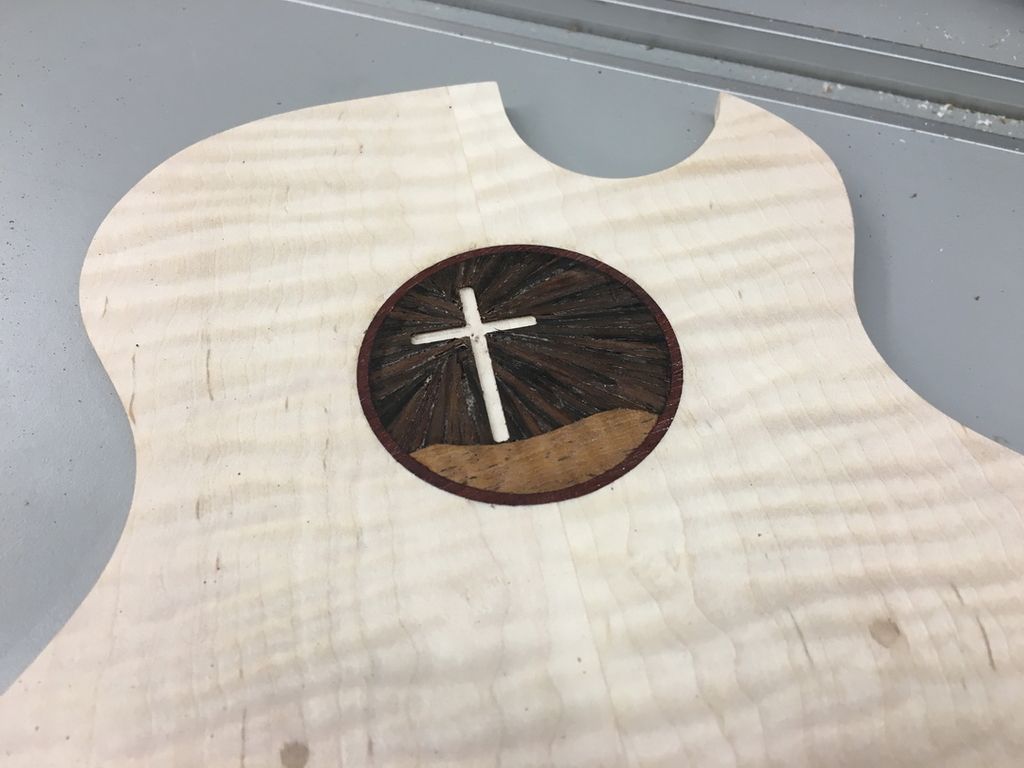
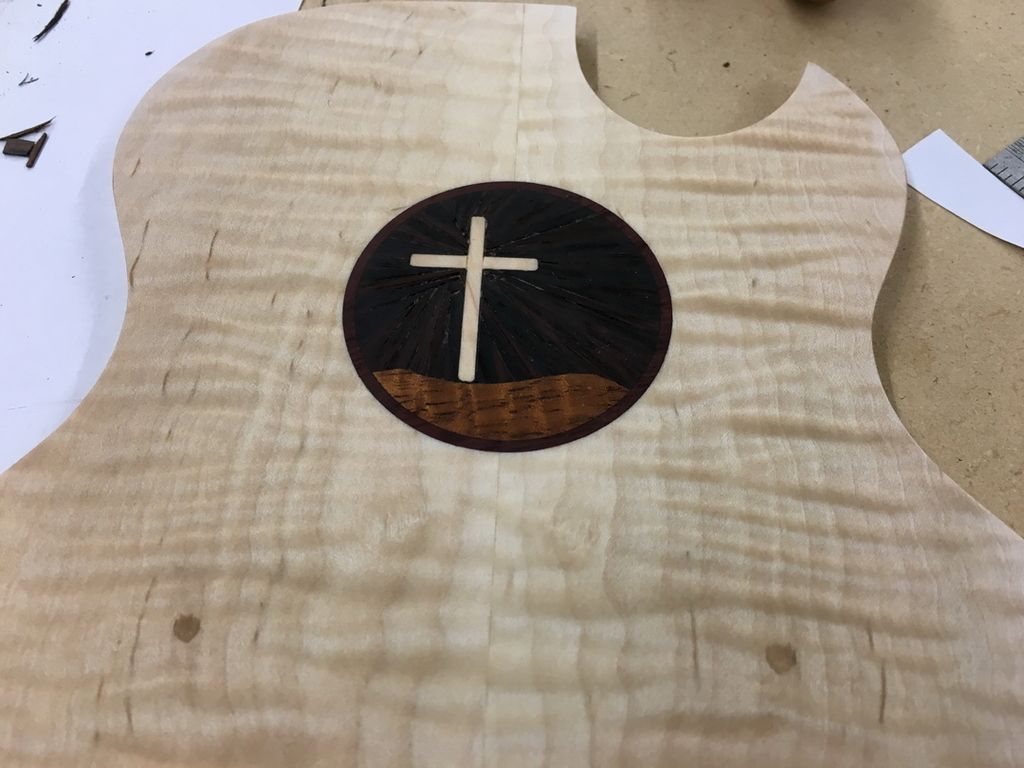
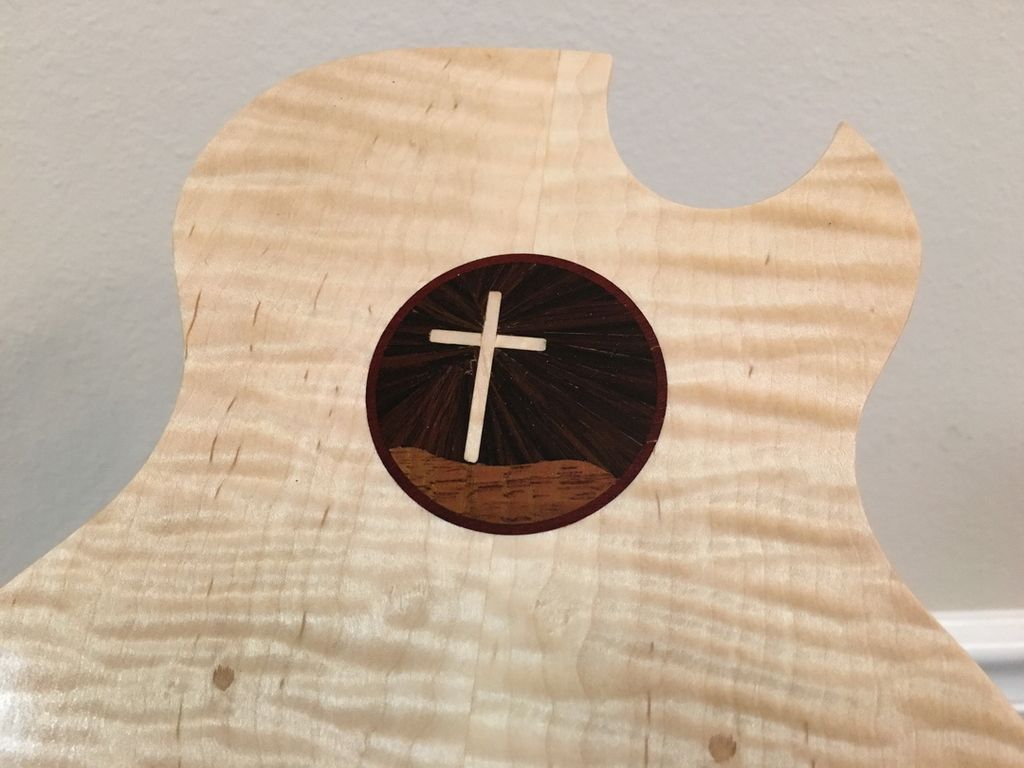
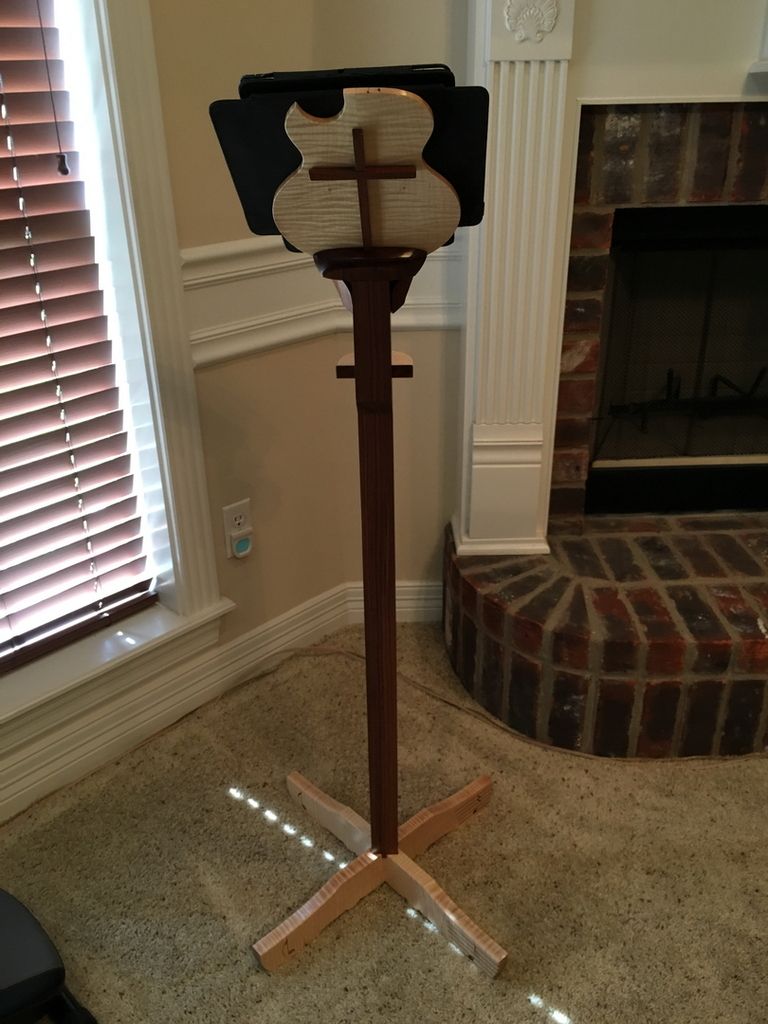
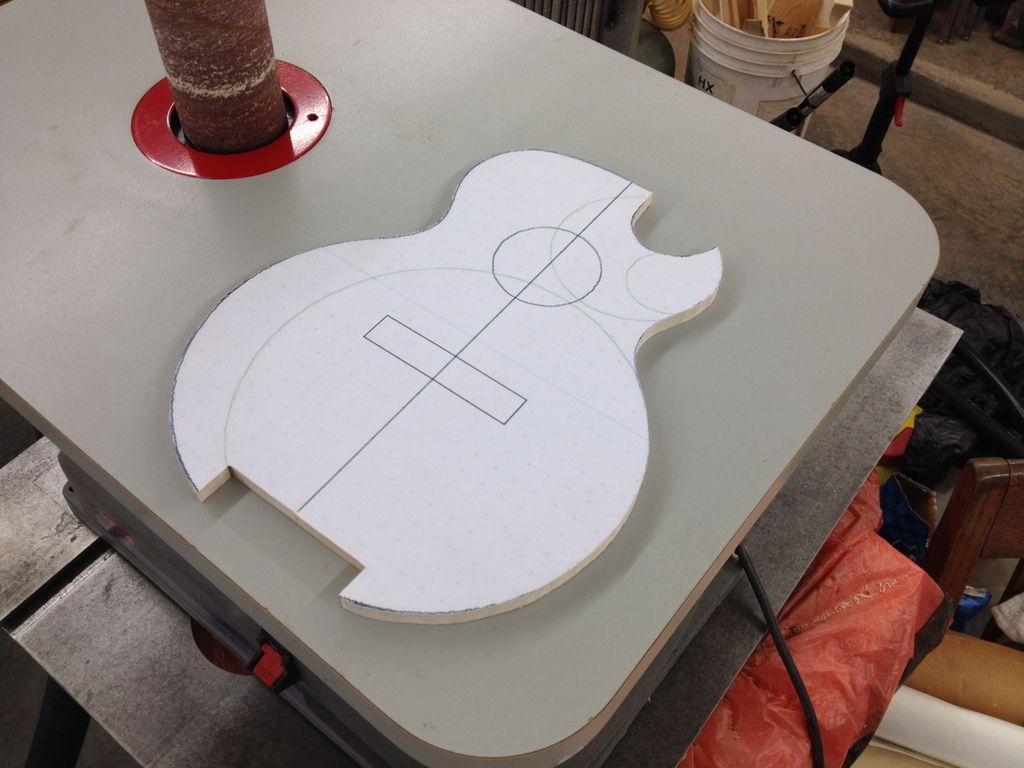
    Like my iPhone stand I built a while back this one is shaped like a guitar –


    Original design for back side (congregation view) –


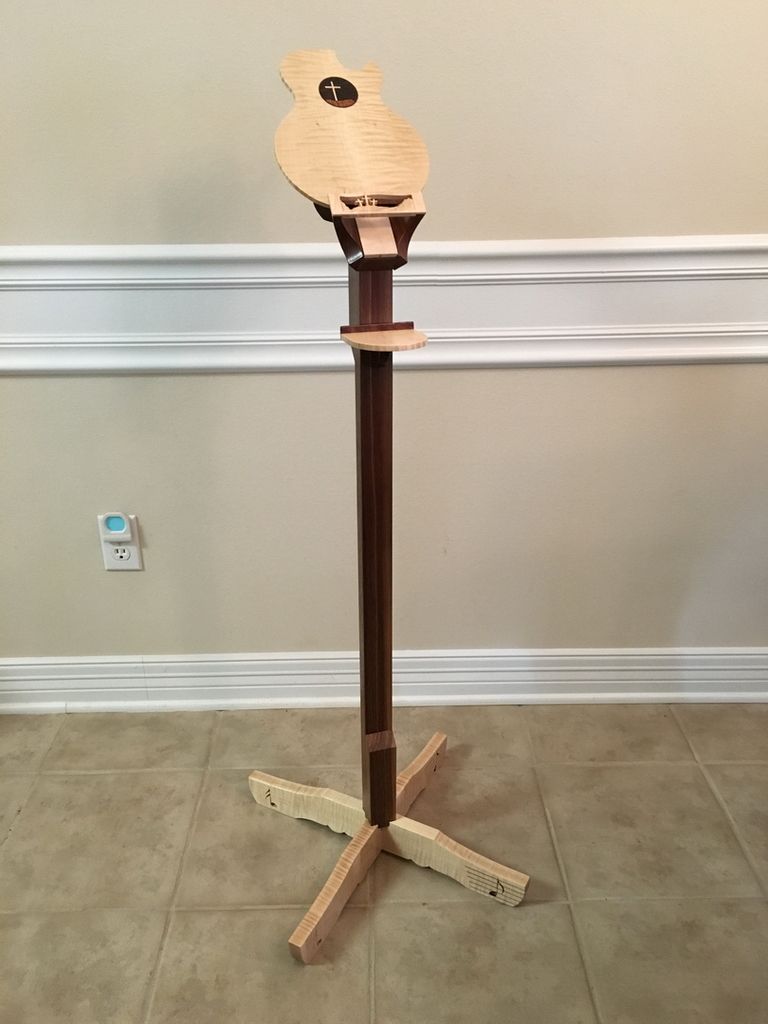
    Original design for front (my view) –


    My original design incorporated a volute similar to what Martin uses on the back of the guitar neck but I decided not to do it this way –


    I probably went through 20 designs for the legs before arriving at what I finally used –


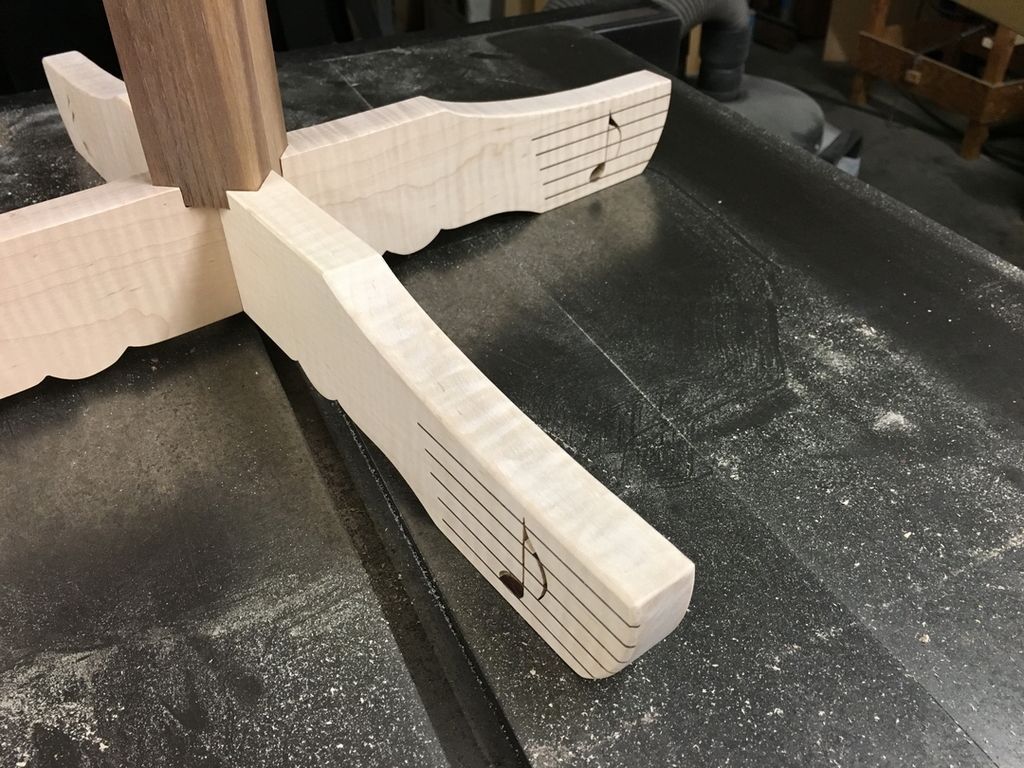
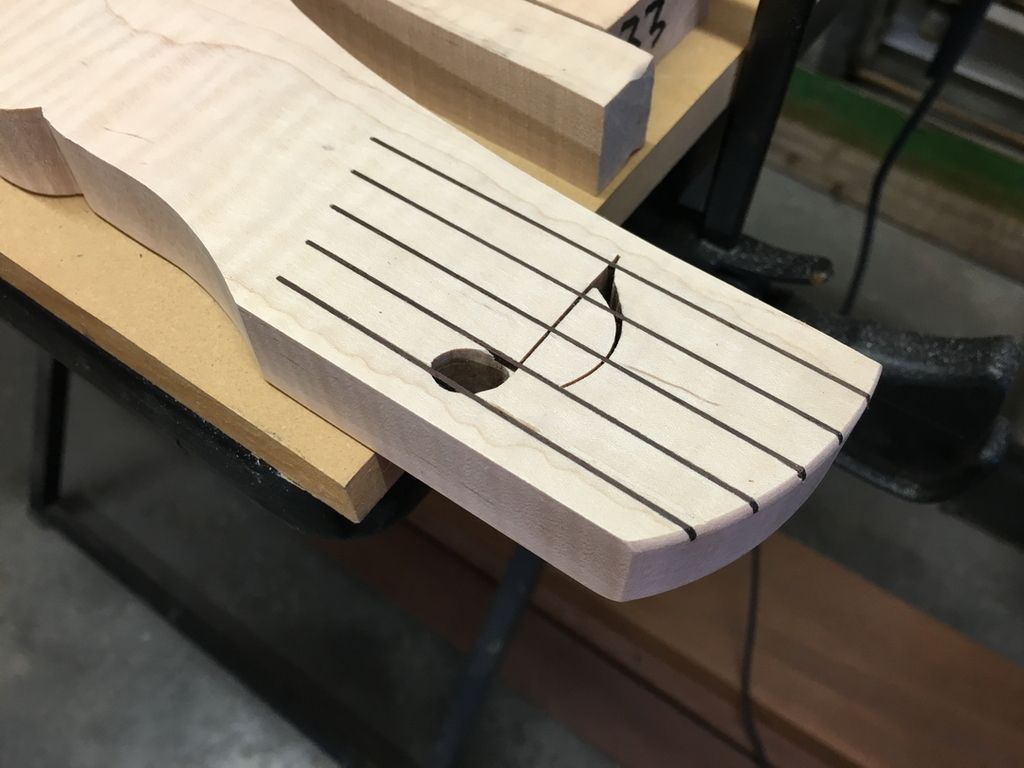
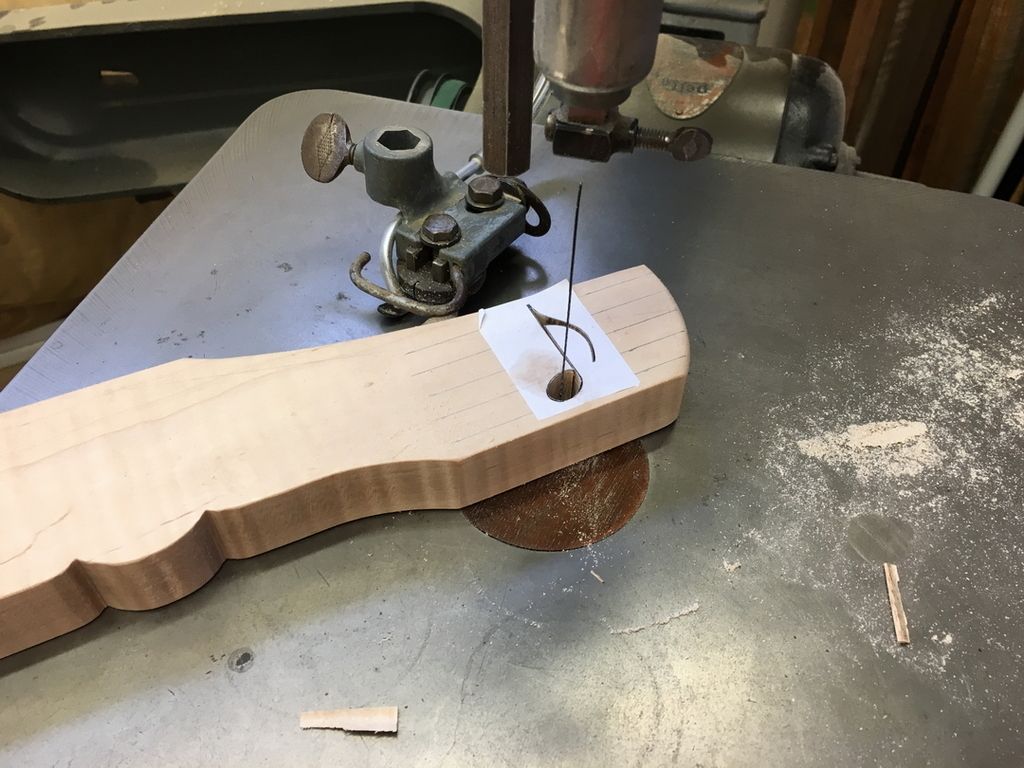
    The music notes go all the way through the legs and were cut on my scroll saw –


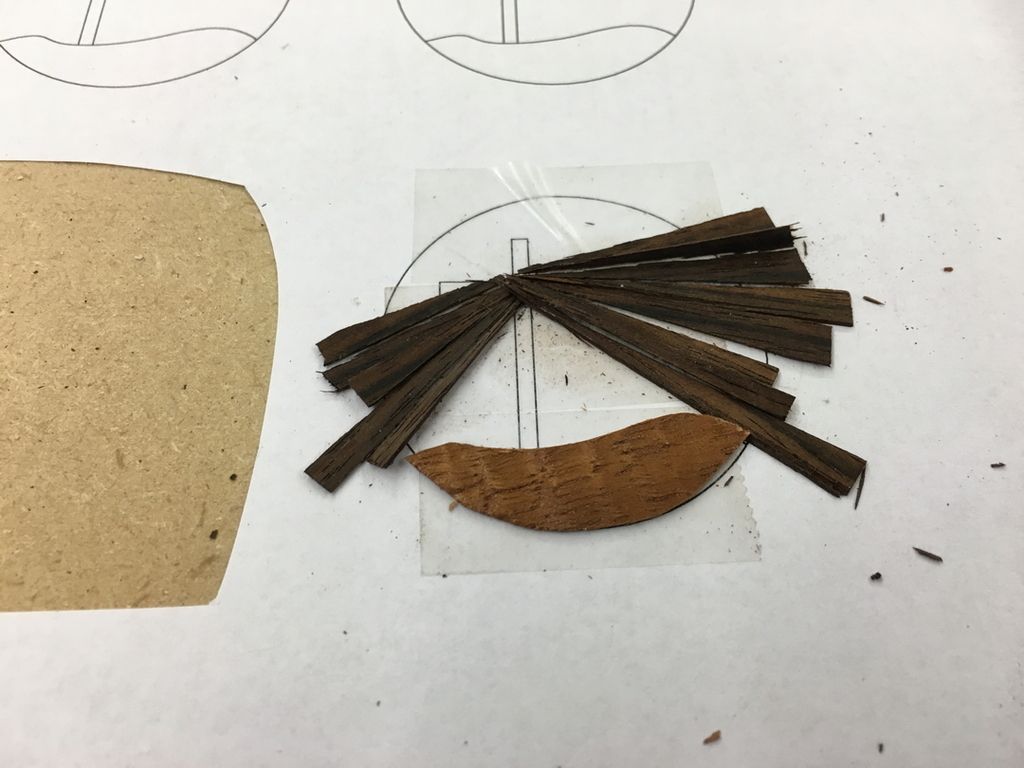
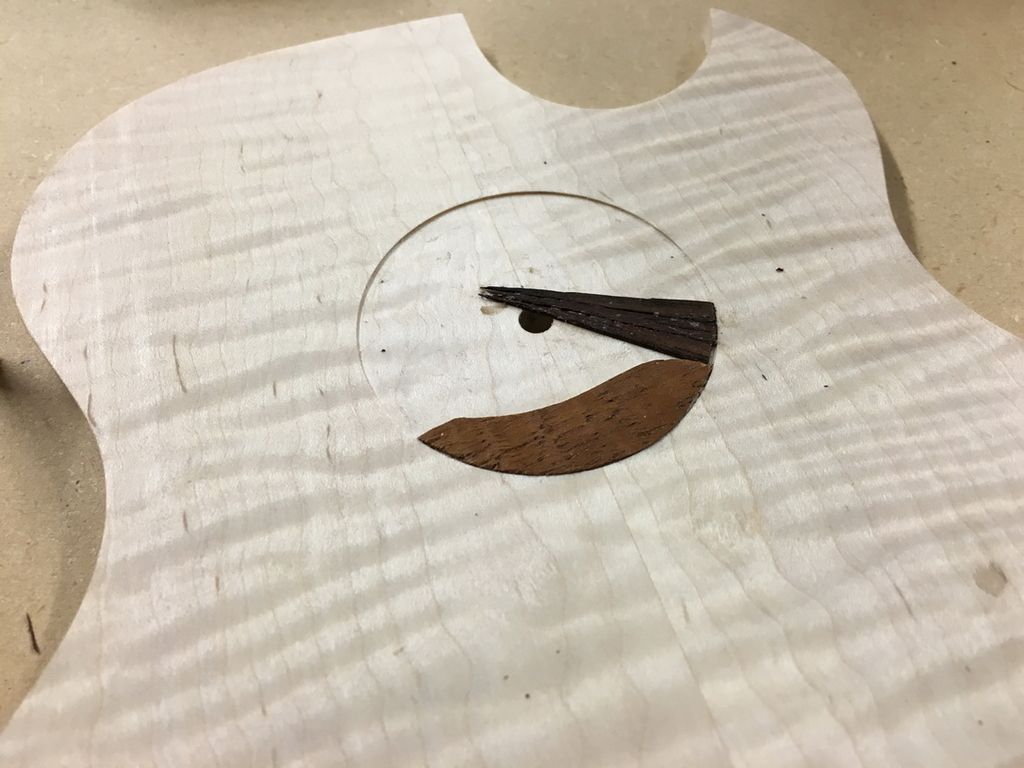
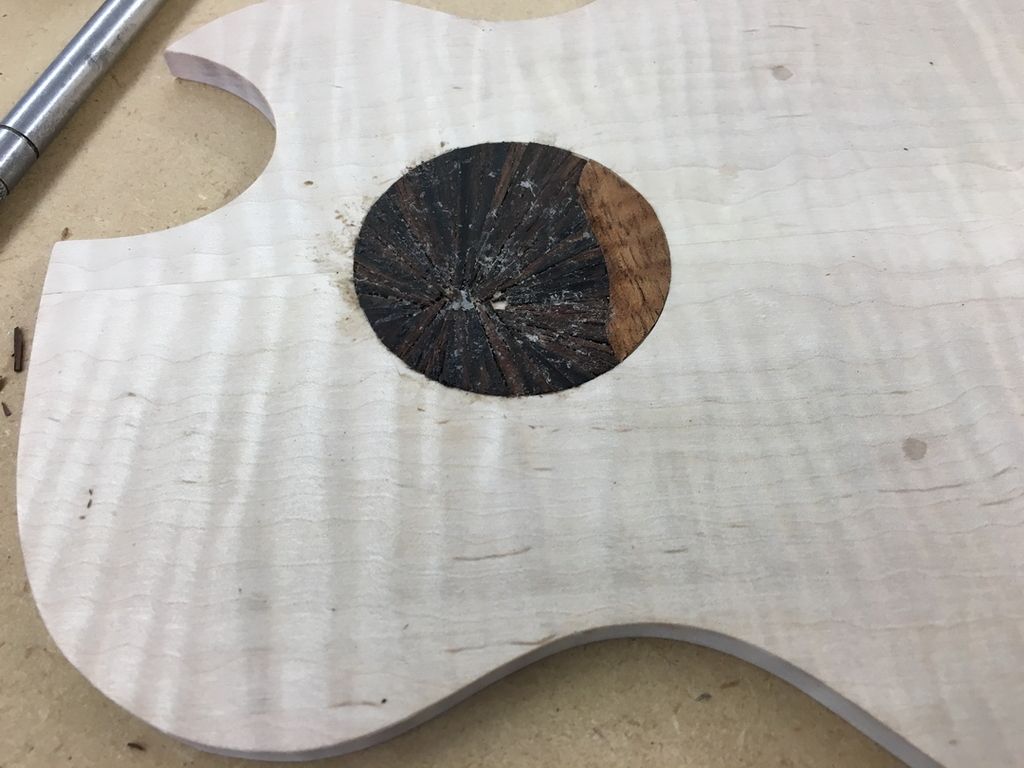
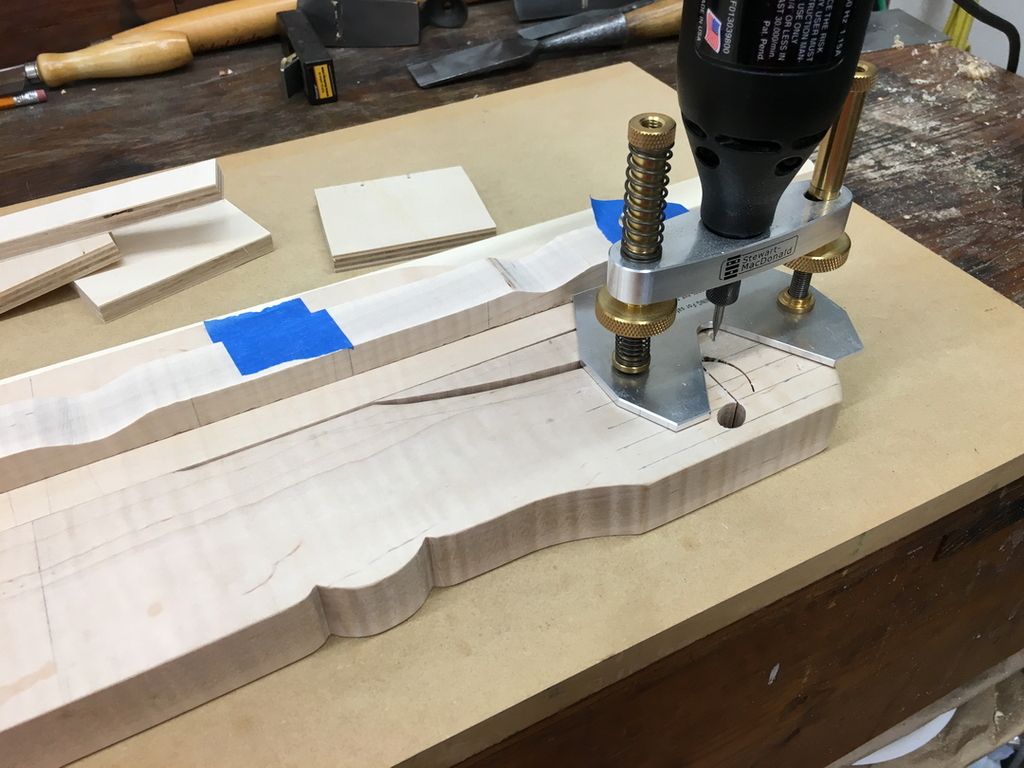
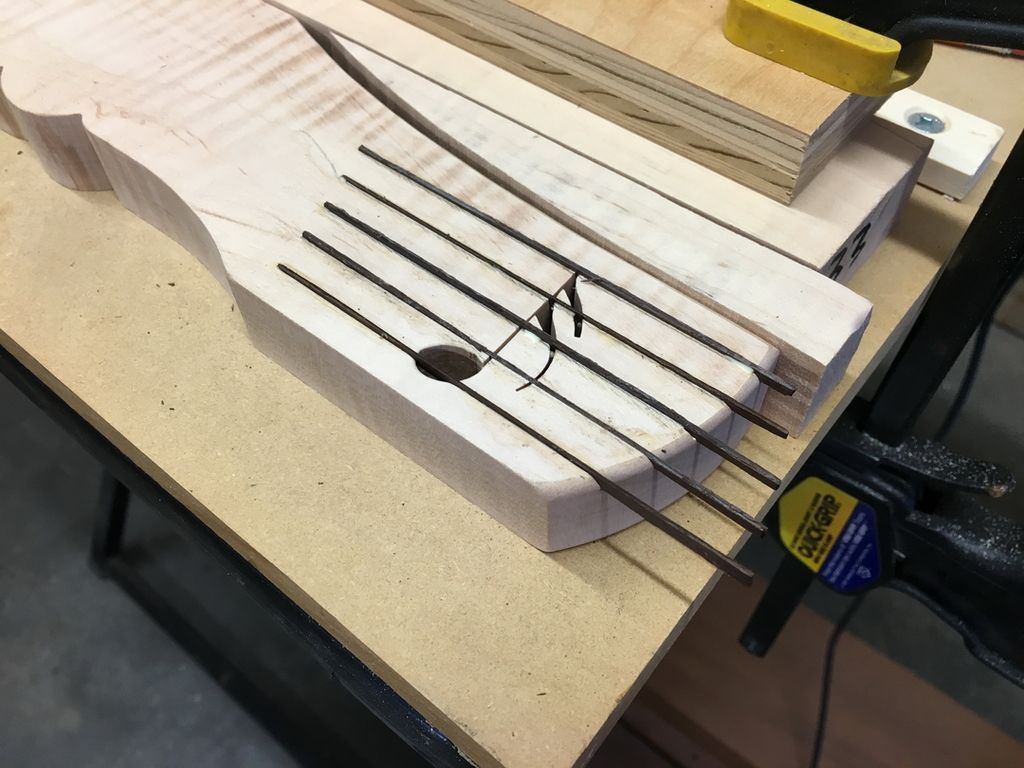
    The music staff lines are Macassar Ebony and the pockets were cut with my Dremel on a base –


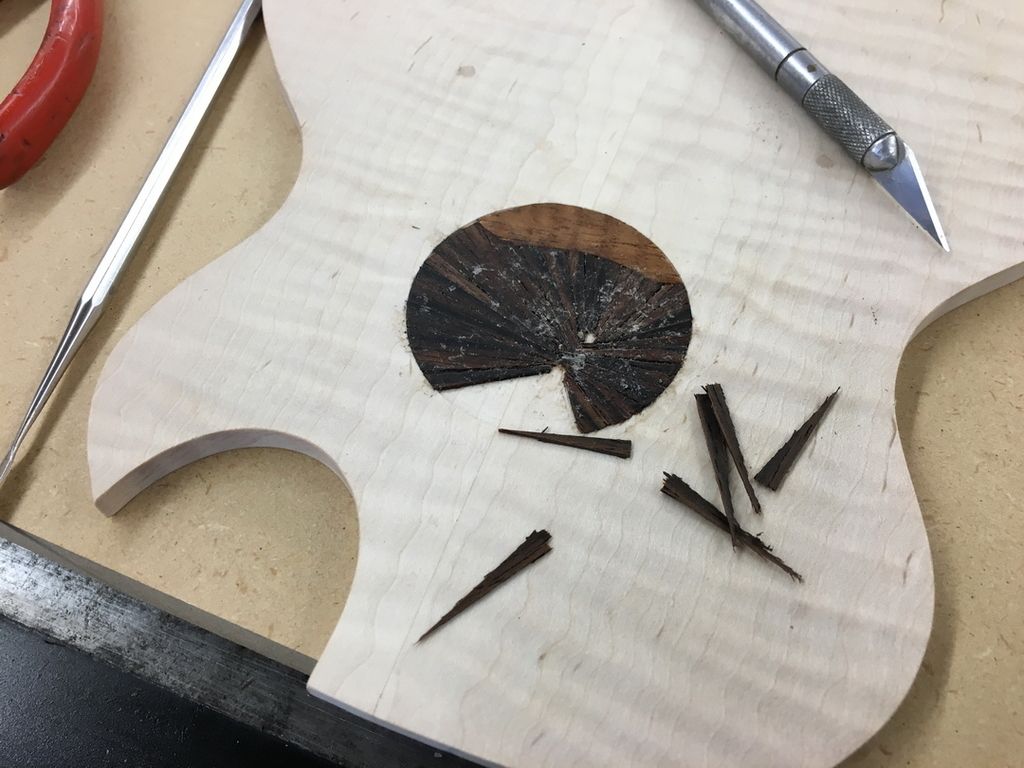
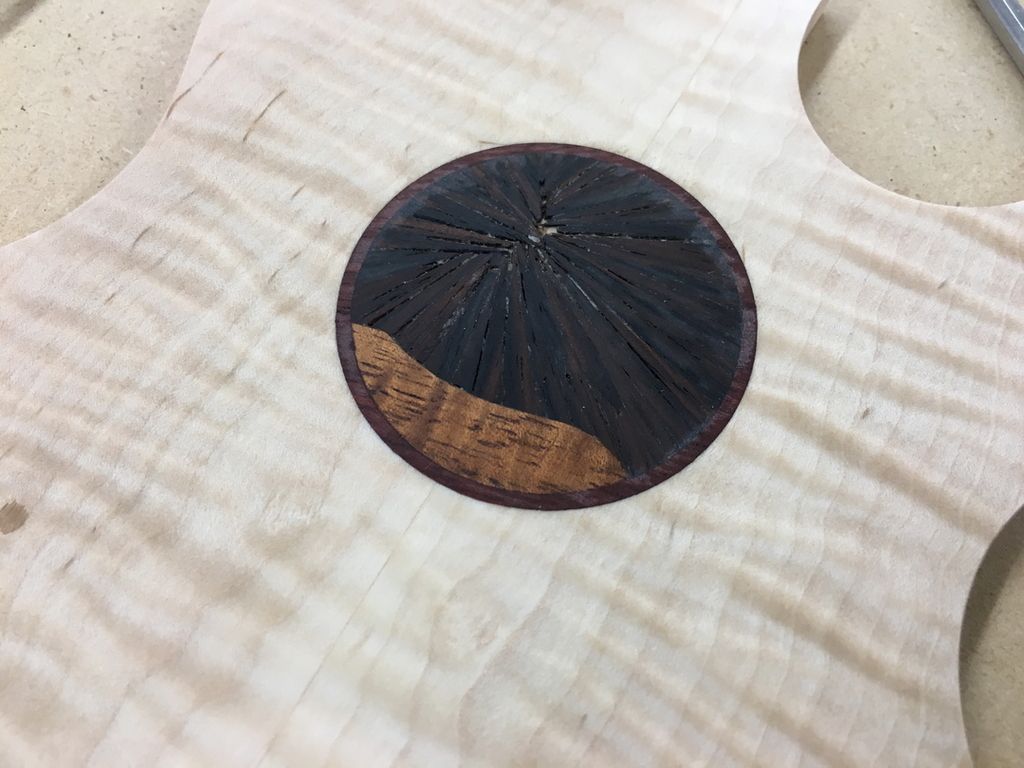
    Ebony inlaid and ready for trimming –
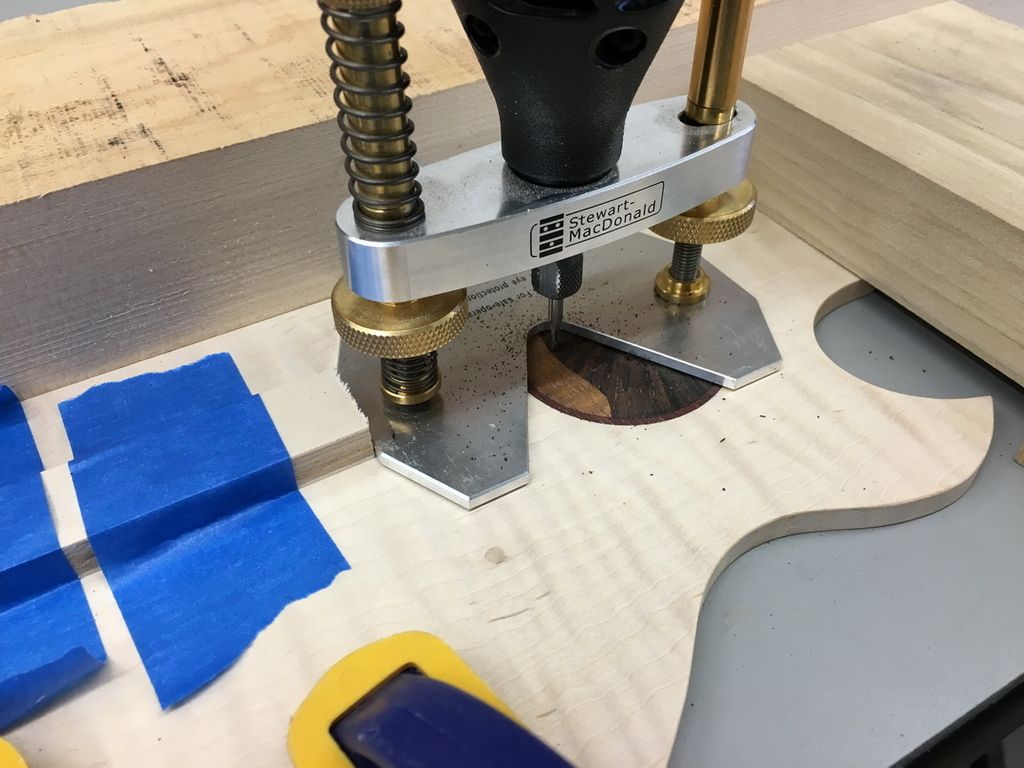

    Trimmed and sanded –
    David
    CurlyWoodShop on Etsy, David Falkner on YouTube, difalkner on Instagram

  2. #2
    Join Date
    Jan 2012
    Location
    NW Louisiana
    Posts
    894
    Checking the fit on the legs and Walnut column (attached with a 1/4x20 screw from under the feet) –


    Showing the effect of being cut all the way through and letting light define the note –


    Beginning the inlay with Curly Koa and Macassar Ebony –


    Starting the inlay gluing –


    Fitting the final pieces of Ebony –


    Primary inlay complete –


    Bloodwood ring cut for perimeter of ‘soundhole’ inlay –


    In order to cut the pocket for the ring I had to drill through the Ebony I had just inlaid for the Dremel circle cutting fixture. That meant I had to patch the 3/16” hole with more Ebony but it came out pretty good.

    Ring inlaid –


    Setup for cutting the pocket for the cross, which will also be Curly Maple –


    Cross pocket cut –
    David
    CurlyWoodShop on Etsy, David Falkner on YouTube, difalkner on Instagram

  3. #3
    Join Date
    Jan 2012
    Location
    NW Louisiana
    Posts
    894
    Inlay complete with Maple cross –


    Ebony dust and CA glue to fill the gaps –


    Inlay complete and gaps filled –


    Based on the way the iPad will rest on the supports I needed a way to keep it from sliding off and also a way to get the cable up from the bottom. This meant it had to be an open design and not interfere with the cable so I carved a little Calvary cross scene with mountains. Before I finished it I took some Ebony and Walnut dust and rubbed into the mountains to get it a little depth and shading, not much but just a tiny bit. This is also Curly Maple –


    Some of the pieces –


    Close shot of the completed soundhole inlay –


    Calvary carving close shot –


    The upper section is fastened with a #10 machine screw into a threaded insert on the Walnut column but I didn’t want the screw showing so I made a Maple cover and it snaps into place with a rare-earth magnet. The little Maple shelf the cover is setting on is for my capo, picks, etc. The cover looks nice and is quickly and easily removable if needed –


    Finished stand and iPad –


    The vertical piece of the cross is glued in place and is actually structural and goes well down into the mount. The cross piece is for looks and is floating, only attached to the vertical piece but not the guitar shape. View for the congregation –


    My view without the iPad –


    Ask whatever questions you may have ‘cause I’m certain I skipped some steps in this posting. Hope y’all enjoy this little project!
    David
    David
    CurlyWoodShop on Etsy, David Falkner on YouTube, difalkner on Instagram

  4. #4
    Join Date
    Jan 2012
    Location
    NW Louisiana
    Posts
    894
    We had band practice tonight and I had the opportunity to see how it works on stage. I think I might cut a few inches off the height and drop it a bit but I'll use it like this for a couple of weeks to be sure. Btw, I made the black stand for the 22” monitor and also the Cajon (box drum) in the back by my Koa guitar.

    My view of the stand –


    Congregation view –
    David
    CurlyWoodShop on Etsy, David Falkner on YouTube, difalkner on Instagram

  5. #5
    Join Date
    Aug 2012
    Location
    Missouri
    Posts
    2,152
    That is a very nice piece of work. I very much like the little scenes you included. Now you have to make matching stands for the rest of the equipment.
    Jim

  6. #6
    Join Date
    Jan 2012
    Location
    NW Louisiana
    Posts
    894
    Thanks, Jim! It would look nice to see more Curly Maple and Walnut up there but I'll probably pass on doing that. They can keep their mundane black metal stands - LOL!
    David
    CurlyWoodShop on Etsy, David Falkner on YouTube, difalkner on Instagram

Posting Permissions

  • You may not post new threads
  • You may not post replies
  • You may not post attachments
  • You may not edit your posts
  •