Well, I'm just full of "different" these days when it comes to projects coming out of my shop! LOL
Something I've been meaning to do for a long time is to replace two doors in our kitchen/eating area that were cobbled together from stained one-by many years ago when the previous property owner still was the owner.One leads to the basement under the 250 year old portion of our home and the other is for the powder room. The first one is the subject of this short, semi-build thread. I say "semi-build" because I didn't bother to take photos of milling 8/4 tulip poplar rough stock down to 6/4 finished or of creating the joinery which is pretty much basic T&G and bridle joints. The door fields are nominal 1/2" birch plywood from "previous project inventory".
For the design, these doors are to be "very similar" to the commercial doors used throughout the home addition constructed in 2008...frame and panel with the panels outlined by a simple ogee profile leading to the field; a taller field on top and a shorter one on the bottom. Rails and stiles are initially 4" wide with the center one at 6" wide. These ultimately appear slightly wider once the ogee molding is applied. Given these two custom doors will be a bit shorter than the commercial doors elsewhere in the house, the bottom rail was reduced to that 4" dimension I previously mentioned. It will not be noticeable since there's about 45' of walking to the first commercial door that could be compared.
This thread is about the first door (basement stairs) and the second to be documented later will be similar in construction, but will likely be created slightly oversized and then modified to fit a "very non-square" opening using a track saw before final finishing. More on that one it actually happens...
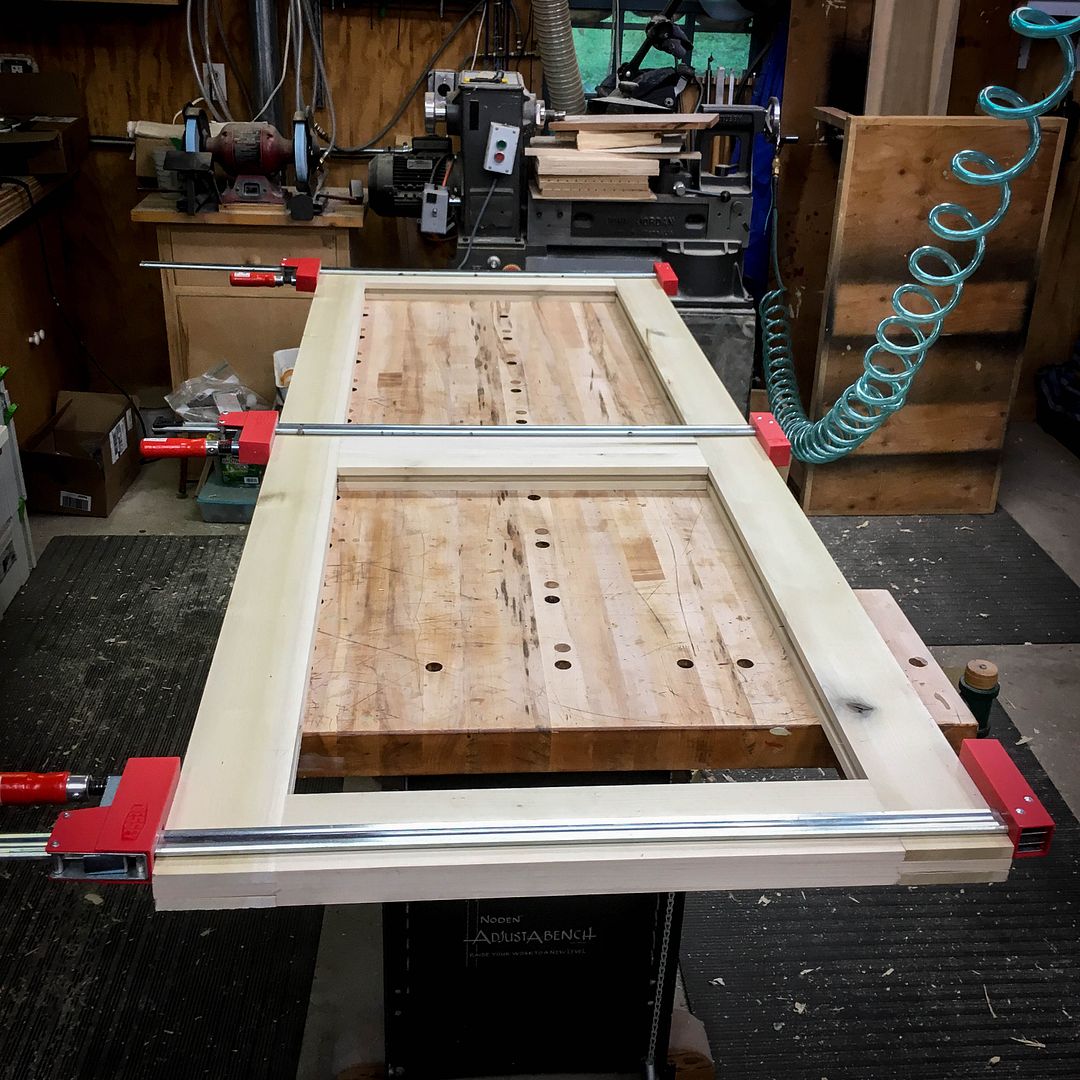
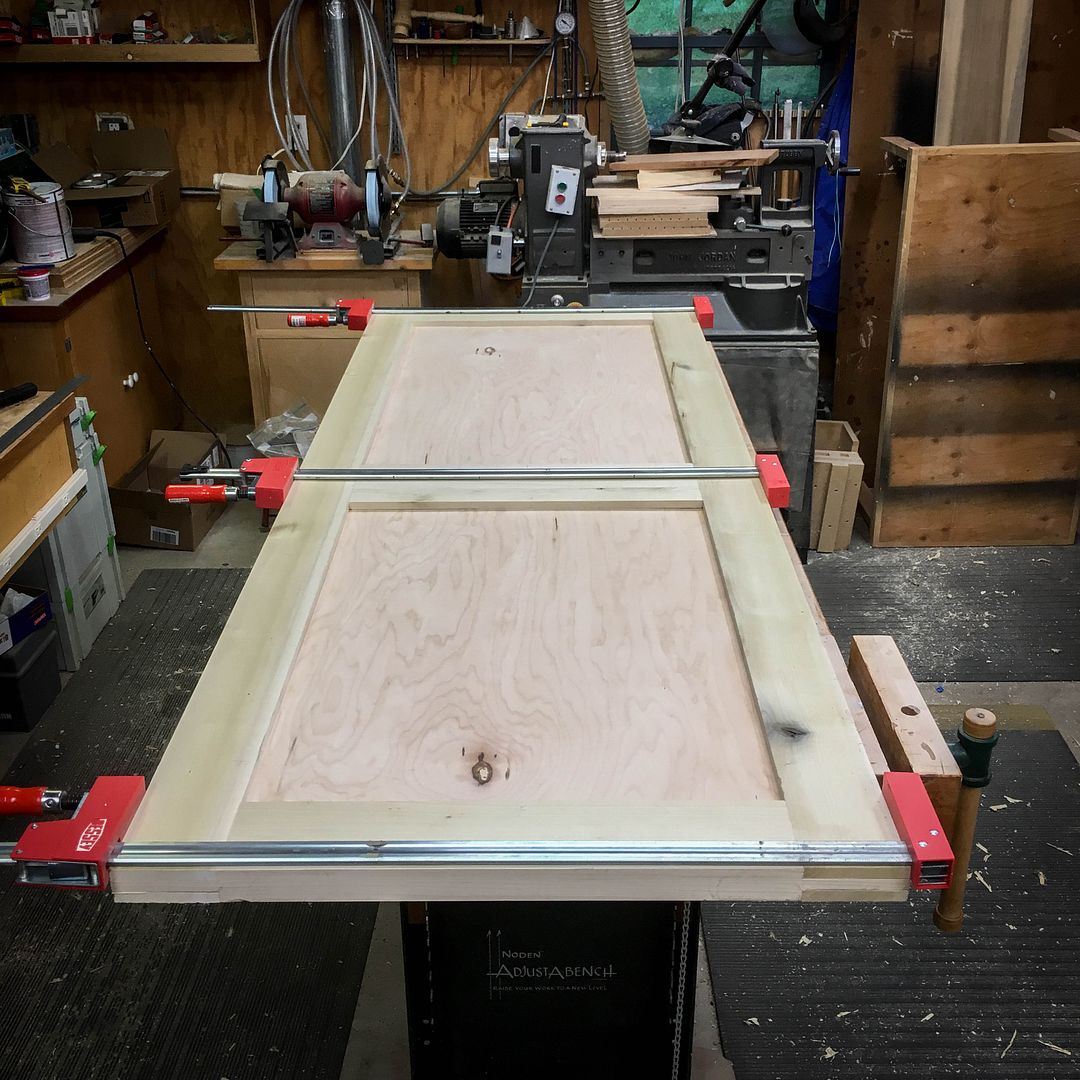
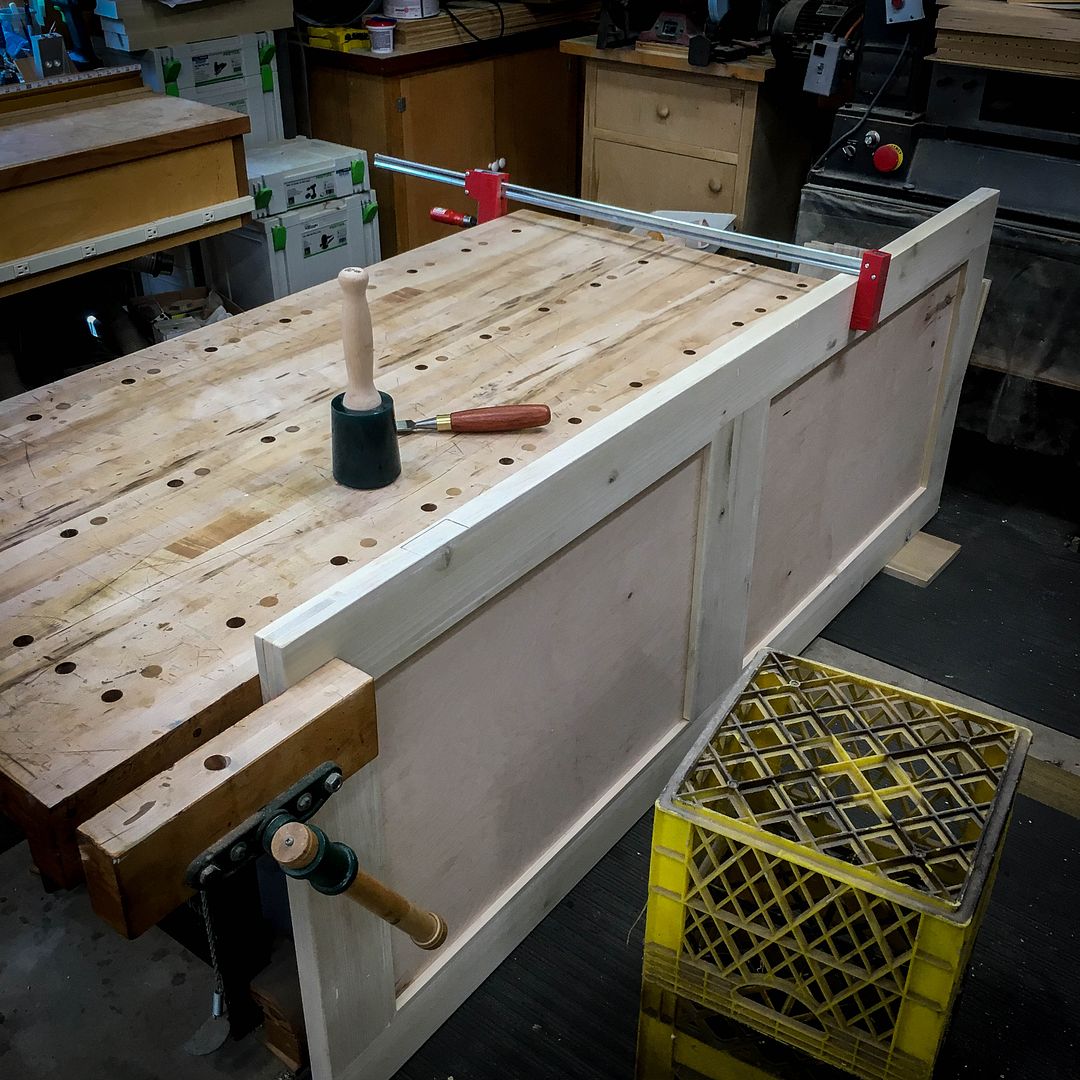
After cutting all the components and joinery, a dry fit of the frame was very necessary
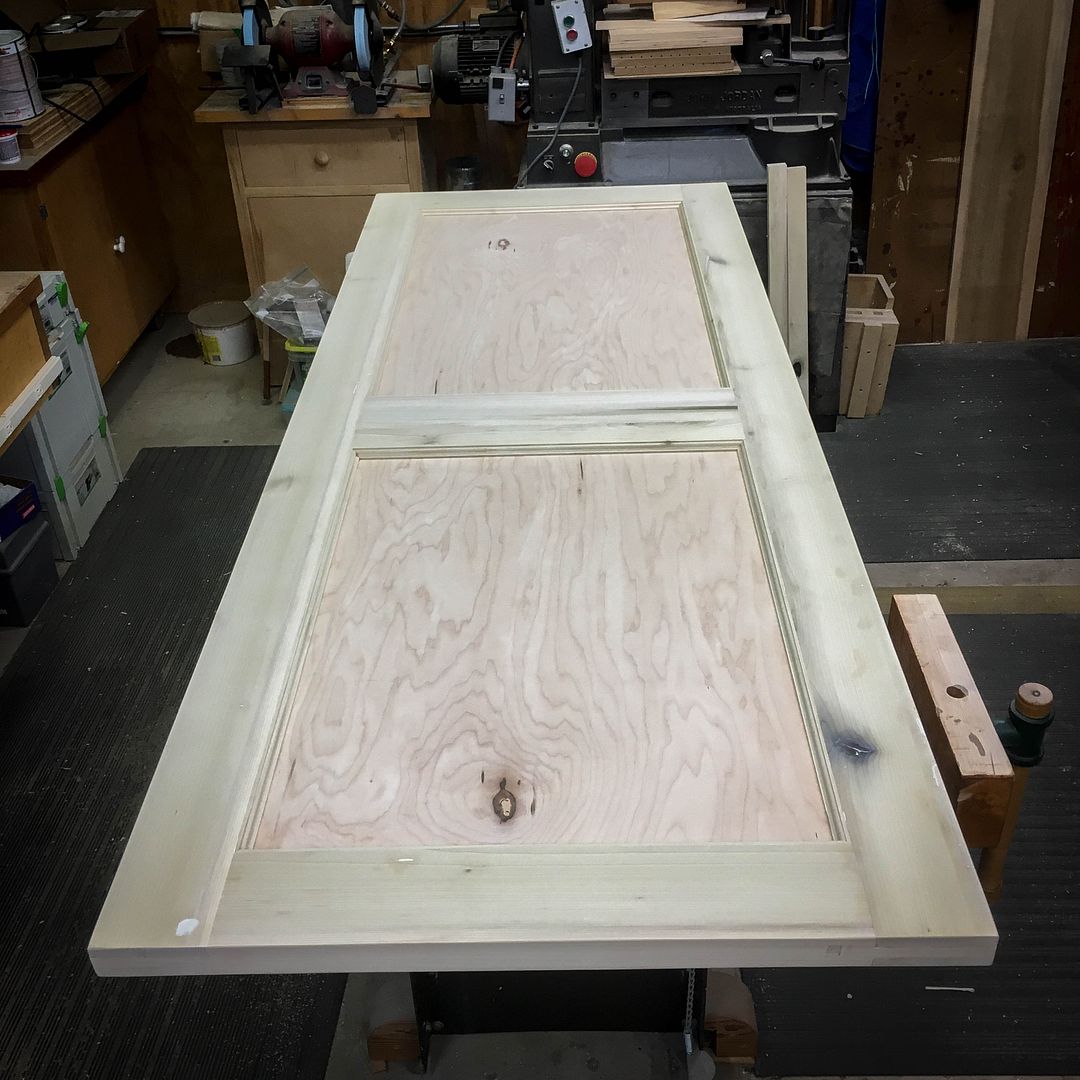
After making minor adjustments for a smooth fit, the dry fit was done a second time with the panels to be sure everything was copacetic...
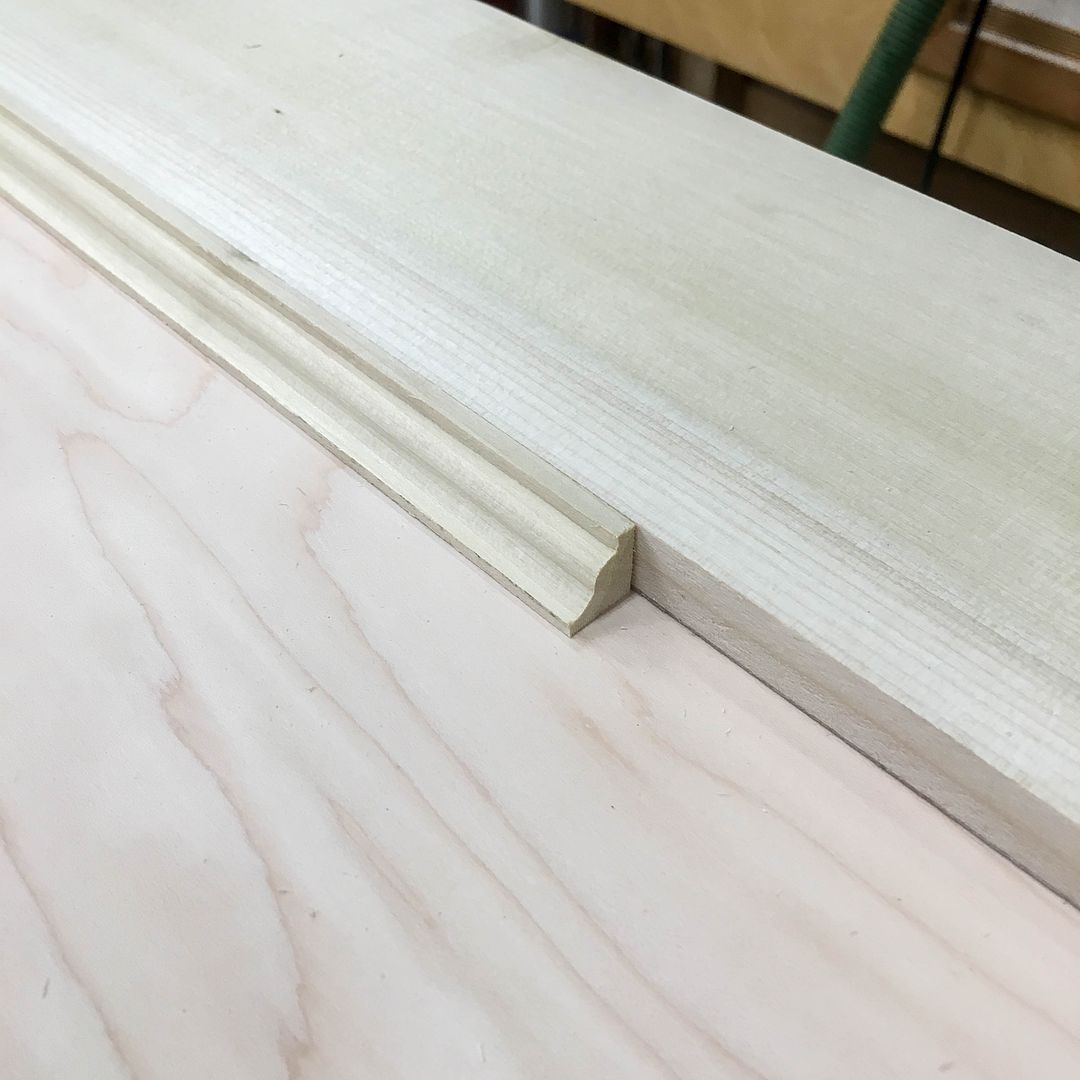
This is an example of the profile to be used for the molding that further frames the fields on the door. Extra 8/4 stock had the profile milled on all four corners, those boards in-turn were resawn in half and then put through the thickness planer to reduce them to 1/2" thick. The molding was then ripped off at 1/2" wide.
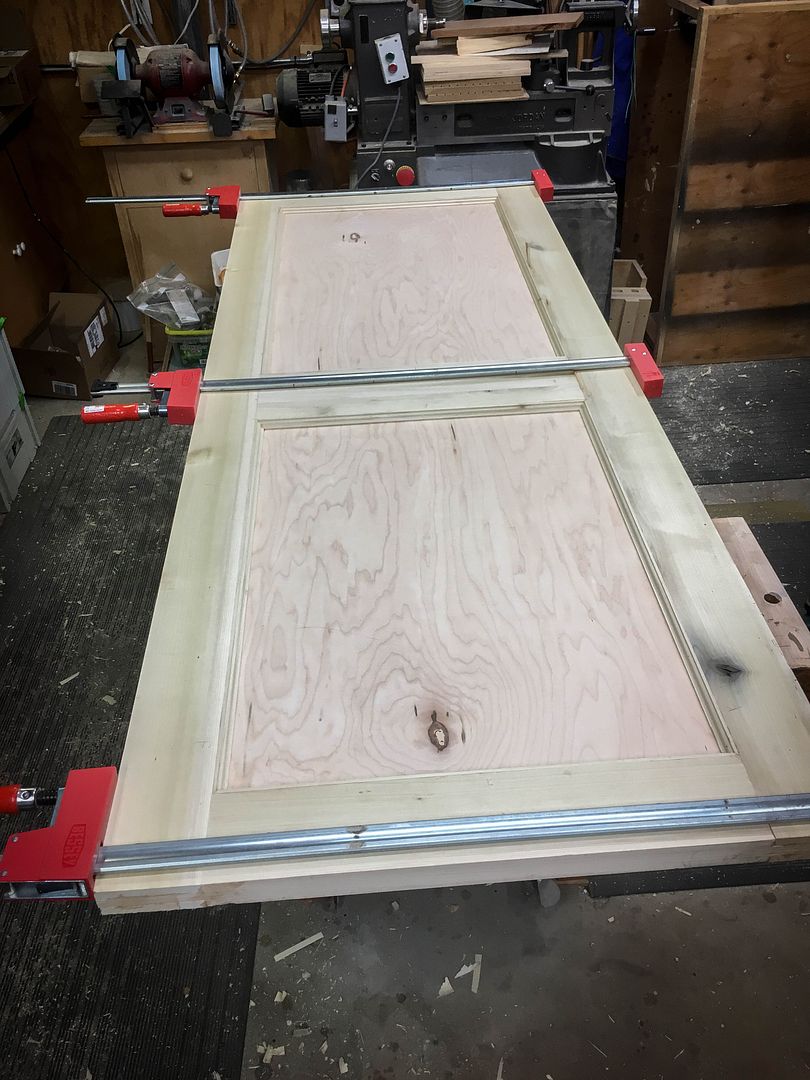
In the mean time, the door joinery was glued up and clamped, followed by application of the molding by mitering it and fastening with glue and 1" 23 gage pin nails
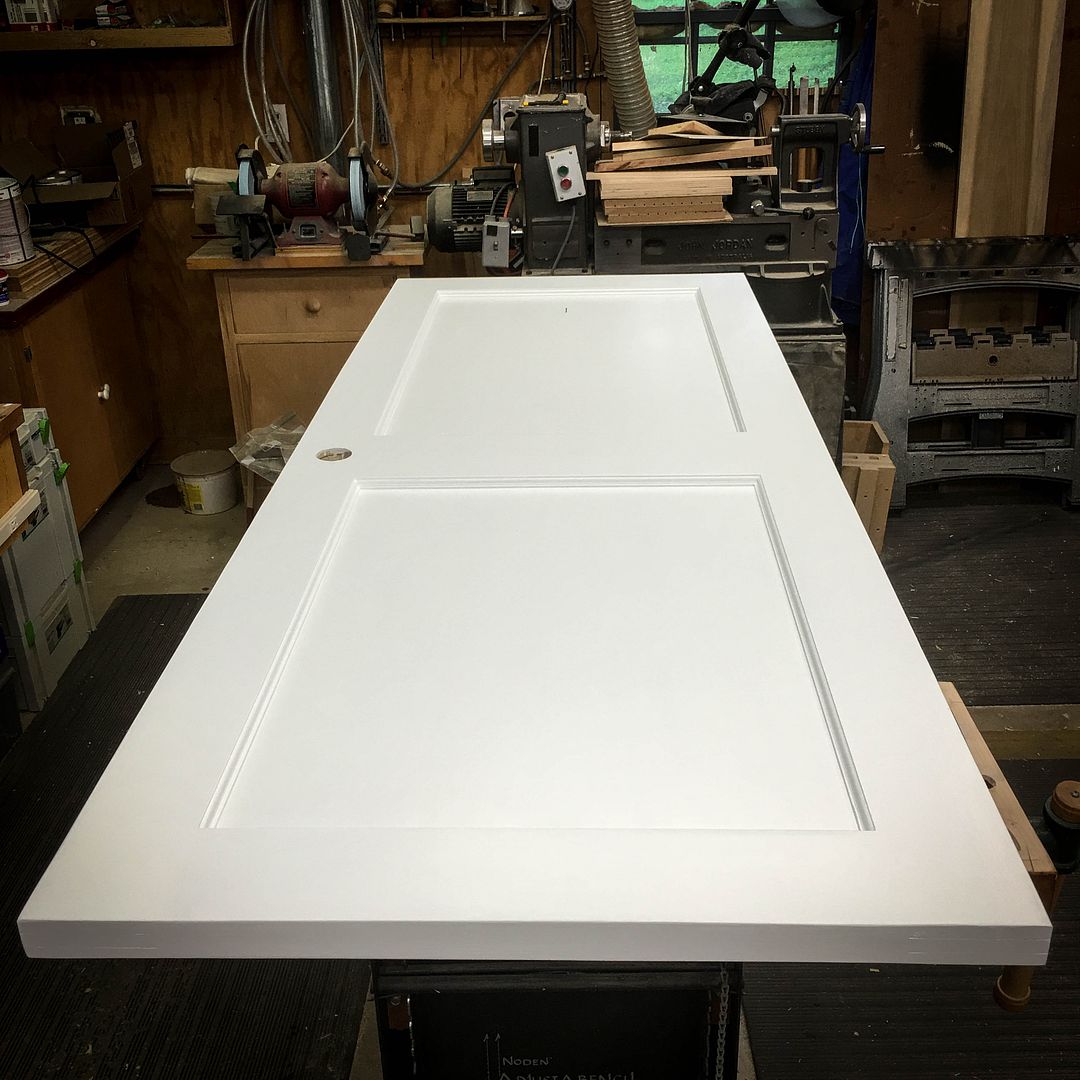
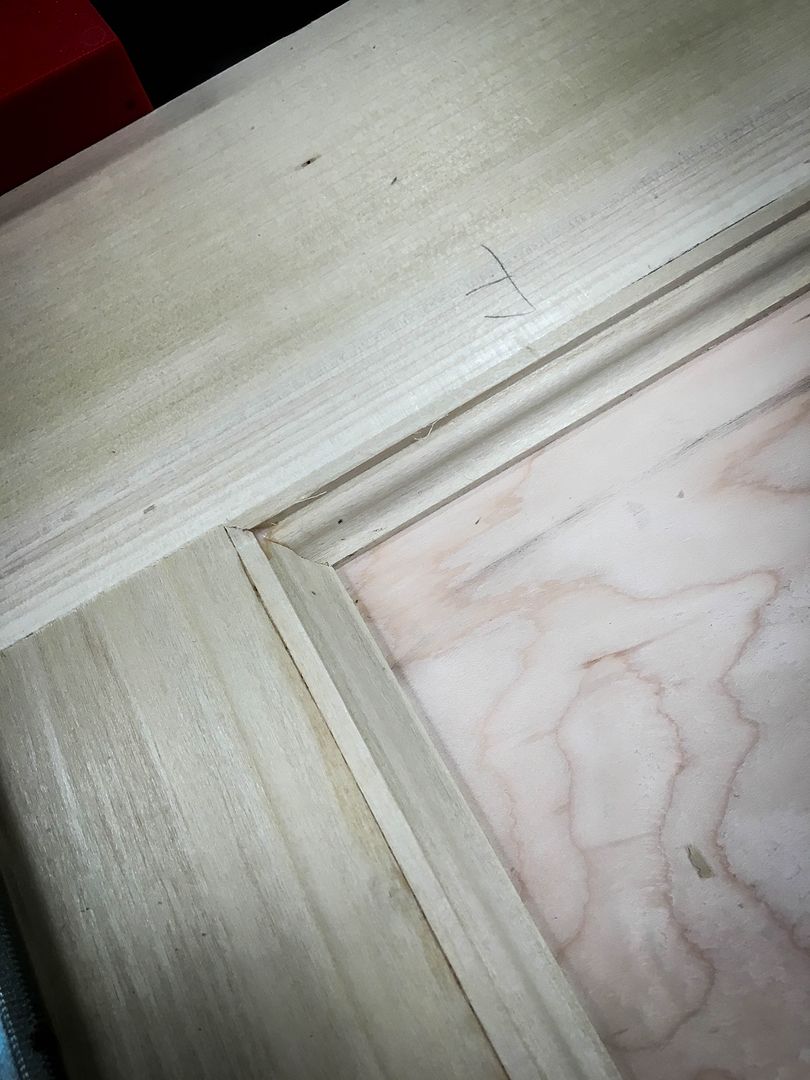
The net effect of the molding is this
The back side of the door got a simple 1/2" square molding in the same area; not because it was needed for strength (and this side of the door is never actually seen), but because the routed slot that the panels site in had a few sloppy spots and my anal self was bothered by it. LOL
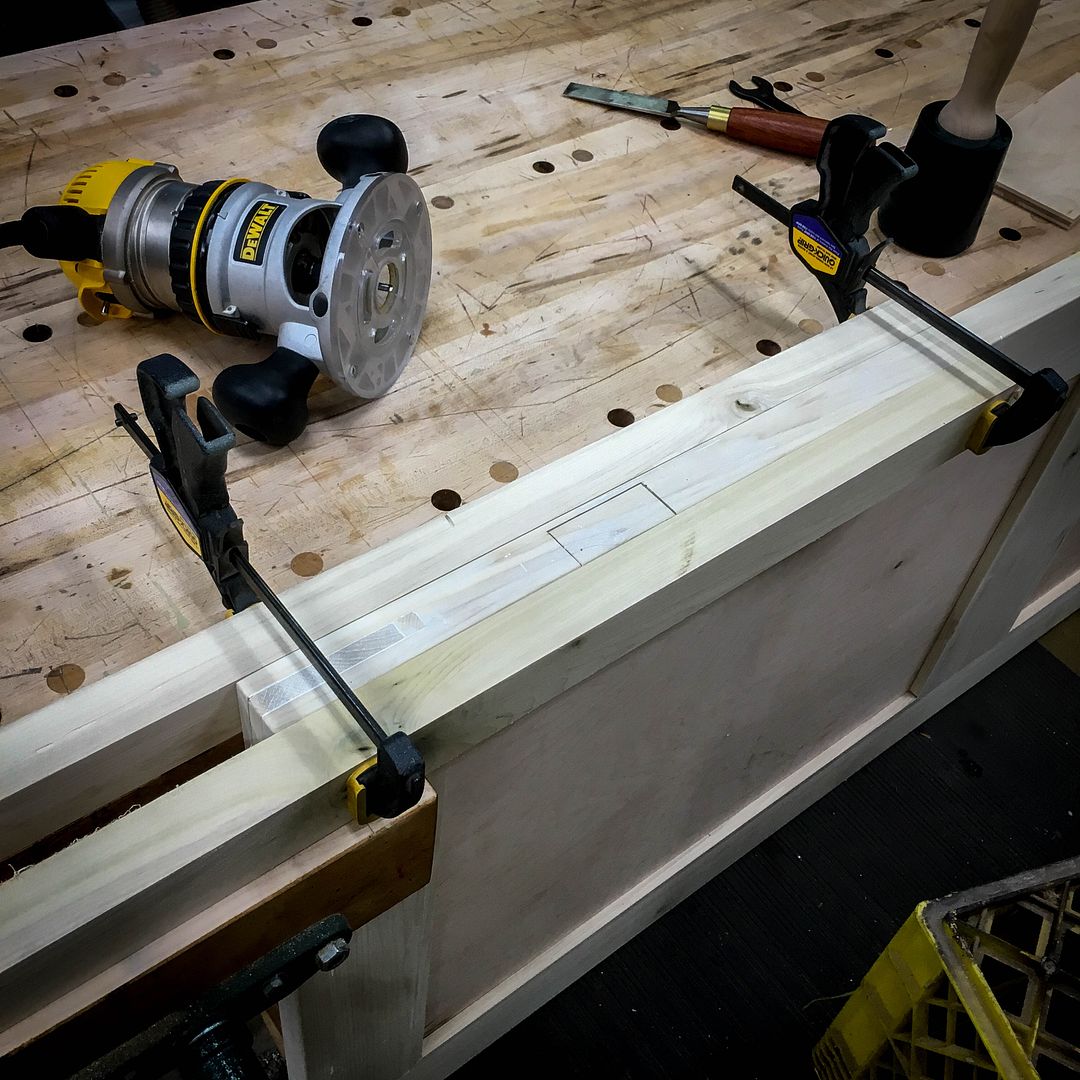
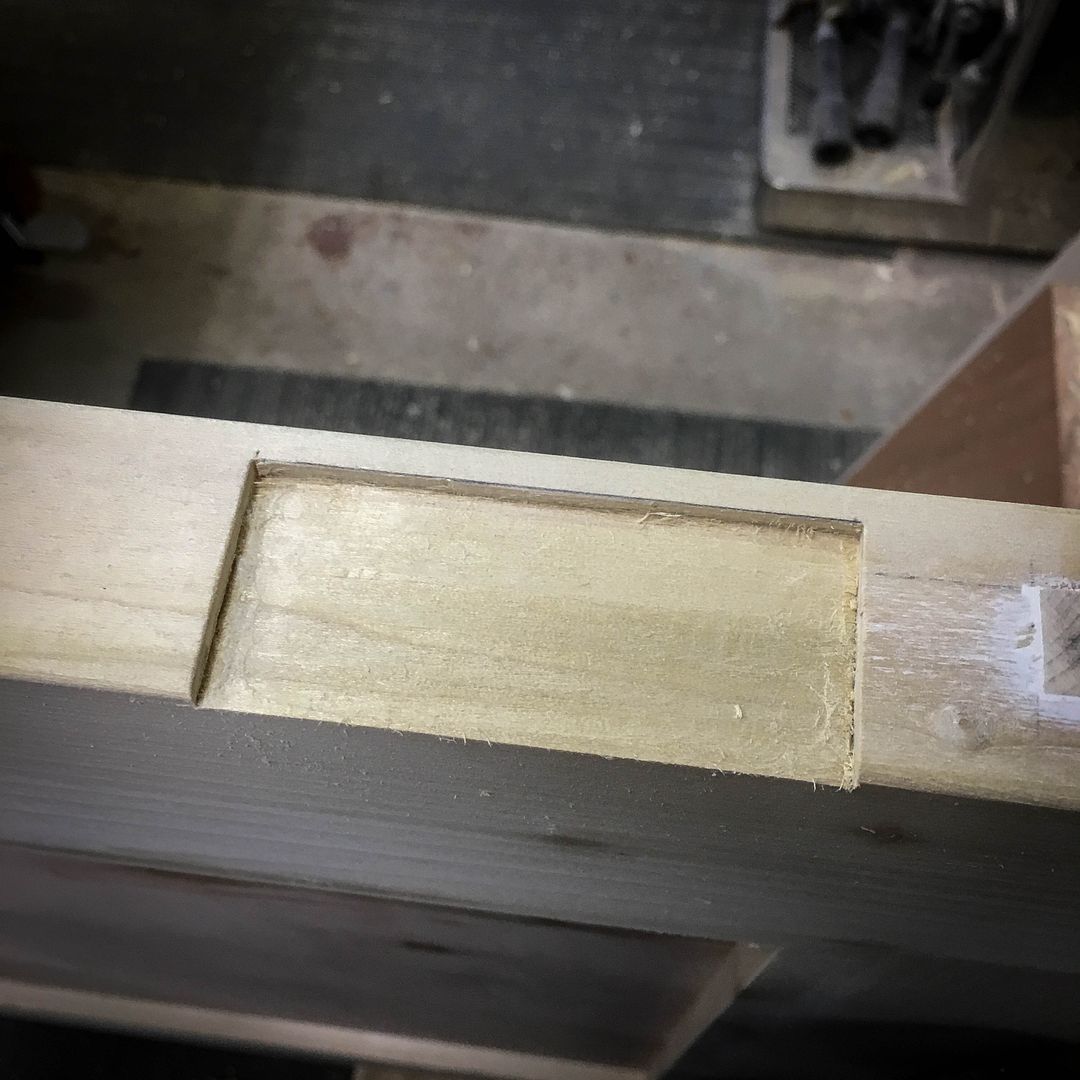
After carefully measuring the existing door to determine the hinge placement, it was time to mortise for the hinges in the new door. Since these hinges are also never seen other than when the door is open and access to the basement is required (not something frequent...just to change filters for HVAC and water or use the "horsie" laundry equipment) I'm just going to use the existing hinges. I may or may not choose to use a third one in the middle, however...this door is a bit heavier than the existing one.
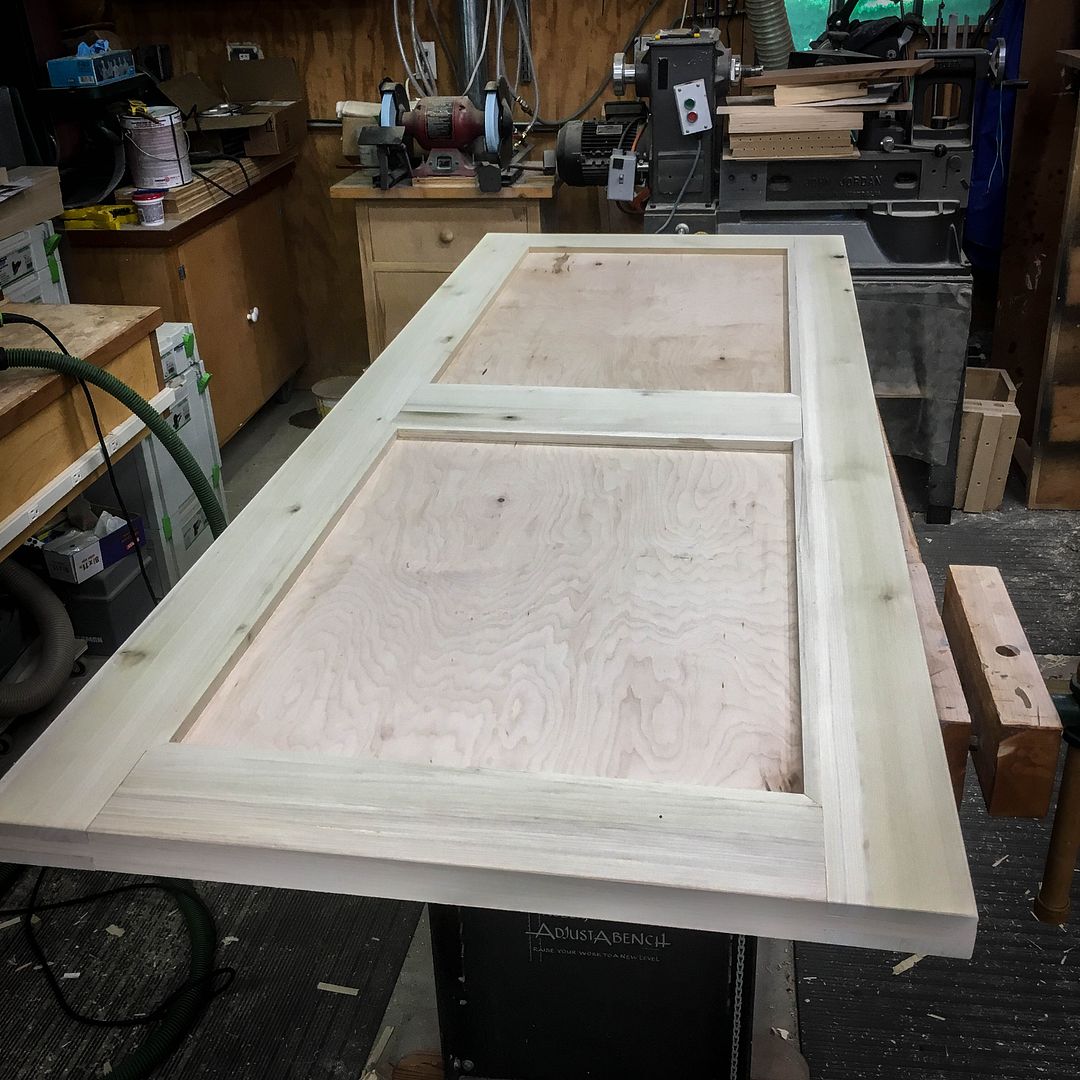
After all of that, it was on to filling any places needing filling and then sanding. I'll apply finish later...which will ultimately be Sherwin Williams ProClassic Acrylic white...once I have the second door completed. Aside from this ending up exactly as I wanted it to look...the darn thing is also "dead flat"...and that's the true accomplishment, IMHO!

 Reply With Quote

 ...and ready to install. SW ProClassic Acrylic satin sheen to match what's already in the kitchen area. Painting a door horizontal like this is so much better than one that's upright! I also installed new stop moldings in the door frame and chiseled out the recess for the middle hinge on the door frame. (The existing door only has two hinges and I'm not comfortable with so much weight on only two hinges) I'll hopefully get the installation done next weekend.