


Part two of the federal table build string inlay.
Laying out the stringing.
Cutting the grooves using a Dremel with fence and .040 wide spiral bit from LV. In the past I done this by hand with a string inlay cutter, which is a little more confidence inspiring for me. Given I had 10 legs surfaces Im adding the string inlay on (3 for the front to legs and 2 for the back legs), the Dremel provided better efficiency.
Heres a good example of why Im more comfortable with the hand method much easier to see the limit line and avoid going past it. Oh well, just another mistake to fix!
Using a .040 wide chisel (an essential part of the string inlay kit also from LV) to square top edges of vertical inlay grooves.
Miter the stringing with 45° block and chisel.
Tiny little glue syringe for applying glue to the grooves. The first couple times I did this, I tried to use a toothpick definitely penny wise and pound foolish.
One of the biggest lessons I learned from my first attempts at string inlay; its super important to thickness the stringing to fit the groove as closely as possible. Im an impatient, seat-of-the-pants woodworker and my tendency is to rely on hands/eyes to get things to fit and not fuss too much with precision measurement. Stringing thickness is an area where that is a bad plan!
When I first tried stringing, I didnt have a thicknessing tool and just try to wing it with a block plane and sandpaper. Resulted in two highly undesirable outcomes;
A) The stringing is too thin, which means when glued in the groove the stringing is uneven width with gaps.
B) The alternative is worse; when stringing is too thick it wont reach the bottom of the groove and when scraped it flush there are inevitably gaps where no stringing was left in the groove I hate when that happens!
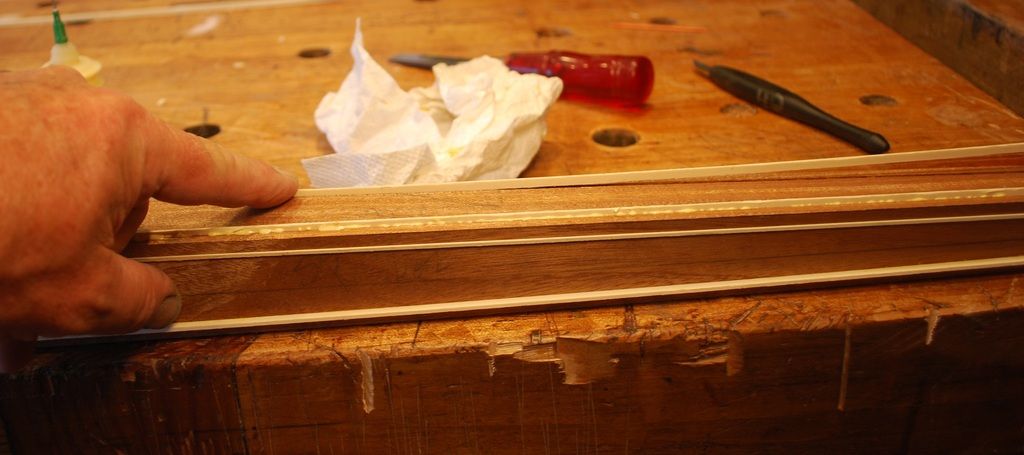
Im certainly no expert, but this picture shows what I shoot for a finger pressure fit that pushes the stringing to the bottom of the groove with uniform squeeze out. Even using the thicknessing, not all my stringing fitstightly. Im hoping shellac finish will help fill the gaps.


 Reply With Quote


