Hello gents, I want to share my story of failure and success with Ura-dashi so that others may learn from my mistake and subsequent improvement of process.
Around July I acquired a Kikuhiromaru old stock 65mm kanna blade which I ear marked for a Nagadai kanna. A little while later I chopped out the block and fitted the blade to it, but left it untouched. I had a friend, who runs camera crew for PGA stop by the shop and he wanted to take a video of my doing the ura-dashi process.....well some months later he was still traveling and I wanted to put my tool to use so I decided it was time to have at it.
Anyways, during the process of normal setup I begin with straightening the blade (removing twist) then tapping out to get a nice ura and begin the blades life on the right track. However something went awry, during the process the blade was not budging at all. I would tap and get little to no movement in the iron.
The hard steel layer of this blade is quite a bit thicker than any of the other blades I own and so my failure in assumption was that I needed to continue at it and eventually the steel would move. I was correct, the steel began to move and I began to see results when working the back on the stones.....great! .....not great...so much pressure built up in the blade that it literally snapped down the center while I was holding it (not actually doing anything other than looking at it). After the shock wore off, I decided it was time to evaluate my position.
I ground back the blade and did eventually uncover two flaws in the metal, I'm uncertain if they are what led to the blade cracking or not.
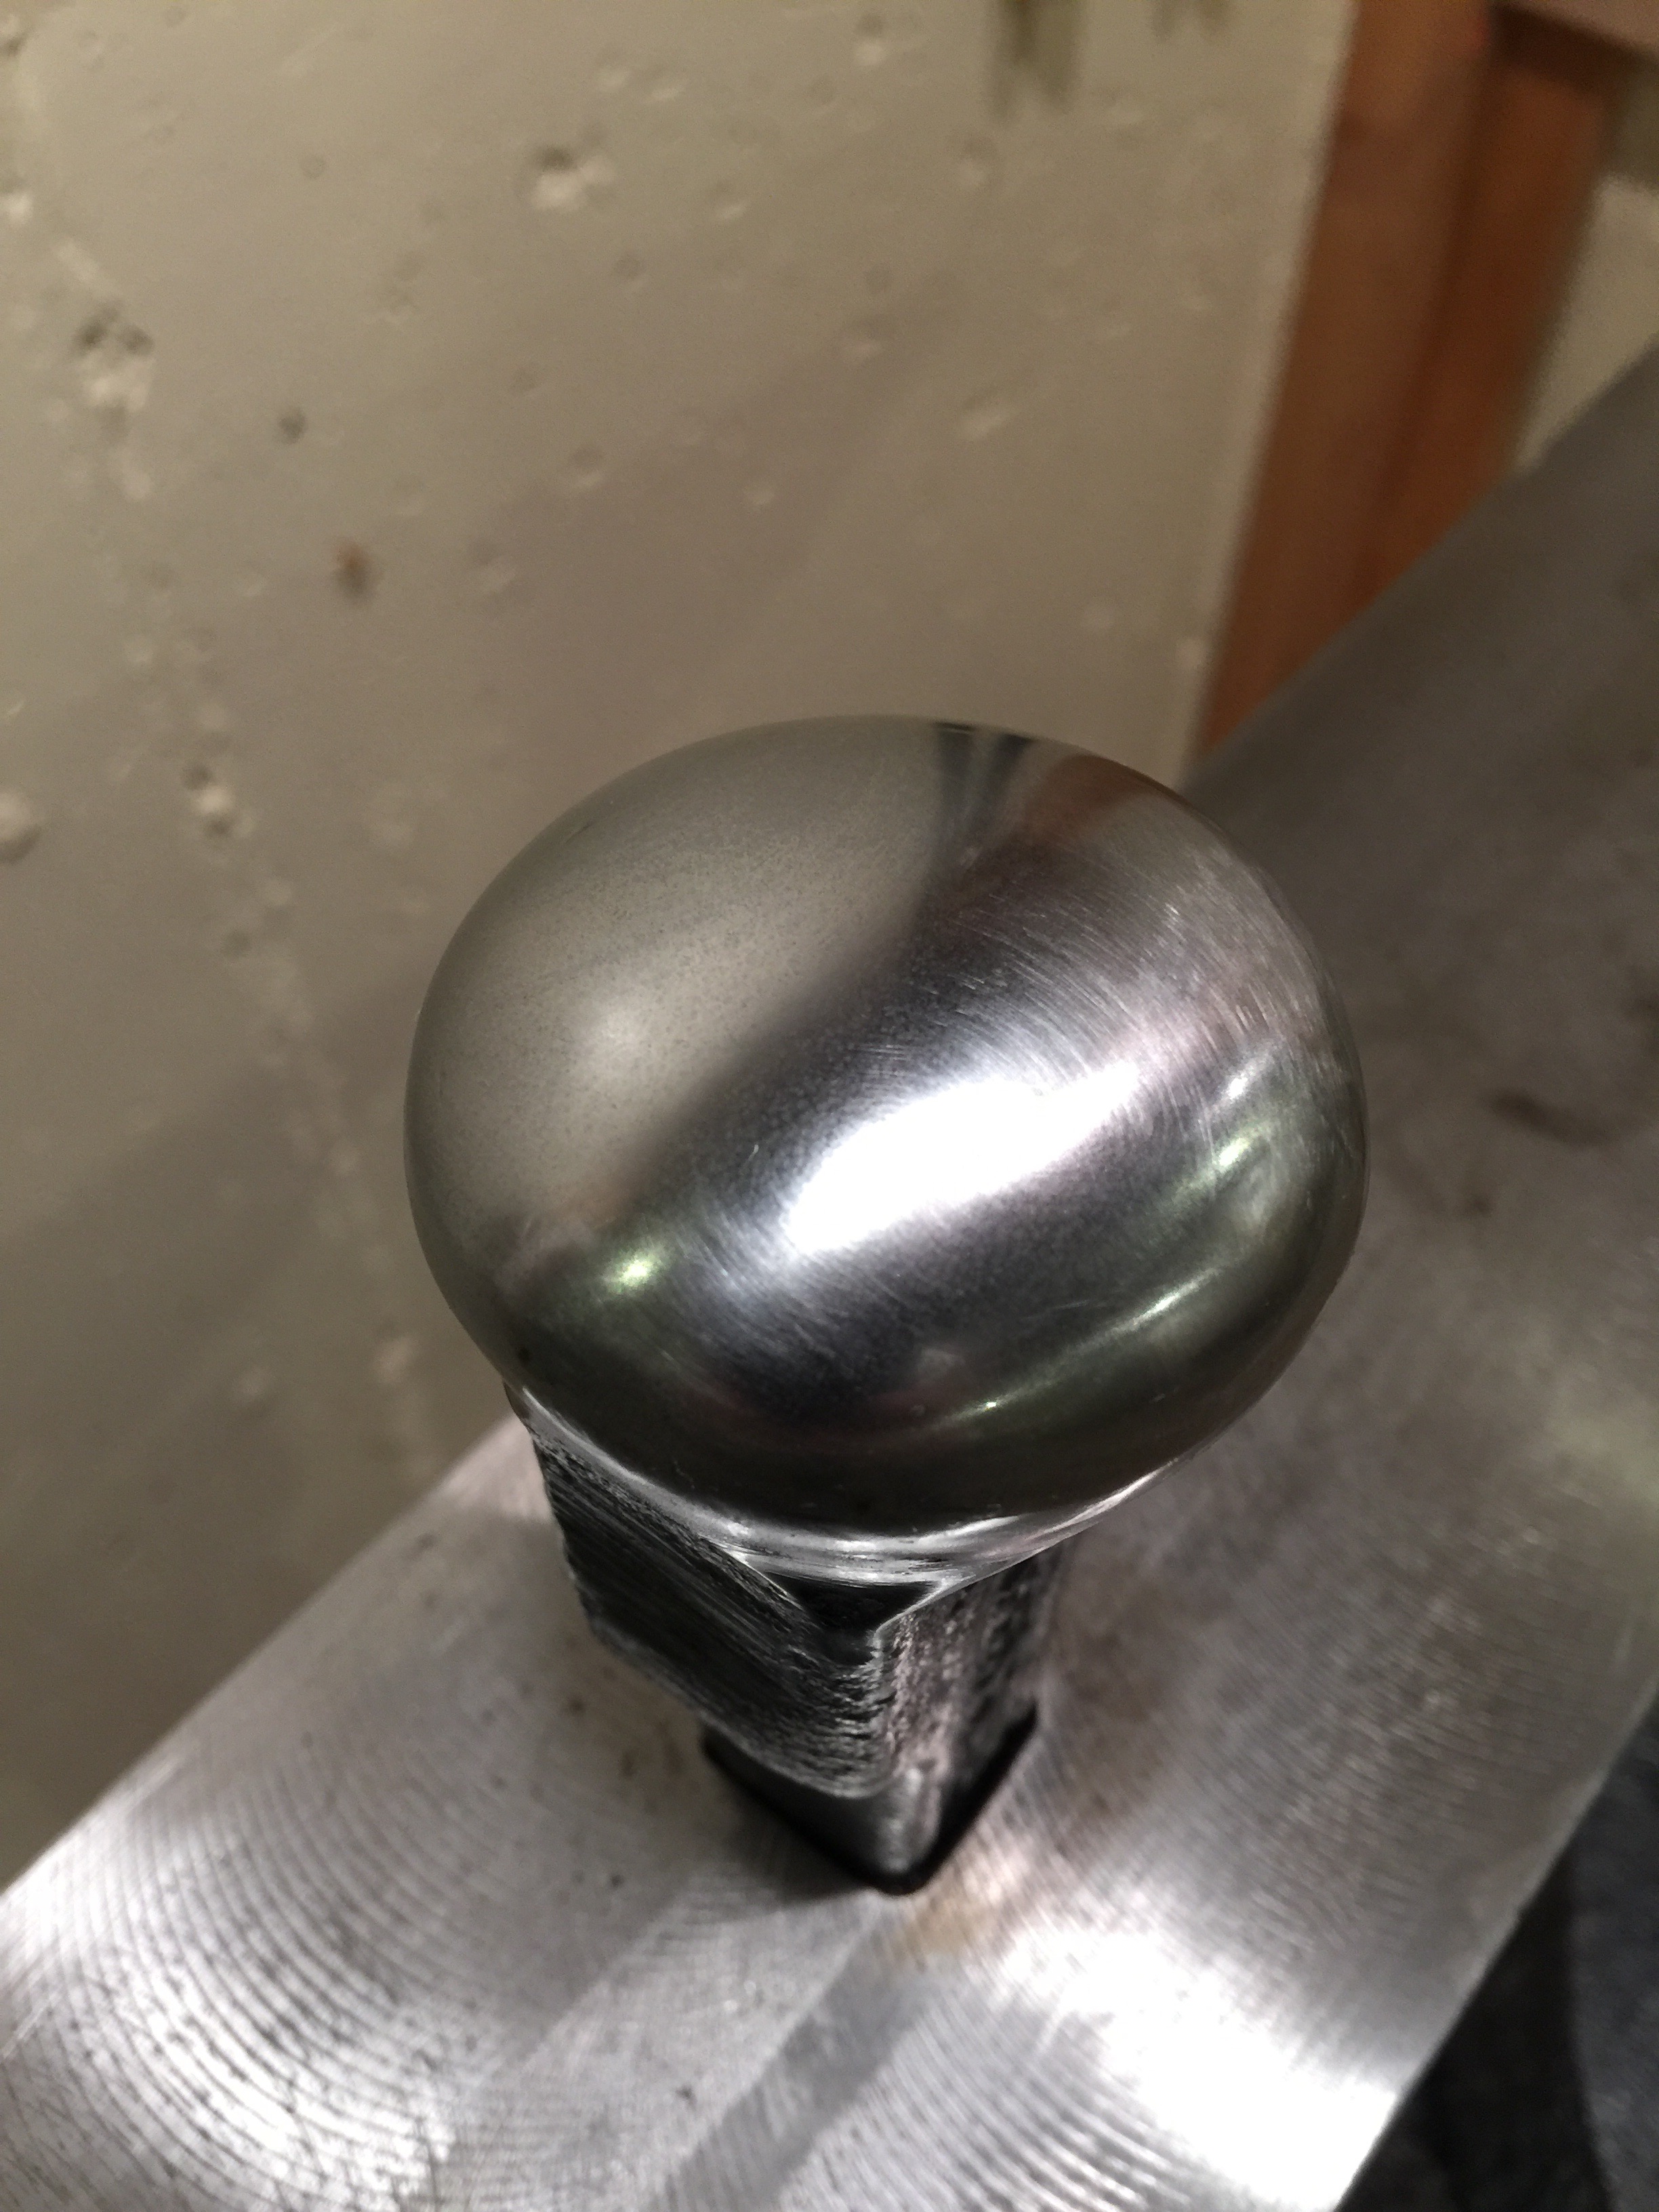
I received feedback from Jim Blauvelt and my father, who is a long time metal worker. My father provided me an accessory for my anvil, which is a rounded shape (not sure what it's called) item that fits into the hardy hole. The rounded shape, judging by the amount of dings into it, is a softer steel or iron than the anvil surface. The rounded shape better supports the blade during ura-dashi than using a rounded corner of my anvil.
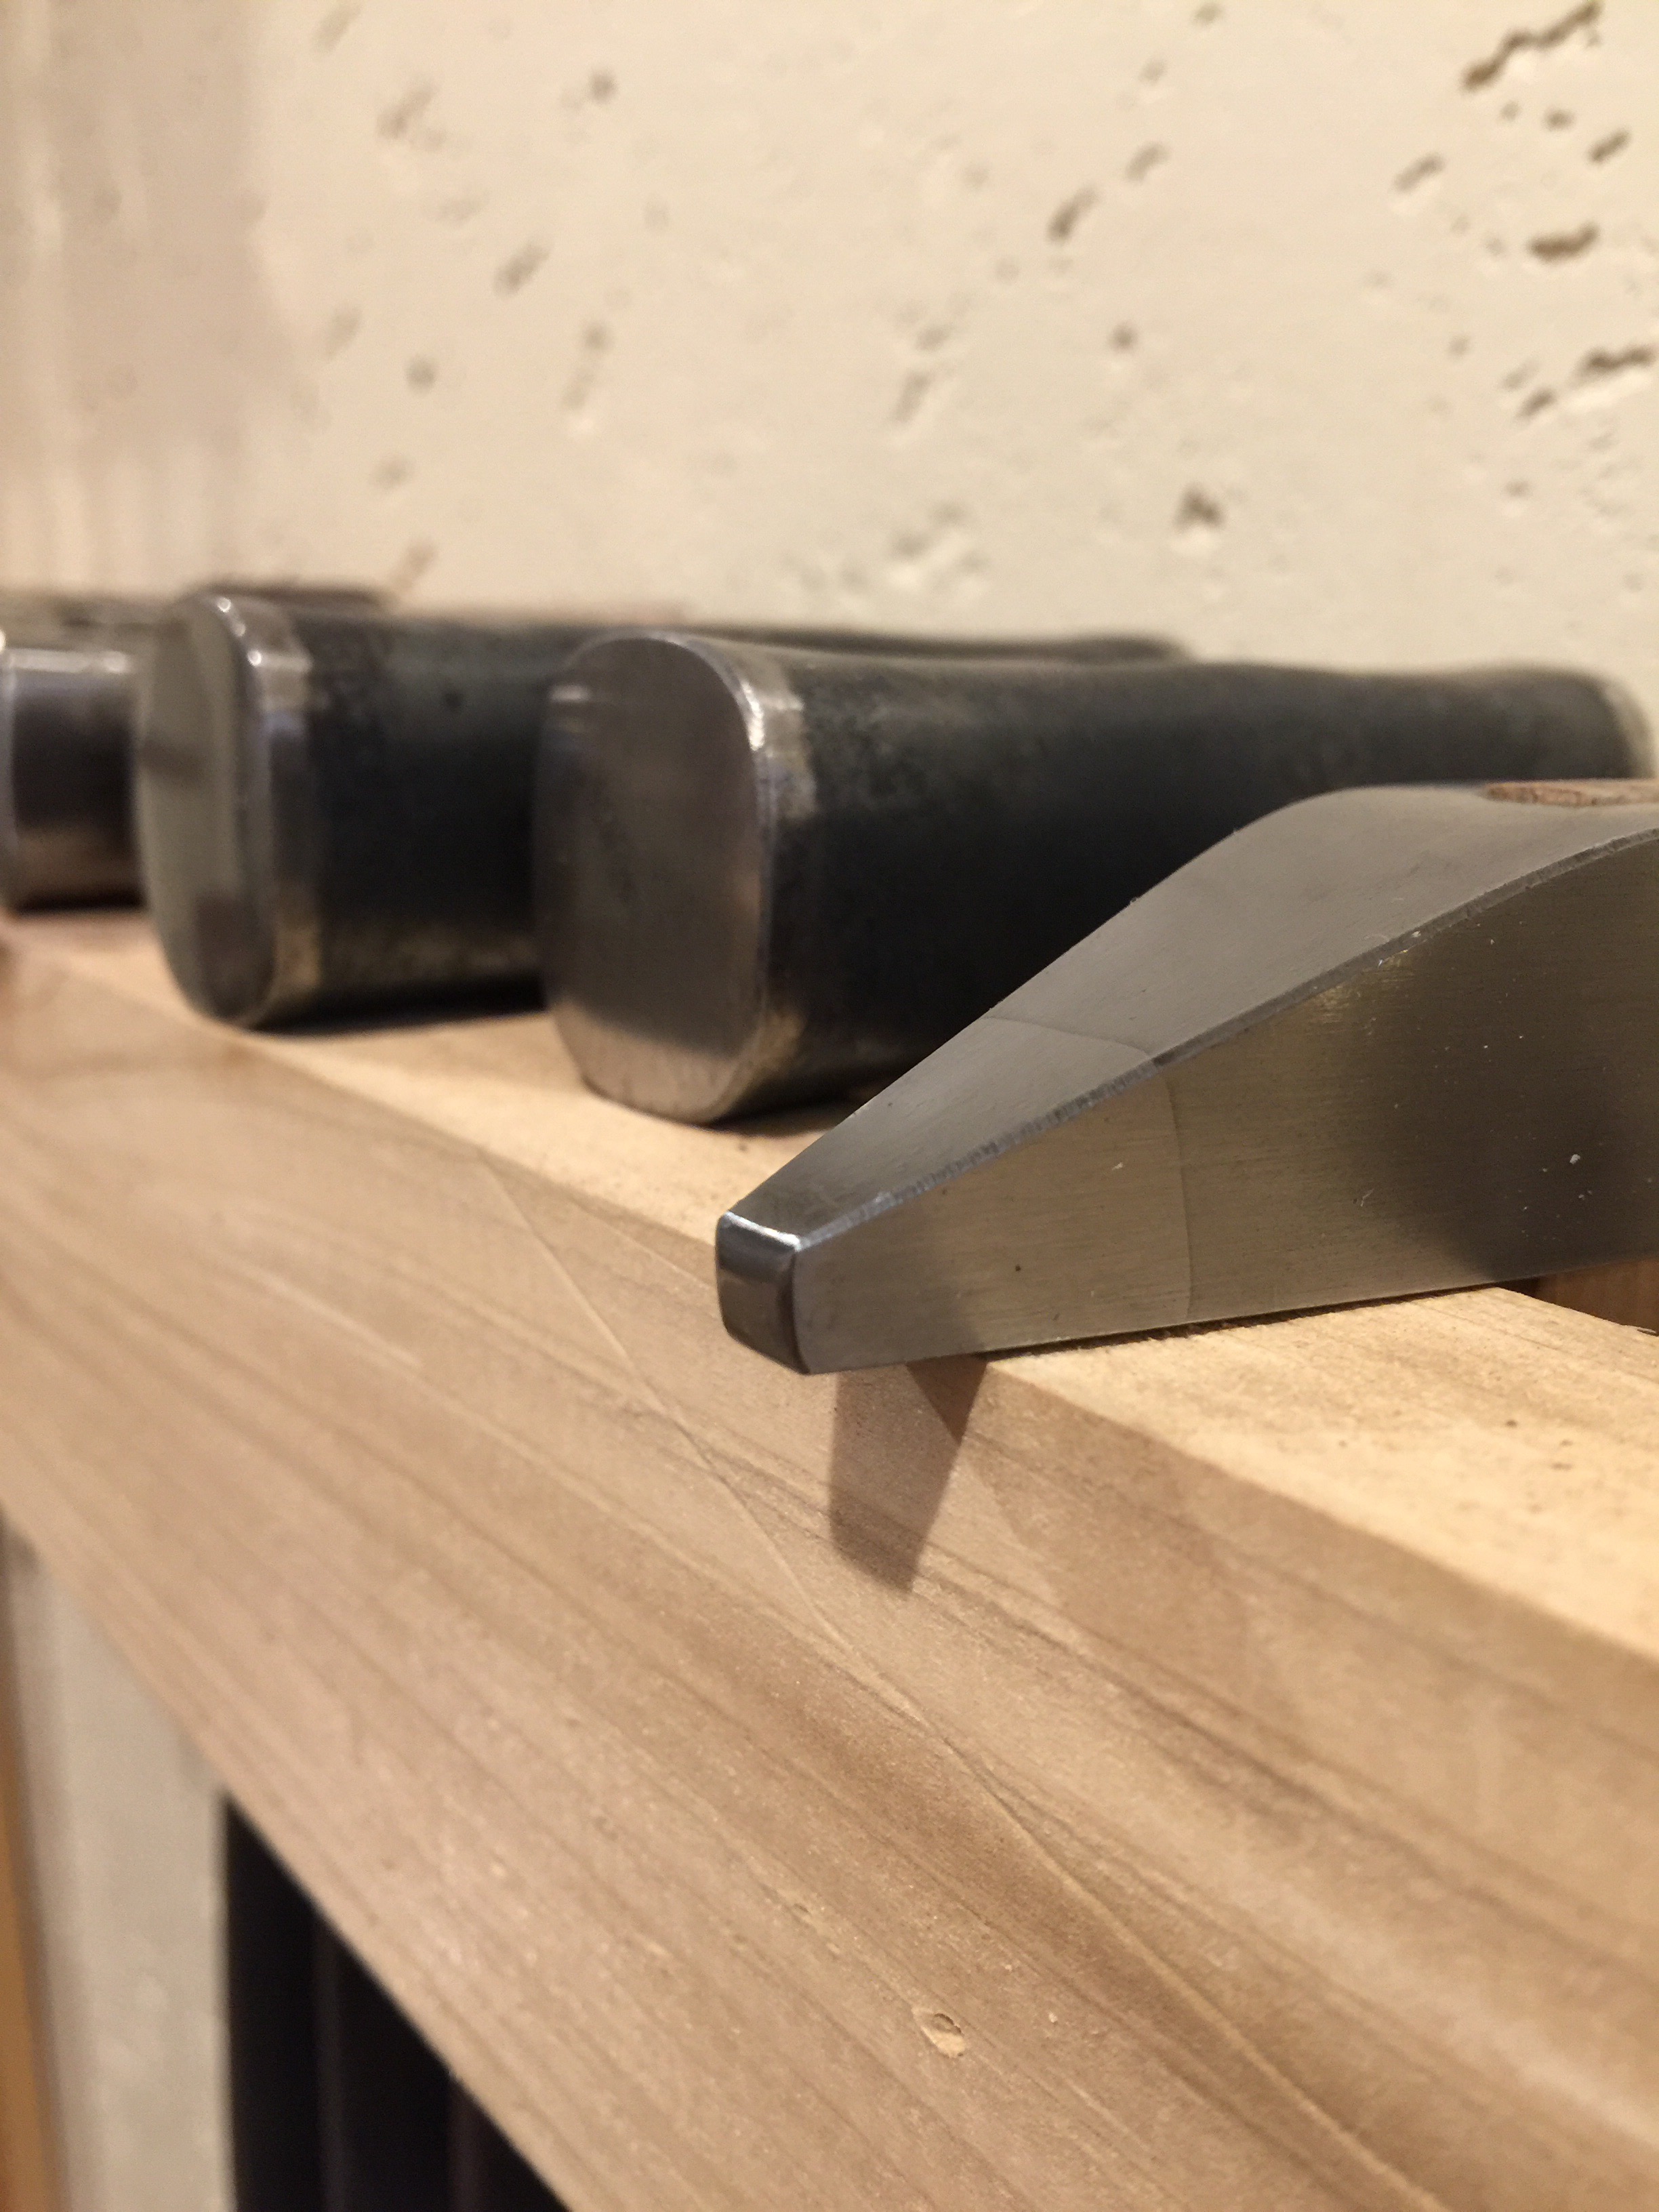
Jim suggested making a cross peen shape on the end of my hammer and removing the chamfered edges which were creating a cut more than moving the metal, per say, the cross been shape moves the metal better with each blow than does the squared end with chamfers.
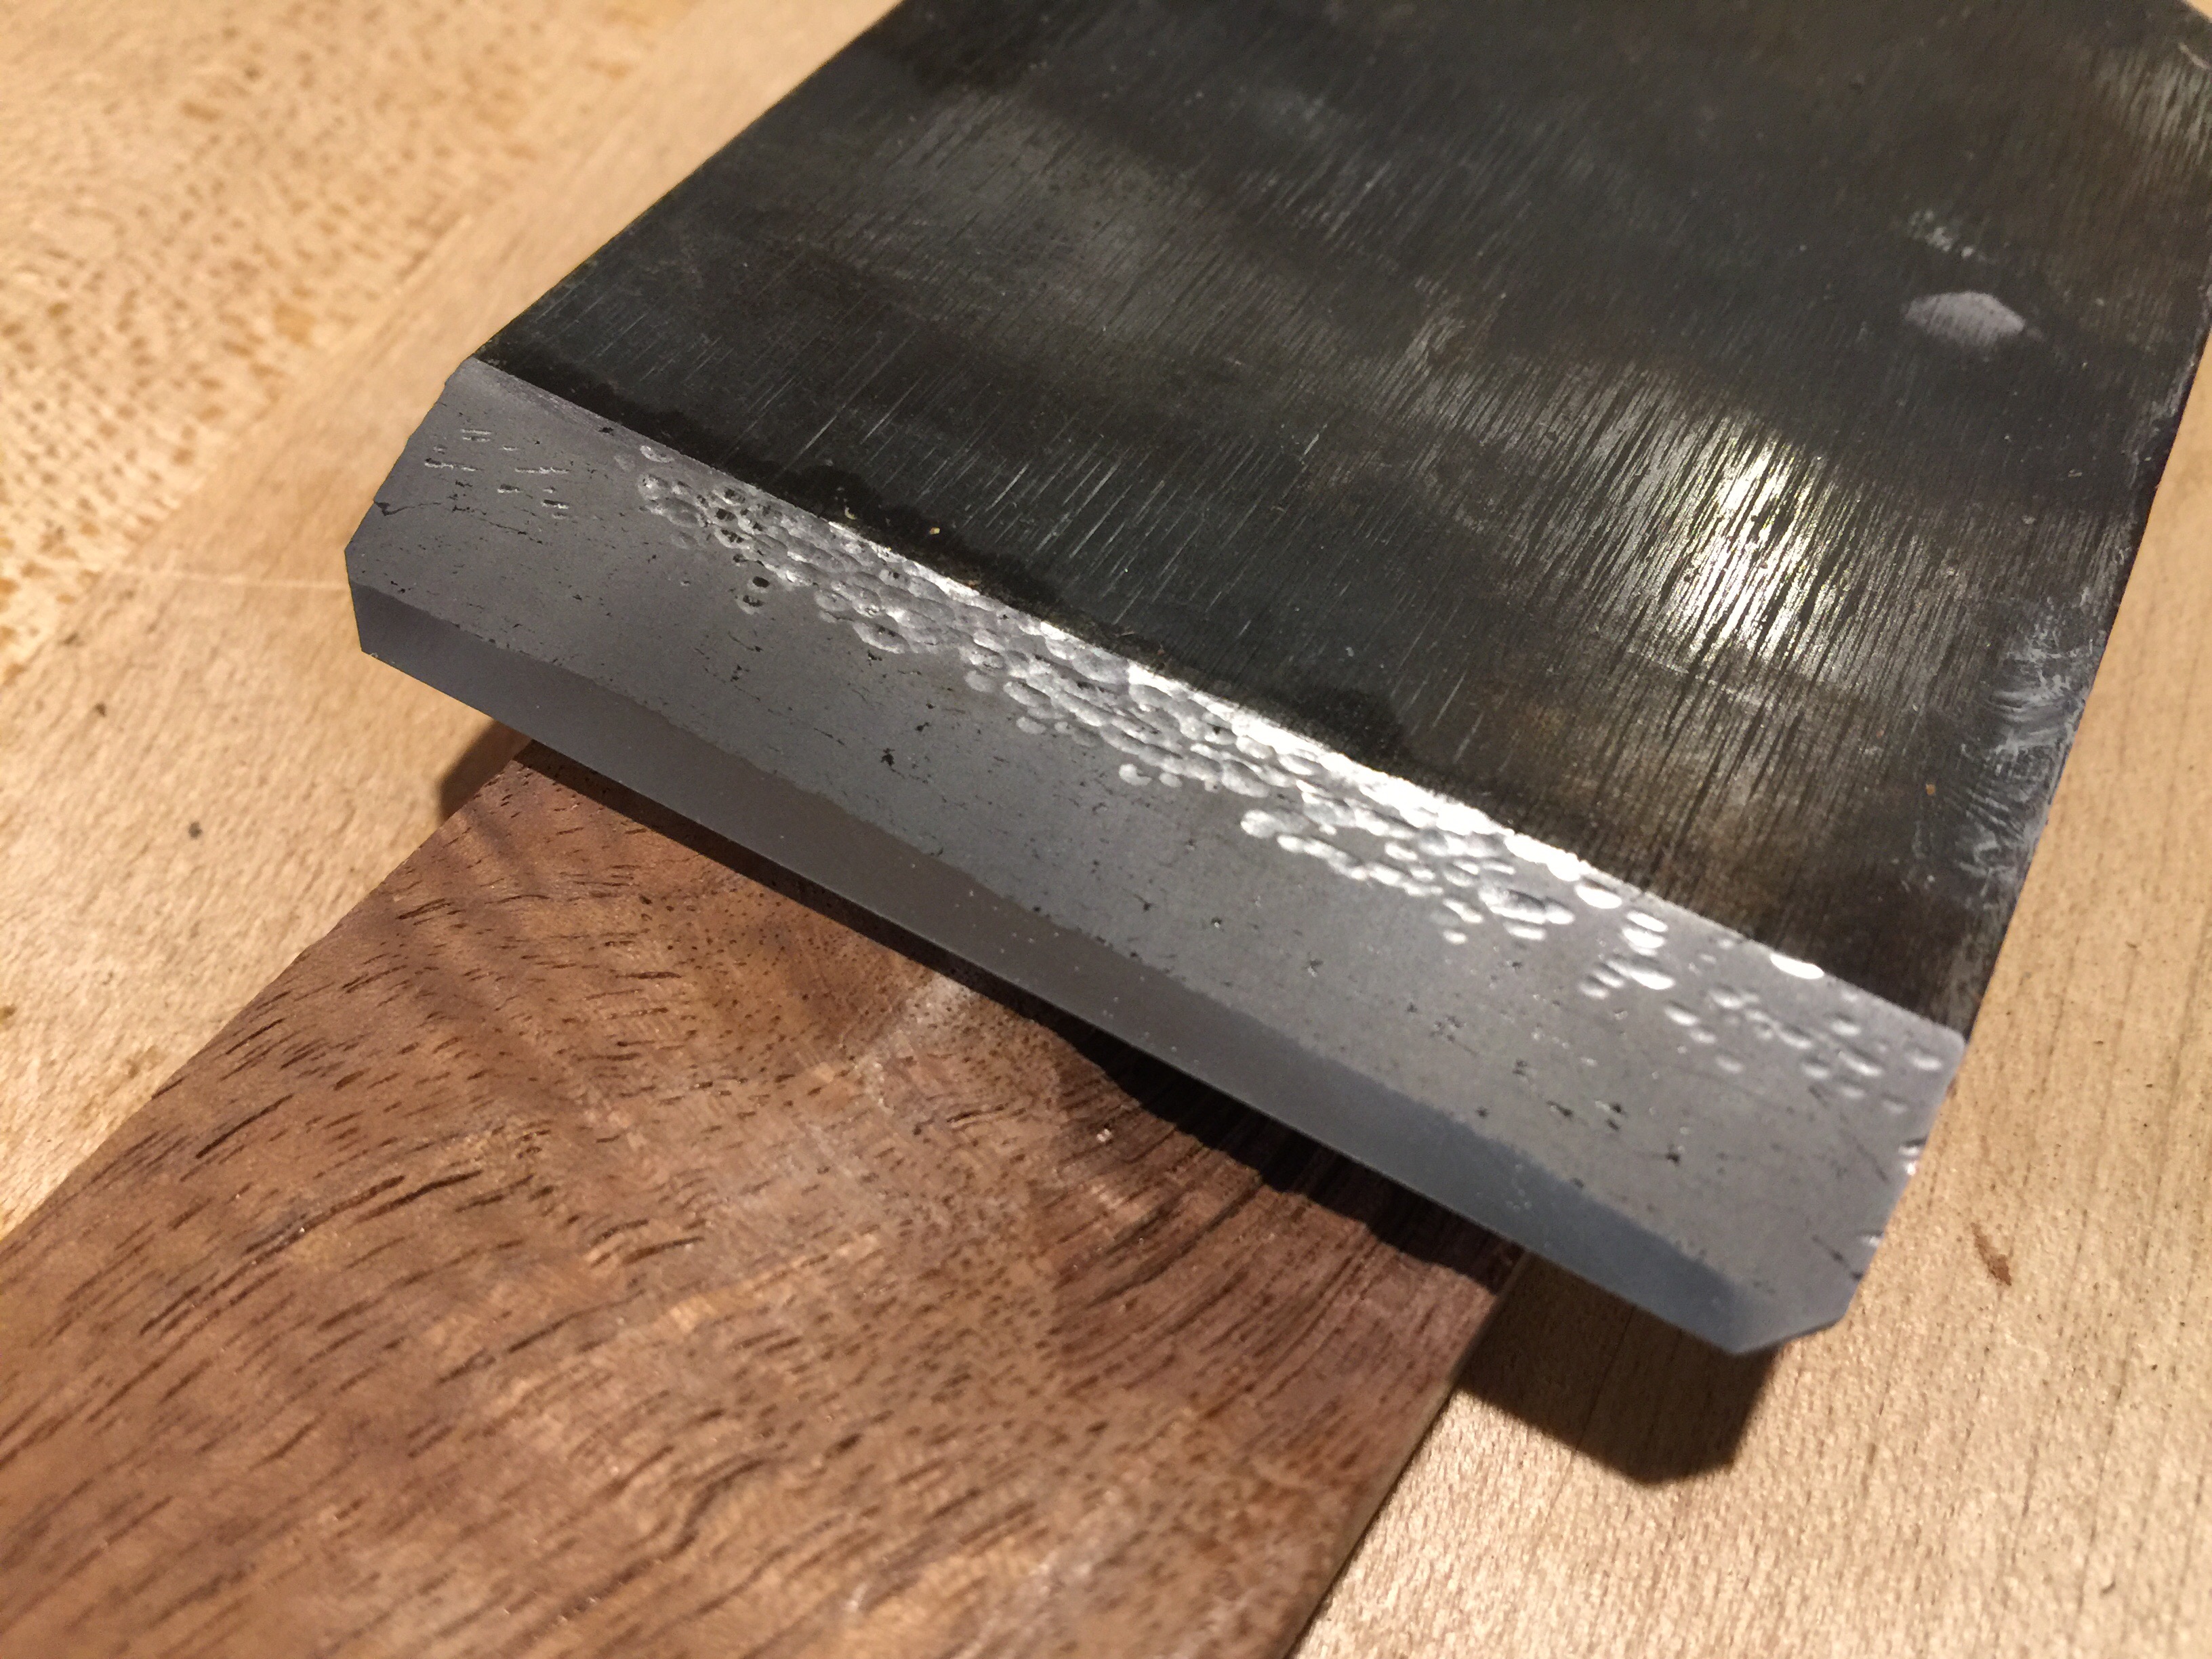
To restore the edge I purchased an 1800 rpm (Baldor) grinder with 36 grit and 60 grit wheels. I first ground back the edge at 90 degrees until all of the damage was gone....it was about 3/4" of material! I thought the blade was dead, but decided to keep at it and see if I couldn't bring it back to life. I dipped the blade routinely to keep it cool, and surprisingly after reading all of the warnings about Japanese tools and high speed grinders, I managed to keep the blade cool throughout the process. One trick is not to grind up to a thin edge, leave enough, maybe 1/32" thickness or slightly less to finish grind by hand.
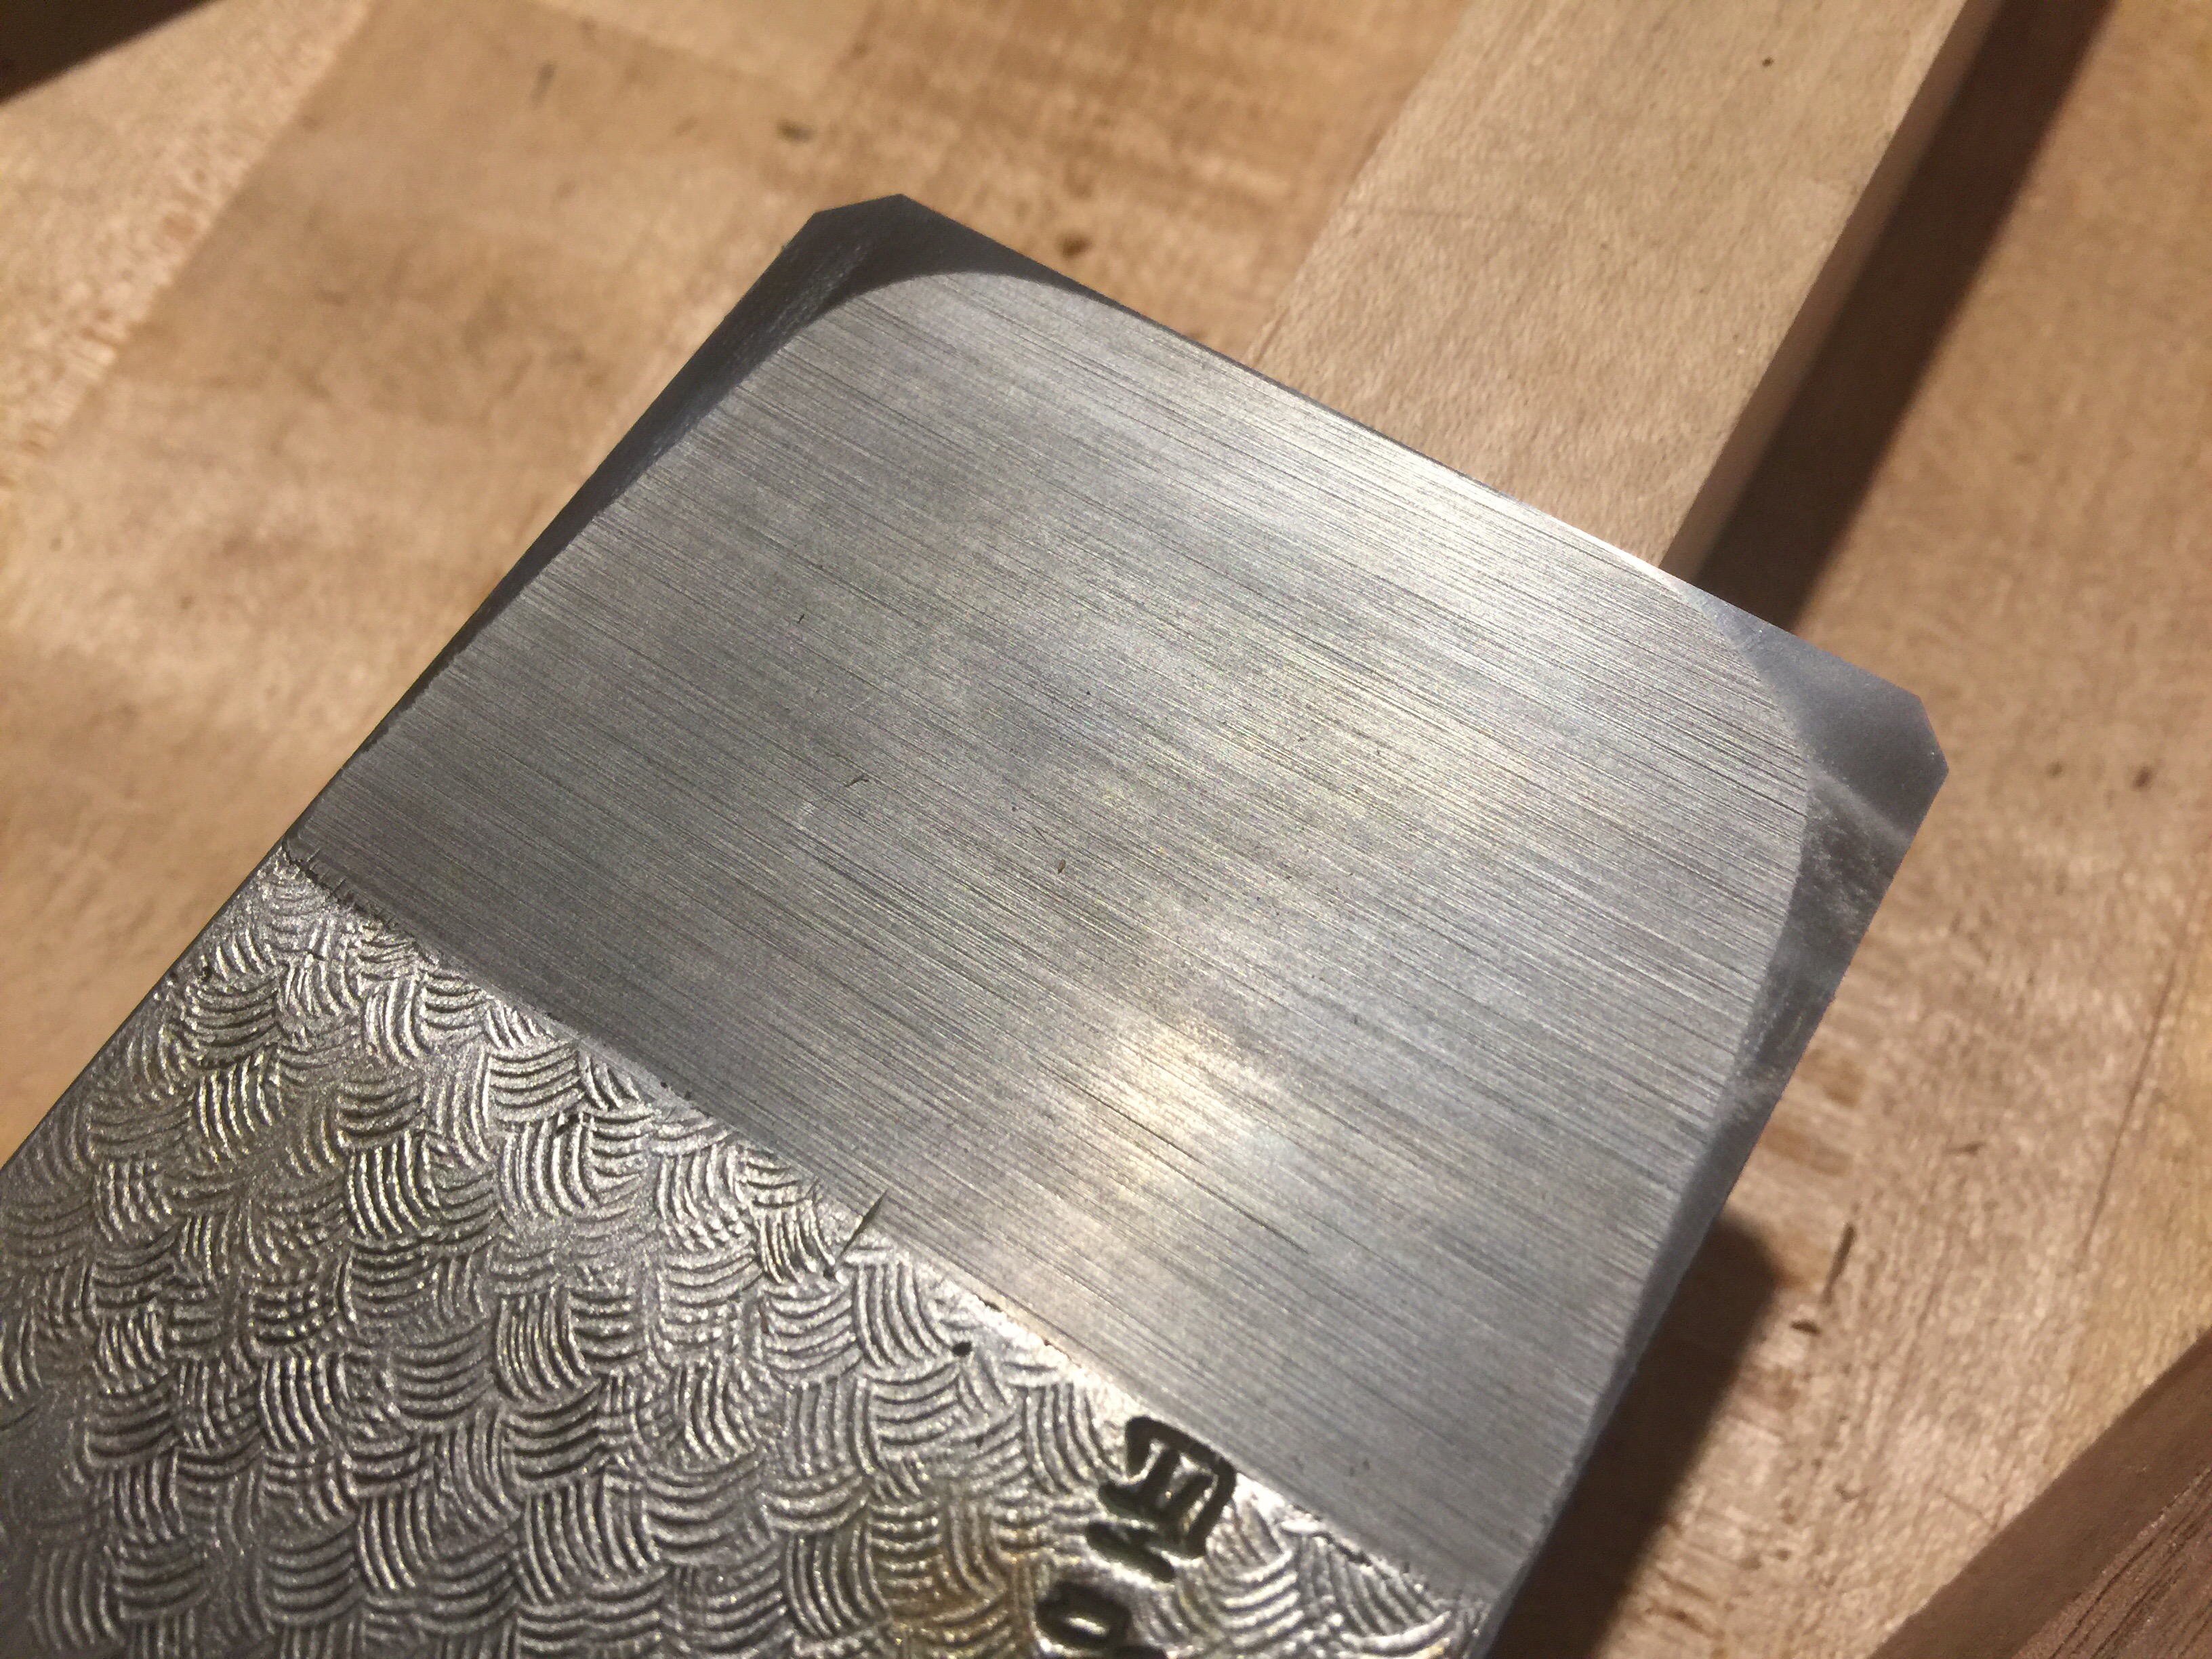
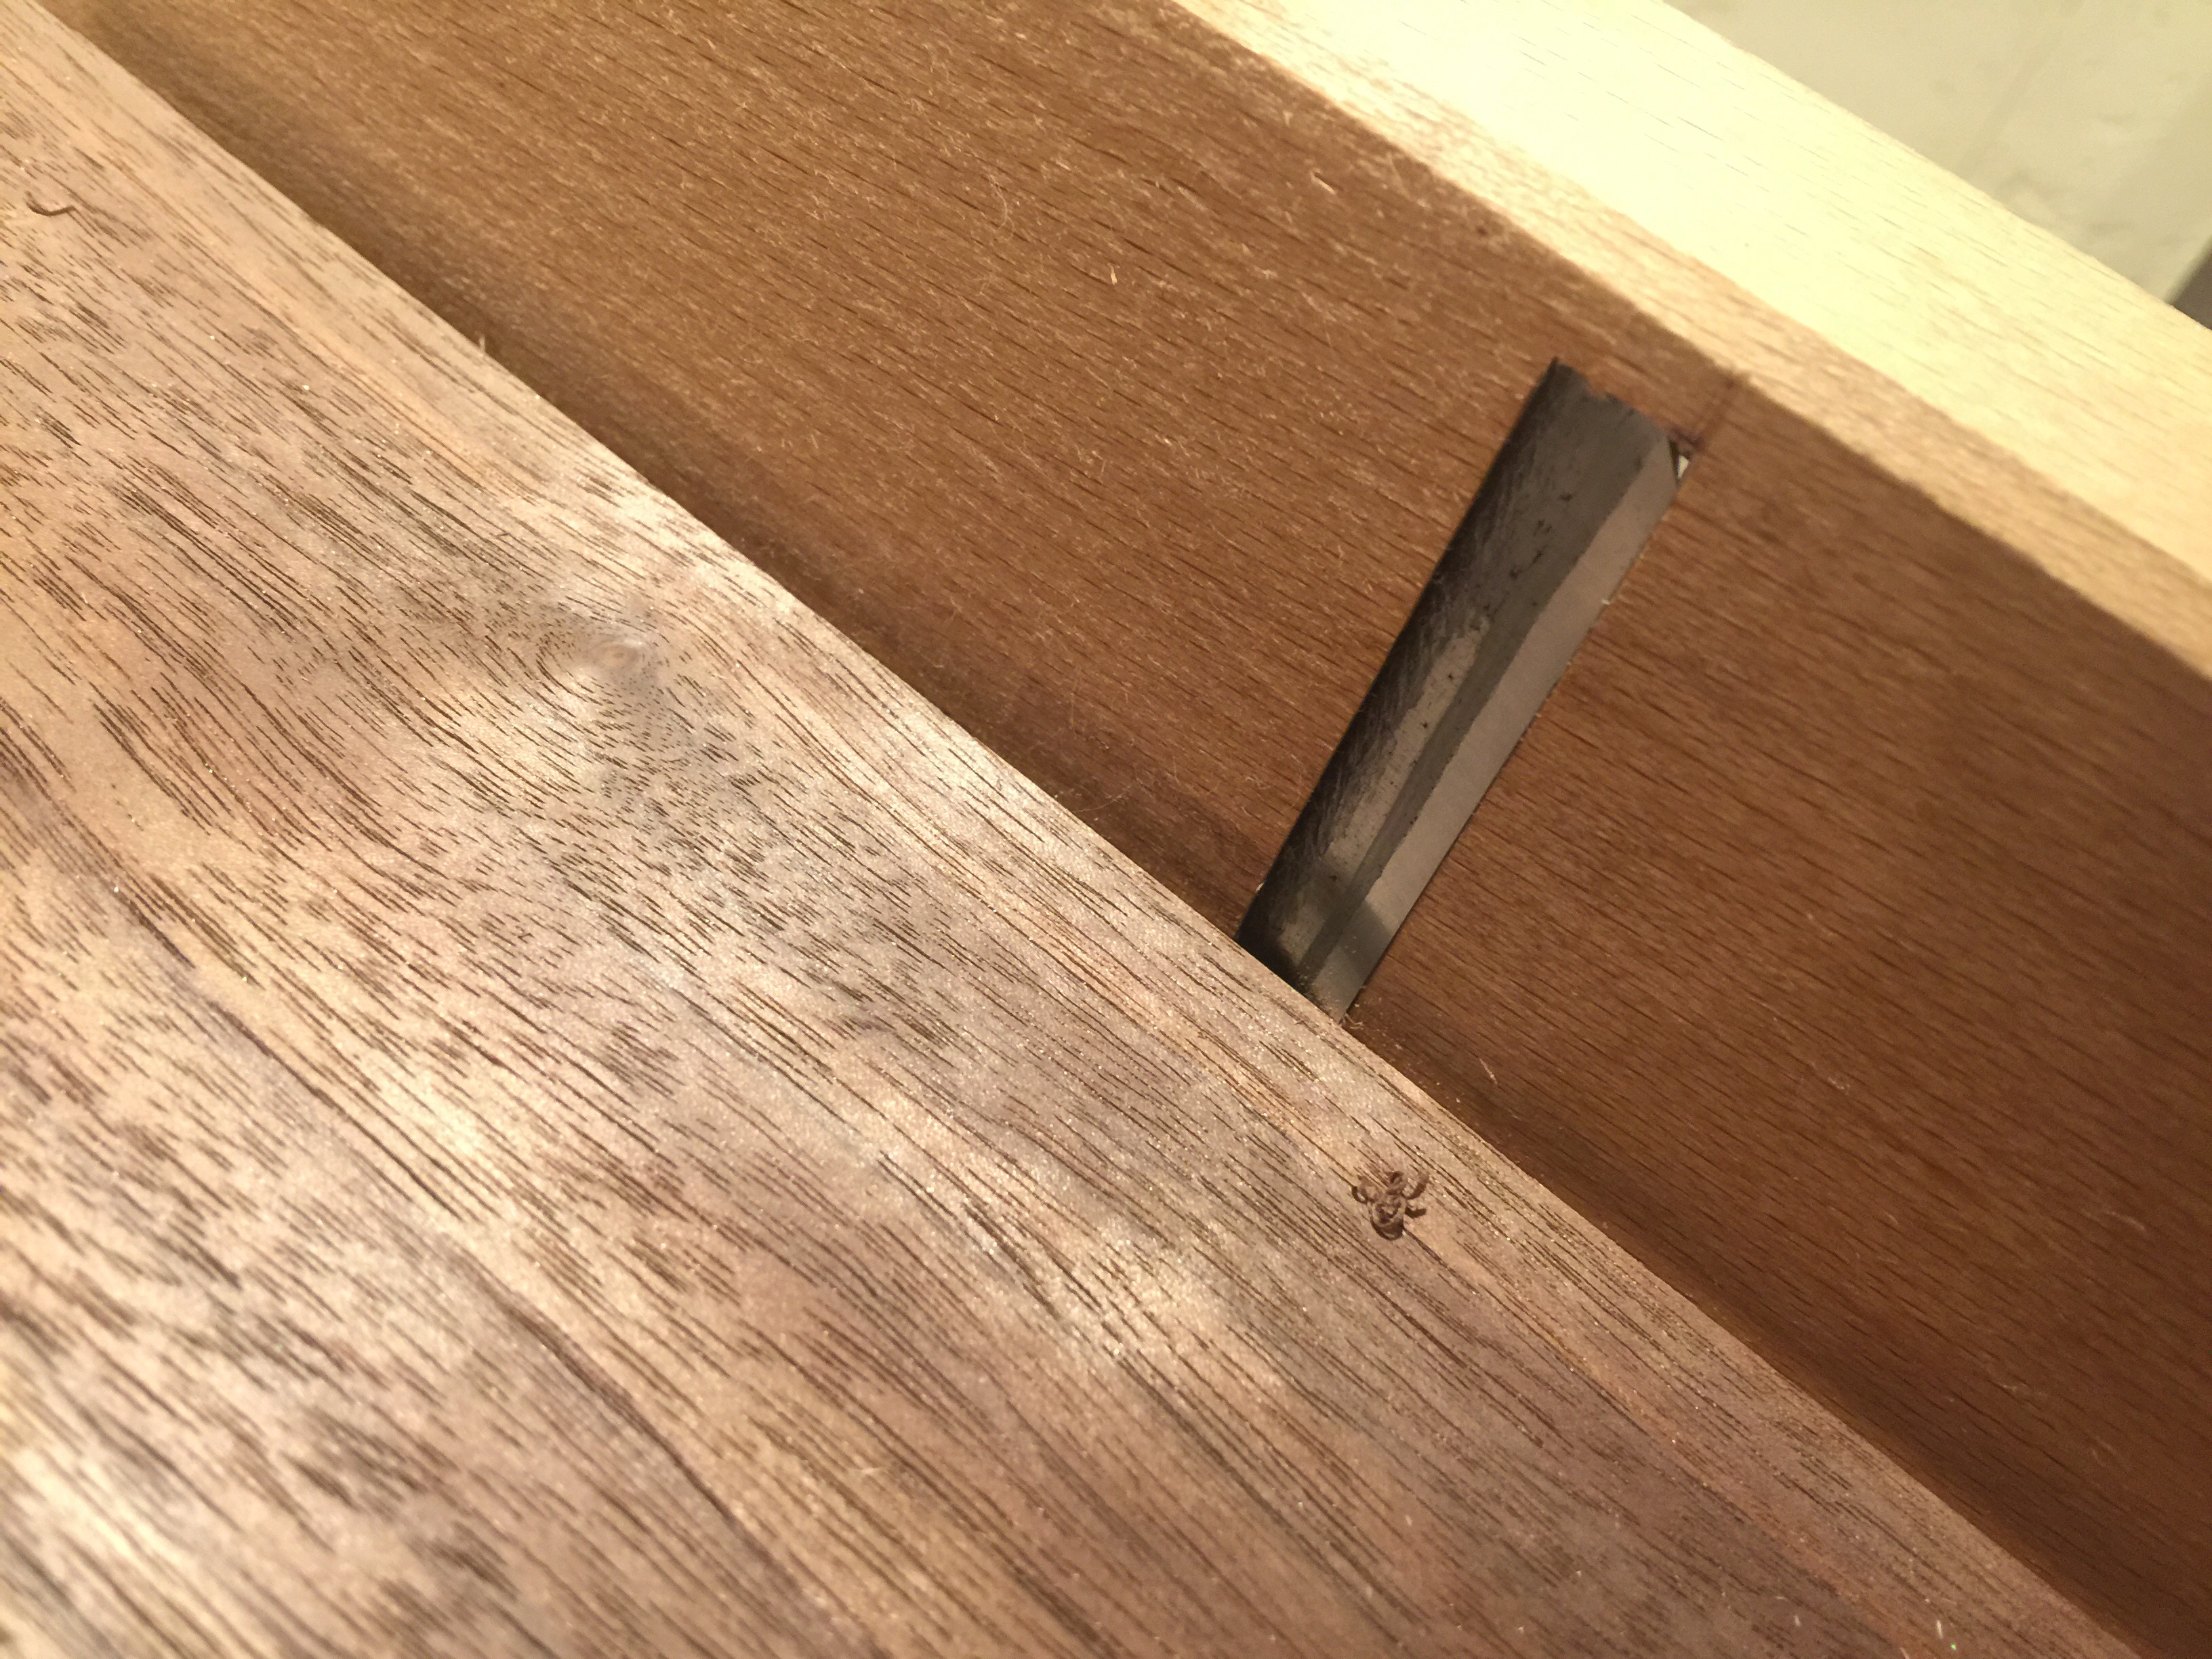
The ura, not without a land. The hollow is quite deep this far back, about 1/32" at the center by my eyeball estimate.
After grinding the blade back, my next step was to begin restoring a bevel, this is fairly straightforward work, but now both the hard steel and the soft iron are starting with equal areas of contact since the bevel is hollow ground. If equal pressure is applied the iron will wear quickly and the hard steel will hardly wear at all. I made certain to apply pressure to the edge mostly and still the angle did decrease from 28 degrees to 27 degrees.
Once a rough bevel was applied I wanted to get back to ura-dashi before committing too much time to the bevel. Those who've done the process know that when you're doing it, you're moving metal, so your once flat bevel is now....not flat, instead you have a hollow in the center of the bevel. I was able to restore the back to a very thin contact.
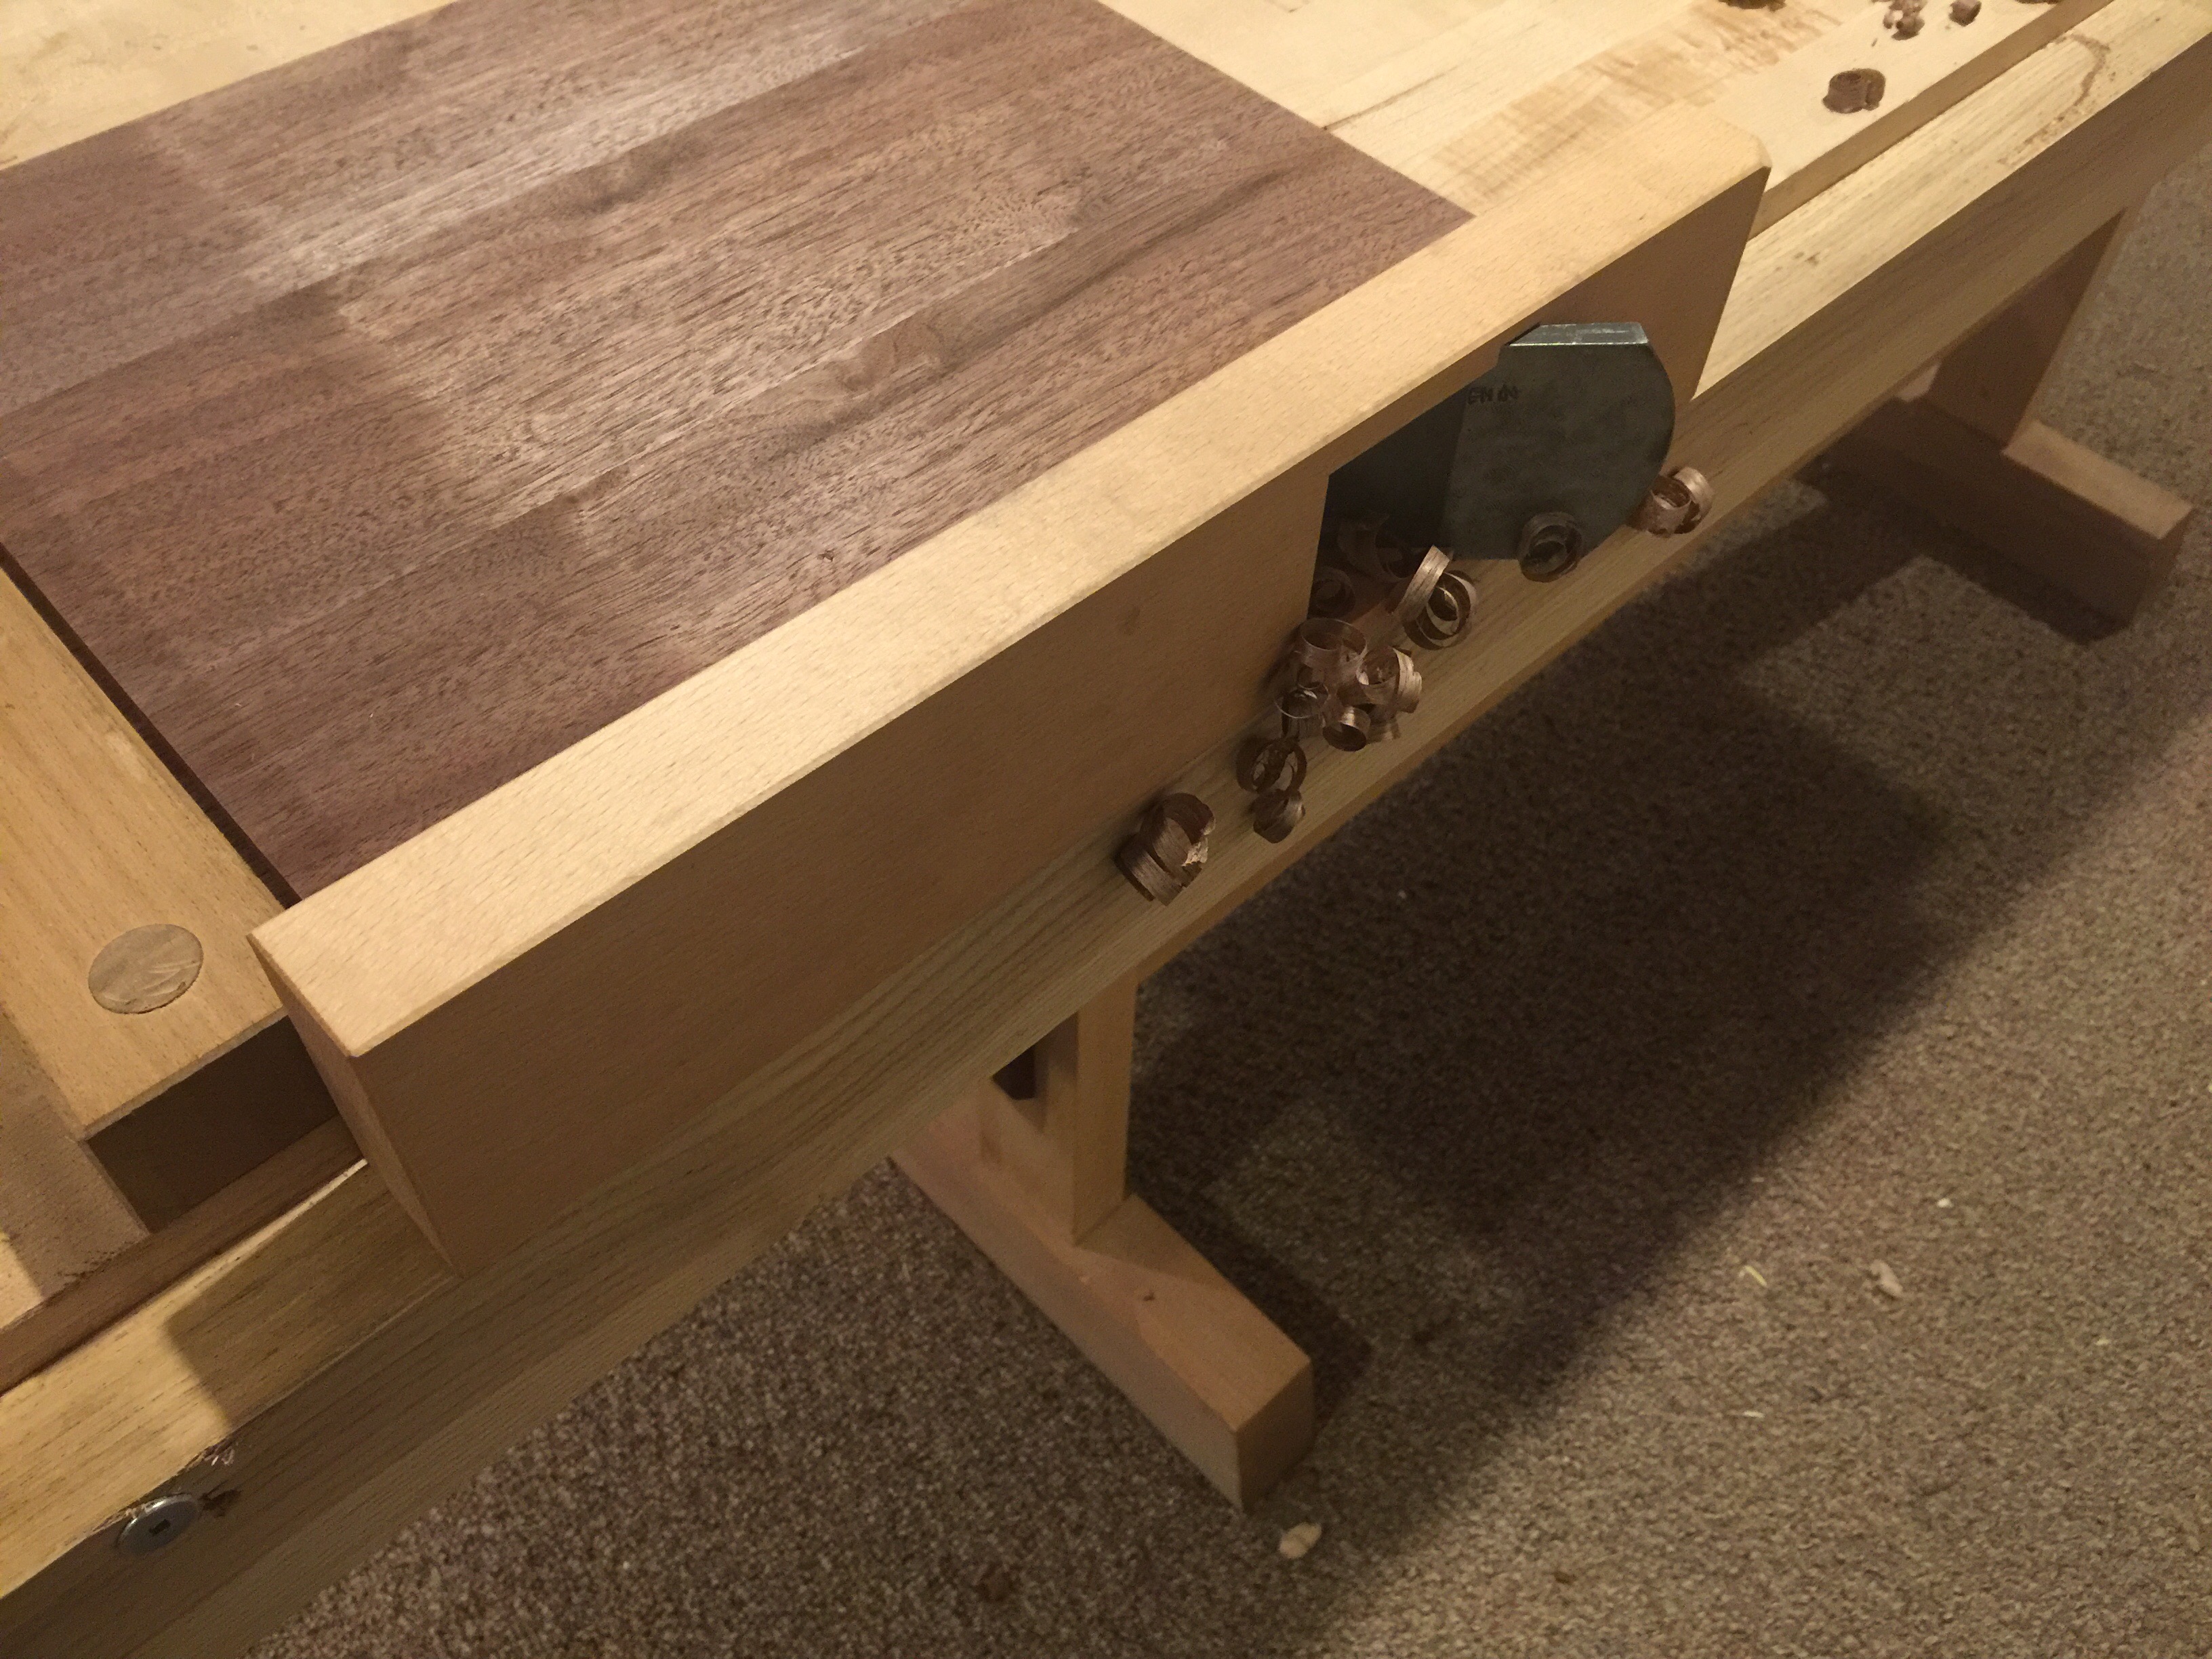
After which I finished the bevel, though leaving anything rough behind the leading edge alone. I wanted to get the blade back into the dai and see if I had a cutting edge or if I had committed some hours to a trashed blade.
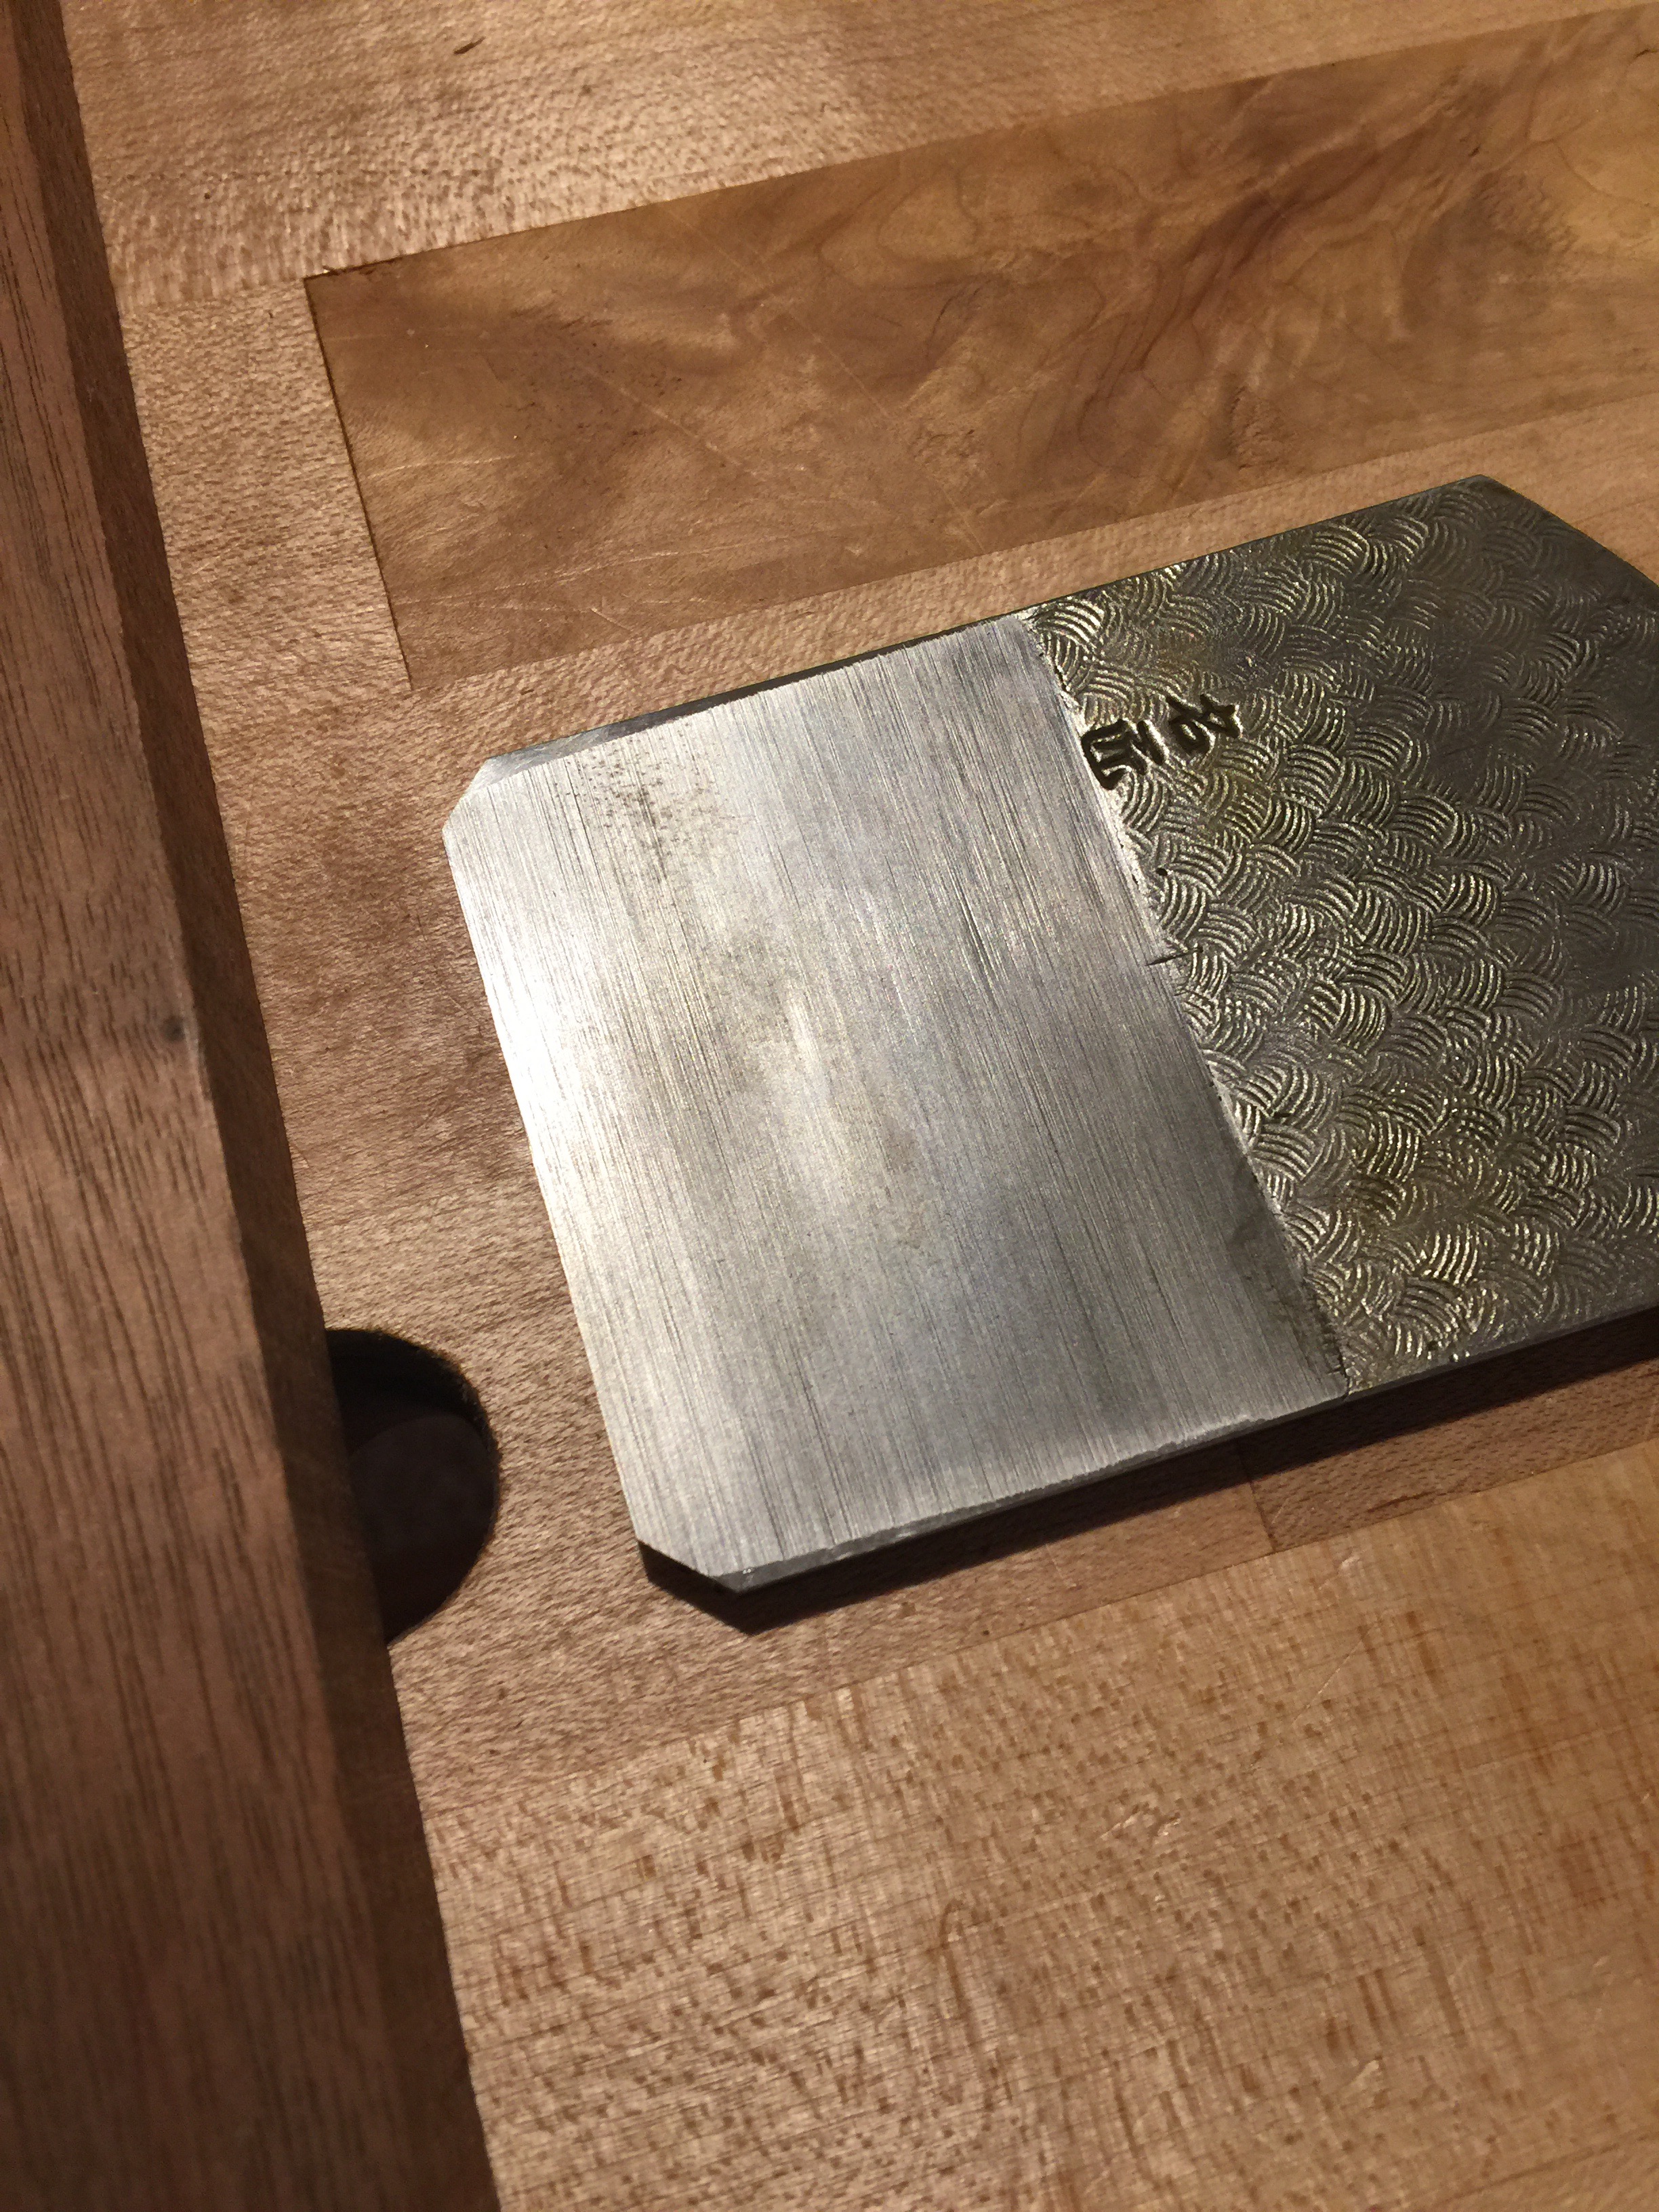
The blade cut very well, now time to get it 100% back in shape. Back to Ura-dashi. Now with the blade thinned, the metal was moving exactly as it should. Even taps across the surface were producing and an incremental increase of the land on the ura.
I leave the marks, just work the blade as usual and the marks that remain will slowly disappear, in my experience it takes about 2-3 good sharpenings to completely remove the marks.
In reading a similar thread a few years back Winton suggested that the edge of a hammer was not good for ura-dashi, the comment was not given much notice but stood out to me. It turns out to have quite a bit of merrit


 Reply With Quote