Results 1 to 15 of 15

Thread: 18" Walnut Lazy Susan

  1. #1
    Join Date
    Jan 2012
    Location
    NW Louisiana
    Posts
    894

    18" Walnut Lazy Susan

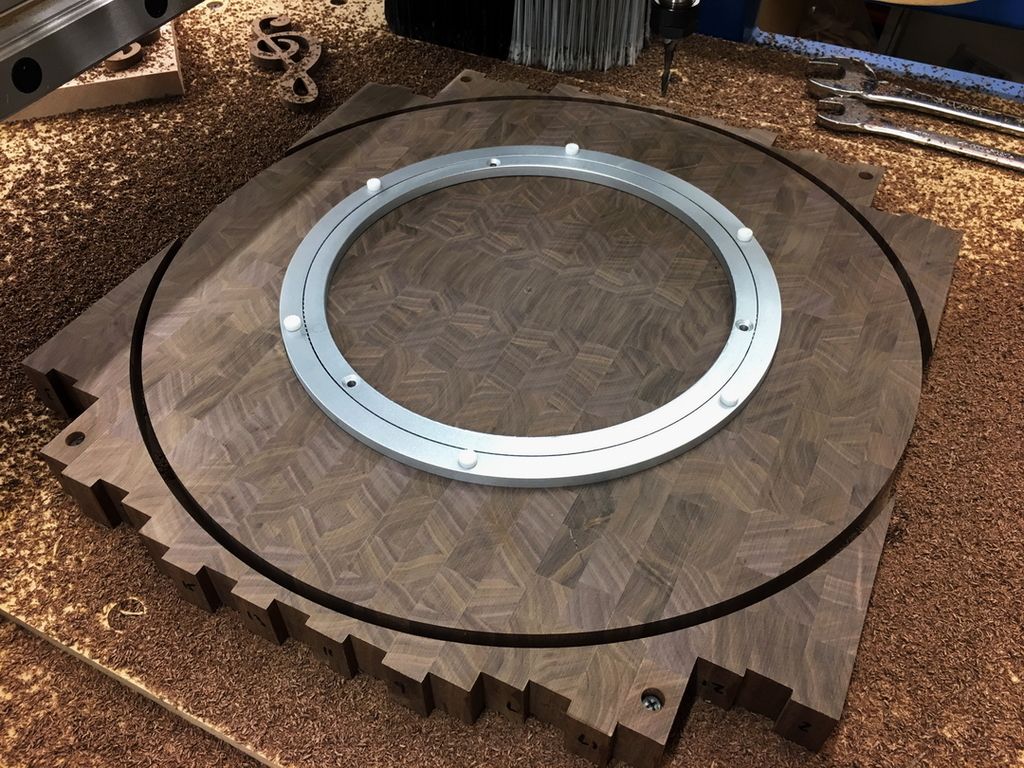
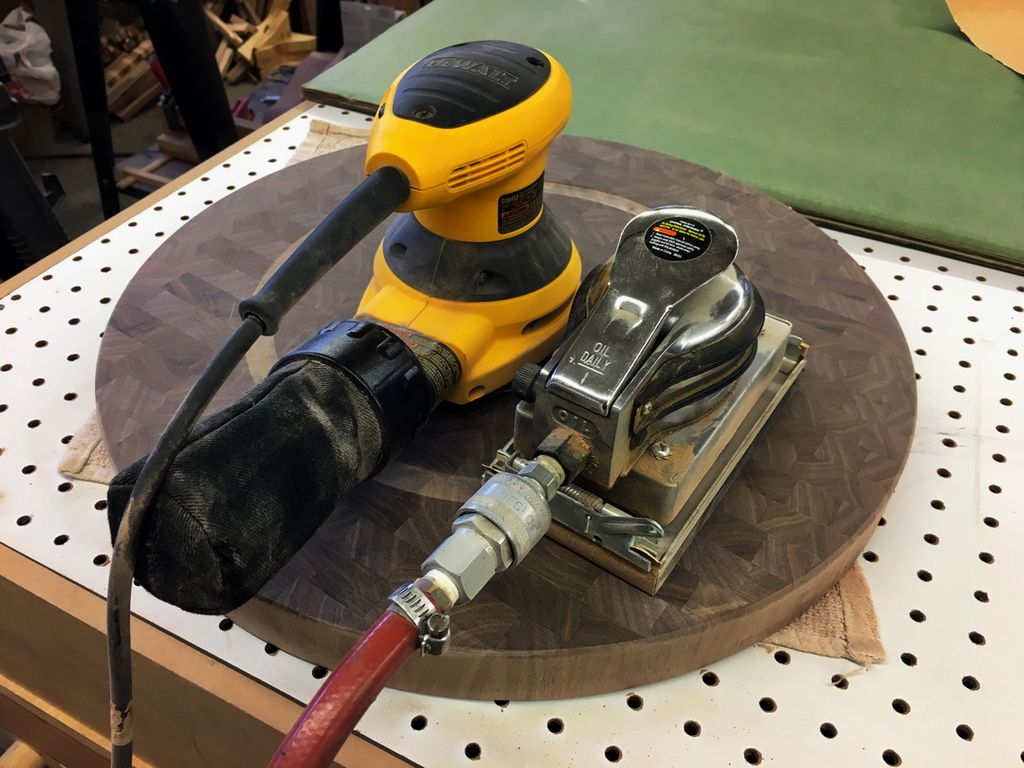
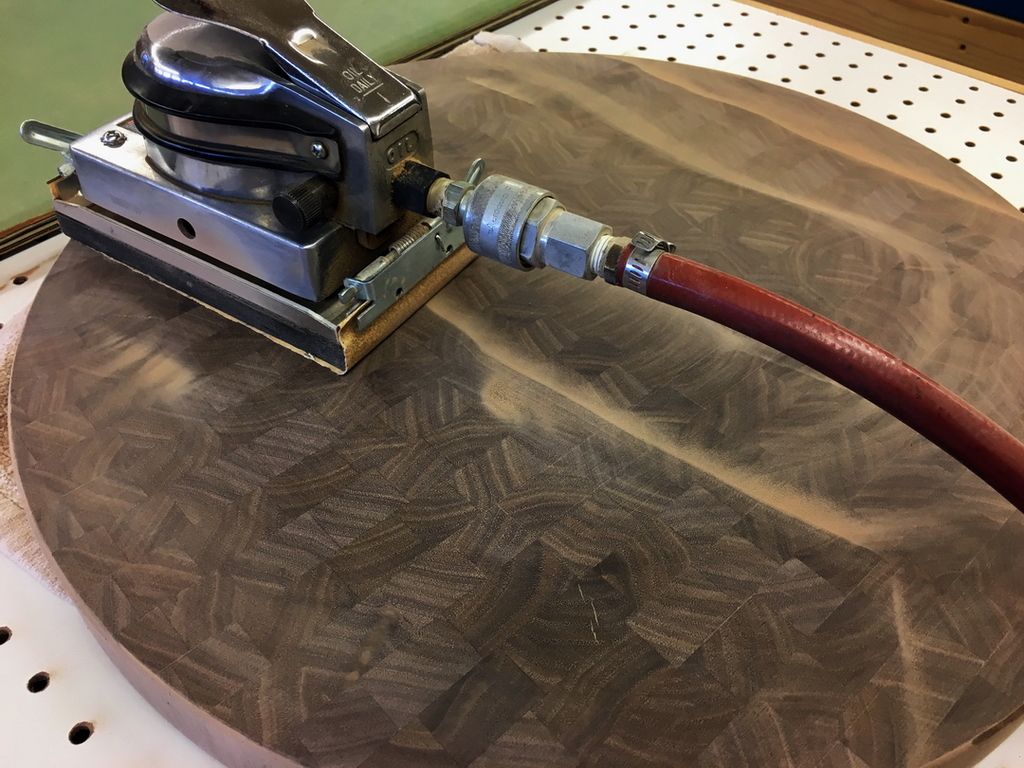
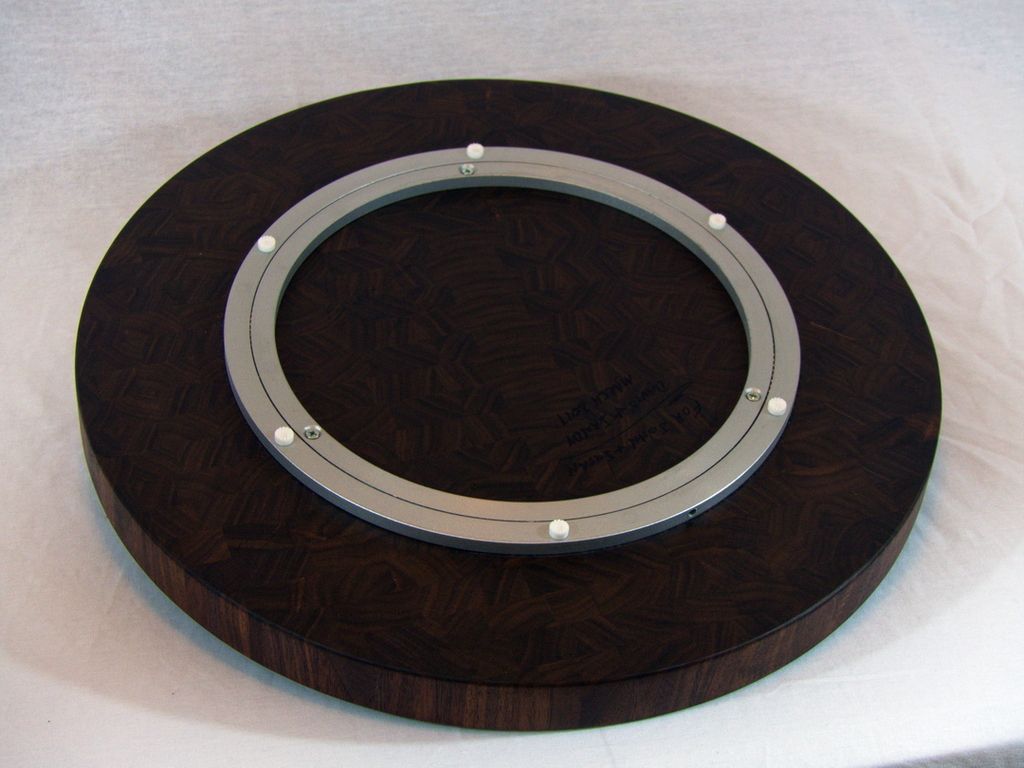
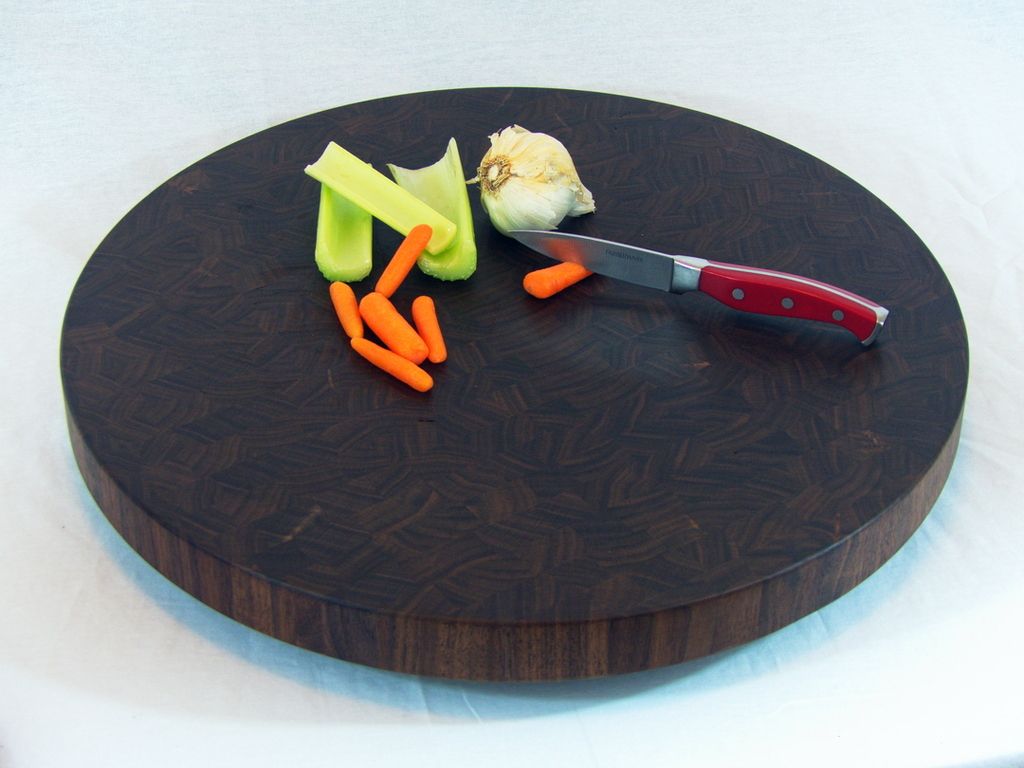
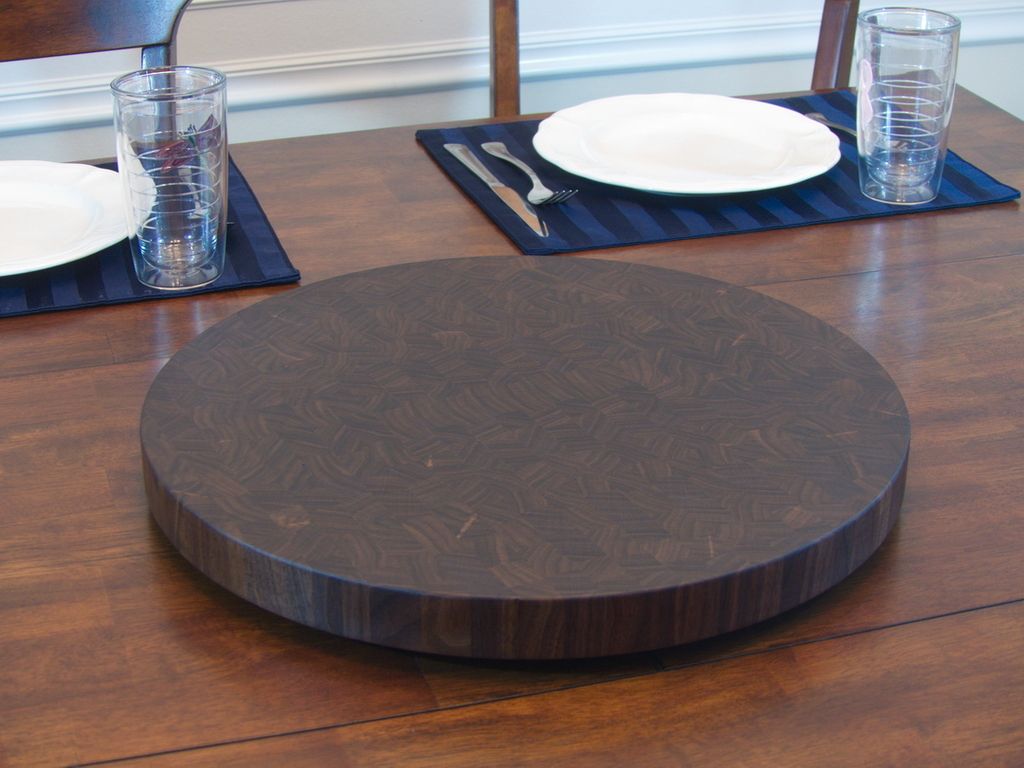
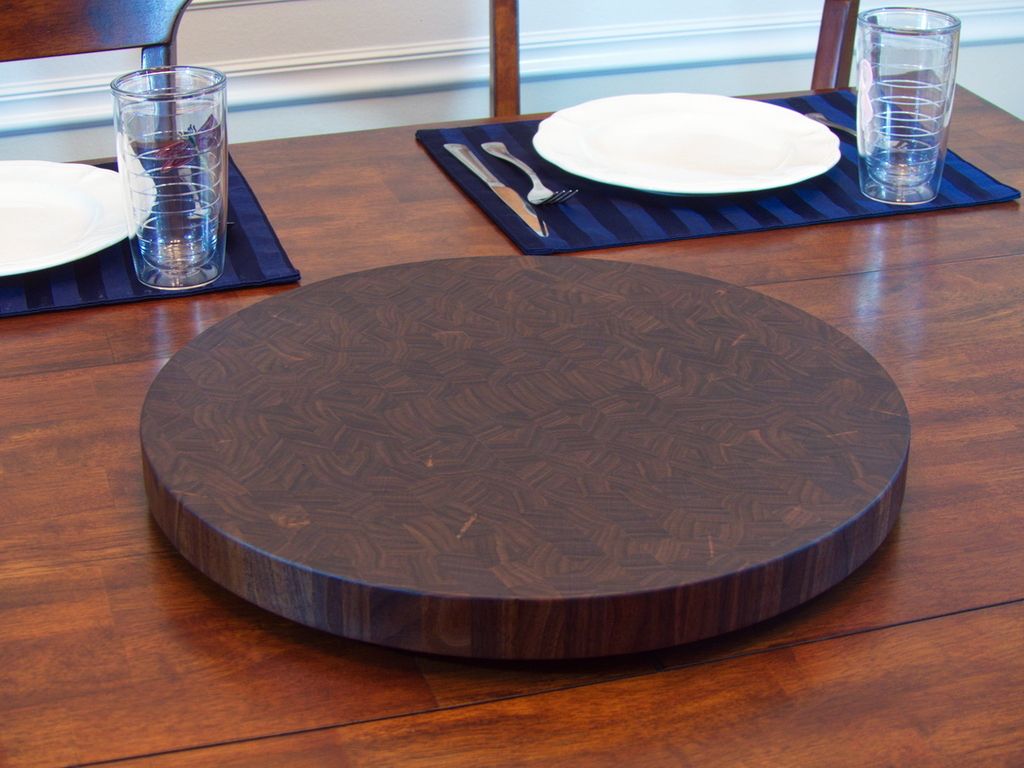
    I just started this project but thought I'd post a couple of photos before it is finished. This will be a round end grain Black Walnut cutting board style Lazy Susan about 18" diameter and 1.5" thick. I cut and milled all the stock Friday and Saturday we glued up the sticks. Before we started glueing I drew a layout in CorelDraw so I wouldn't waste any precious Walnut.

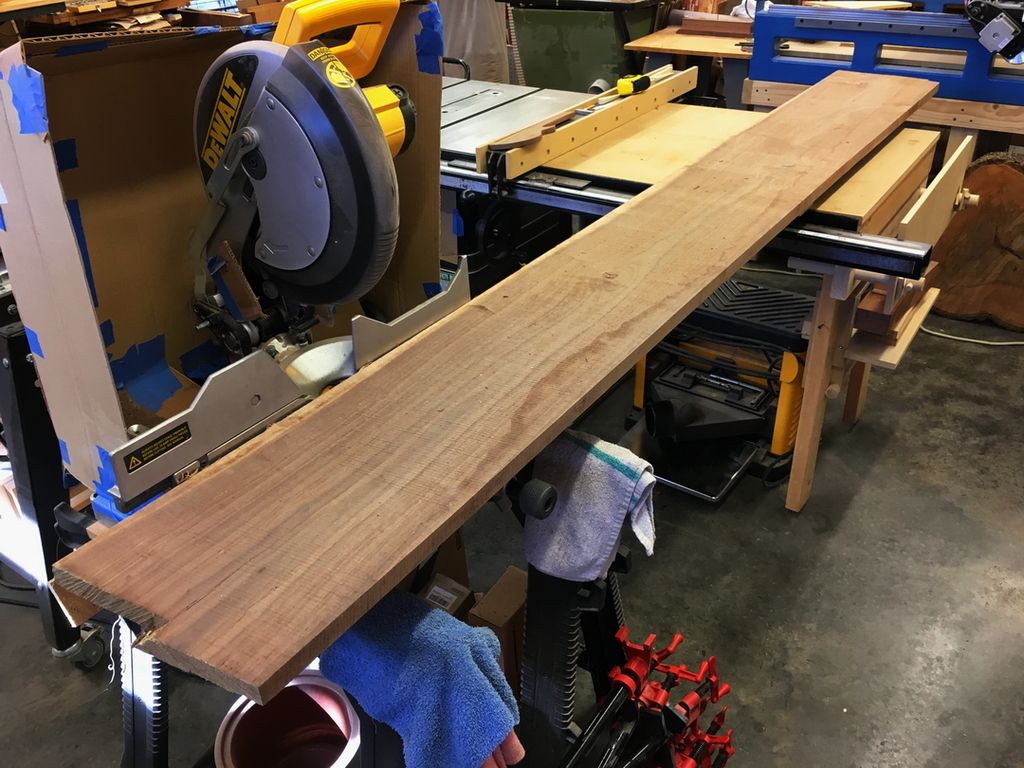
    This is the board for the project - 4/4 rough, 12" wide, a bit over 8' long. The specification is for all heartwood so the little bit of sapwood on this board will go on other cutting boards or projects -


    Here's the layout -


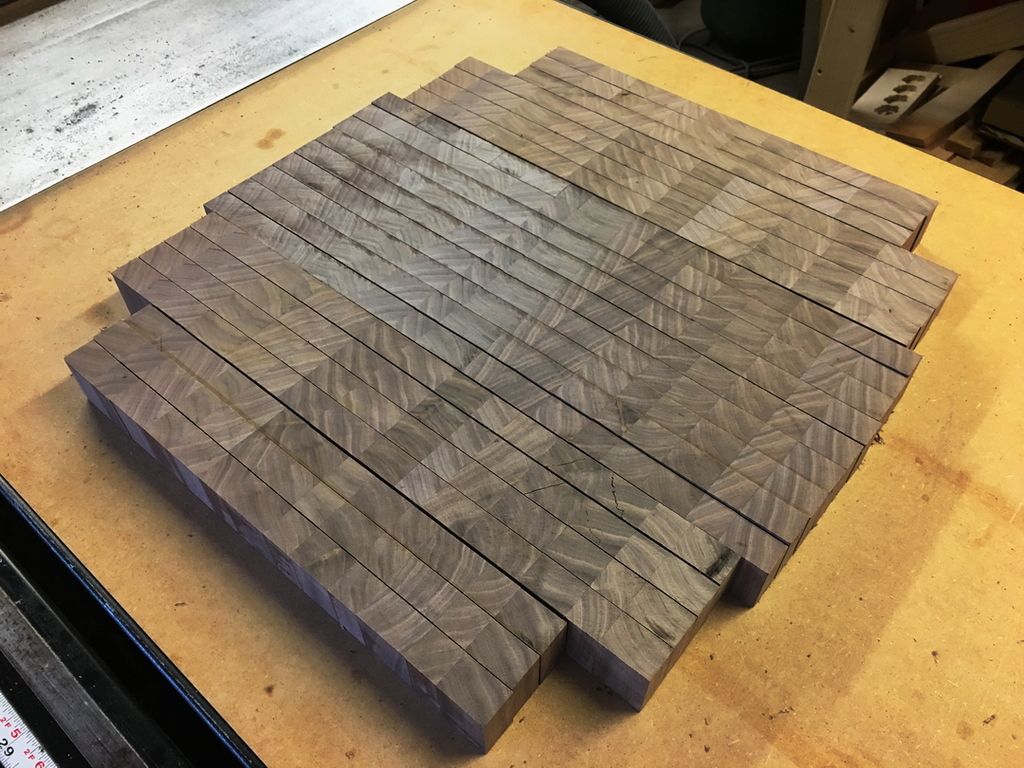
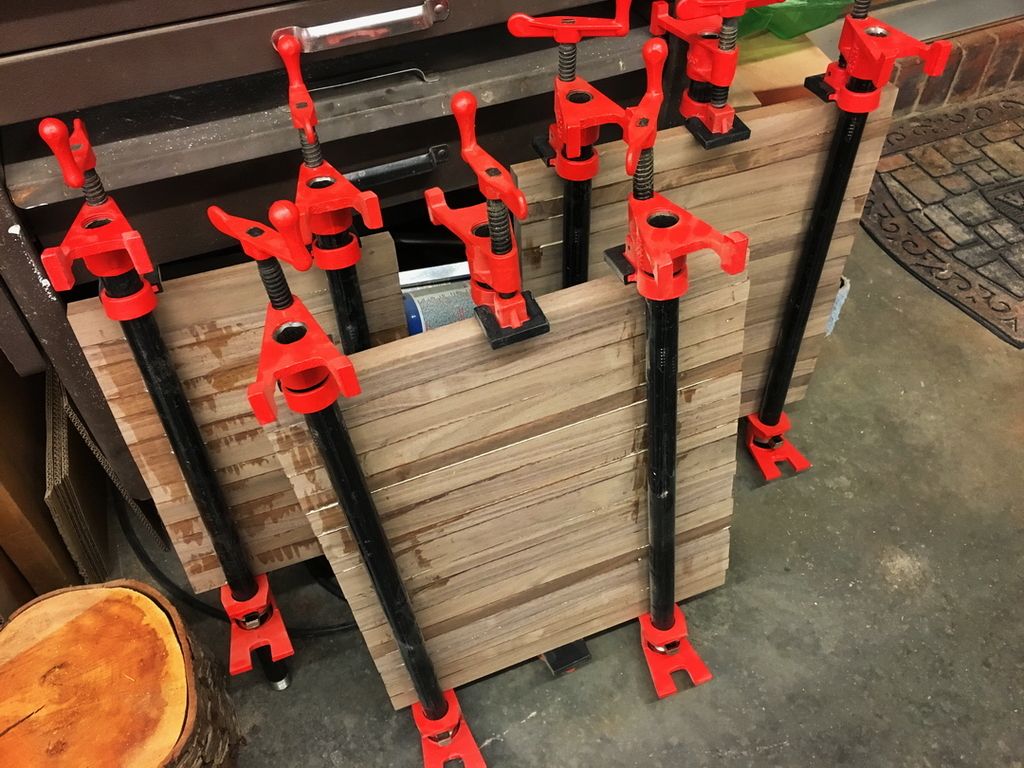
    All the pieces glued up for the night. We used Titebond III even though it isn't a cutting board, just a Lazy Susan, mainly for the longer open working time. That's a lot of sticks to glue up if they start tacking right away!


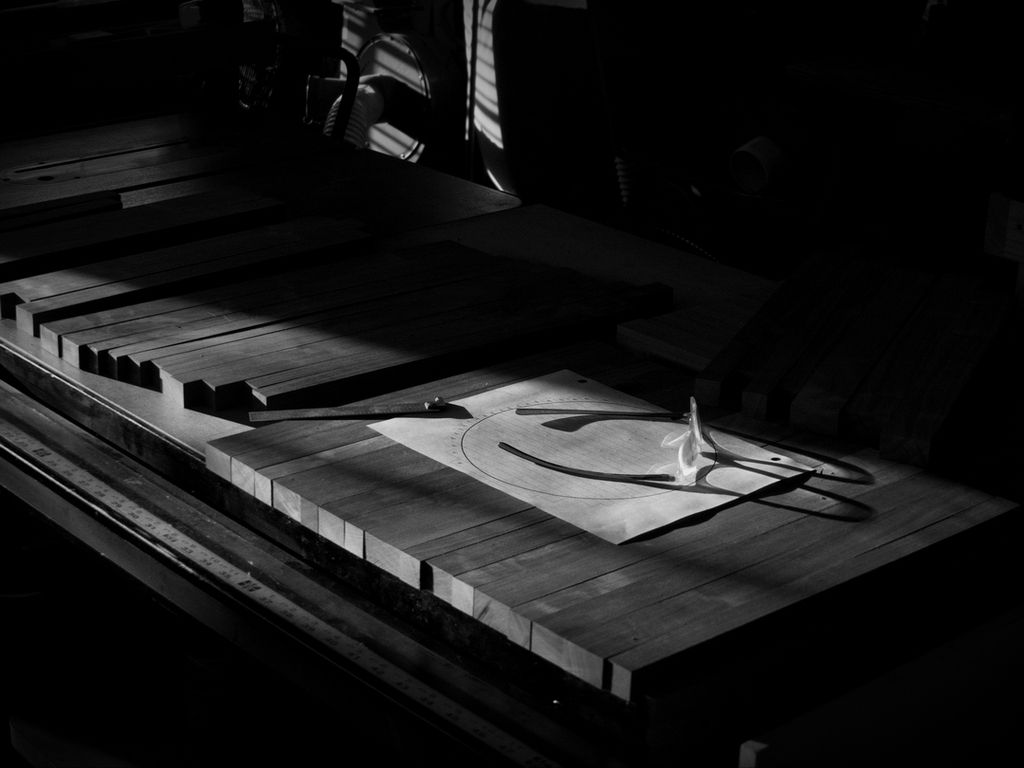
    And I had an opportunity to take an artsy shot prior to glueing the sticks together and I don't like to pass those up -


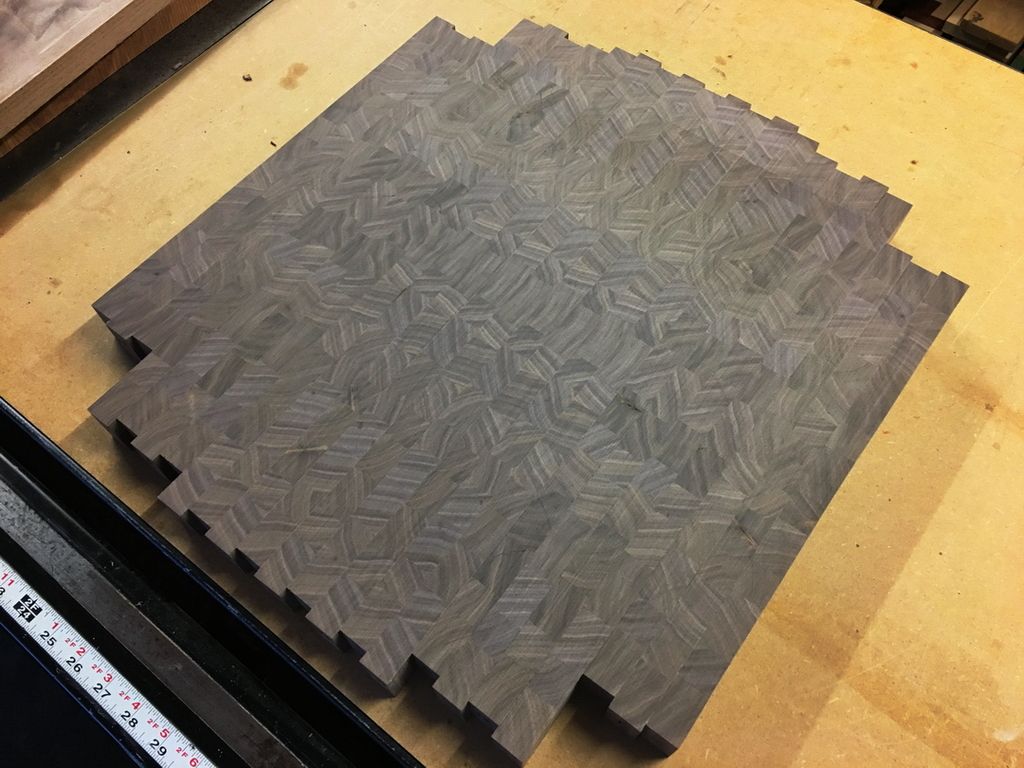
    I probably won't have time today - busy day at church - but next I'll take these out of the clamps, surface lightly on the drum sander, then cut into strips about 1.6875" which should allow me a nice 1.5" finished thickness.

    More later!
    David
    David
    CurlyWoodShop on Etsy, David Falkner on YouTube, difalkner on Instagram

  2. #2
    Join Date
    Jan 2012
    Location
    NW Louisiana
    Posts
    894
    Had a few minutes before heading back to church and cut the boards into strips. We just set them sort of in order how they came off the saw but we'll probably move them around, flip some 180°, etc. Also, I decided to cut them first and then run through the drum sander. It's a lot easier handling a bunch of small strips than trying to get a really large panel flat. We might get a chance to sand them after church tonight.

    David
    CurlyWoodShop on Etsy, David Falkner on YouTube, difalkner on Instagram

  3. #3
    Join Date
    Dec 2010
    Location
    WNY
    Posts
    9,713
    Good start. Are you aware there are a few cracked pieces in there?

    John

  4. #4
    Join Date
    Jan 2012
    Location
    NW Louisiana
    Posts
    894
    Quote Originally Posted by John TenEyck View Post
    Good start. Are you aware there are a few cracked pieces in there?

    John
    Yes, there is some checking in a few places but I'll fill those with Walnut dust and epoxy and rock on. It isn't a cutting board and will most likely only have dishes on it from time to time. And we'll probably use Nitrocellulose lacquer rather than mineral oil and Beeswax. However, if I can't make it look top notch I'll replace it. This is for a friend of mine and he wants to see the character in the wood - knots, checks, pips, etc. but I'll draw the line at leaving an open crack even if it isn't a cutting board.
    David
    CurlyWoodShop on Etsy, David Falkner on YouTube, difalkner on Instagram

  5. #5
    Join Date
    Jan 2012
    Location
    NW Louisiana
    Posts
    894
    Glued up, sanded to 120, ready for the CNC to cut the recess for the Lazy Susan turntable and the outer profile.

    Using the full width of the drum sander -


    Sanded and smooth -
    David
    CurlyWoodShop on Etsy, David Falkner on YouTube, difalkner on Instagram

  6. #6
    Join Date
    Feb 2003
    Location
    Leesville, SC
    Posts
    2,380
    Blog Entries
    1
    That is some beautiful wood. Looking forward to seeing the finished product.
    Army Veteran 1968 - 1970
    I Support the Second Amendment of the US Constitution

  7. #7
    Join Date
    Feb 2017
    Location
    Bee Cave, TX
    Posts
    39
    Wow already - that is going to be awesome.

  8. #8
    Join Date
    Jan 2012
    Location
    NW Louisiana
    Posts
    894
    Well, I sort of forgot I started this thread so here's the update - it's finished!! I used the CNC to cut the profile and a 1/32" recess for the outer race of the Lazy Susan bearing. I could have just used some thin washers under the inner race but it was easy to just cut the recess for the outer race.

    Having a wide drum sander is really nice but the finest grit I have is 120 and that leaves noticeable straight line scratches. These scratches take a LONG time to get out with my DeWalt ROS so I broke out my 'old iron', an air operated 1/3 sheet orbital. This will seriously hog some material. A side note on the dust is that I used the downdraft sanding box we just built and even though the 1/3 sheet sander doesn't have any dust collection but creates a lot of dust, the downdraft box caught almost all of the dust this sander was kicking up and that was pretty nice.

    The last cutting boards we did were only about 12" x 12" and took a solid hour of sanding with 120 grit on the ROS with about 5 changes of sanding pads. The 1/3 sheet sander with 120 grit did the entire top in 5 minutes - a significant difference, for sure. I sanded about 2 minutes, changed paper although the first sheet was probably ok, and then let my compressor catch up. After a short compressor rest I sanded the top again and then a quick pass on the underside. I followed up with the ROS for a few minutes and then hand sanded for a few minutes with 220 grit and it was glassy smooth.

    It has a couple of coats of mineral oil followed by our mixture of Beeswax and mineral oil and then hand polished.

    On the CNC (dust shoe removed so I could video and that will be posted soon) -


    Straight line scratches -


    The two sanders -


    In process -


    Underside with bearing -


    Finished top side -


    The 'glamour' shot - LOL!


    When I finish the video I'll post it here - enjoy!
    David
    David
    CurlyWoodShop on Etsy, David Falkner on YouTube, difalkner on Instagram

  9. #9
    Join Date
    Mar 2003
    Location
    SE PA - Central Bucks County
    Posts
    65,845
    That is truly lovely!
    --

    The most expensive tool is the one you buy "cheaply" and often...

  10. #10
    Join Date
    Jan 2017
    Location
    MT
    Posts
    698
    That is awesome!!
    Regards,

    Kris

  11. #11
    Join Date
    Jan 2012
    Location
    NW Louisiana
    Posts
    894
    It occurs to me that y'all might be interested in my setup for some of the photos so here's one that I didn't post but I'll be using it on Etsy soon. There are other photographers here and you guys will enjoy this and probably be able to pick holes in my setup but it works ok for me. When my son moved out a couple of months ago we set his old room up as a studio setting, albeit a low budget and simple one, but I can take an item in there, place it on the table, turn the lights on and have good control over lighting for just about any item. Those of you that do photography may see this often but if you're not into photography this may be new to you.

    For the Lazy Susan I decided to take one shot with it set on our table so I moved the lights to the dining area - that's what I'll show you below. Ignore the vacuum cleaner, guitar, and junk beside the table - temporary storage while we're cleaning out a spot elsewhere - what can I say... it's a lived in house! LOL!

    Here's the shot straight off the camera, no post editing - not bad but could use some help -


    Here's the final shot -


    And here's the setup for the shot above -


    For the photographers the camera is a Panasonic Lumix DMC-FZ200, Leica lens, settings are ISO 100, f 2.8, 1/4 second, -0.33 eV, RAW 4000 x 3000 x 48b. The editor is ACDSee Ultimate and tools used were 20% dehaze, auto contrast and color 15%, exposure moved another -0.15 eV, and fill light bumped a few points, then resized to 1080 x 810 and saved as a jpg file.

    Enjoy!
    David
    Last edited by David Falkner; 03-18-2017 at 11:42 PM.
    David
    CurlyWoodShop on Etsy, David Falkner on YouTube, difalkner on Instagram

  12. #12
    Join Date
    Jul 2009
    Location
    West Boylston Massachusetts
    Posts
    647
    Interesting bearing, are those included padded feet? Could you post some info on the bearing, looks well made and would be smooth. Thank for posting, Kevin

  13. #13
    Join Date
    Jan 2012
    Location
    NW Louisiana
    Posts
    894
    Here ya' go, Kevin. Got it from Amazon and the feet are included - 300mm Lazy Susan bearing
    David
    CurlyWoodShop on Etsy, David Falkner on YouTube, difalkner on Instagram

  14. #14
    Join Date
    Jul 2009
    Location
    West Boylston Massachusetts
    Posts
    647
    Thank you, I just ordered one. We had friends over for a boiled dinner for St Patrick's Day. Someone said you need a Lazy Susan. It is something I have been thinking about. Thanks for the info. Kevin

  15. #15
    Join Date
    Jan 2012
    Location
    NW Louisiana
    Posts
    894
    As promised, here's the video for the build -

    David
    CurlyWoodShop on Etsy, David Falkner on YouTube, difalkner on Instagram

Posting Permissions

  • You may not post new threads
  • You may not post replies
  • You may not post attachments
  • You may not edit your posts
  •