Results 1 to 14 of 14

Thread: Position the Table Saw in the Shop

  1. #1
    Join Date
    Apr 2017
    Location
    Michigan
    Posts
    2,770

    Position the Table Saw in the Shop

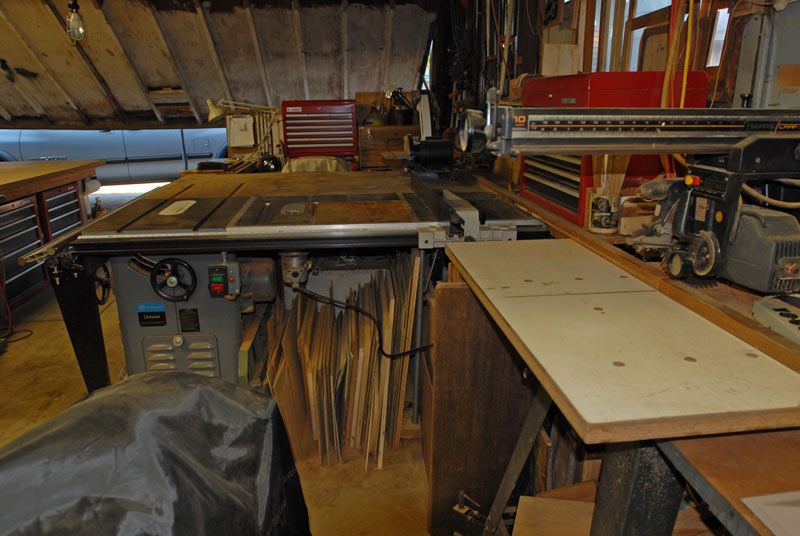
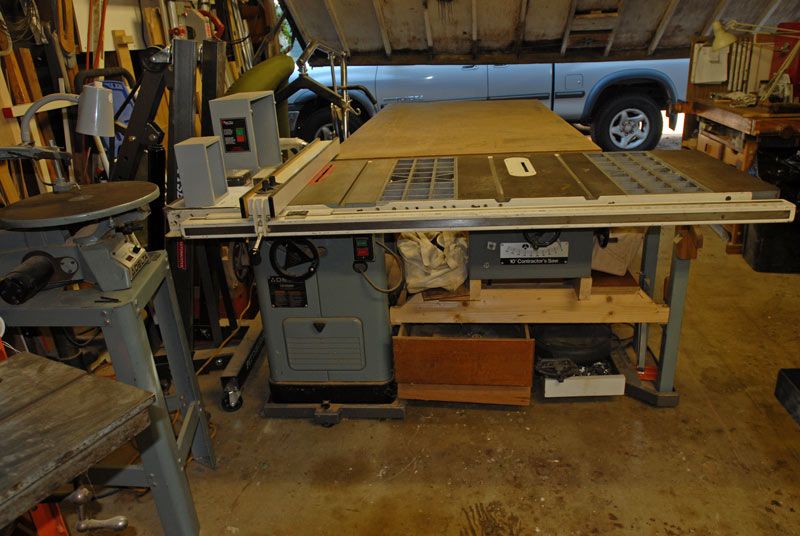
    My shop is small and I do a lot of work on the bench. After a few tries I moved the SS Grizzly to the right till it hit the wall. This got it out of the middle of the shop. Now the bench is in the middle and I can walk around it and work from both sides and both ends. This is much better than having it against the wall. The TS works fine where it is. Been there for 20 years and many projects. Needed to pull it out maybe twice to make a cut. Definitely the way to go.

  2. #2
    Agreed. I'm working on setting up my new shop and have planned to put the table saw far right nearly against the dust collector.

    Scott

  3. #3
    Join Date
    Mar 2006
    Location
    SoCal
    Posts
    22,510
    Blog Entries
    1
    Quote Originally Posted by Scott Welty View Post
    Agreed. I'm working on setting up my new shop and have planned to put the table saw far right nearly against the dust collector.

    Scott
    Mine is positioned like this and has served me well for many years. I consider the right limit of the fence to be the end of the saw. Things that are longer hang off the left. To the right is 'no man's land'. Here live some cyclone duct runs, power panel, some often used tablesaw helpers and vertical storage for my sled ZCI's.

    Mine is also about 60-odd inches from the large door facing toward the center of the shop. This puts my back to the door, gives me a feed path onto my outfeed which then puts the material near the center of my work area. On the occasion that I need to feed something longer than 5 feet (I generally rip on the bandsaw and then mill square) I just open the door.
    "A hen is only an egg's way of making another egg".


    – Samuel Butler

  4. #4
    Yup. That's how I have mine. If you don't do a lot of wide rips then this works fine. In fact, it works so well for me, I cut my rails down to 24" so my saw can be even closer to the wall.

  5. #5
    Join Date
    Feb 2003
    Location
    Griswold Connecticut
    Posts
    6,931
    My shop is 9' wide and 19' long. The table saw sits hard against the right wall also. I use a Mast-R-Slide on the left, so I have a little over 6' from blade to the wall on the left. This table saw, out feeds onto another table saw, set at a 90 degree to it.
    "The first thing you need to know, will likely be the last thing you learn." (Unknown)

  6. #6
    Join Date
    Mar 2003
    Location
    SE PA - Central Bucks County
    Posts
    65,854
    "Universal angle" access to the bench is an essential thing, IMHO. Even though my saw is a slider which already marginalizes the right side table, I still have that side to a wall to provide more shop space.
    --

    The most expensive tool is the one you buy "cheaply" and often...

  7. #7
    Join Date
    Apr 2017
    Location
    Michigan
    Posts
    2,770
    "table saw, out feeds onto another table saw, set at a 90 degree to it"

    So does this let you rip and cove a board in one pass?

  8. #8
    Join Date
    Nov 2003
    Location
    Central North Carolina
    Posts
    1,830
    Tom,

    My shop is also small at 14' X 26'. My Unisaw with a 52" Unifence and side table sits about in the middle of the 26' wall, with the end of the saw's side table up against the wall. My 6" jointer sits along the left side of the saw and is lower than the saw table. There's a 3 1/2' aisle between the jointer and a bench that holds my chop saw. This bench is against the opposite 26' wall. I rarely use the Unifence at it's widest setting, so the extreme right end of the saw side table tends to collect stuff, which has to be moved when I want to cut something wider than about 32". When I bought the Unisaw it came with the 52" Unifence and I haven't been able to convince myself that I should cut it down. I had a full 26 X 30 shop before I moved here and managed to squeeze exery thing closer together to get almost everything that I had into this smaller shop, but isle, bench, and assembly space suffered significantly.

    I break up full sheet stock outside on my portable cutting table using a circular saw and straight edge. I then bring the pieces in for their final cutting to size, I have never tried to cut full sheets on the Unisaw because too much has to move around to get a full sheet on and off of the saw, but I suppose that it could be done, if I really wanted to. The bench that I most frequently use is a stand alone that is surrounded by 3' of aisle space and the bench is behind me when I'm using the saw. It's also 2" lower than the saw, so long work can be cut, if the bench is clear. The shop is tight, and it's definitely only a one man only shop . I would love a larger shop, but it isn't going to happen here.

    Charley

  9. #9
    Join Date
    Nov 2013
    Location
    Leland, NC
    Posts
    476
    Against the right hand wall in my 14 X 28 shop too. I can set the rip fence to 32 inches. It is RARE when I rip full sheets of plywood, in fact I never do it anymore, I have the big box rip it to rough size for me. Easier to carry, easier to handle.

    The router table sits on the left of the saw and feeds in the same direction. Most of the time I use it to pile stock on when I am using the TS.

    I still have not figured out all these "small shop" plans that I see with the table saw parked right in the middle and the bench against the wall. it is much more important to me to be able to walk around a project while I am working on it.

    IMHO a small shop is great! I have had bigger ones. Too much walking around, too much filling it up with "stuff".

  10. #10
    Join Date
    Nov 2003
    Location
    Central North Carolina
    Posts
    1,830
    With my small shop I never even try to cut full sheets of material inside the shop on my Unisaw. It's very inconvenient to have to maneuver a full sheet in such a small space, so I do all of this work outside the shop in my driveway. I tried having the BORG cut my sheet stock, but they hack it up pretty bad and splinter the edges severely. I now buy better quality sheet stock from a better source, but they don't offer cutting services, so I now need to, and prefer, to do it myself. Before making the table I was putting the sheets on top of a piece of rigid foam insulation on the floor, but I now have metal knees and can no longer work at floor level.

    I have a simple cutting table that I made. It has banquet table legs that you can buy from Harbor Freight or Northern that fold for easy storage. The table top is just a 1 X 4 pine frame about 24" X 70" in size with five 2 X 4 crosspieces laid flat and flush with the top of the frame where needed to attach the legs, plus one midway in the frame. The rest is open spaces that sometimes come in handy when using a jig saw or sawzall. I used no metal to build the frame, All joints were glued with biscuits inserted for additional strength. The only metal in the wood top is the short screws that attach the leg hardware. With the cross pieces installed flat and flush with the top, the legs fold up into the space below, so they are entirely inside the 1 X 4 frame. I store my table on it's edge against the sheet stock in my shop.

    The photos are of my first table. At the age of 72 I decided that the table was getting too heavy for me and I re-made it, changing the frame sides from 2 X 4 to 1 X 4 material and reduced the table weight by about 20 lbs, but I haven't taken the time to take a picture of the new one. The only difference is the choice of material for outer frame.

    To load sheets onto the table I added two small pieces of plywood with a hole drilled off center. I attached these to one side of the table frame with screws tightening them enough so they are snug, but the plywood pieces can still be turned. I can turn these pieces so they stick up above the table or turn them to be flush with the table surface. When loading a full sheet, I turn these so they extend above the table and then lay the table on it's side with these pieces down against the pavement and the table legs opened. (see photo). I Then place the sheet stock on it's edge on these plywood tabs, and leaning against the table, then place my hands under the table and the sheet, and lift both together to the table's upright position with the sheet lying flat on the table top. I then turn the plywood tabs so they are below the table surface and then center the sheet on the table.

    You could then use a track saw to break up the sheets, but I have a circular saw with a high tooth count thin kerf blade and a shop made attachment that guides the saw along on one of the two straight edge guides that I have. The saw has a piece of Lexan attached to the shoe of the saw that performs a zero clearance insert function where the blade teeth rise up through the cut, but it has a larger hole behind this point to allow the saw guard to function. I have two wide extruded aluminum straight edge clamps that I use. One is 50" long and the other is 102", both were obtained from Peachtree Woodworking www.ptreeusa.com , but you could make your own straight edge or use any that you already have and clamp them in place on the stock. The end result for me is a kind of track saw that I built myself.

    I set the blade depth of the saw to cut about 1/4" deeper than the thickness of the material that will be cut, place the straight edge in it's proper position, and make the cut. I don't worry about the kerfs in the table top. They add character, and if the table ever gets too rough, I can always make another top and transfer the legs to it (We replace old saw horses when they get rough tops too). The saw blade cut is also far short of ever reaching any metal in the table, so I never worry about damaging the blade. I make a cut, remove the off cut and then re-center the remaining part of the sheet and position the straight edge, then make another cut, and repeat this until the sheet breaking up process is complete. I try to always leave about 1/8 - 1/4" of extra material, so I can do my final cutting and squaring of each piece inside my shop on my Unisaw. Those of you with a track saw probably won't need to do this last step.

    In use, I make most cuts roughly centered on the table. The advantage of using this table is that the main part of the sheet and the off cut piece never falls or breaks off as you reach the end of the cut, which is so common when using saw horses. I still have a couple them around, but I have never used them for breaking up sheets since building this cutting table. My table is so much better for this than saw horses. The last time that my saw horses were used was to hold up a scaffold plank about 4 years ago. This cutting table with a full sheet of 3/4 plywood on it also makes a very acceptable expansion picnic table when more guests show up at your family picnic than was expected. It can hold 14-16 additional guests. DAMHIKT.

    Charley
    Attached Images Attached Images
    Last edited by Charles Lent; 04-30-2017 at 10:05 AM.

  11. #11
    Join Date
    May 2009
    Location
    Boston
    Posts
    1,740
    Mine is in the middle of the shop (20x20) with an outfeed table the length of the saw plus extension. Saw plus extension is 28x74 and the outfeed is 74x48 so the whole foot print is 74x74 or 6 1/2 by 6 1/2.

    I built storage underneath all around and added plugs for the TS plus 3 outlets for sanders, etc. the outfeed table serves as an assembly bench. I ran all of the electrical under the floor so I have no exposed wires. I also have a 3" overhang so I can clamp things.
    Don

  12. #12
    Join Date
    Feb 2003
    Location
    Griswold Connecticut
    Posts
    6,931
    Quote Originally Posted by Tom Bender View Post
    "table saw, out feeds onto another table saw, set at a 90 degree to it"

    So does this let you rip and cove a board in one pass?
    I'll give a "whirl".

    Too funny.
    I've been working 6PM to 6am for the last month. Thank you for that moment of levity.
    "The first thing you need to know, will likely be the last thing you learn." (Unknown)

  13. #13
    Join Date
    Feb 2003
    Location
    Doylestown, PA
    Posts
    7,569
    Quote Originally Posted by Prashun Patel View Post
    Yup. That's how I have mine. If you don't do a lot of wide rips then this works fine. In fact, it works so well for me, I cut my rails down to 24" so my saw can be even closer to the wall.
    I cut my fence rails down to a little over26" that way I can rip 24" easily. Any wider than that I use a saw guide. Moving full sized sheets of ply around is a pain for me, easier to break down at least partially then cut to size.

  14. #14
    Join Date
    Jan 2017
    Location
    Marina del Rey, Ca
    Posts
    1,937
    My principal Unisaw has a router table built into the right side so it can also use the Unifence. The radial arm saw is adjacent to this, limiting the table saw's rip to 50". On the other side of the shop are another Unisaw, with a carbide rip blade, and a contractor's saw, with a 1/2" dado, married together on a mobile base.


    "Anything seems possible when you don't know what you're doing."

Posting Permissions

  • You may not post new threads
  • You may not post replies
  • You may not post attachments
  • You may not edit your posts
  •