Results 1 to 10 of 10

Thread: Walnut Secretary Build part 3- Doors

  1. #1
    Join Date
    Feb 2011
    Location
    Carlsbad, CA
    Posts
    2,230
    Blog Entries
    2

    Walnut Secretary Build part 3- Doors

    This is the 3rd post of this build, you can get the first part of the build on a previous post.


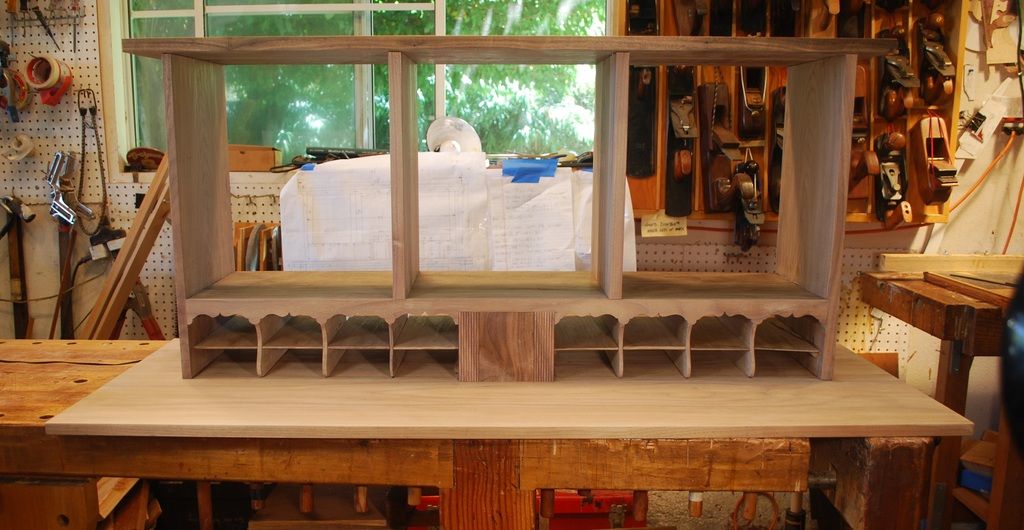
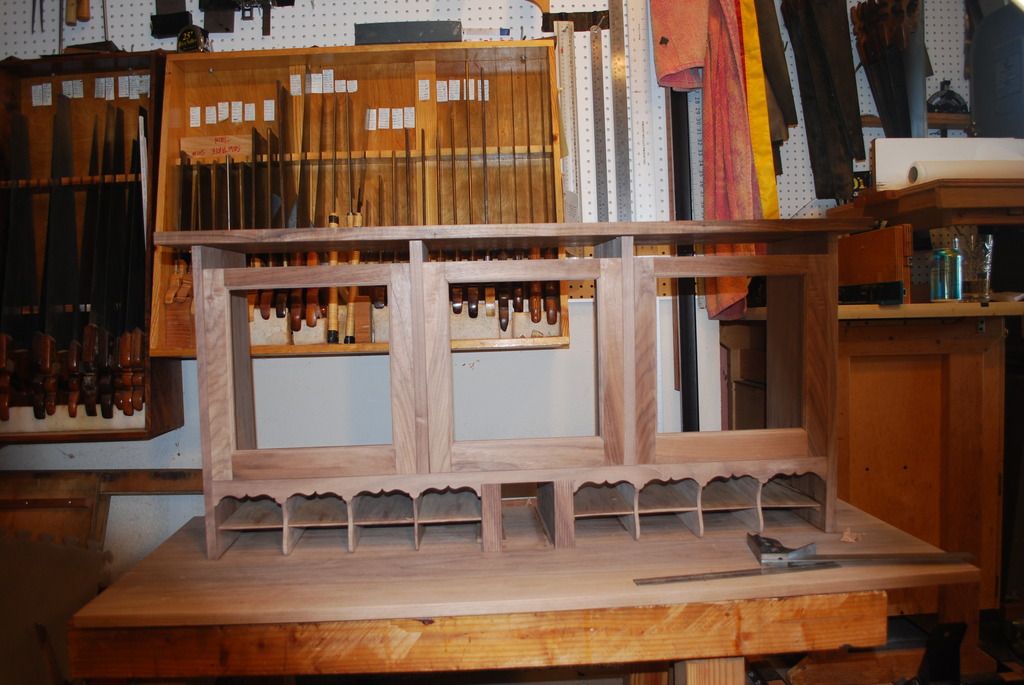
    I repaired the horizontal divider above the central door to get a straight, tight reveal. Probably way more time/effort than it's worth, but now I'm glad I did it.


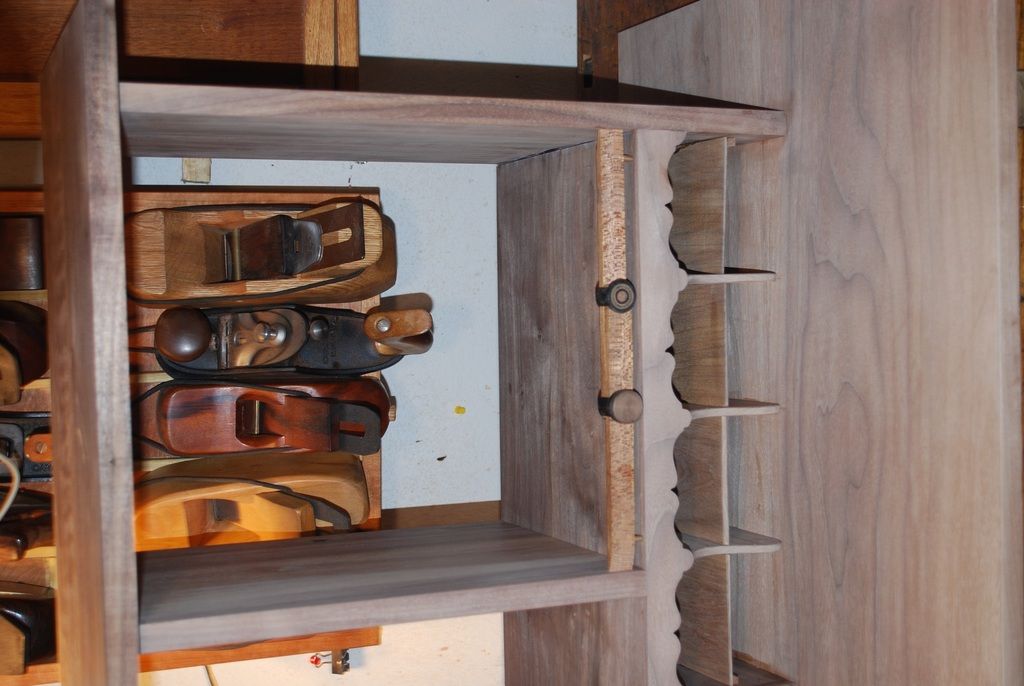
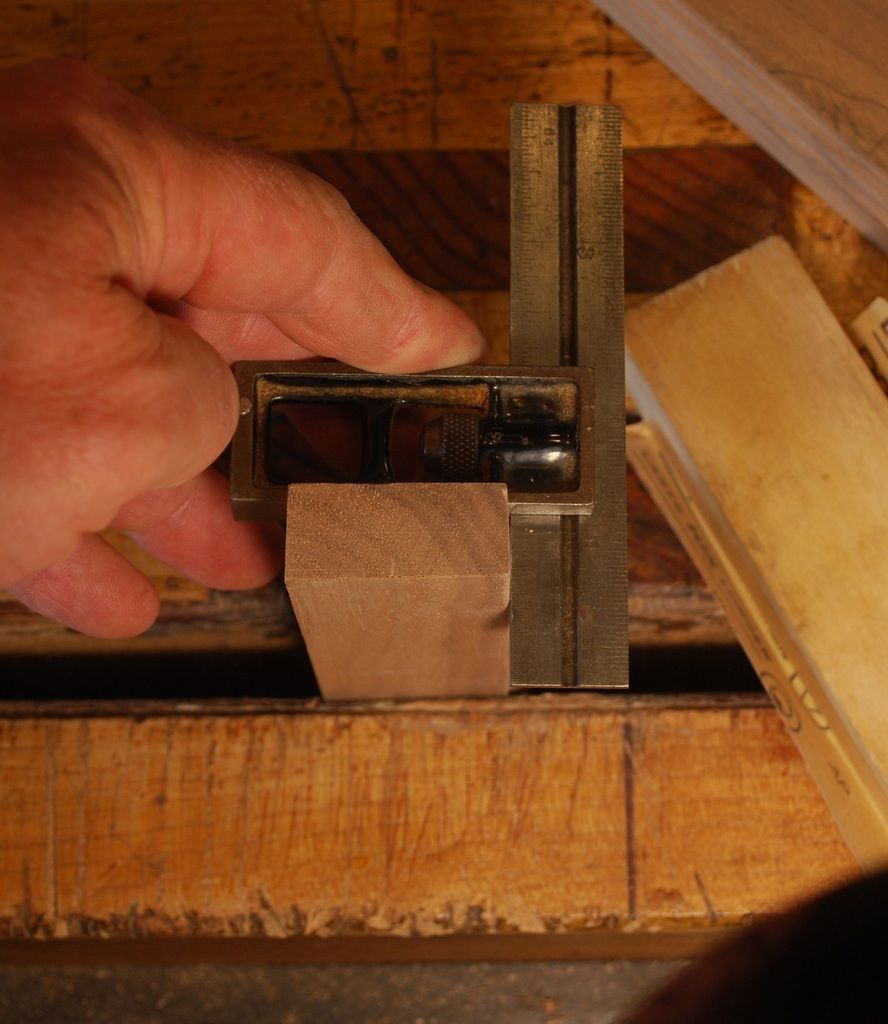
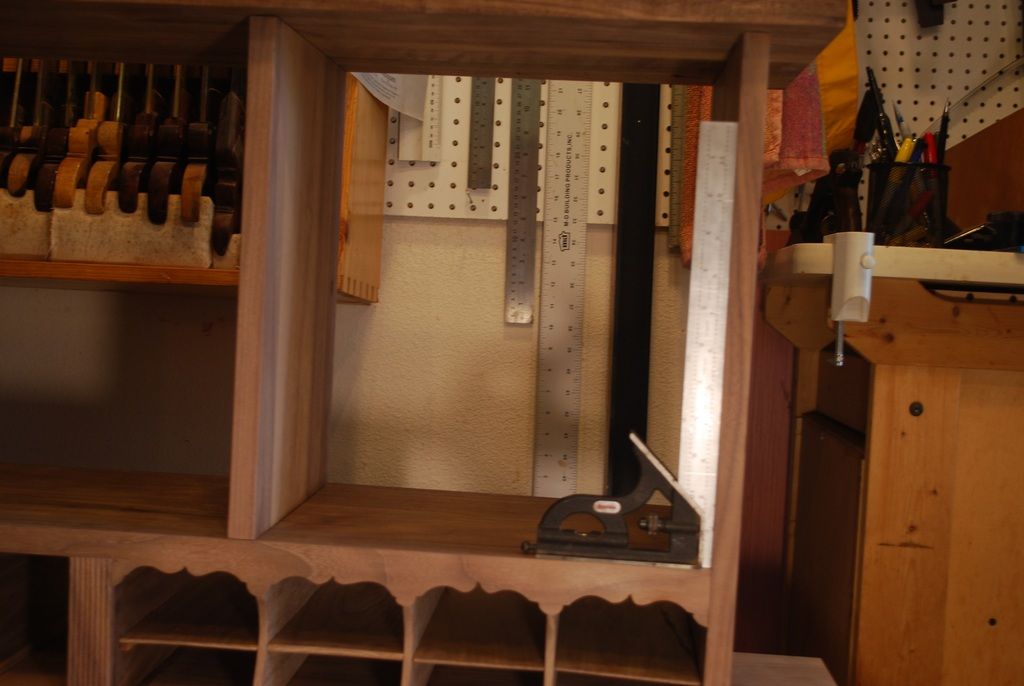
    New with the casework done next step is to build the 3 doors for the upper bookshelf. I try to avoid measuring whatever possible and expandable dividers like this work well for me to get interior measurements.


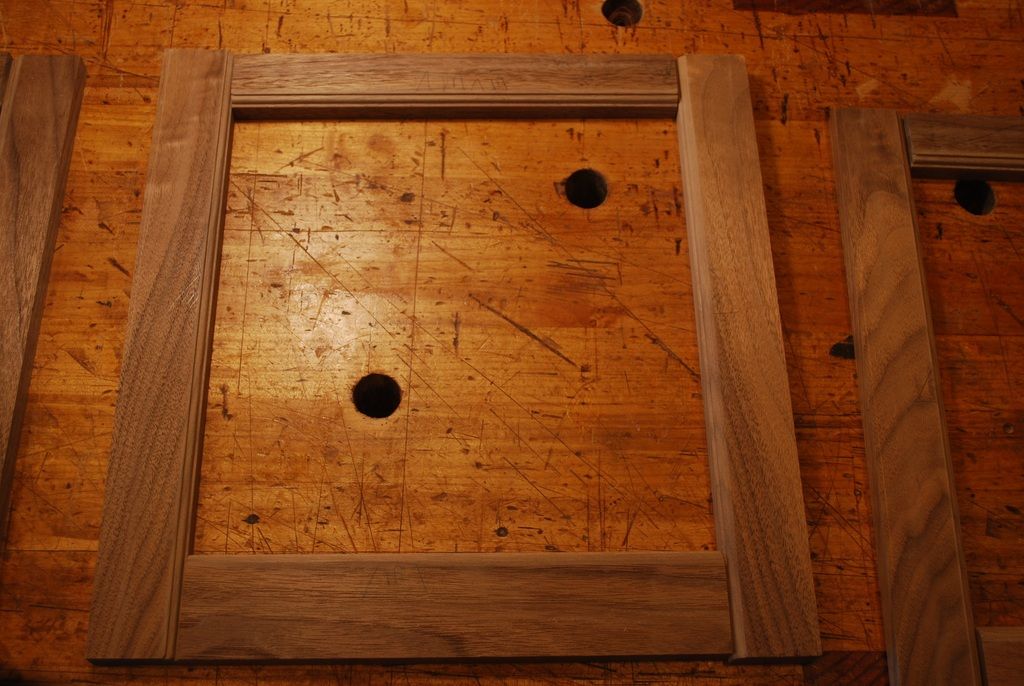
    I added a 3/16 inch wide bead on the inside surface of the doorframes with the molding plane. Sorry no pictures, my wife had the camera.


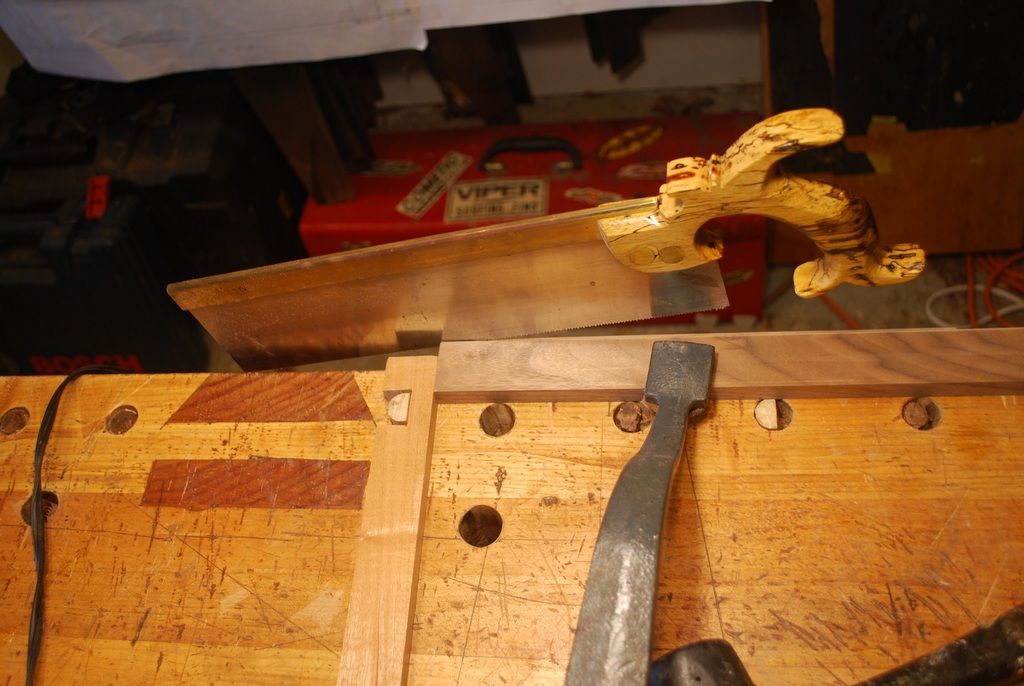
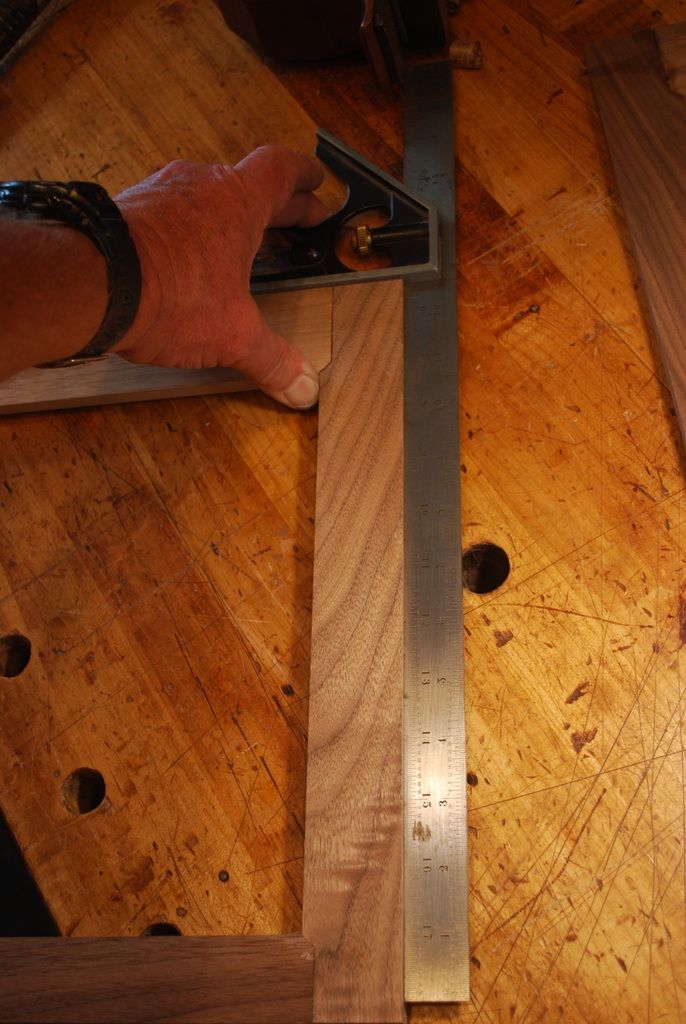
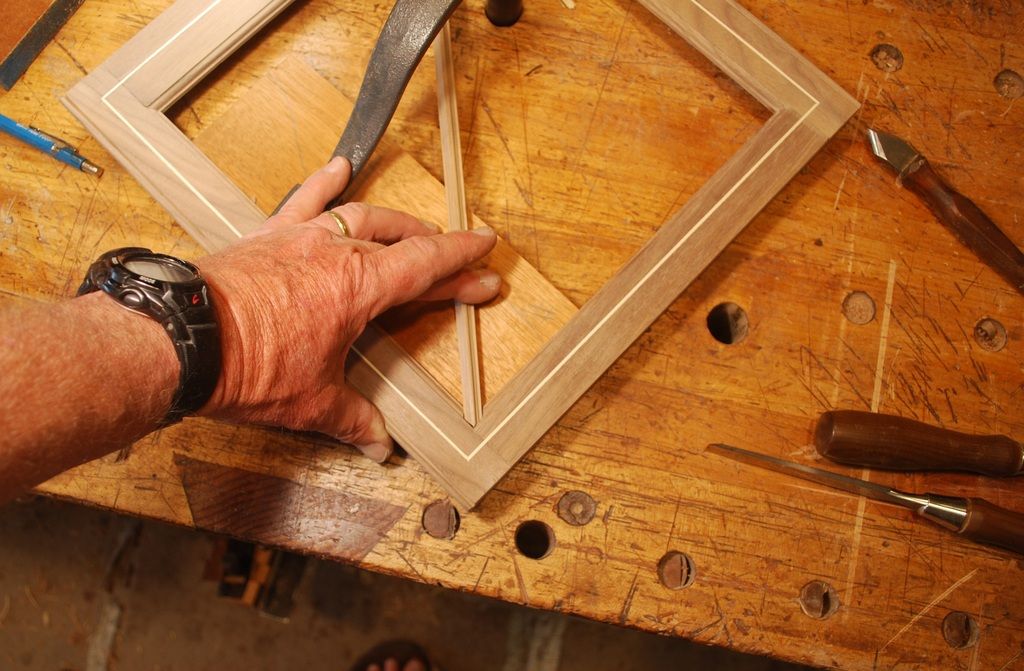
    Sawing/pairing the beading from rail/style's for joinery. Getting adjoining faces square is important because errors will be revealed in the joinery.


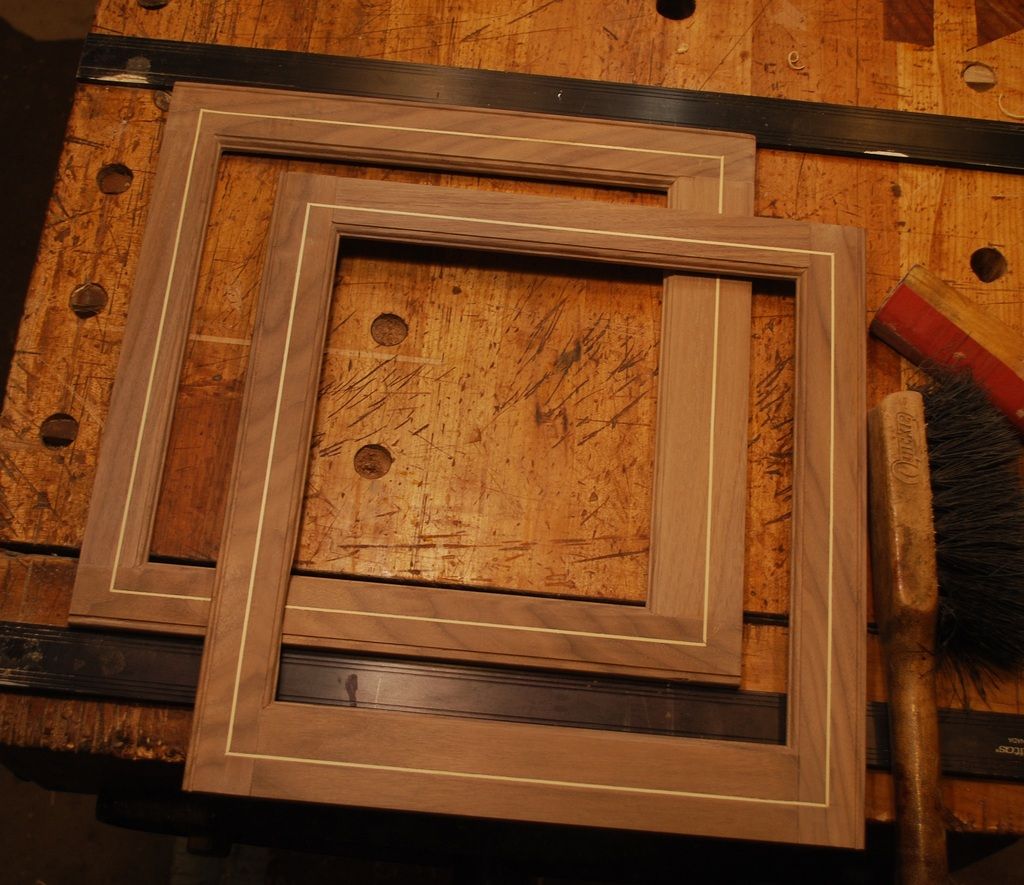
    I typically prefer mortise and tenon joints, especially for doors like this without a central panel to add rigidity. However, I totally blew measurements and had to go with dowels to make the precut doorframe pieces fit.


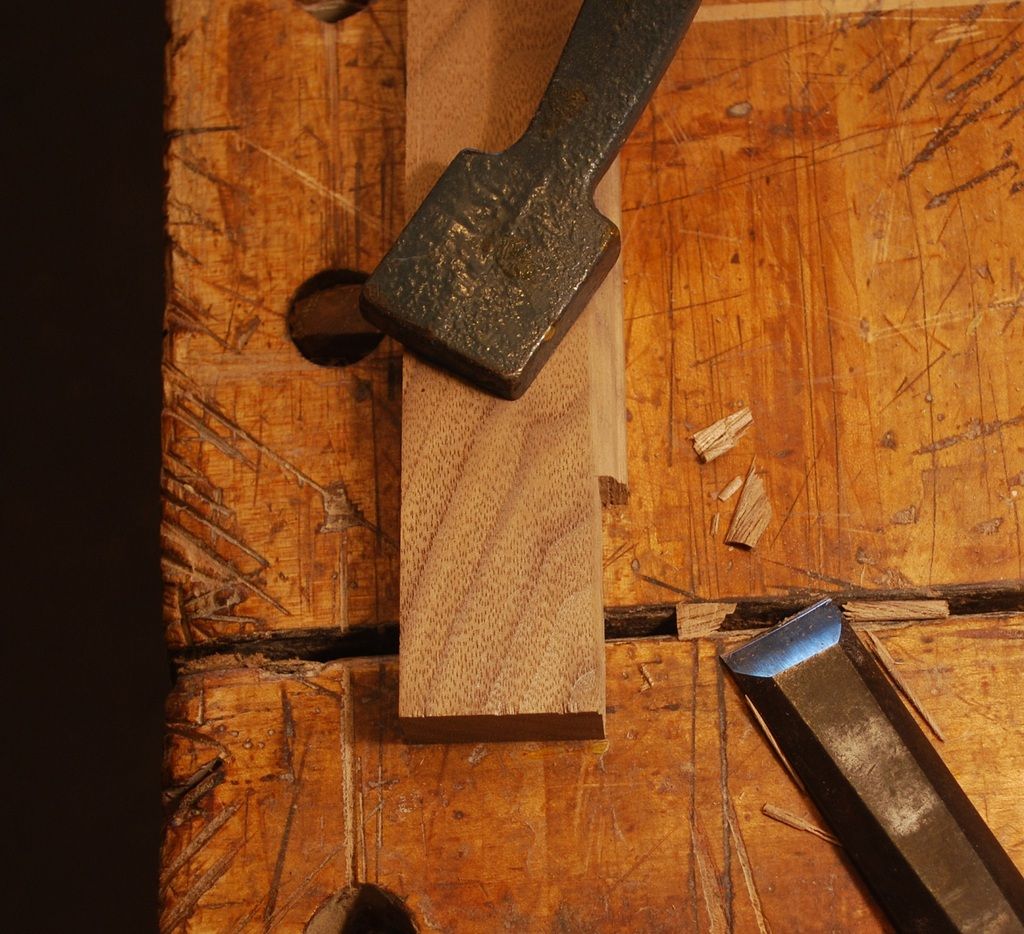
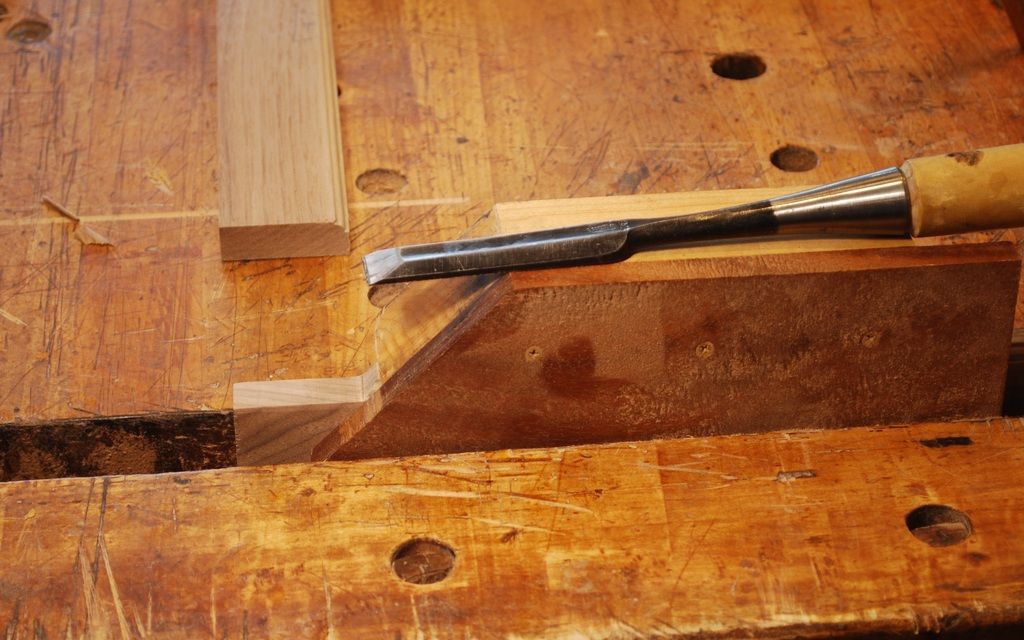
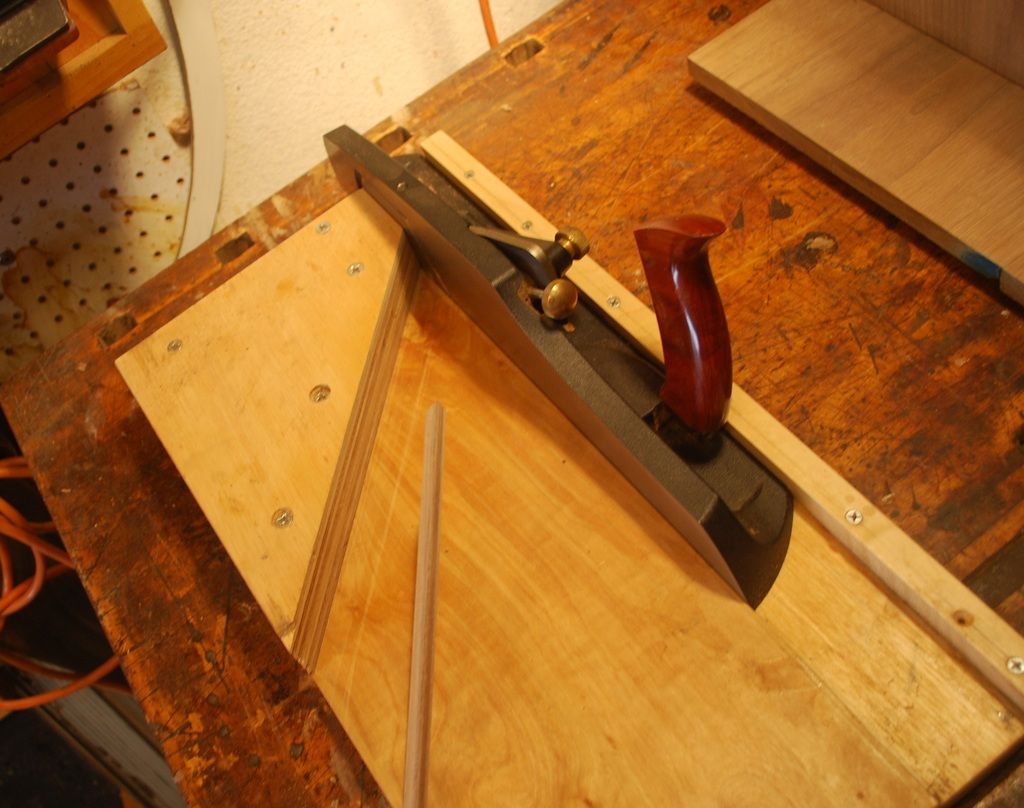
    I use a guide block to pair the miter for the beading.


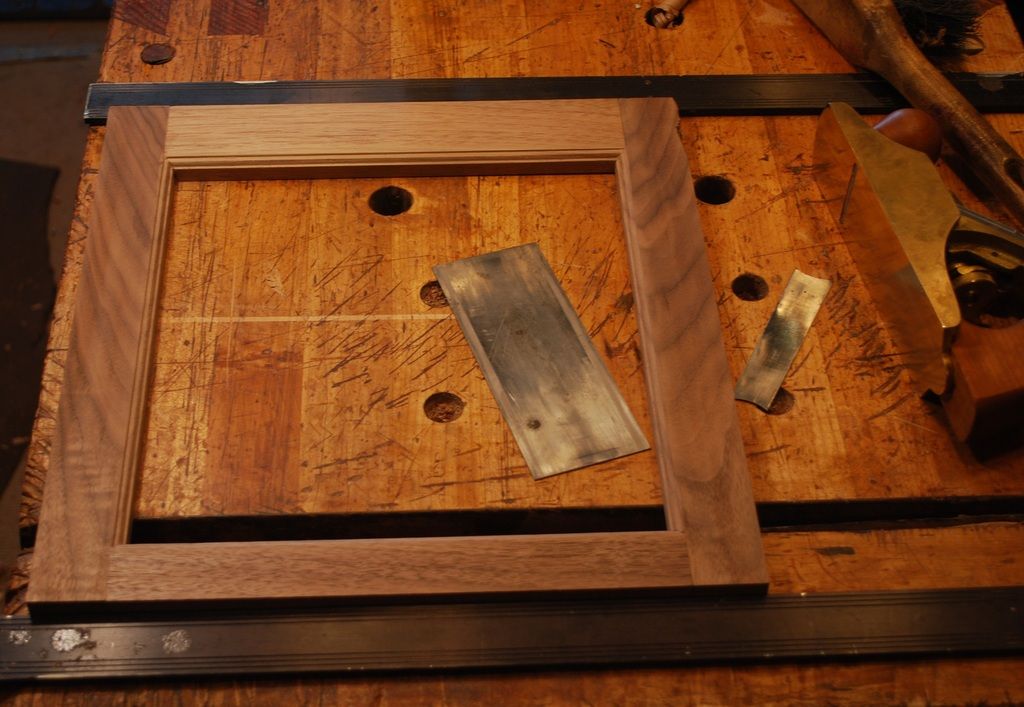
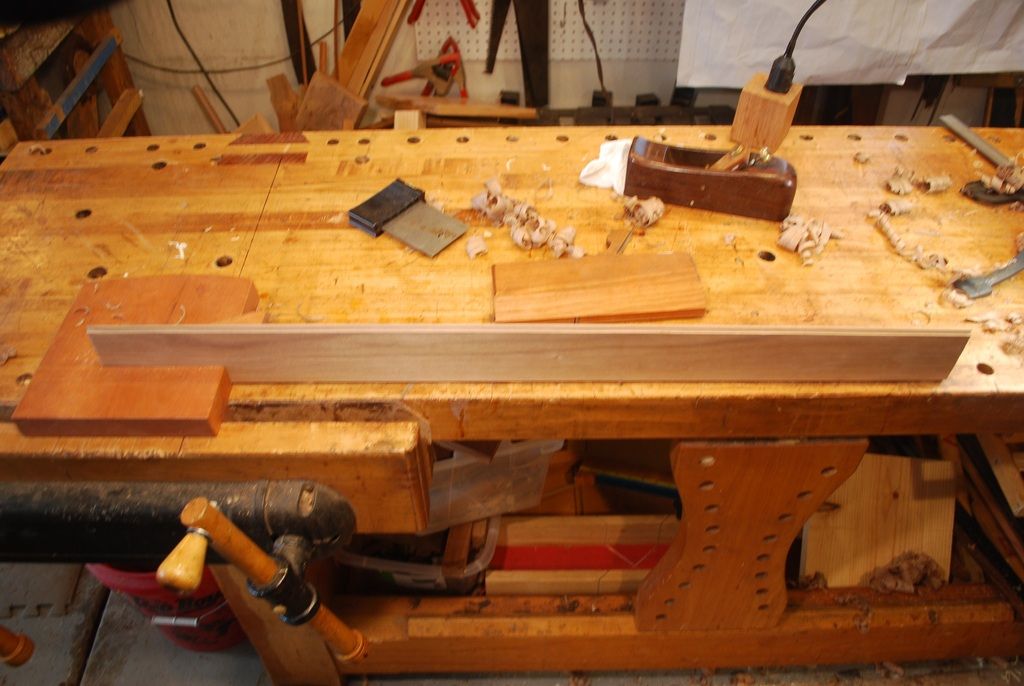
    After assembly, a final planing gets rail/styles flat. I like using a card scraper to smooth show surfaces of right up to adjoining rail/style joints.


    Do

  2. #2
    Join Date
    Feb 2011
    Location
    Carlsbad, CA
    Posts
    2,230
    Blog Entries
    2
    Doors fit/inside the casework so first step is to establish angle of vertical dividers relative to shelf reference. Should be 90, but sometimes isn't quite there.


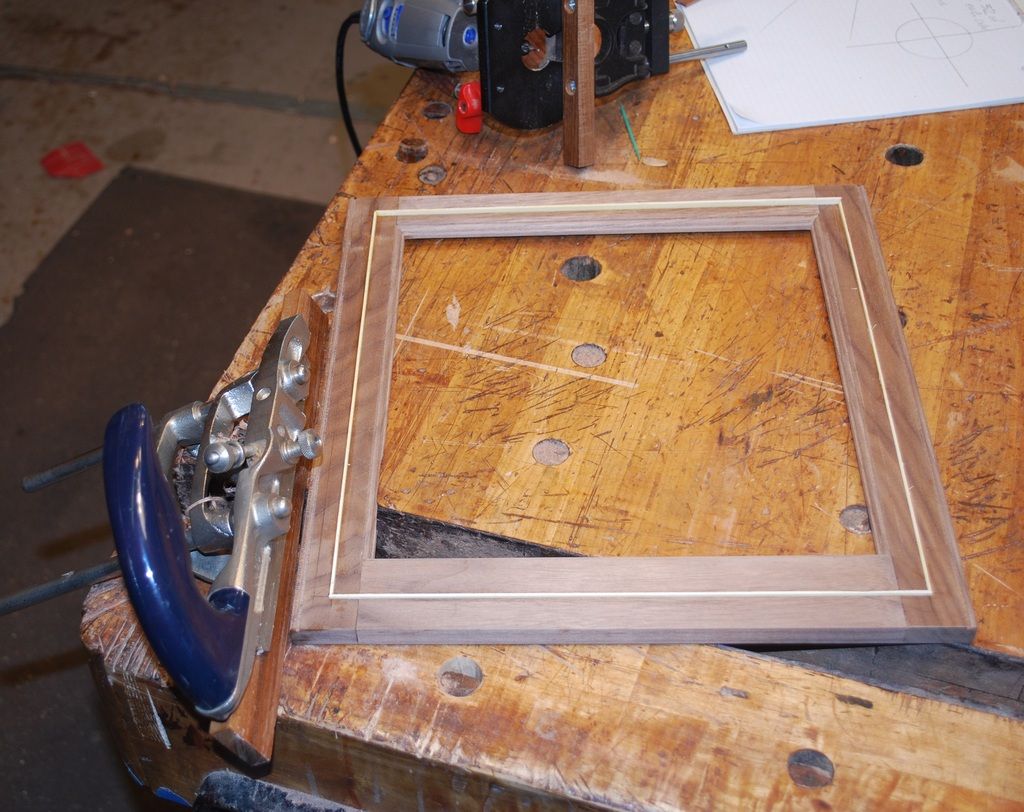
    I added a bead to the vertical door members to set them apart from the vertical members of the casework and added a Holly inlay.FWIW, I like the look of line/stringing, which is common in the federal style.I have a hand tool inlay stringing cutter from Lee Valley that works great. In this case because I had 3 doors, I used the Dremel with a adjustable fence to create the recess for the stringing. Biggest challenge is making stringing that matches the width of the groove. I recommend making a test groove in scrap and then scraping your stringing to ensure it fits. For me, my most visible mistakes are when the stringing is not uniform width and doesn't fill the groove completely.


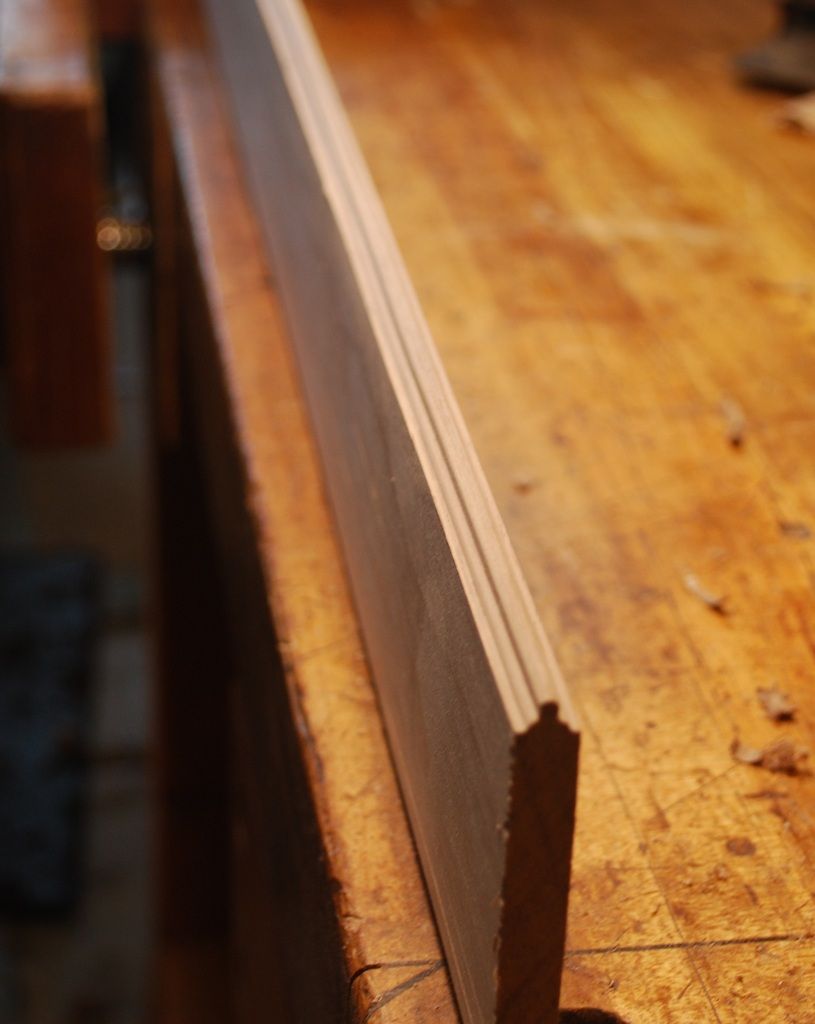
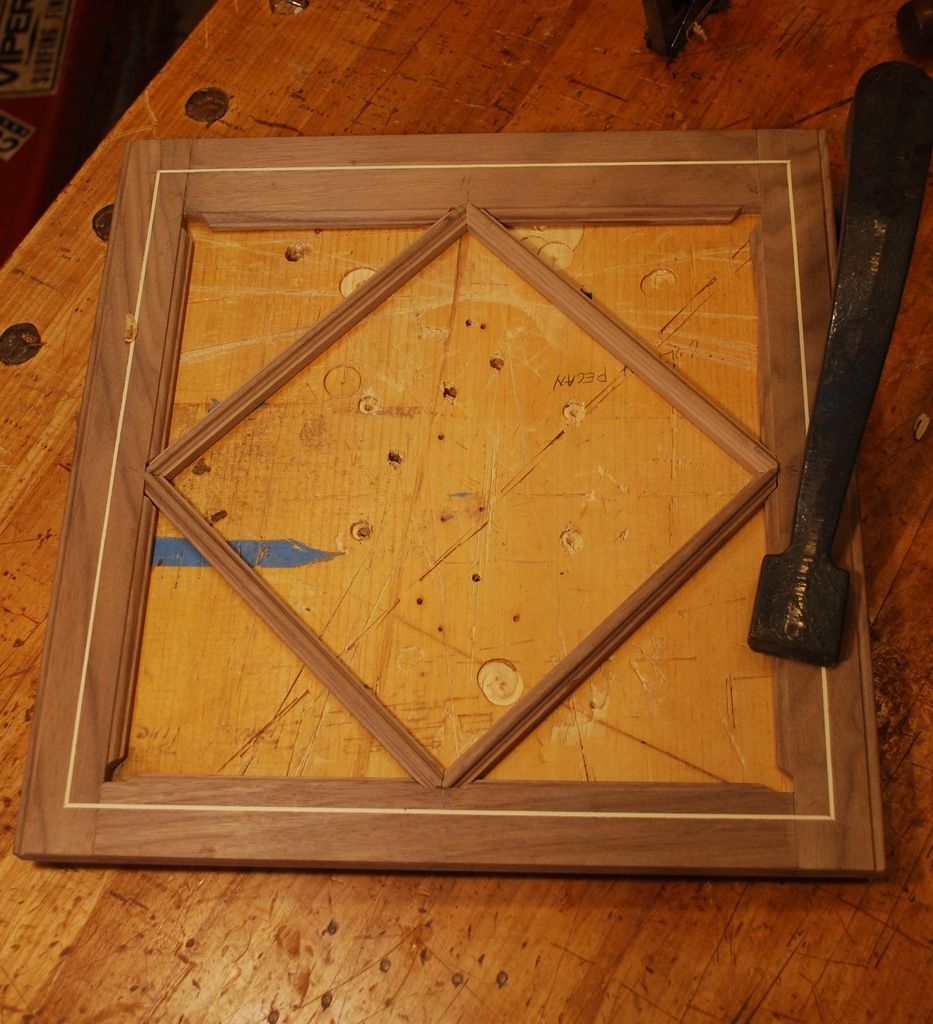
    I use the same beading cutter on the plow plane to create a profile for the mutins that will support the glass in the doorframes. When edge planing narrow stock I like to use a simple bench fixture I got from one of Jim Tolpin's books to hold the work piece perpendicular to the bench surface.


  3. #3
    Join Date
    Feb 2011
    Location
    Carlsbad, CA
    Posts
    2,230
    Blog Entries
    2
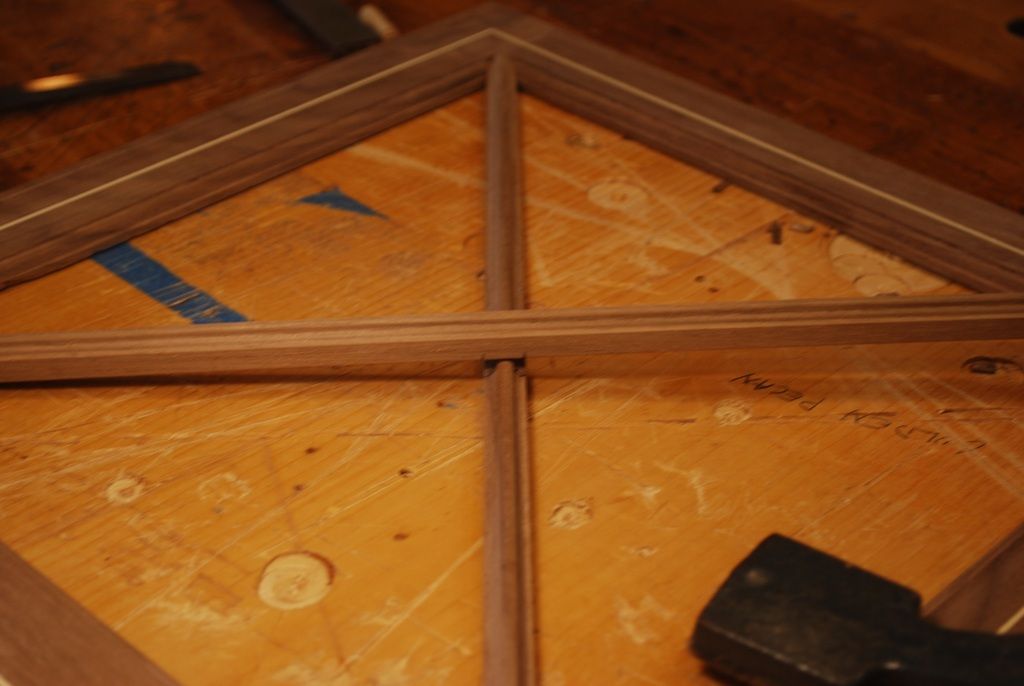
    MItering the edge of the mutins. A little chisel work creates a recess in the beading on the interior corner of the doors.


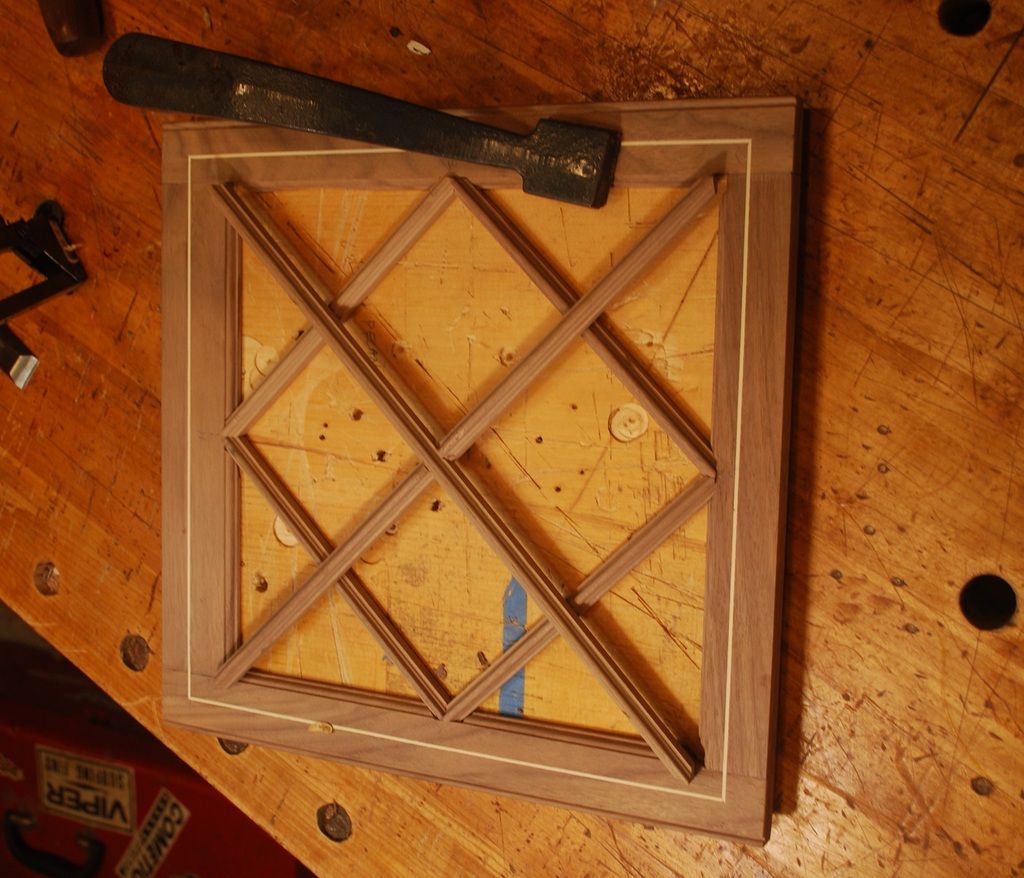
    Getting the corner -to- corner pieces in place was pretty straightforward, the mutins that join the midpoint of the door members was more of a handful. I'm sure there's some kind of math that calculates the correct angles needed. I just sort of eyeballed it. I suck at math.


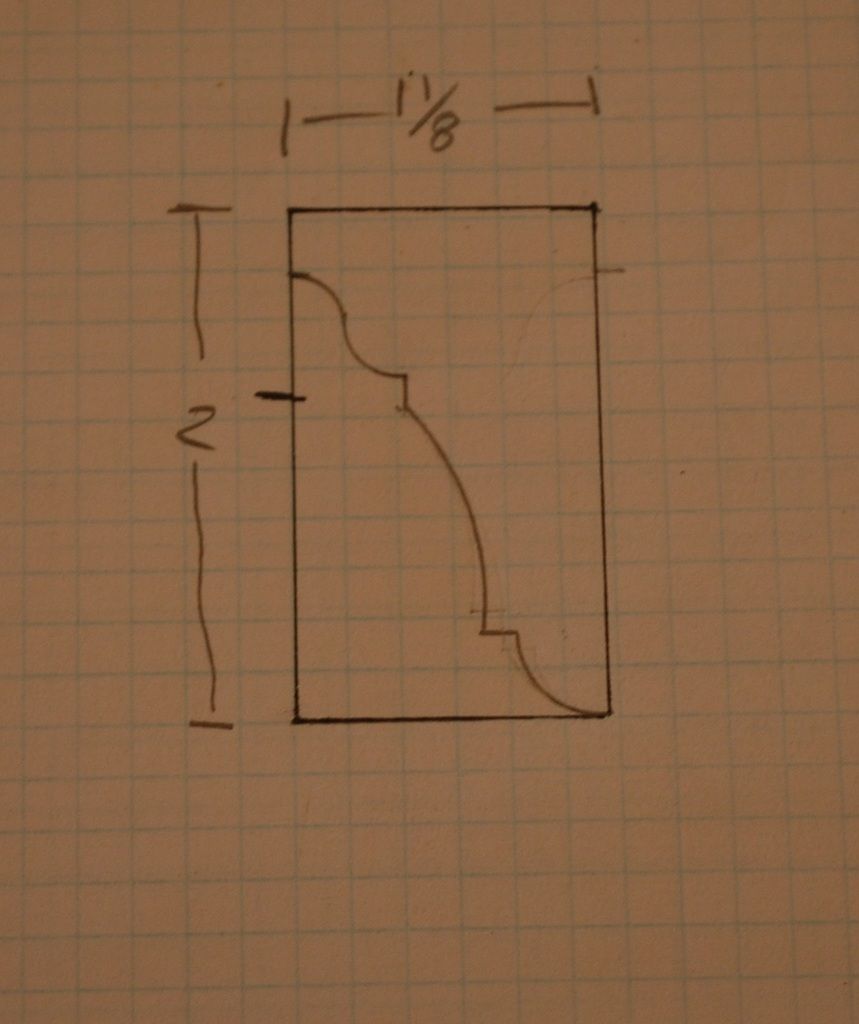
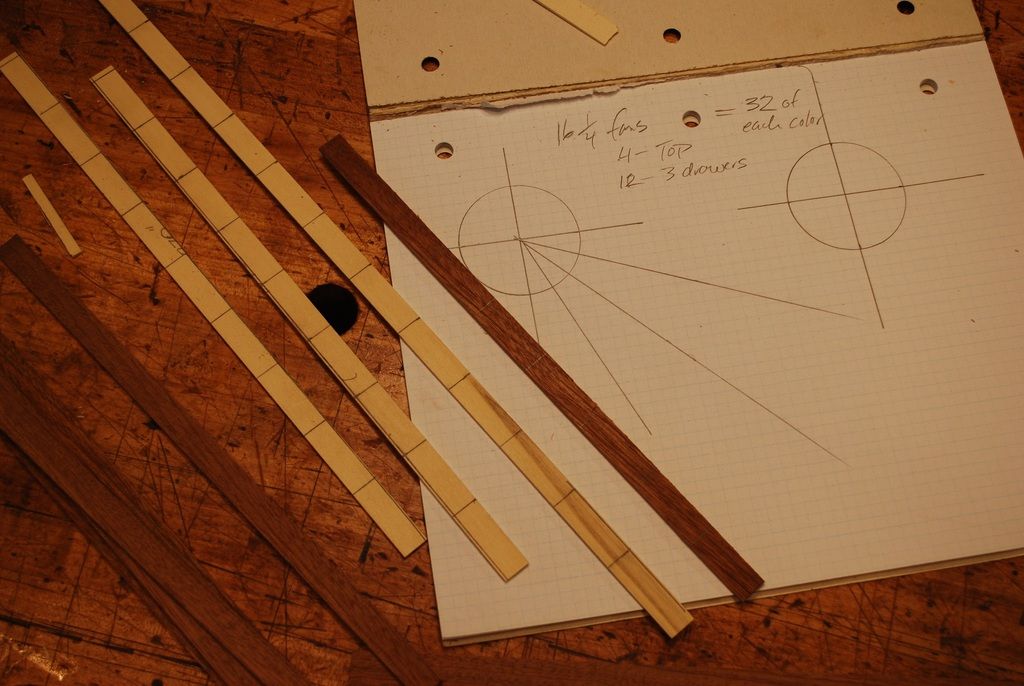
    Next step will be sticking the cornice molding and may be making some inlay fans for 3 drawer fronts on the apron.


    Thanks for looking.


    All the best, Mike

  4. #4
    Join Date
    Sep 2008
    Location
    N. Idaho
    Posts
    1,621
    Mike,

    I'll say that you seem to be taking it up a notch with each project!

    Best,
    Chris
    "You can observe a lot just by watching."
    --Yogi Berra

  5. #5
    Join Date
    Mar 2015
    Location
    SE Michigan
    Posts
    3,225
    Impressive, Mike. You've really notched up the skills with the stringing and inlay (to come!). The mullion work just stresses my brain looking at it. Thanks for the thread.

    If you don't mind me sharing a theory; when I see a few saws from you for sale, I know there is another project on the horizon

  6. #6
    Join Date
    Feb 2004
    Location
    Perth, Australia
    Posts
    9,494
    Mike, you're not making it easy for the rest of us to keep up with you.

    That is impressive work. I love the way you handled the muntins.

    Regards from Perth

    Derek

  7. #7
    Join Date
    Mar 2006
    Location
    Austin Texas
    Posts
    1,957
    Muntins are killer Mike. How do the individual muntin pieces tie in to the rails and stiles? I can see a "receiver" slot/hole, but what else?
    David

  8. #8
    Join Date
    May 2015
    Location
    NJ
    Posts
    1,405
    Hey Mike, your work continues to impress me - muntins are awesome!
    "The reward of a thing well done is having done it." - Ralph Waldo Emerson

  9. #9
    Join Date
    Feb 2011
    Location
    Carlsbad, CA
    Posts
    2,230
    Blog Entries
    2
    Quote Originally Posted by Phil Mueller View Post
    If you don't mind me sharing a theory; when I see a few saws from you for sale, I know there is another project on the horizon


    Phil, your theory is right on target. In between projects I like to restore/sharpen saws for a couple reasons; it's a nice break from large, time-consuming woodworking projects and for me, saw sharpening is kind of a fungible skill – it's easy to lose the feel if you haven't done it in a while.


    I really love vintage saws, not just because they're what enabled me to realize woodworking didn't require a shop full of machines (hand tools are a lot more fun for me), but also because of the connection vintage saws provide to the preindustrial woodworker's who owned them:


    The kind of smooth patina on the tote that only comes from 50 + years of use, what the type of woodworker likely used a particular model/type of saw (shipbuilder, finish carpenter, cabinetmaker, etc.). The way you can tell how many generations used a saw on a daily basis to make a living, based on how much of the plate has been filed away through repeated sharpening's. A straight, well-maintained tooth line, untarnished plate and a well-formed owners mark indicate a skilled craftsmen who intrinsically understood the value of keeping his tools in good working order. Conversely a haphazard tooth line, questionable geometry and a pitted saw plate might be a homeowner/farmer just trying to saw some wood, not really knowing how to properly sharpen, but still willing to give it a try.


    I have way more hand saws than anyone needs and I'm trying to thin the herd in my old age, so I occasionally post a couple in the classifieds. The proceeds go to a good cause and I get a lot of satisfaction from passing along a well tuned tool that helps someone else realize woodworking doesn't have to require a shop full of machines – not that there's anything wrong with that!


    Cheers, Mike

  10. #10
    Join Date
    Feb 2011
    Location
    Carlsbad, CA
    Posts
    2,230
    Blog Entries
    2
    Quote Originally Posted by David Eisenhauer View Post
    Muntins are killer Mike. How do the individual muntin pieces tie in to the rails and stiles? I can see a "receiver" slot/hole, but what else?


    Hey Dave,

    The joints are pretty much what you see; the interior molding on the rails and Stiles is pared away to create a small "slot" that receives the mitered ends of the muntins. Using a mitered shooting board to sneak up on the perfect length of the mutins allows you to achieve a tight friction fit.


    Even though the height of the mutin/frame joint is only 3/8", just a little bit of glue is enough to hold everything securely in place (at least I hope so!). The back of the doors of rabbitted for a pane of glass that fits flush up against the backside of the mutins. I'll use some window putty stuff to keep everything from rattling around. I'll try and post some pictures that hopefully make sense.


    Cheers, Mike

Posting Permissions

  • You may not post new threads
  • You may not post replies
  • You may not post attachments
  • You may not edit your posts
  •