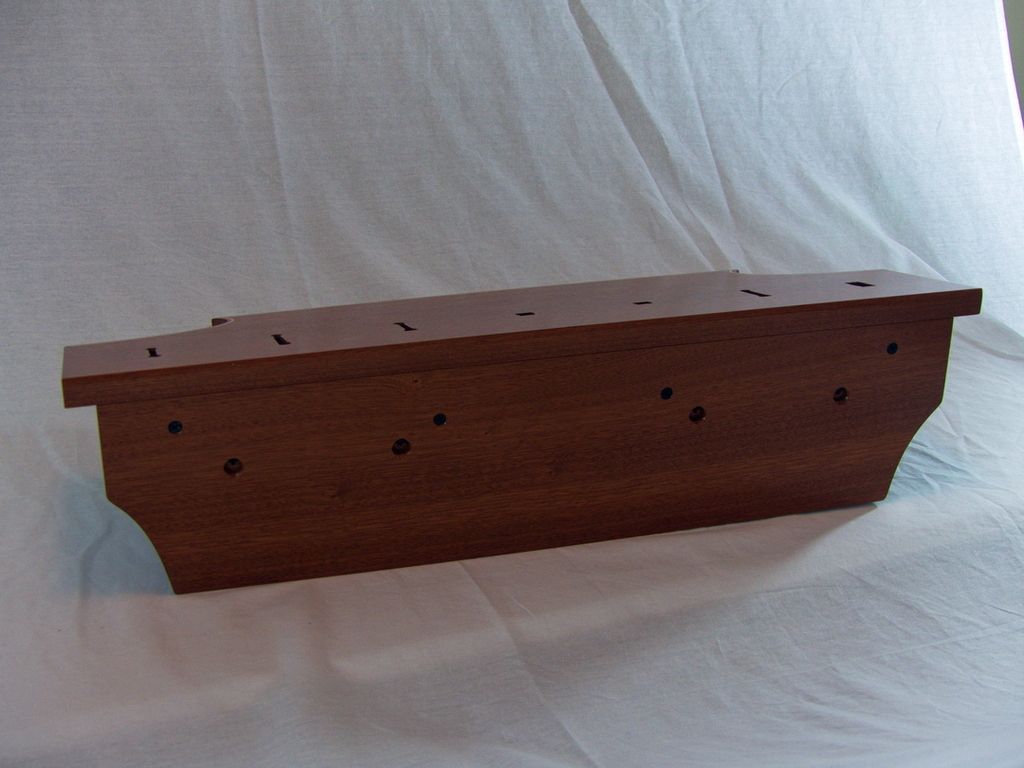
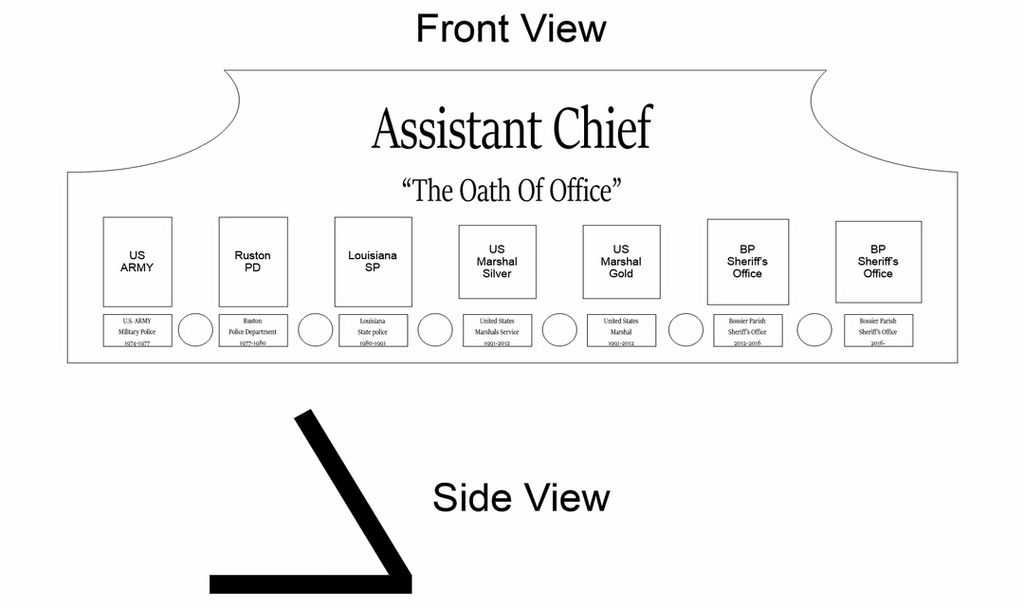
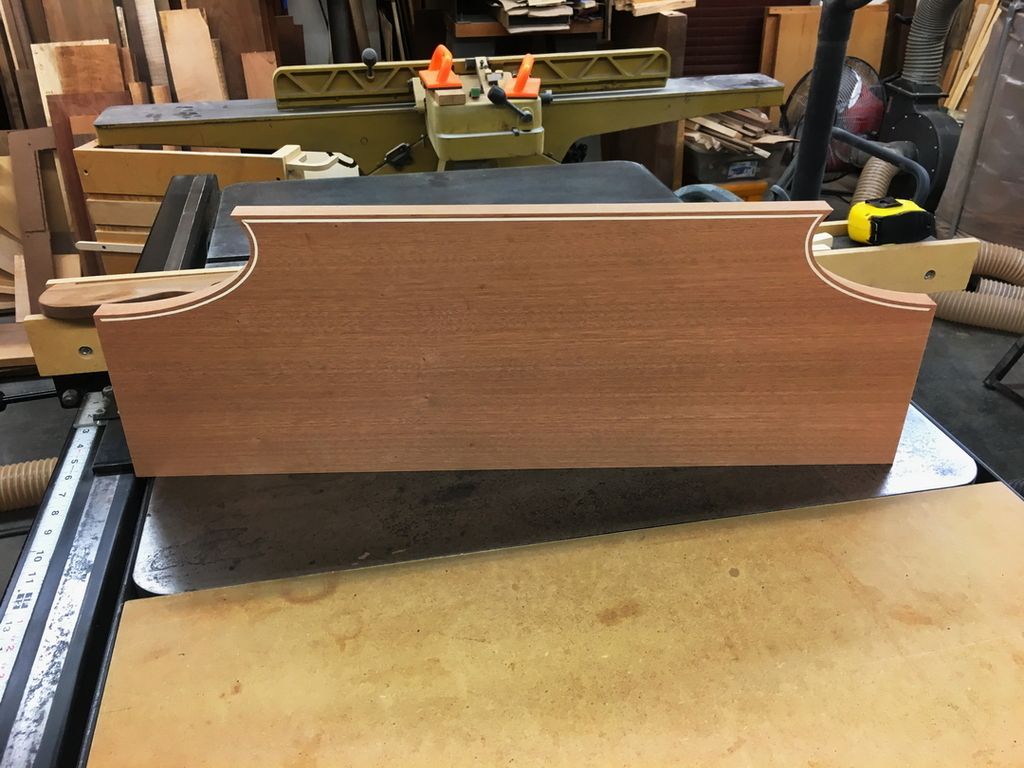
I had originally planned to just post a photo of this as a finished unit but decided to post a few photos of building this instead. This is a display board for the Asst. Sheriff for all the badges he's had in his career and this will be set on his desk. The board is about 26" long by 9" high and will slant back at an angle yet to be determined but likely 15° to 20°. It is made of Sapele and the inlay is Maple. I'll finish this in Nitrocellulose lacquer.
I gave him a choice of Walnut, Sapele, and a handful of exotics and also gave him some options on inlay, binding, or nothing at all but was hoping all along he would choose this type of inlay because I wanted to do it this way (shocking, I know, but I don't always get to build what I want - I have to build what the client wants - LOL!).
This sort of inlay work is something I've always done by hand, or in this size with a Dremel and router base, occasionally with a palm router. But since I built the CNC I thought it only proper to use it to cut the entire piece, including the inlay channel.
For the inlay channel I used a 1/16" bit at 18k rpm cutting at a slow 25 ipm (didn't want to break the bit). The channel is 0.0625" deep and about 0.090" wide. I used an X-Acto knife and a carving chisel to sharpen the corners after routing.
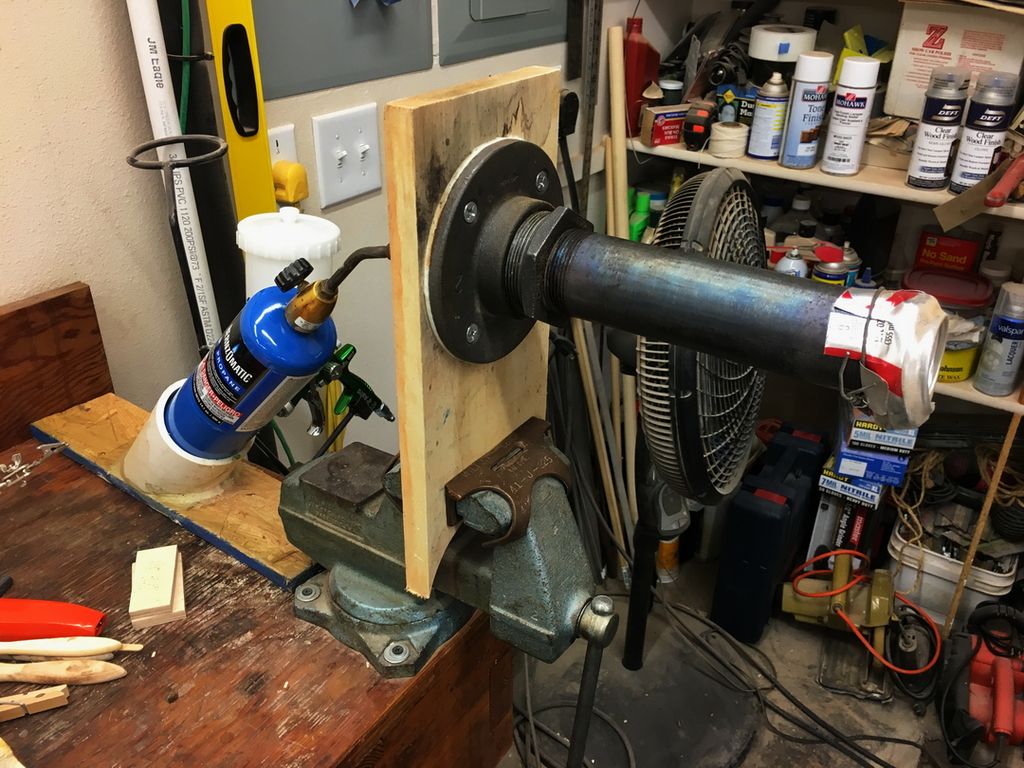
To make the inlay I cut two strips of Maple on the table saw and then used the drum sander to get the pieces to the fit I wanted in the channel. Then I cut the inlay strips to height on the little bandsaw. The miters were cut with a chisel and the curved pieces were bent on my hot pipe I use for bending guitar binding and cutaways. Start to finish on the inlay was about 40 minutes.
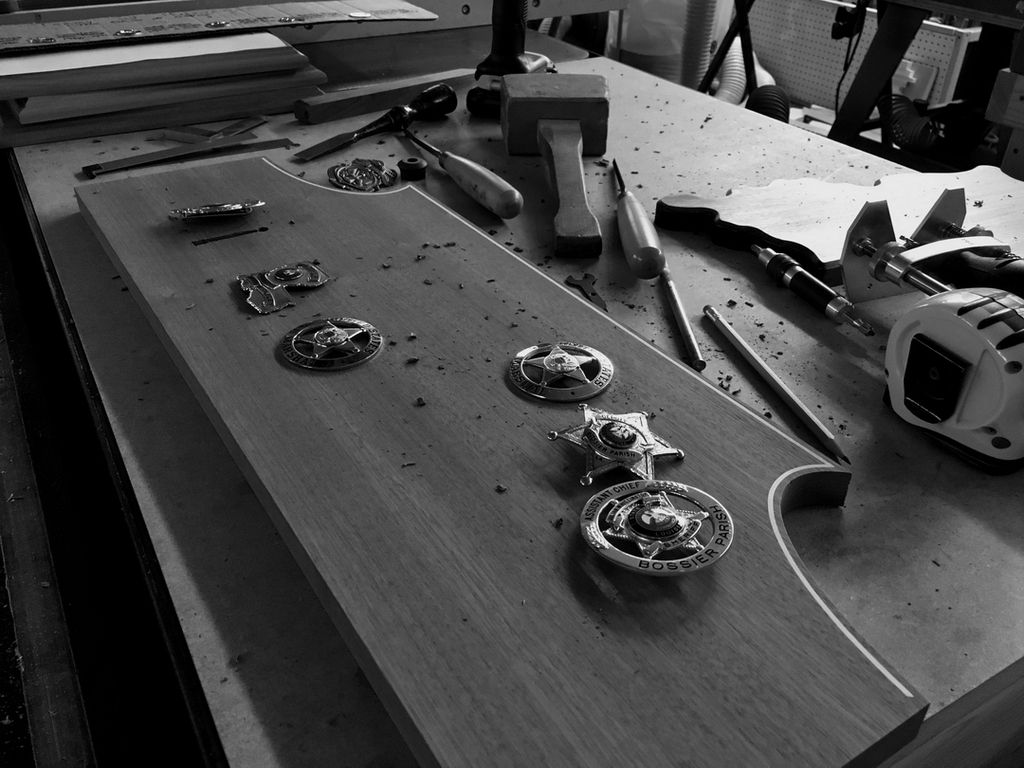
Ordinarily I use Titebond on something like this but the inlay fit so well into the channel that I just left it in place and flooded it with CA glue. I took a bread to mow the yard and then came back in to run it through the drum sander again to level the Maple. After a couple of passes with 120 grit it is ready to fit the badges. I'll use a Forstner bit and cut recess where the clasps are on the badges so they can be set flush to the surface.
His name will be engraved above the badges but I removed it for this. When he retires he'll pass this on to his son who is a Deputy.
Anyway, this is enough rambling on something this simple and small so here are the photos -
Sketch -
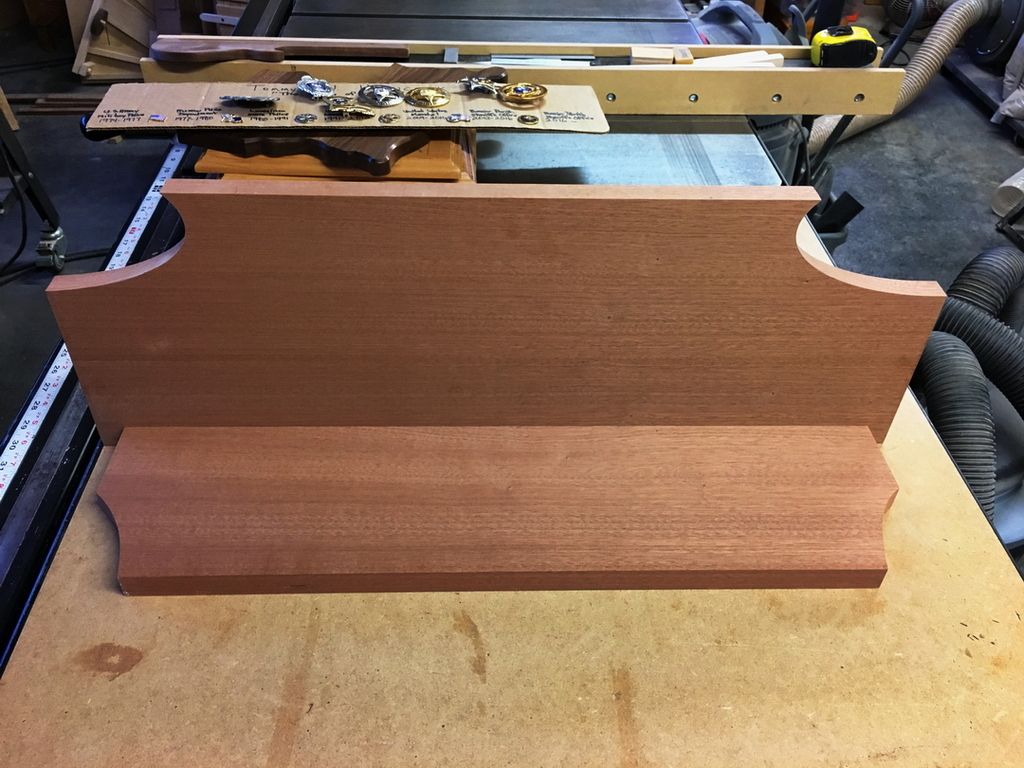
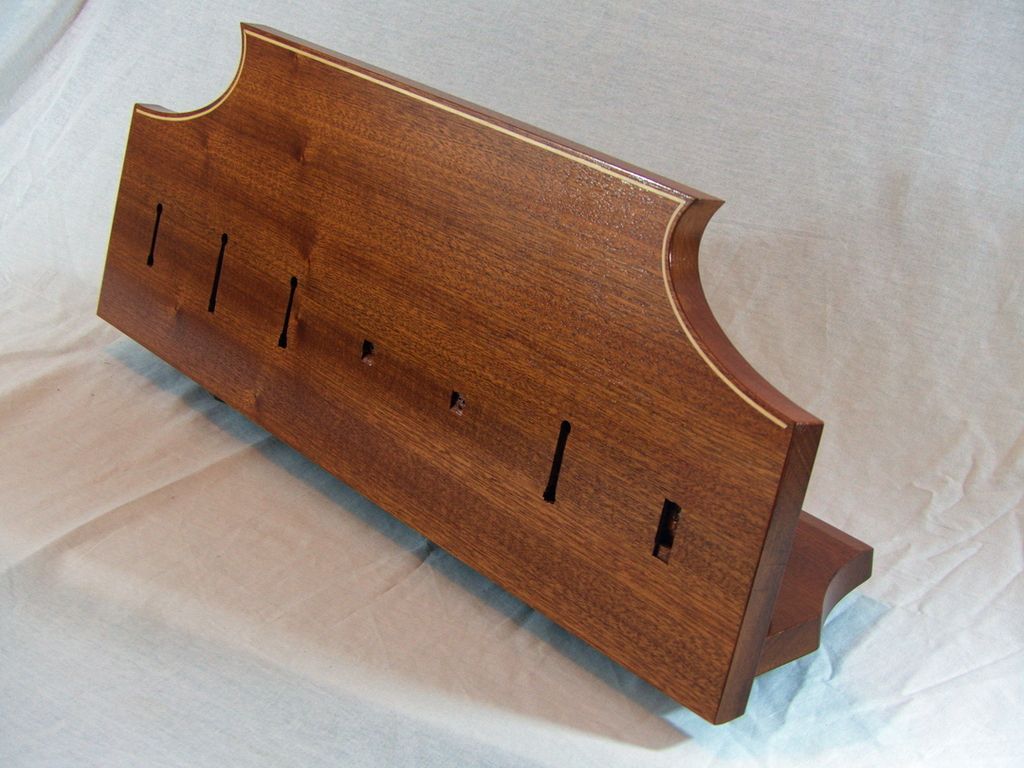
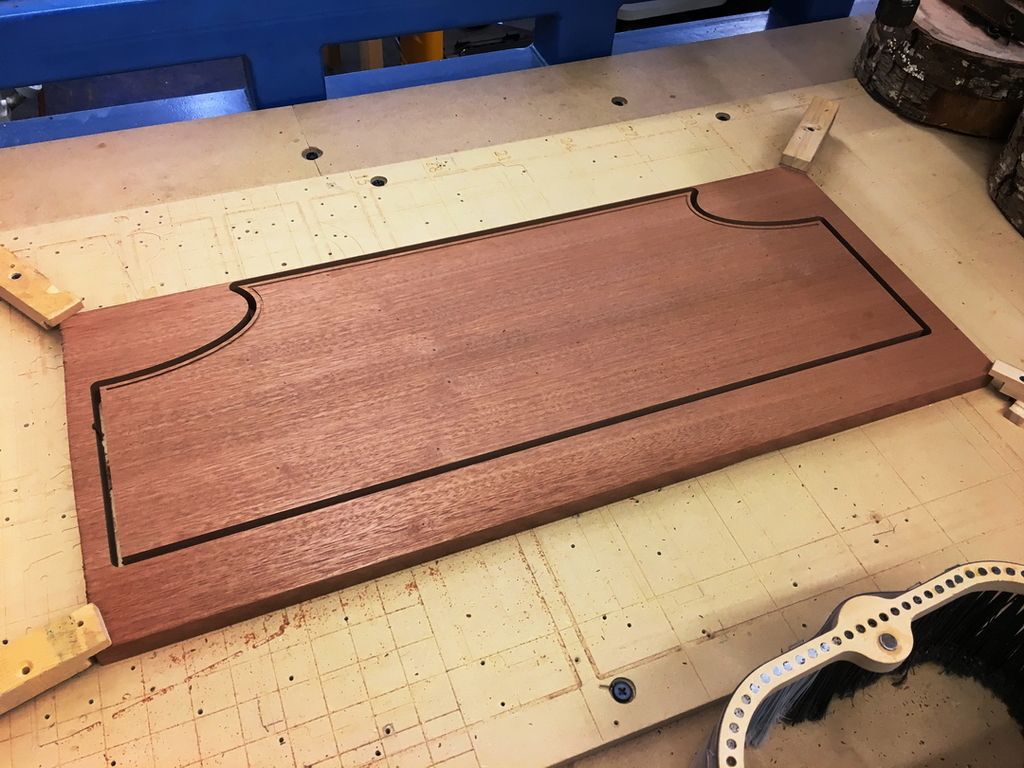
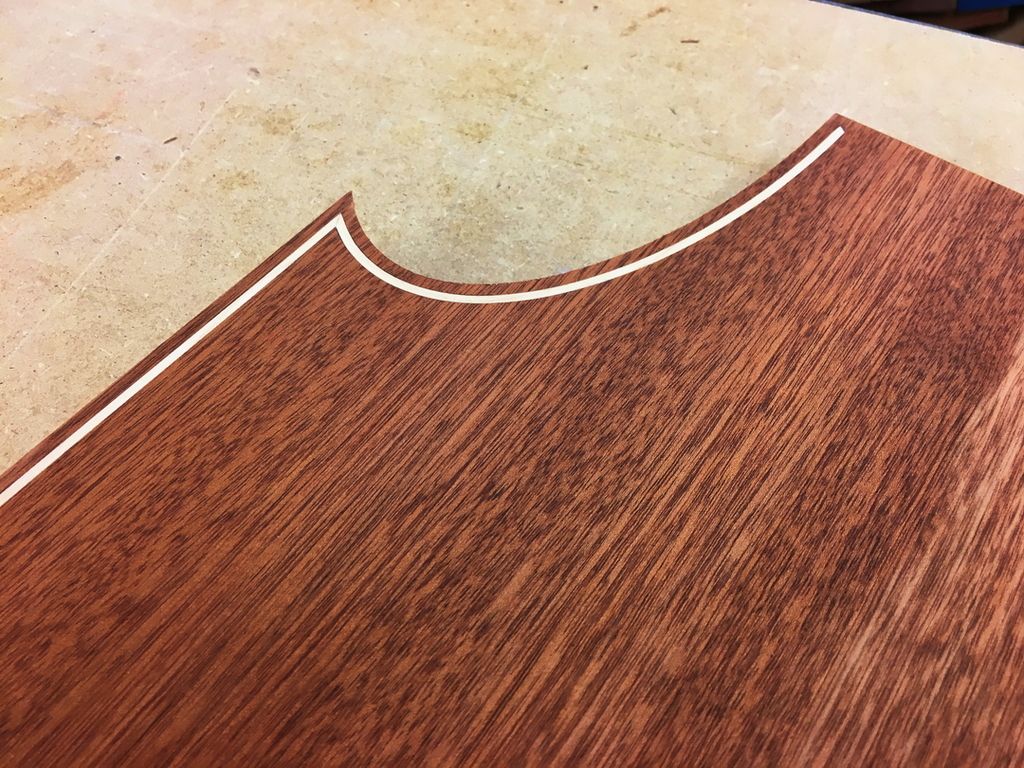
Profile cut and inlay channel ready -
Testing inlay -
Bending pipe setup -
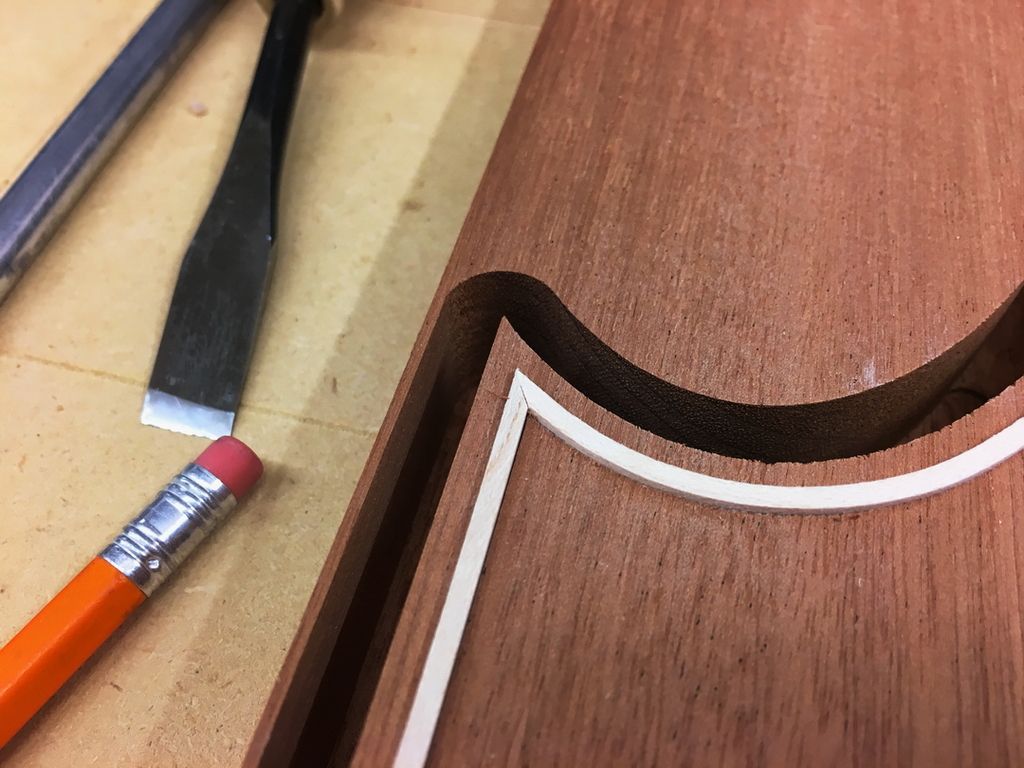
Dry fit of miter -
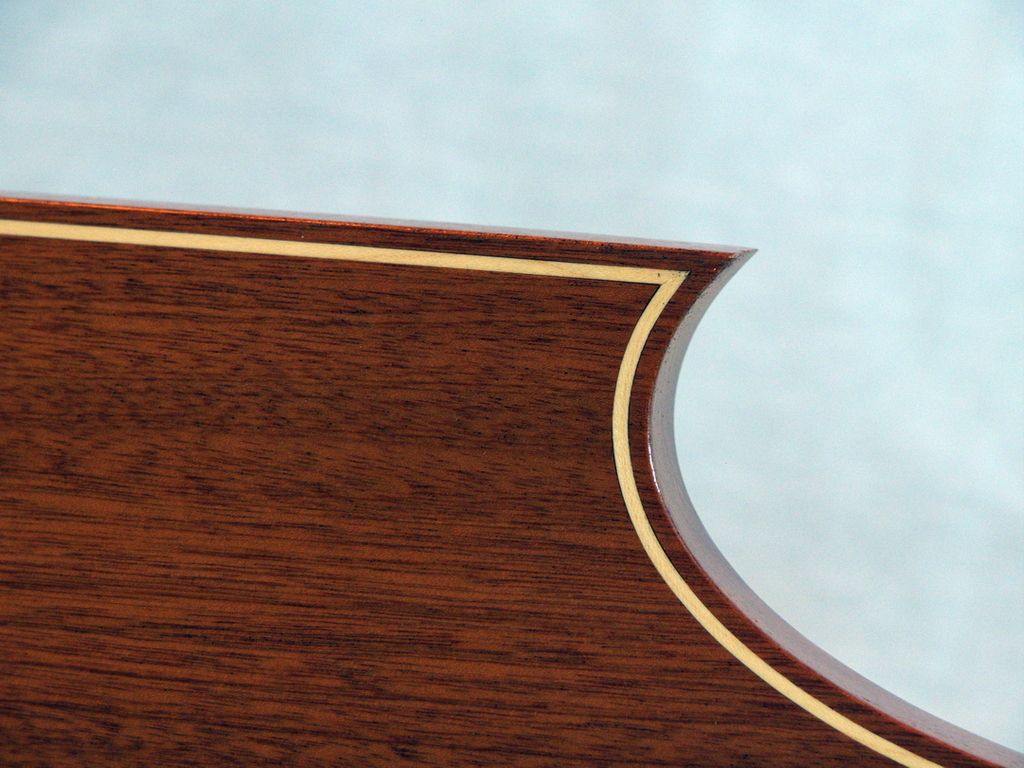
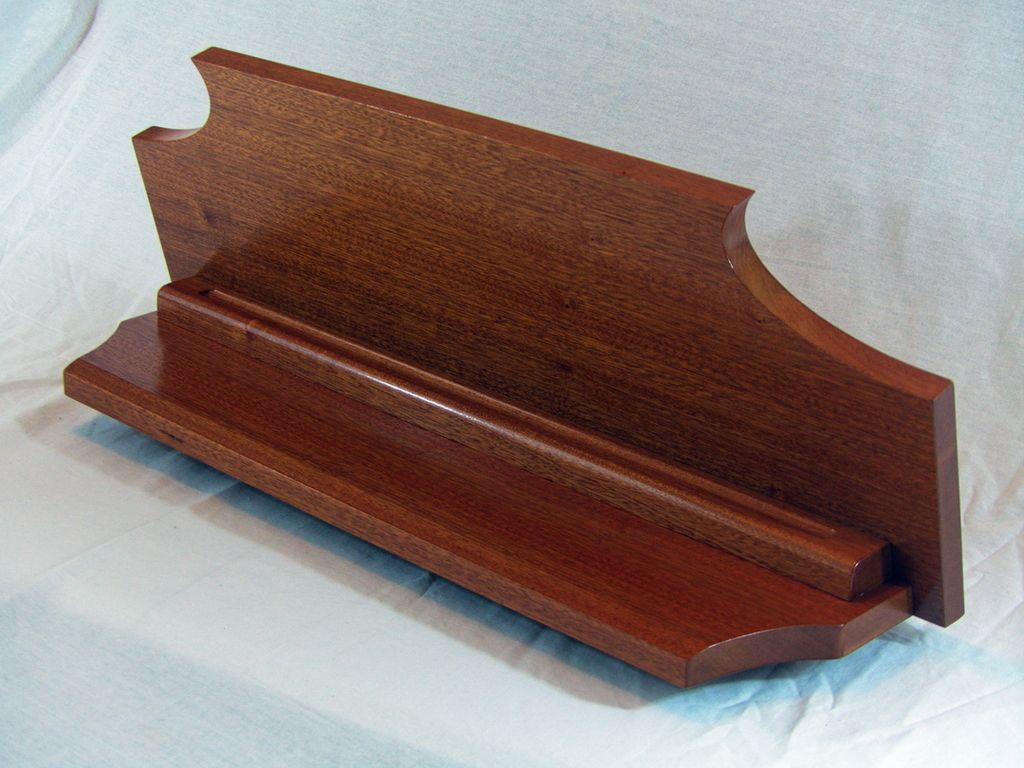
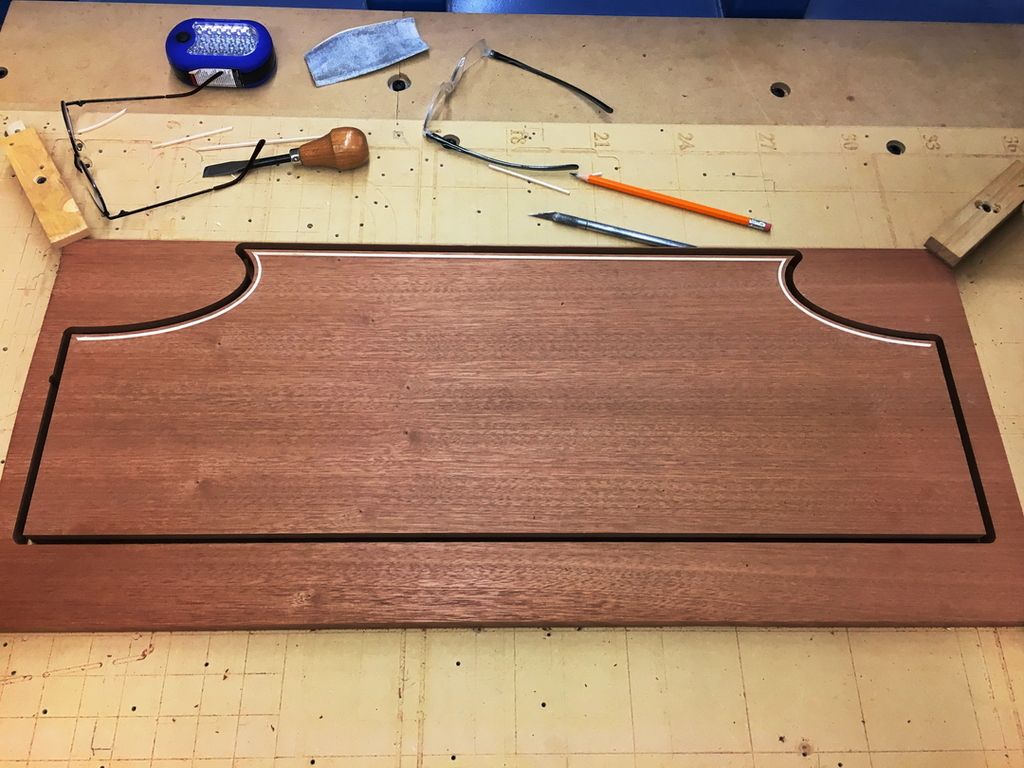
Sanded and with Naphtha -
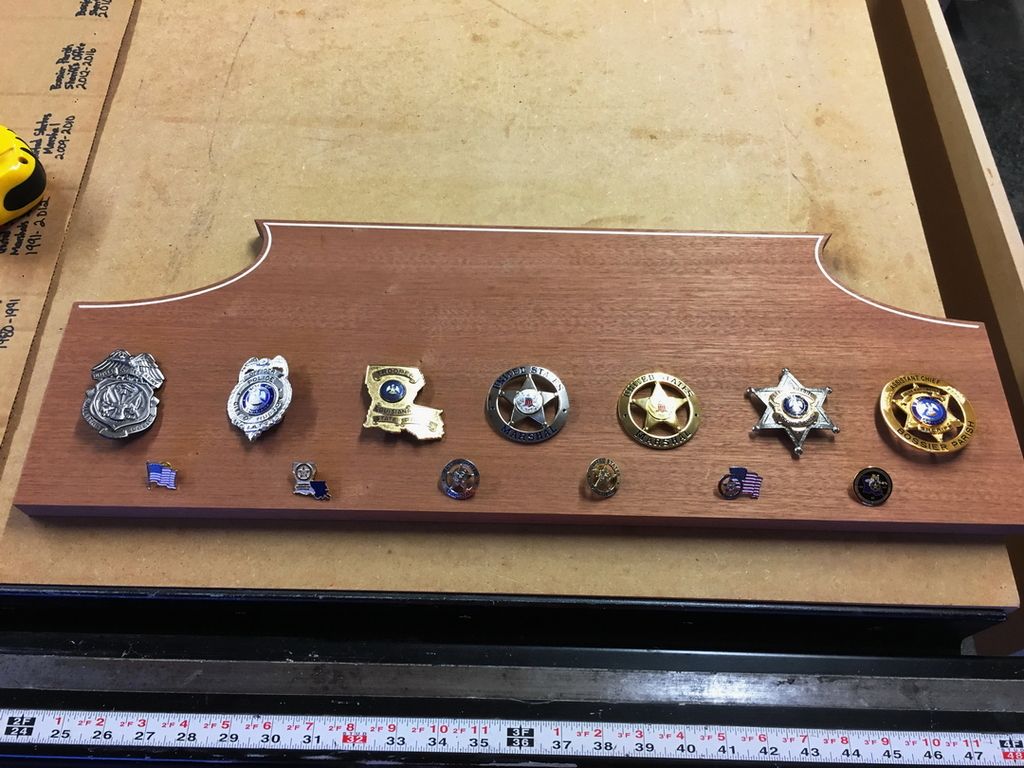
Ready to fit for badges -
More when it's completed - Enjoy!
David

 Reply With Quote