


Somehow I cant get the pictures to rotate into the correct orientation on Photobucket, but youll get the idea.
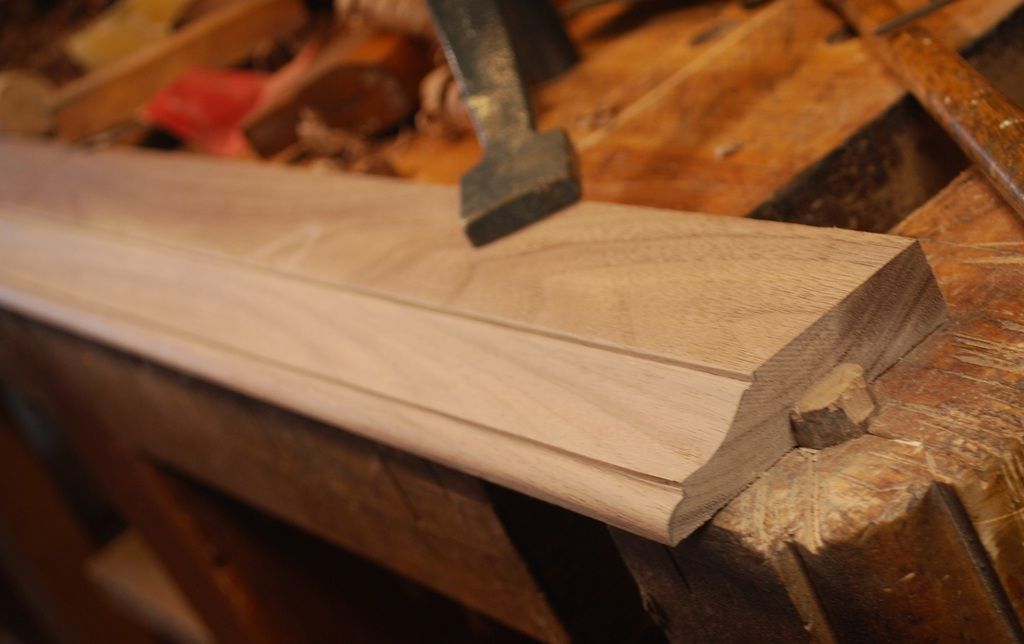
Heres the profile of the cornice molding drawn on the end grain. I use a shop made rabbit plane to create the initial rabbit farthest from the reference edge.
N
Next I use a plow plane to create the rabbit that defines the middle of the bottom concave curve.
Using the # 6 and a # 12 hollow and round and the finished molding. Probably more time spent sharpening then planing.


 Reply With Quote


