Earlier posts on the Sofa Table build may be found here:
http://www.inthewoodshop.com/Furnitu...bleAprons.html
http://www.inthewoodshop.com/Furnitu...able-Legs.html
http://www.inthewoodshop.com/Furnitu...IEndRails.html
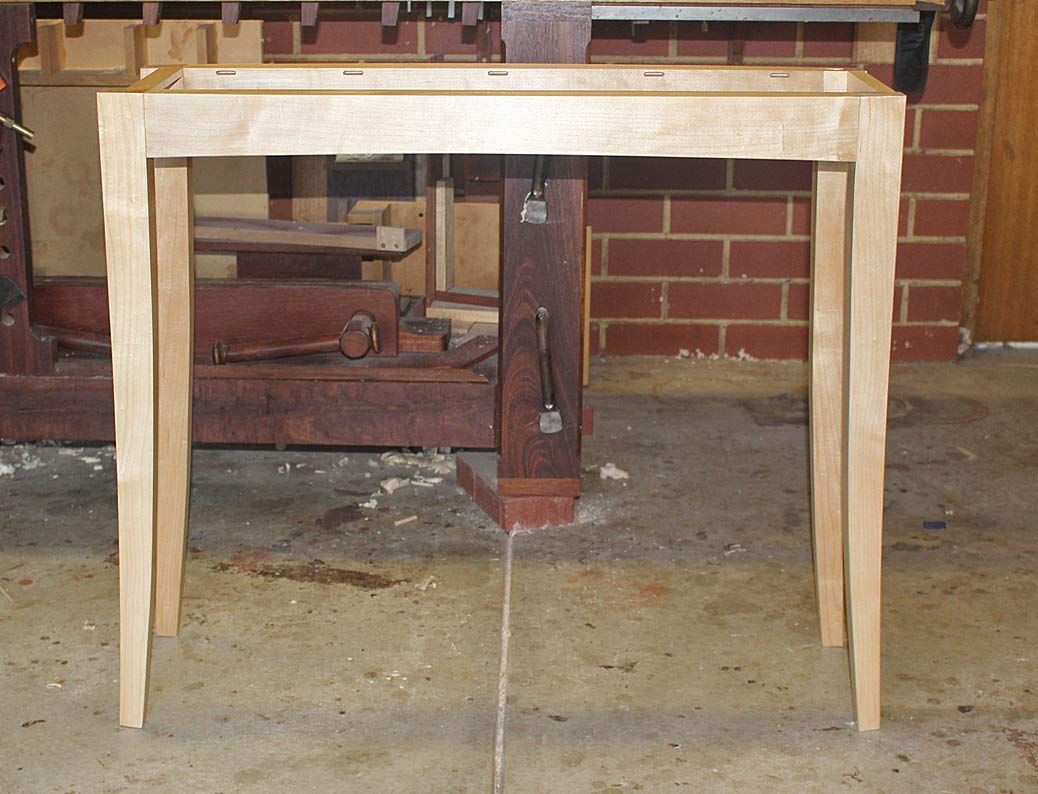
We are at the stage where the legs are to be completed and the base will be glued up.
Now Bill will nag me to death if I do not provide more detail this time around, so blame him for the extra photos.
The first item on the agenda was to add a curve to the front of the legs that paralleled the table top bow, and continued that from the apron. Two legs had been completed near the beginning of the build. This was premature as I lost a parallel side when the legs were required to be planed on the bench or held in a vise. As a result, the other two legs were left until this stage.
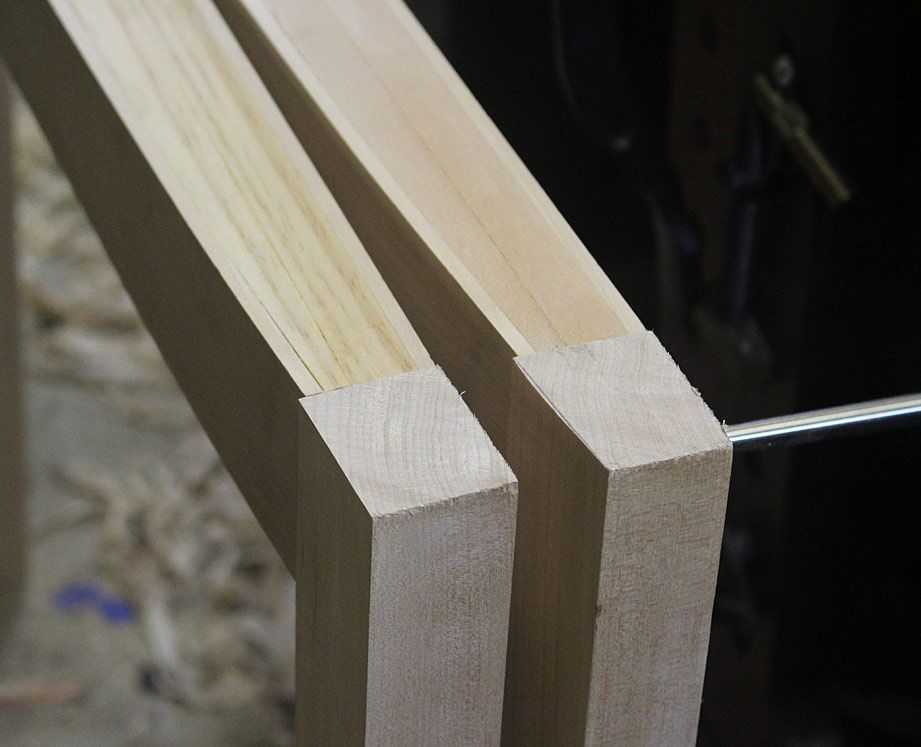
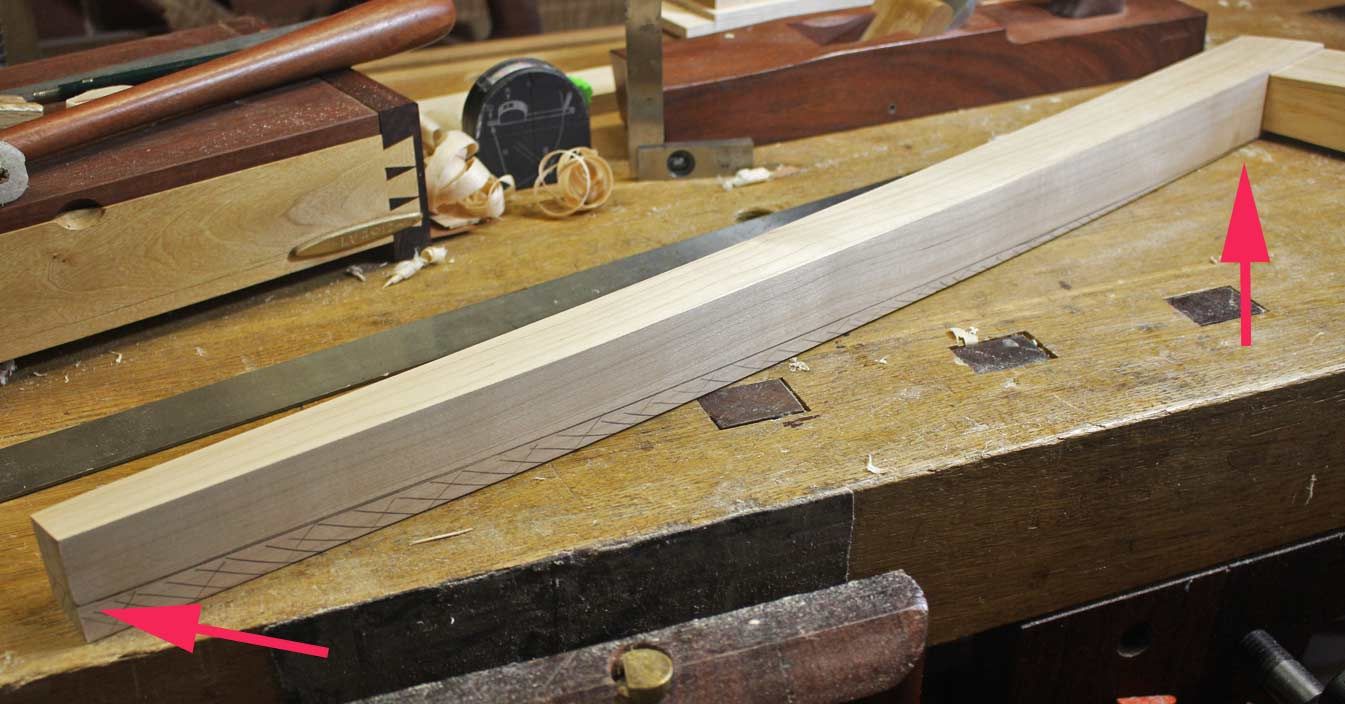
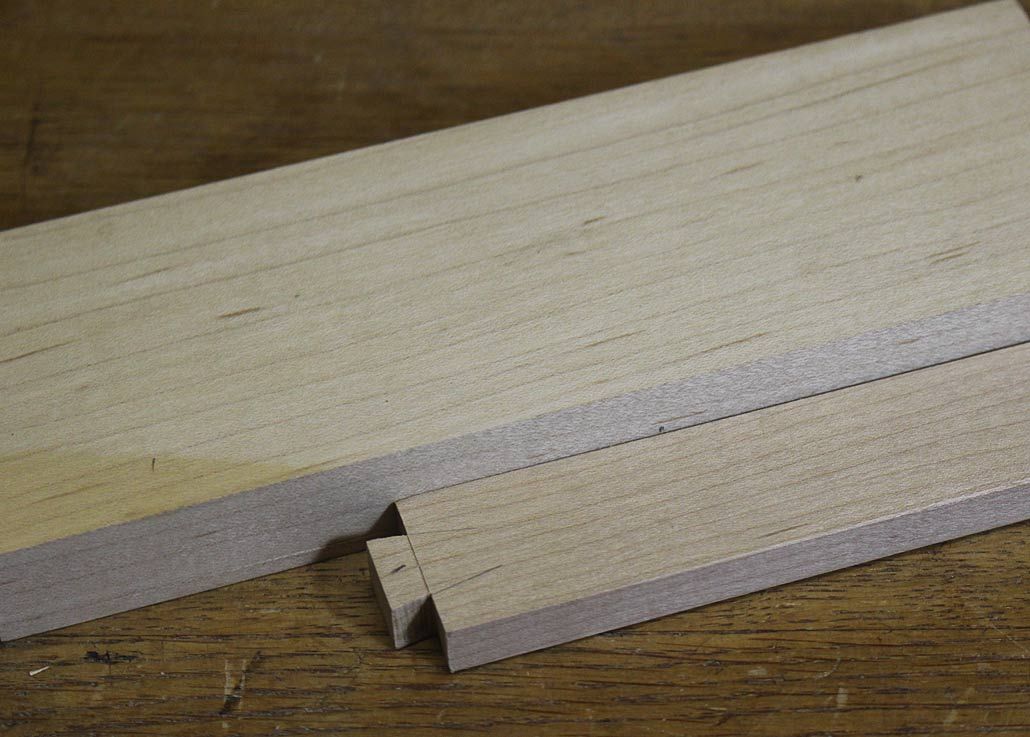
Here is an unshaped leg (on the left) and a shaped leg (on the right) ..
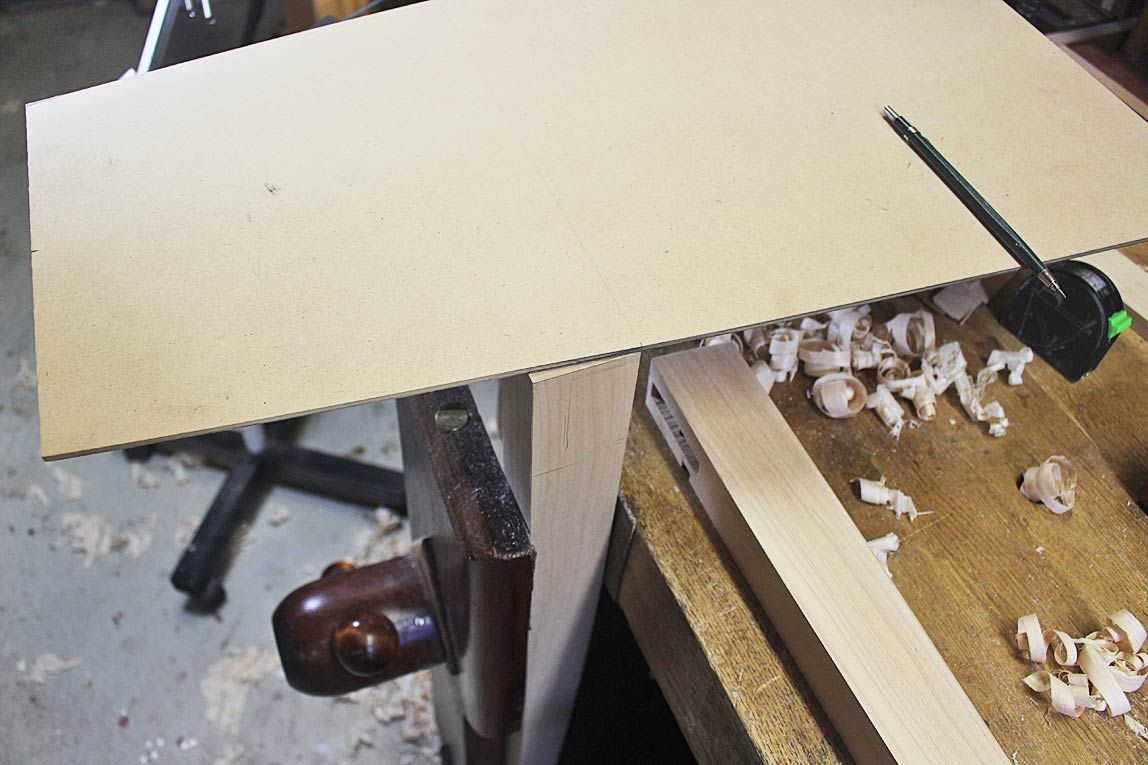
The curve was drawn in using a template of the top ...
The curve was continued down the leg. In all, it removed 5mm.
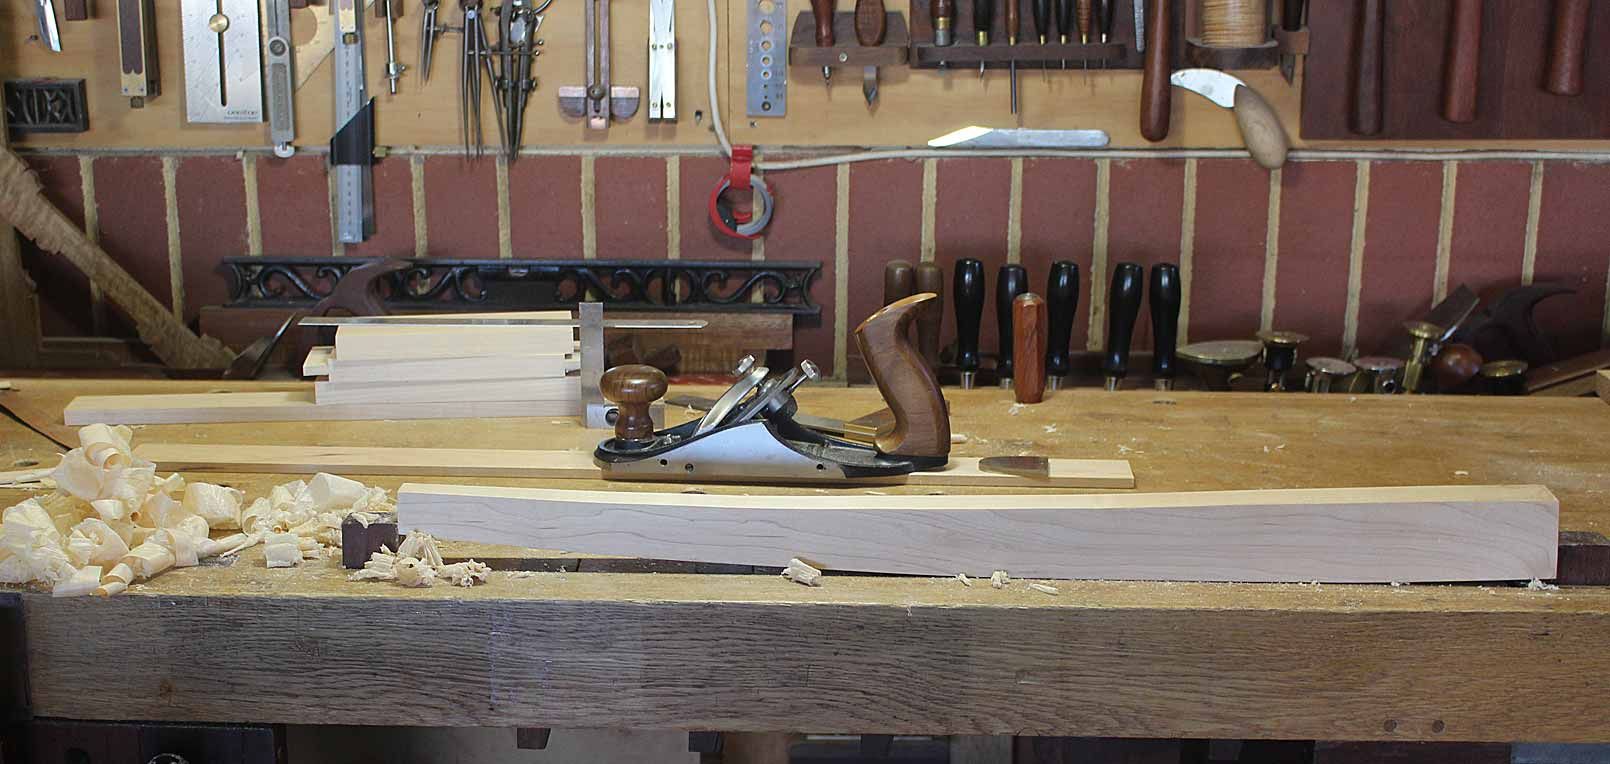
The waste was removed with a handplane.
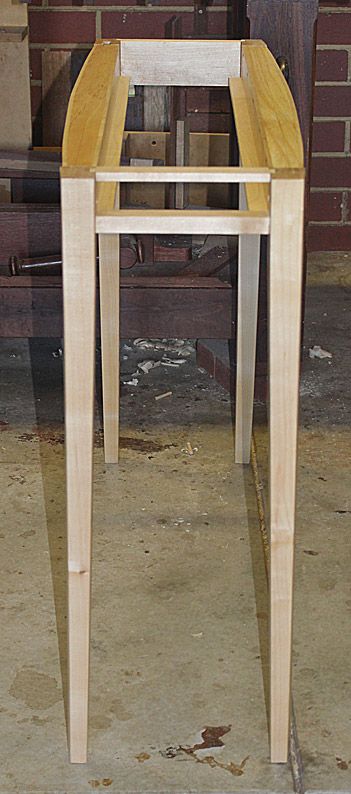
Once the curves were added, the legs needed to be tapered on the inside. The aim here was to create the illusion that the legs were slightly splayed. They are, in fact, 90 degrees on the outside, since the added curve is constant down the legs.
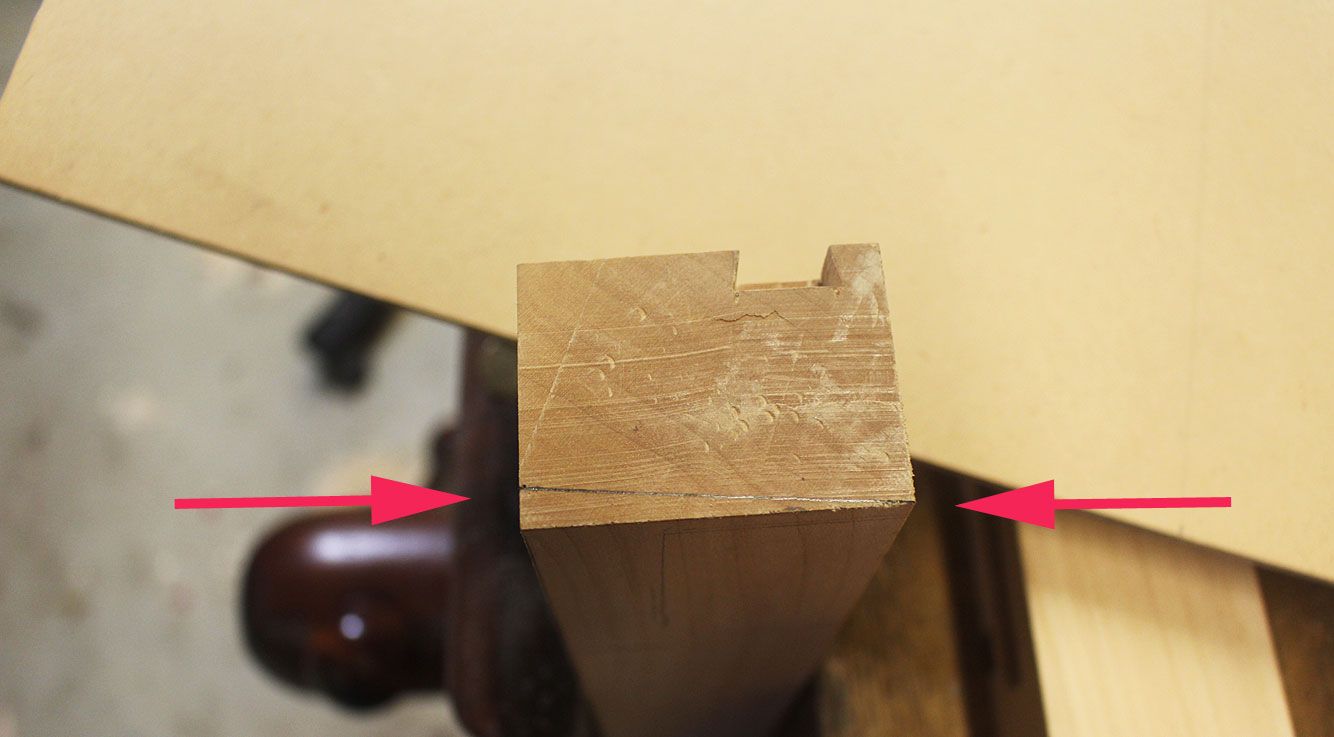
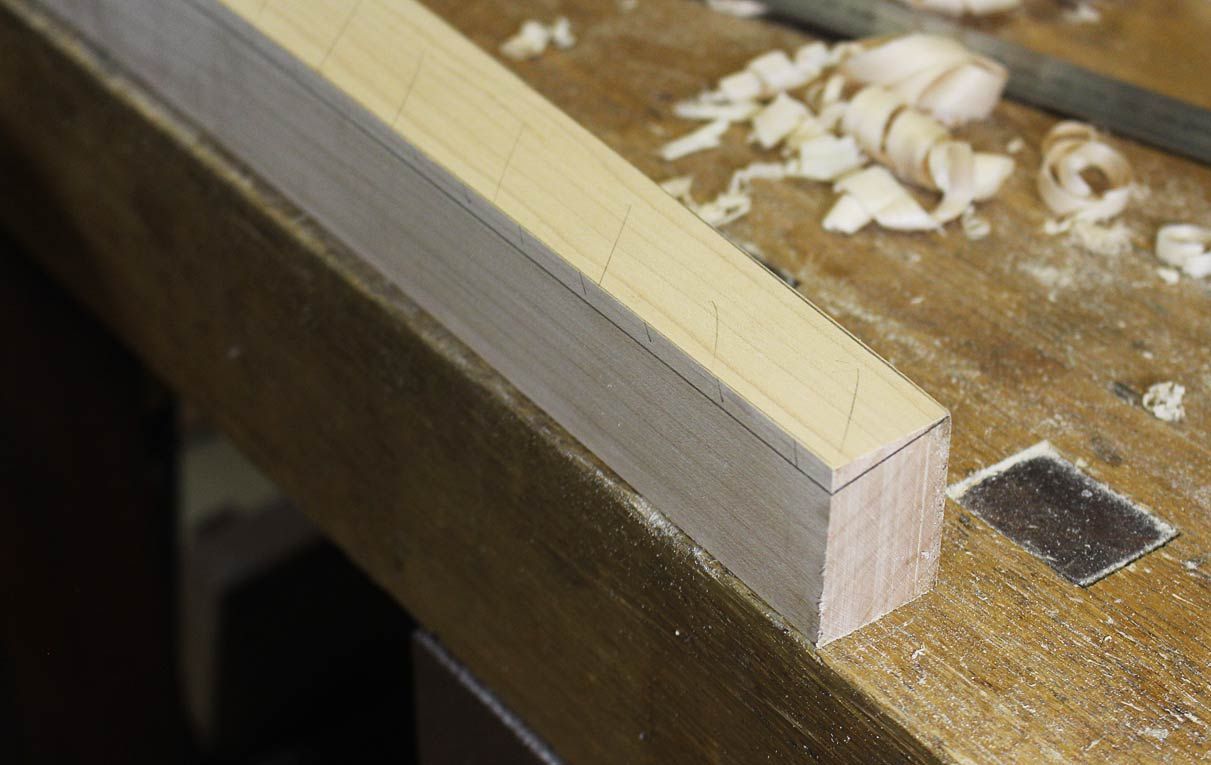
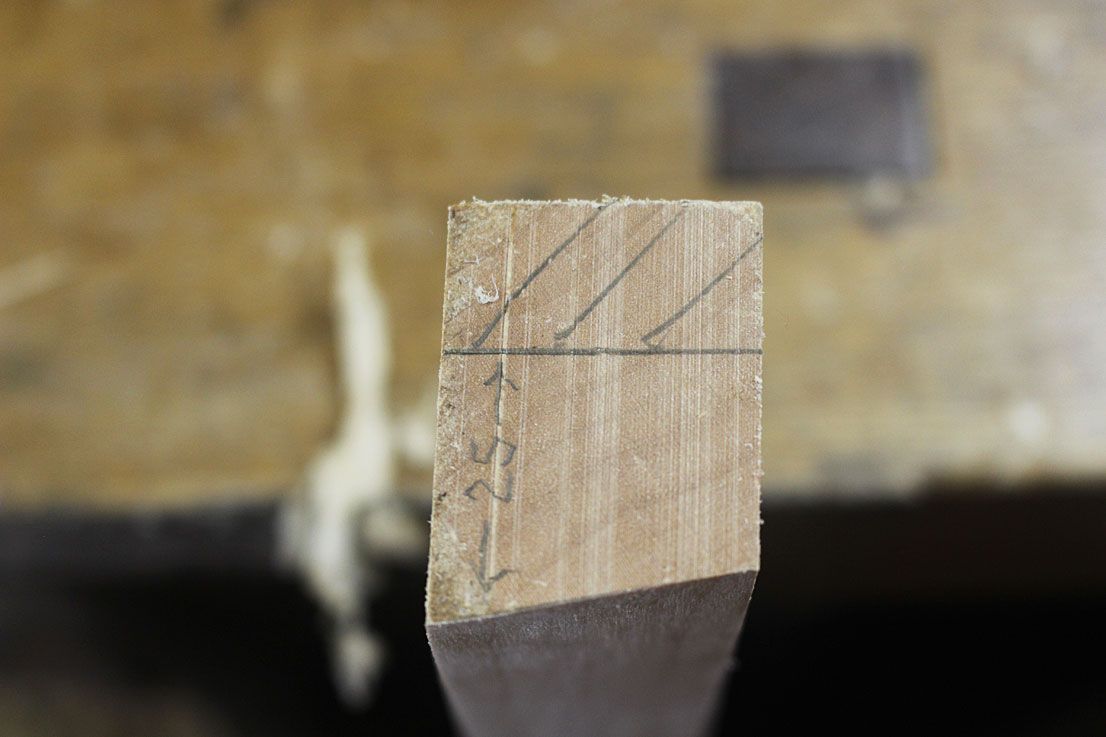
The width of the leg at this stage is 40mm. It will remain this width down to 5mm below the apron, and then taper to 25mm at the foot, thus ...
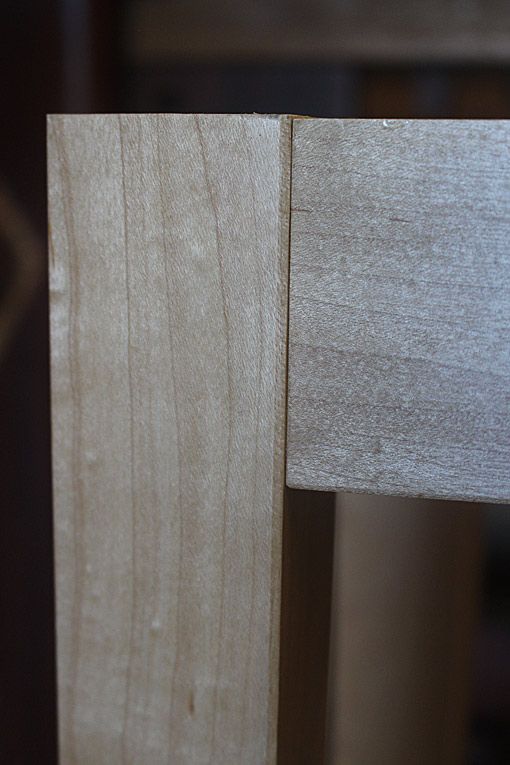
Here the bevel is drawn in and the line may be seen where it ends below the apron ...
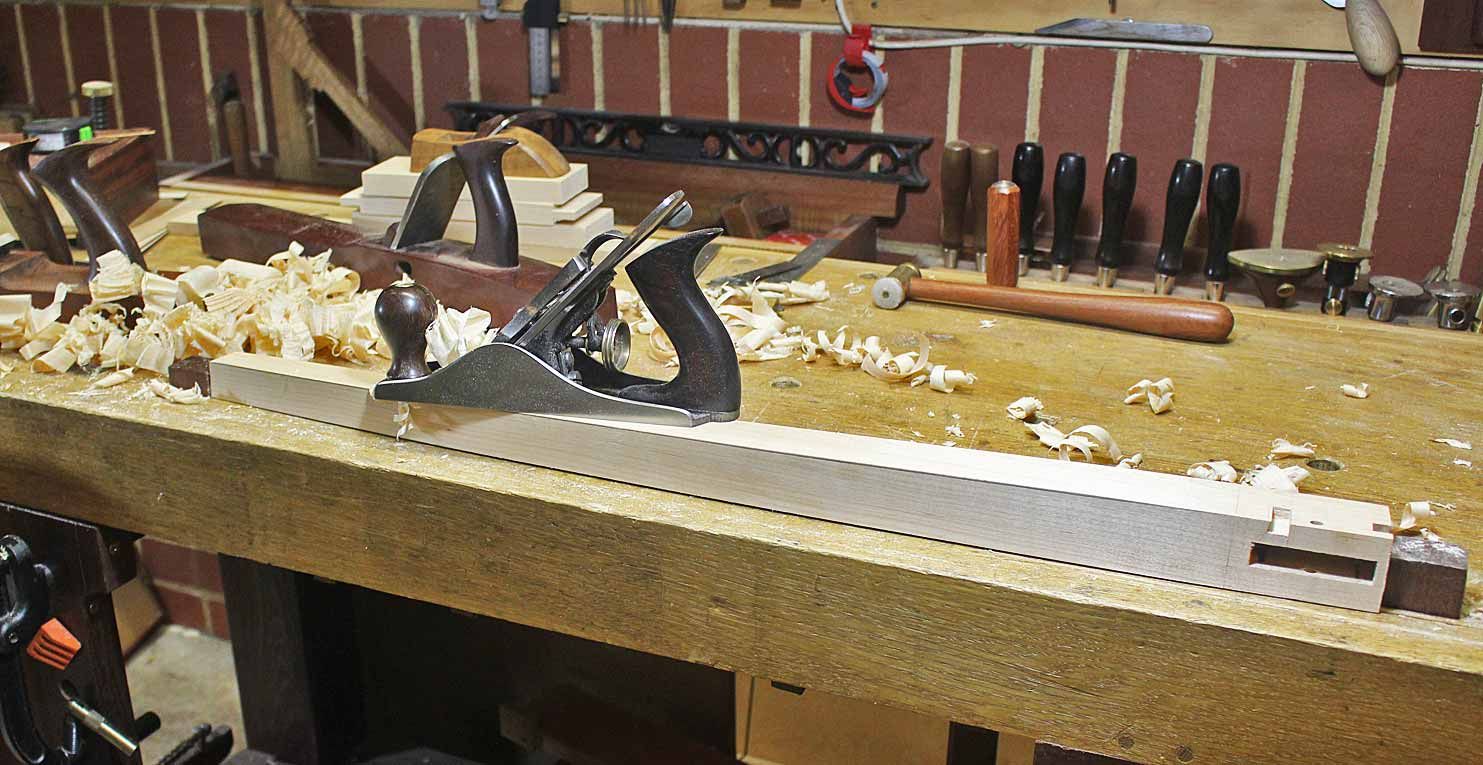
As with other waste removal, I found it easier to use shorter planes, first a jack and then a #3 than a long plane, such as a jointer ....
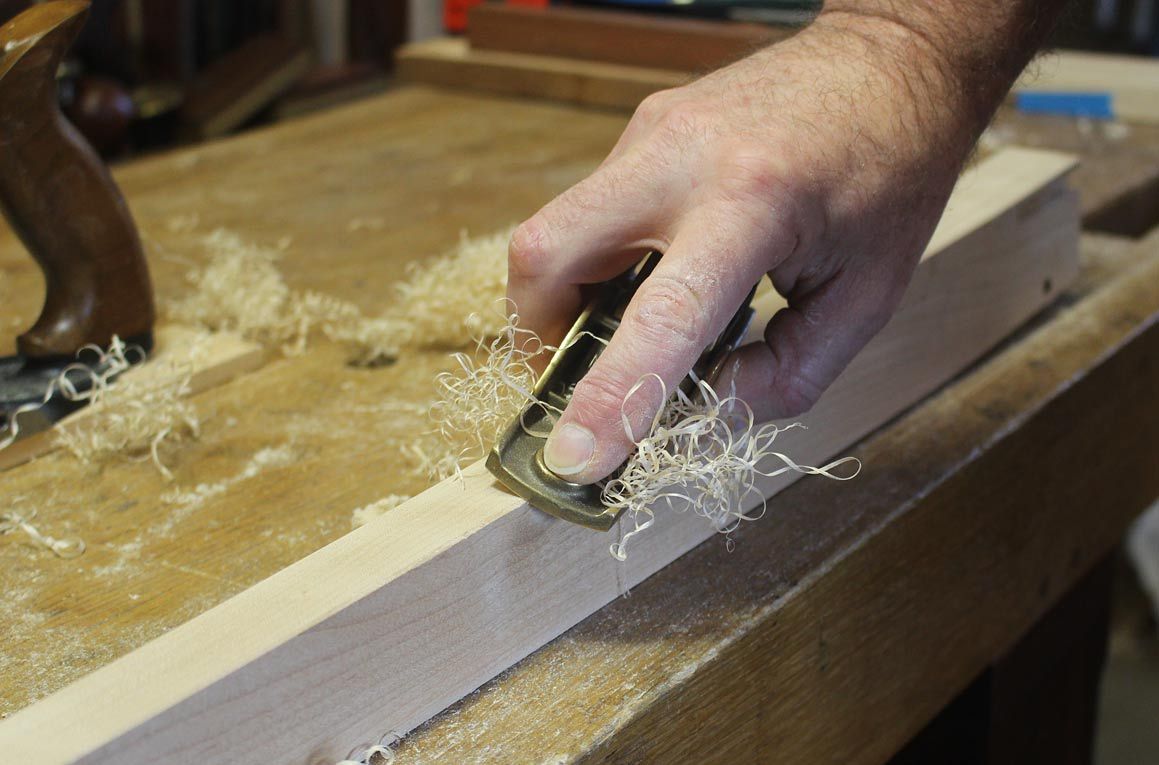
Once this was completed, the legs were essentially shaped, and the next task was to, firstly, smooth everything perfectly ...
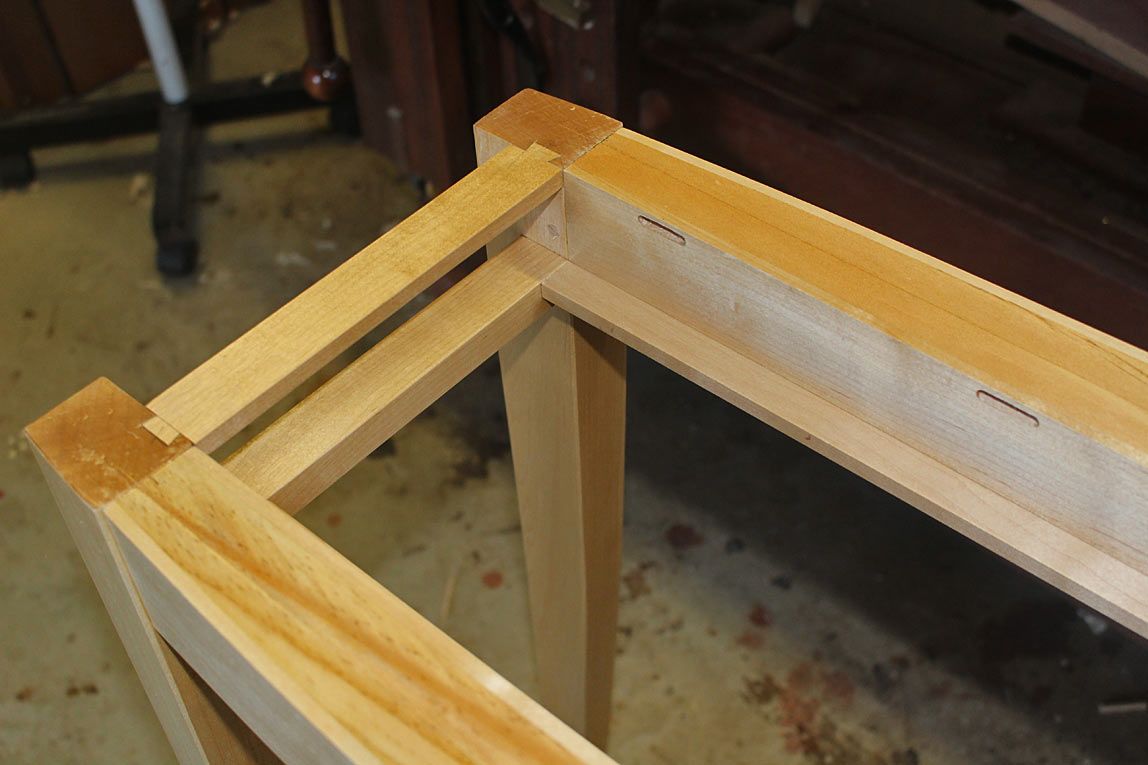
... and, secondly, to freehand a 2mm bevel to all edges (all sides of the legs and the lower edge of the apron) ...
The reason for the 2mm bevel was that the shadow line juncture of the apron and legs is 2mm. The bevel on the legs will blend into the sides of the apron, thus ...
All parts were dissembled and finished in 2 coats of Ubeaut White Shellac. This is an unwaxed concentrated shellac (diluted 50:50 in denatured alcohol/methylated spirits) which adds the very lightest touch of amber to the pale Hard Maple. It brings out detail and seals the wood. Then 3 coats of General Finishes Satin water-based poly were wiped on-and-off. The GF provides a finish that will retain the pale colour of the wood, and avoid the yellowing that occurs with oil-based finishes. This is the process I used when finishing the Hard Maple doors and drawers in the recent kitchen built, and the sofa table is intended to be an associated piece.
The finishing process for the kitchen is here: http://www.inthewoodshop.com/Furnitu...20Rebuild.html
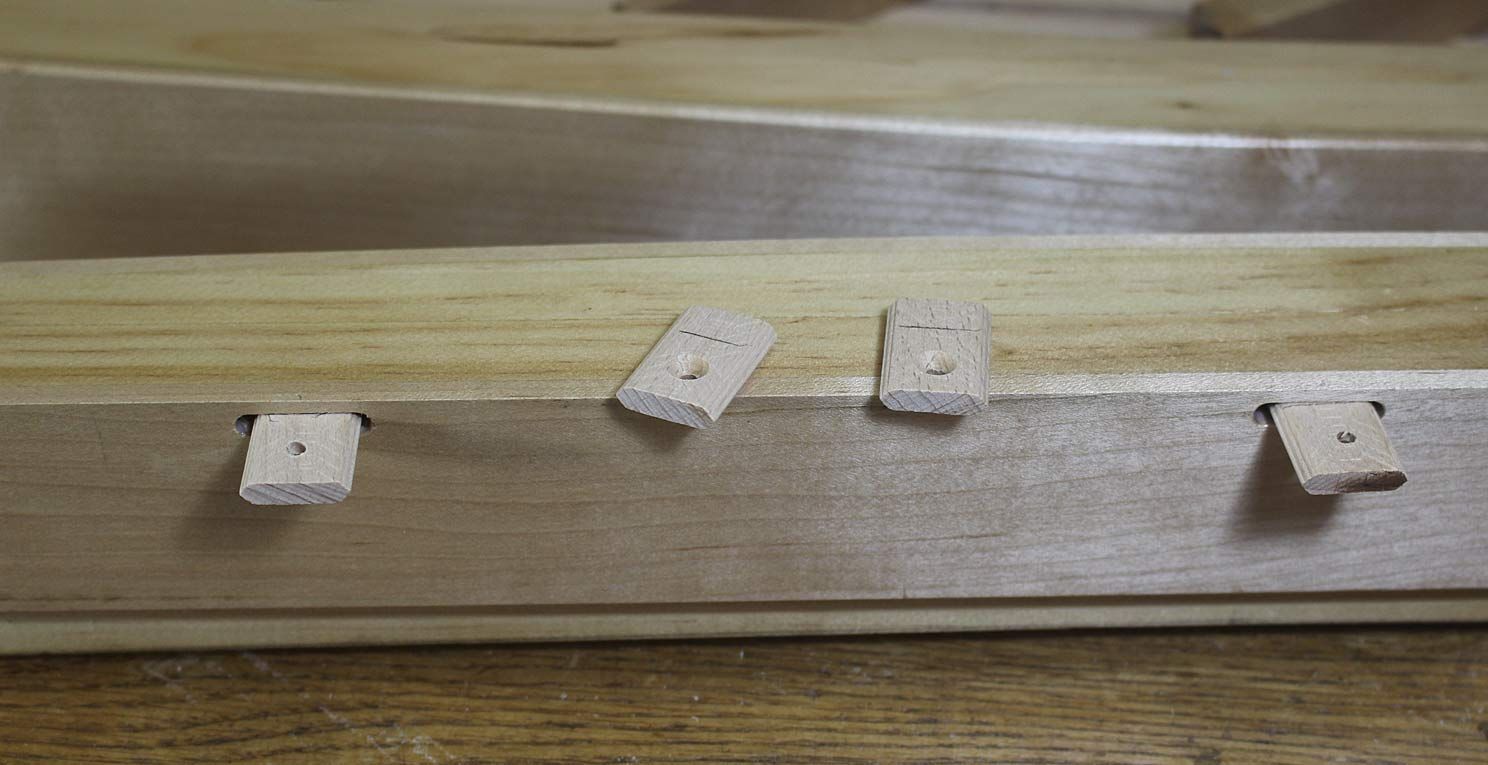
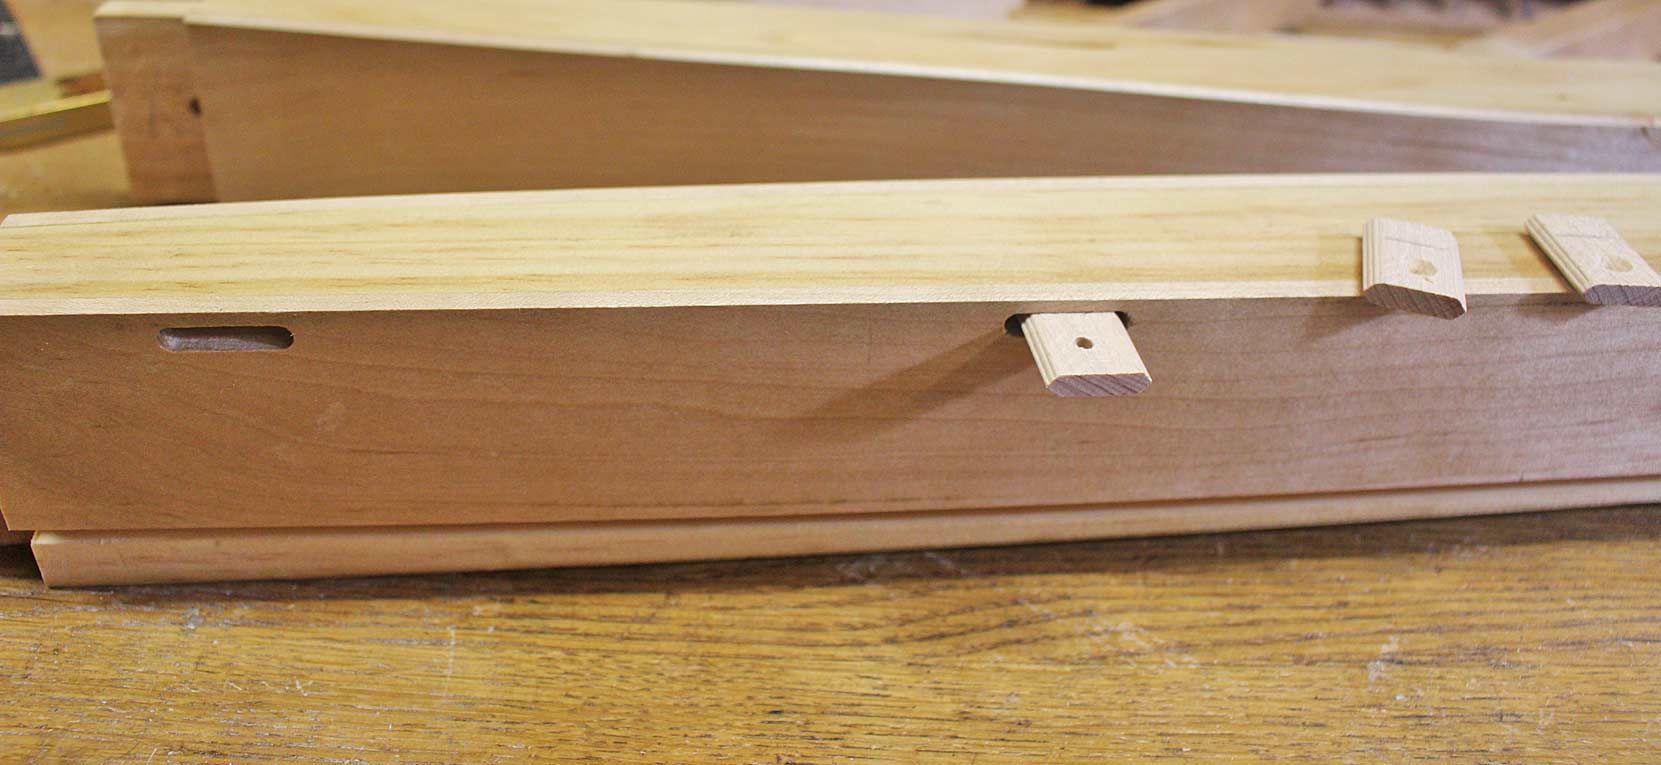
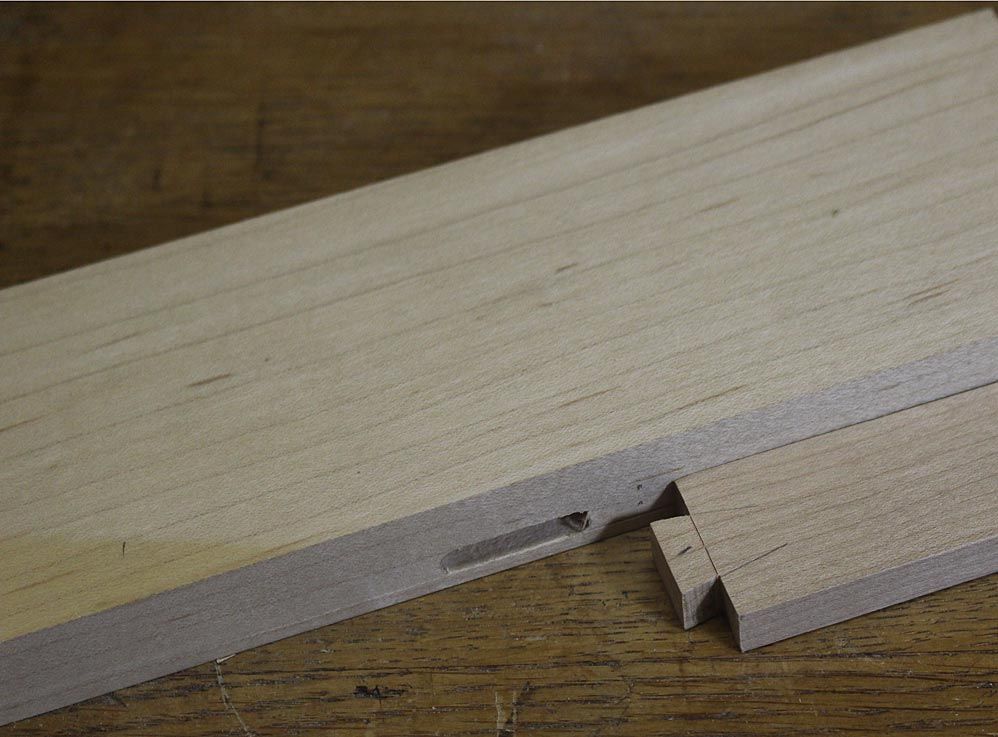
Before glueing up, it was necessary to add slots for buttons, to later fasten the top to the apron. The issue was this: the buttons needed to be less than 10mm in height, which was the thickness of the dovetailed rail for the drawer (the rail alongside a piece of scrap) ...
... otherwise the long drawer that was to run from the side of the table would catch on the buttons.


 Reply With Quote