Results 1 to 13 of 13

Thread: Sofa Table - part V: A Hidden Drawer

  1. #1
    Join Date
    Feb 2004
    Location
    Perth, Australia
    Posts
    9,491

    Sofa Table - part V: A Hidden Drawer

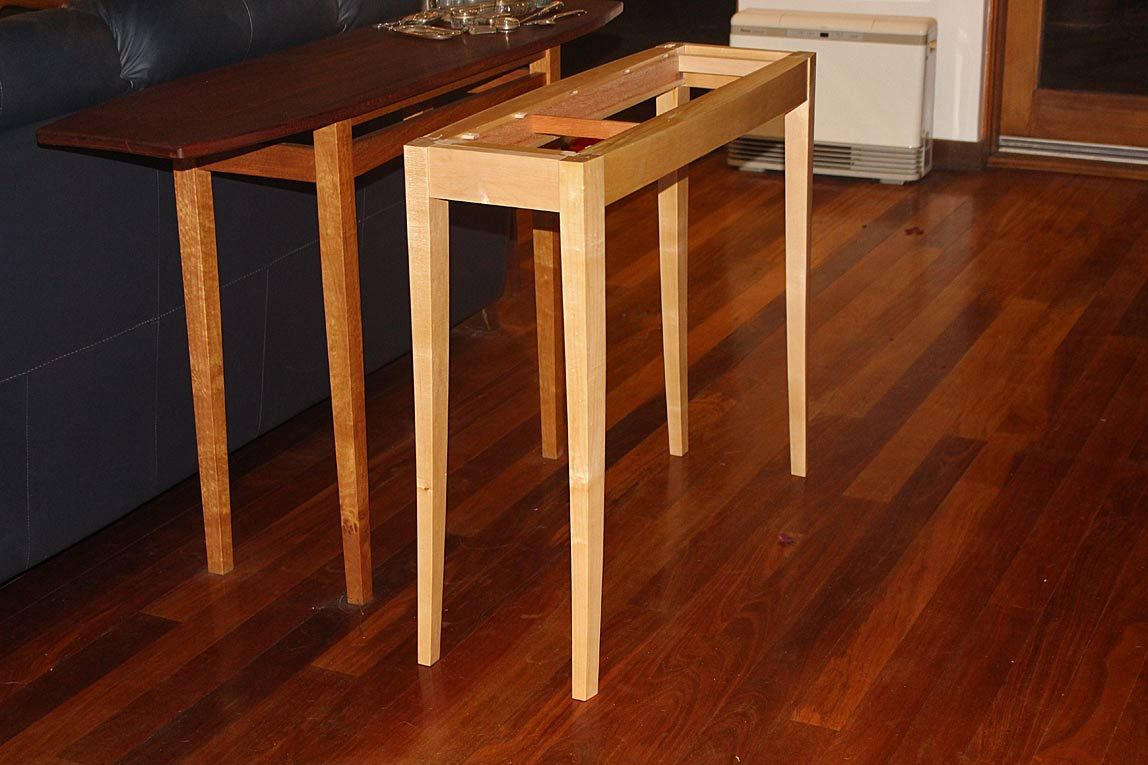
    It's time to begin building the drawer that will fit this table ...


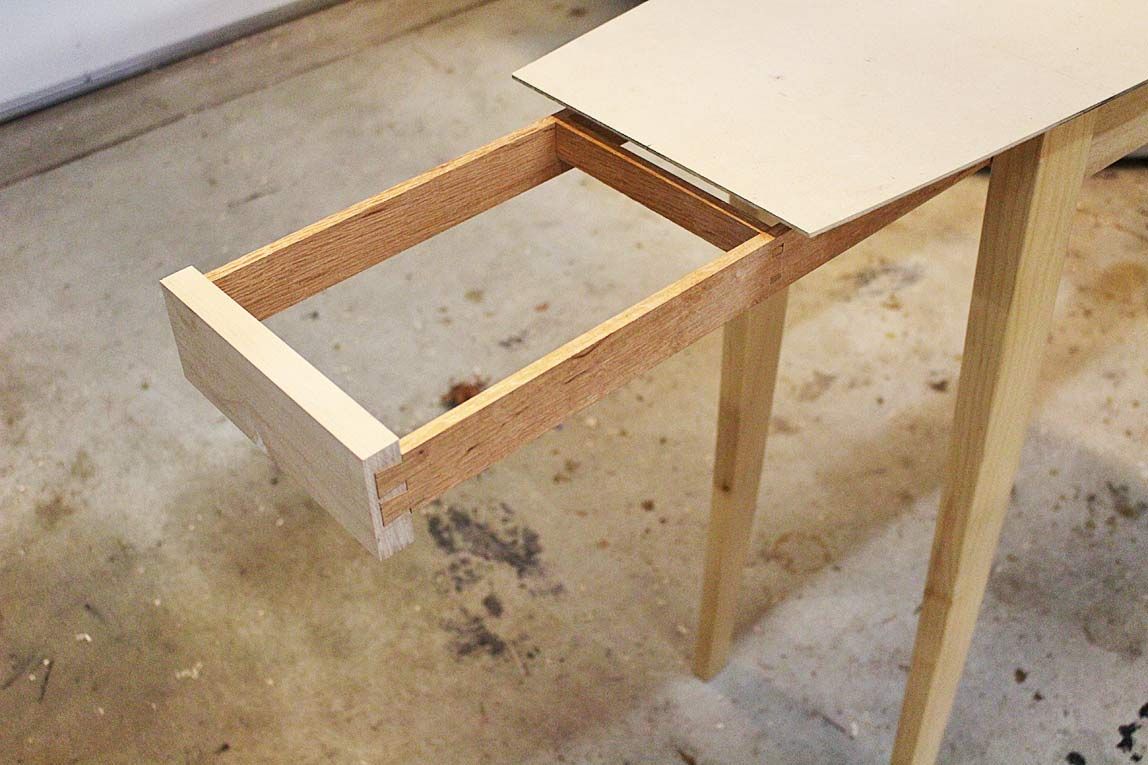
    I must say up front that this is the strangest drawer I have built to date. It is definitely the longest. In fact, I dare anyone to have built a longer drawer (it's about 1200mm long, or nearly 4 feet in the old money).


    It is also the ugliest drawer I think I have built - however, that is partly to be expected as it is a hidden drawer, that is, it must blend in with the apron so that no one knows its there (no telling now).


    The drawer sides are made from the same timber that will be used for the table top, West Australian Sheoak. This is a pink-brown wood with a fine figure (similar to Lacewood). Here is the slab I started with ...


    The drawer is slim - more like a tray. There is just 40mm for the drawer, and this will convert to 30mm of head room after the drawer bottom is added.


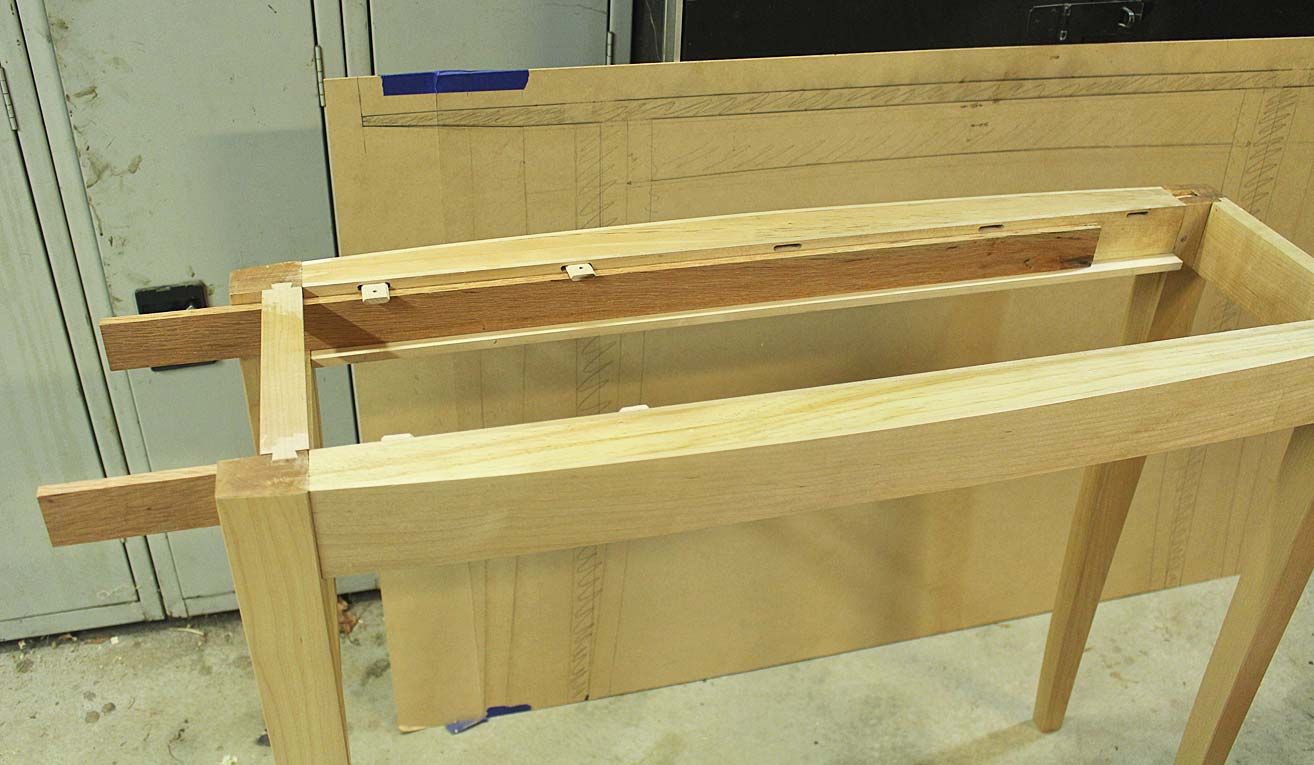
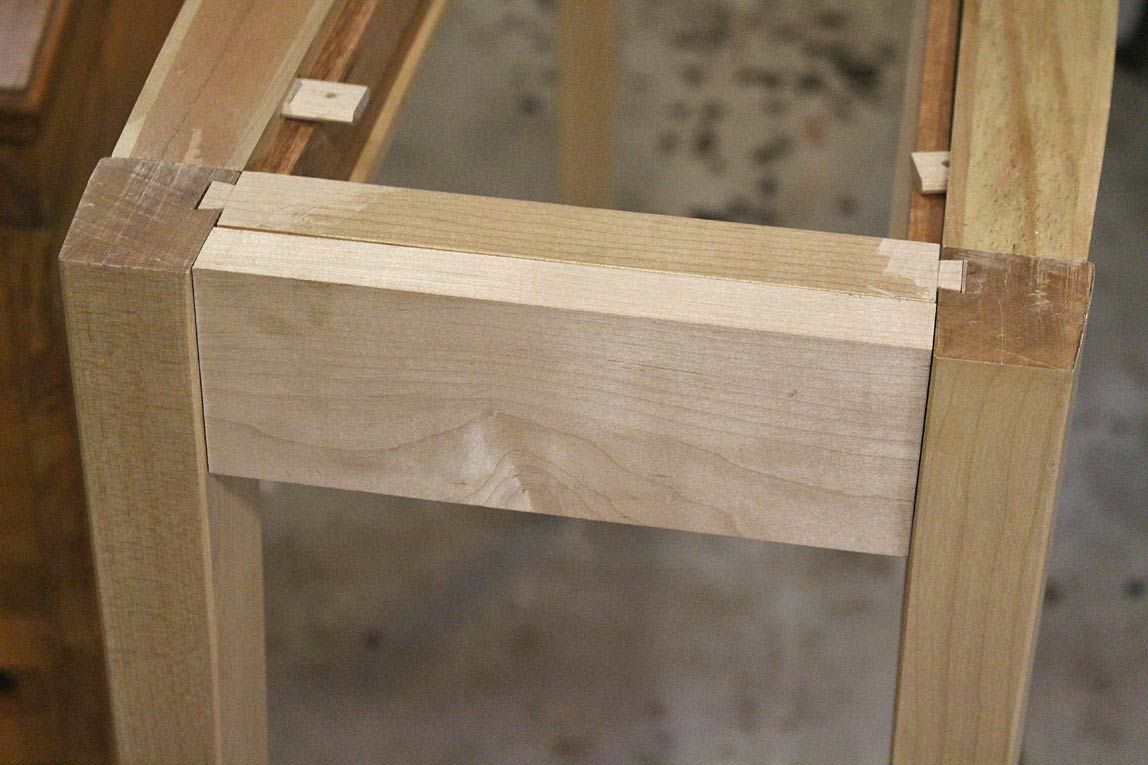
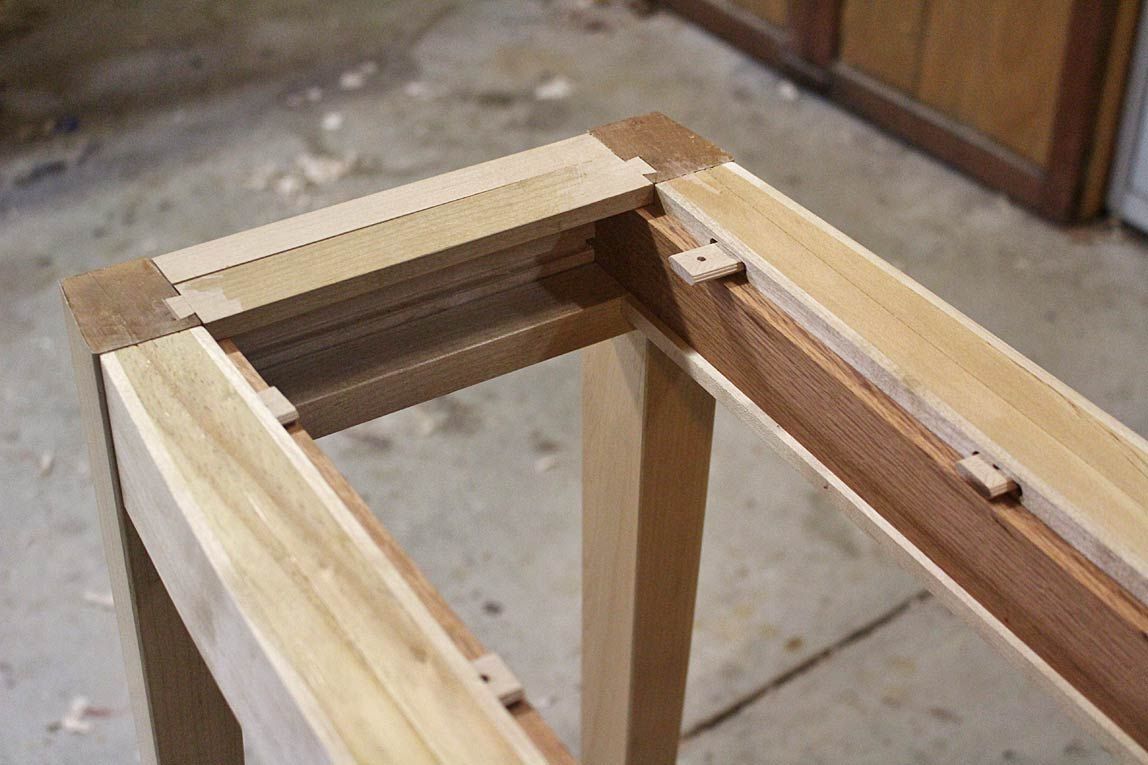
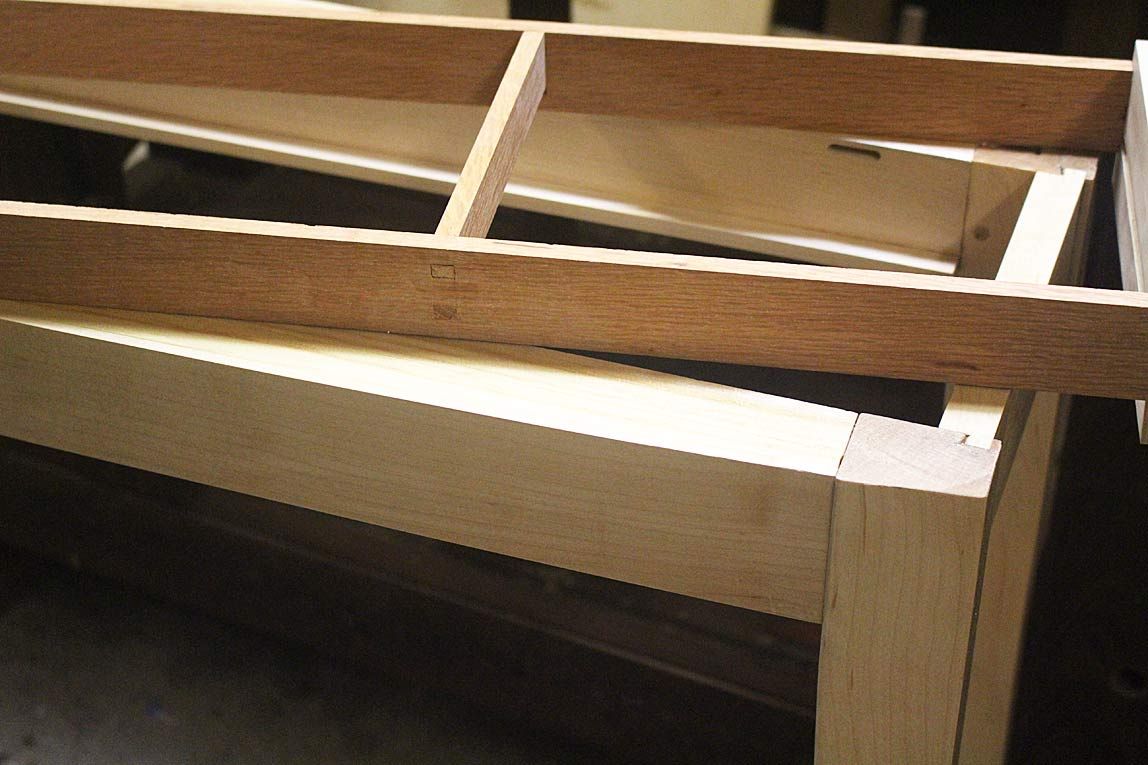
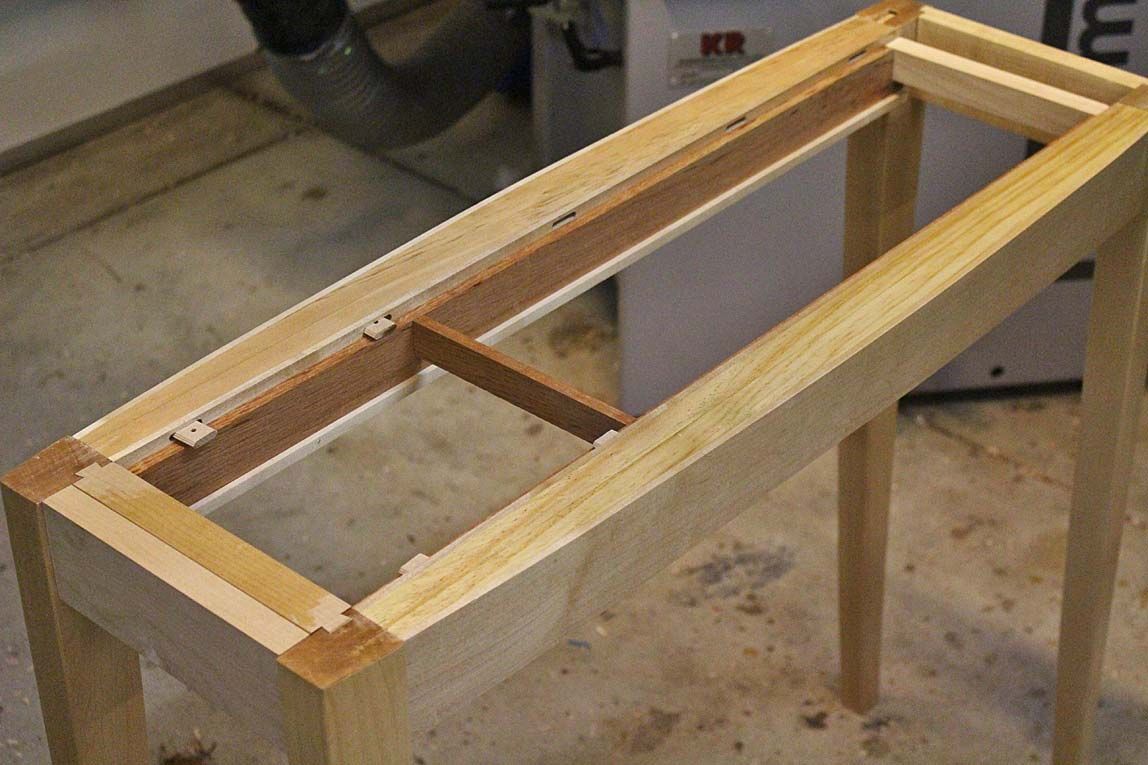
    Below is a picture of the drawer sides fitted to the interior ...


    They run below the Domino-buttons, which double to ensure that the drawer will not tip when extended.


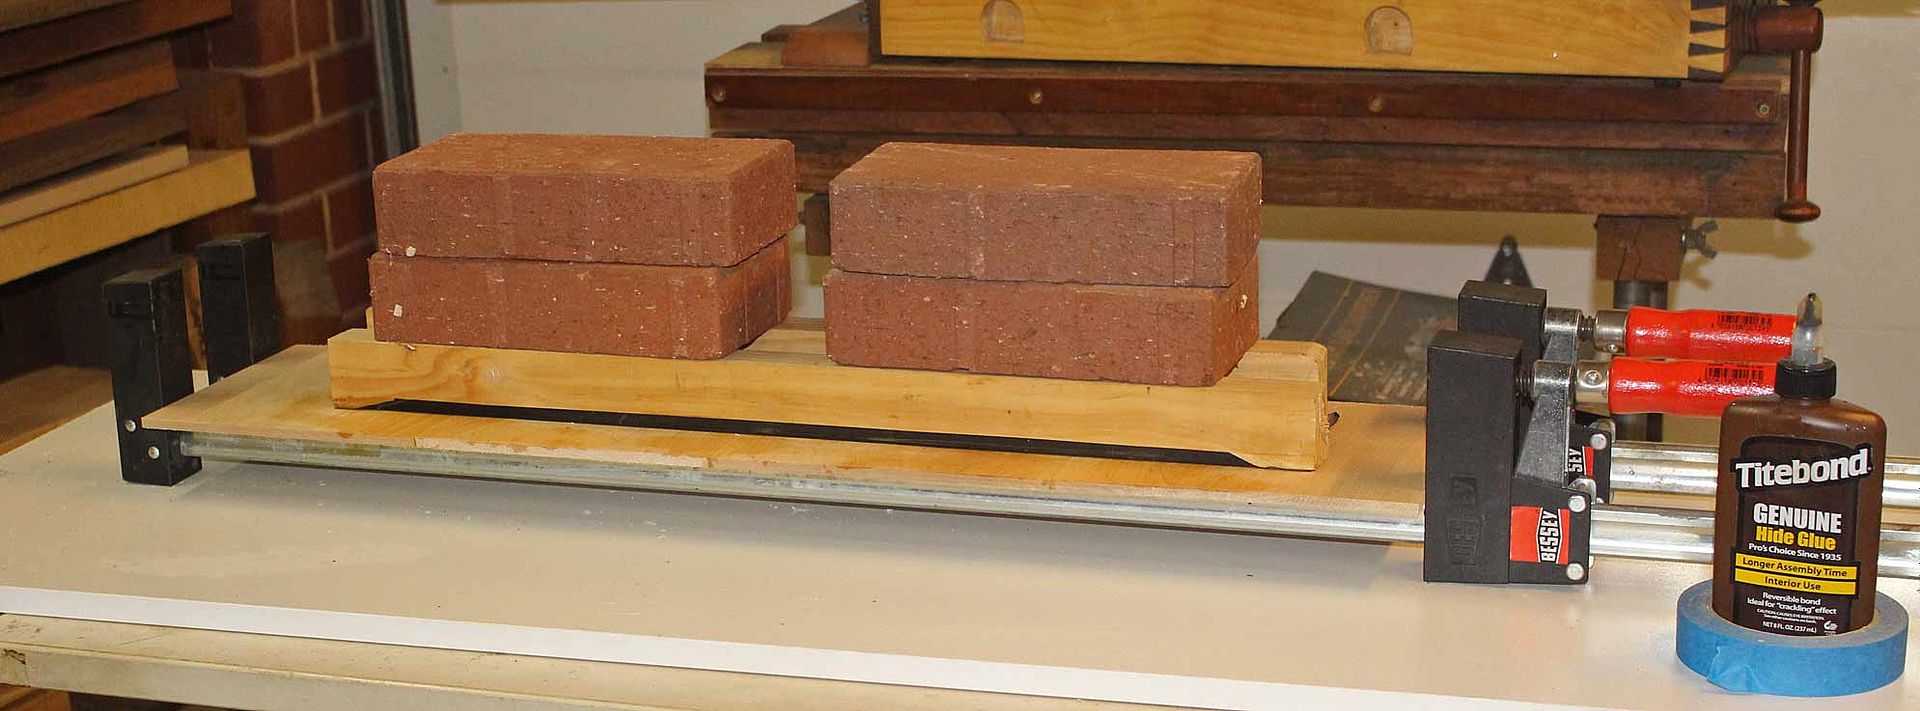
    The next step was to glue up the drawer bottom ...


    Since the drawer is fairly narrow (about 210mm/8 1/4"), it was tempting to simply use a single board and run it with the grain down the length of the drawer. However I know that this will create problems when the wood expands and contracts. Drawer bottoms need to run across its width. Consequently, boards were sawn and glued together for this purpose. The thickness of the drawer bottom is 1/4".


    Below is the drawer bottom being trued on one length and one width. The remainder will be sized at the end.


    Drawer Slips


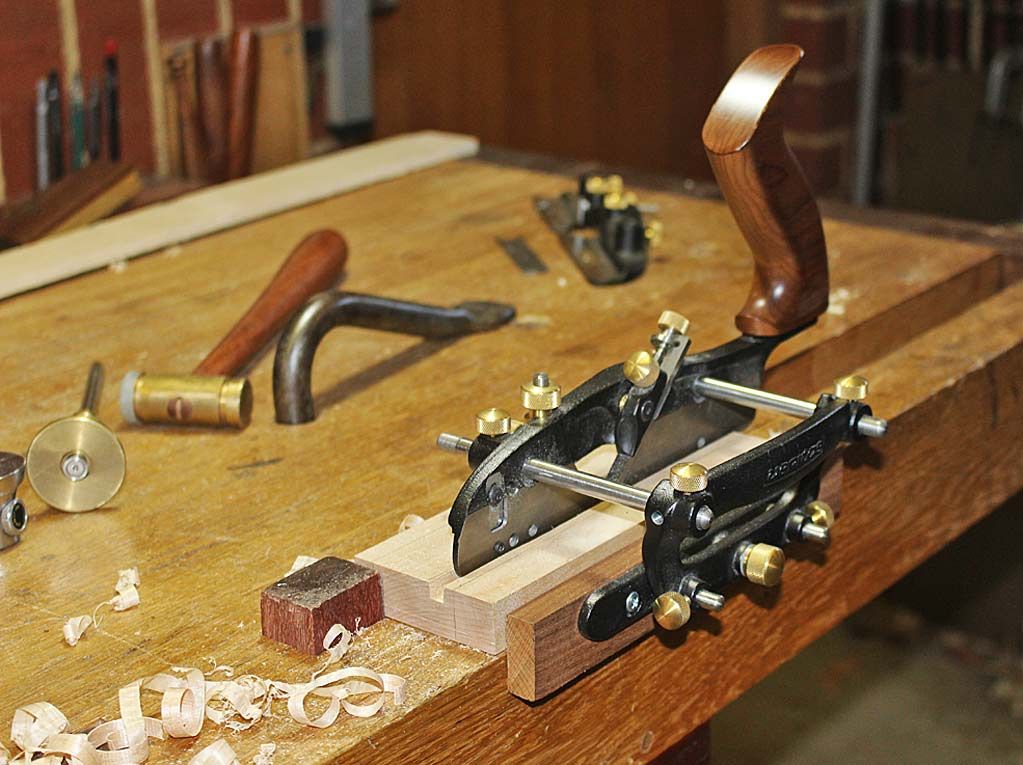
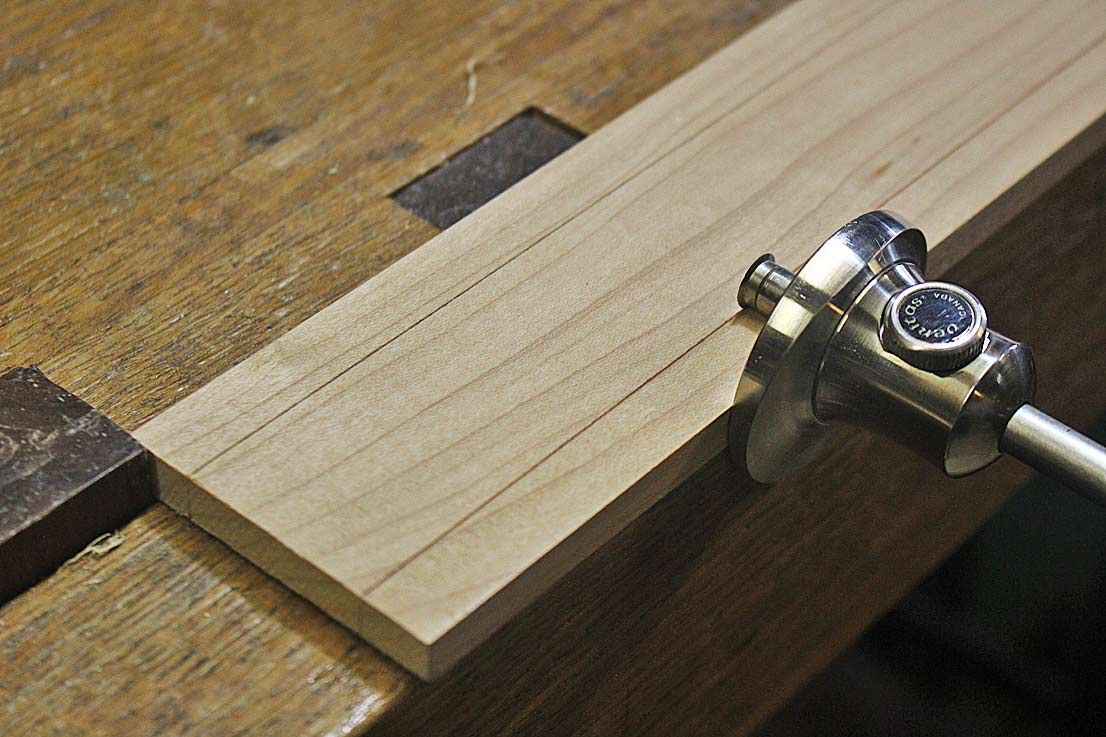
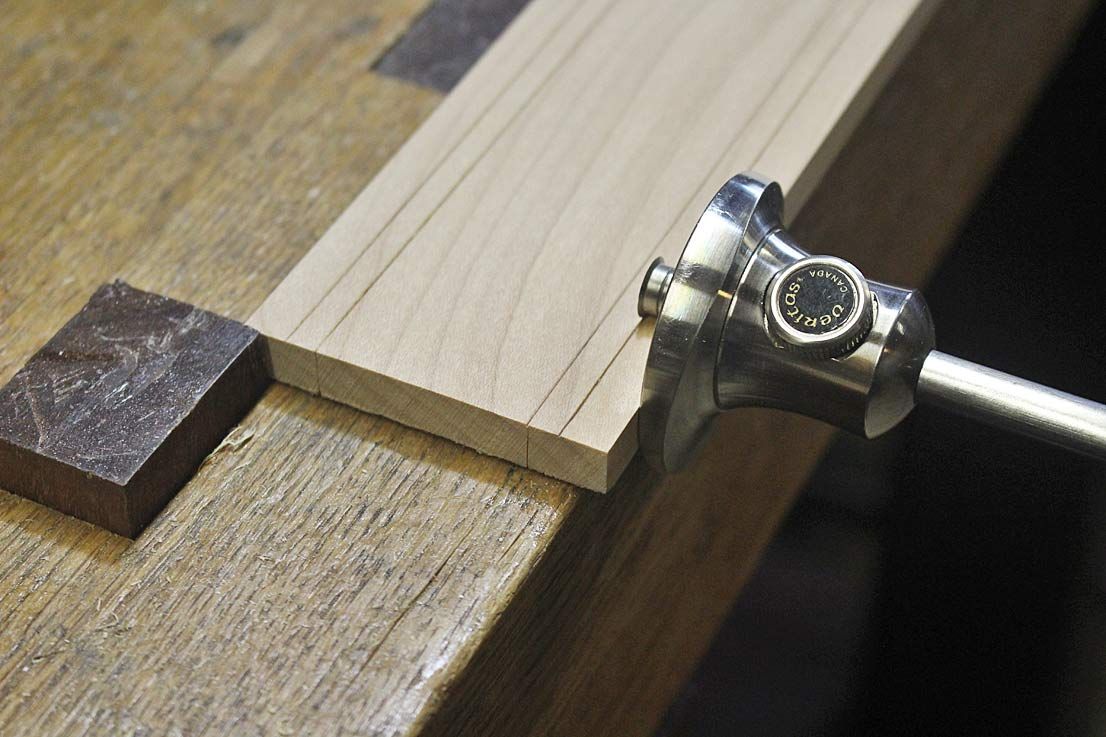
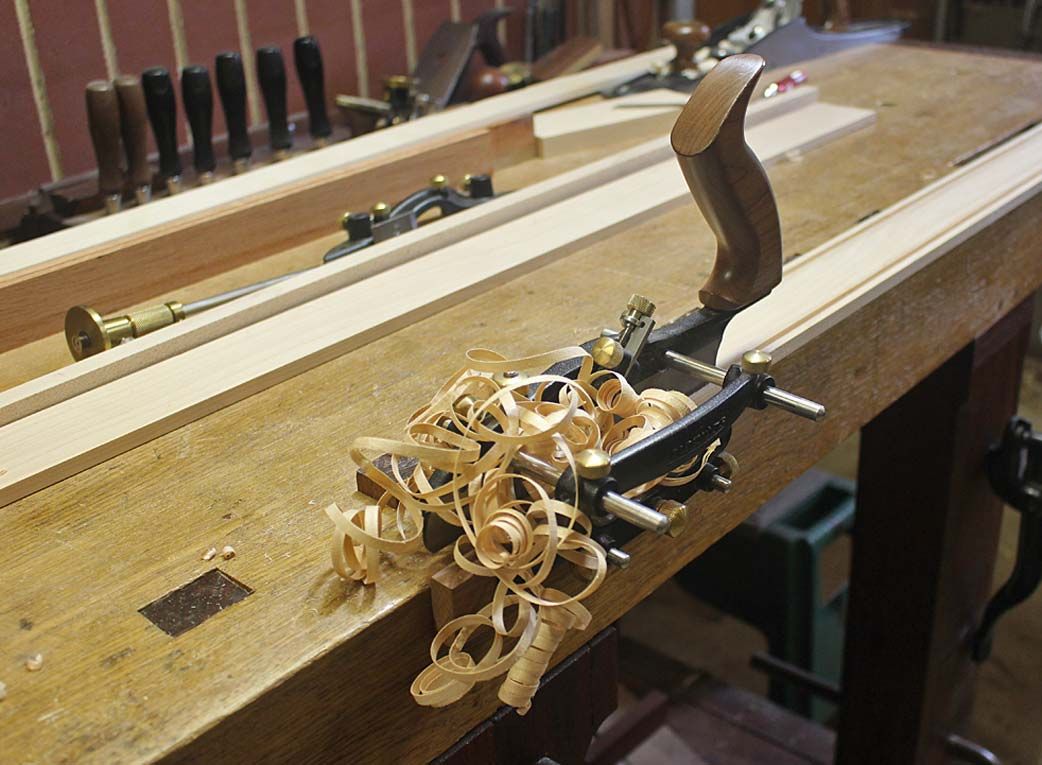
    The drawer sides are 3/8" thick, which is too thin for grooves. Consequently, the drawer bottom will be attached with slips. This is how they were made ...


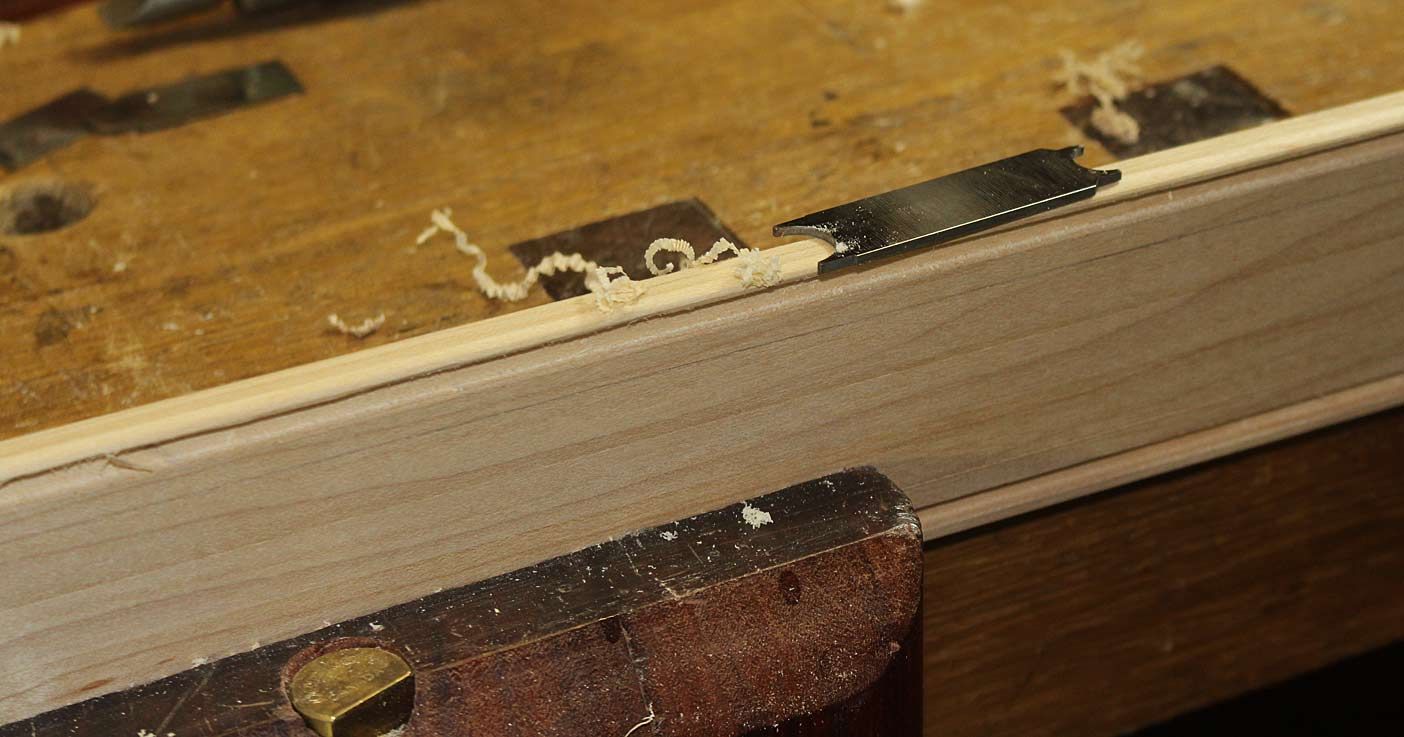
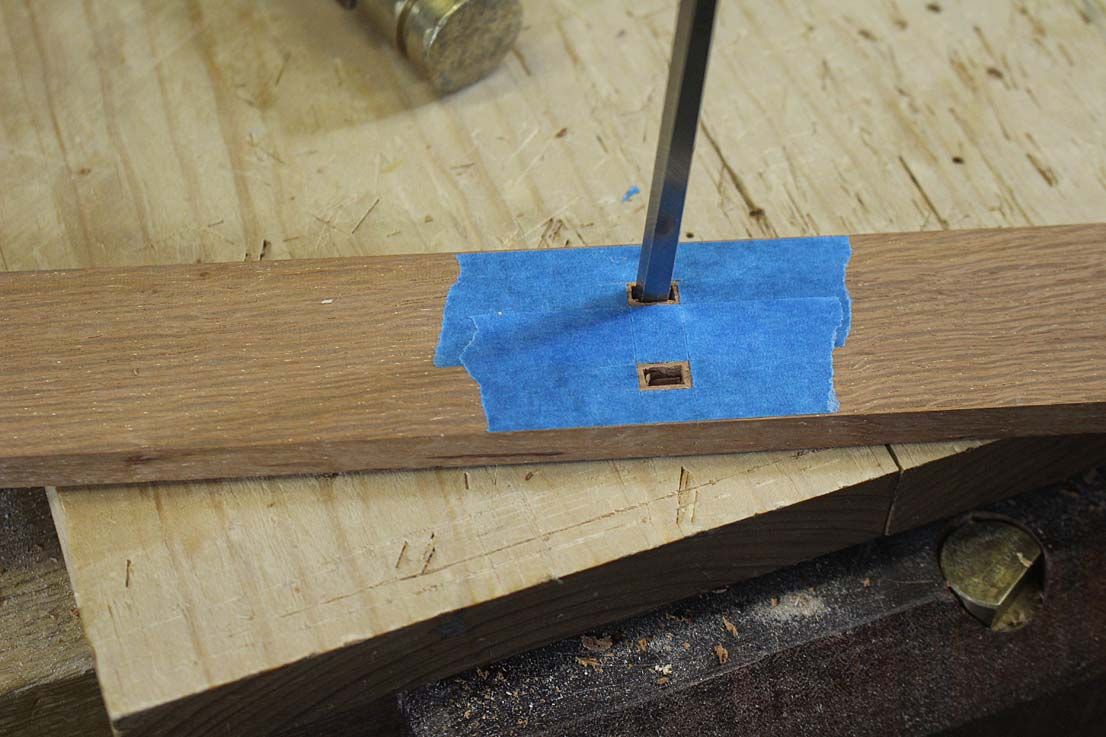
    The first step was to score the bottom of the slip. They are being made from the top down, and reverse-engineered ...


    There is a 5mm space to the next line (the height above the drawer blade) ...


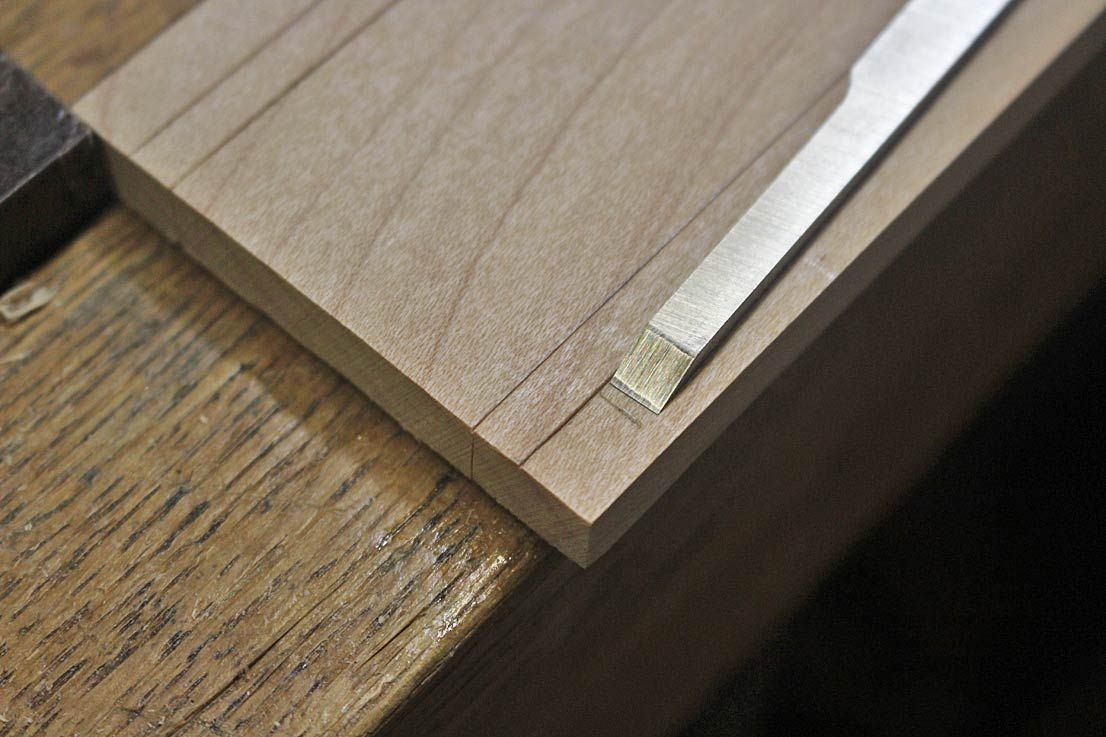
    The groove is going to be 3/16". The drawer bottom will be rebated 1/16" along the sides to fit.


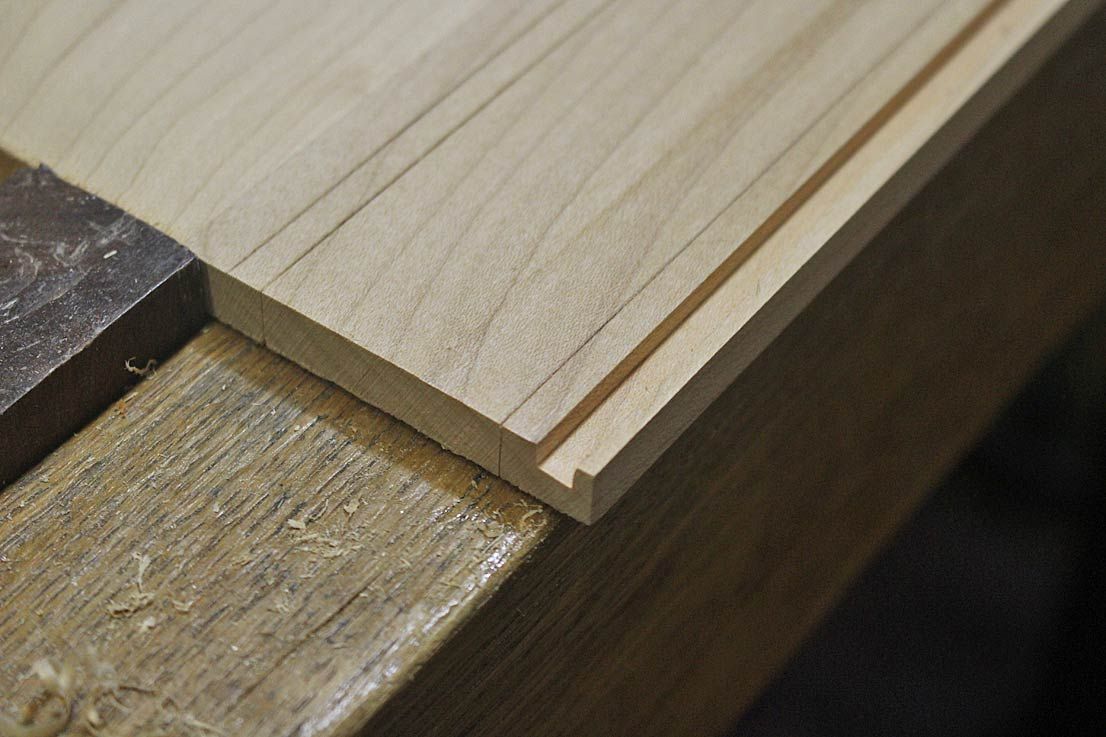
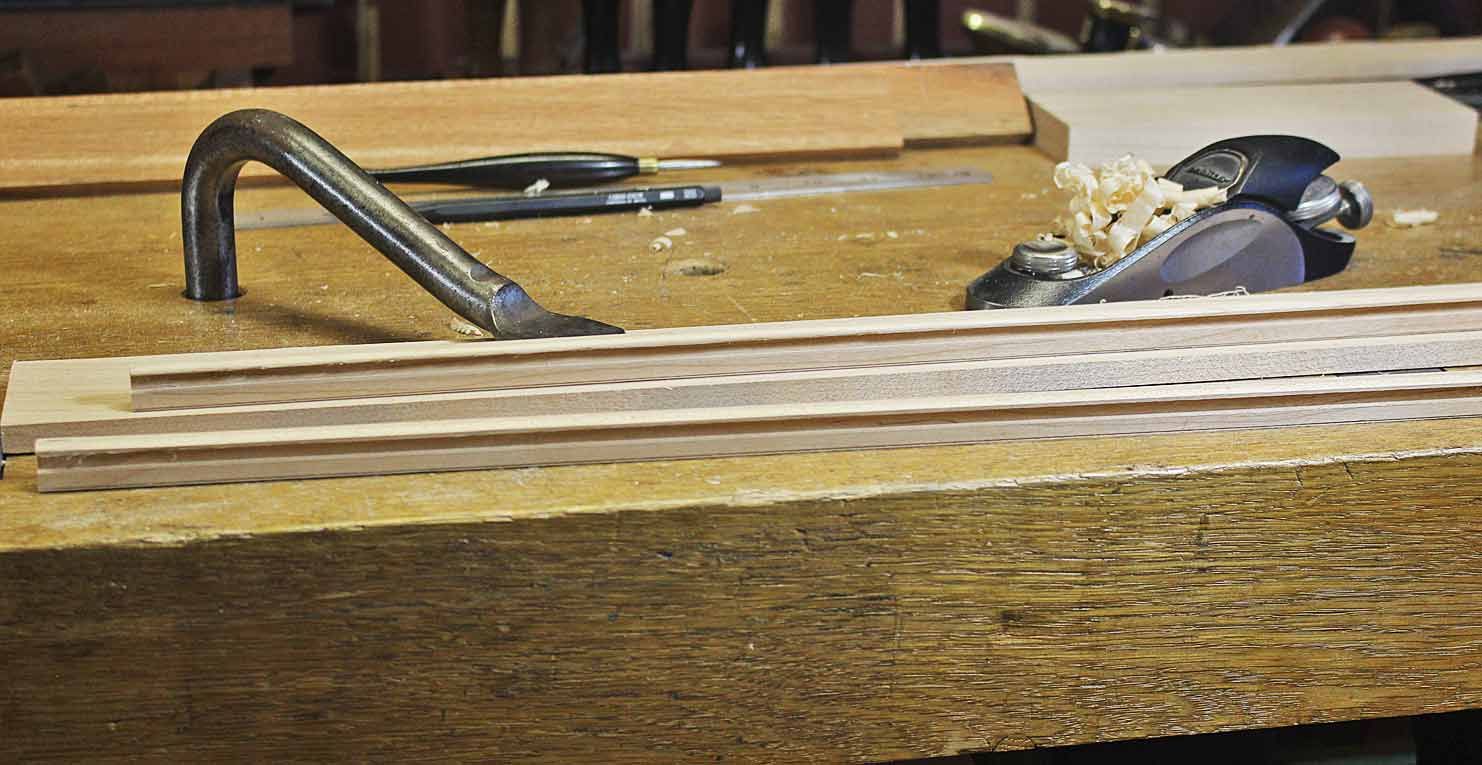
    Plough the groove ...


    Chamfer the edges ...


    I scraped a slight curve on the inside ...


    ... and then ripped them free on the table saw ...


    Back to the drawer


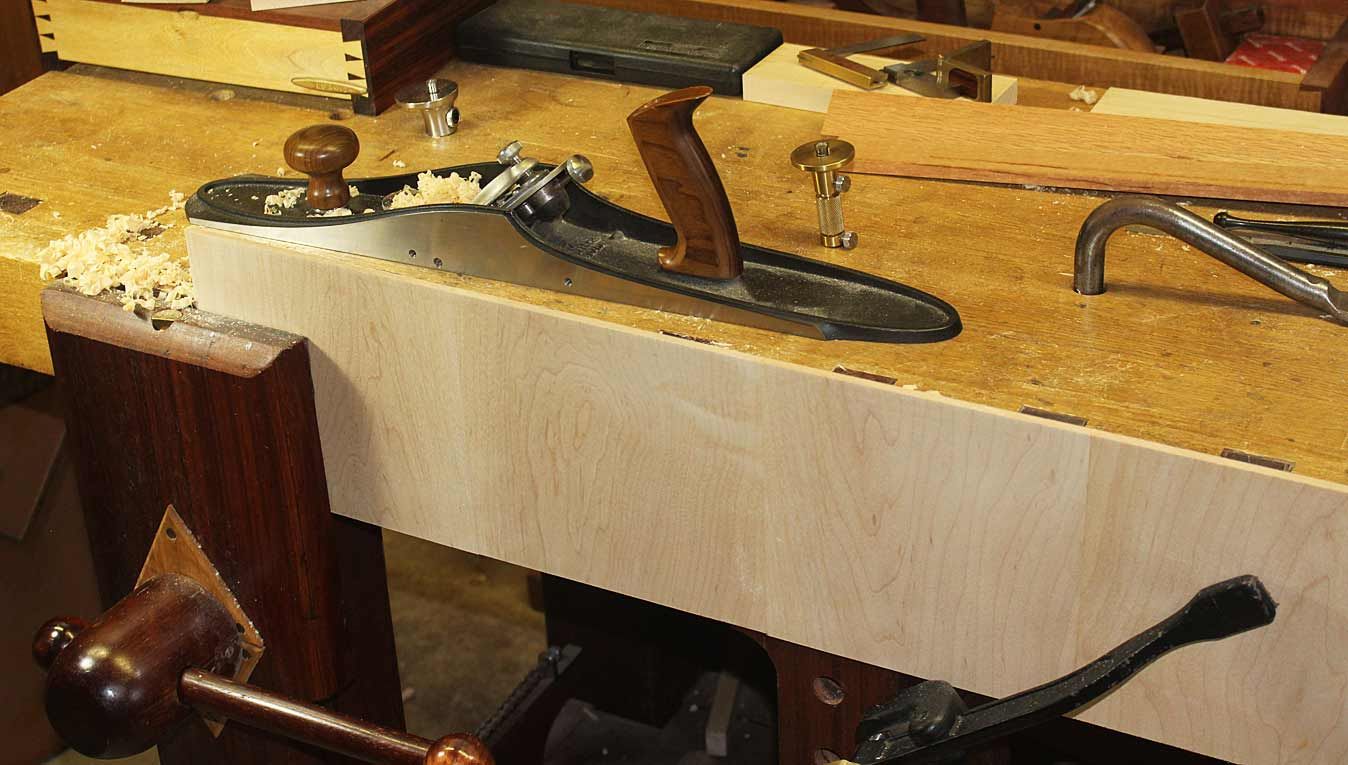
    I warned you that this was a weird looking drawer. Here is the drawer front - ploughing the front groove. This has to allow for the lower- and upper overlay to match the apron ...


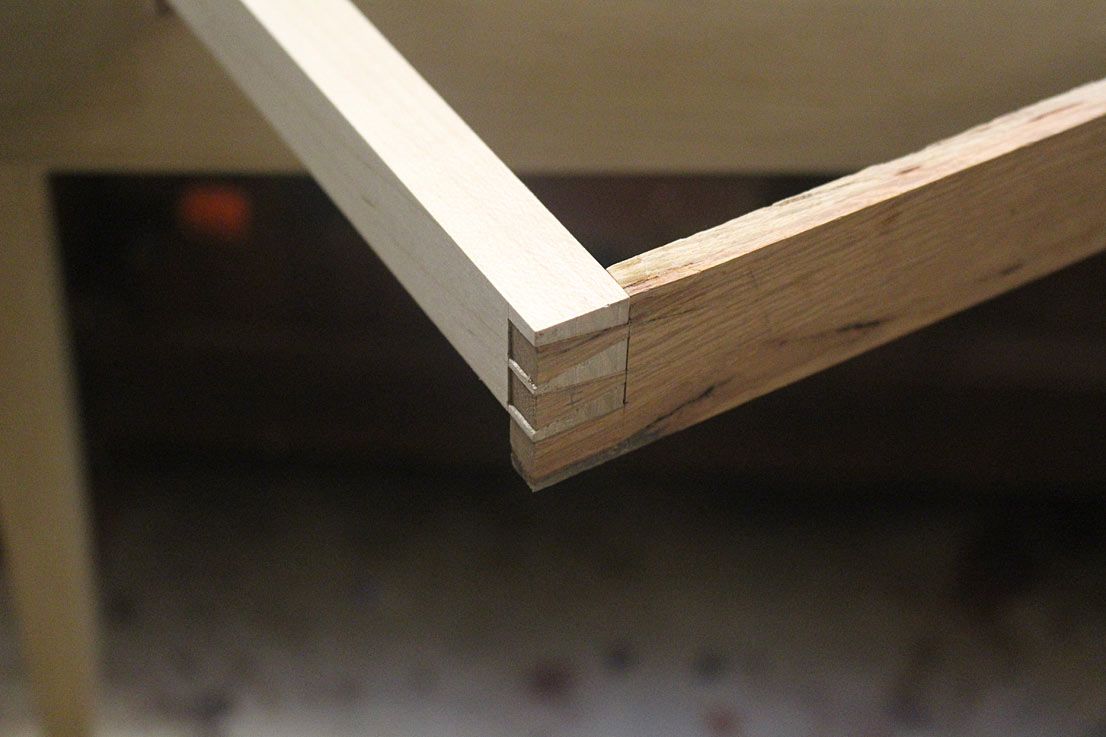
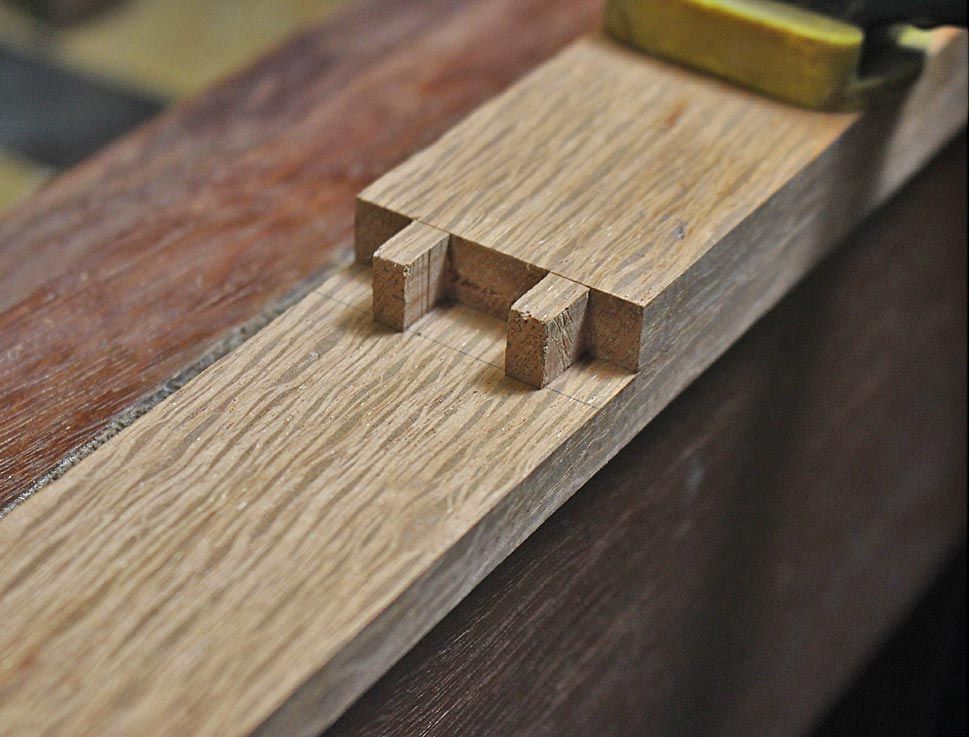
    I will not show you boring pictures of dovetailing, however this is a how the drawer front is constructed ...


  2. #2
    Join Date
    Feb 2004
    Location
    Perth, Australia
    Posts
    9,491


    With the sides joined, this is how the drawer front looks ...


    From this inside ...


    The through dovetails at the rear of the drawer look like this (all very rough at this stage) ...


    I planned that the drawer would have a working depth of 250mm (10"). The drawer back was attached with a though mortice-and tenon ...


    Of course, I did not think this through, and the lower tenon sits where the slip runs. I had to saw it off and fill the hole. Well, it looks like a double mortice-and-tenon. We are the only ones to know the truth ...


    Here is a picture of the drawer ...


    Below is the drawer extended, with a mock up of the top ...


    The drawer can extend much further than this without any droop. I am considering another hidden drawer behind this drawer - by adding another divider. This would also add more rigidity (not sure if this is needed).


    Finally, here is a picture of the drawer end of the table alongside the sofa table it will replace ...


    We'll complete the drawer next time.


    Regards from Perth


    Derek

  3. #3
    Join Date
    Aug 2012
    Location
    Missouri
    Posts
    2,152
    Wow that is a long drawer. Neatly done work as usual for you. I would caution you about storing your gold bars or your drill bits in it, could be a little tippy.
    Jim

  4. #4
    Join Date
    May 2015
    Location
    NJ
    Posts
    1,389
    I don't think its ugly but I do think its really cool!
    "The reward of a thing well done is having done it." - Ralph Waldo Emerson

  5. #5
    Join Date
    Dec 2015
    Location
    Dublin, CA
    Posts
    4,119
    What is this Traditional Neander Tool called "Domino" of which you speak so much? :-)

    Also, do I spy a new or one-off Veritas cutting gauge? It looks a bit like a single-rod version of the dual gauge, but made in stainless steel or maybe Nickel-Iron (or maybe the color balance is a little wonky).
    Last edited by Patrick Chase; 06-26-2017 at 6:56 PM.

  6. #6
    Join Date
    Feb 2004
    Location
    Perth, Australia
    Posts
    9,491
    Hi Patrick, those stainless steel gauges were offered a few years ago, and quite cheaply. I grabbed two. They are among my favourite.

    Regards from Perth

    Derek

  7. #7
    How secret is a drawer when one look under the table top reveals the secret?

  8. #8
    Join Date
    Feb 2004
    Location
    Perth, Australia
    Posts
    9,491
    Kees, who looks under a table? 
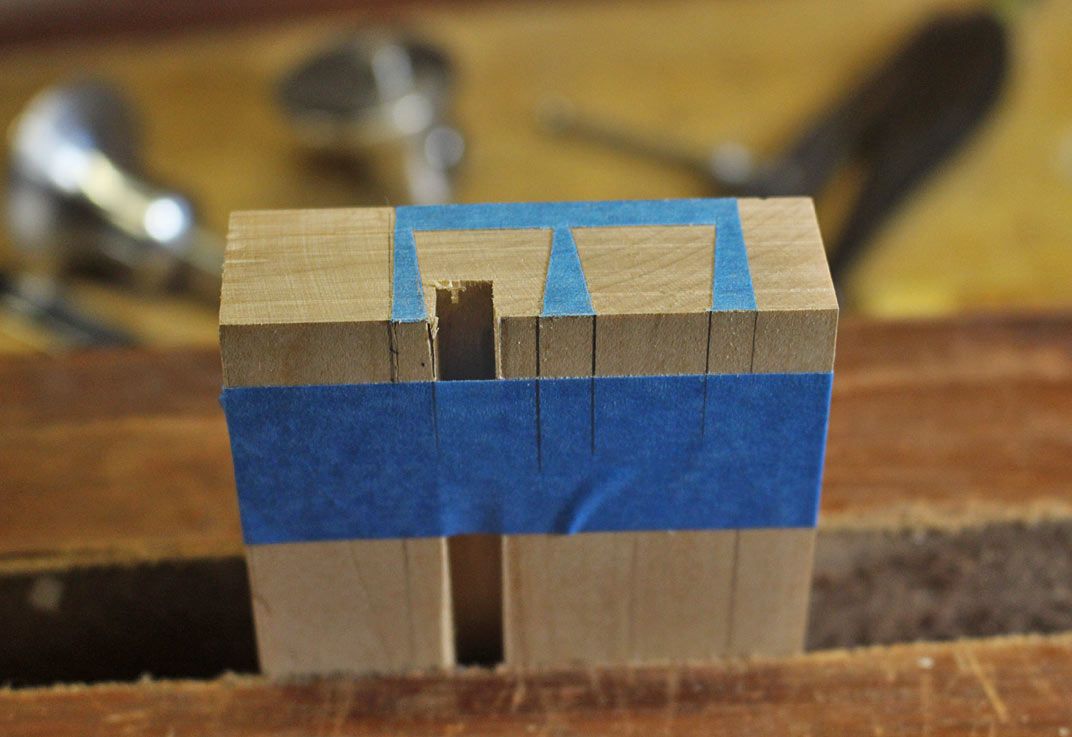
Anyway, all one would see is a solid panel the entire length.

    Anyway, it's booby-trapped.

    Regards from Perth

    Derek

  9. #9
    Aha, you are going to cover up the secret bits? That's a lot better.

  10. #10
    Derek, I have been lurking on this site for many years. I always look forward to your build posts. They always show some in site on how to be a better woodworker. I am finally getting to the point in my life that i am trying to have the discipline and focus on one hobby and get good at it. I always pay close attention to what you say and do. This table is a great example of what i think the majority of us lurkers love about this site.
    Thank, Eric

  11. #11
    Join Date
    Mar 2006
    Location
    Austin Texas
    Posts
    1,957
    Oh Derek, what a set of legs. How can she deny you?
    David

  12. #12
    Join Date
    Feb 2004
    Location
    Perth, Australia
    Posts
    9,491
    Thanks Eric. SMC has had a few fantastic builds of late.

    And thanks David. I'm counting on the legs to earn me lots of brownie points.

    Regards from Perth

    Derek

  13. #13
    Join Date
    May 2004
    Location
    N Illinois
    Posts
    4,602
    Very nice work....The drawer is interesting...
    Jerry

Posting Permissions

  • You may not post new threads
  • You may not post replies
  • You may not post attachments
  • You may not edit your posts
  •