Page 1 of 3 123 LastLast
Results 1 to 15 of 42

Thread: Anarchist Tool Chest Build

  1. #1
    Join Date
    Feb 2011
    Location
    Carlsbad, CA
    Posts
    2,230
    Blog Entries
    2

    Anarchist Tool Chest Build

    I may have an opportunity to teach a workshop on sharpening/restoring vintage saws at the local community college woodworking program. I’ve done this a couple times and I usually bring a bunch of saws for people to try out. My idea is guys will hopefully be more interested in learning how to sharpen their saws after they get a chance to experience how well tuned saw performs.
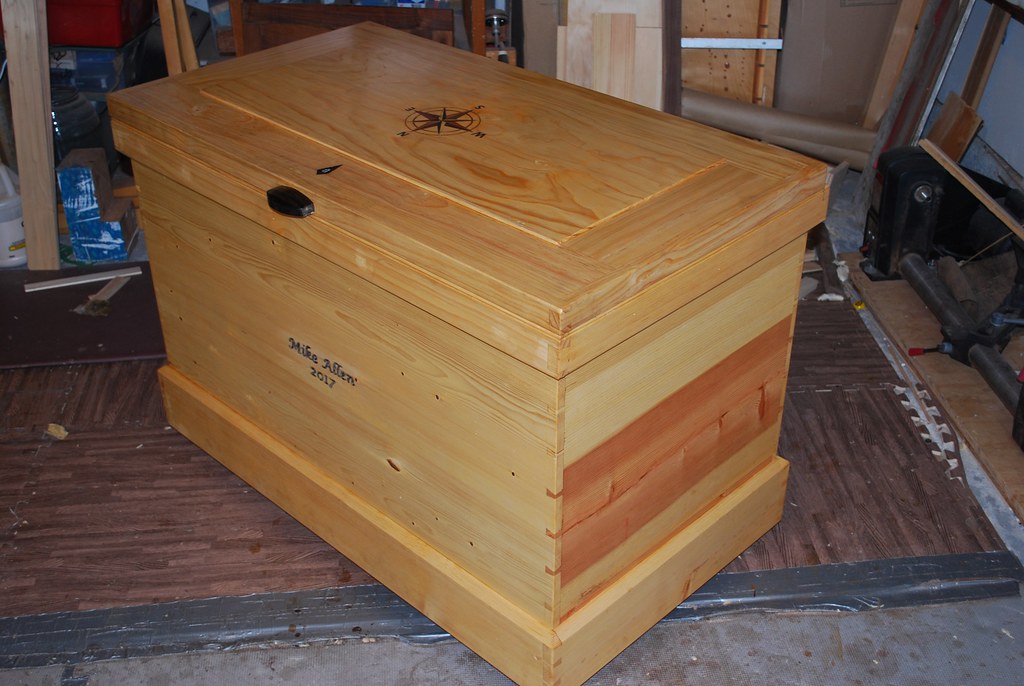
    Previously I’ve wrapped a bunch of saws in towels to transport from the shop to the classroom which is a poor solution. I built this test to make it a little easier. Once I got started I figured it made more sense to build a chest I could use to hold a decent kit of hand tools I could use to work outside the shop. Some build pics of an Anarchist tool chest as described in Chris Schwarz book.
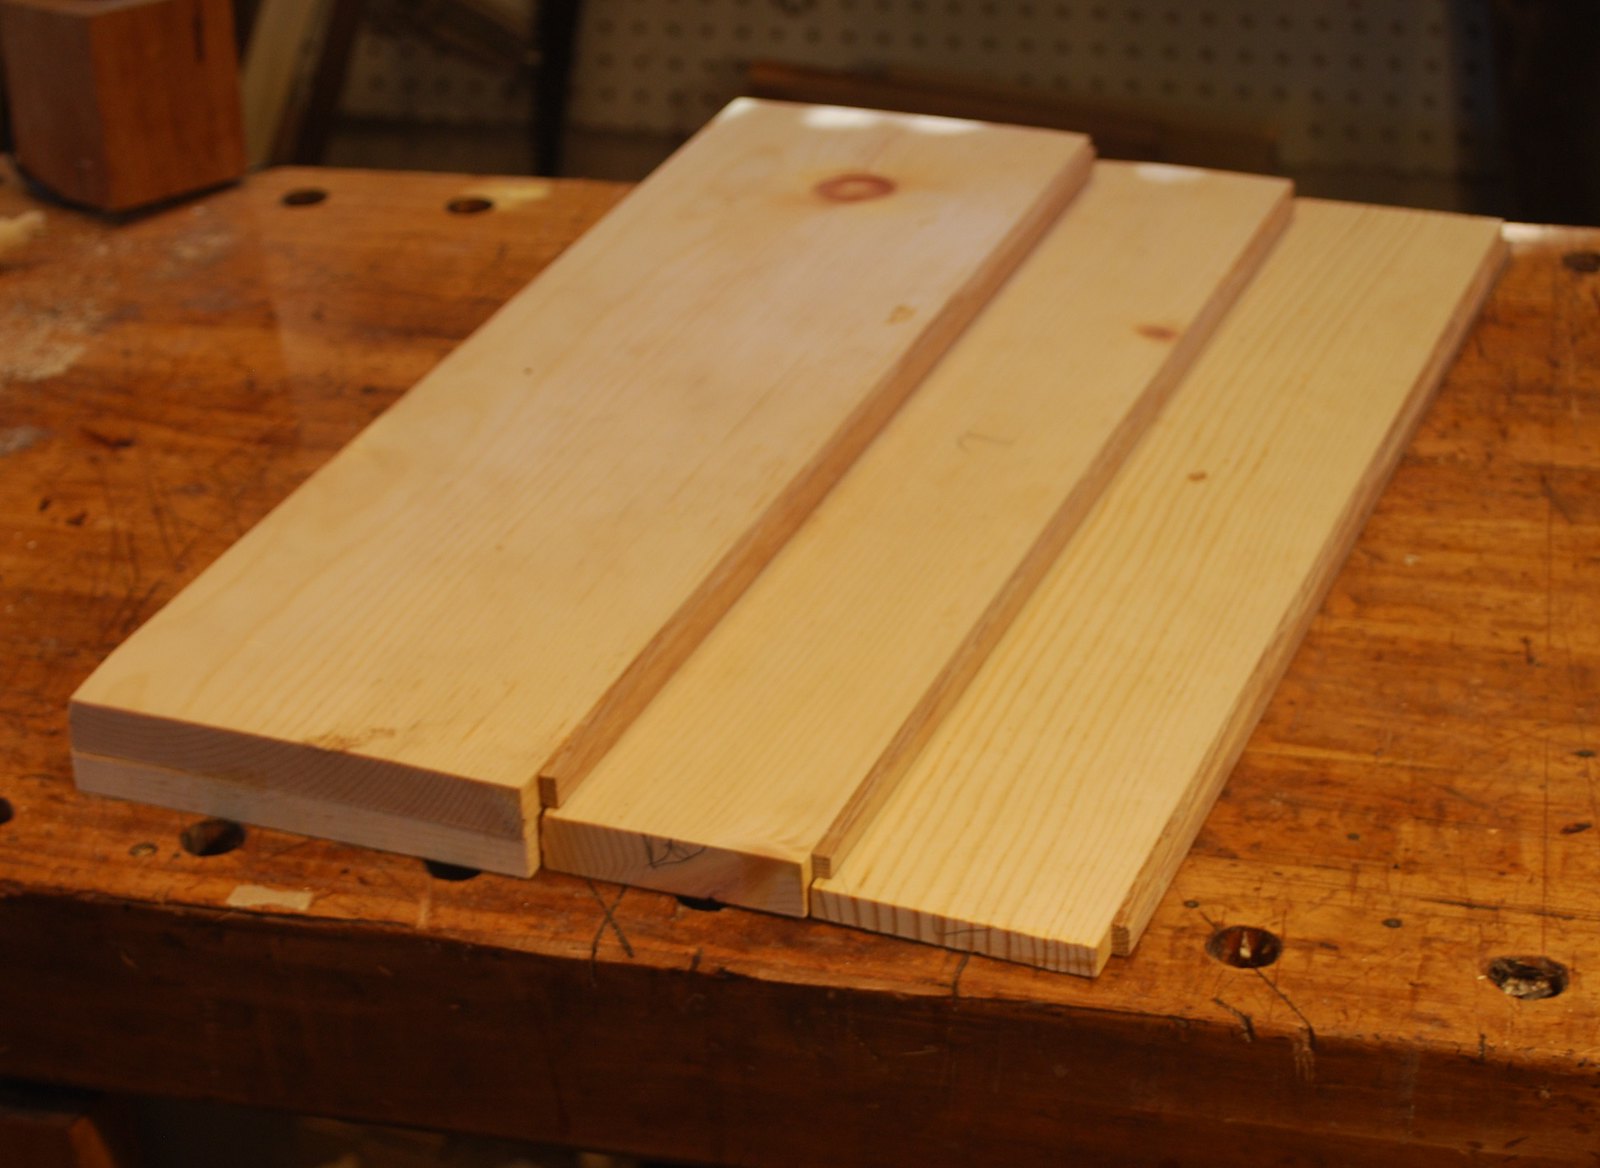
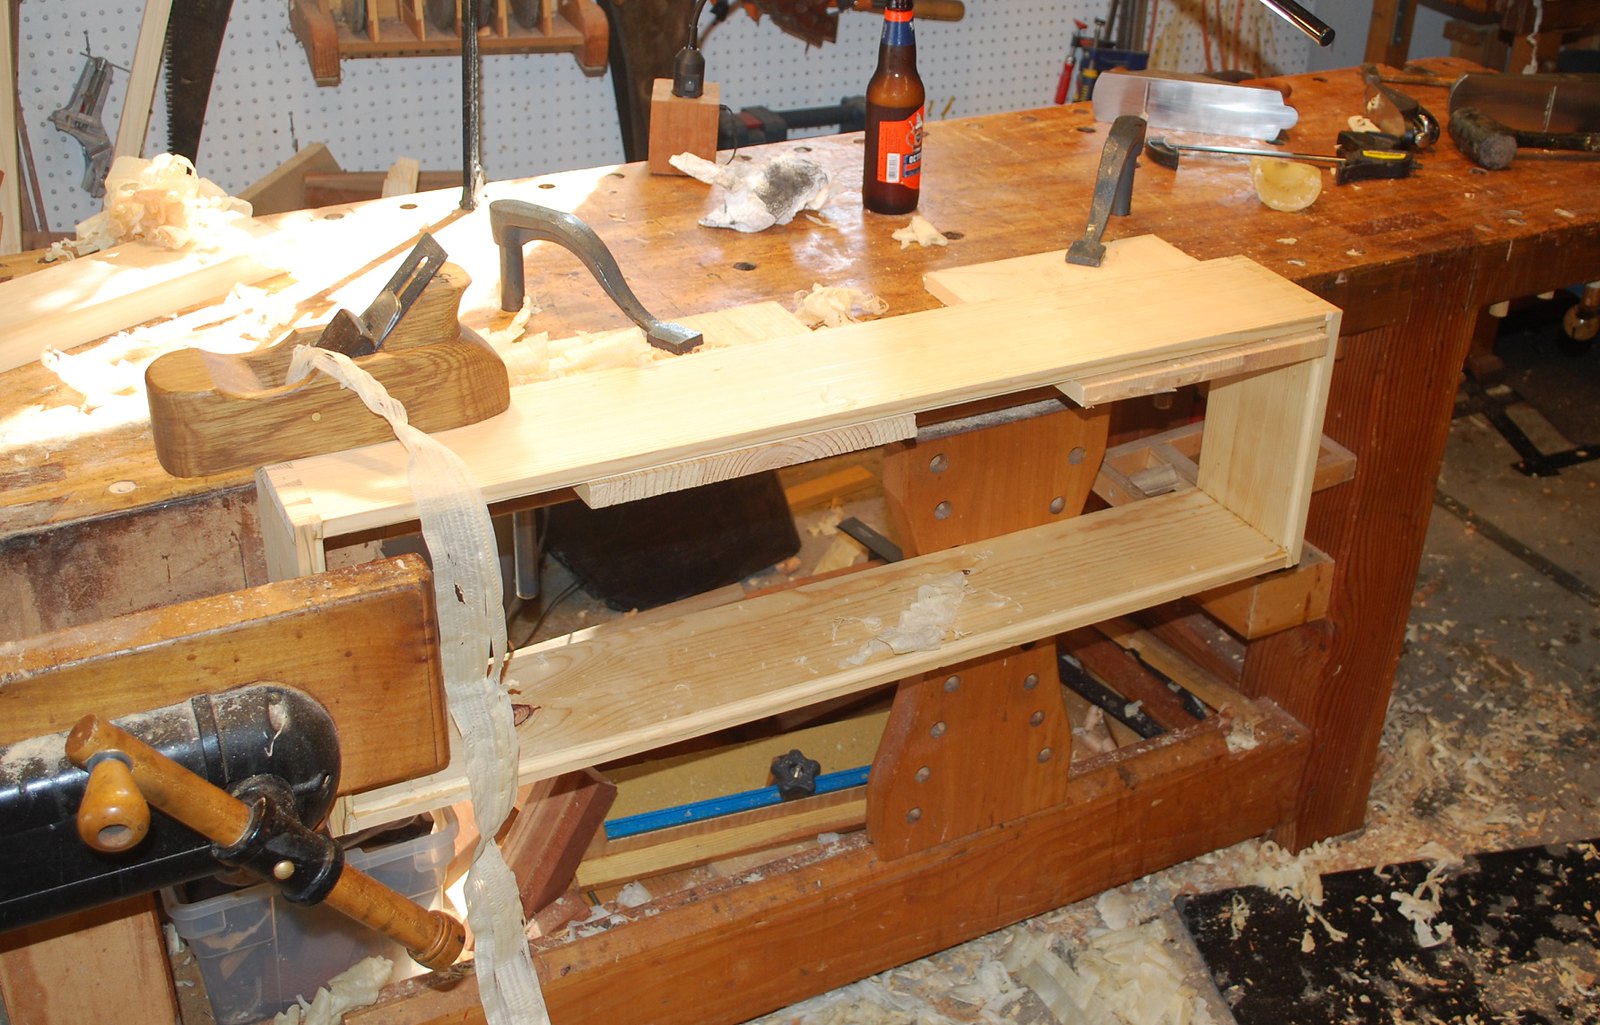
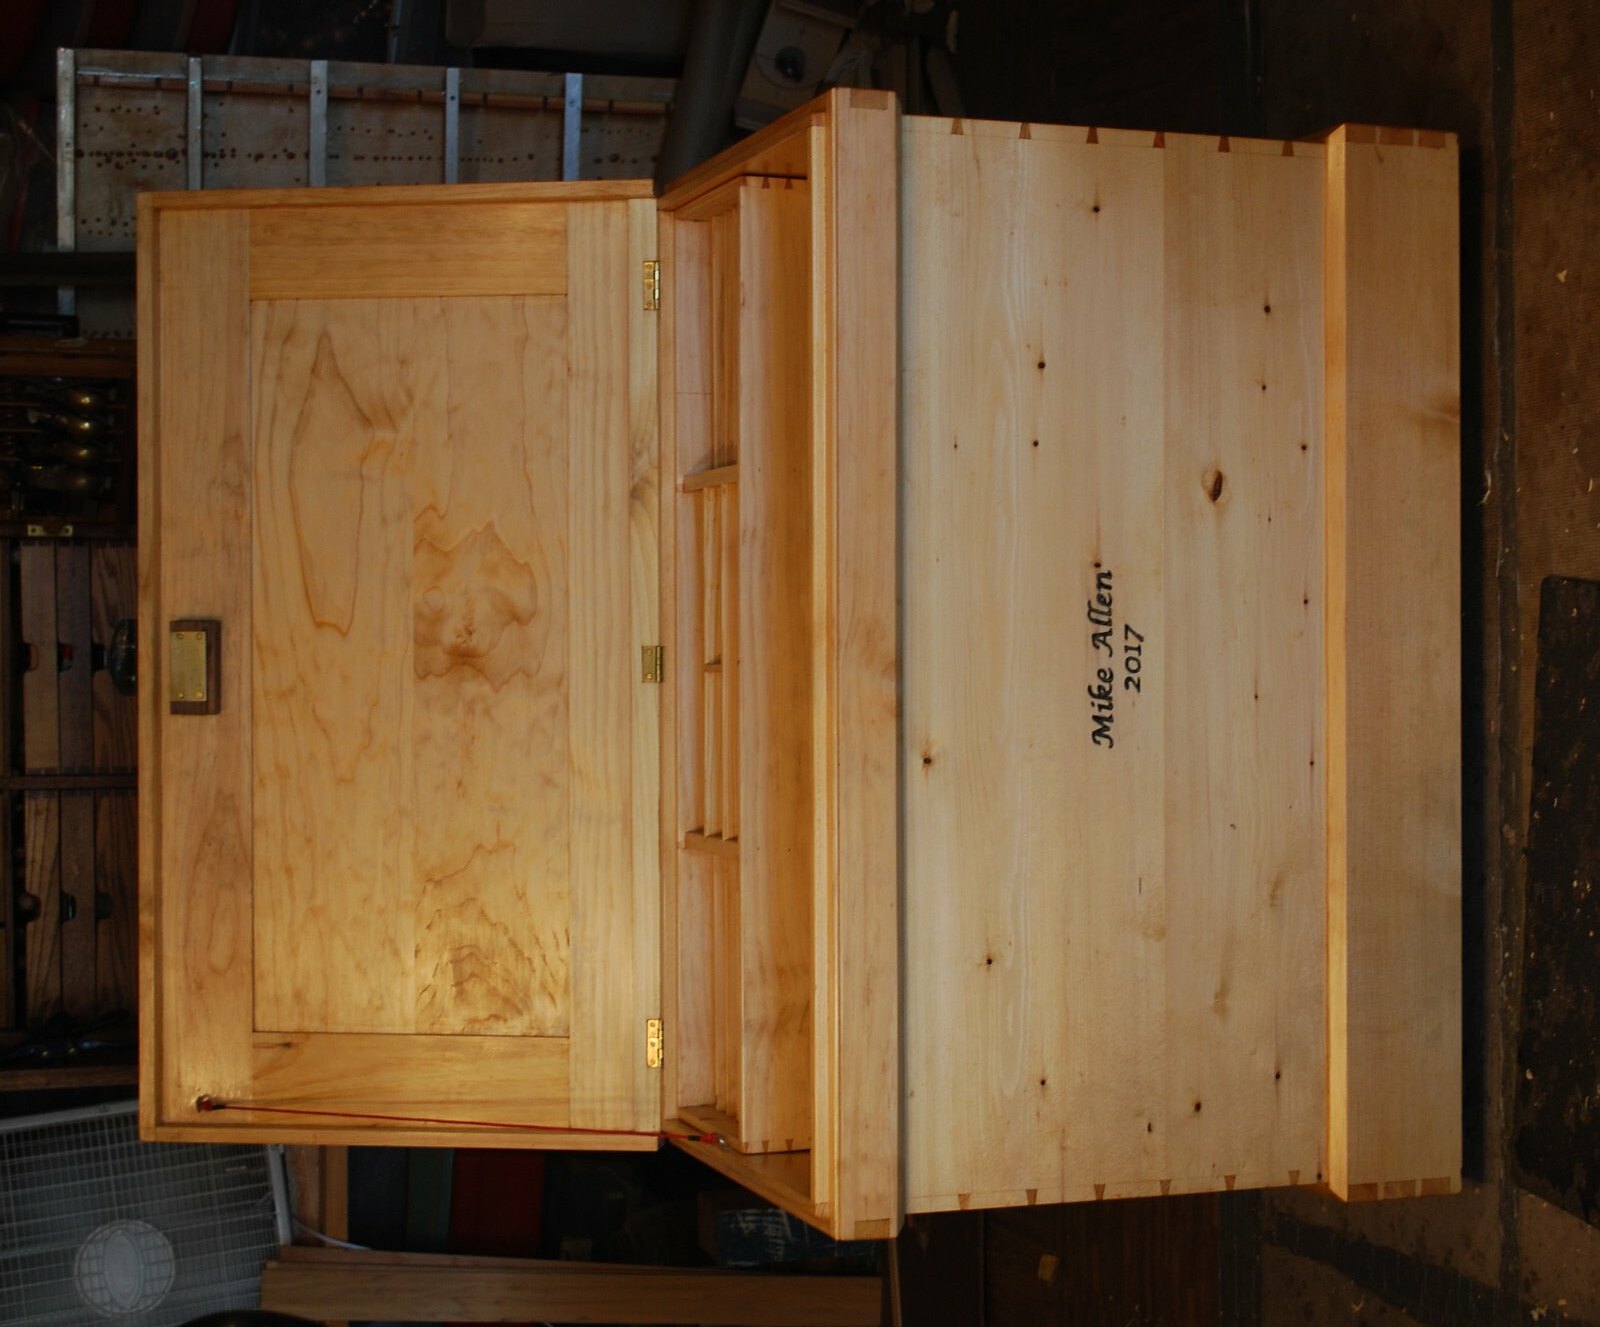
    I built this out of “Whitewood” from the local Borg. Mostly white pine, but a couple boards that were much harder/denser – maybe Southern yellow Pine? Problem is I sort of overdid it – started with the dimensions in Chris’s book, and as I’m want to do, “scaled them up” a little: 47” long, by 27” high, by 23” deep. I should’ve known better -now that it’s done there’s no way I’m going to be able to lift this thing into the truck!– I usually run into problems when I start “adjusting” original dimensions.

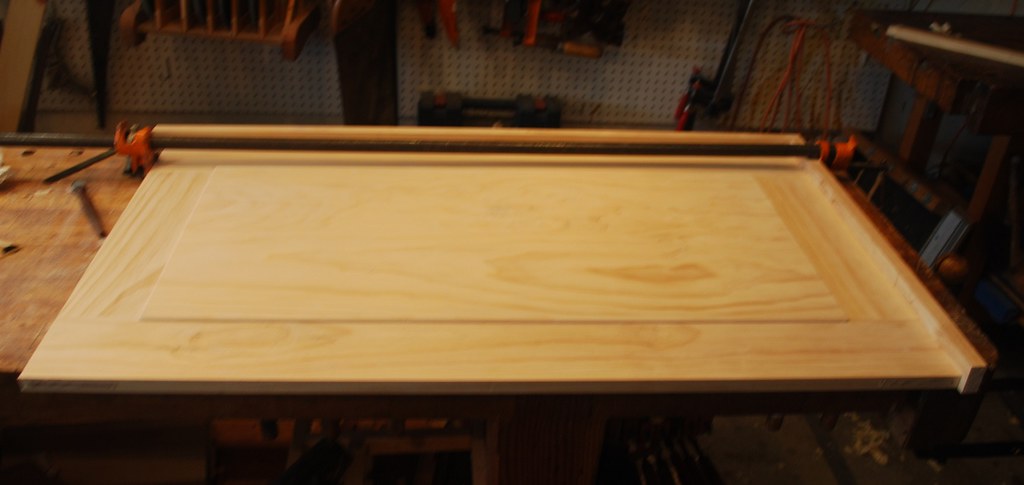
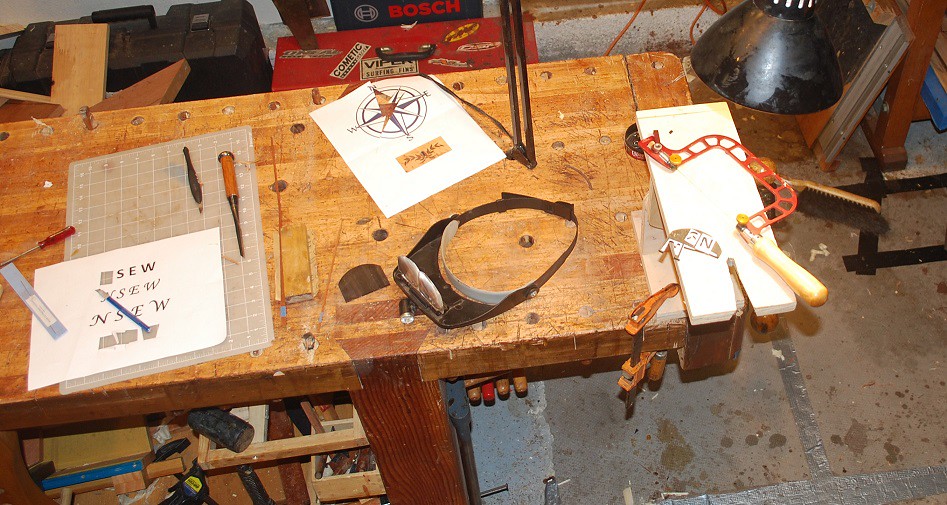
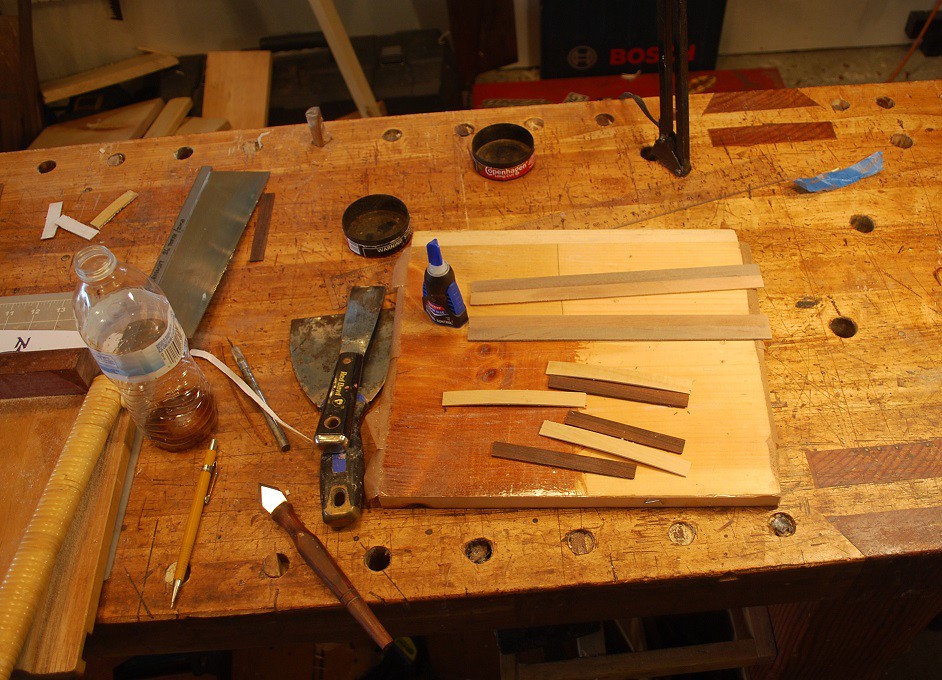
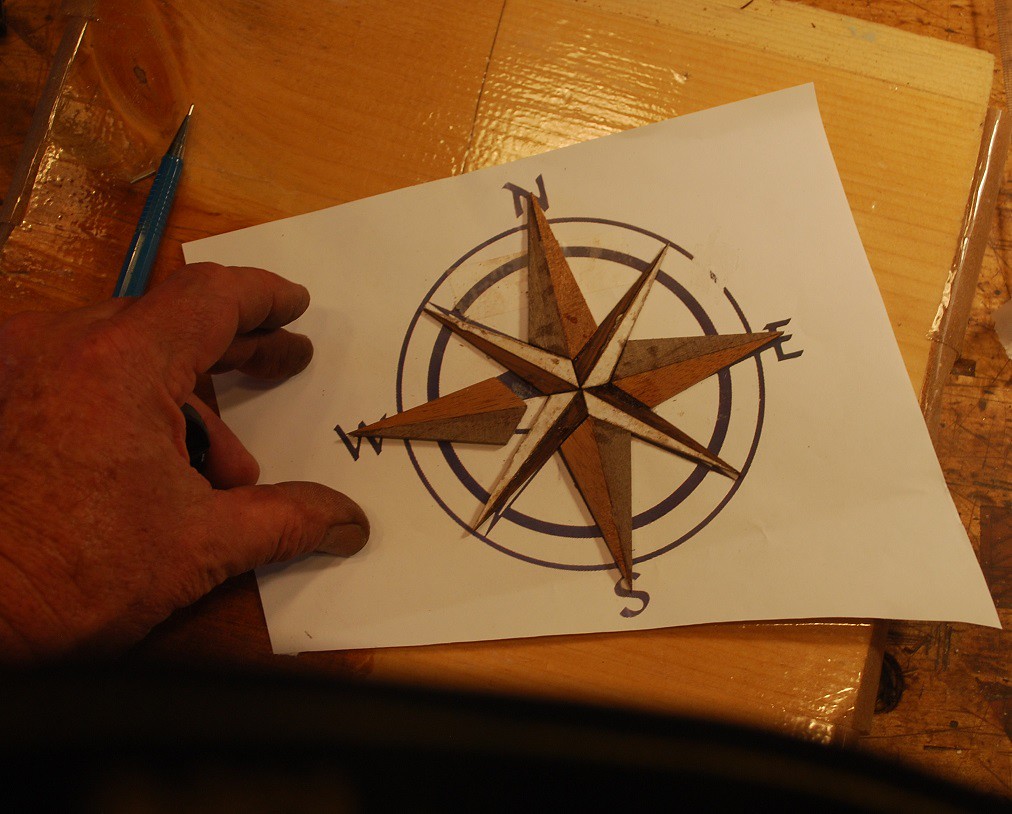
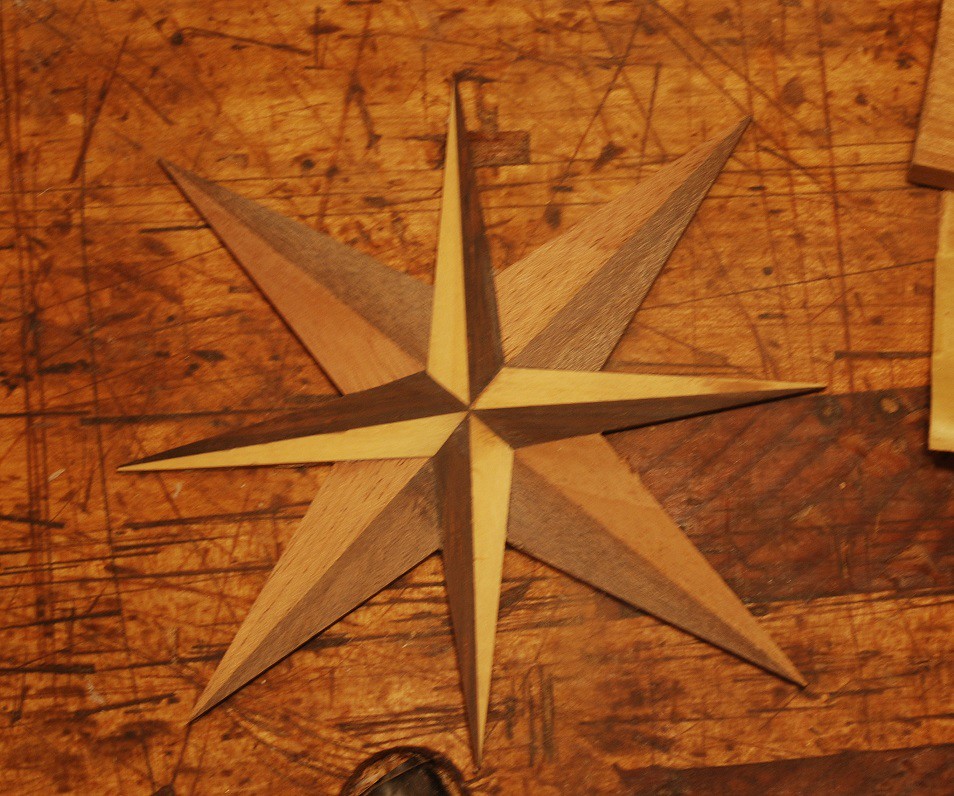
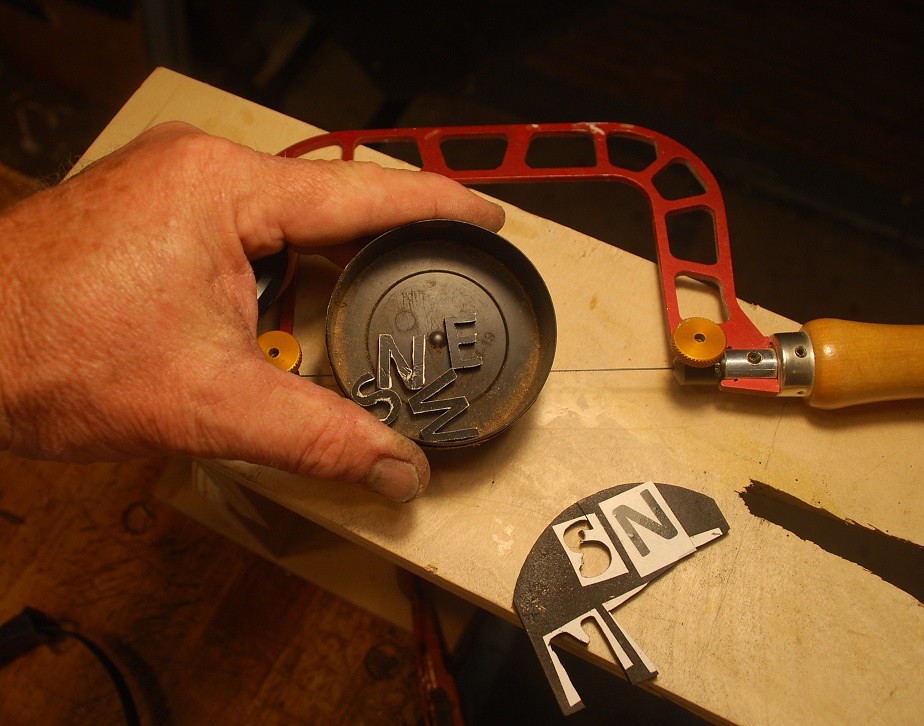
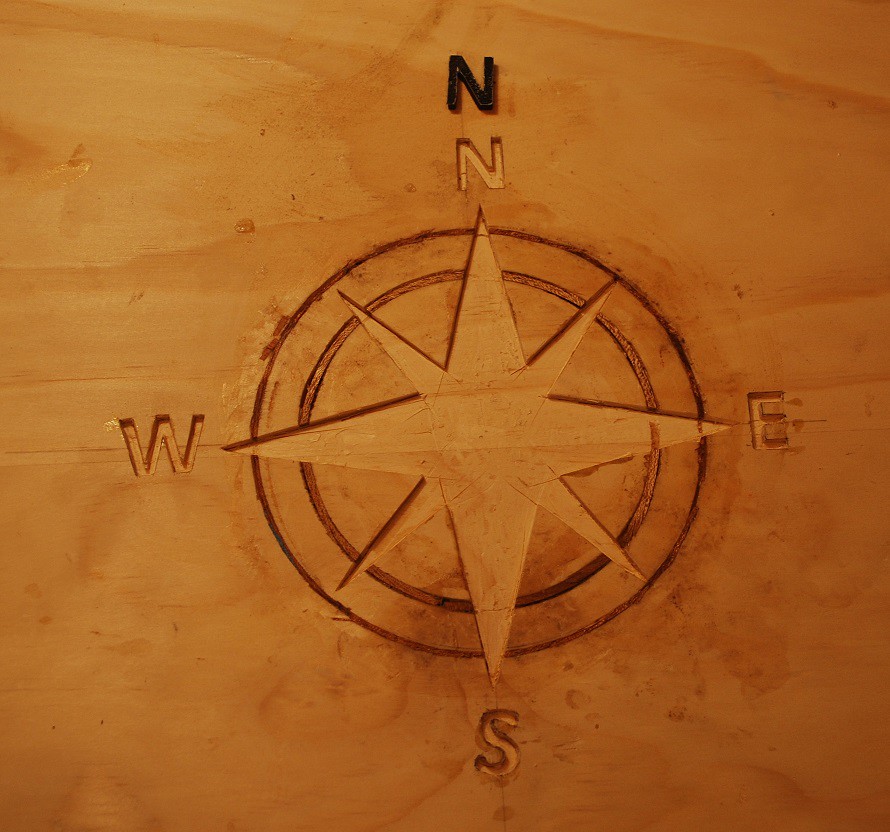
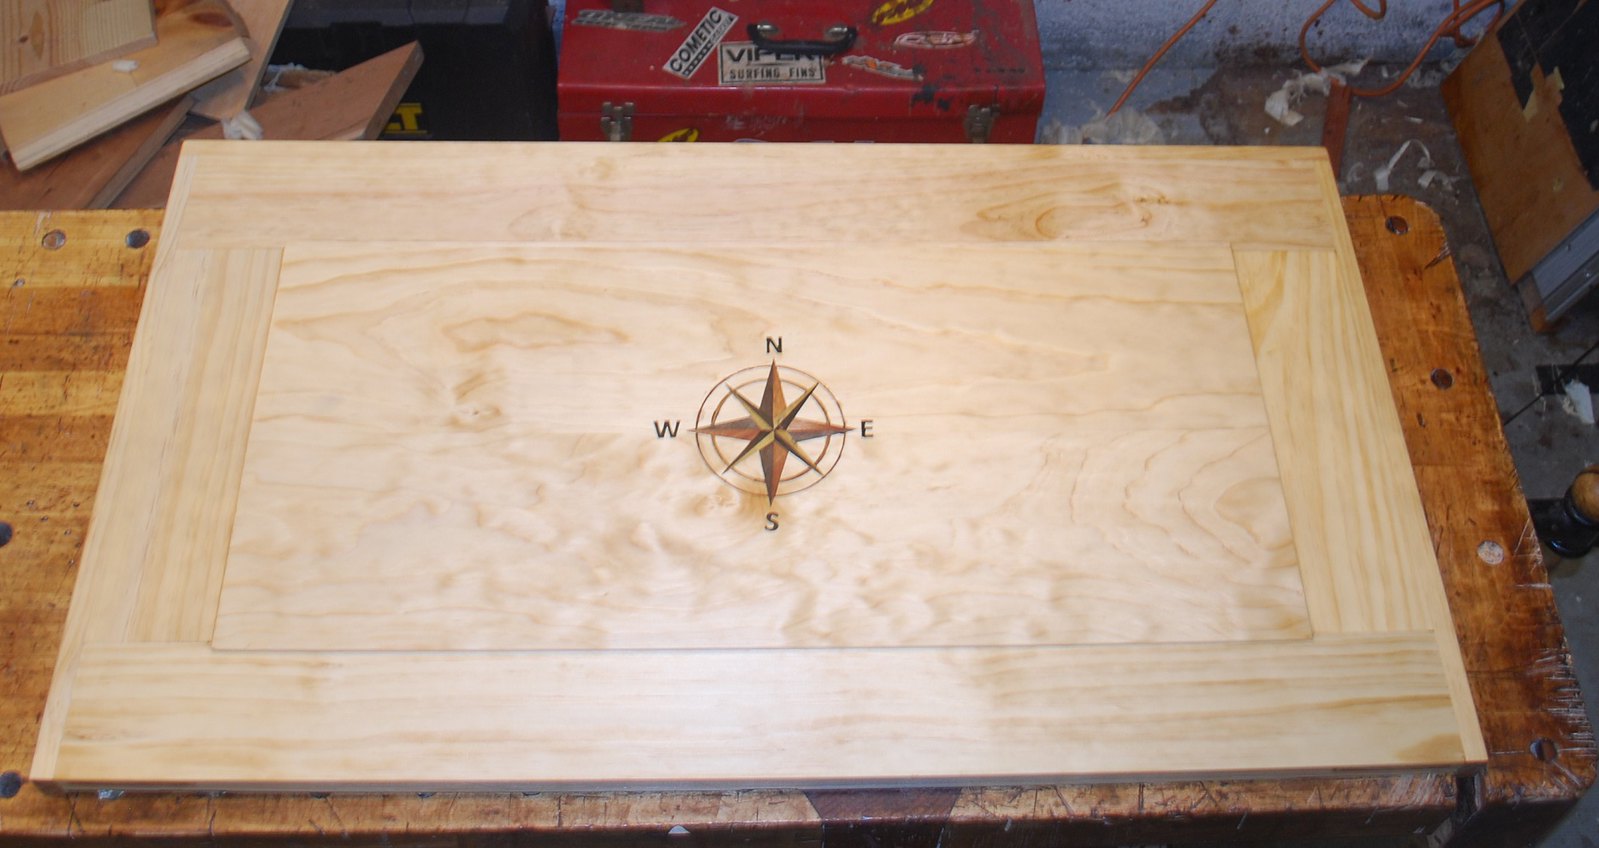
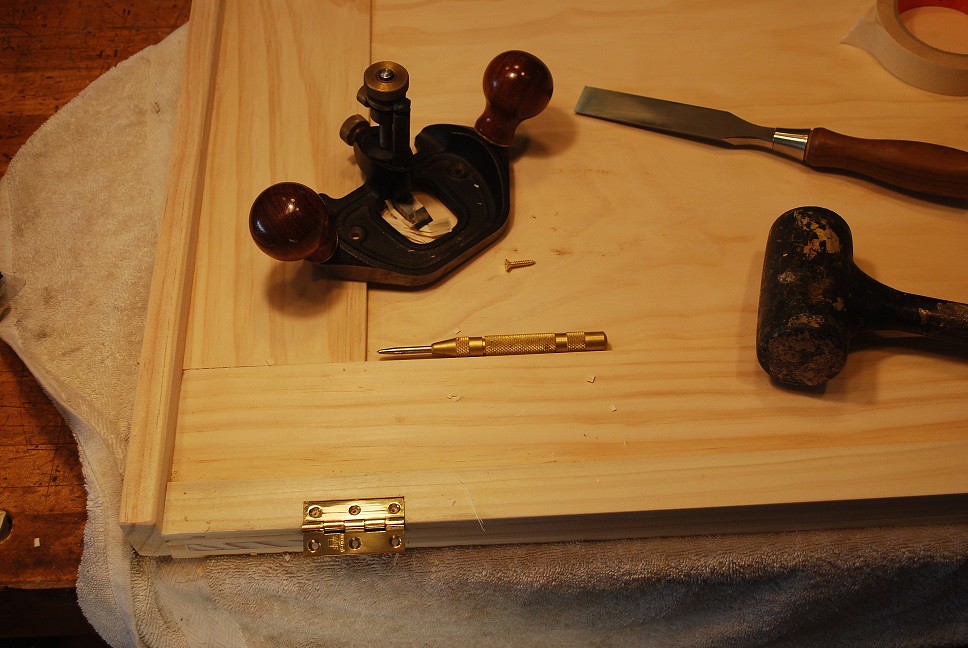
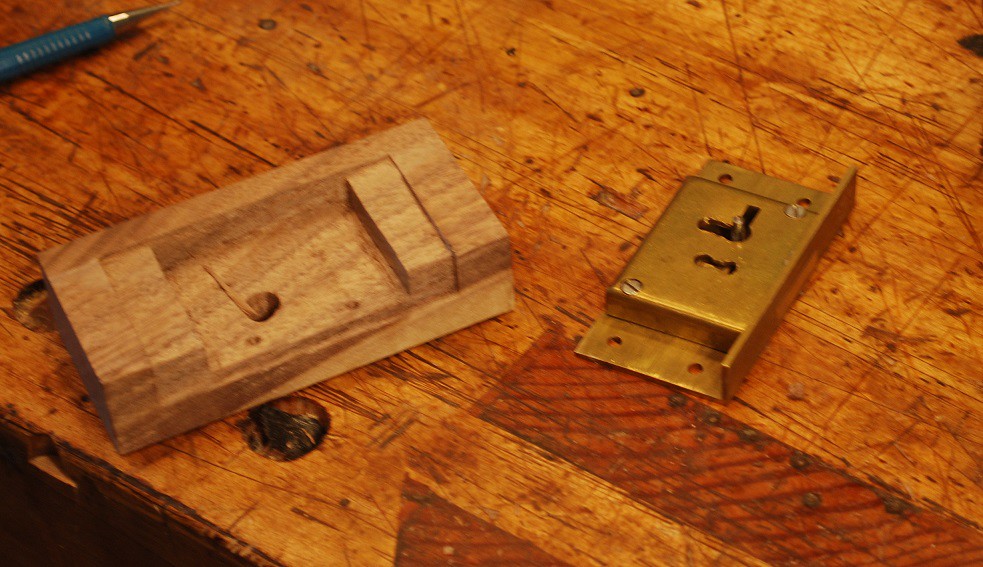
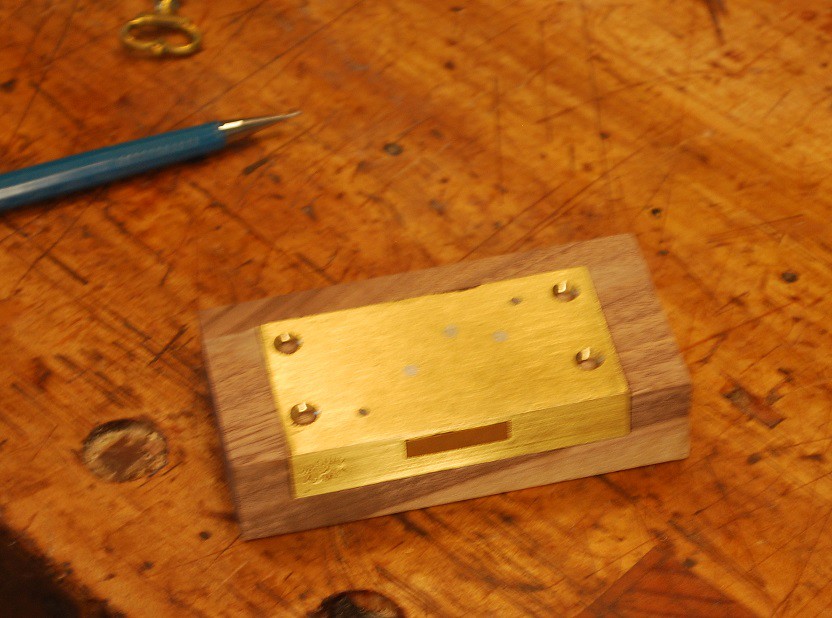
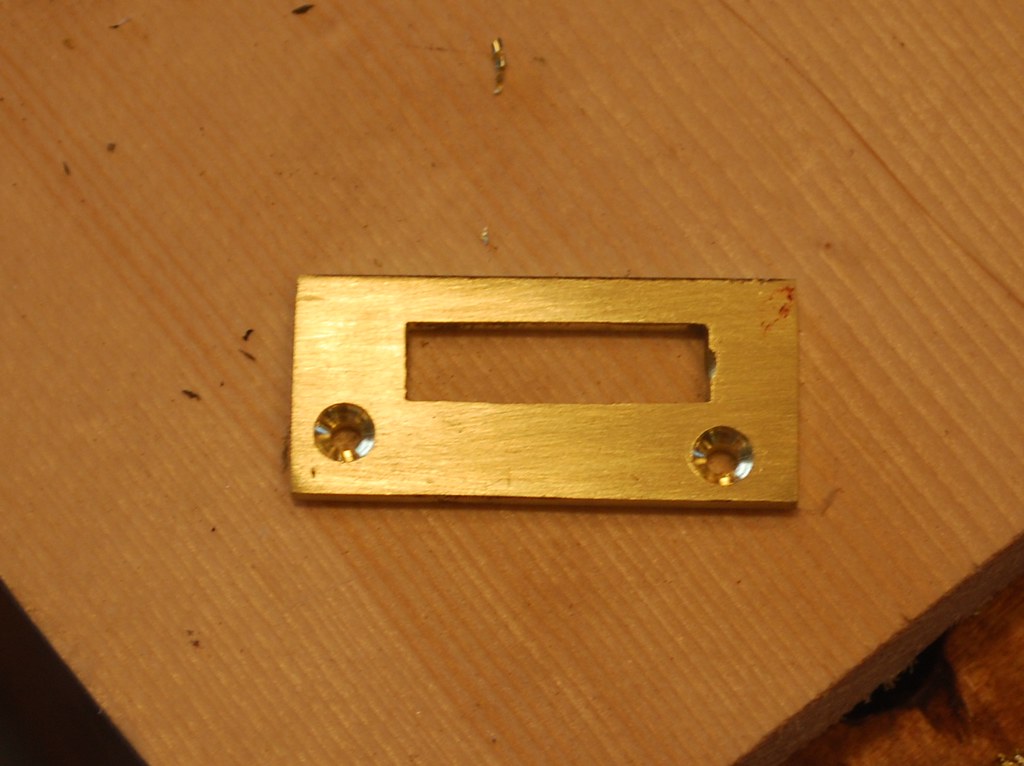
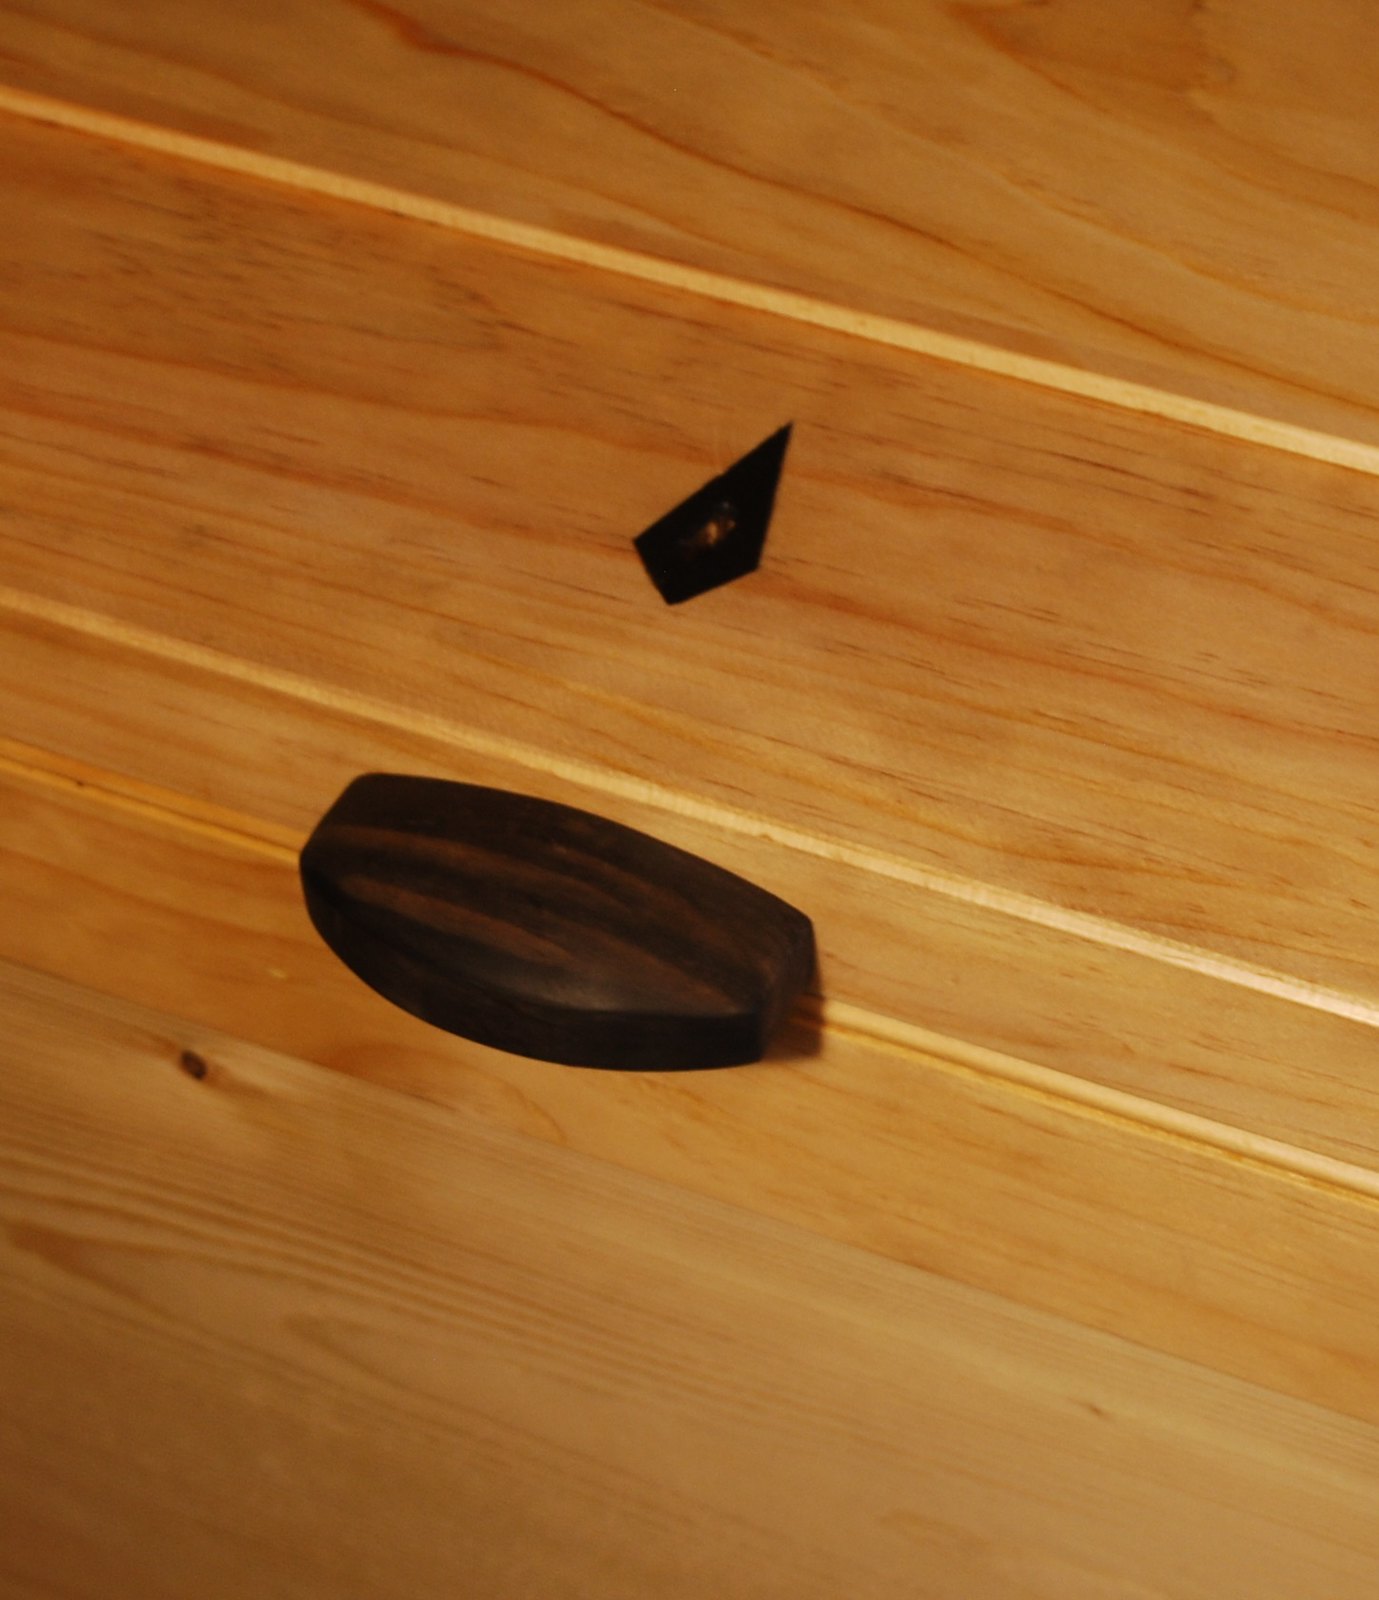
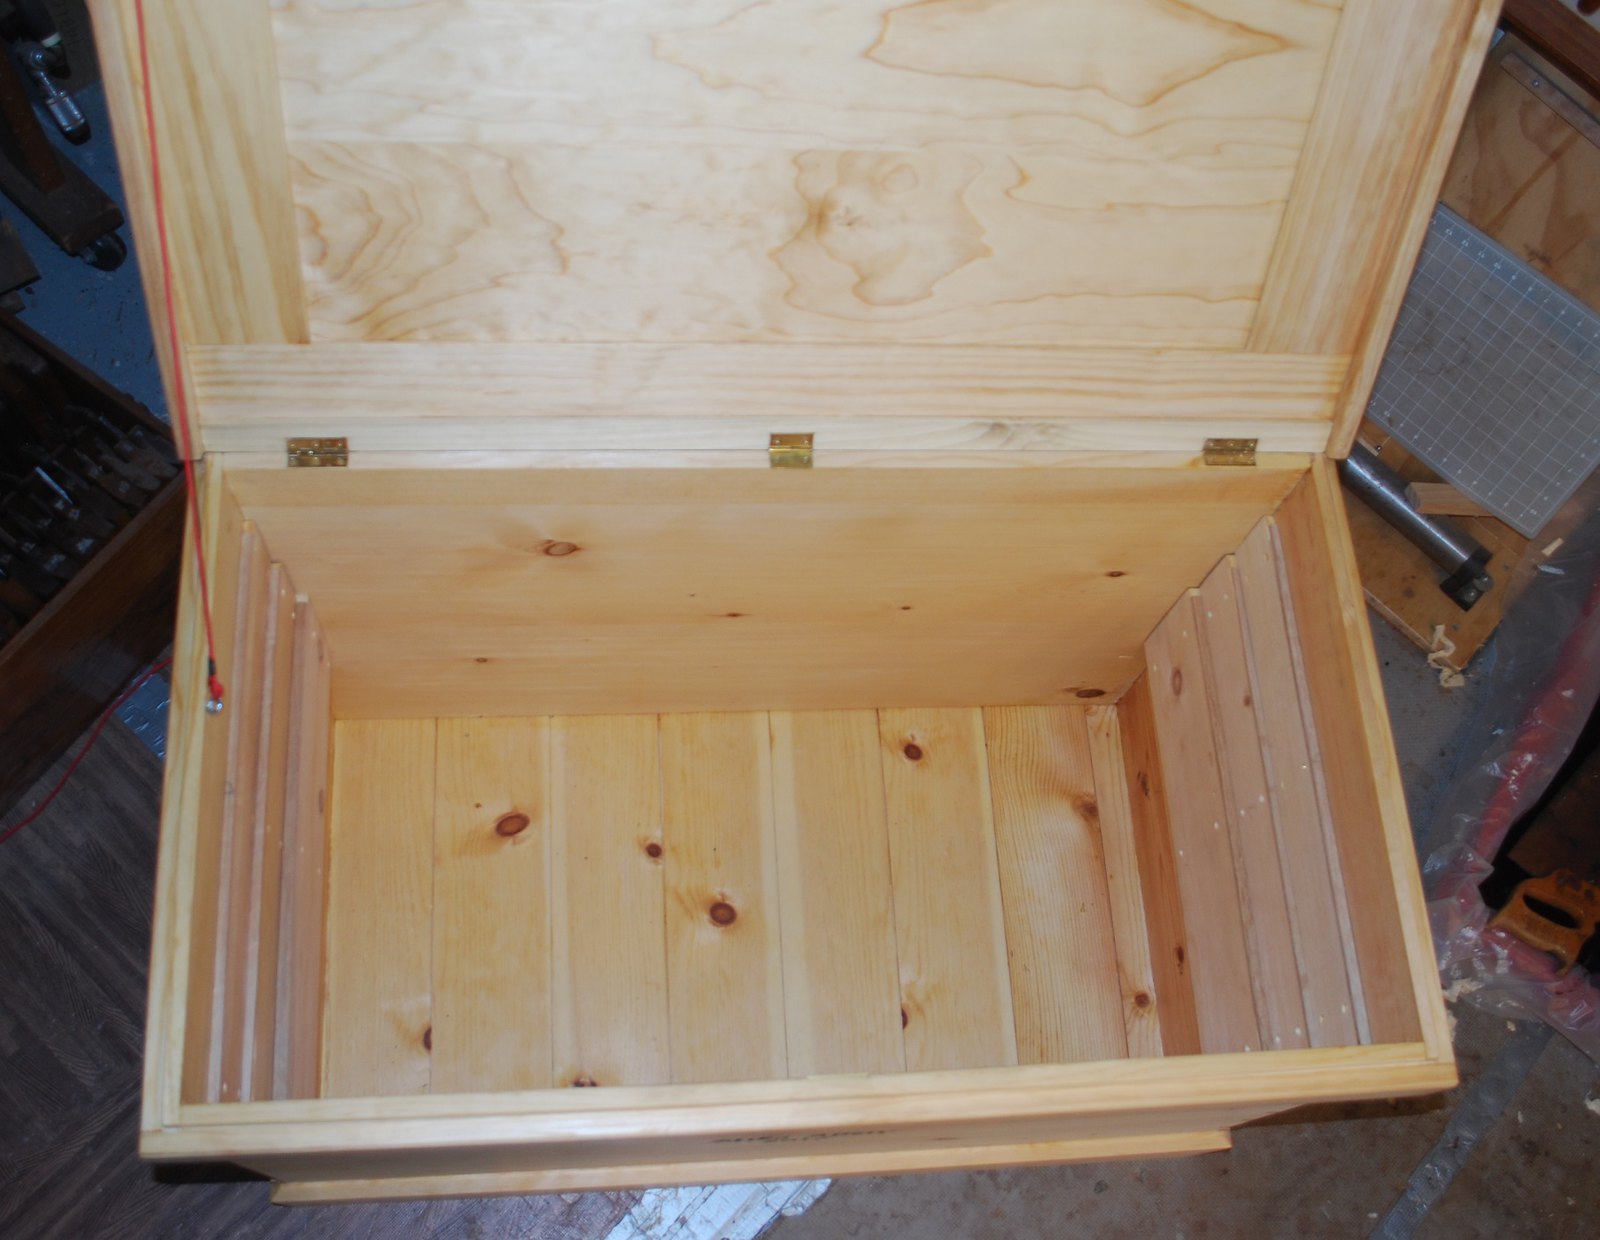
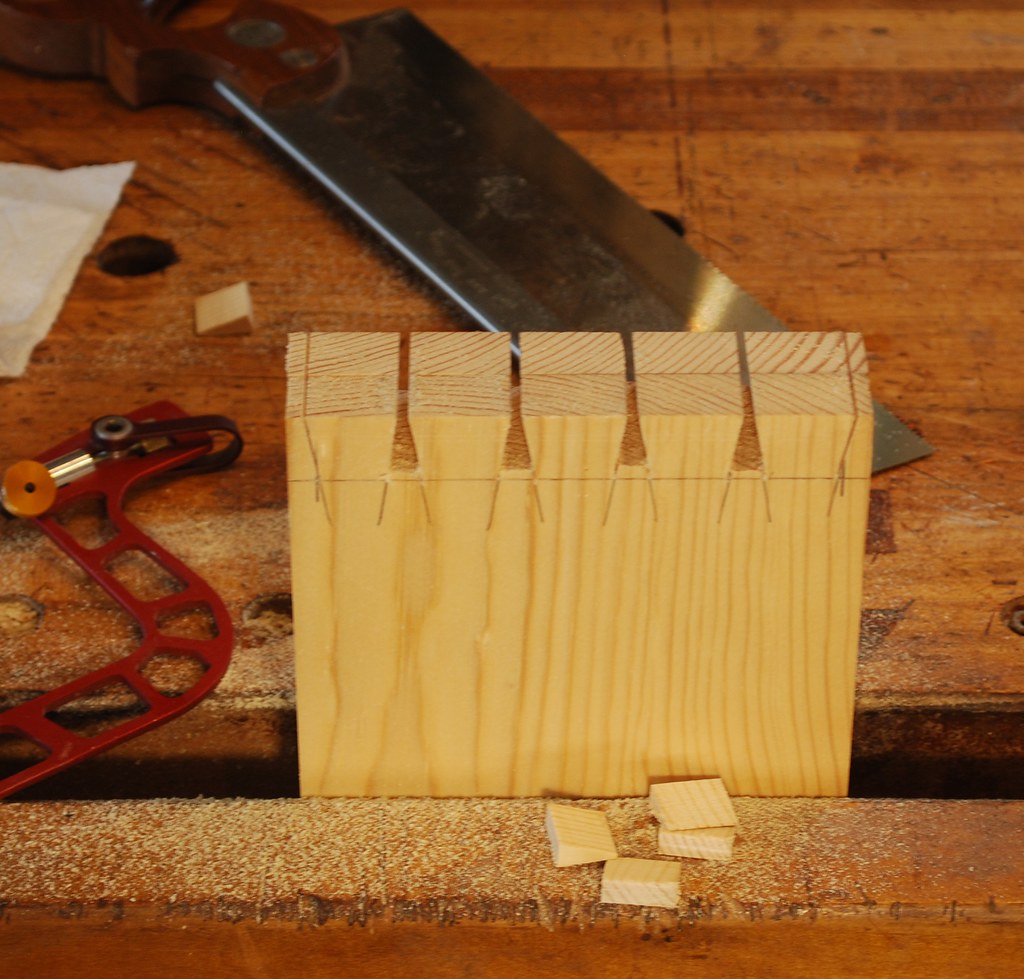
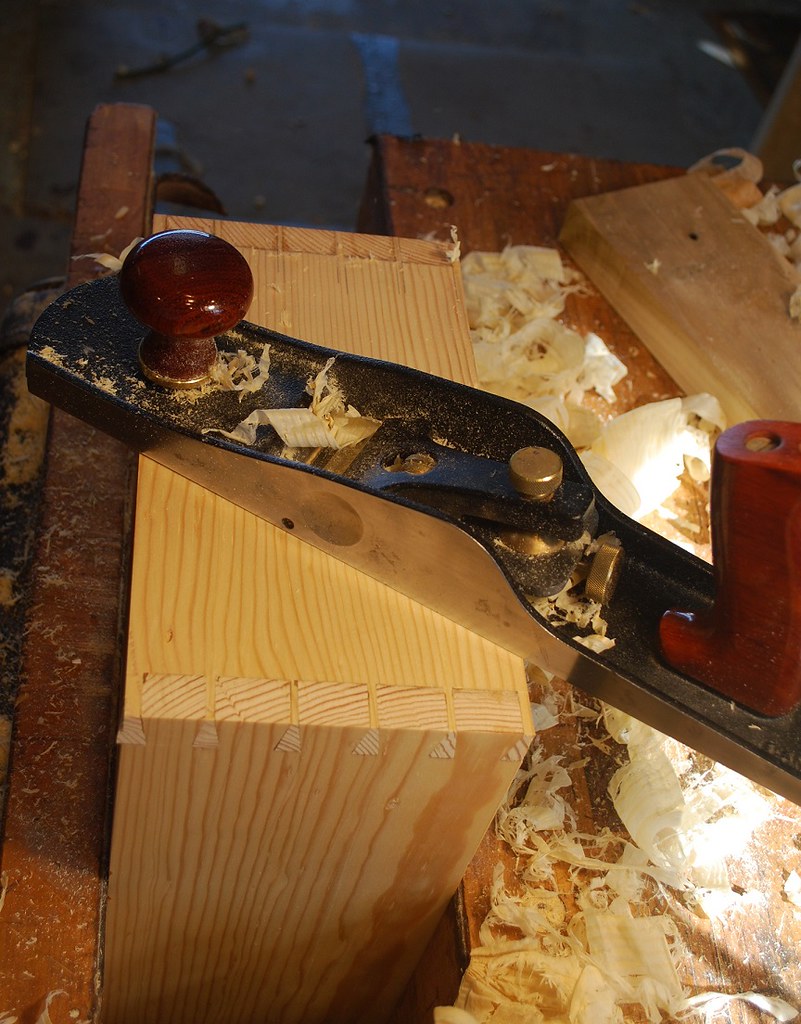
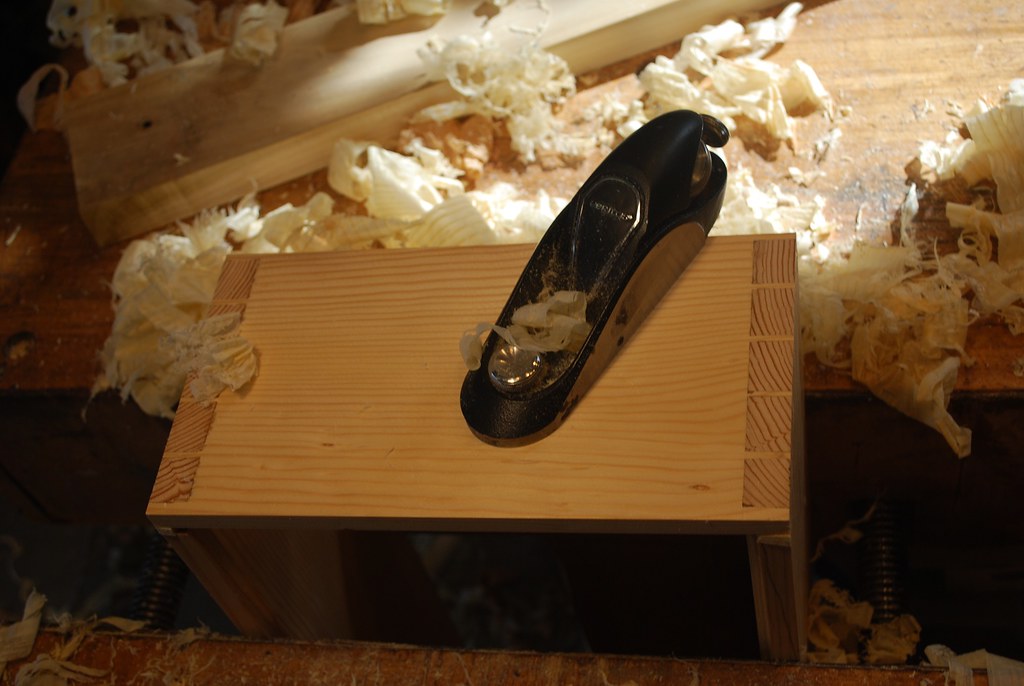
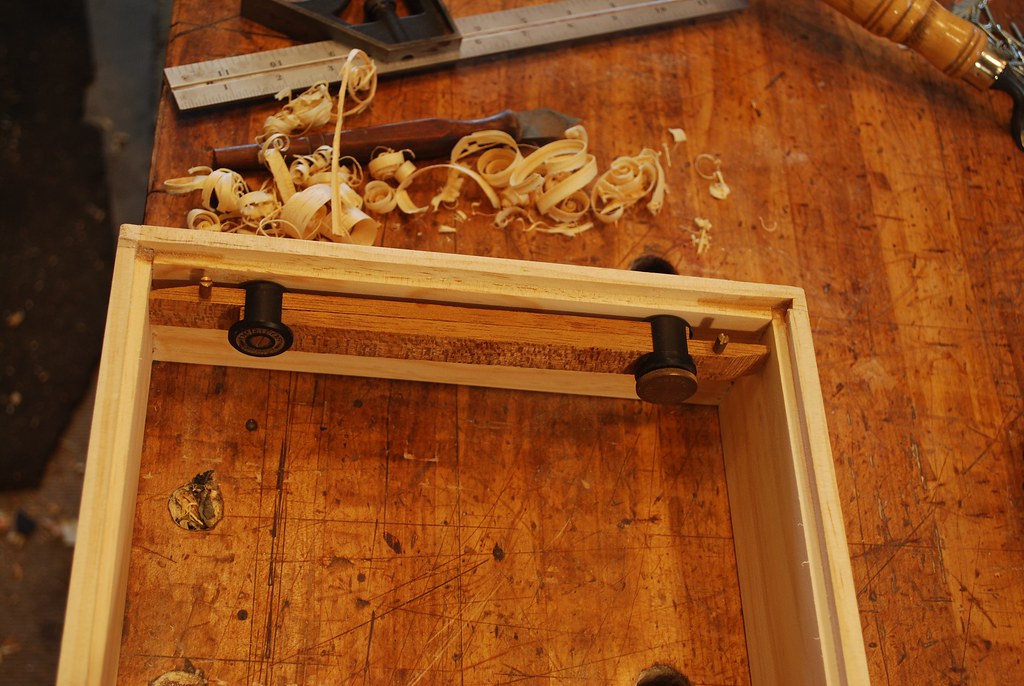
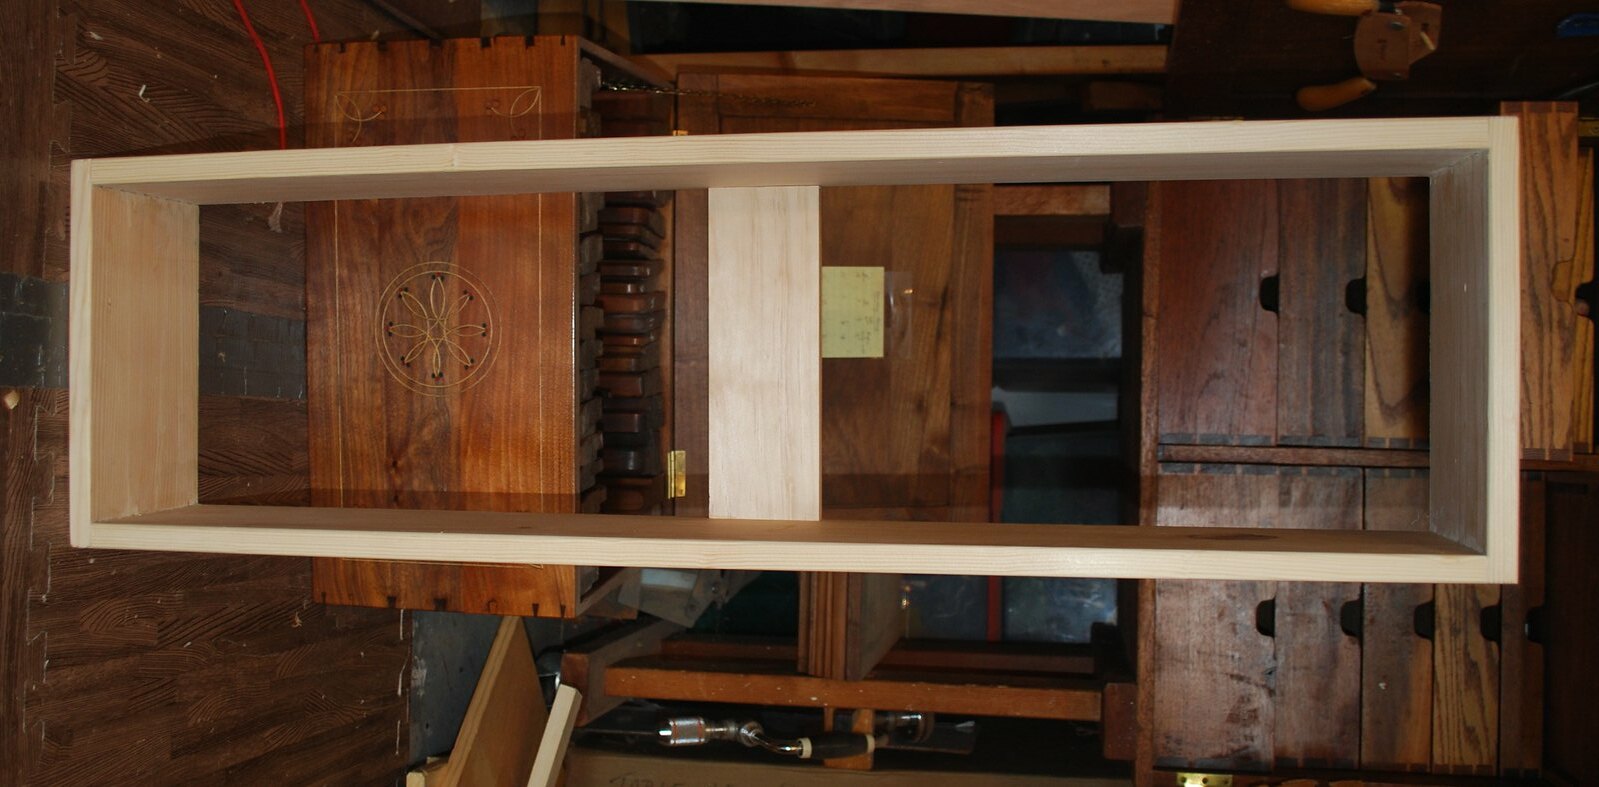
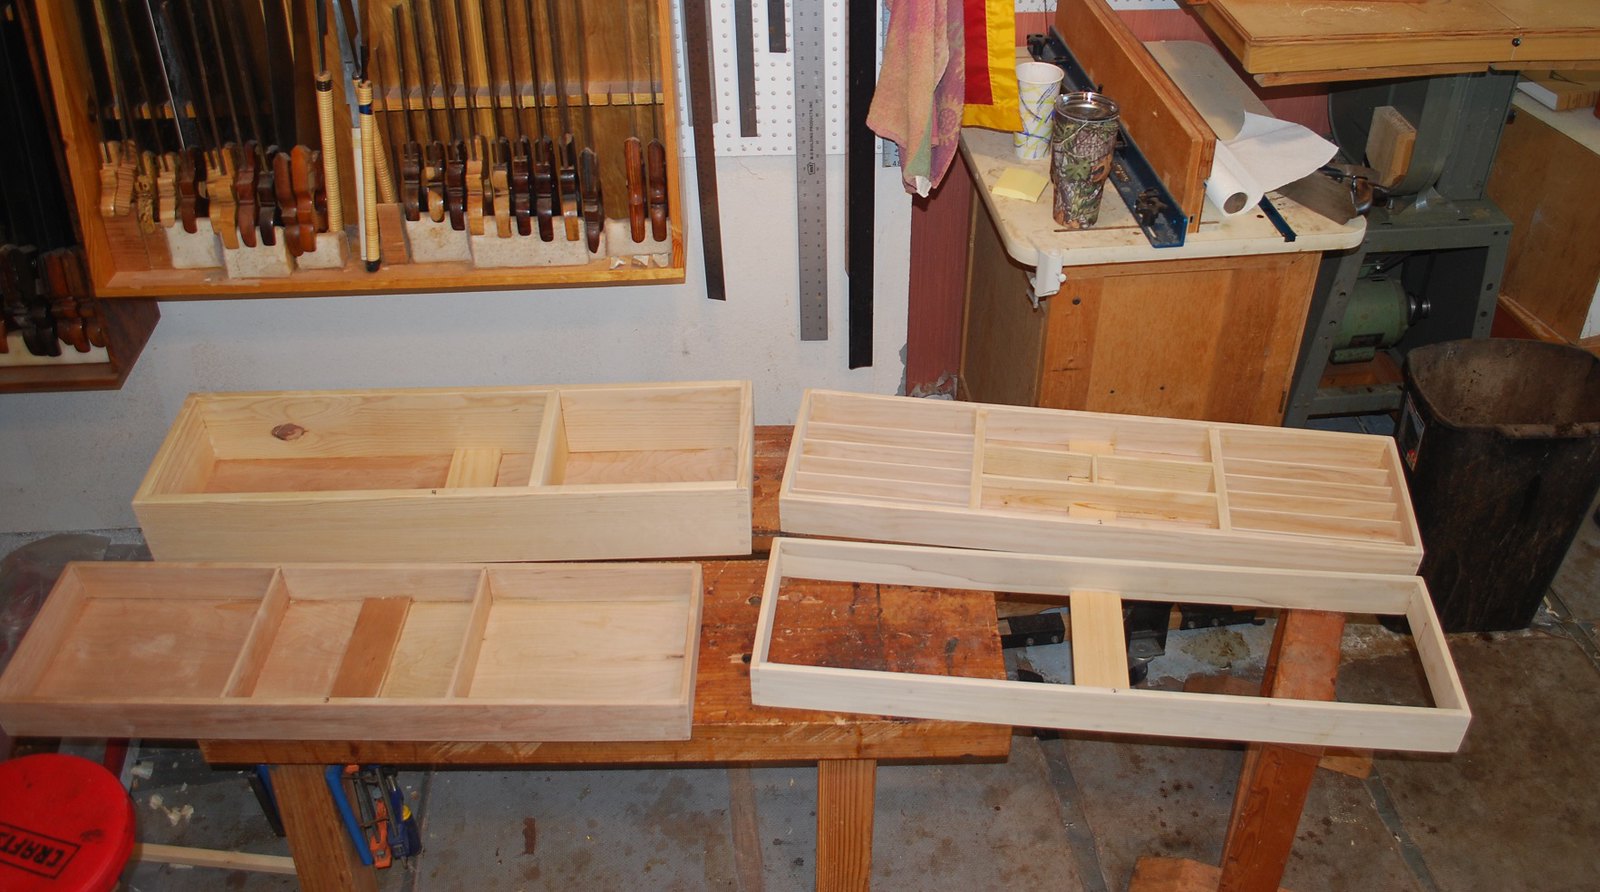
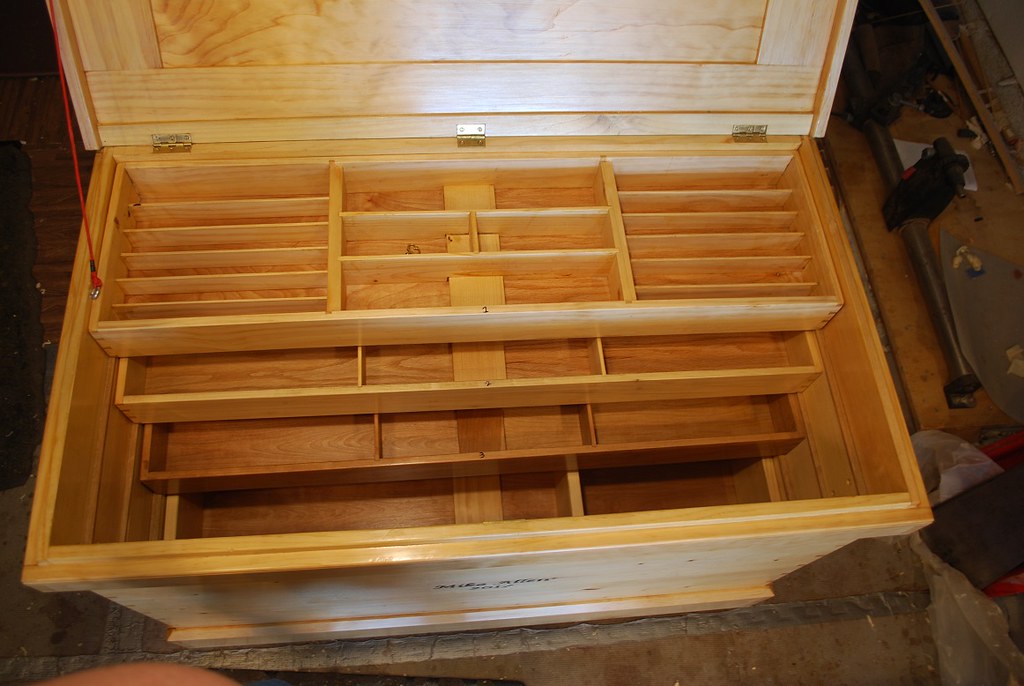
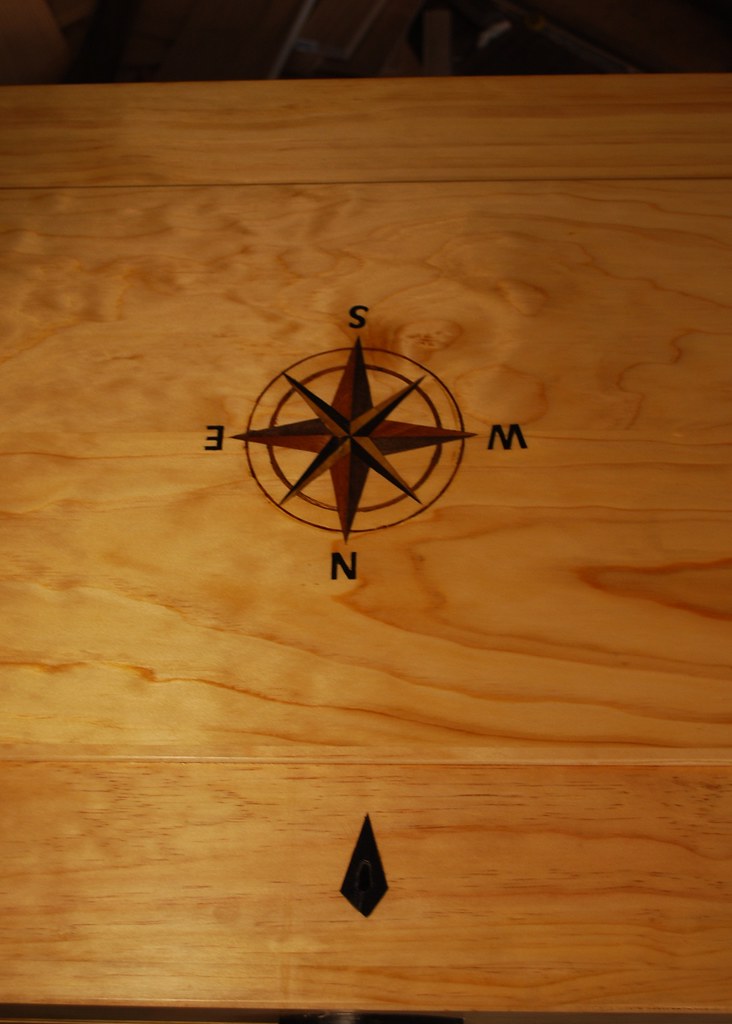
    My own shop is a single car garage and I prefer to have most tools hanging on the wall in till for easy access. Consequently I don’t think this chest will replace my current shop tool storage. Odds are probably ultimately going to end up as some kind of toy chest when grandkids come into the picture (not that we’re in a hurry for that). I had planned on posting so I didn’t take any pictures of the carcass build. It’s straightforward dovetail construction with aprons on top and bottom. Here are some pictures of building the chest lid, drawers and a compass rose inlay that turned out pretty good except for one important detail!

    2 by Mike Allen, on Flickr


    4 by Mike Allen, on Flickr

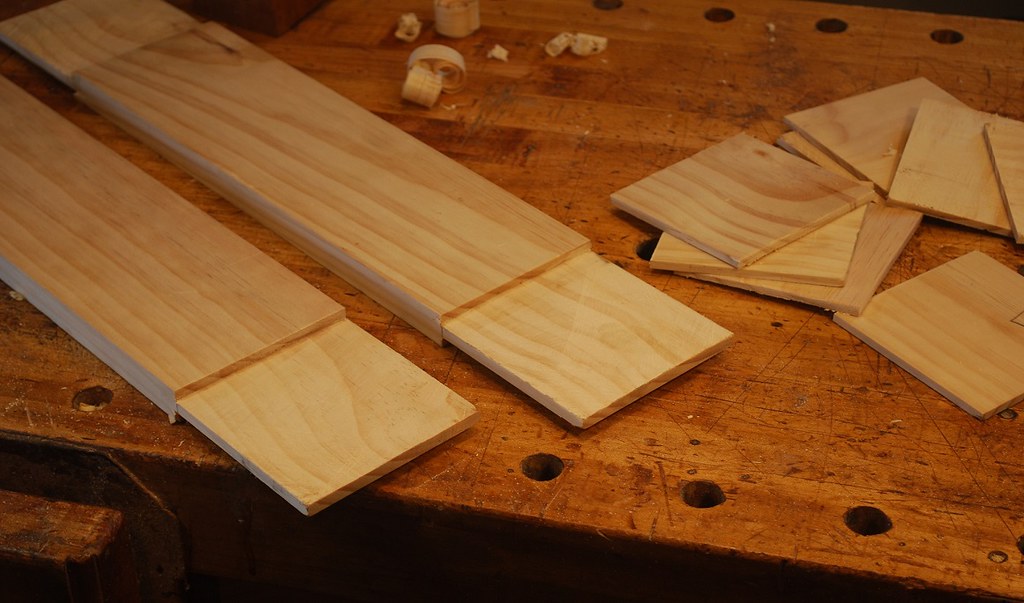
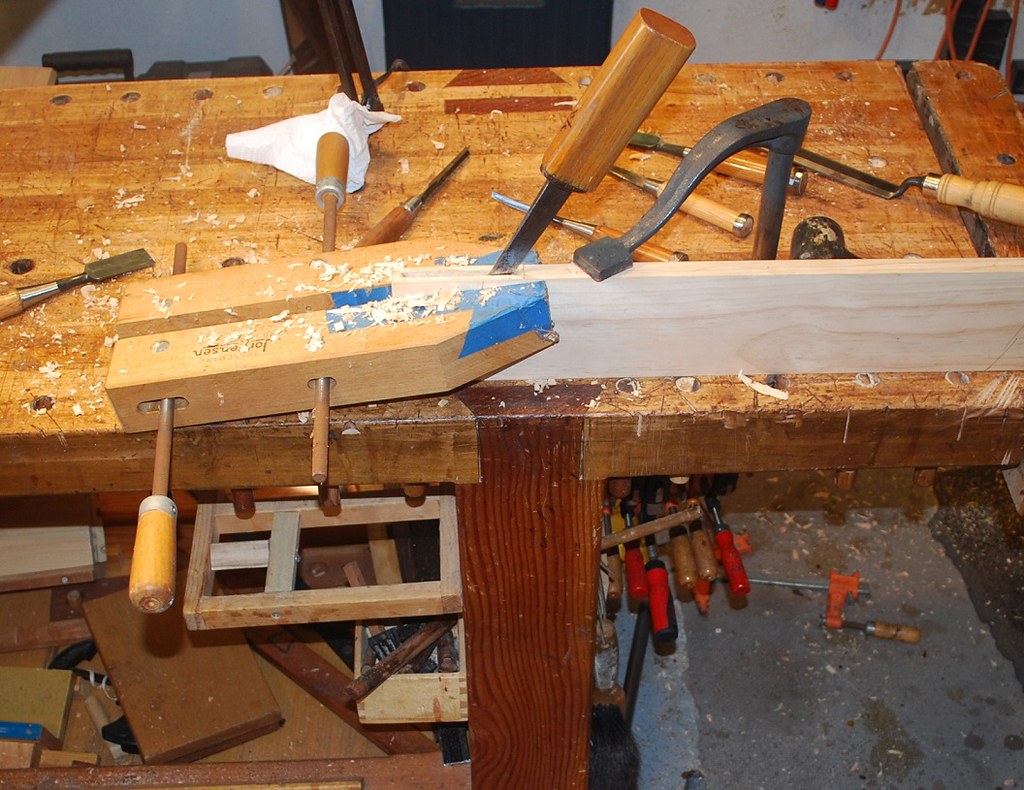
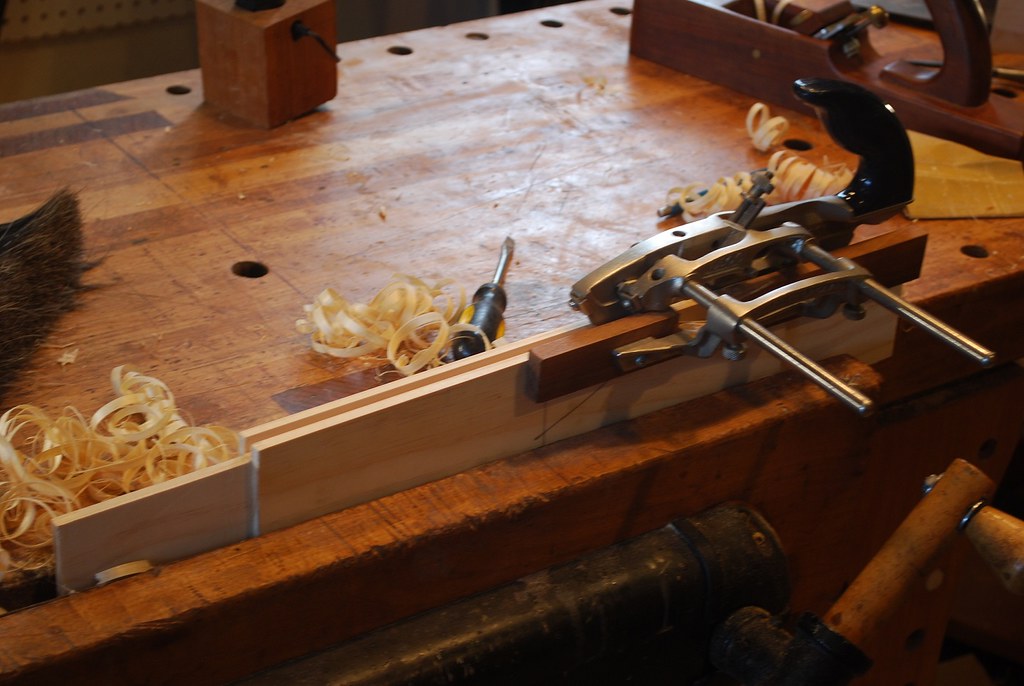
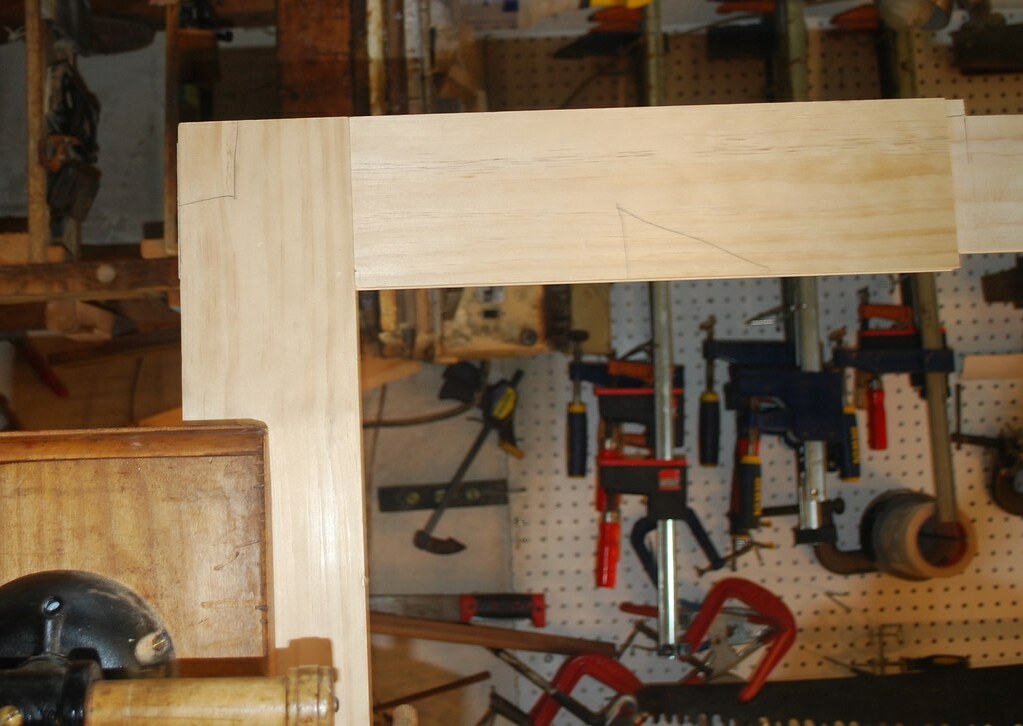
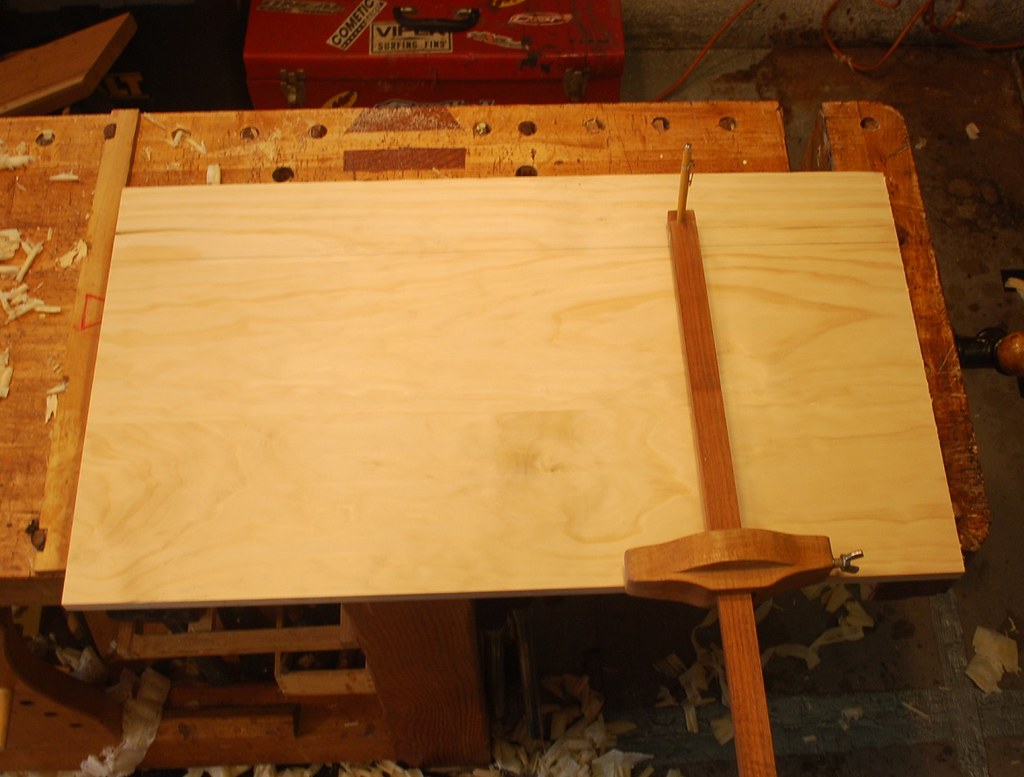
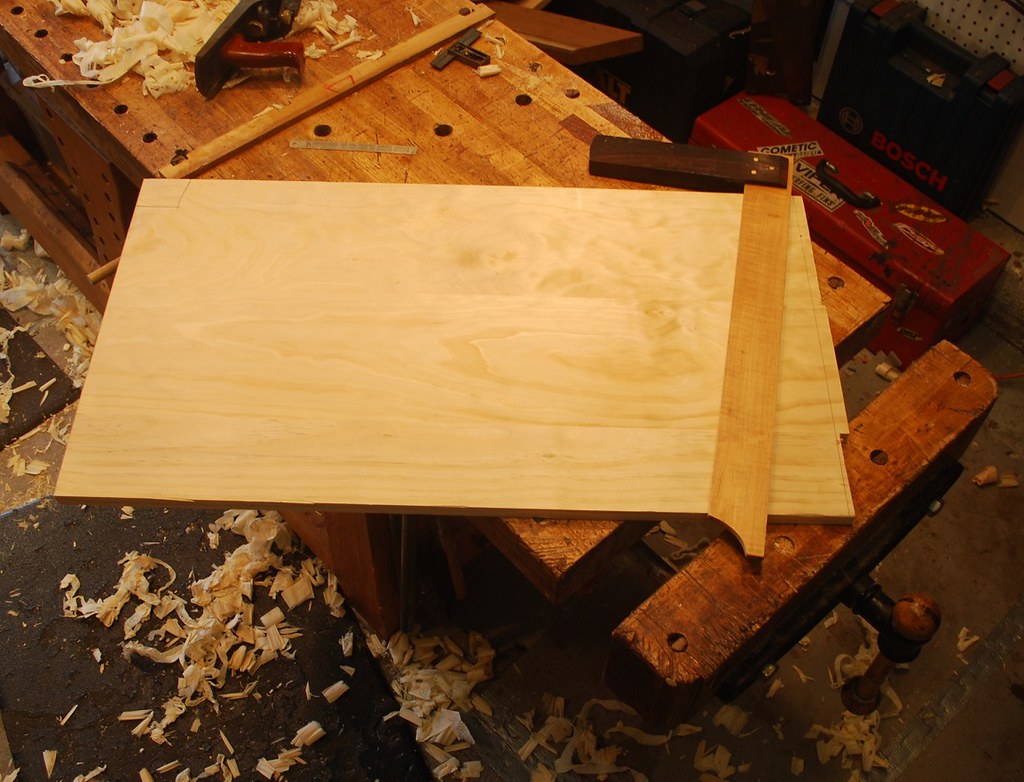
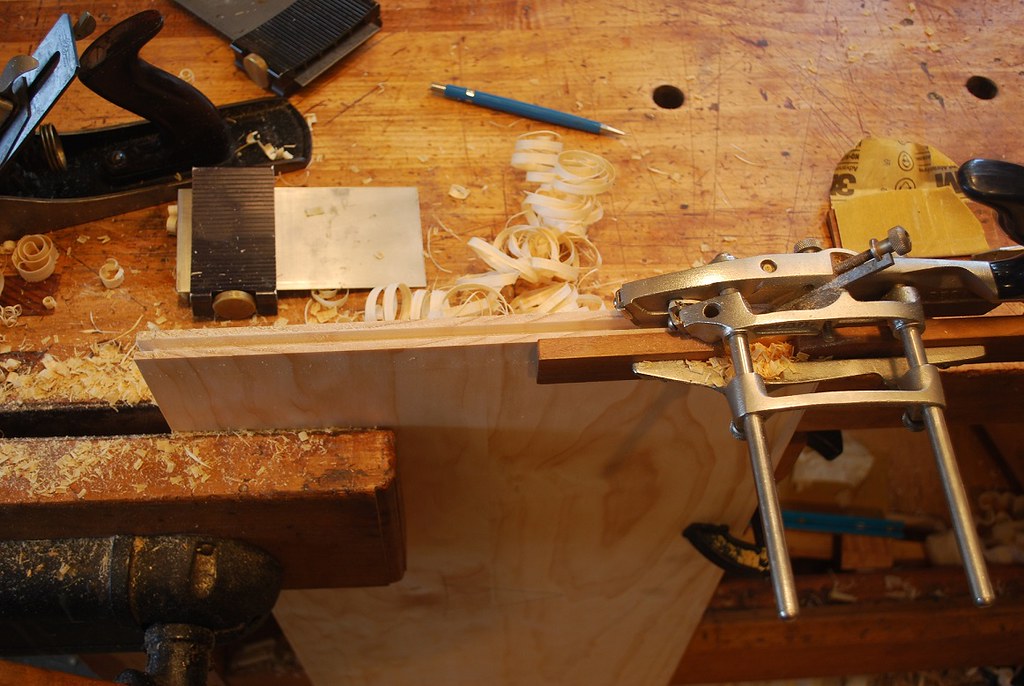
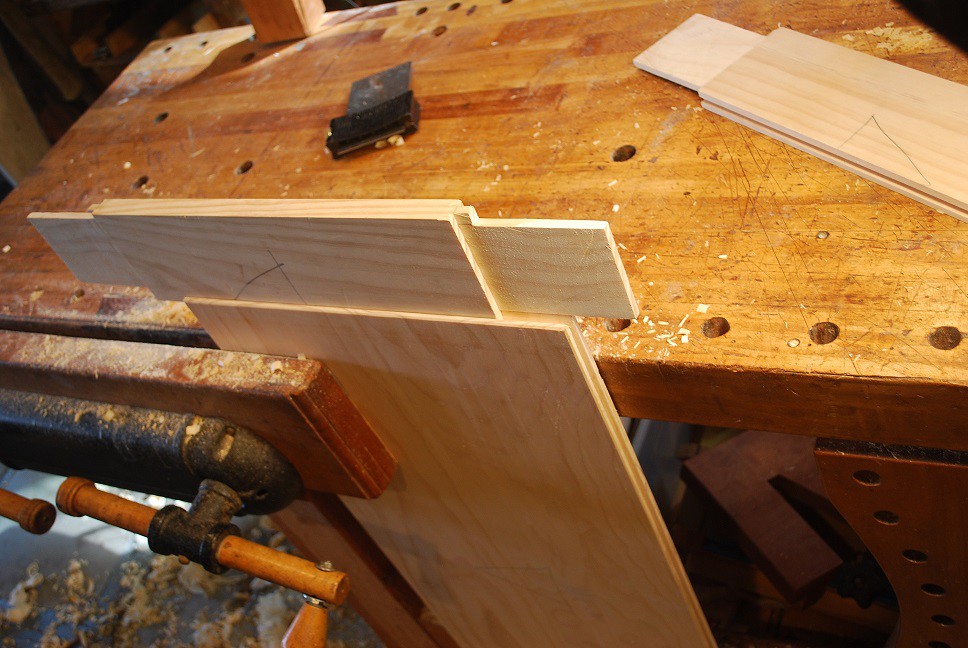
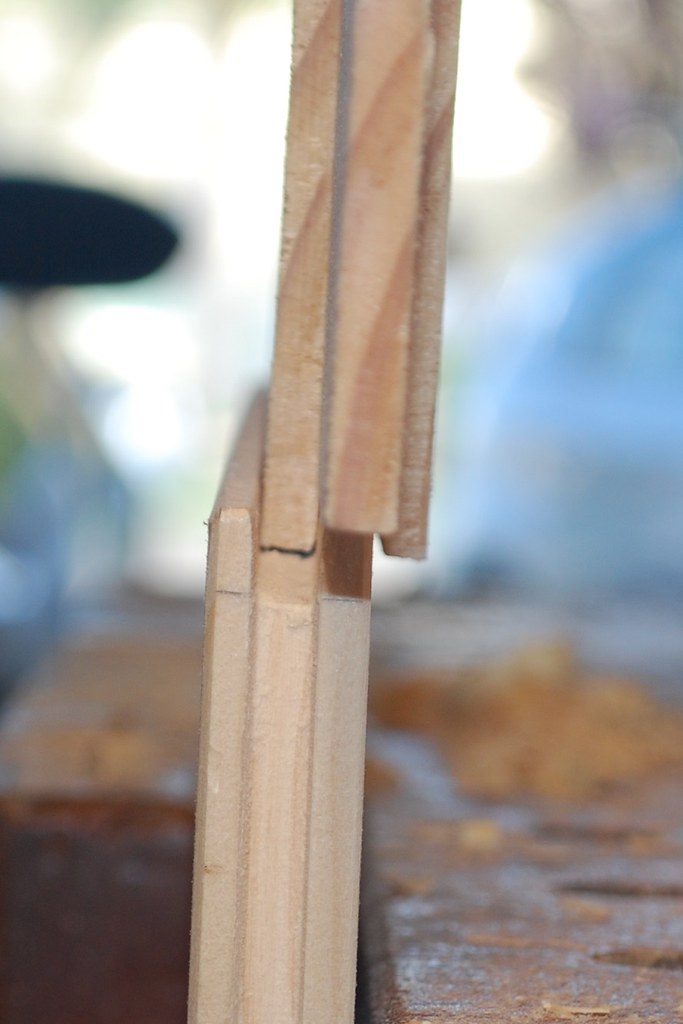
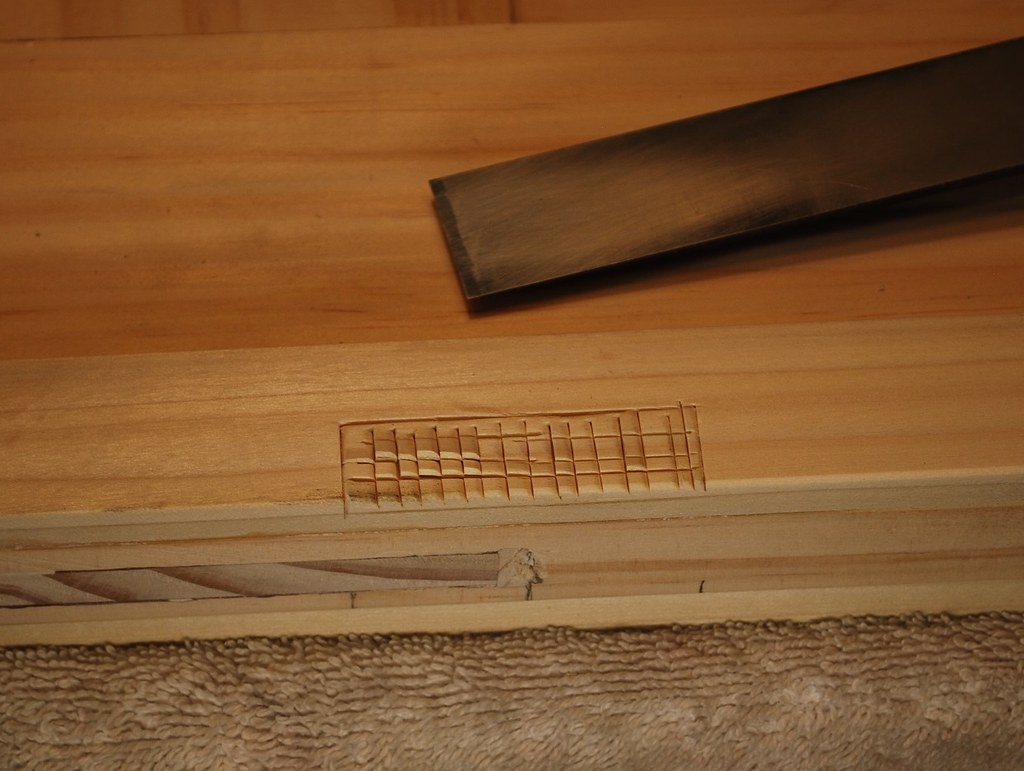
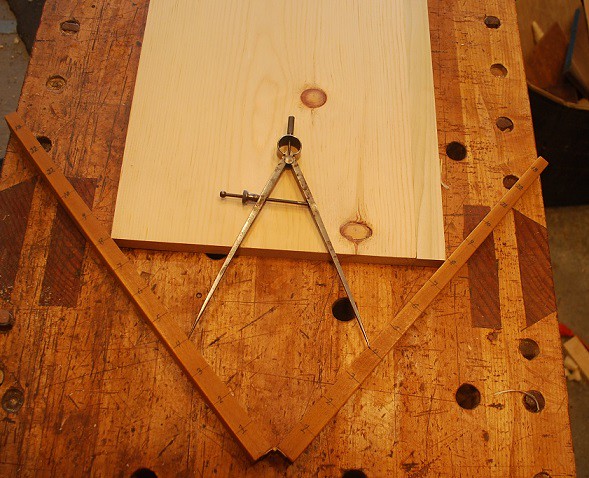
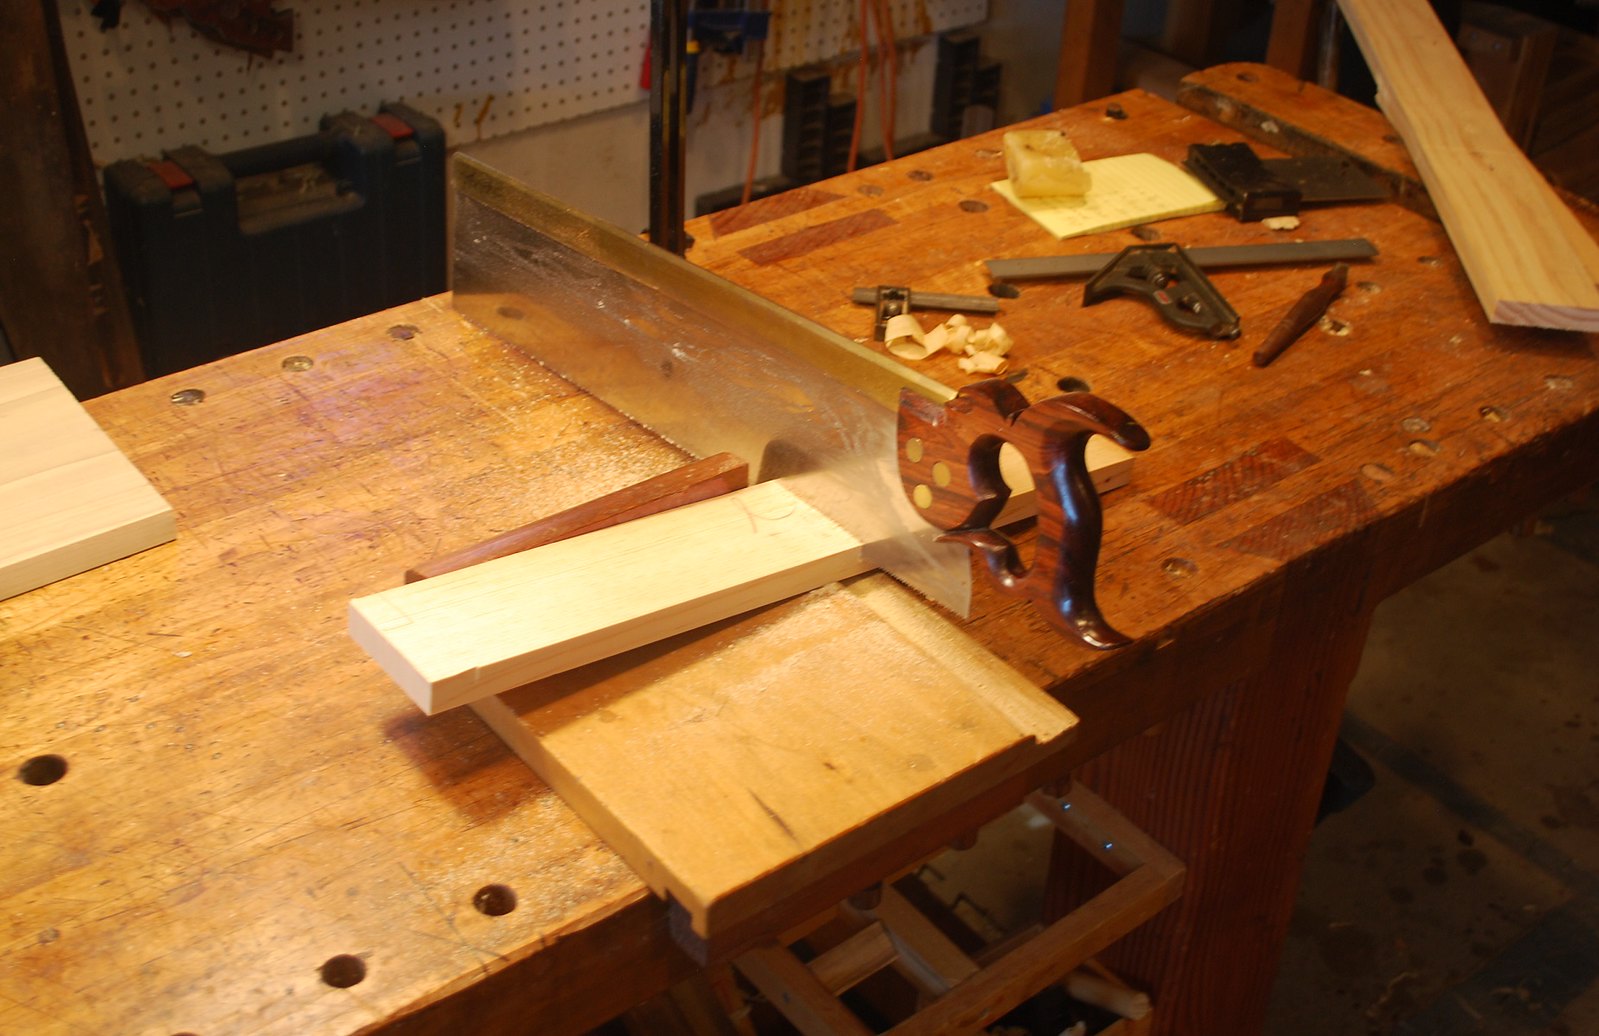
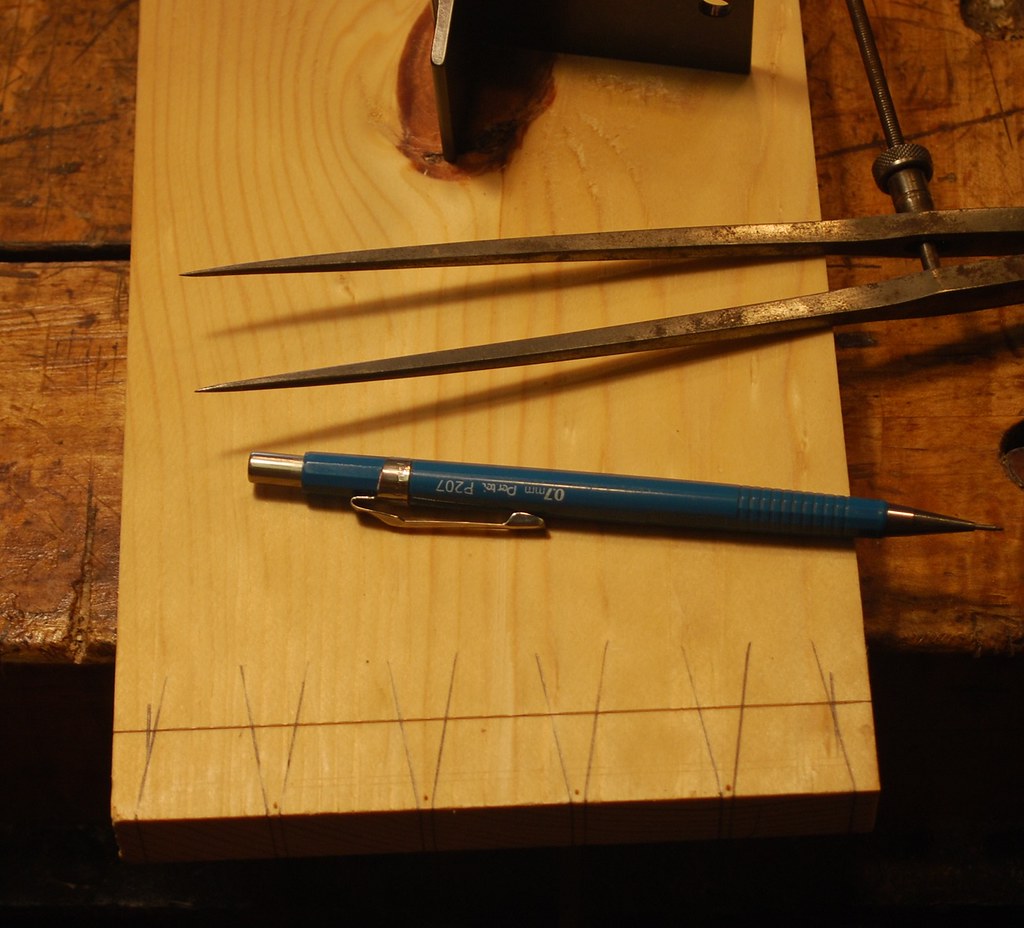
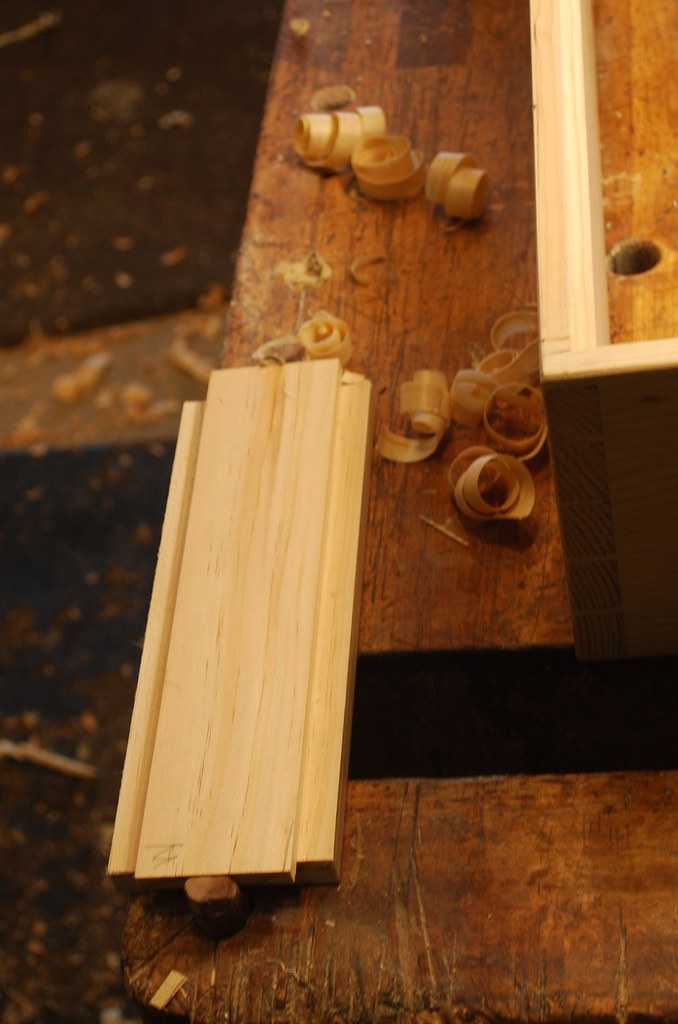
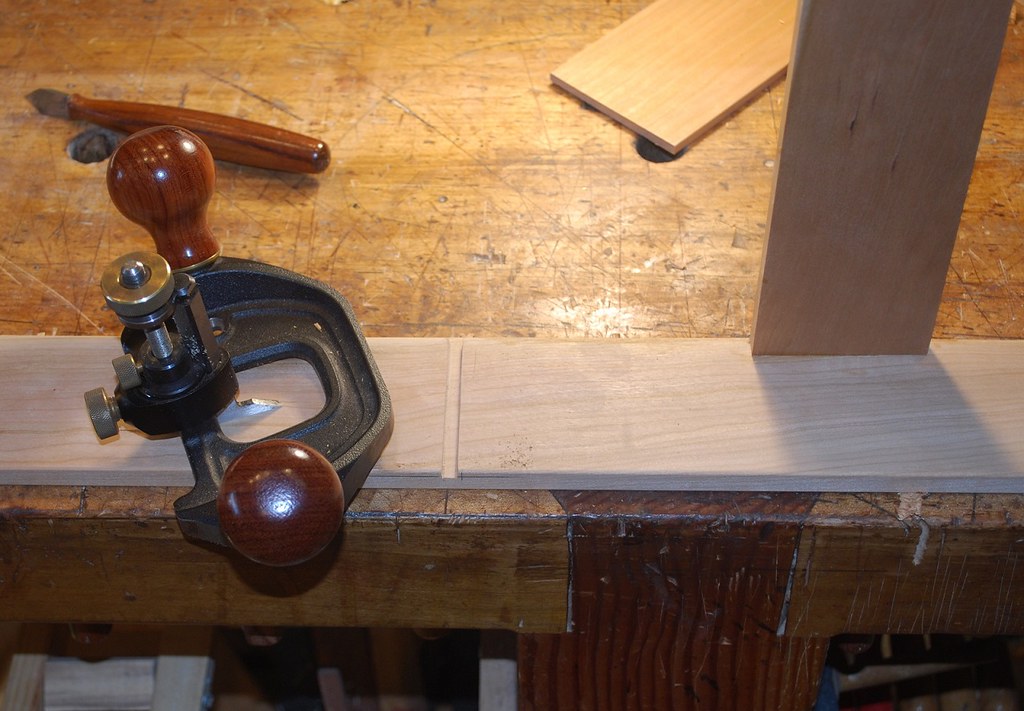
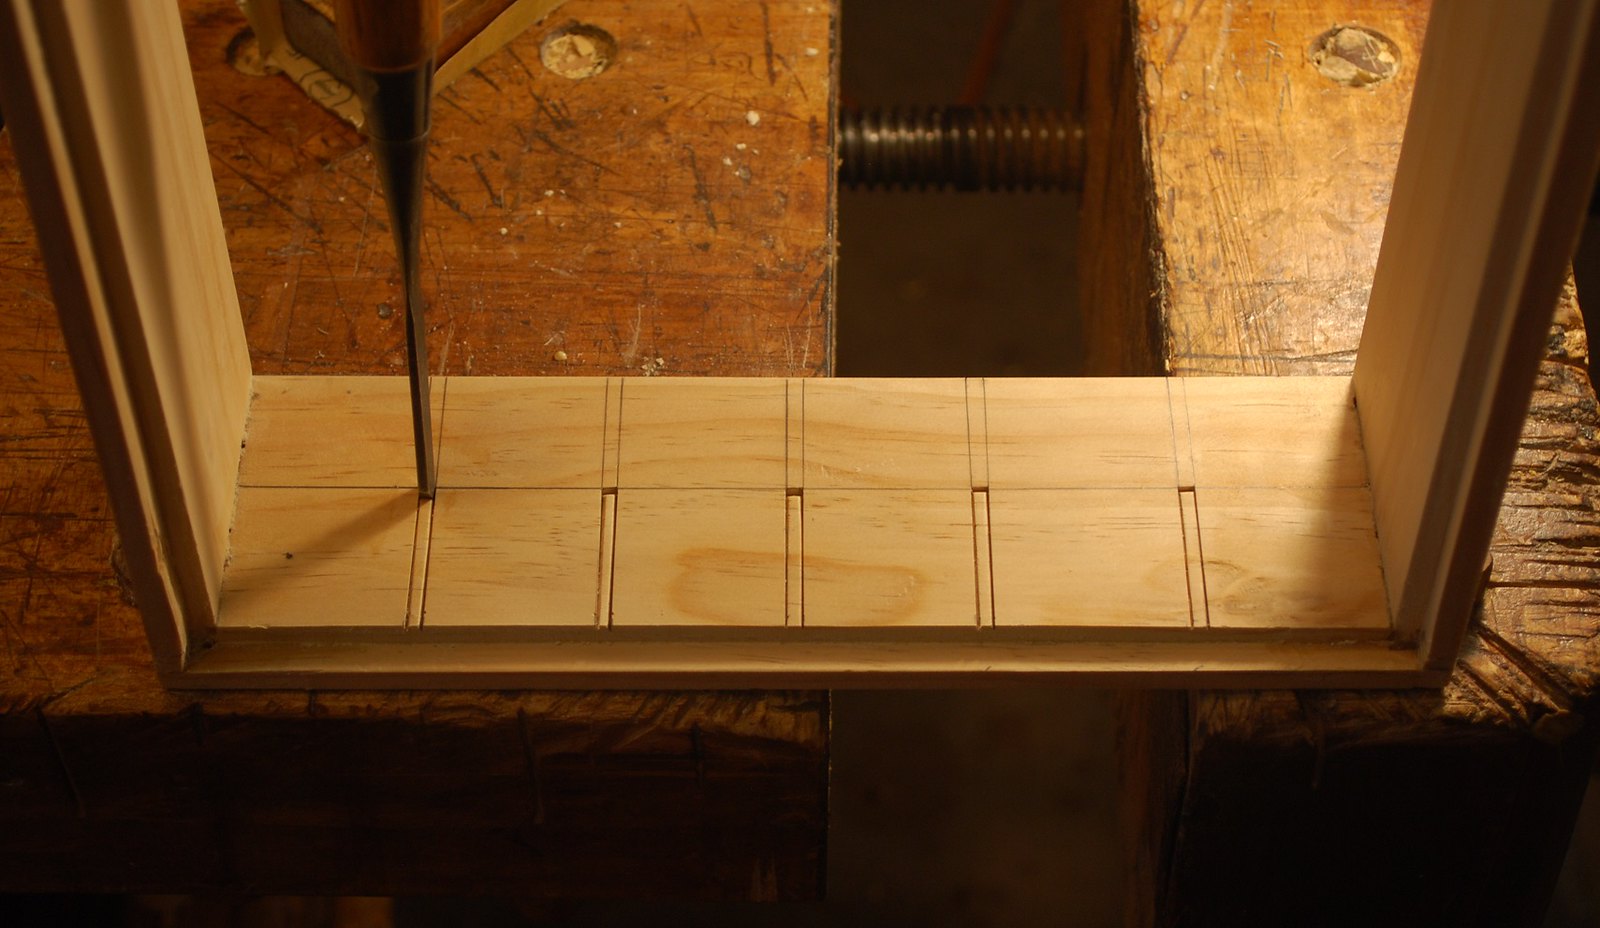
    The chest top is frame and panel construction with through M&T’s. The tennons are 4 inches long and this is when a 10 PPI panel saw filed rip came in handy for finishing the cheeks. I use an old paring chisel inherited from my Dad to establish the layout line for sawing shoulders.

    6 by Mike Allen, on Flickr


    7 by Mike Allen, on Flickr


    8 by Mike Allen, on Flickr


    10 by Mike Allen, on Flickr


    11 by Mike Allen, on Flickr


    12 by Mike Allen, on Flickr

  2. #2
    Join Date
    Feb 2011
    Location
    Carlsbad, CA
    Posts
    2,230
    Blog Entries
    2
    14 by Mike Allen, on Flickr


    Chopping the through mortises; woods screw helps prevent “blowout” disaster. I like pig sticker mortise chisels – they don’t take/hold the cutting edges good as my Japanese mortise chisels, but I prefer them for levering out chips.

    15 by Mike Allen, on Flickr


    Plowing the grooves in frame to retain the panel in the chest top. My 1970s era Record plow plane is a testament to why the English manufacturing economy went the way of the dodo. The fence only parallel the sole by accident.
    Dry fit turned out okay. Another place where paring chisels are super handy for relieving the back so you get a nice fit on the mating edges of the show surface.


    16 by Mike Allen, on Flickr


    17 by Mike Allen, on Flickr

    As a hand tool woodworker, shop built panel gauge with pencil and large square our tools I couldn’t live without for laying out large panels to final dimensions.


    18 by Mike Allen, on Flickr


    19 by Mike Allen, on Flickr


    This panel is some of the harder/denser stock I mentioned. I’m not exactly sure what it is, we don’t see much southern yellow pine here in southern California. I increasingly prefer shop built wooden planes. My Steve Voigt Jack plane is a marvel of time proven efficiency. For final smoothing I use a shop built 50° bed angle would be with a blade I got from Stu at Tools from Japan. I can’t remember exactly which blade it is, but it takes the sharpest edge of any plane in my shop, and is my go to plane for difficult grain.

    20 by Mike Allen, on Flickr


    My favorite part of the design of this chest is the way the panel fits into the frame for the chest top. The plowed group in the panel allows tongues to fit in both the central plowed groove of the frame and also over the top of the frame – super strong and to my eye quite attractive. Here are some pics:


    21 by Mike Allen, on Flickr


    22 by Mike Allen, on Flickr

  3. #3
    Join Date
    Feb 2011
    Location
    Carlsbad, CA
    Posts
    2,230
    Blog Entries
    2
    Dry fit turned out okay. Another place where paring chisels are super handy for relieving the back so you get a nice fit on the mating edges of the show surface.


    23 by Mike Allen, on Flickr


    25 by Mike Allen, on Flickr


    Next is a dovetailed “dust seal” that frames the top and provides a nice closed surface with the chest intersection.

    25 by Mike Allen, on Flickr


    Here are some pics of the compass rose inlaid into the chest top. I’ve tried this a number of times (and have screwed up plenty). My advice is: use 1/8th inch thick solid stock not veneer. This makes it easier to glue up the segments prior to scribing for the recess, and reduces the risk of planing through the inlay during final cleanup. A simple geometric shape with straight lines like this is easier for me to execute than something with curves. The hardest part is letters for the cardinal directions. I did these in ebony and saw them out on the bird’s mouth. For me, no substitute for magnification visor and super thin dedicated marquetry saw blades.


    26 by Mike Allen, on Flickr


    26 (2) by Mike Allen, on Flickr


    27 by Mike Allen, on Flickr


    28 by Mike Allen, on Flickr

    29 by Mike Allen, on Flickr

  4. #4
    Join Date
    Feb 2011
    Location
    Carlsbad, CA
    Posts
    2,230
    Blog Entries
    2
    30 by Mike Allen, on Flickr


    32 by Mike Allen, on Flickr


    33 (2) by Mike Allen, on Flickr


    35 by Mike Allen, on Flickr


    I use a Dremel tool with plunge router base to route the recess and chisels to finish the margins for the central inlay. For the concentric circles I use Lee Valley inlay cutter tool. As you can probably see, hardest part was banding inlay strips to fill the concentric circles. These turned out pretty messy.


    Here’s some pics of the hardware.


    36 by Mike Allen, on Flickr

    37 by Mike Allen, on Flickr


    I was blessed to have a super cool solid brass mortise lock gifted to me by a fellow Creeker (thank you Chet!). I couldn’t figure out how to engage the tongue of the lock if were mounted on the horizontal front surface so I mounted on the underside of the lid, engaging with the horizontal dust seal. I made a brass reinforcement to surround the tongue of the lock from an old saw back and added an ebony “surround” for the key opening (I can’t spell the right word for the “surround”).

    38 by Mike Allen, on Flickr


    39 by Mike Allen, on Flickr

  5. #5
    Join Date
    Feb 2011
    Location
    Carlsbad, CA
    Posts
    2,230
    Blog Entries
    2
    41 by Mike Allen, on Flickr


    42 by Mike Allen, on Flickr


    43 by Mike Allen, on Flickr


    Next was 4 rails, out of increasing thickness for the trays to slide on. I added white oak strips for wear resistance.

    44 by Mike Allen, on Flickr

    46 by Mike Allen, on Flickr


    Here’s the pics of building the sliding interior trays.
    47 by Mike Allen, on Flickr

    48 by Mike Allen, on Flickr

  6. #6
    Join Date
    Feb 2011
    Location
    Carlsbad, CA
    Posts
    2,230
    Blog Entries
    2
    49 by Mike Allen, on Flickr

    50 by Mike Allen, on Flickr

    I use an LV bevel up Jack plane to flatten protruding tales and pins, followed by block plane.


    51 by Mike Allen, on Flickr

    52 by Mike Allen, on Flickr


    Because the trays are so long ~40 some inches, I added a central divider rabbit did to match rabbits on the inside bottom of the trays to accept quarter-inch thick plywood bottoms. Consistent with my aversion to math, I like to use sliding “story sticks” to capture internal dimensions.

    53 by Mike Allen, on Flickr


    54 by Mike Allen, on Flickr

    55 by Mike Allen, on Flickr


    Once drawers were assembled, I cut grooves for 3/16 inch thick solid wood dividers, primarily in the top tray, where I envision I’ll put chisels and carving tools etc.
    56 by Mike Allen, on Flickr

  7. #7
    Join Date
    Feb 2011
    Location
    Carlsbad, CA
    Posts
    2,230
    Blog Entries
    2
    Here are the 4 trays; the bottom is tall enough to accommodate joinery, block, and finish planes. The top 3 drawers are all tuna half inches deep. You can see I haven’t finished one in this pic. I’d like to say I have an elaborate plan for how all store a carefully selected set of tools for each tray, but the truth is I kind of went with the general, whole number dividers, and all figure out individual tool placement as I go.

    57 by Mike Allen, on Flickr

    58 by Mike Allen, on Flickr

    Here’s some pics of the finished chest. Finishing is my least favorite part of any project, for most things I like shellac, but thought given the wear and tear for a tool chest, thought more durable poly urethane would be more appropriate. Turns out it still feels like plastic to me.

    59 by Mike Allen, on Flickr


    60 by Mike Allen, on Flickr

    In an embarrassing fit of ego, I carved my name and date the front of the chest and highlighted with black paint.

    61 by Mike Allen, on Flickr

    True confessions: as you can see I cleverly inlay the compass rose upside down – ughhhh, I hate when that happens! Such are the perils of seat-of-the-pants builds where I scoff at the value of taking the time to plan layout; “planning, who needs planing? I’ll just bang this out right now”. For me, those words are almost always followed by “Oppps – that’s really stupid, how can I fix that now?” My neighbor suggested I could say it’s an “Australian design” with South intentionally placed at the top. Regrettably that feeble excuse does explain why East and West are upside down!

    62 by Mike Allen, on Flickr


    64 by Mike Allen, on Flickr


    Thanks for looking. Cheers, Mike

  8. When the lid is open the compass will be correct....

  9. #9
    Join Date
    Sep 2008
    Location
    N. Idaho
    Posts
    1,621
    Fabulous build Mike, many thanks as always for taking the time to share.

    Agree with Bridger about the compass and lid, you can say that you really did know the way...

    Will look forward to hearing whether you end up working out of it and what you think about a chest vs. wall storage (if you end up using it).

    Best,
    Chris
    "You can observe a lot just by watching."
    --Yogi Berra

  10. #10
    Join Date
    Sep 2007
    Location
    Longview WA
    Posts
    27,430
    Blog Entries
    1
    Nice chest Mike.

    Maybe you can set it in your shop in such a way as the compass is pointing proper when the box is closed.

    jtk
    "A pessimist sees the difficulty in every opportunity; an optimist sees the opportunity in every difficulty."
    - Sir Winston Churchill (1874-1965)

  11. #11
    Join Date
    Feb 2017
    Location
    Ramona, CA by way of Phliadelphia
    Posts
    270
    I was wondering about the compass also and thought maybe you had the inside track on something that we all didn't know!

    All in all it's a great looking tool chest, thanks for taking time to share it with us.

    Rick

  12. #12
    Join Date
    Feb 2004
    Location
    Perth, Australia
    Posts
    9,491
    Another excellent build, Mike. Your attention to detail with really ordinary wood is top class ... and that wood that is soft and difficult to cut cleanly.

    Regards from Perth

    Derek

  13. #13
    Join Date
    Sep 2015
    Location
    Clayton, WI
    Posts
    193
    You can always say you designed the lid for an instructor, and that you would be at the head of the class. With the hinges facing the students and with the lid open, it is right side up...

    Looks good.

  14. #14
    Join Date
    Aug 2010
    Location
    USA
    Posts
    5,582
    Maybe you could rig up some sort of internal compass mechanism tied to your latch so the box needs to be oriented properly in order to be opened?

    Just joking in previous comment of course. This is a very well executed project Mike! I really like the lid and the internal drawers. The finish is very nice also.

  15. #15
    Join Date
    Sep 2006
    Location
    Colorful Colorado
    Posts
    131
    Love it! (As an aside, I first read the title as "Antichrist Tool Chest Build" which made me think, "what in the world?")

Posting Permissions

  • You may not post new threads
  • You may not post replies
  • You may not post attachments
  • You may not edit your posts
  •