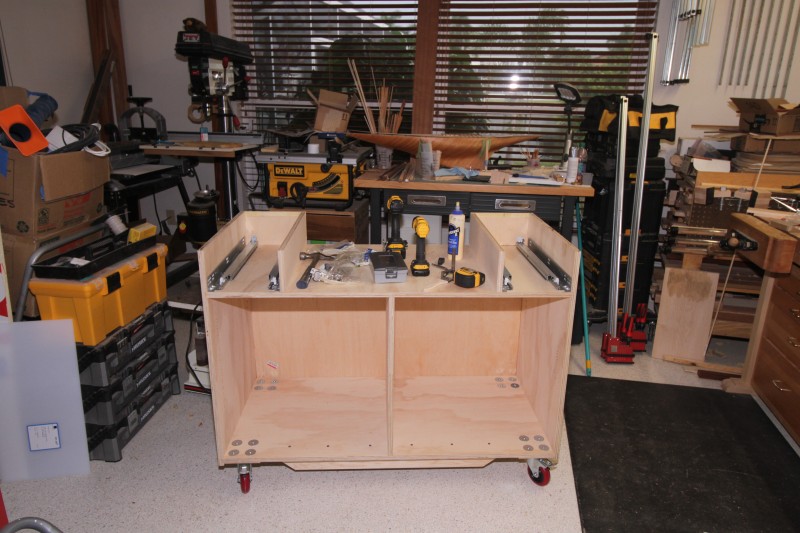
I'm making my second and last mobile miter saw cabinet with drop down wings. In my research I ran across a sliding extension that is incorporated into the wings. It was featured in FWW #209 back in 2010.
For anyone who has built a version of this I have some questions:
- Can the width of the extensions be reduced? In the above version the horizontal piece of plywood on the extension is about 6" wide. Add the fence and the guide and that extends to 7-1/2". I'd like to cut that back by 2" or so to reduce the bulk.
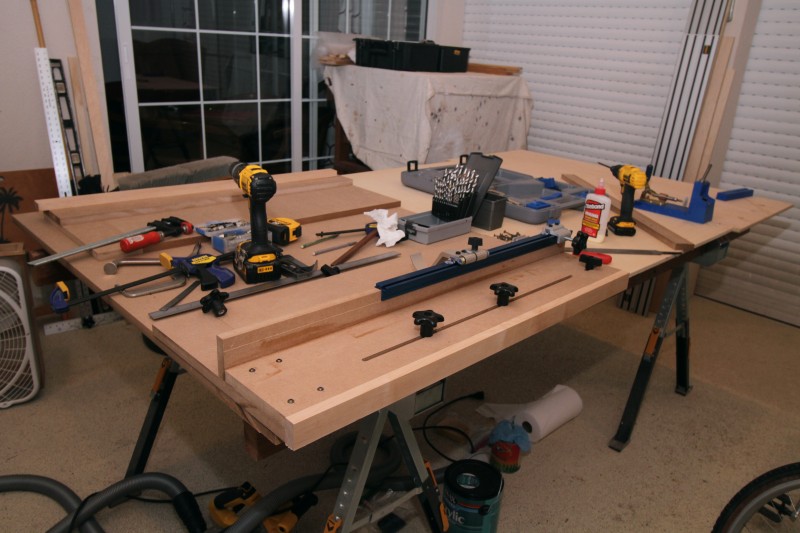
- With the extensions, are there any issues that affect the accuracy of the measuring tape incorporated into the Kreg extrusions?
- Would it be more practical to build just one extension rather than two? Considering the fact you don't add cutting stop capacity with the second extension, it seems the second is redundant.
Thanks
For anyone interested, here's a LINK to a similar version in SketchUp.


 Reply With Quote