You "Creekers" have lots of answers and I constantly learn from you. This is an effort to return some information to the creek.
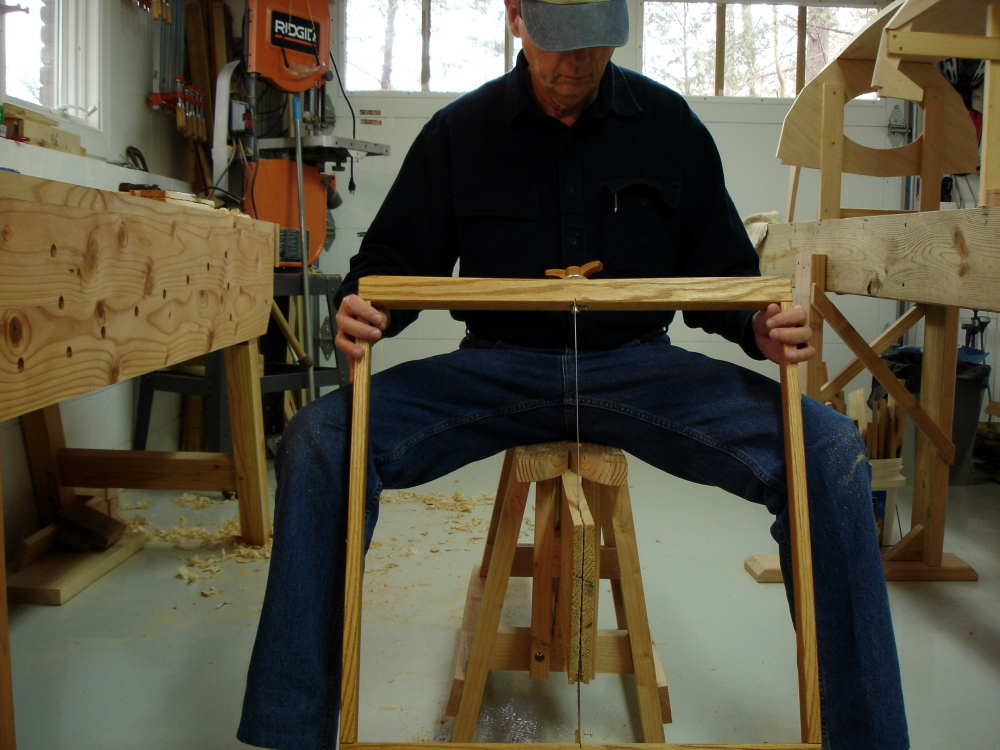
Some who follow my blog know of several posts about various aspects of resawing boat lumber. I've found various hand tool resawing techniques around the Internet, but they are usually for relatively short boards. My interest is in boat lumber, often as long as 16 feet and sometimes longer.
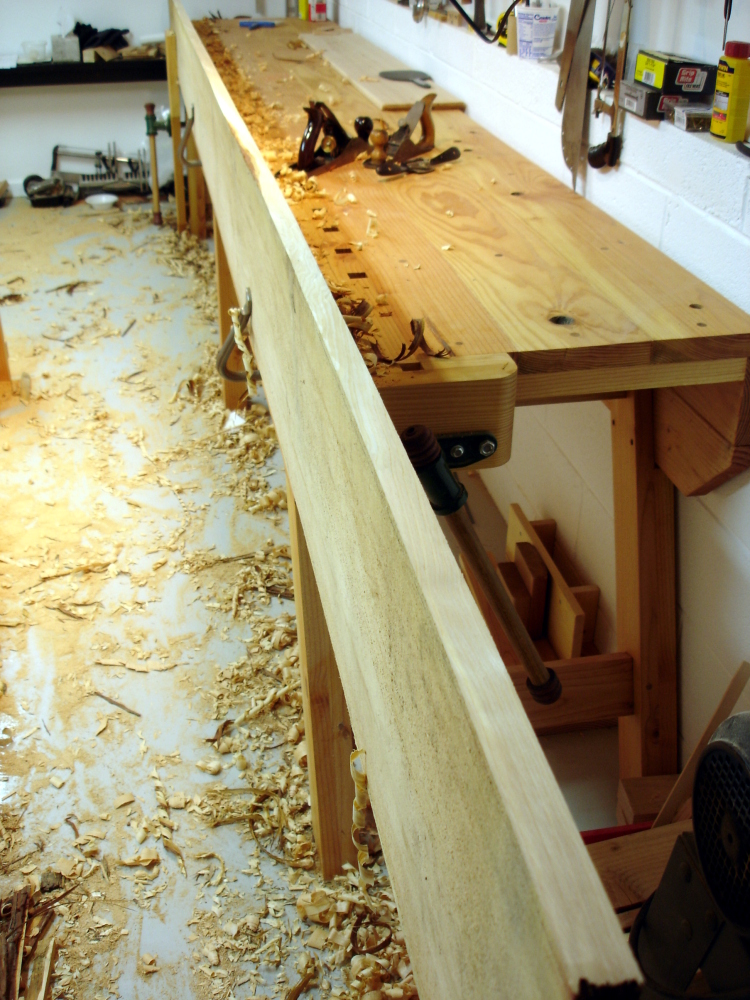
Many hours sitting on the saw bench and a good stack of resawn lumber has brought me to the point where I can now pull my experience together as a tutorial. That's not to say I think myself expert, but only that I've learned enough to feel basically competent. There's more to learn before claiming real proficiency. This information will help those who want to resaw lengthy pieces of softwood lumber using hand tools. It may or my not help others. For example, I don't know how well these methods will work for tight grained hardwoods.
Click on any image, or visit the blog article, to see a larger version.
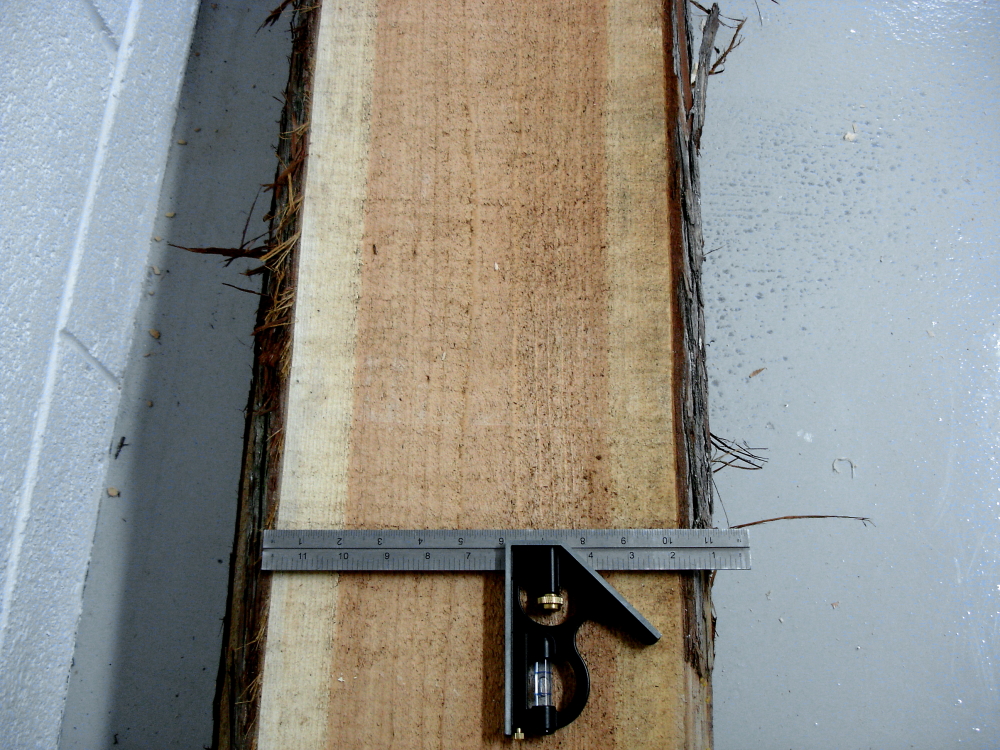
So, why resaw by hand? First, the Atlantic white cedar I use for boat lumber is more than twice as thick as I need for planking and deck material. Slicing it doubles the value of each board. I'm a skinflint who likes to avoid buying more than I need. Second, my band saw is an entry level machine that would need significant investment to get the capacity and horsepower needed for lumber up to 12 inches wide. Third, I'm a skinflint Neanderthal galoot and would rather do it myself than pay the lumber mill. Fourth, this is a hobby, not a business where time might be more important. Fifth,my hand tools are powered by Snickers Bars, and the more I use them, the more Snickers Bars I can work off.
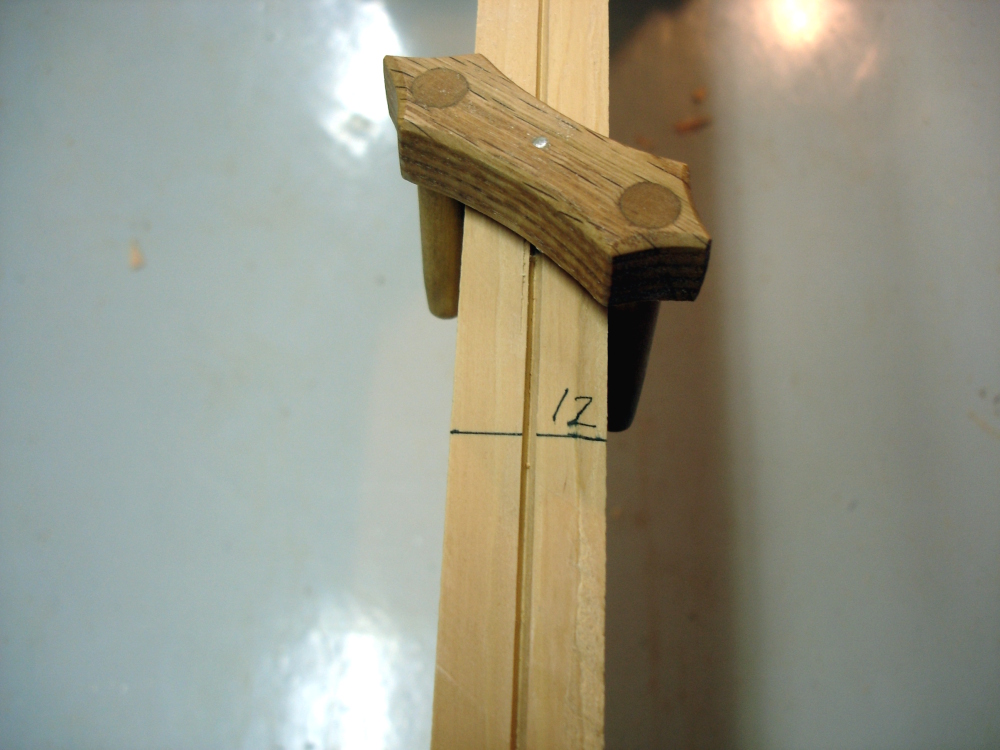
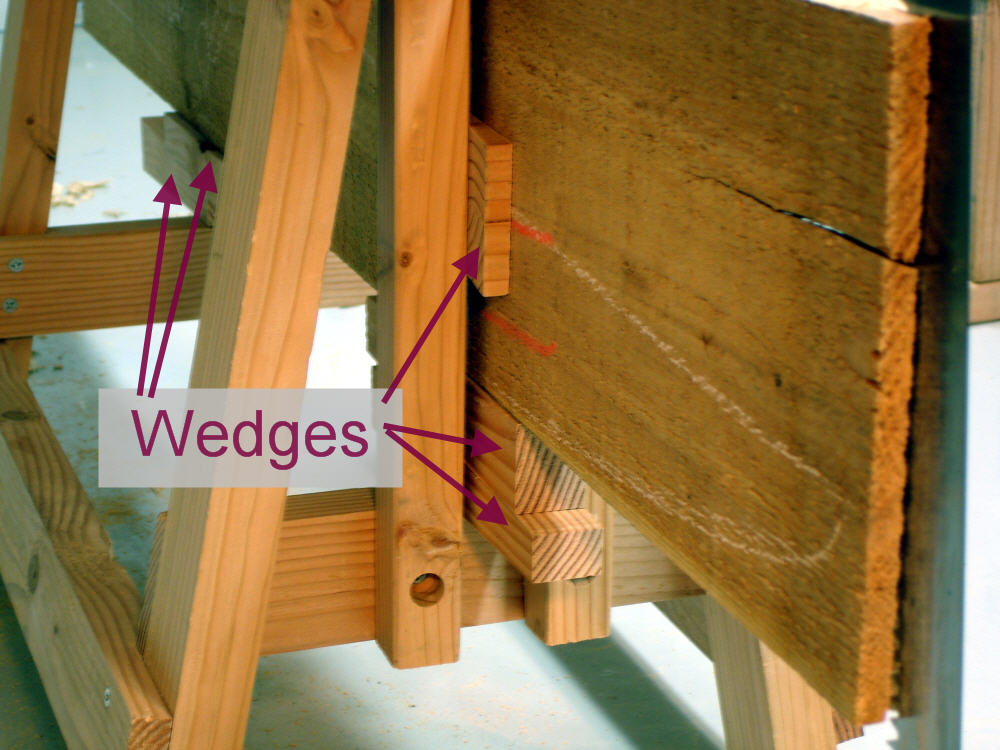
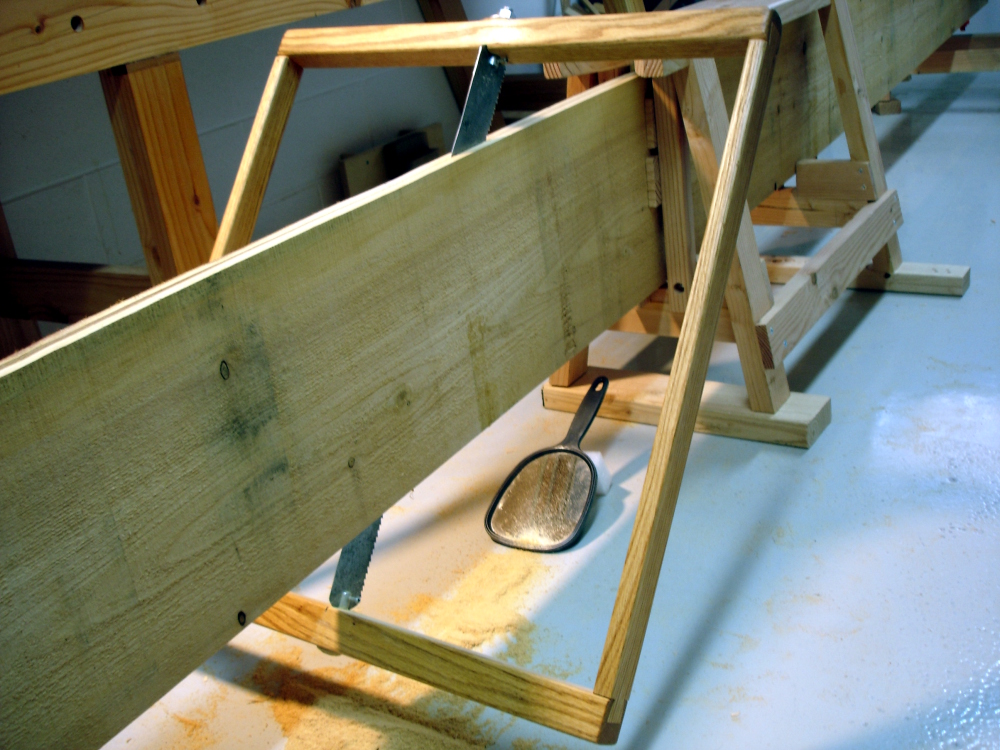
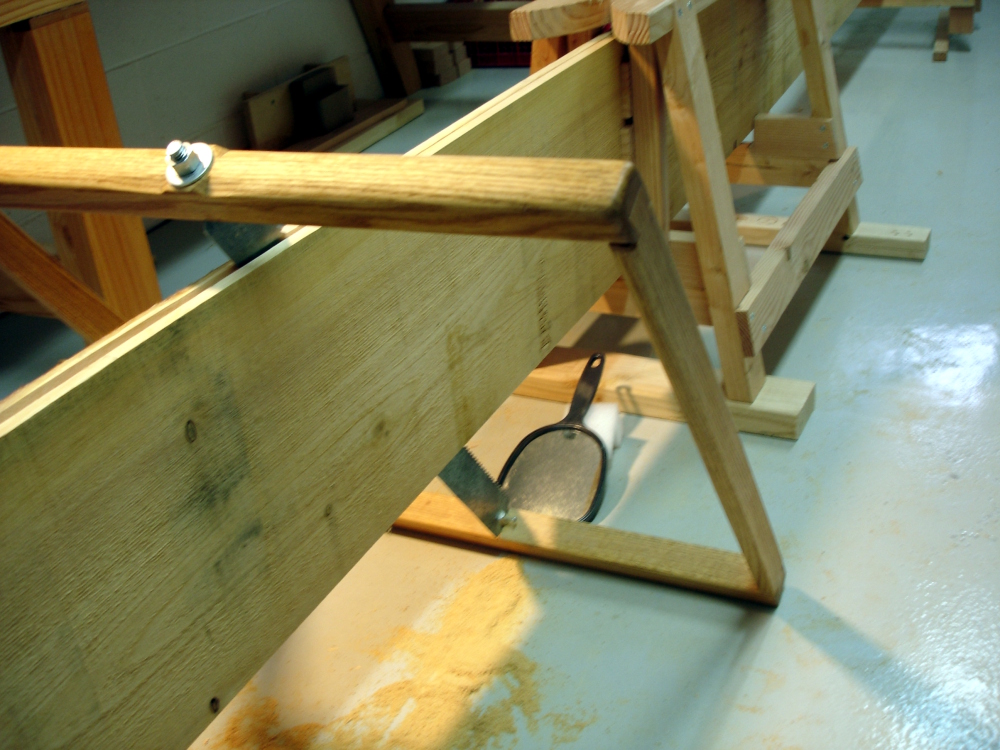
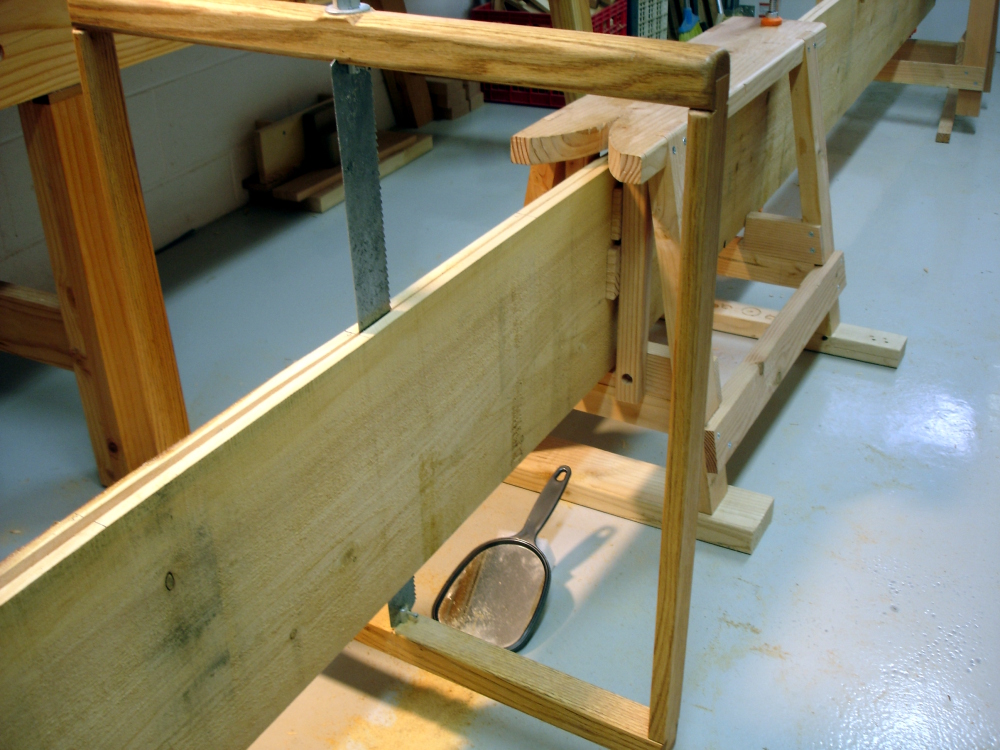
In the next few entries, I'll tell you what I've learned about making and tuning a saw, about holding the work pieces, about prepping a work piece, and techniques for getting good results.
Before going on, I have to recognize and thank several people. THANKS to Bob Smalser for his saw straightening and rehab tutorials on the Sawmill Creek forums and elsewhere, to Junior Strasil, also on Sawmill Creek, for his work holding and saw filing suggestions, to Peter Taran for his saw sharpening primer on the Vintage Saws site, to Josh Clark for his article on making a frame saw, and to many others who have added to discussions on the forums and in my blog comments. My success results largely from learning from these folks who graciously share their knowledge.

 Reply With Quote
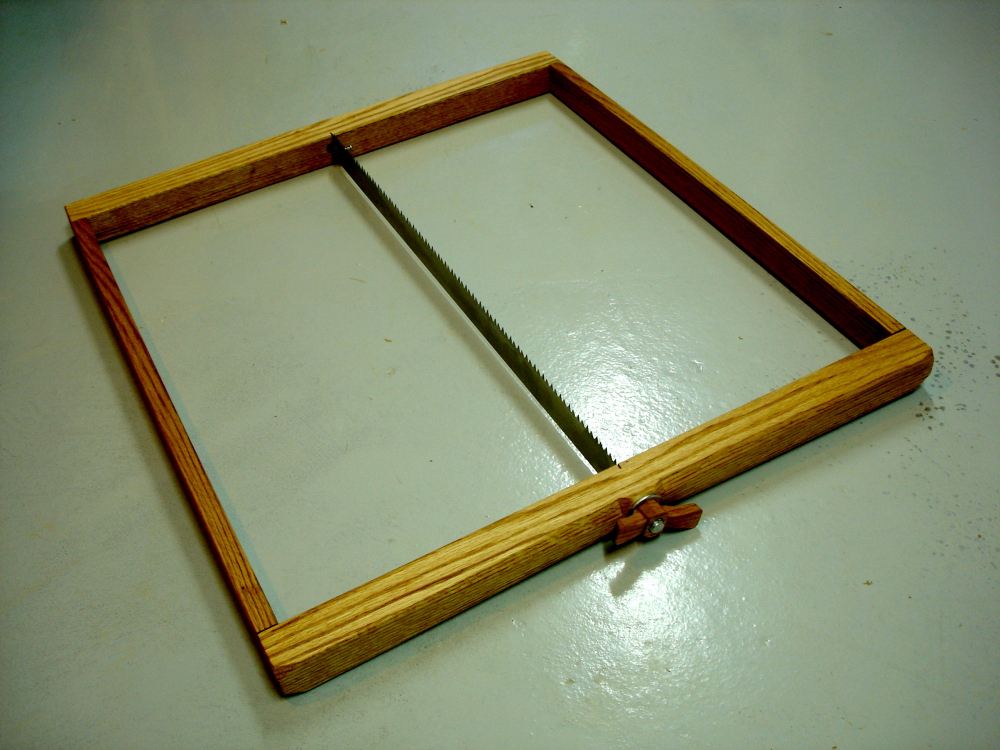
 .
. (I'm a sucker for a wooden boat)